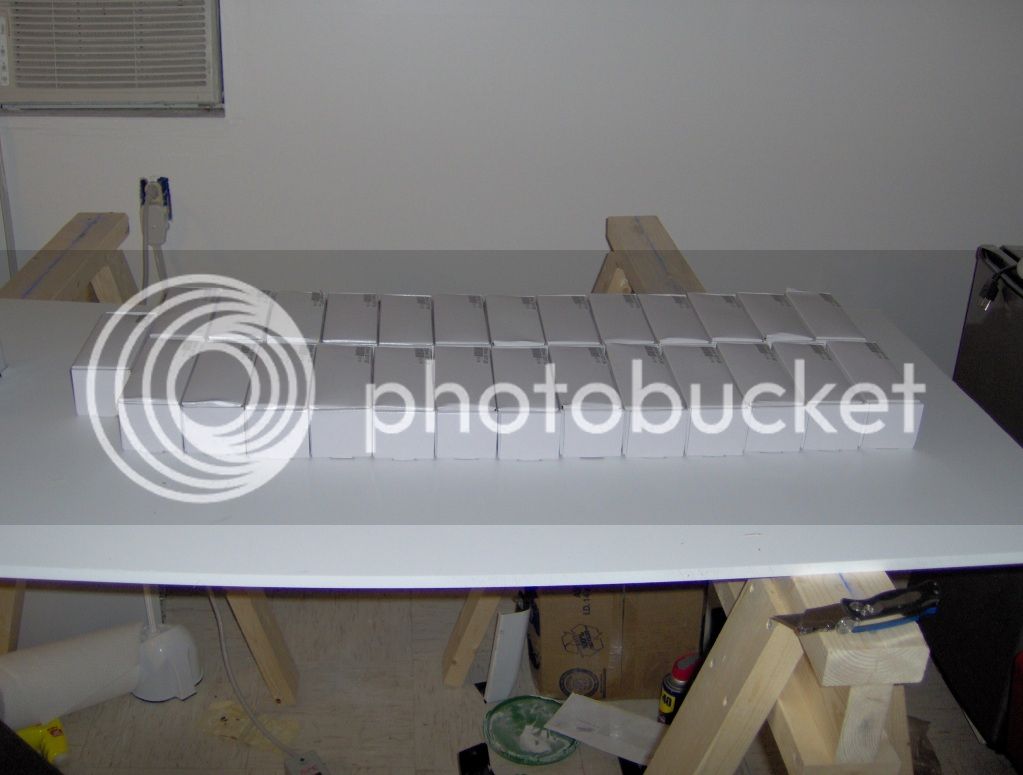
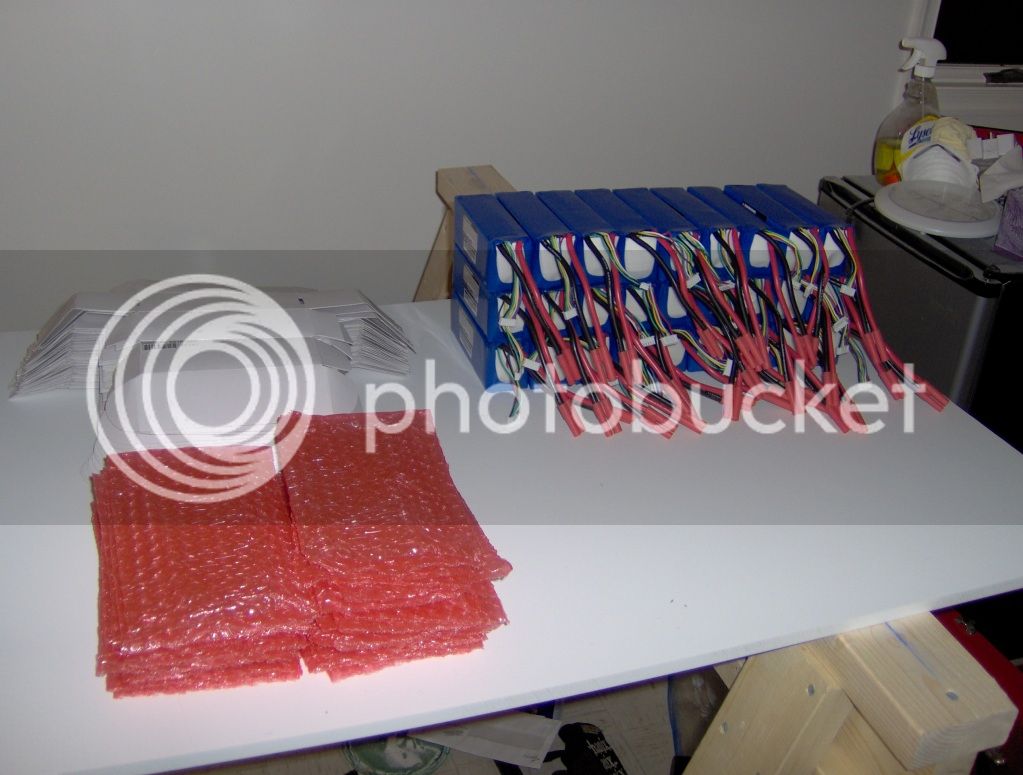
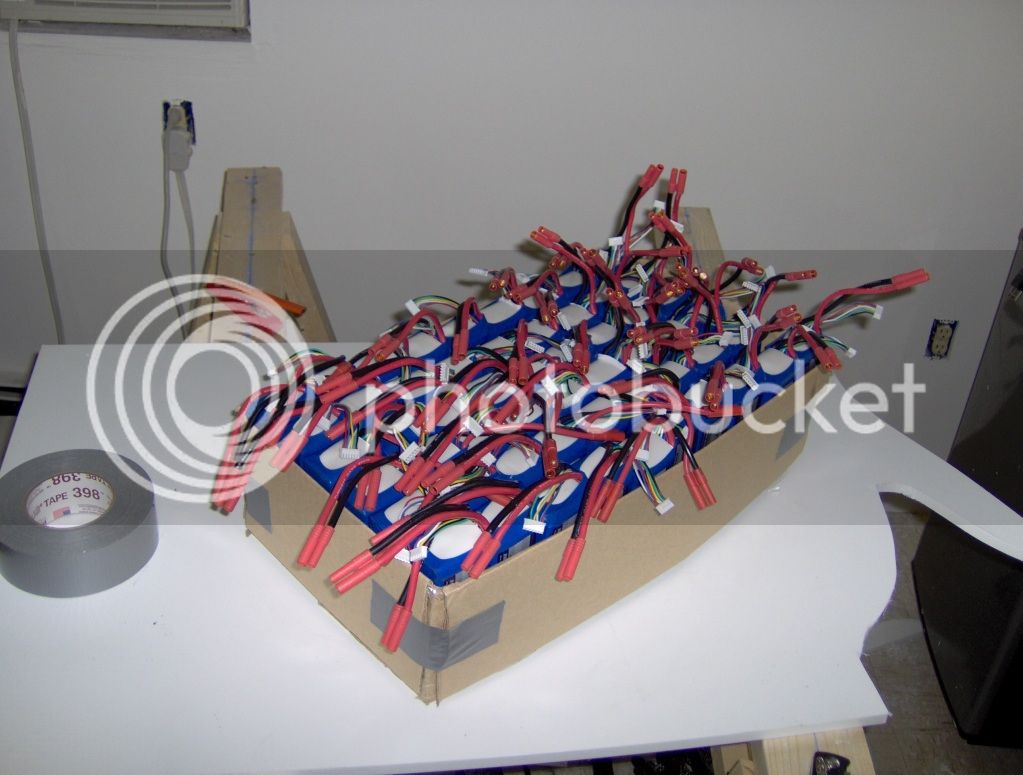
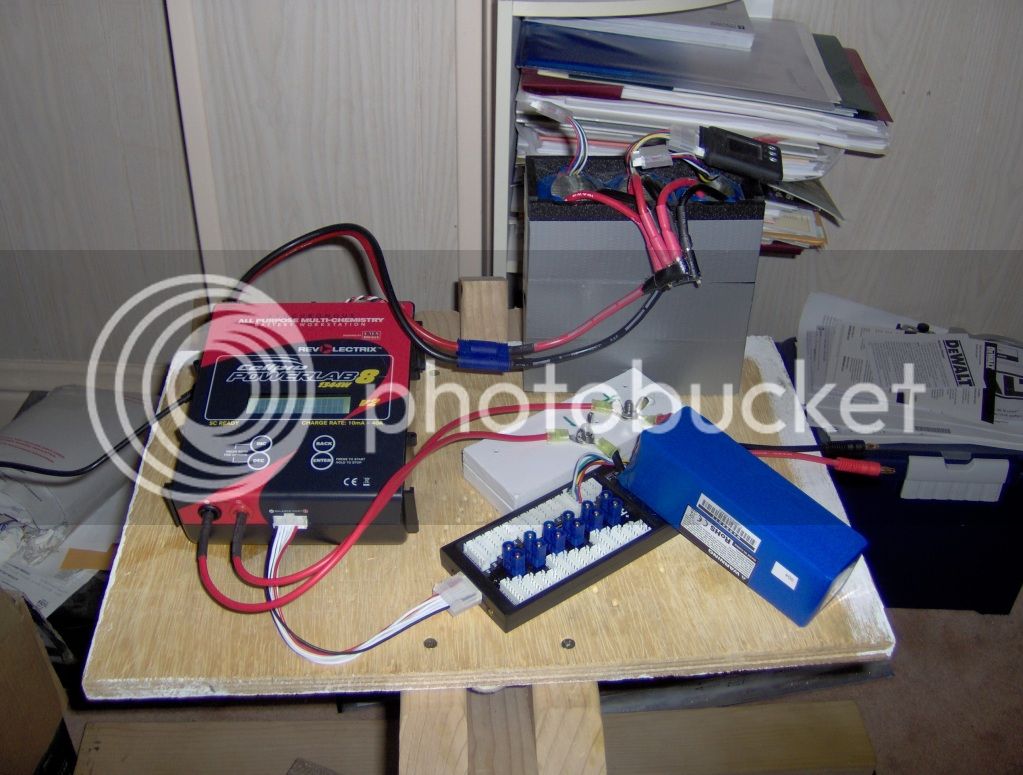
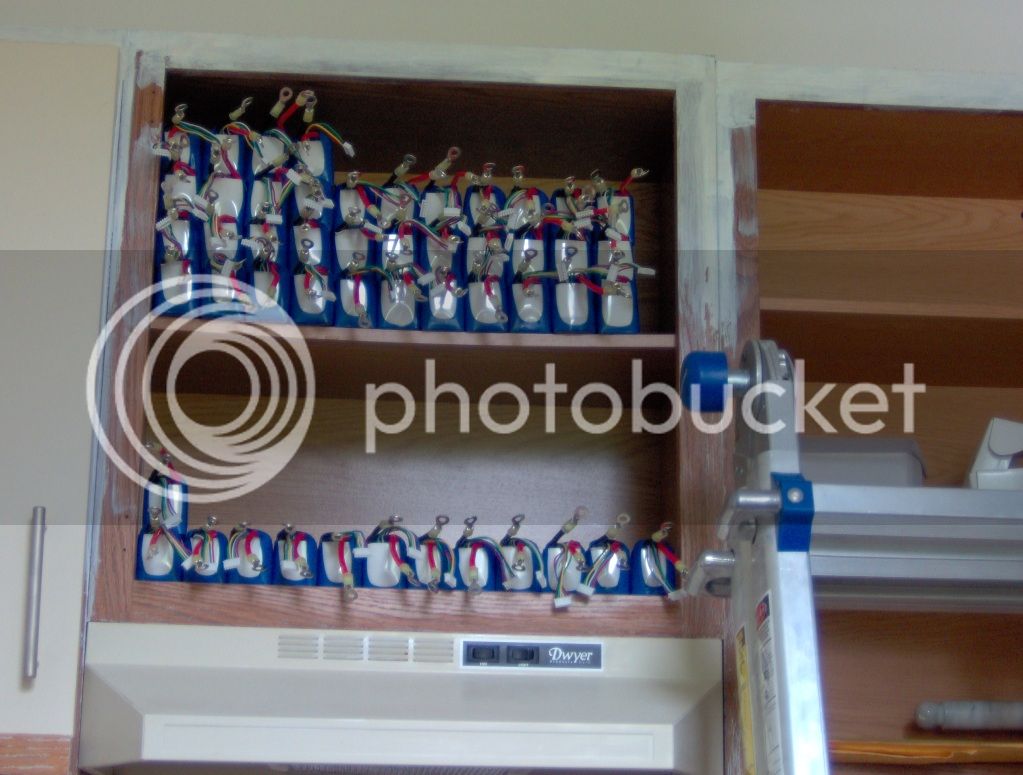
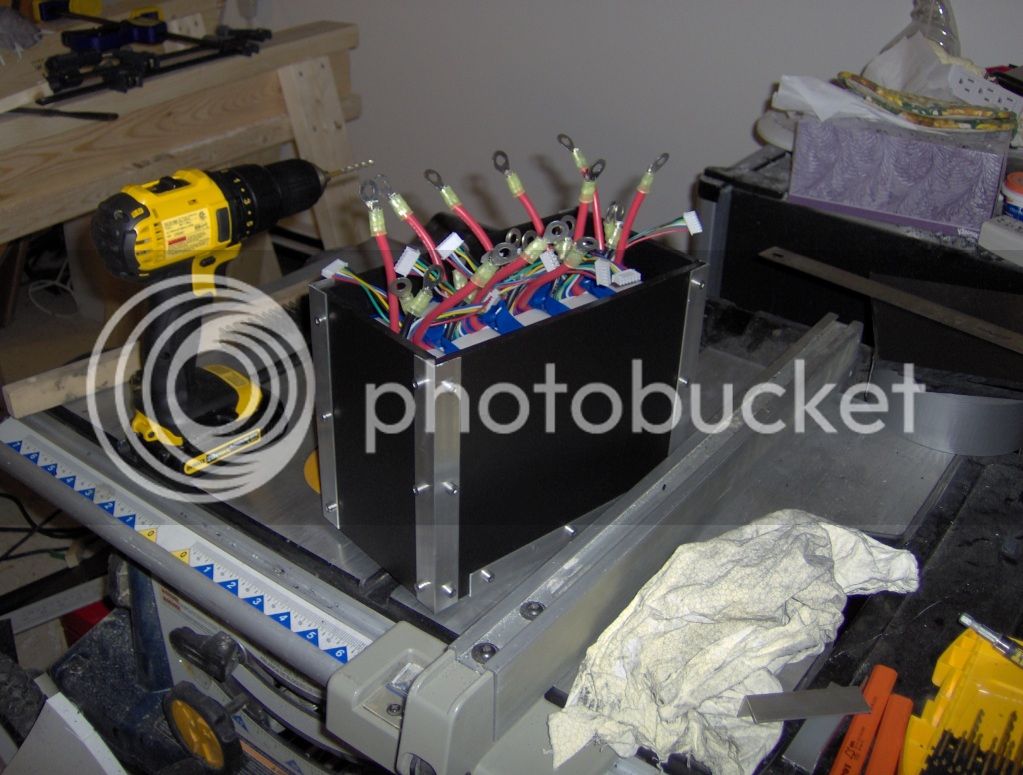
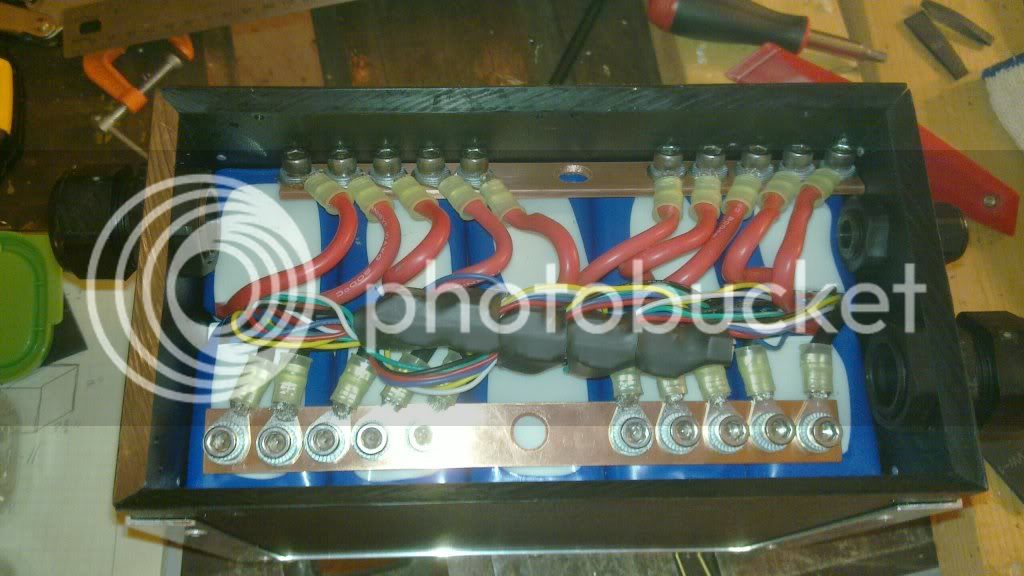
Ok, starting on actually designing the modules (intro here) for a ~11kWh lipo pack I am building for my electric motorcycle conversion. Pack will be 25S and at least 24P (as wide as I can make it, basically), constructed from a crapton of 5S 5Ah Turnigy lipo packs. These packs will be formed into 5 modules, each module being a load of packs in parallel. These 5 modules will then be connected in series to complete the pack. Each module will contain one of methods' LVC/HVC boards, managing the cells in the module.
I'll see what I can put together in sketchup tomorrow, but for the moment a text description will have to do.
Basically what I'm envisioning is 3 rows of packs, with a copper bus bar down each side, and one down between each border. Like so:
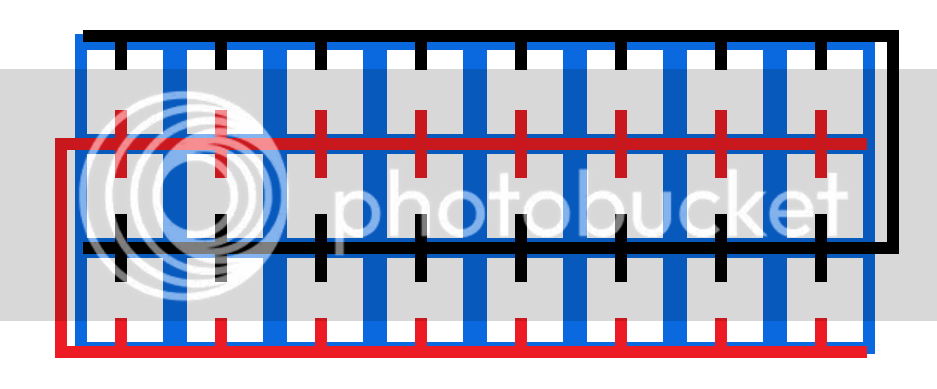
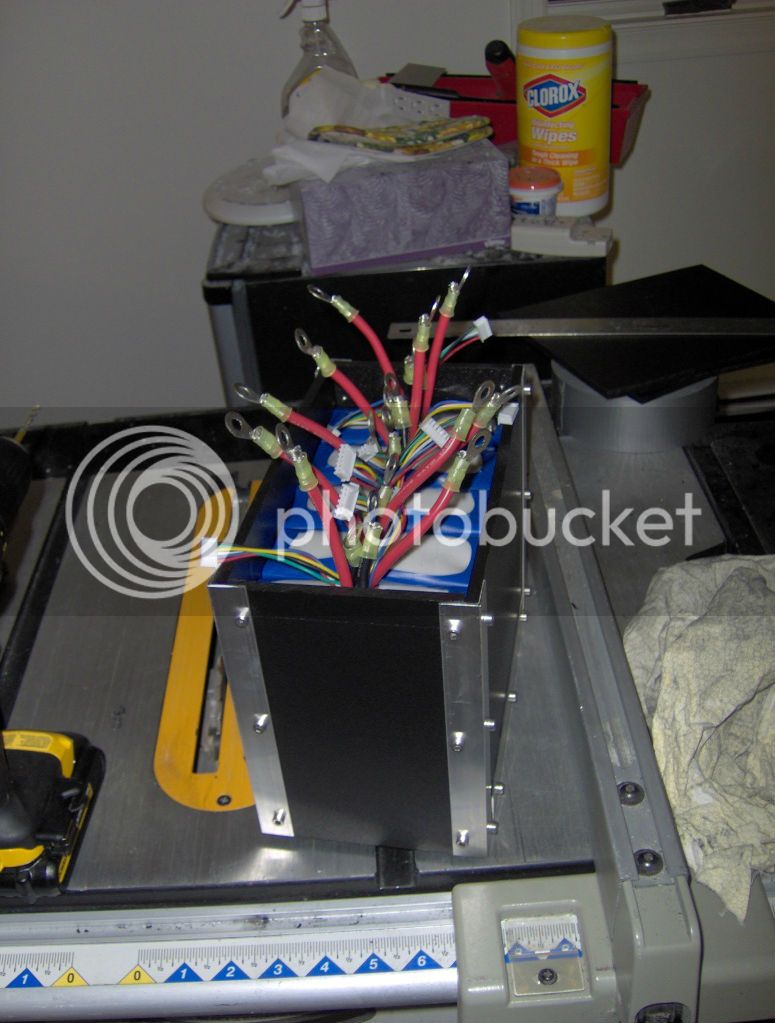
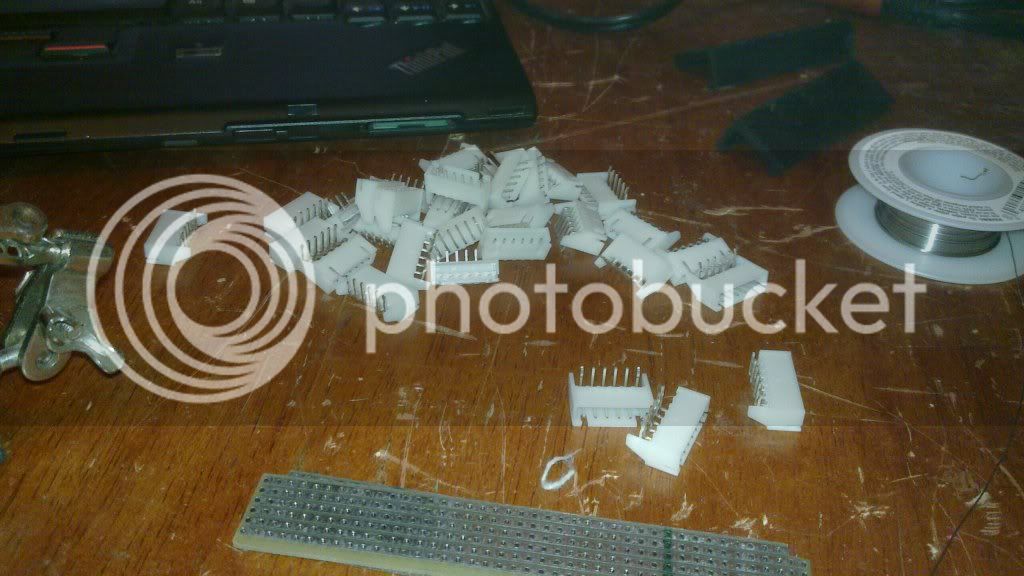
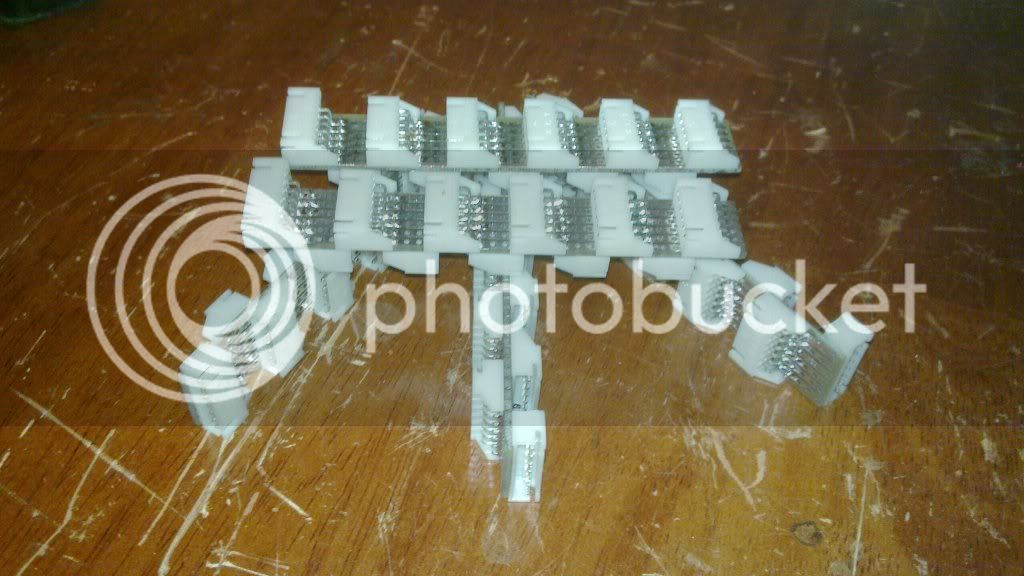
Each pack will be connected to the adjacent bus bars with ring terminals, and the leads shortened as much as possible to minimize the resistance between the pack and the bar. I'm currently thinking 3/16x3/4" copper bar for the bus bars. This should give me a conductor cross-section area of between 3/0 and 4/0, so I'm thinking that should be fine.") Currently thinking 2/0 for the inter-module links.
Currently thinking 2/0 for the inter-module links.
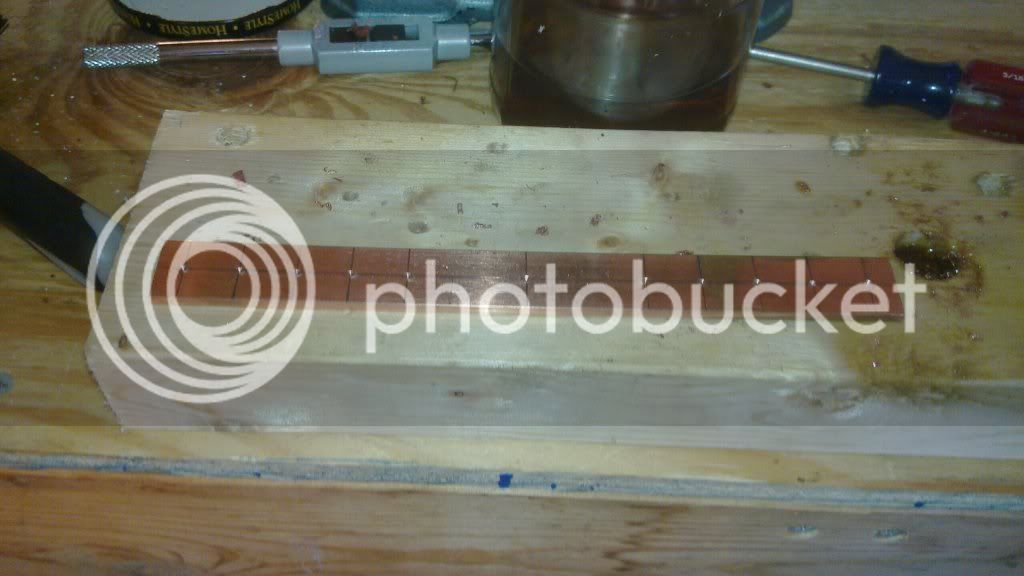
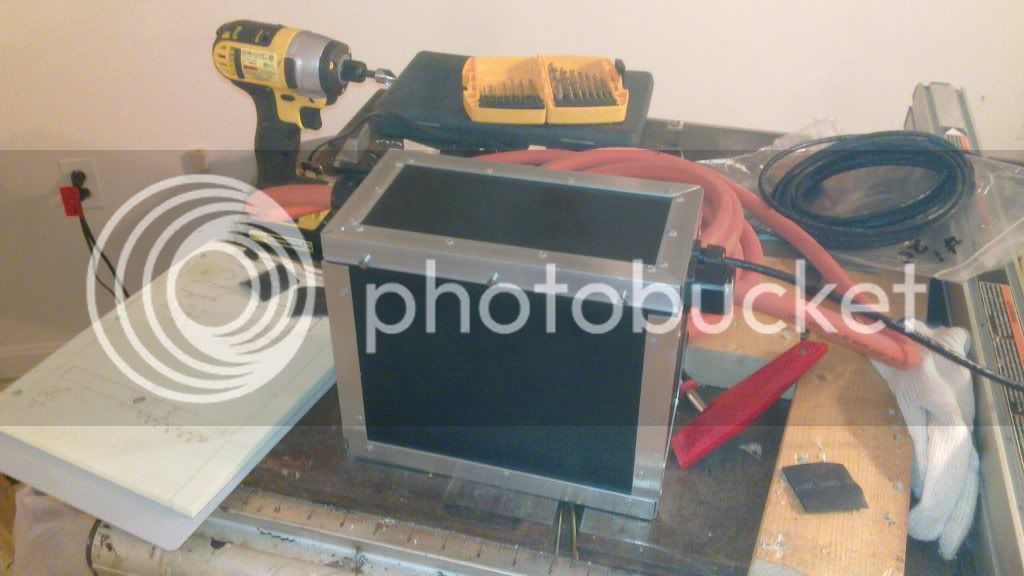
For the shell, I'm thinking some sort of high density plastic, held together with bolts. I ordered some 0.5" HDPE and some M6 socket flat head bolts to experiment with, so we'll see how that goes. In the mean time though, I wanted to put together a cheaper, lighter, easier to modify mock-up to get an idea for what I'm looking at. Enter foam-board.
I found an arts and crafts store near me today and went to pick some up. Found some nice 0.5" stuff for not unreasonably much, so picked up a few sheets of that to work with. Based on my measurements, I came up with this:
(turned out a little short, thus the little bit tacked on the end)
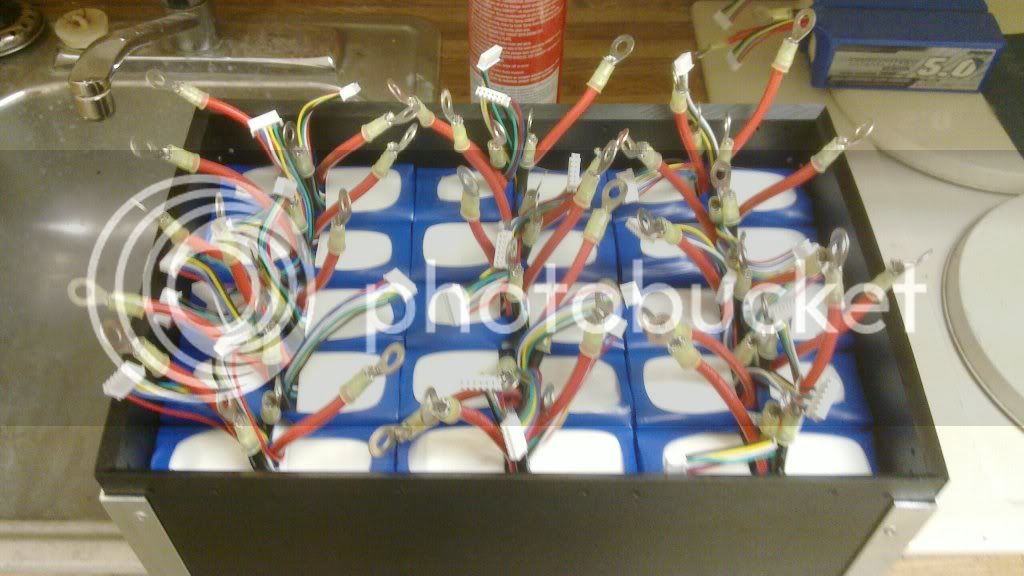
Pack in box:
(yes, I know it looks too wide; box is designed for 5S, that's a 6S)
I'm hoping to be able to cut a bit off the top; gonna pick up some aluminum bar tomorrow the see what I can work out.
Comments/concerns/recommendations/etc are welcome and appreciated.
I'll see what I can put together in sketchup tomorrow, but for the moment a text description will have to do.
Basically what I'm envisioning is 3 rows of packs, with a copper bus bar down each side, and one down between each border. Like so:
Each pack will be connected to the adjacent bus bars with ring terminals, and the leads shortened as much as possible to minimize the resistance between the pack and the bar. I'm currently thinking 3/16x3/4" copper bar for the bus bars. This should give me a conductor cross-section area of between 3/0 and 4/0, so I'm thinking that should be fine.
Currently thinking 2/0 for the inter-module links.For the shell, I'm thinking some sort of high density plastic, held together with bolts. I ordered some 0.5" HDPE and some M6 socket flat head bolts to experiment with, so we'll see how that goes. In the mean time though, I wanted to put together a cheaper, lighter, easier to modify mock-up to get an idea for what I'm looking at. Enter foam-board.
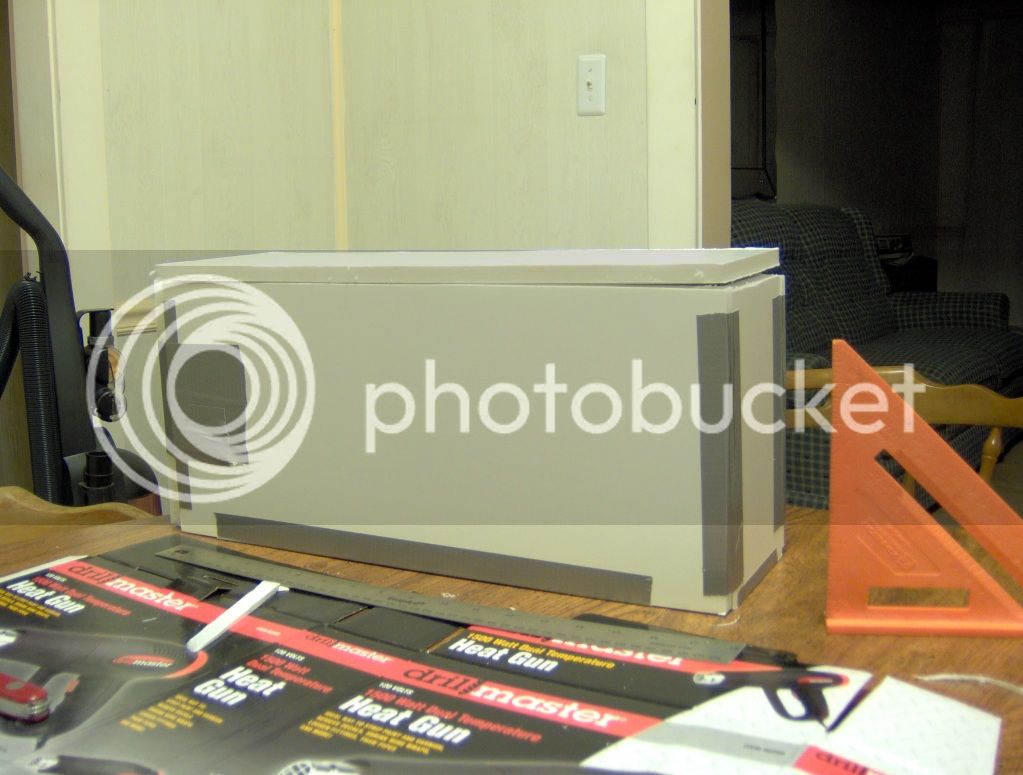
I found an arts and crafts store near me today and went to pick some up. Found some nice 0.5" stuff for not unreasonably much, so picked up a few sheets of that to work with. Based on my measurements, I came up with this:
(turned out a little short, thus the little bit tacked on the end)
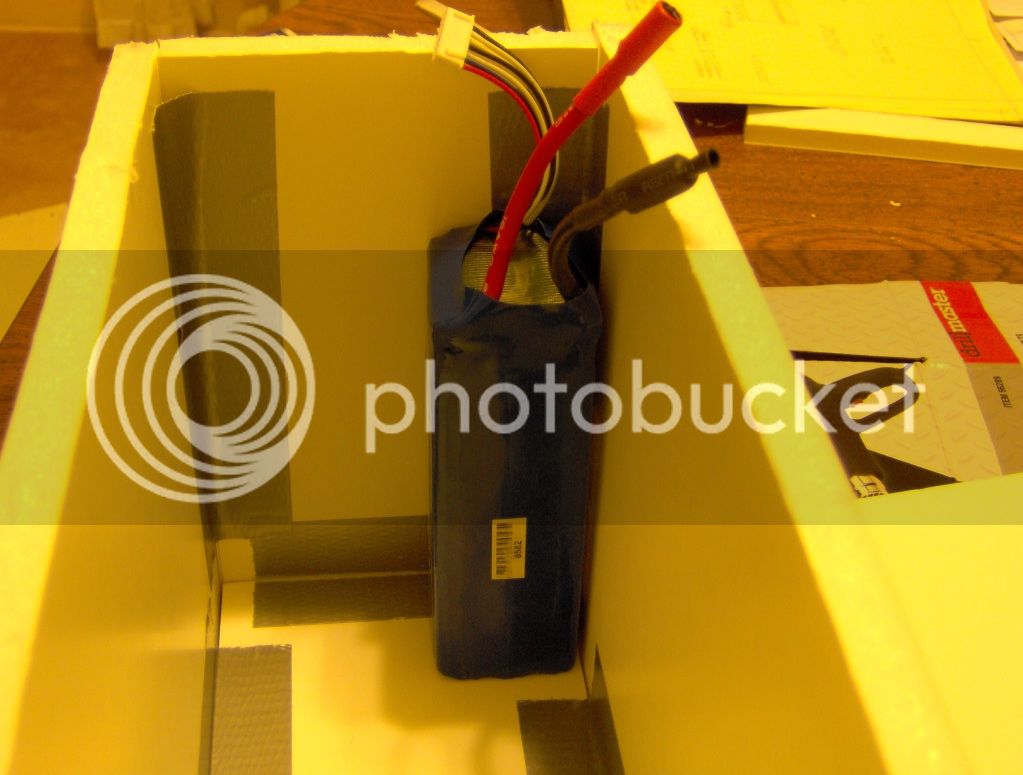
Pack in box:
(yes, I know it looks too wide; box is designed for 5S, that's a 6S)
I'm hoping to be able to cut a bit off the top; gonna pick up some aluminum bar tomorrow the see what I can work out.
Comments/concerns/recommendations/etc are welcome and appreciated.