LR specialized sx trail build

Nacent

10 mW
Joined
May 1, 2014
Messages
34
Component list:
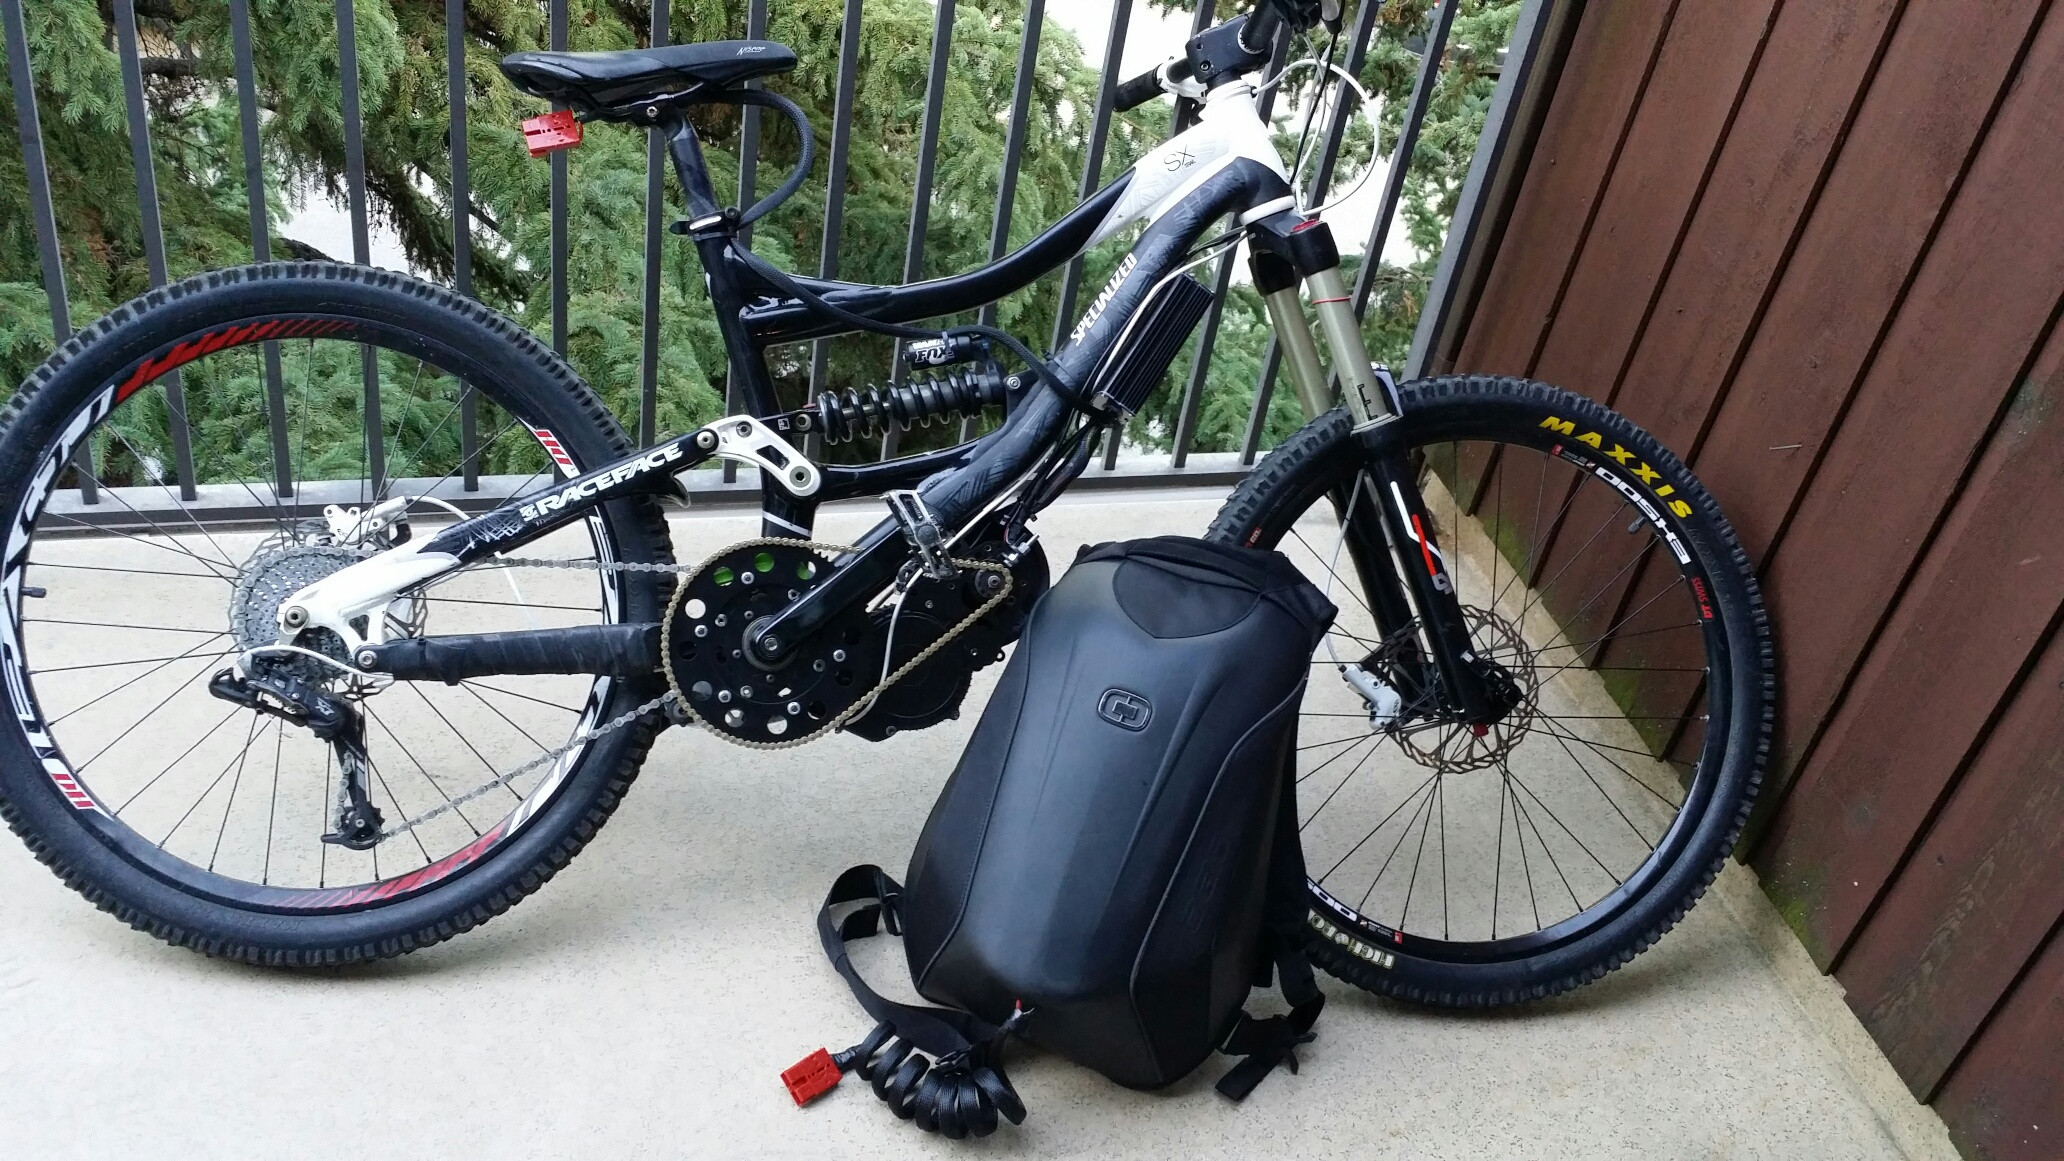
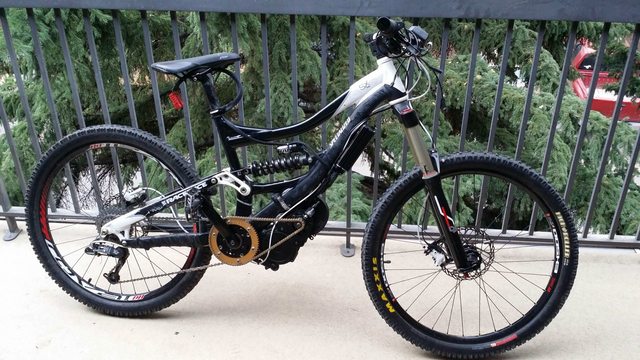
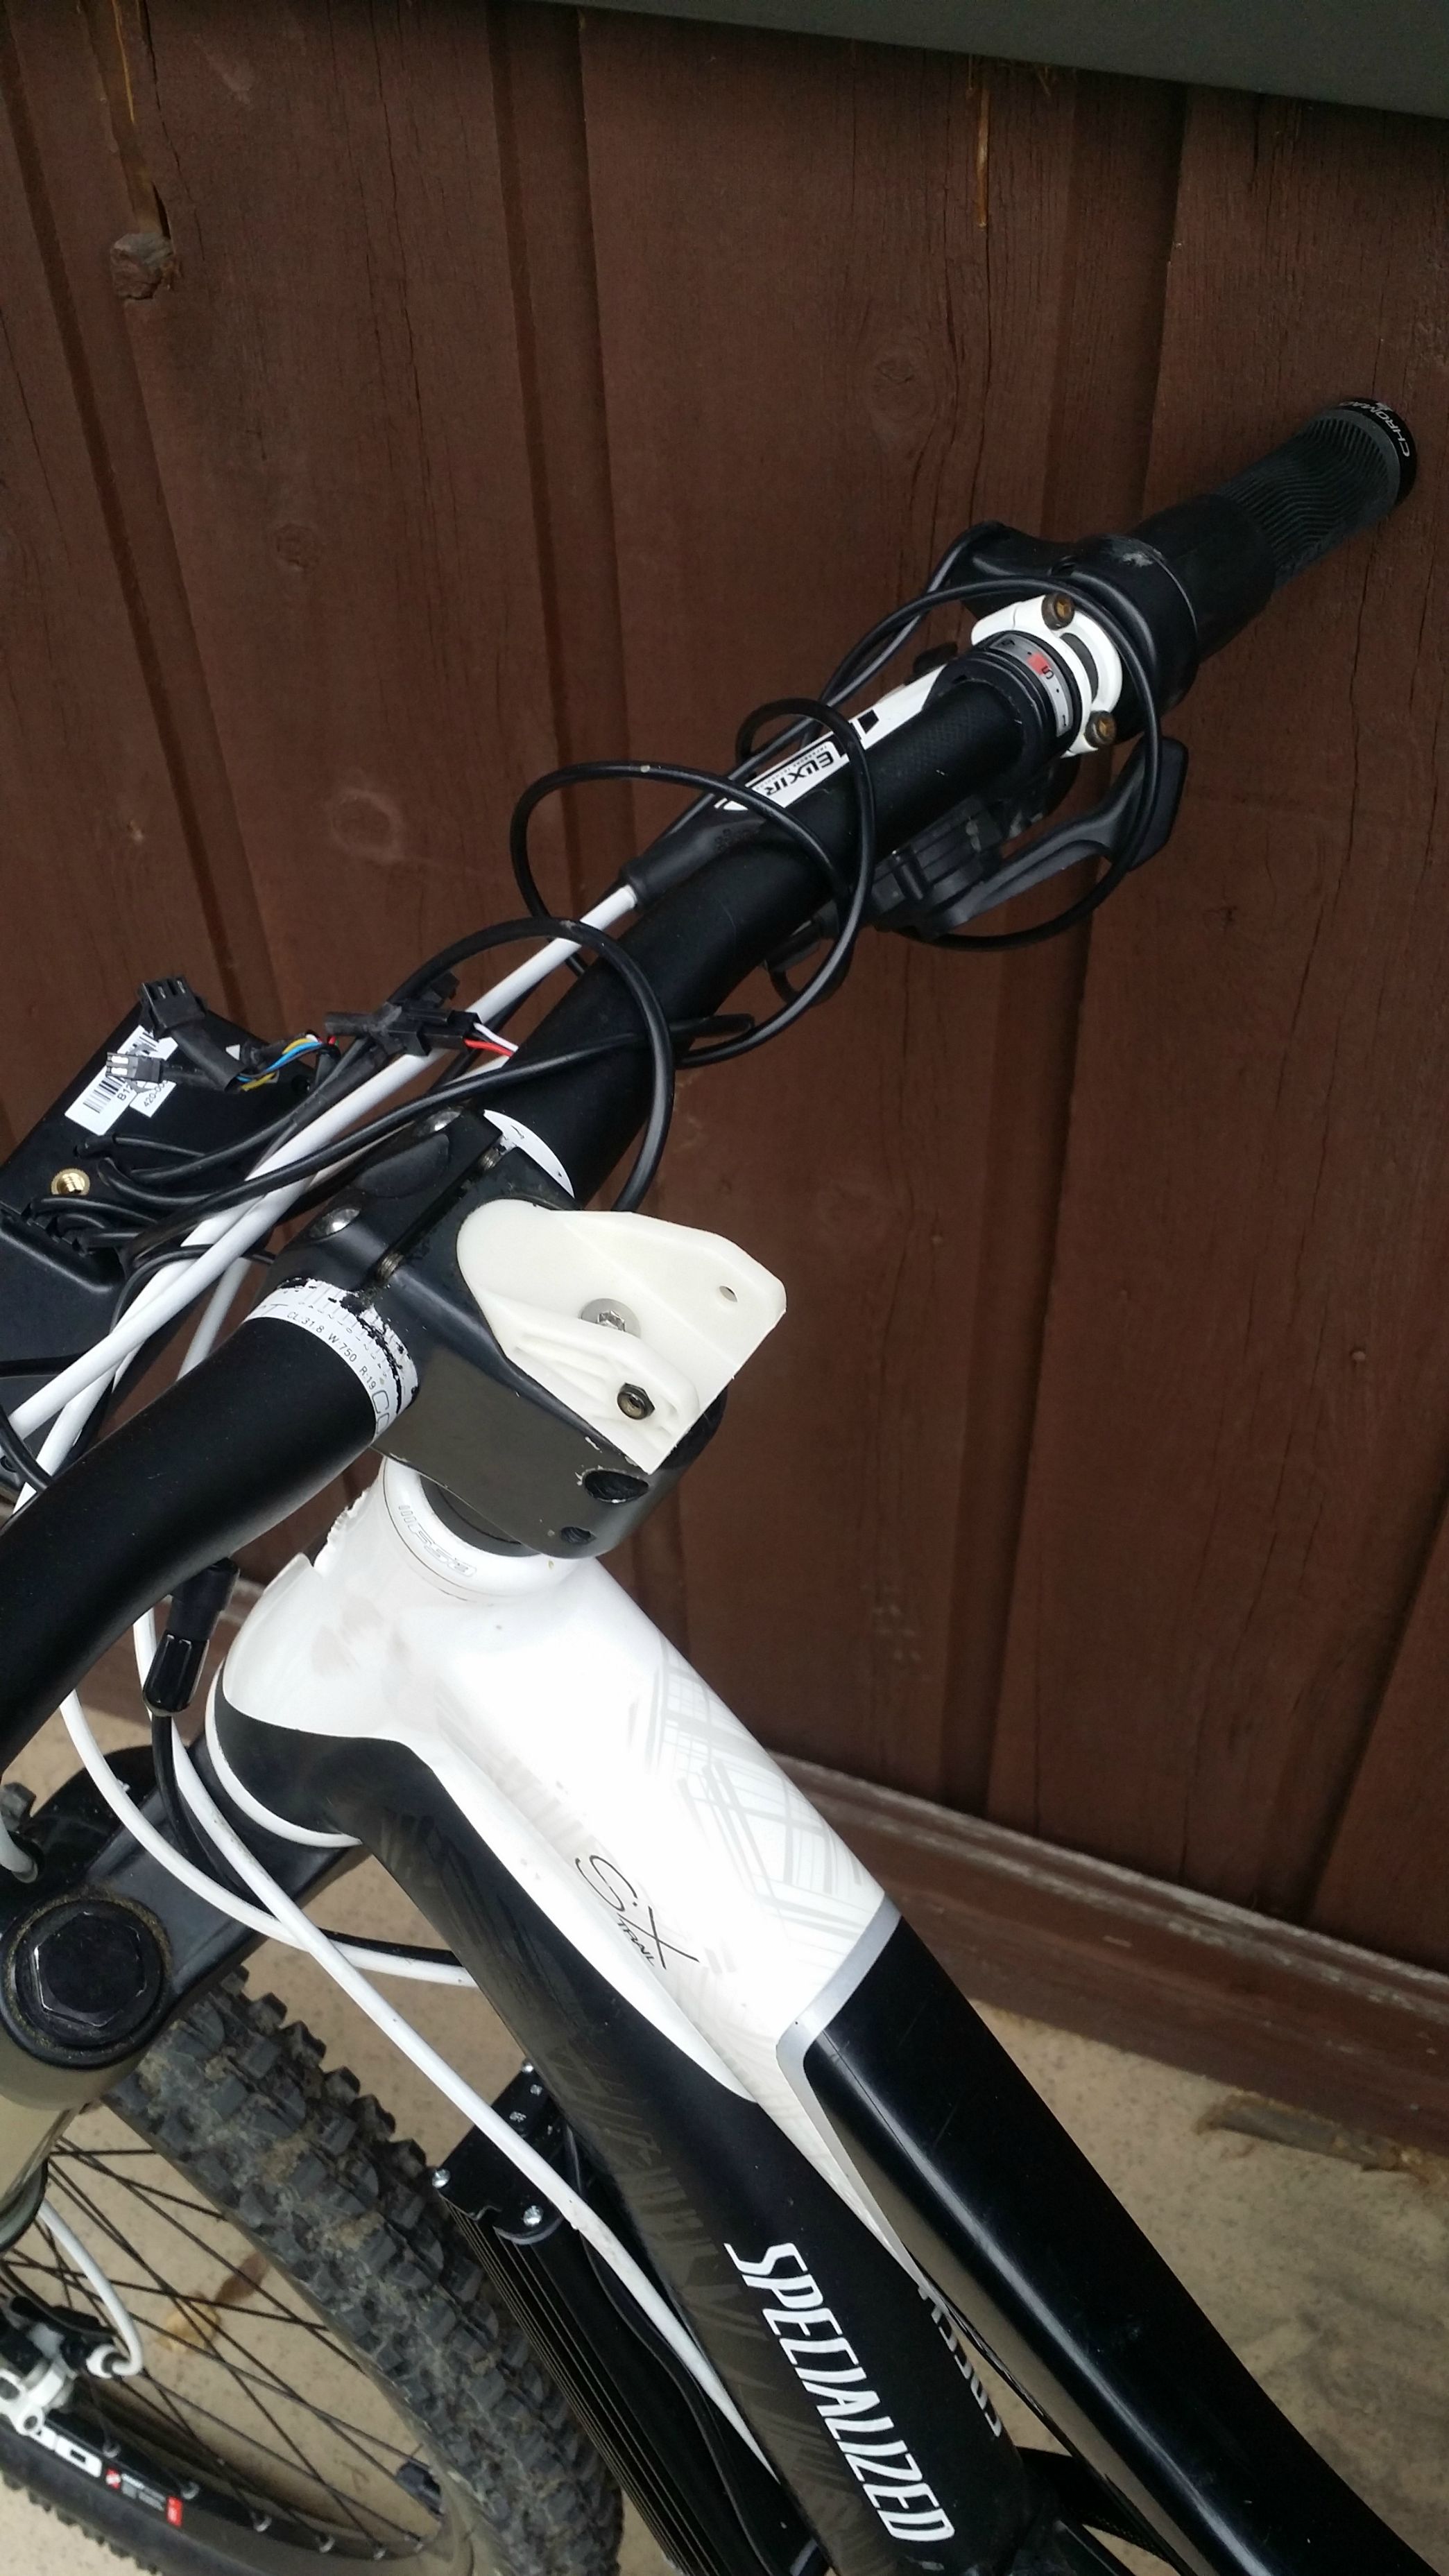
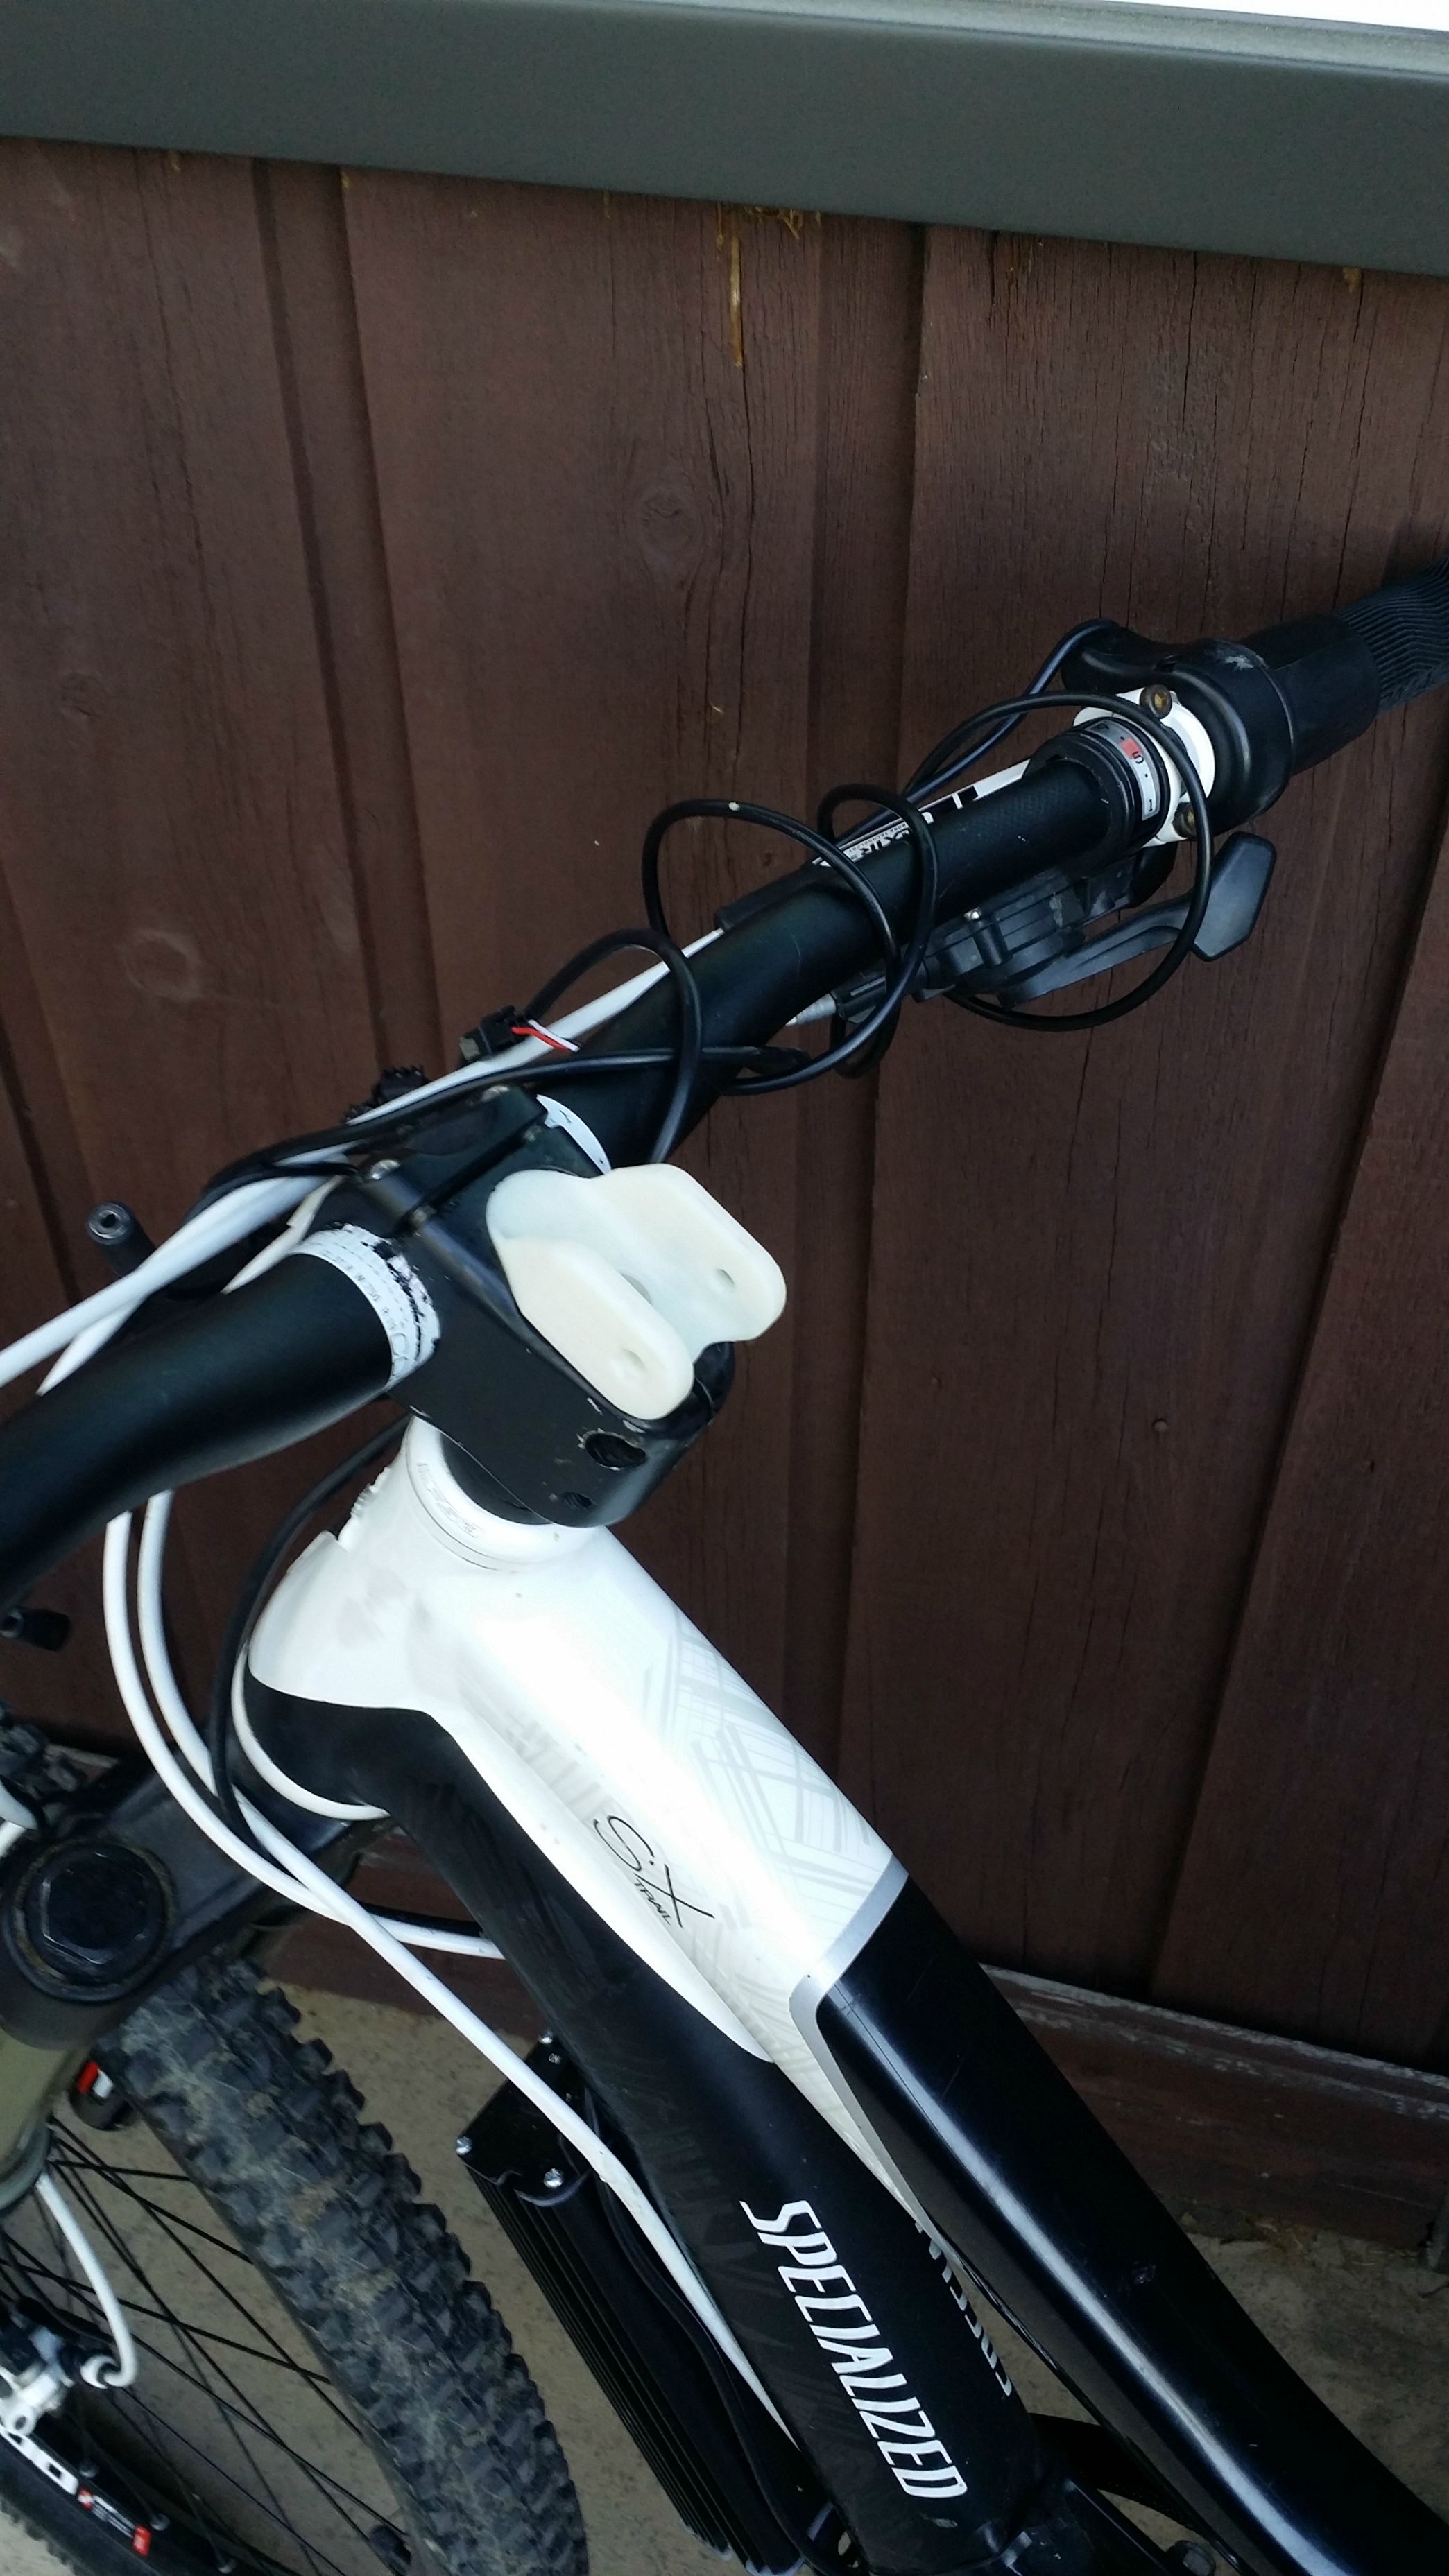
2012 Specialized SX trail
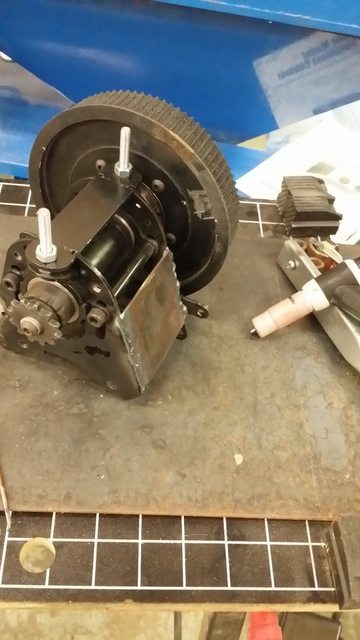
Lighting rods mid drive kit
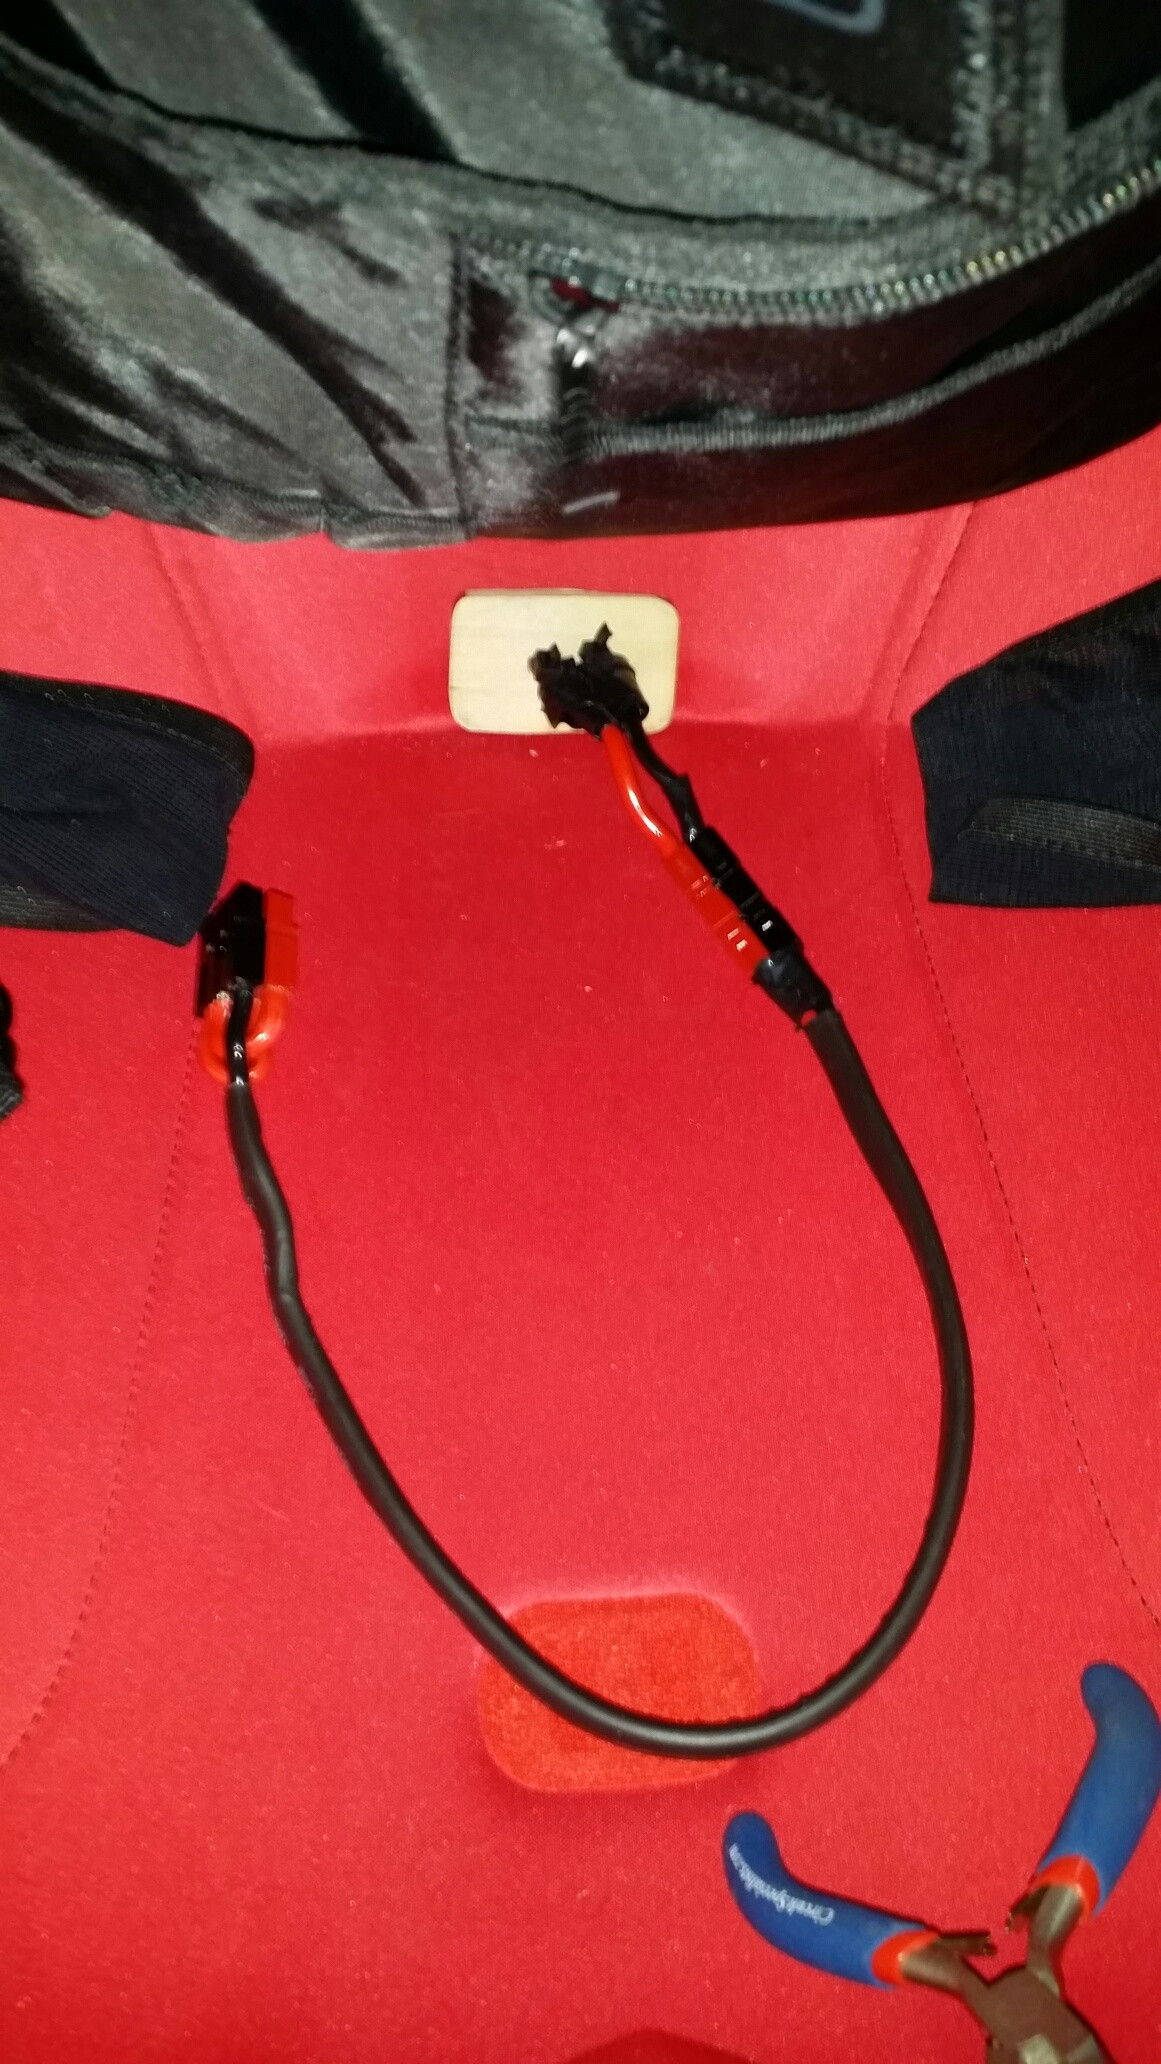
Power Pole connectors
10 Ga wire
ebikes.ca: controller, throttle,CA-DP plugs, and Cycle Analyst
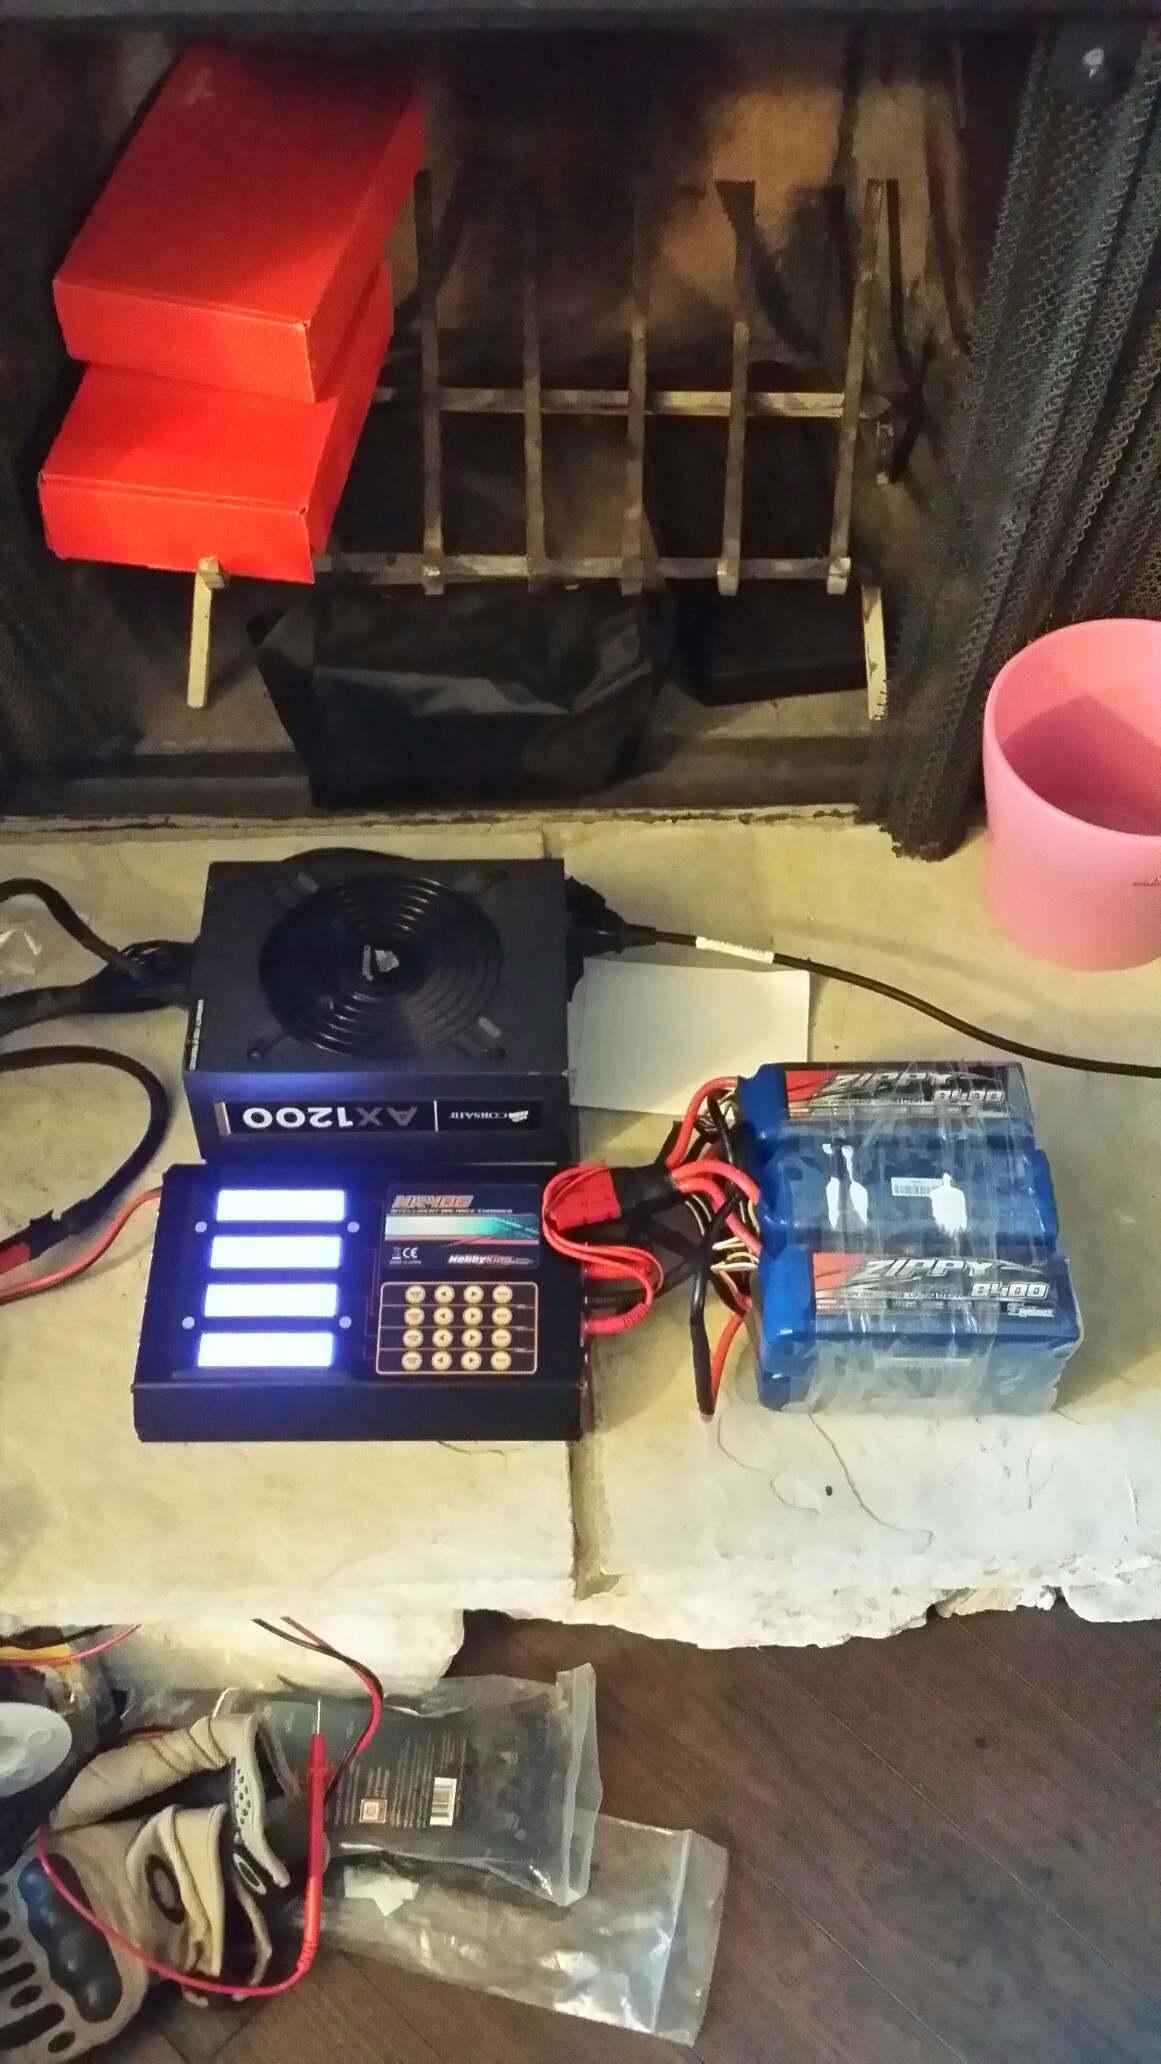
Hobbyking: Batteries, 6 8400mAh 3S2P 30C LiFePo4 + charger
Total cost:$3700 including the bike


Here are some pictures of my progress.
http://i.imgur.com/KQd2tzIl.jpg[/i
mg]
[img]http://i.imgur.com/4dYyLUGl.jpg

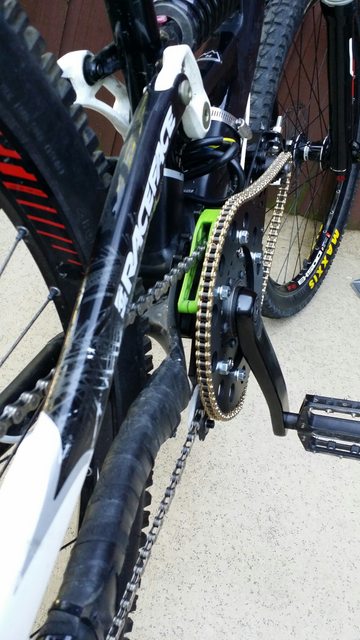
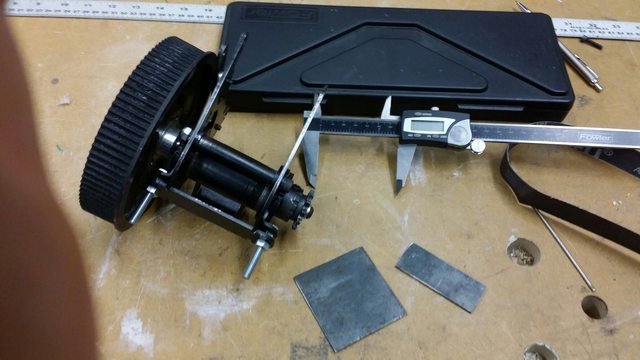
Had to slightly modify the the bottom bracket, ground about 6 mm off the outer diameter to clear the lower suspension mounting point. Otherwise the 73mm kit fits quite well I just need a chain breaker because the 219 chain has a few to many links even at full adjustment.
 
Looking good!
 
yLmANUEl.jpg

A2NKYiYl.jpg


Have all the major mechanical components set up time to start on the wiring. The modified chain guide fits and works well un-powered. Still waiting on a 219 chain breaker.
 
xYrkRZT.jpg

rLlDq9a.jpg


Wiring is all done just need to finish the mount for my cycle analyst and connect it to my motor controller.
 
Some pics of my backpack battery setup
p14leVd.jpg

GE3e93h.jpg

yYl6u7D.jpg


The battery is 6 3s2p 8400mah liFe cells run in series for 60v it comes out to about 500 w/hr, I hard wired them as three 6 cell batteries with 3 balance plugs so i can balance charge the whole pack at once.The backpack is a ogio mach 3 and is rigid and will protect the batteries in the event of a fall it has a pouch that the batteries can be strapped into. The six pin Anderson plug is what completes the series circuit when unplugged the pack is 3 separate 6 cell batteries.
I'm likely going to switch to a 25R pack from em3ev when i get enough money together.
 
great bike ! newb question here, i'm building my first ebike and planning to put the battery in a backpack in a nice way...where can i get this kind of wire ?

001.jpg

thanks !

chris
 
Its just regular wire first i put heat shrink over the wire wrapped it around a broom stick then hit it with a heat gun this makes it stay in the coiled form.
then i got woven wire loom (http://www.cabletiesandmore.ca/ExpandableSleeving.php) and put it over the heat shrink and fixed it on either end with some tape or more heat shrink.
 
That was pretty neat what you did with wire. I have backpack battery also. I will look into that. I'm also looking to get 25r pack from em3ev. Should be here soon. Nice work!
 
Switched to a 65 tooth 219 sprocket from an 85 tooth because the power from this thing was eating the 10 tooth sprocket on my derailor the 14 tooth seemed to be handling the power alright, So it is now my highest gear. I have a bit higher top speed With this gearing and the i like the smaller sprocket makes the lower gears a bit more useful.
ohfDpMul.jpg

I was noticing some twisting in my upper sheets so i boxed in the upper sheets to prevent the twisting it has made the assembly significantly stronger and it only took 1.5 hours to complete using only a hacksaw and a tig.
izjiFckl.jpg

Frg5tfNl.jpg
 
I can reach about 55 km/hr which is perfect on a mountain bike and i bought a different chain ring (65T) off ebay it came gold anodized
 
Nacent said:
I can reach about 55 km/hr which is perfect on a mountain bike and i bought a different chain ring (65T) off ebay it came gold anodized

I see
are those chainrings standard fit?
 
Yeah they have a standard bolt pattern the smallest size you can get with that bolt pattern is the 65T it seems, there fairly cheap as well about $15
 
you mean woven wire loom? if so i used the 3/4" stuff i am using 10 ga wire with the heat shrink over it it had a cross section of about 1/2" the 3/4" stuff collapsed down on to it pretty nicely keeps the weave really tight. If your trying to make the coiled wire i would suggest using doing 2 or three layers of heat shrink over the wire to make the coil more resilient too stretching. Do it in steps put the heat shrink over wrap it around something that's a good diameter and shrink it with a heat gun then repeat the process with the next layer then cut two short sections of heat shrink put the wire loom over pull it tight put the two ends under the shorter bits of heat shrink and shrink them and it keeps the wire loom from moving put your connectors on and its good to go.
 
I used 45 amp black and red power-poles for my motor and battery interconnects and a 50amp SB series connector for my backpack connection.
 
45amp APP on your phase wires too? Sorry for this newb Qs but I saw you cut all the wire connectors of your phase and hall. Thanks
 
3d printed a mounting bracket for my cycle analyst
GF1o2CO.jpg

eS2pyU2b.jpg

Initial print to make sure i had all the dimensions right and to test the strength of the print.
LbWHiRs.jpg
 
The design i used is pretty specific to that head stock i could simplify it a bit so it just replaces a conventional sized top cap and slides into the steerer tube maybe add a few points for mounting the CA to make it a bit more modular. If anyone wants one PM me and we can probably work something out.
 
Back
Top