
alpharalpha
100 W
My pack weighs 23 lbs plus I've got 2 panniers attached to the stock trek rack. My concern is that there are just 2 small stainless steel bolts holding the rack up. Any suggestions on stronger rear racks?
DAND214 said:My Wilderness was stee, not axle but fender, Strong but too much waggin it's tail.
What are you running that's 23v at 36v SLA?
Dan

Here's one, http://www.blackburndesign.com/racks/se ... S0Gq2d0zY8 And another.
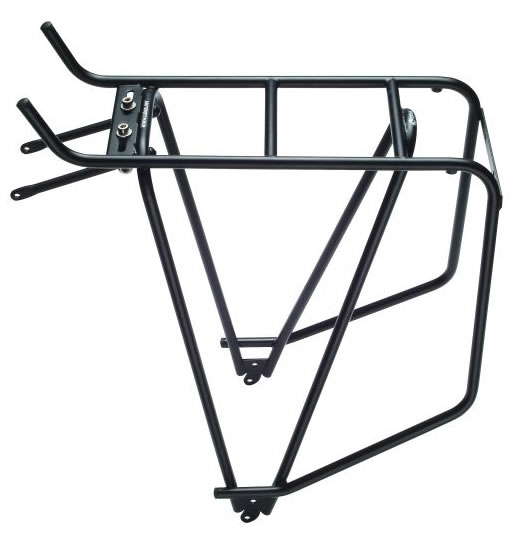
Those are no Ortlieb bags and that's no Tubus rack. I certainly wouldn't pay $125 for that setup.striider said:Just spotted this on CL - look like a decent setup worth picking up to you guys?
http://denver.craigslist.org/bop/4970184623.html
 My 12 prismatic cells in a pack are either 12x10x7 or 16x7x7 either of which this box can handle being 16 x 10 x 9 And for an easy strengthening of my existing rack I was thinking like
 but instead of welding just using something like this
 The pack would weigh around 30 lbs.