
Promodbike
100 µW
- Joined
- May 7, 2014
- Messages
- 9
Keep up the good work ! Greetings from Augsburg/Germany

Wheazel said:Great build! There has been some discussion about aluminum properties already in the thread and I have some more querstions on this topic.
First of all what thickness aluminum do you consider weldable? Ive welded quite some 0,7mm steel in my days, built various boxes.
Could this be done with say 2mm aluminum, or is it too hard for a reasonably experienced welder?
Will you be heattreating the frame?

denso said:Awesome build! Should be solid enough. Gussets between top tube and down tube still to come?
DankeByte said:Sehr schön!
Wheazel said:Looking good! What is your thoughtprocess about the frame tubing material?
Reasons for the specific size and shape?
it's awesome to drive but its not designed to be an electric bike..:/skeetab5780 said:Ya it looks solid as a rock but heavy. I like the look of aluminum though sweet design!
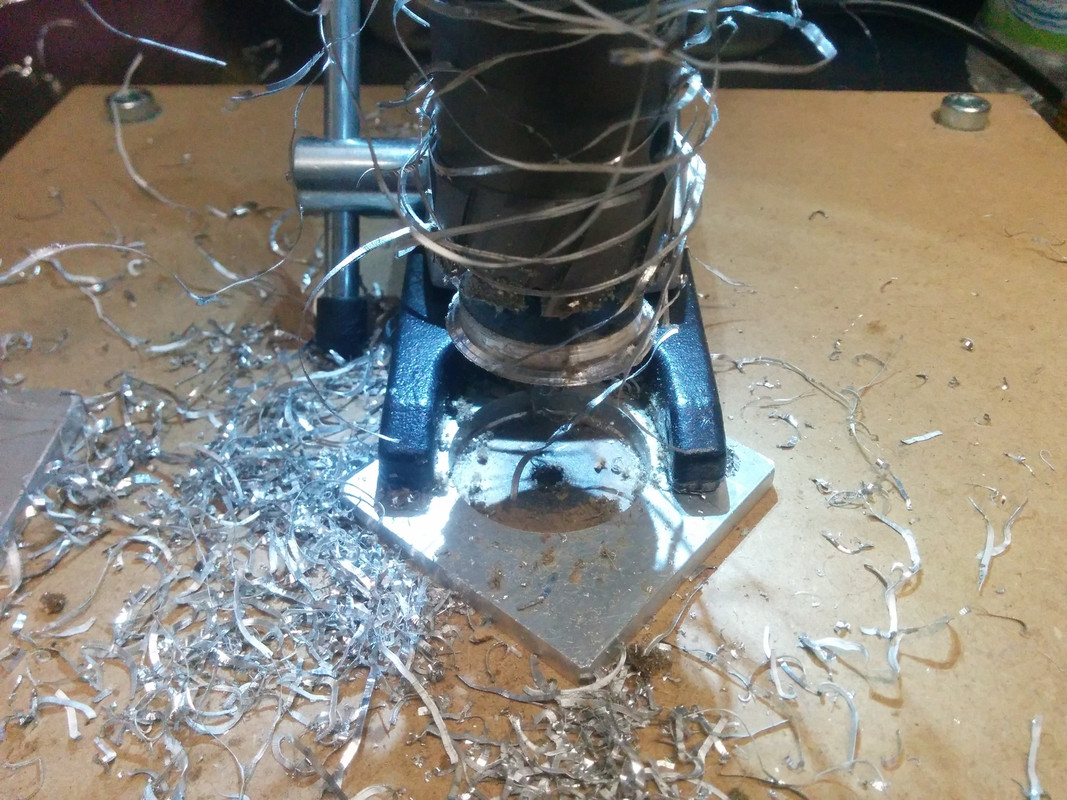
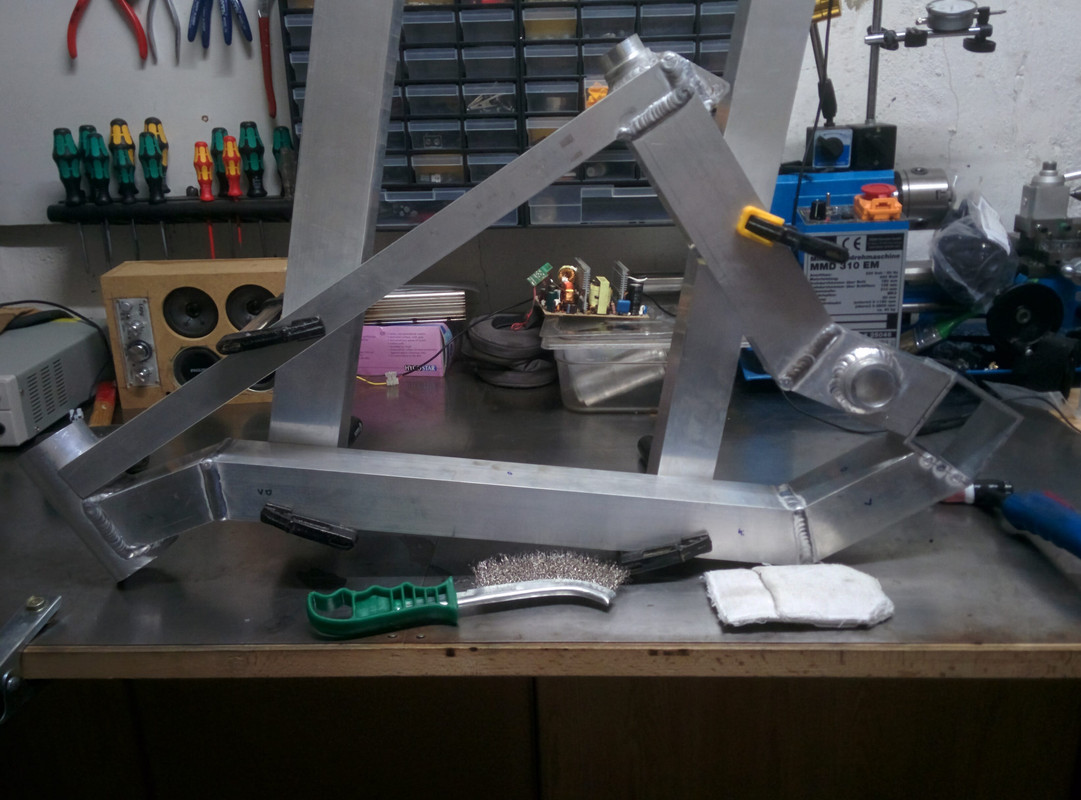
recumpence said:One thing you might want to consider is using a wood router to slightly round the endges of the aluminum. This gives a much softer look to the frame and reduces the chance of receiving a sharp bruise while riding. I am building a frame with square tube and I rounded the edges with a router. It looks really good with ruined edge tubing. A normal carbide router bit works wonders.
Matt
Jordan.1 said:Because I'm using 6060 series aluminium, I will have to heat treat it afterwards.
I'm still looking for someone with a 500° Celsius oven for 20 minutes
Samd said:You really don't need to t6 the frames man.
Samd said:Nice work. Very similar to many DH Comp builds here, but with a single swingarm.
You'll find a lot of custom aluminium frames if you search a few years back. And maybe some tips on aluminium as a material.
recumpence said:Jordan,
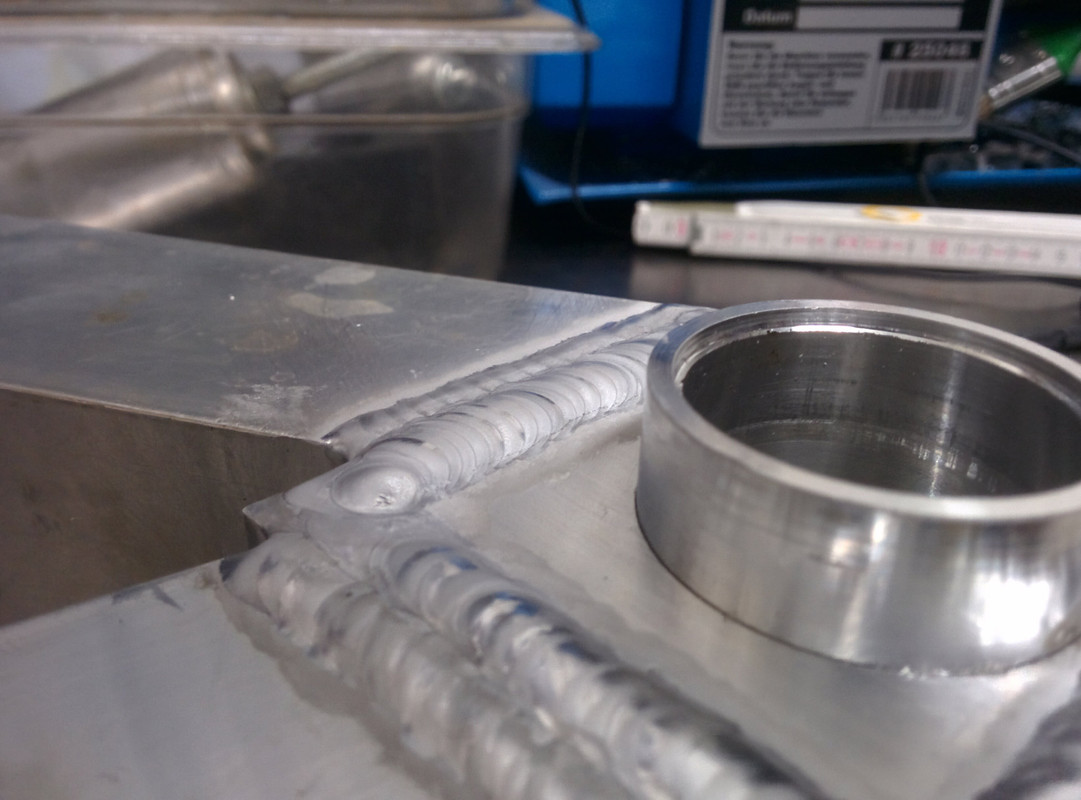
I want to thank you for the tip on TIG welding aluminum. I, too, was welding with relatively low amperage. I took your advice and upped the amperage. I was welding 6061 (3mm thick) to 6mm shock mount plates. Innitially I was using 100 amps (240 volts) on my Miller Diversion 180. It took alot of time to preheat the material into a decent puddle, and the weld was not very consistant. Now I am hitting it with 160 amps to start and backing down to around 100 amps using the pedal once I have a good puddle going. This is much better! I have also found my Argon useage has dropped because I am not preheating with the arc for such a long time.
I am a great fabricator, but I am a self taught welder. Any advice from a more experienced welder helps me tremendously.
Thanks again.
Matt
I'm even planning building something like a slider with four "wheels" aka bearings just to rest my arm on it and still being able to do a proper slide. I think its quite hard to weld for longer time periods because you always have to hold the torch steady, and without a support, at least I, start to get shaky hands. Sure, this will be a nice to have, helping tool. LI-ghtcycle said:Great build! Keep us posted!
macribs said:Jordan.1 said:Because I'm using 6060 series aluminium, I will have to heat treat it afterwards.
I'm still looking for someone with a 500° Celsius oven for 20 minutes
You can make an easy and cheap oven yourself using building blocks / cinder blocks /bricks or even mdf sheets stone wool and metal siding.
Get one of the cheap but reliable PID's from ebay to control the inside temperature of your oven and use 1 or more water heating (coffee pot) elements.
If you got some materials laying around you can make your own oven in one day. Total cost of PID and heating elements less then 50$.
Then you can use the same oven for powder coating as well as heat treatment. Rent it out when not in use to other DIY'ers and even make a profit.
). After that, I wont have any more fear because of stability. Samd said:You really don't need to t6 the frames man.
Sent from my iPhone using Tapatalk
recumpence said:Samd said:You really don't need to t6 the frames man.
I agree......
recumpence said:The issue for these projects is typically being able to repair or add something to the frame later on. That is tight to do after treating. Also, weight is not an issue for an ebike. So most of us just over build and deal with the added weight.

Jordan.1 said:Wow.. there seems to be a huge lack of knowlegde here. As I'm studying mechanical engineering, I've learned a lot about materials engineering aswell.
Samd said:Jordan.1 said:Wow.. there seems to be a huge lack of knowlegde here. As I'm studying mechanical engineering, I've learned a lot about materials engineering aswell.
I'm a degree qualified B.Eng (Mech/Elec) kid. I am the frame maker that the goto guys go to. I've exported frames from Australia to Saudi Arabia, UK, California, Canada, Costa Rica and Sweden. I've put more bandsaws through $5k bikes than you've owned cars.
I appreciate where you are coming from, but really cmon.
Also, your falling/rising rate on the rear swingarm won't work.
Sam.
--freeride-- said:Nice Work!
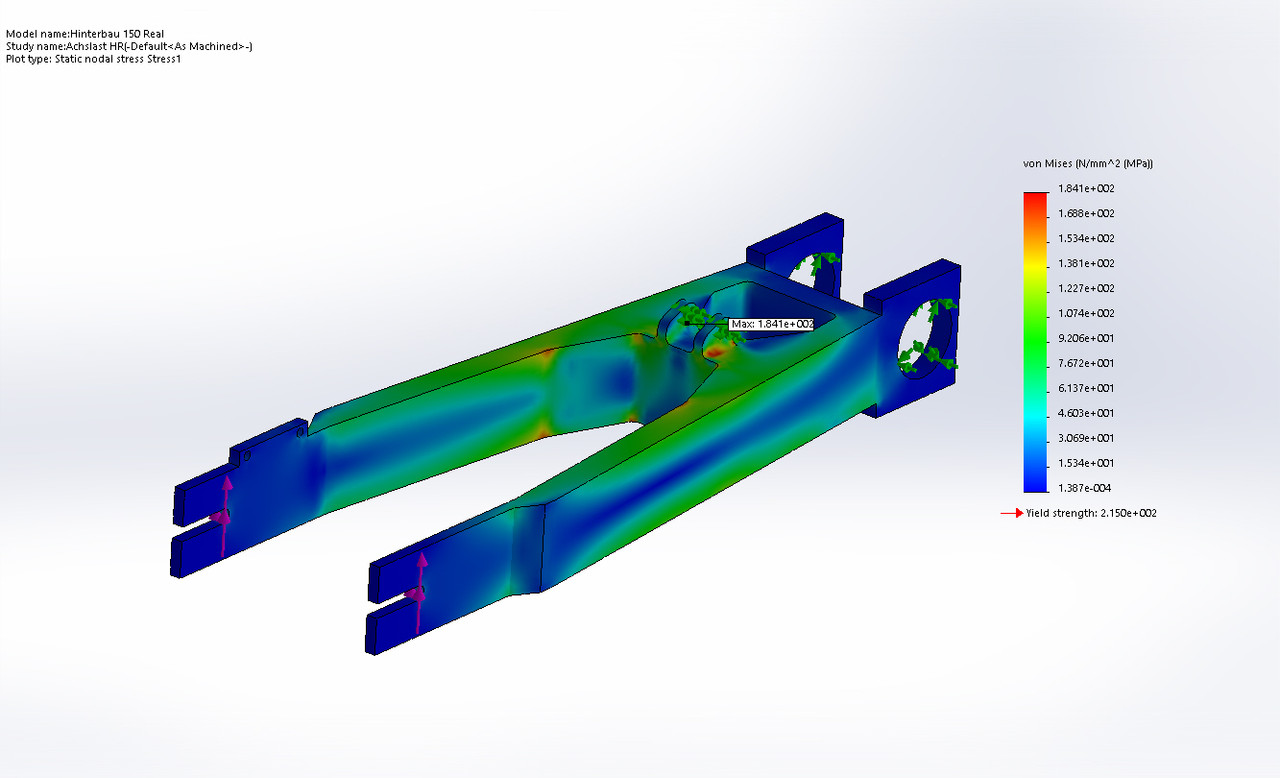
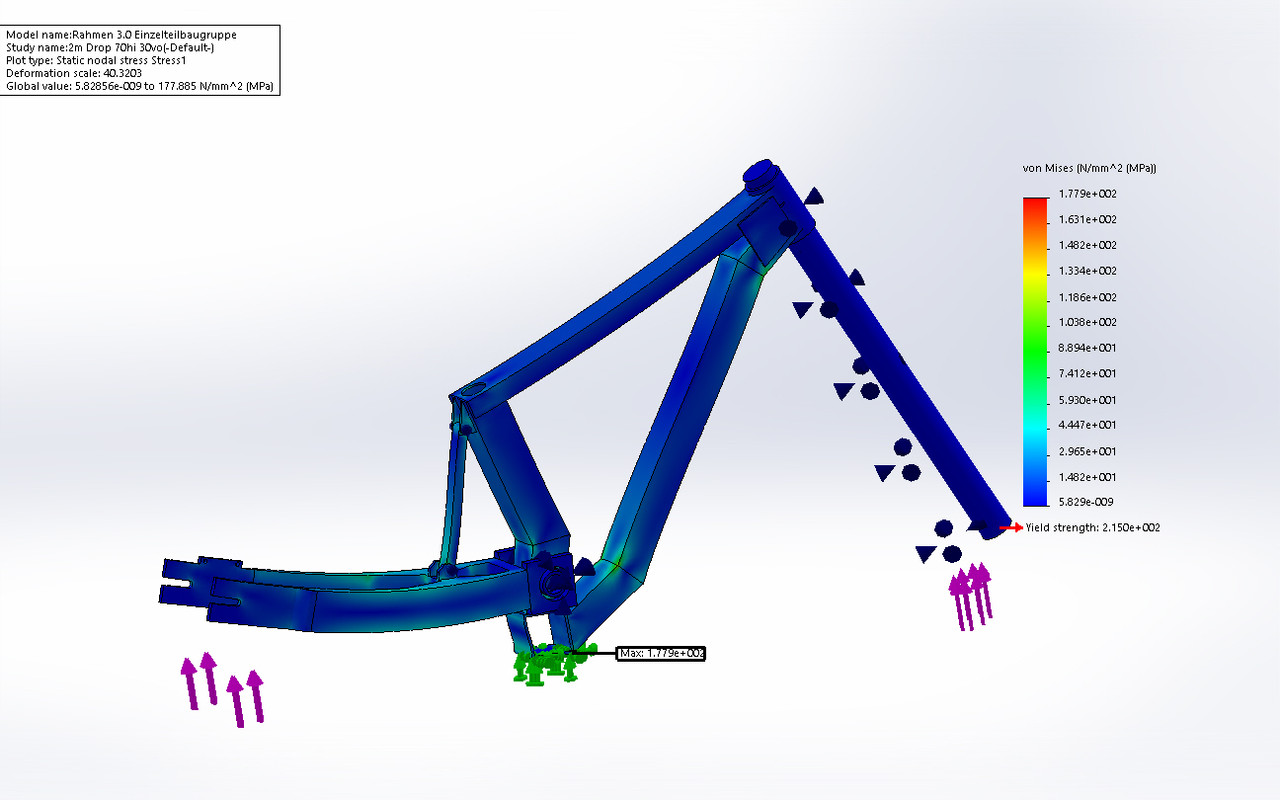
Are you using Solidworks?
For the frame hard braking at the front should be a tough job too.