Dear Friends,
We've received many questions recently regarding the external on/off button (or a key switch) implementation for our controller.
Firstly, for those ordering the controllers now - we can include this option upon request.
Secondly, if you already got the controller - you could always send it to us and we will install the cable for button integration at reasonable price (no more than 20 USD). Return shipping is always on us.
Thirdly, if you got the controller and are not ready to wait for the shipping period we have worked out the following simple guide on how to do it yourself.
PLEASE NOTE: use the guide ONLY if you've got enough experience in soldering because opening up the controller automatically stops the warranty coverage. Thus Adaptto E-Drive Lab Ltd. will not be liable for any problems caused by your actions starting from the controller opening.
Let's start:
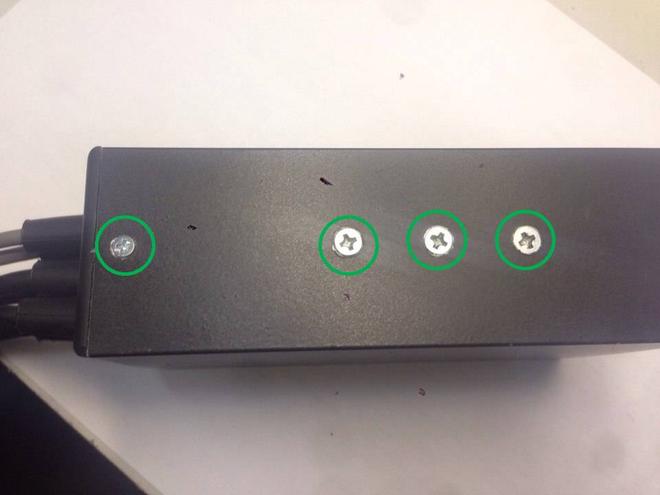
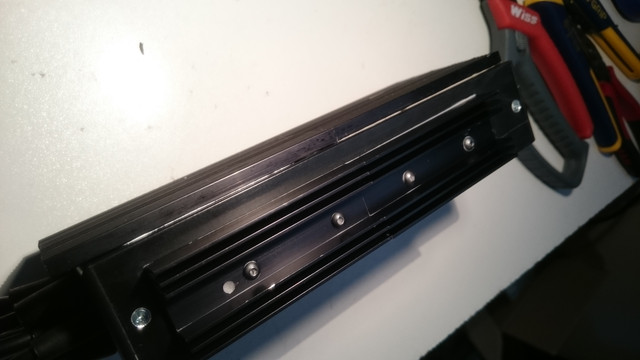
1) To open up the controller - GENTLY undo the following screws
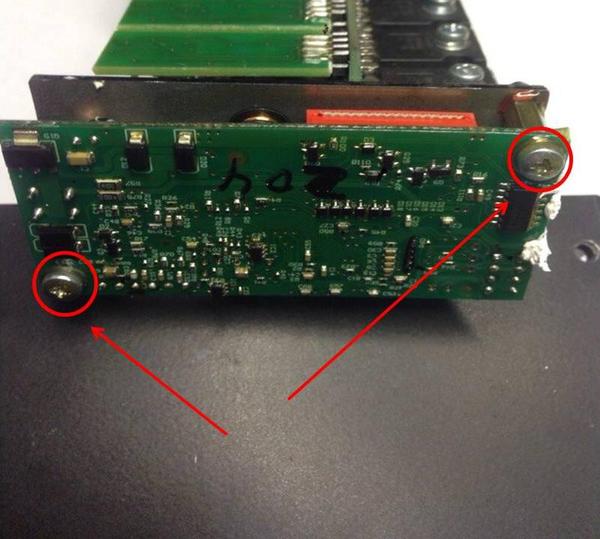
2) Withdraw the inner part of the controller and unscrew these studs thus releasing the processor board:
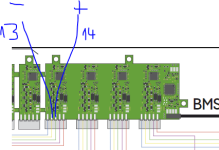
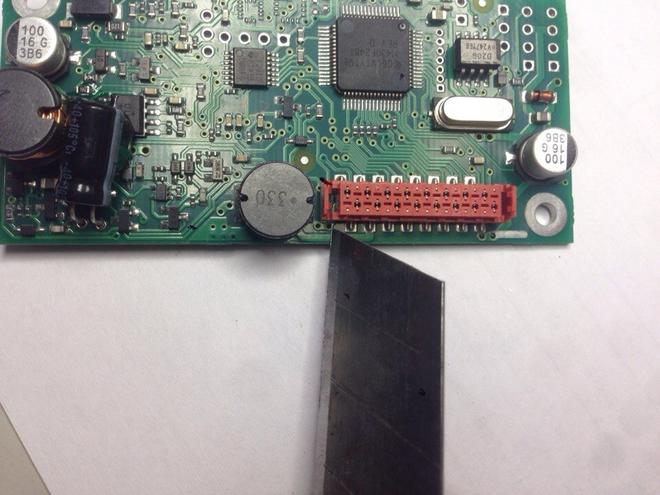
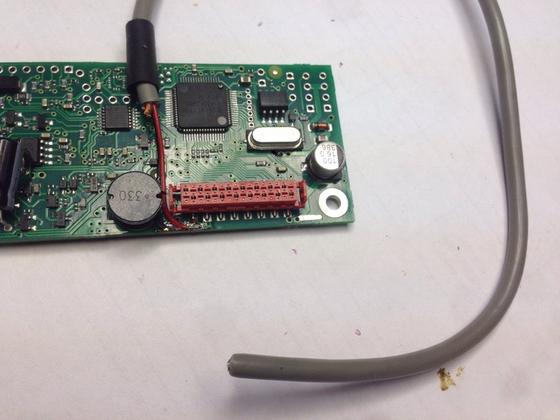
3) On processor board you need to concentrate on the line shown:
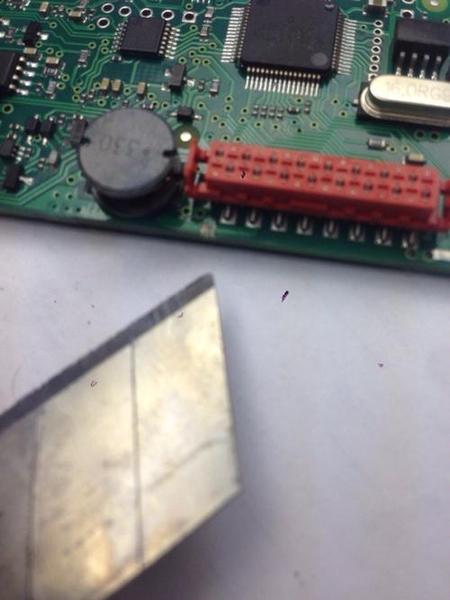
4) ACCURATELY cut the line in the middle (with the knife for example)
Result:
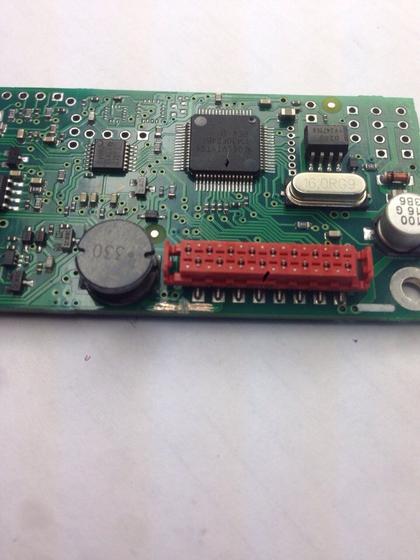
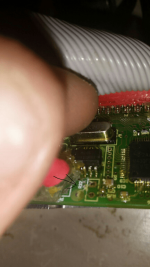
5) Clear the rest of the line up until the copper:
6) Tin-plate:
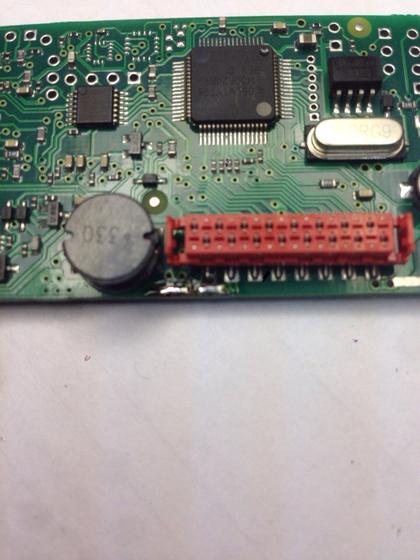
7) Solder the wire for the button
(DON'T forget to apply the thermal setting) :
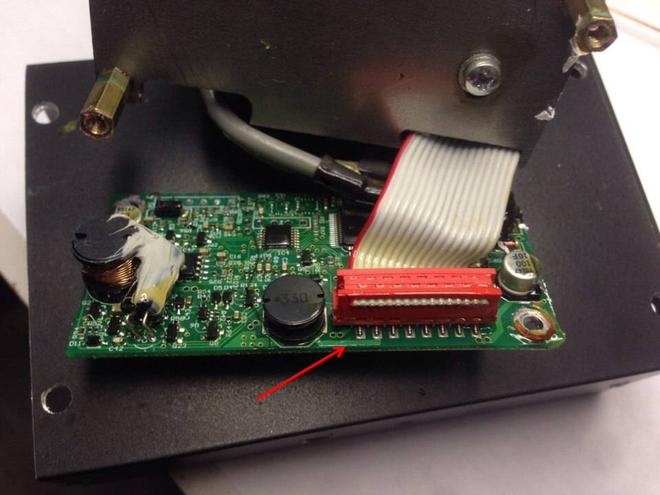
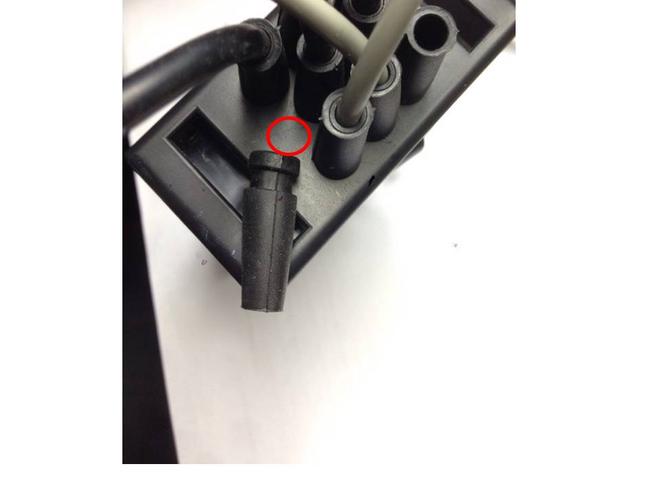
8 ) That's it. Now just drill out the new bore for the cable soldered. Here is the perfect place for it:
Hope this helps,
All the best!

, it´s not easy remove that group and charge it, and not sure how I can insolate that group and charge it without disassesemble part of the battery...