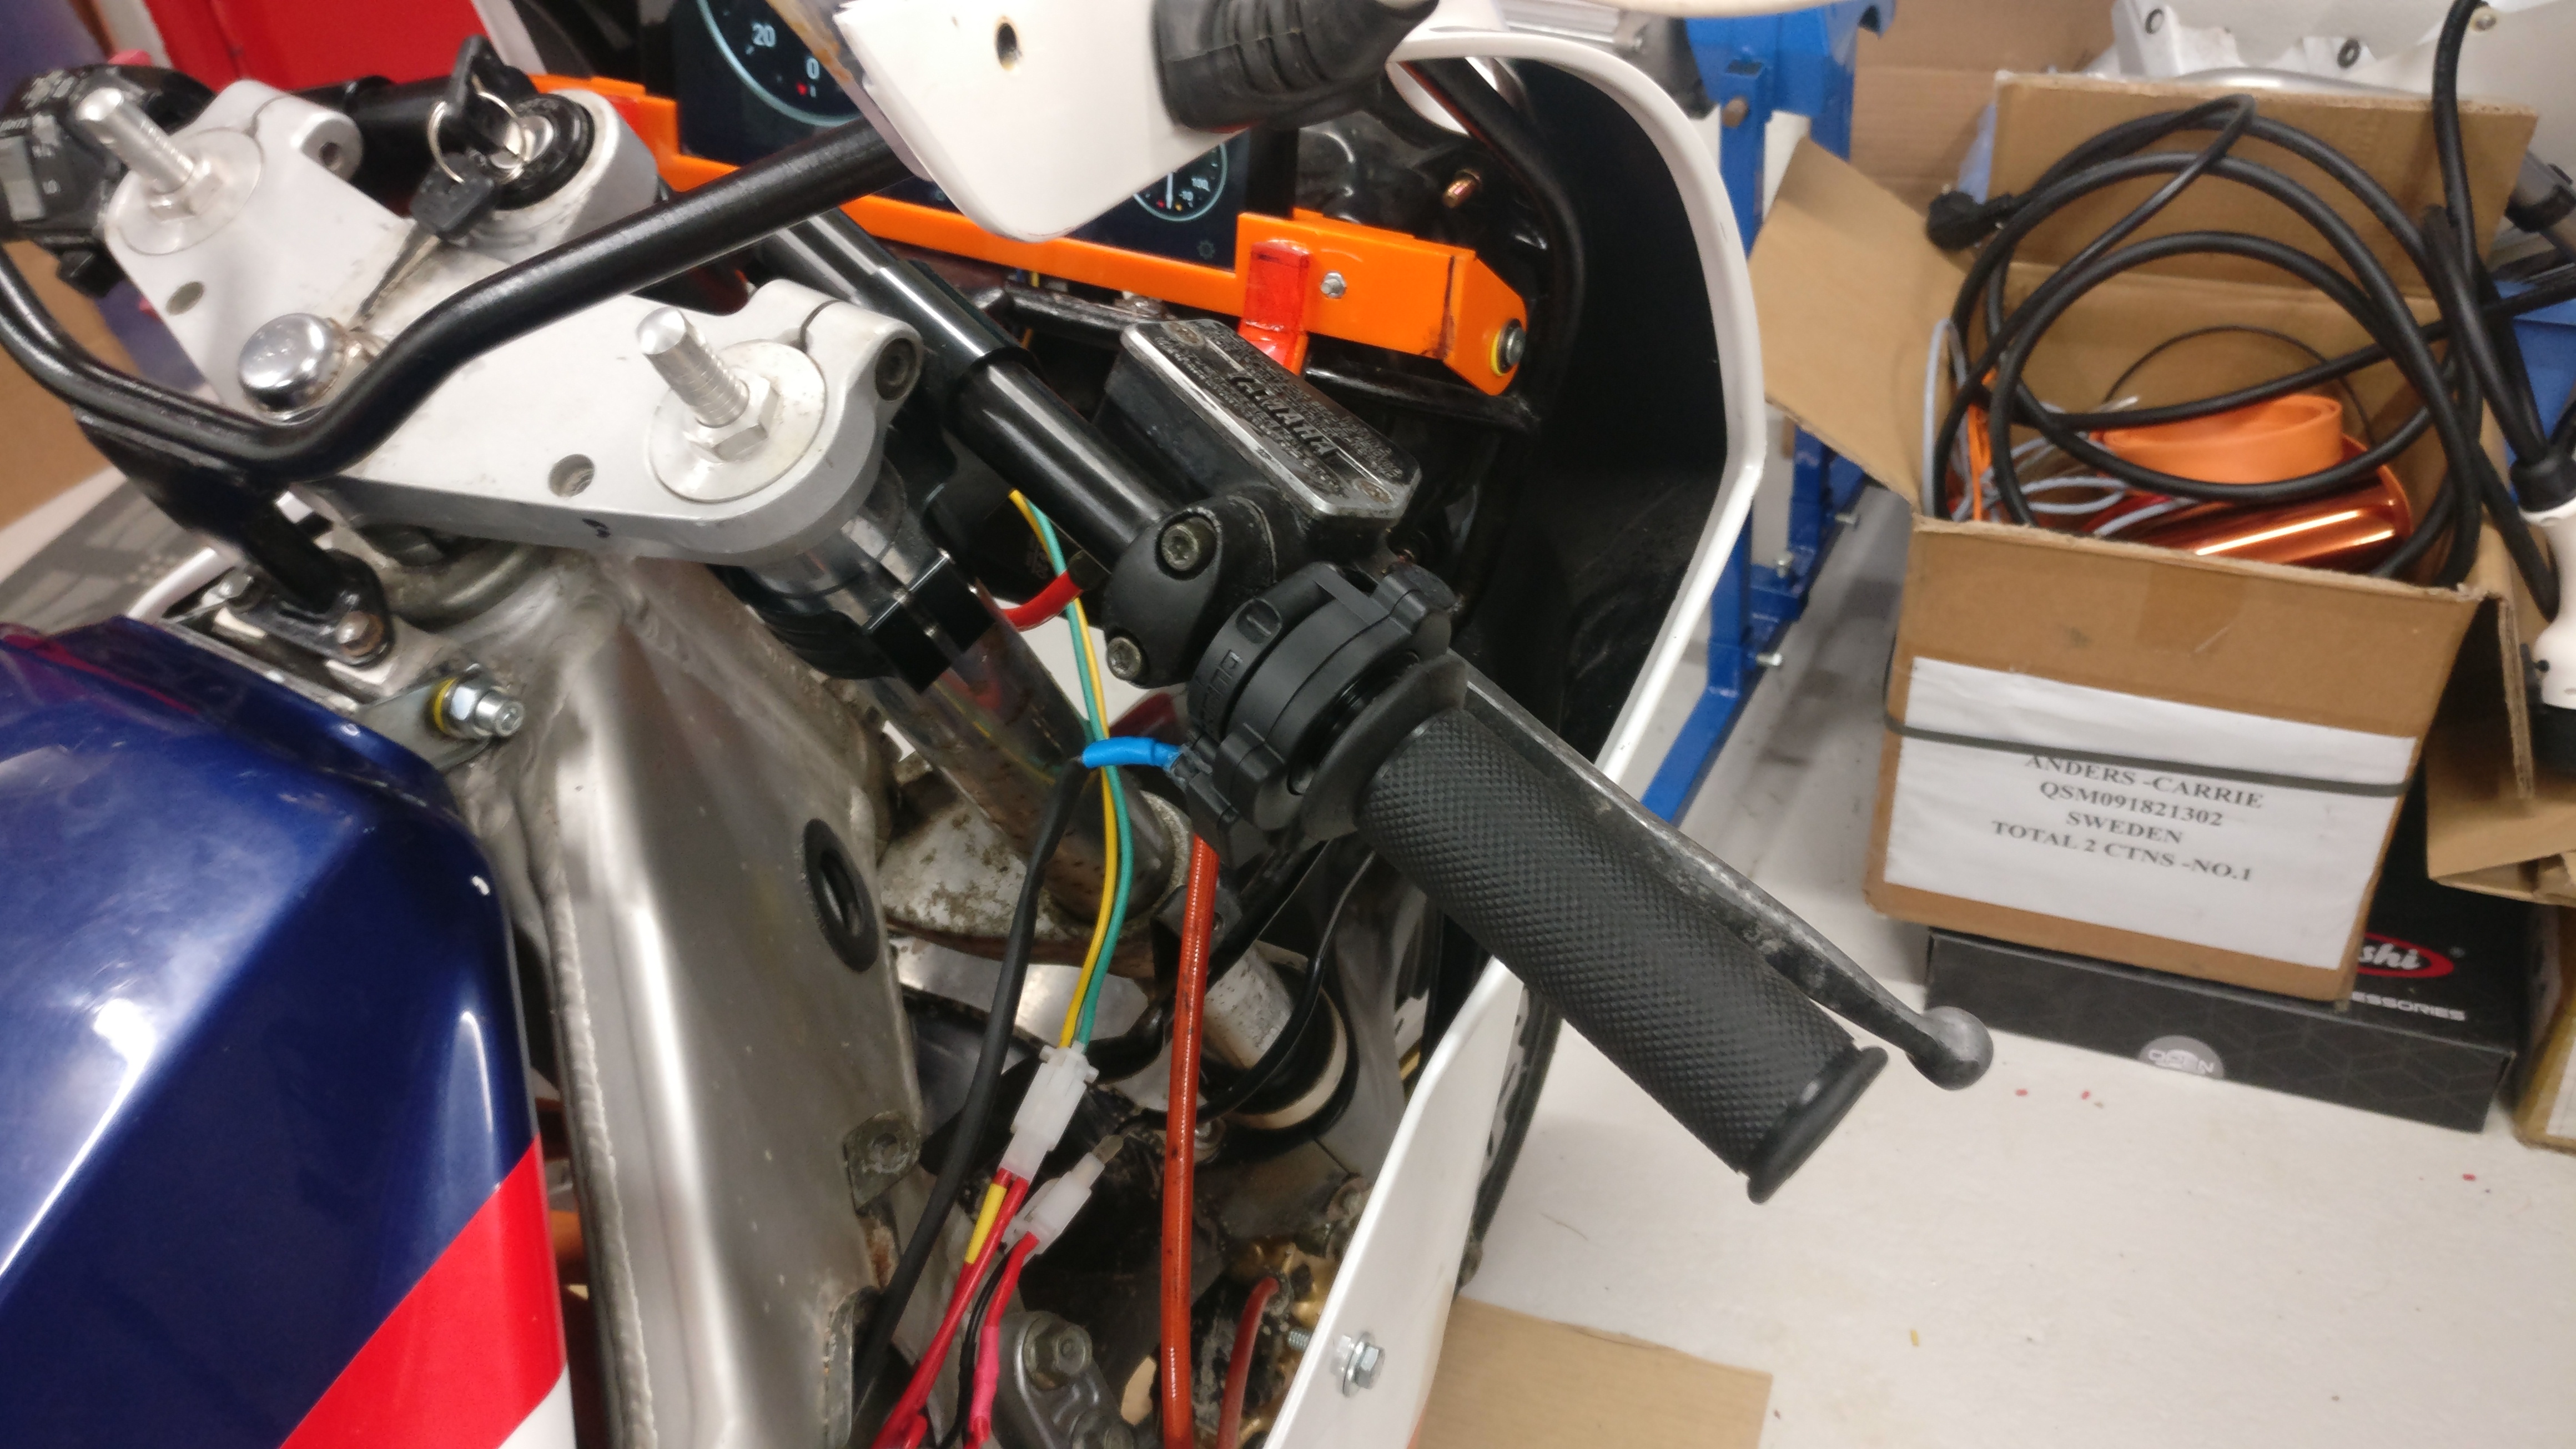
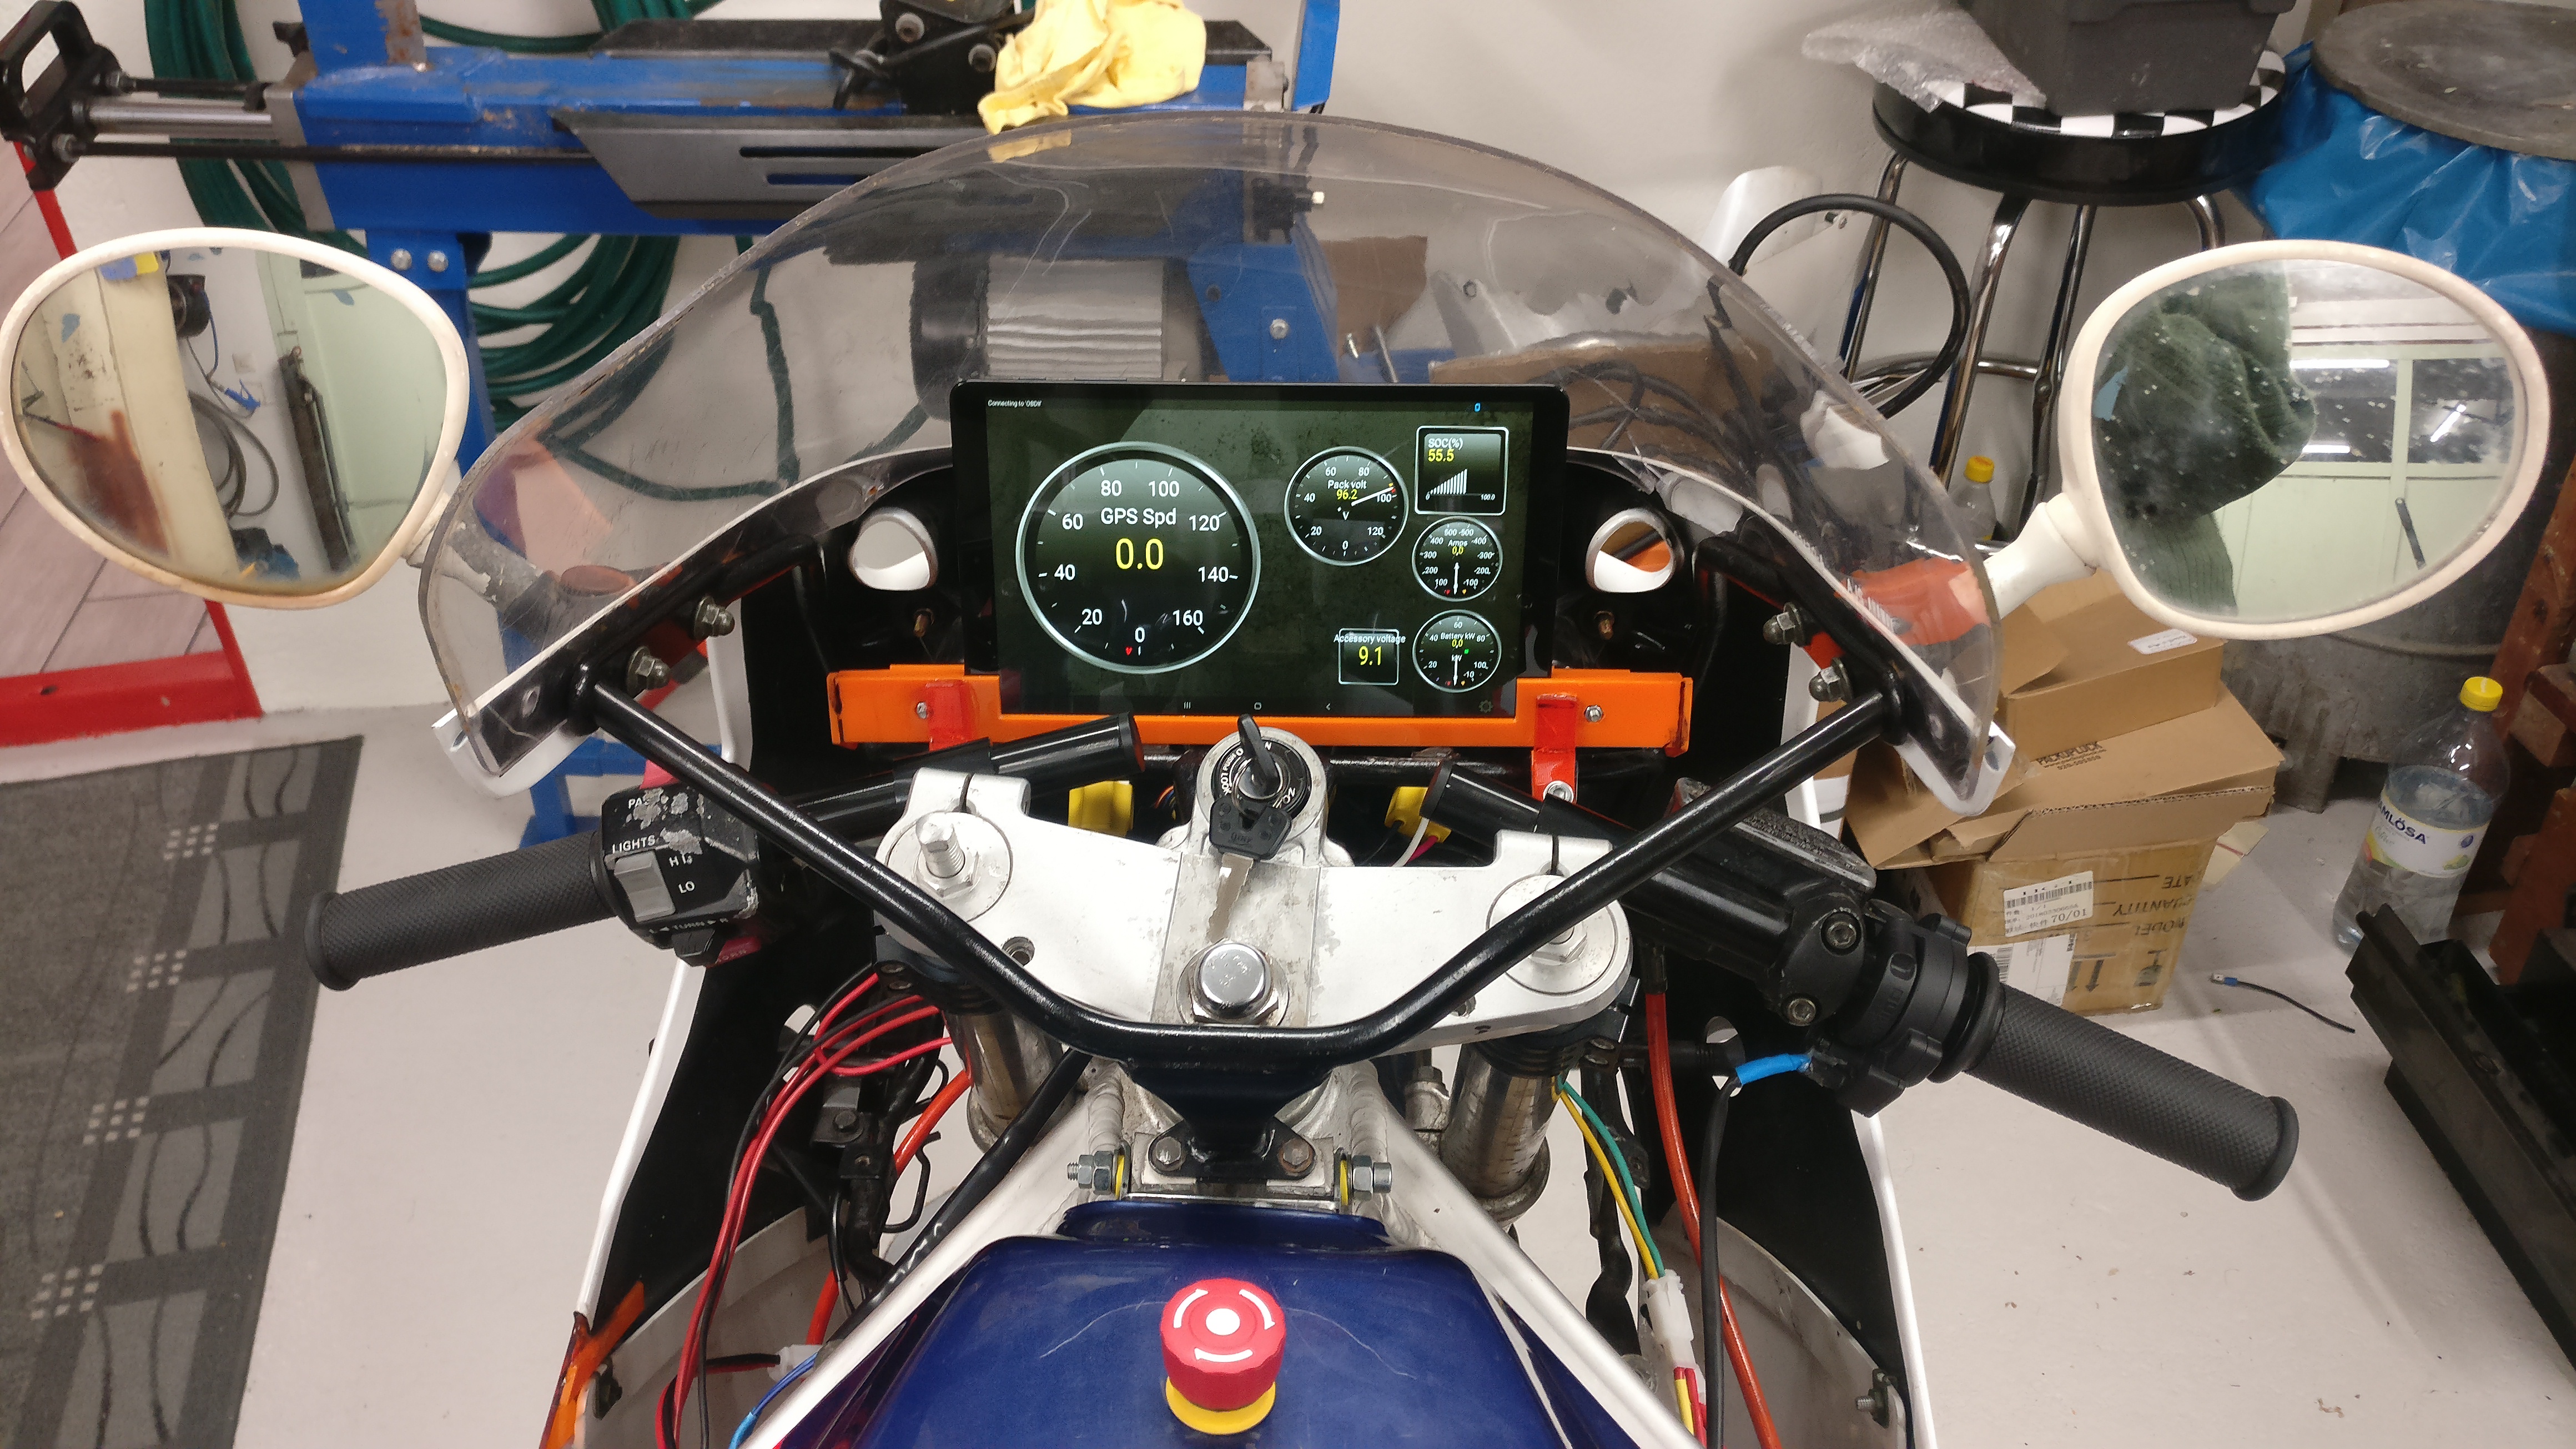
Super excited about your recent progress! How did the first ride go? Have you installed the throttle bars from QS yet?
Throttle bars?
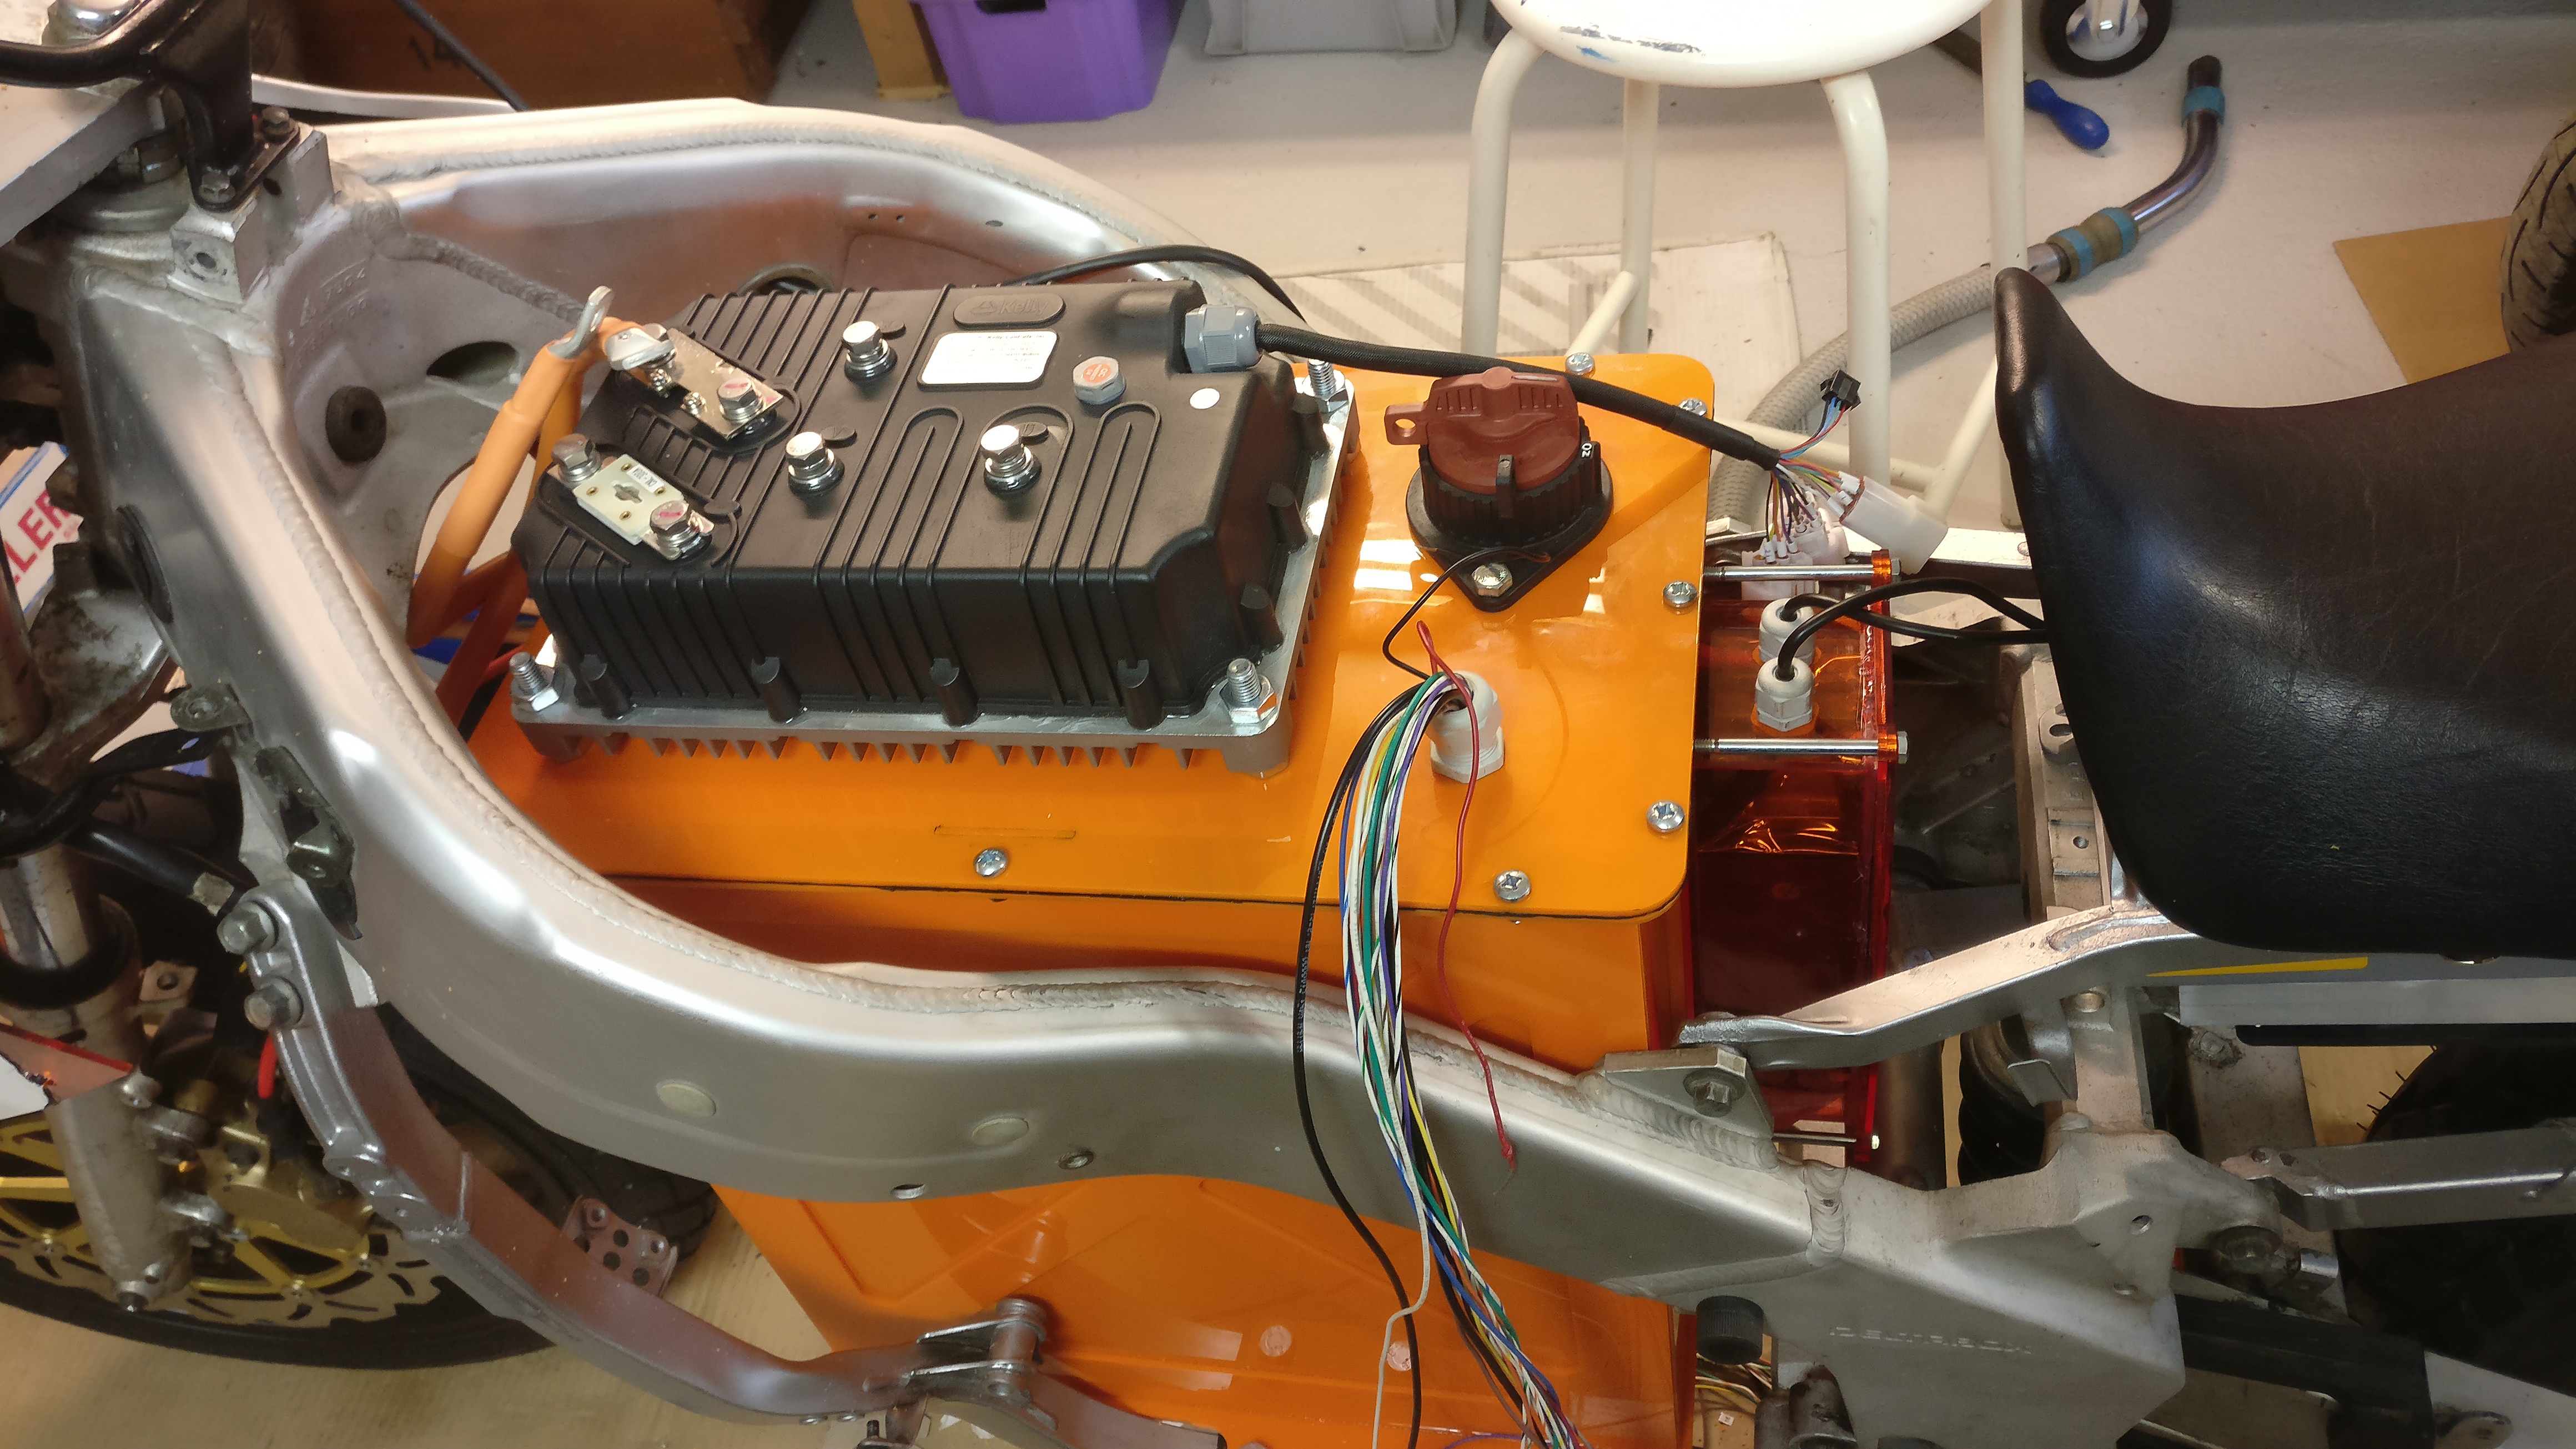
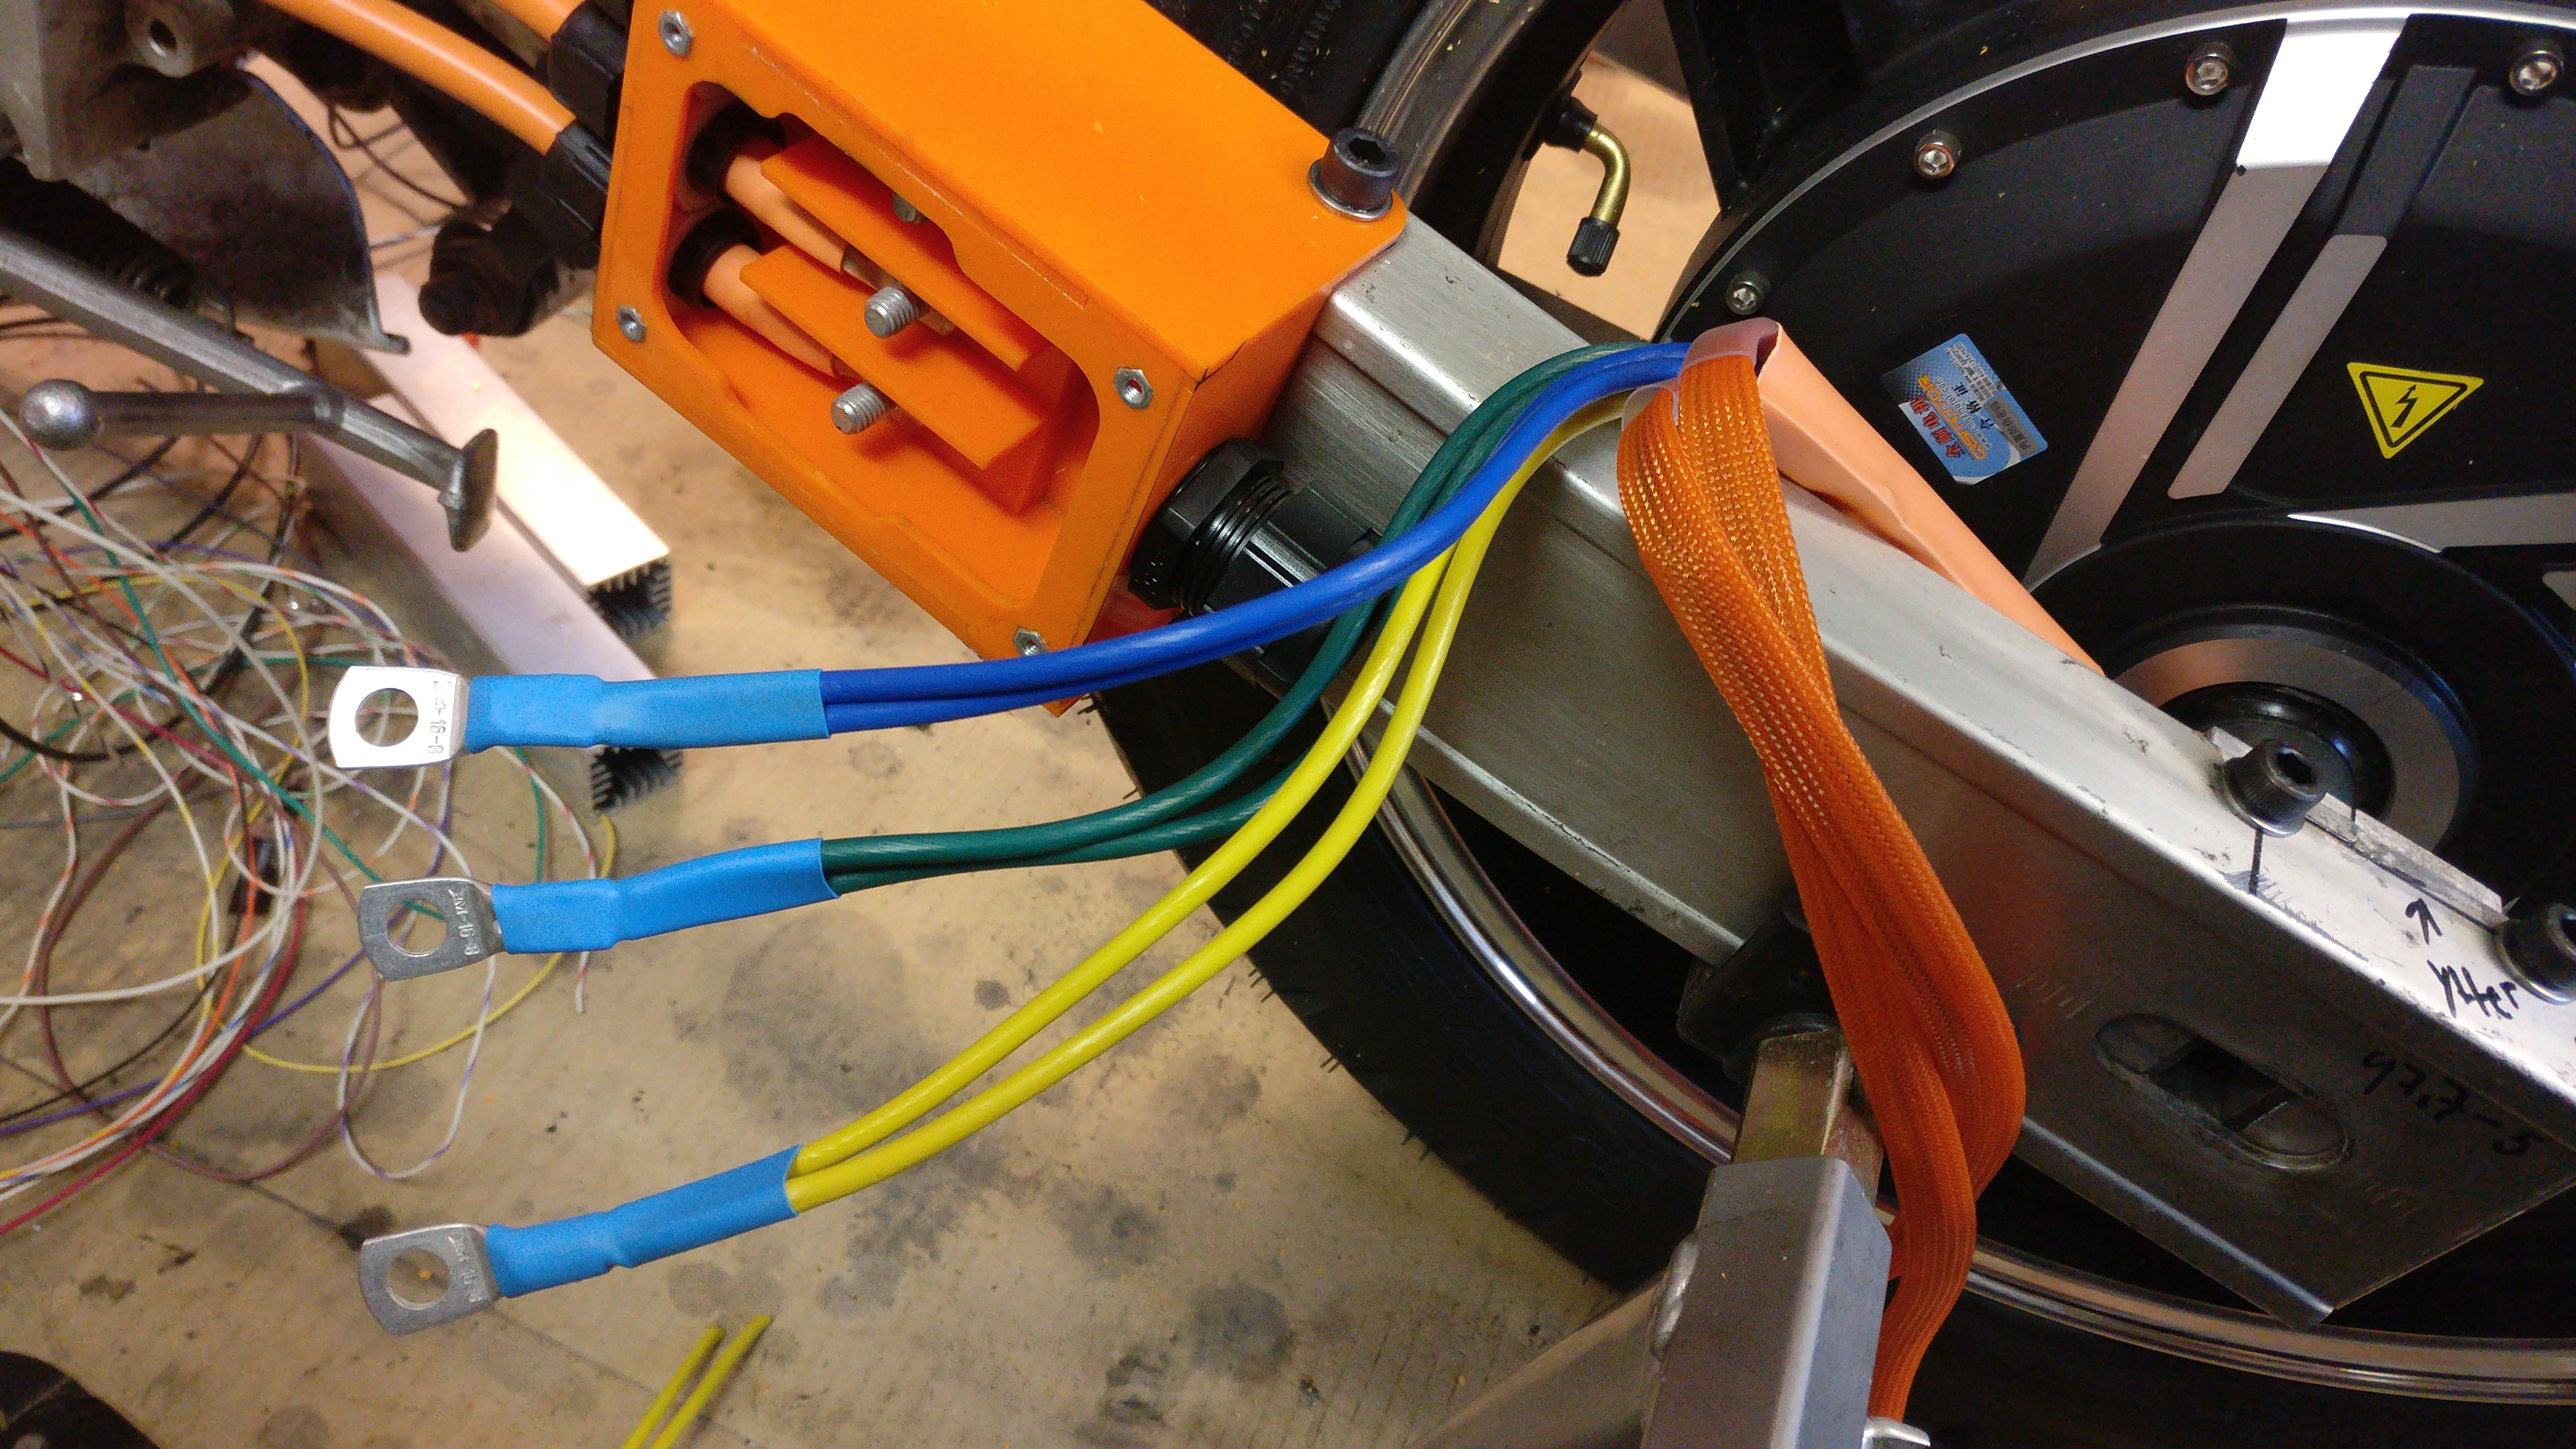
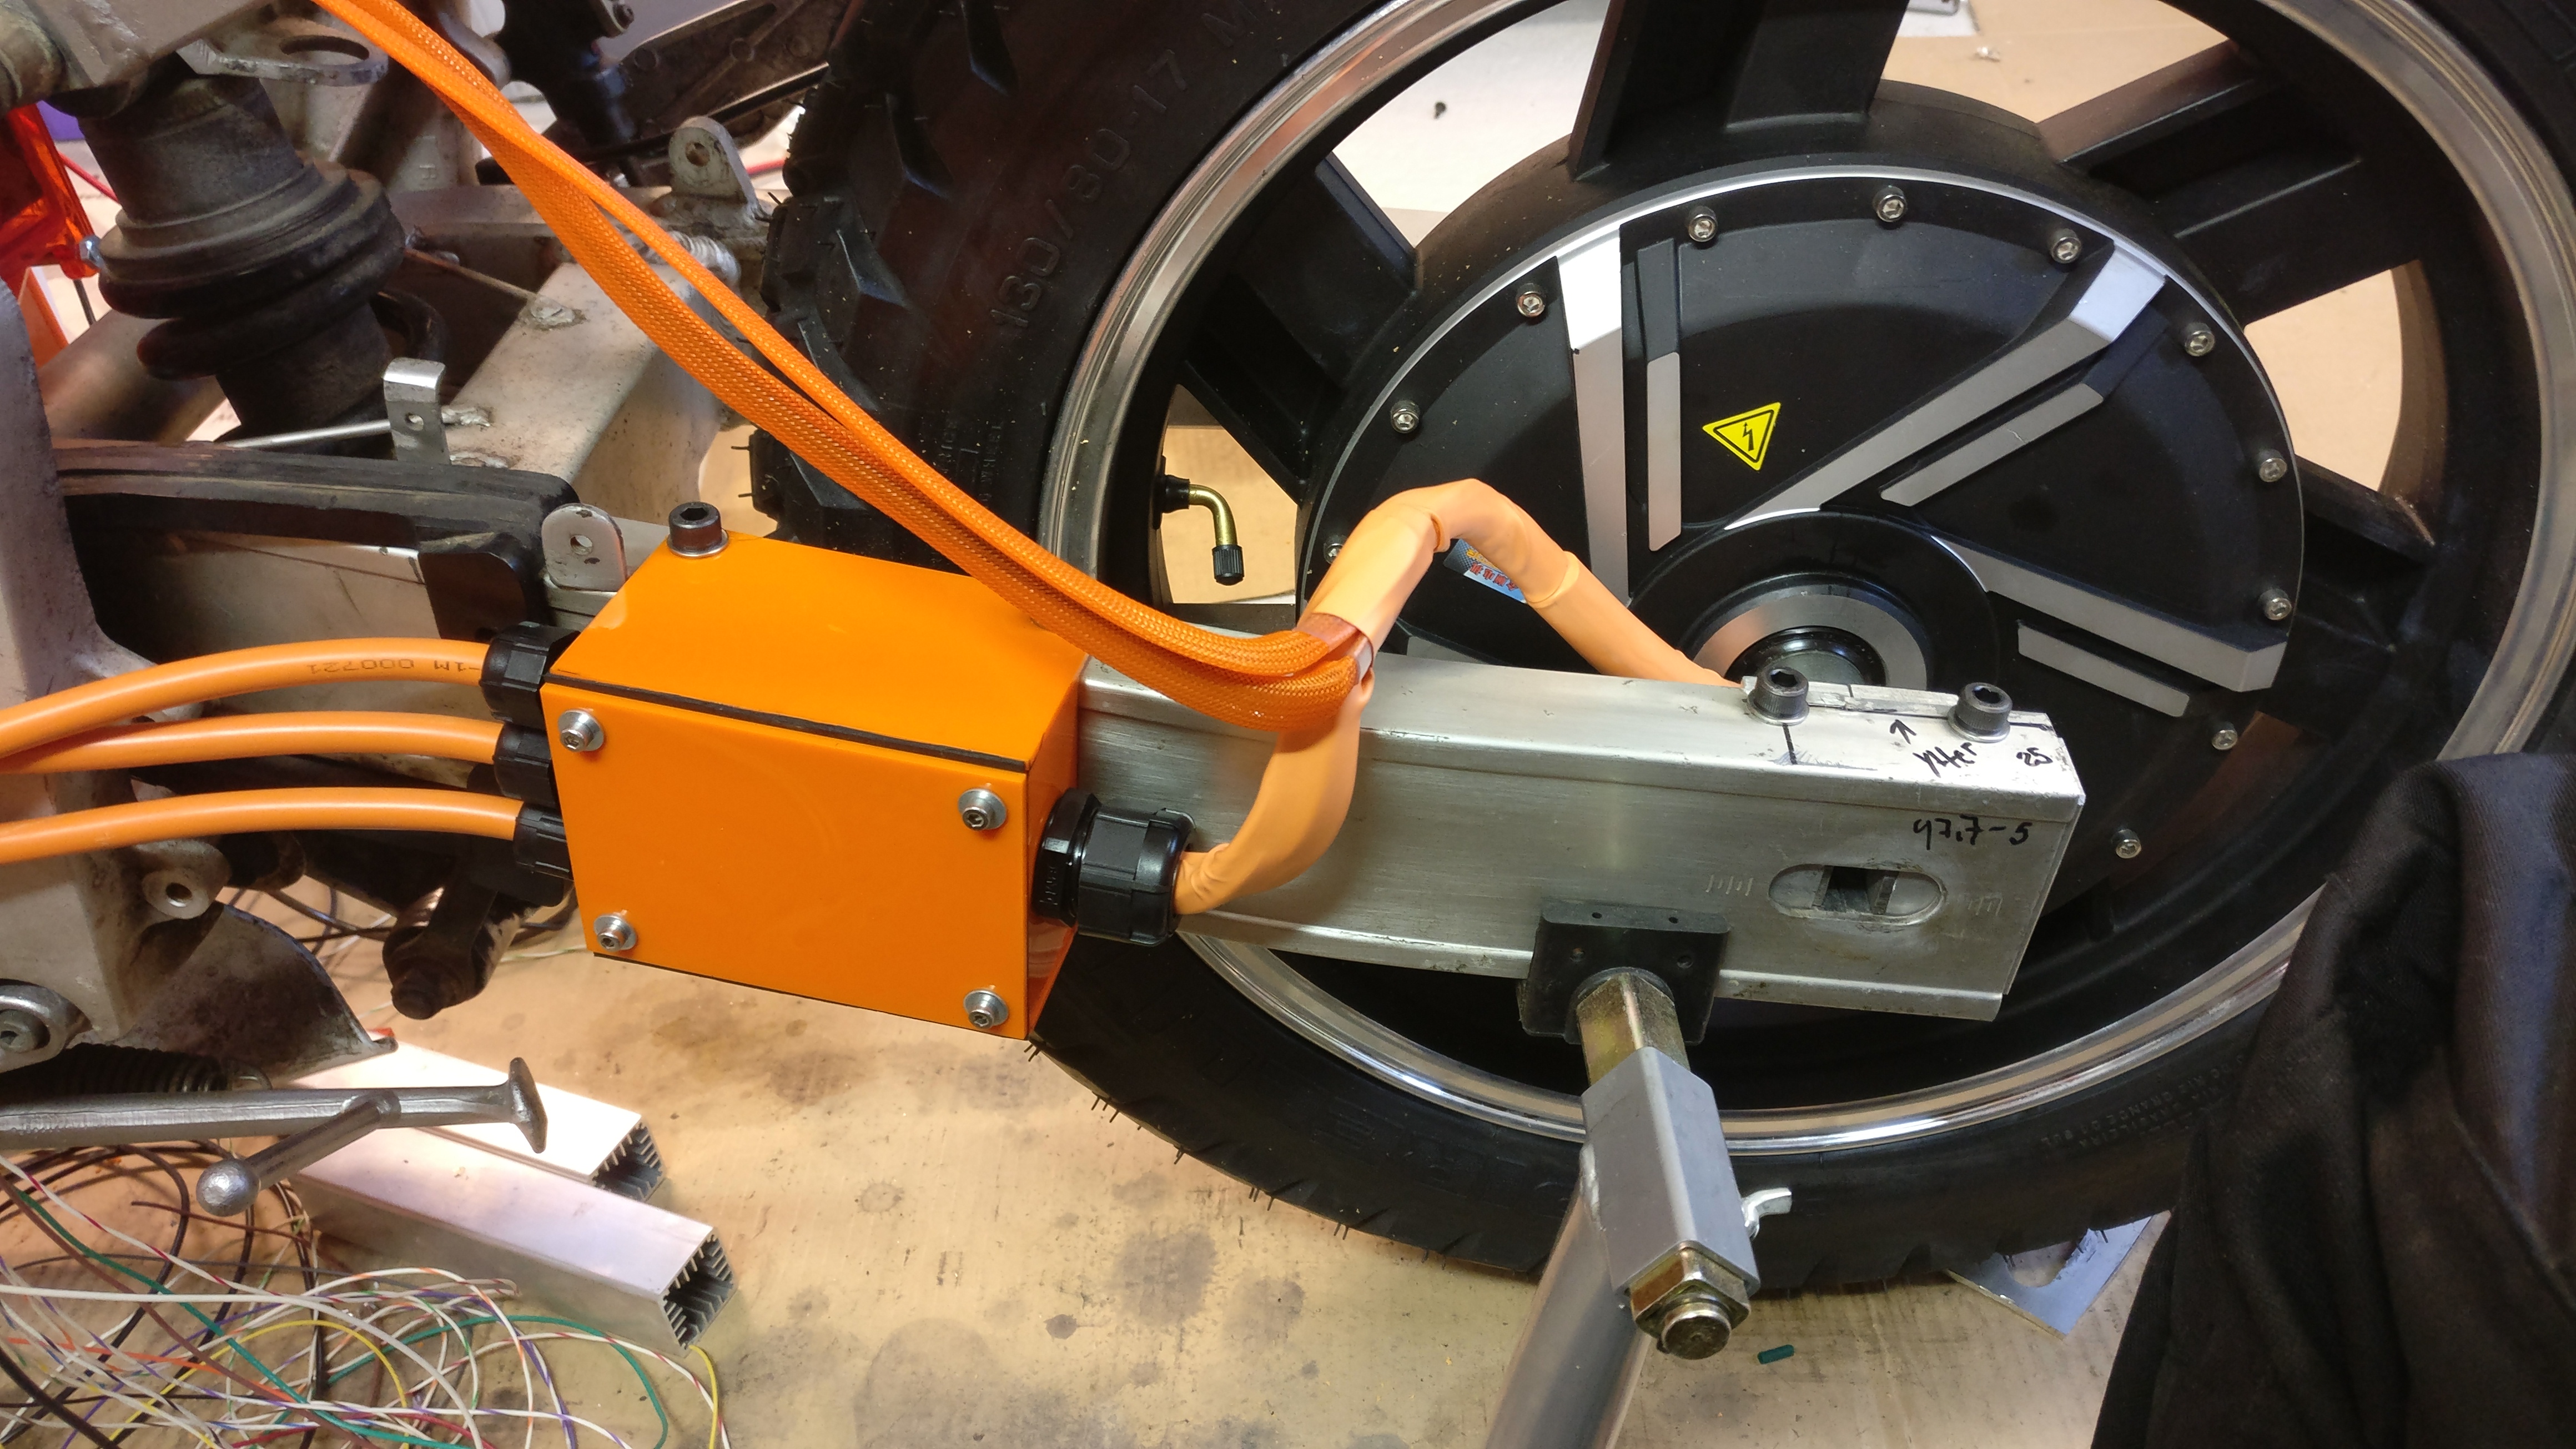
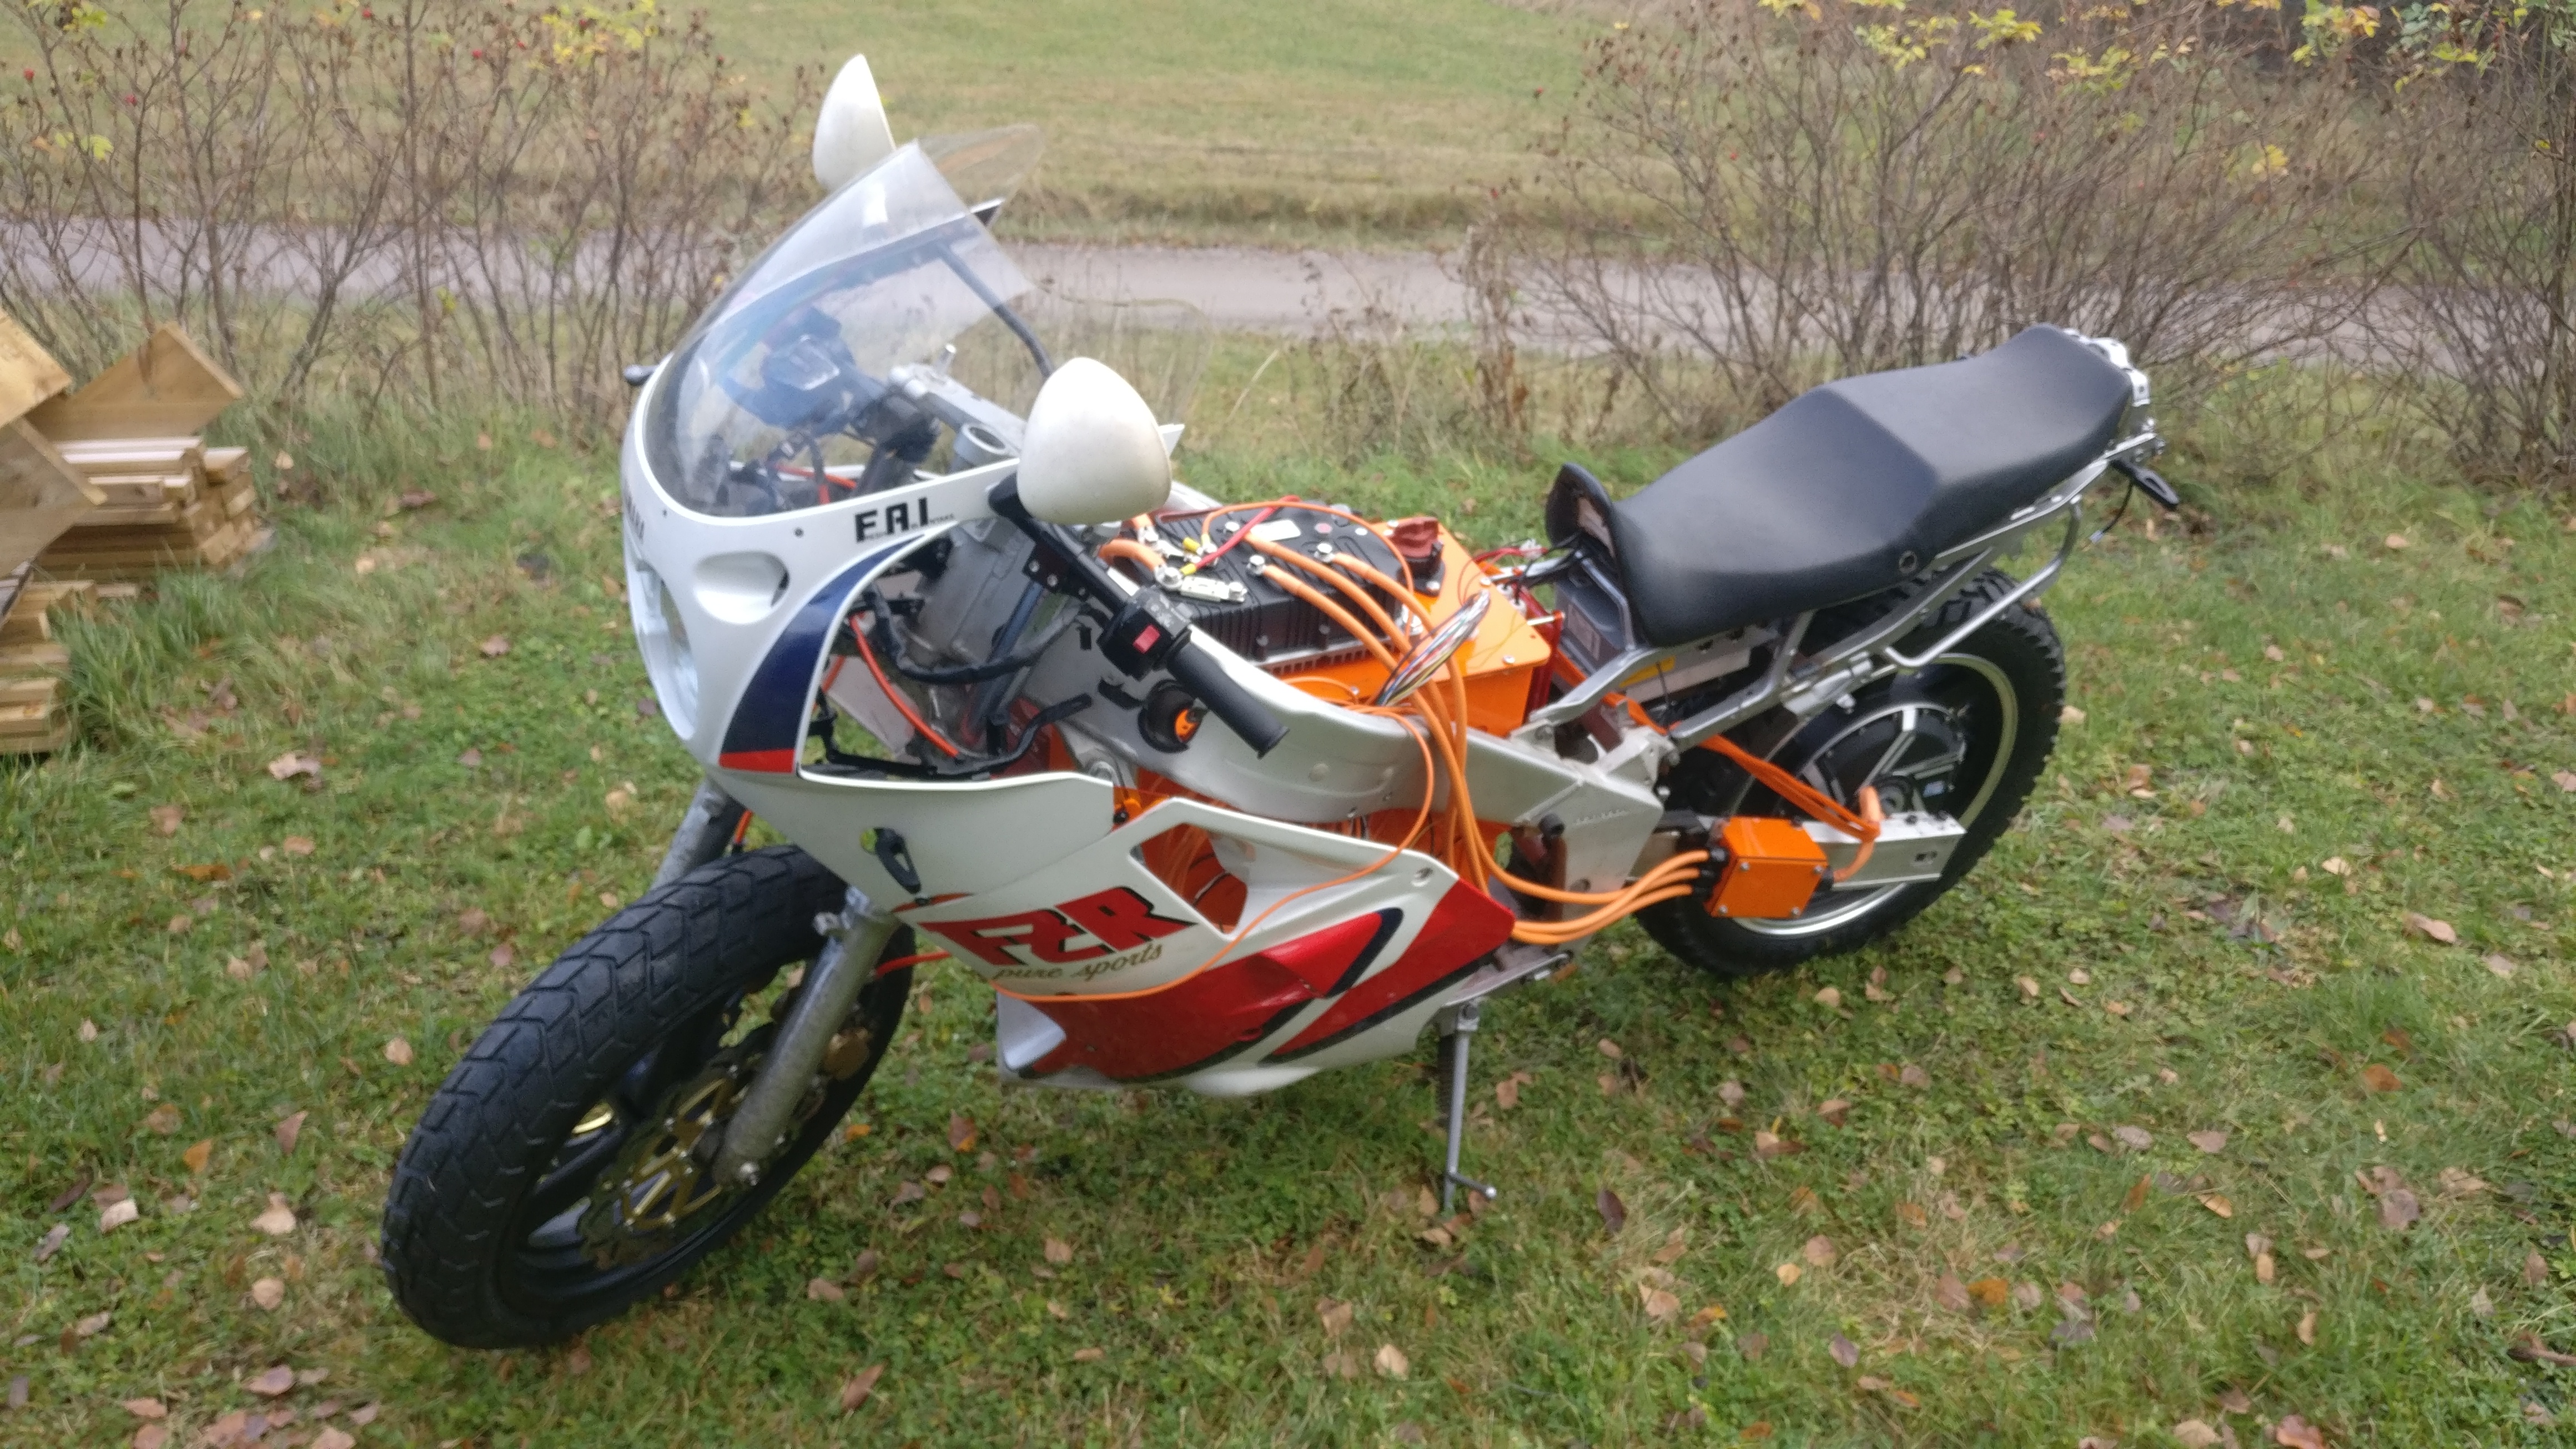
I'm about to order similar parts from QS as you: 8000kW HUB-motor, Kelly controller, throttle bars, rear brakes. Probably the same kit you bought. What are your battery and BMS specs. Also, what charger are you using?
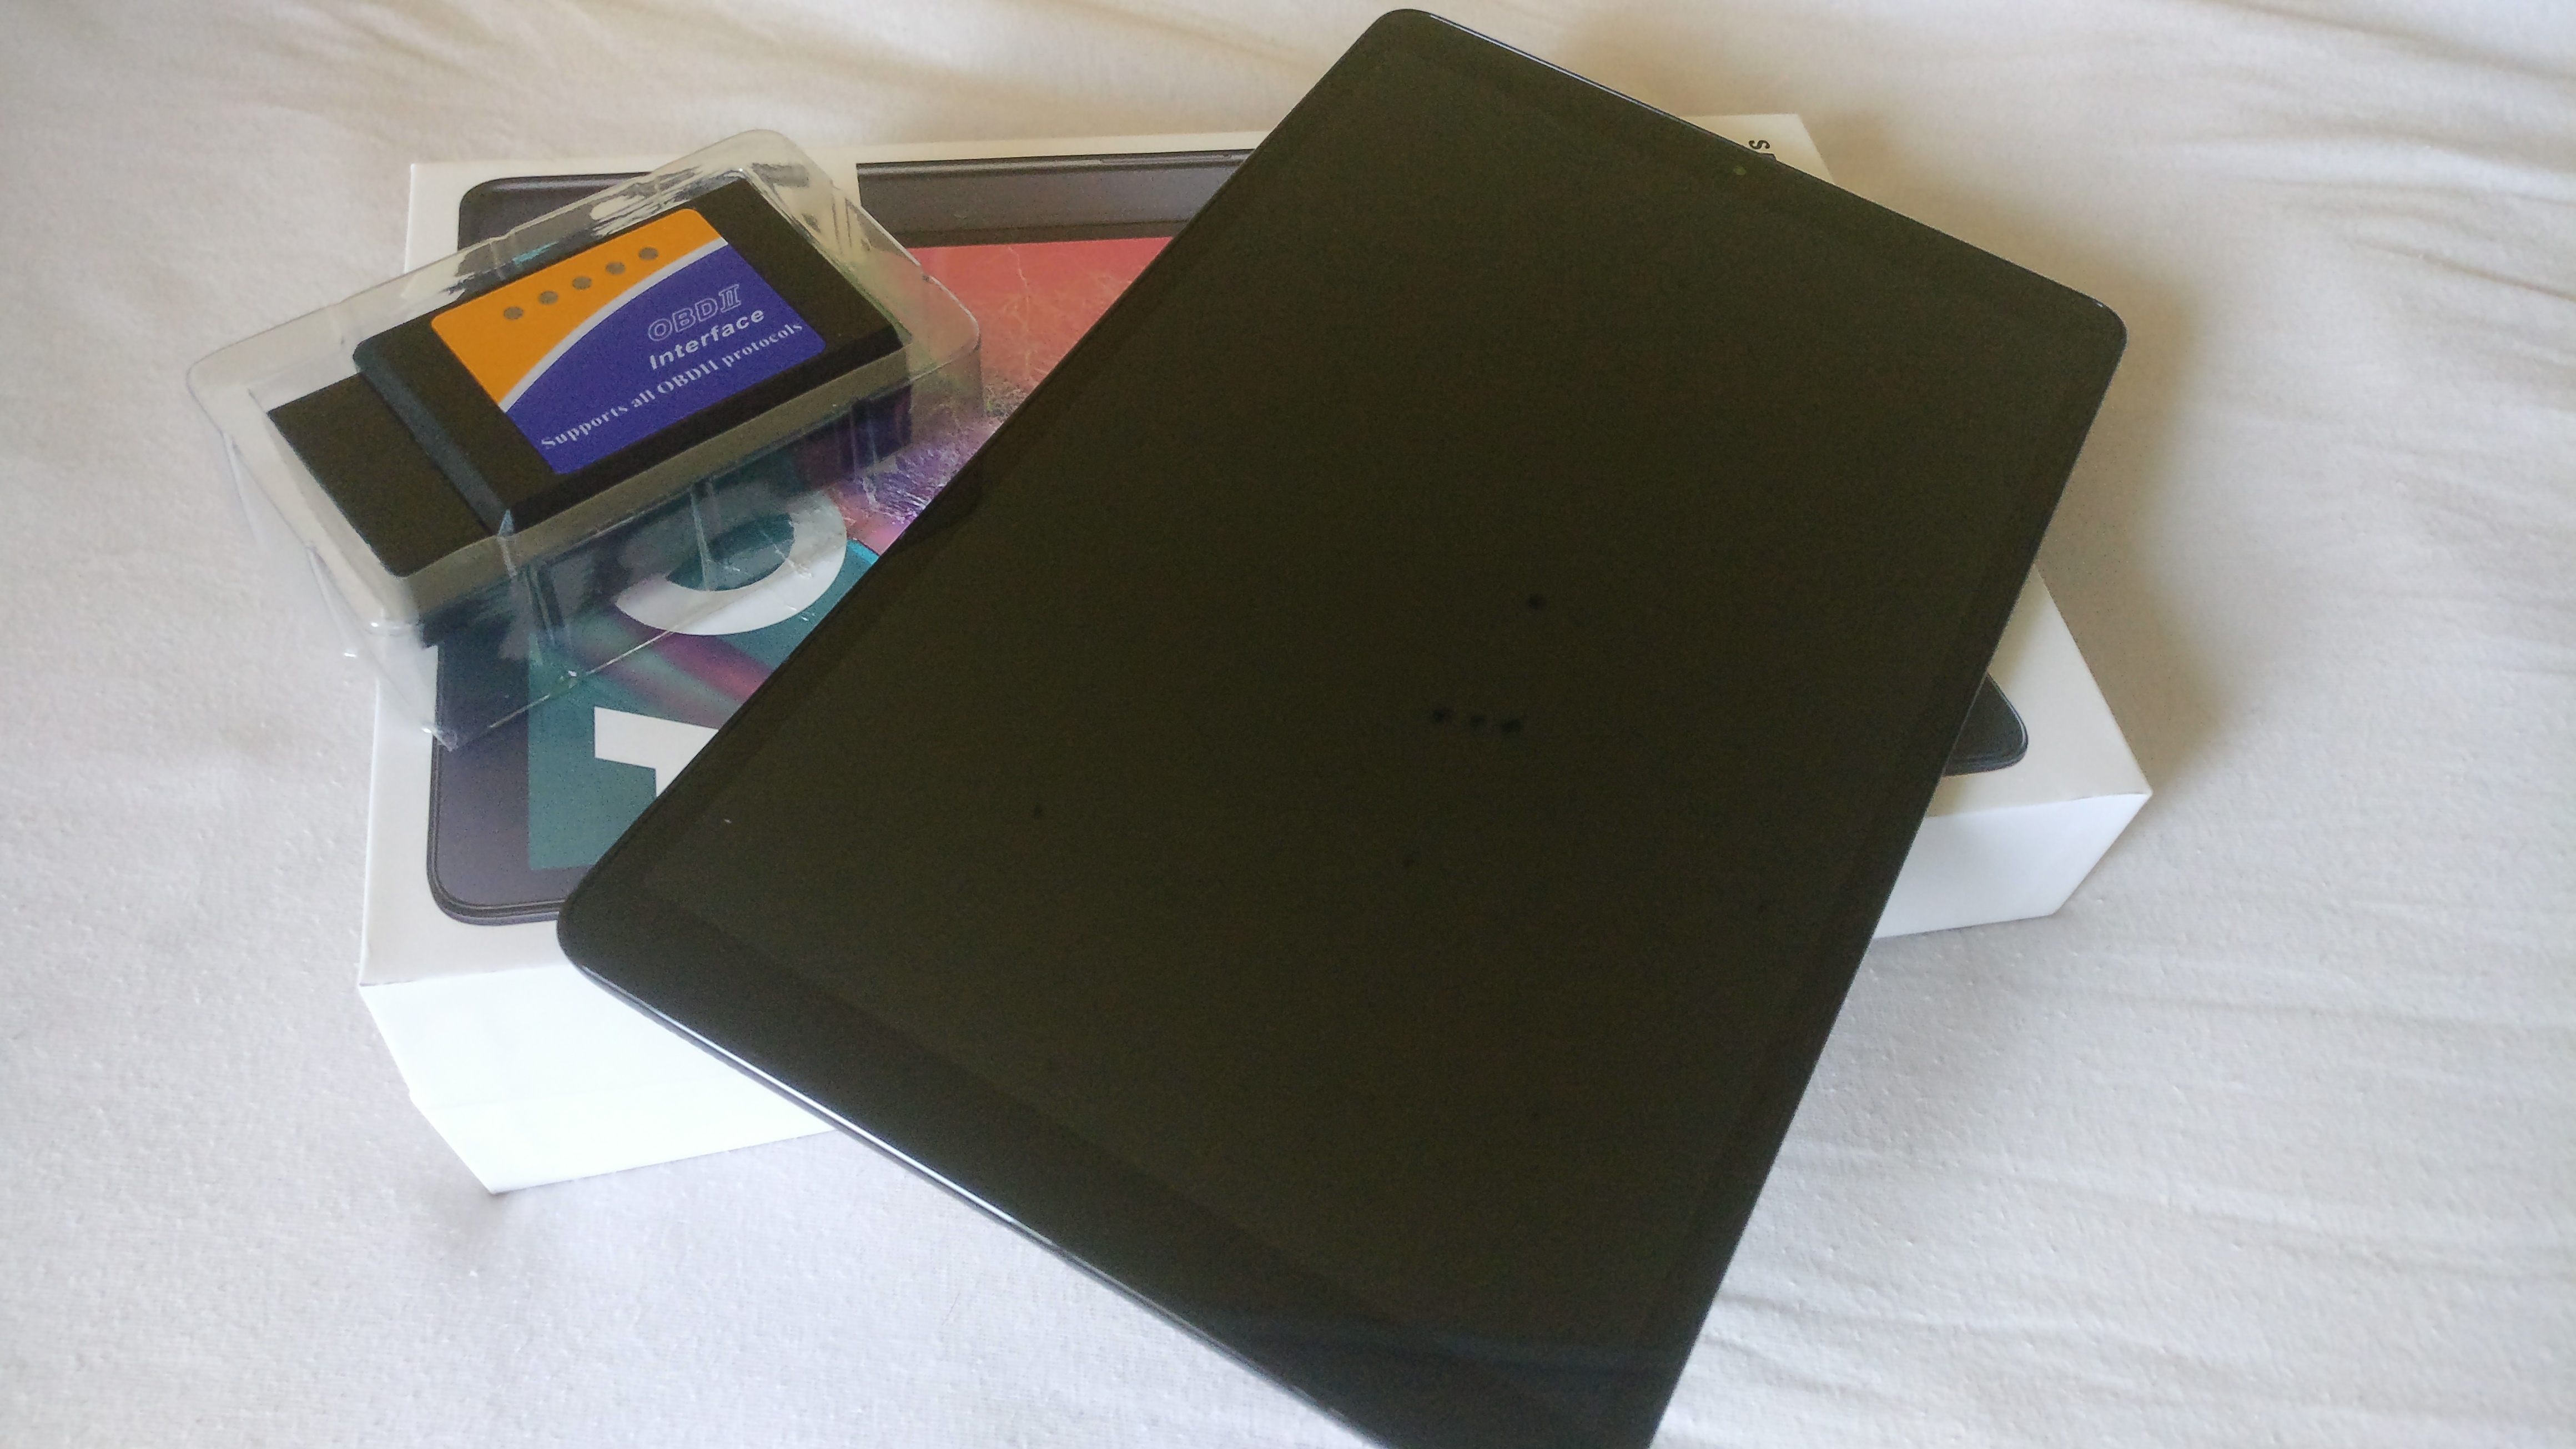
The kit I got
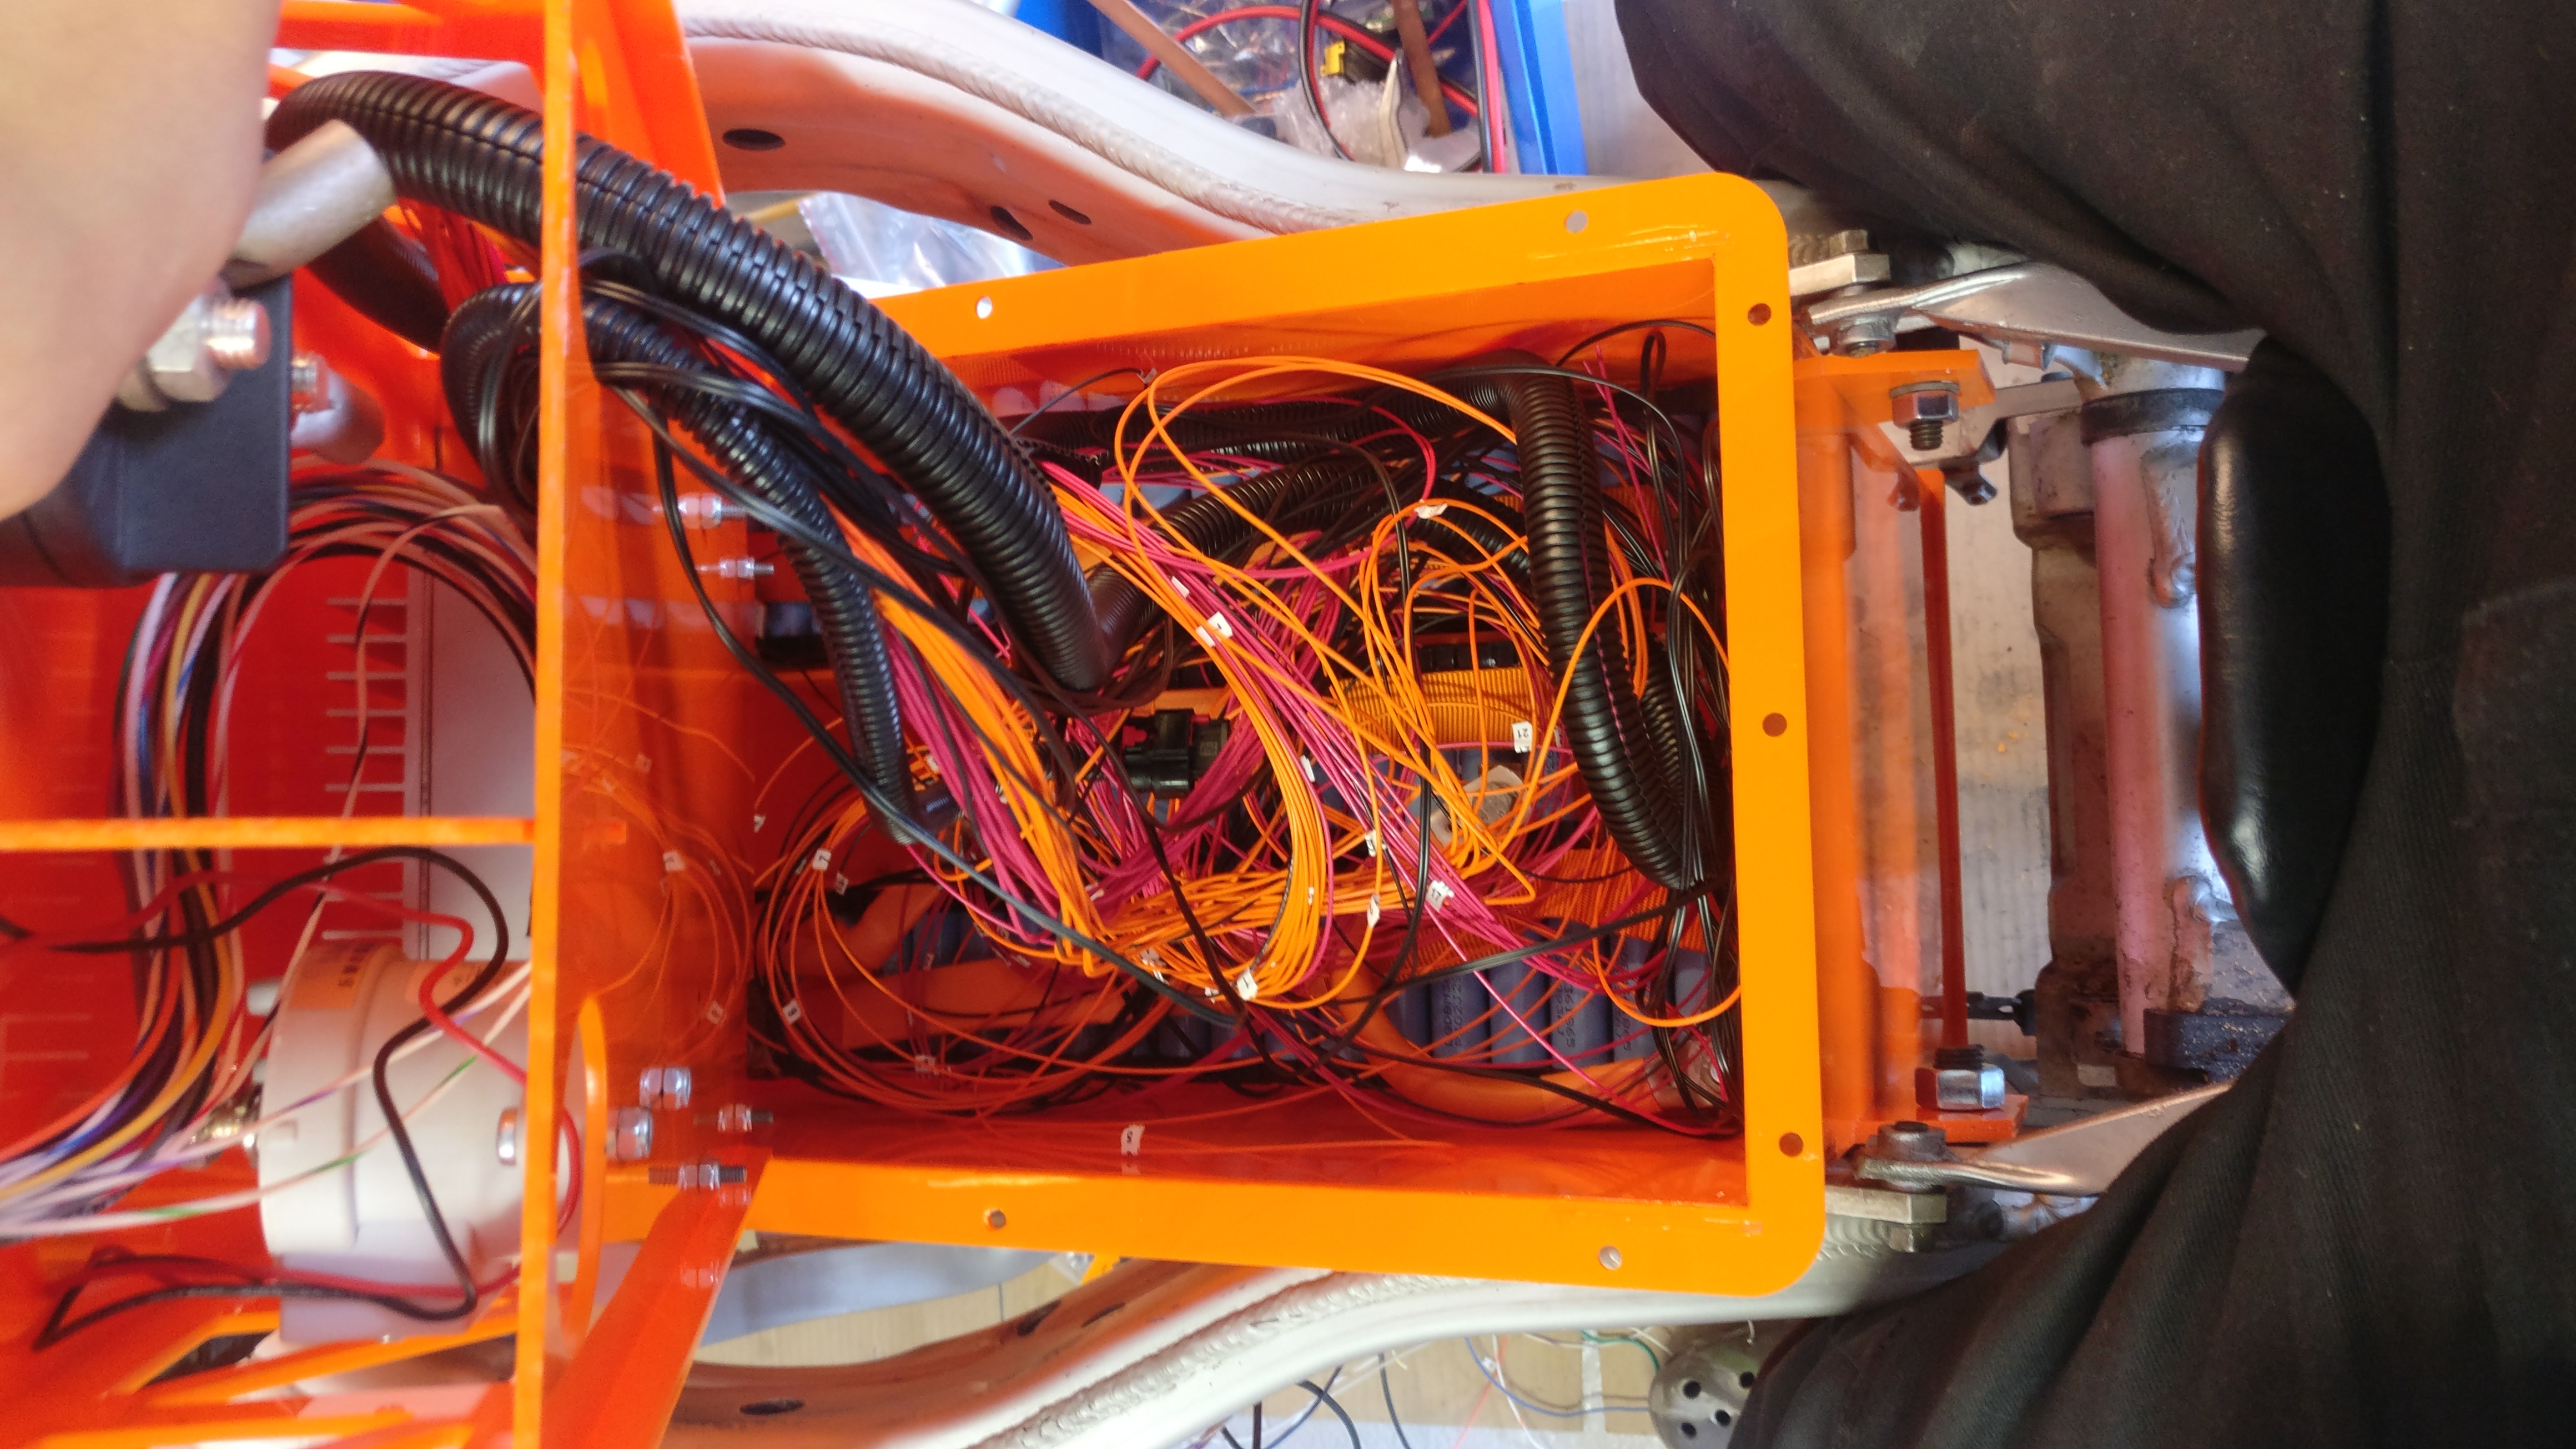
Battery is LG M36 18650 cells in a 26s30p configuration
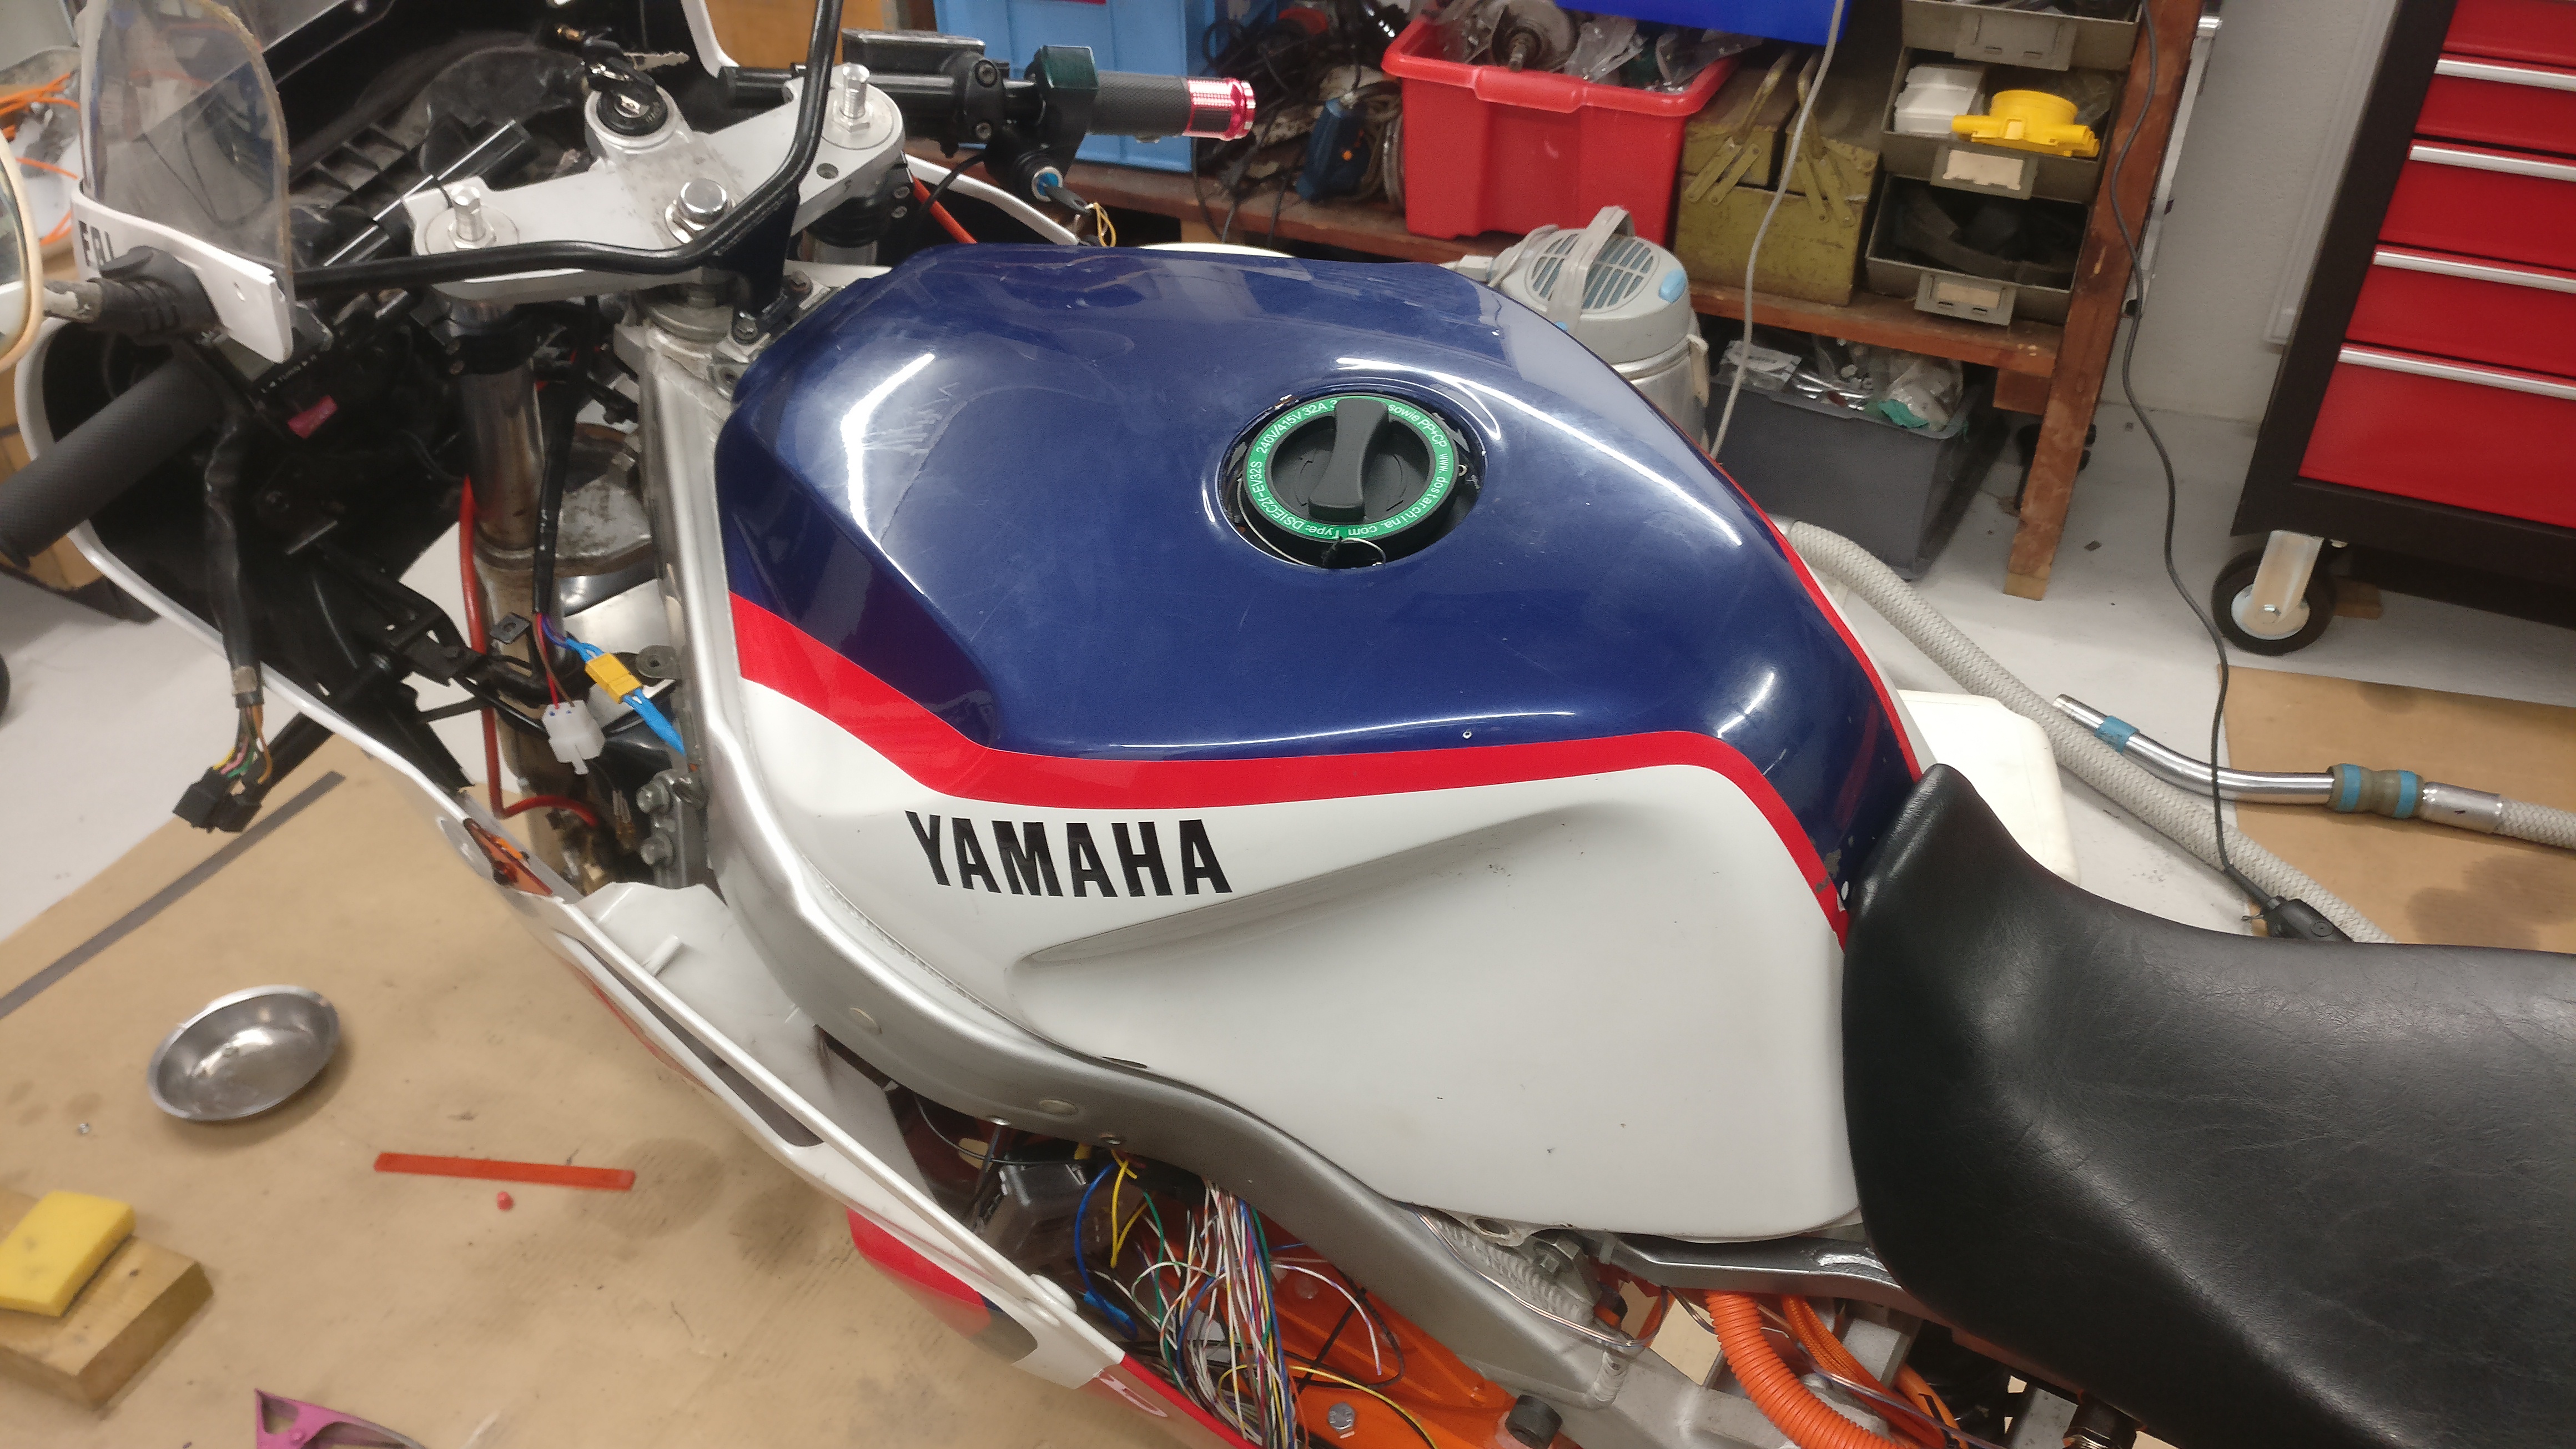
Charger is This
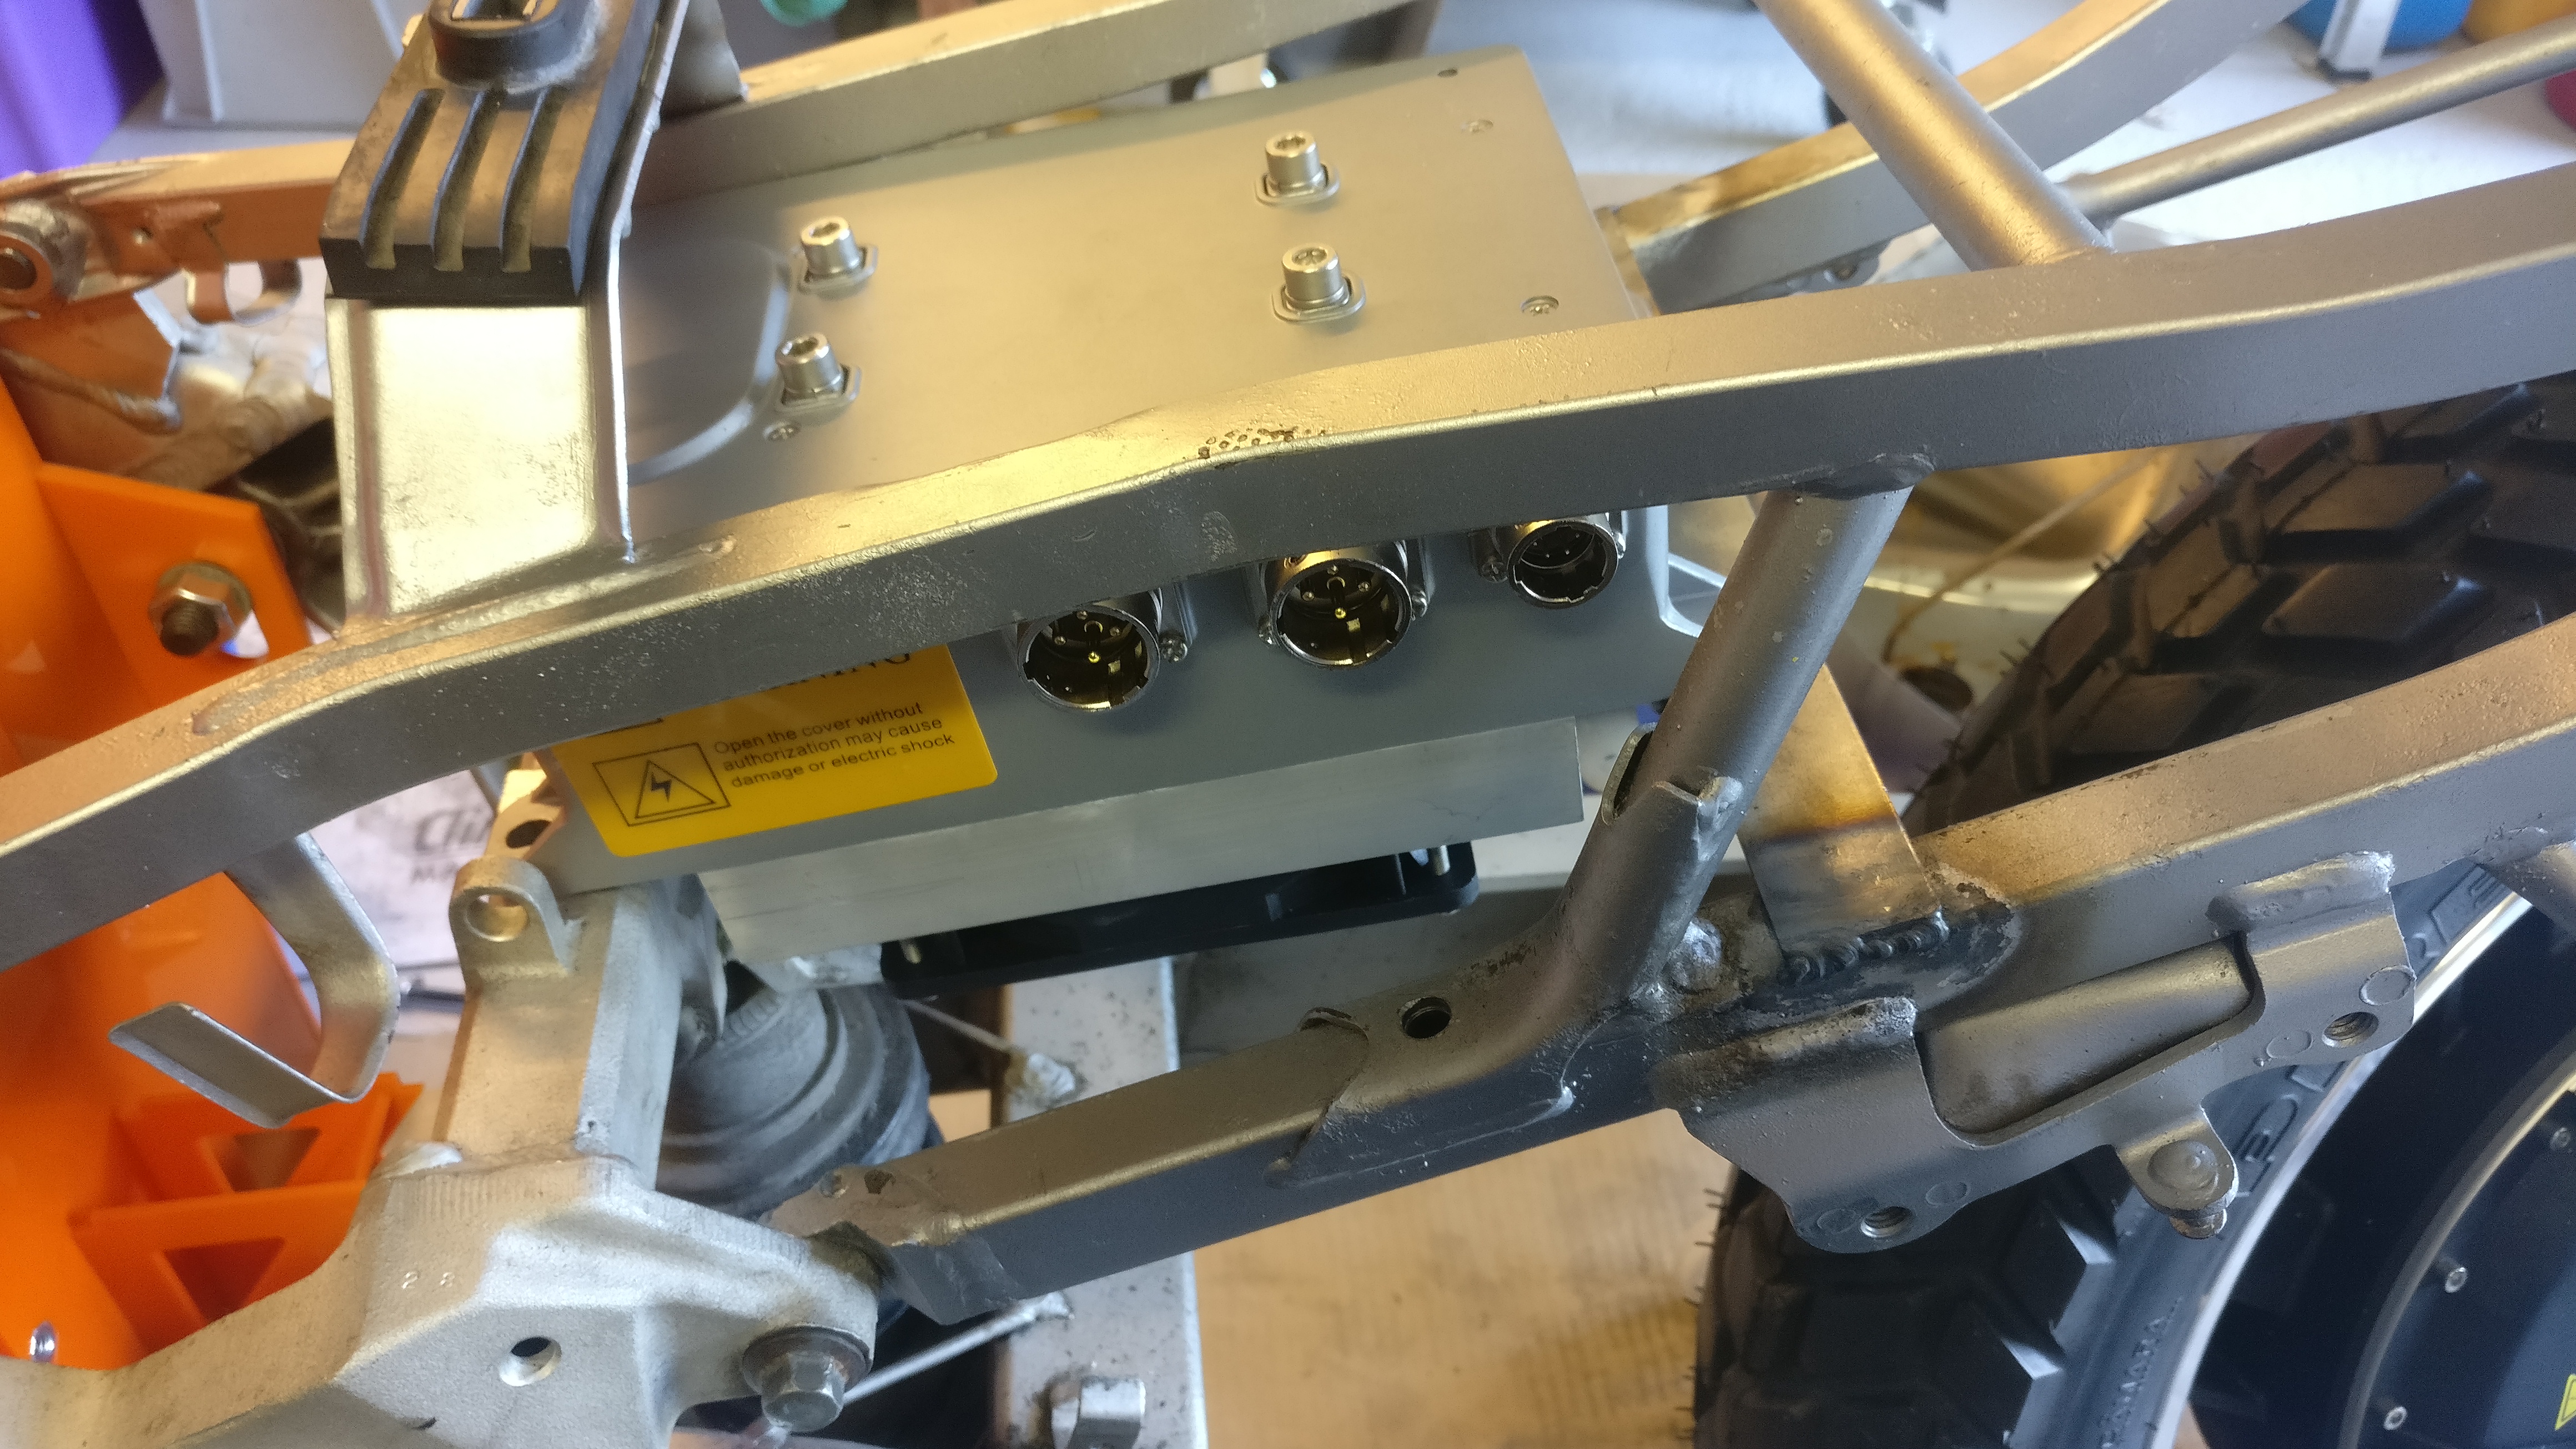
BMS is an ORION 2 48S
I'm embarking on a very similar project. If you could check my page every once in a while and give me feedback, that'd be awesome. See: https://endless-sphere.com/forums/viewtopic.php?f=10&t=102946
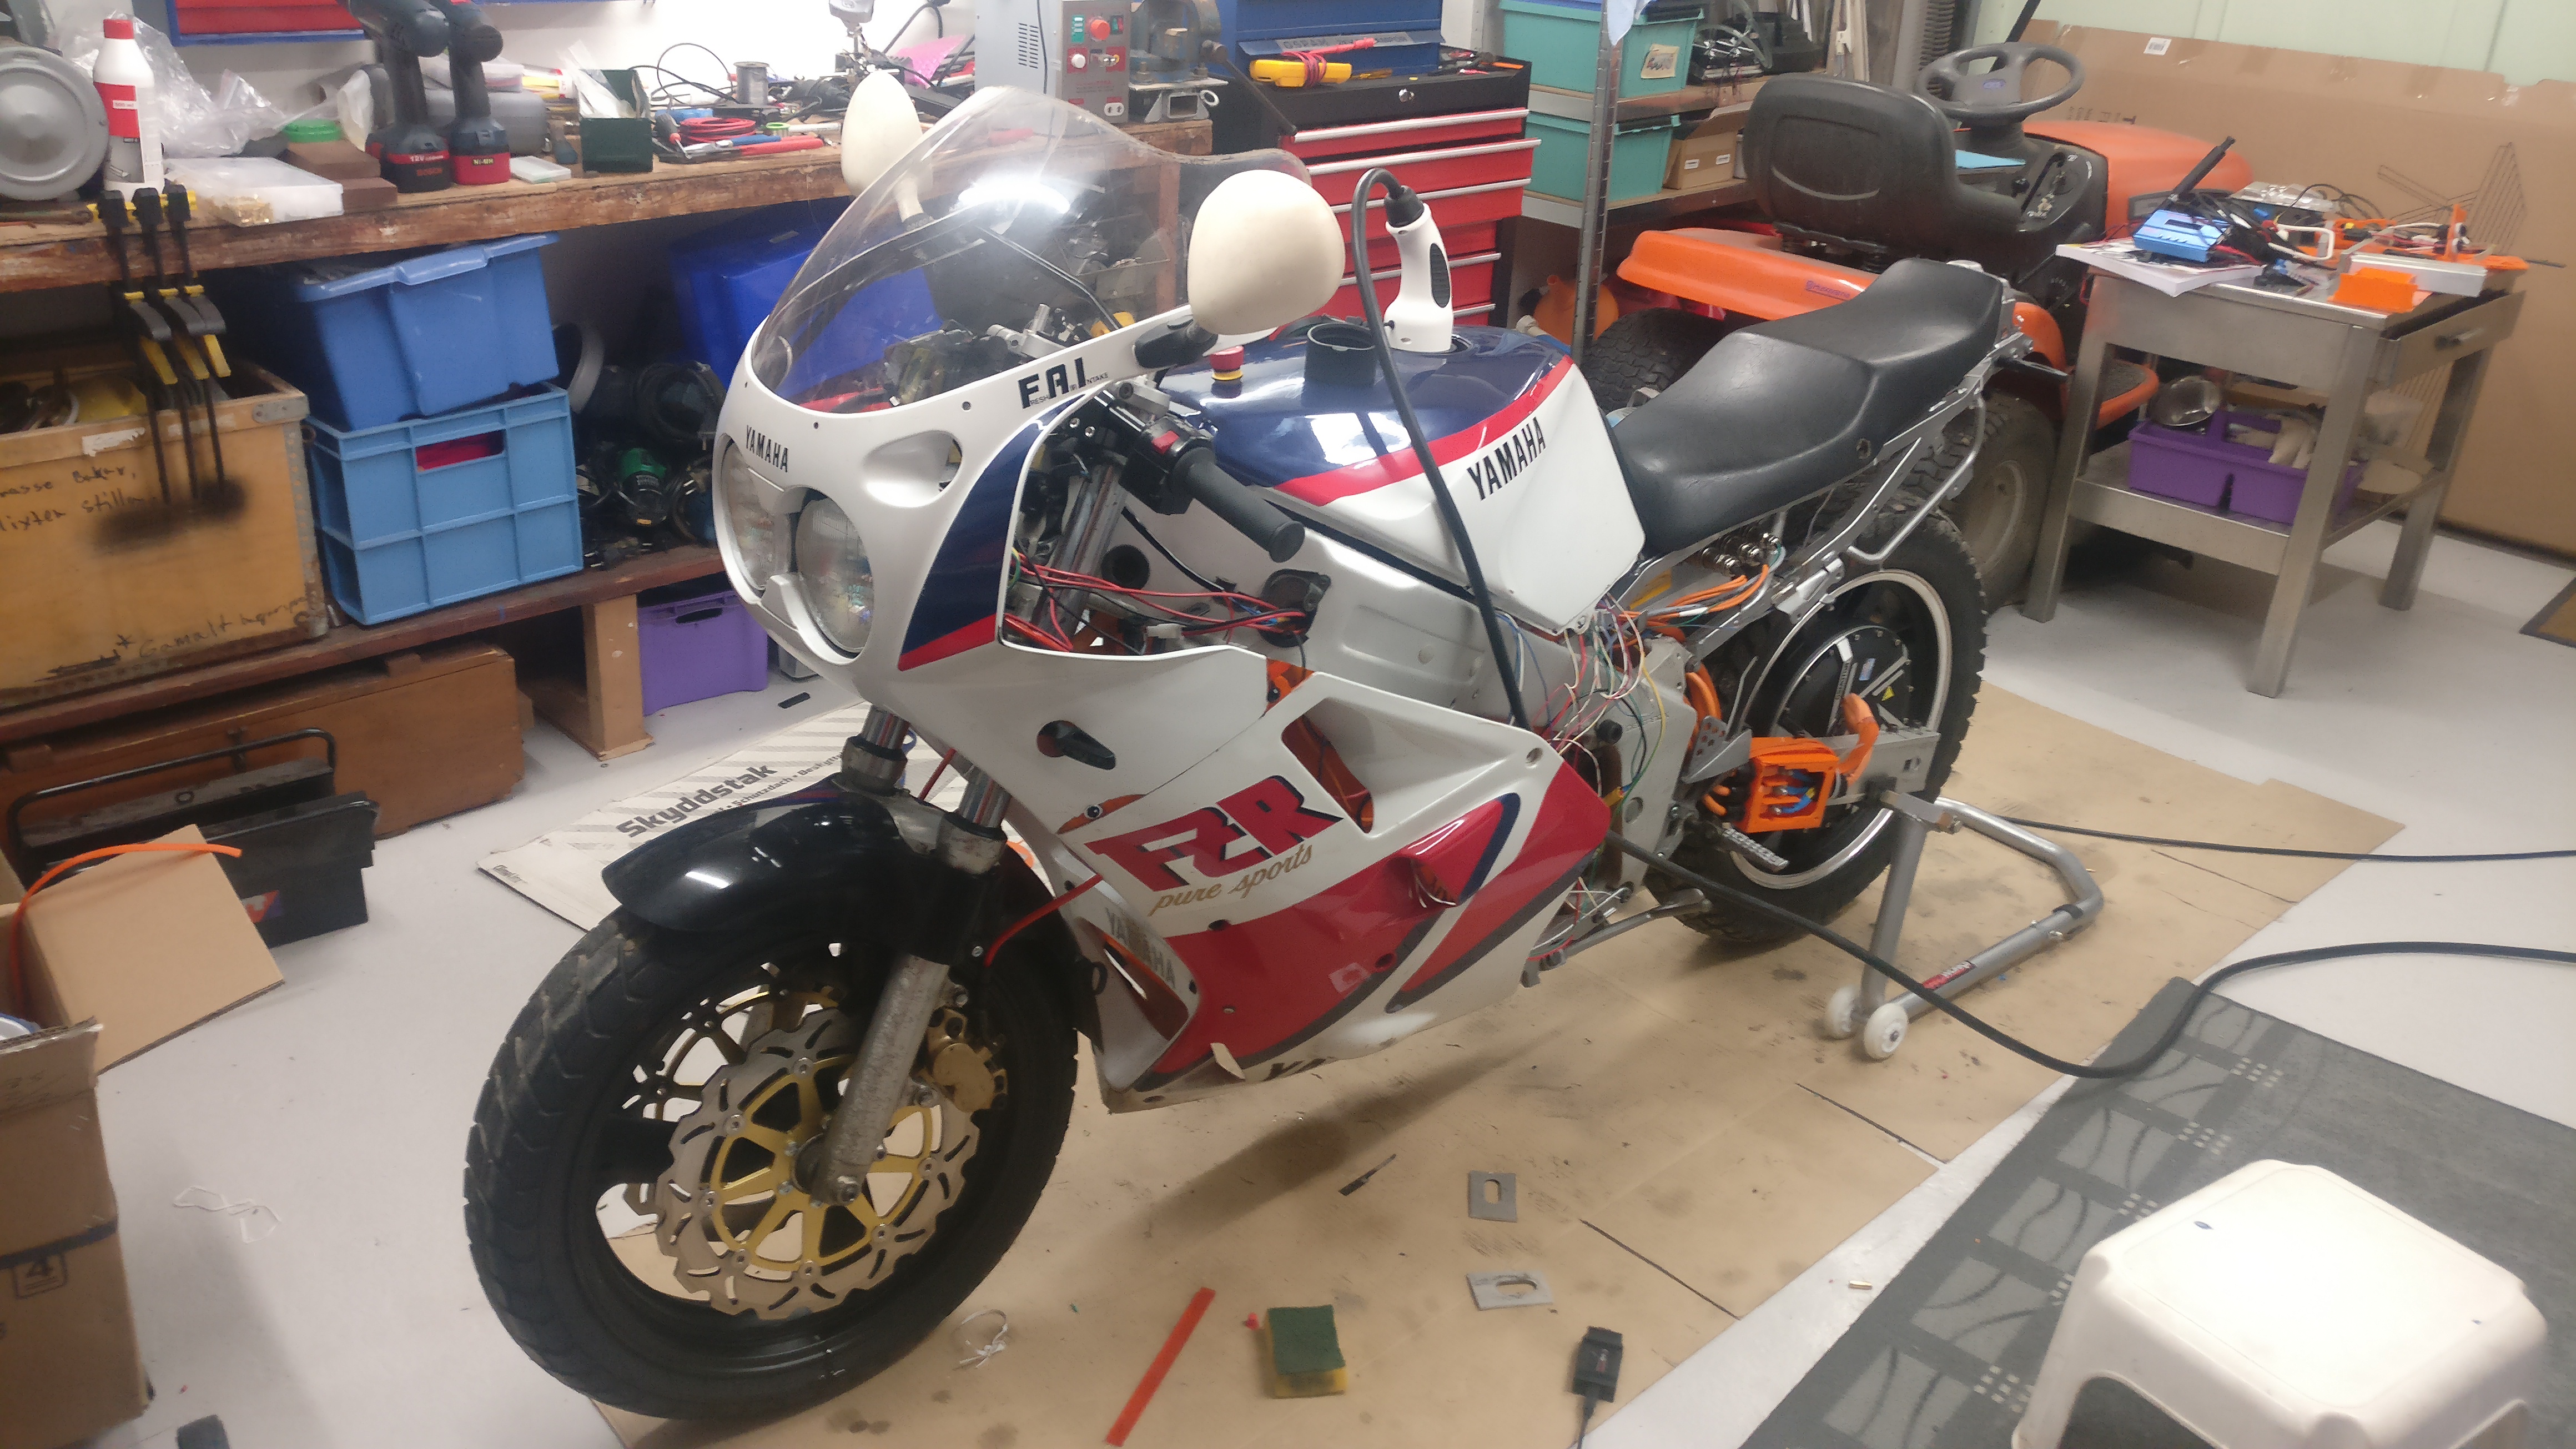
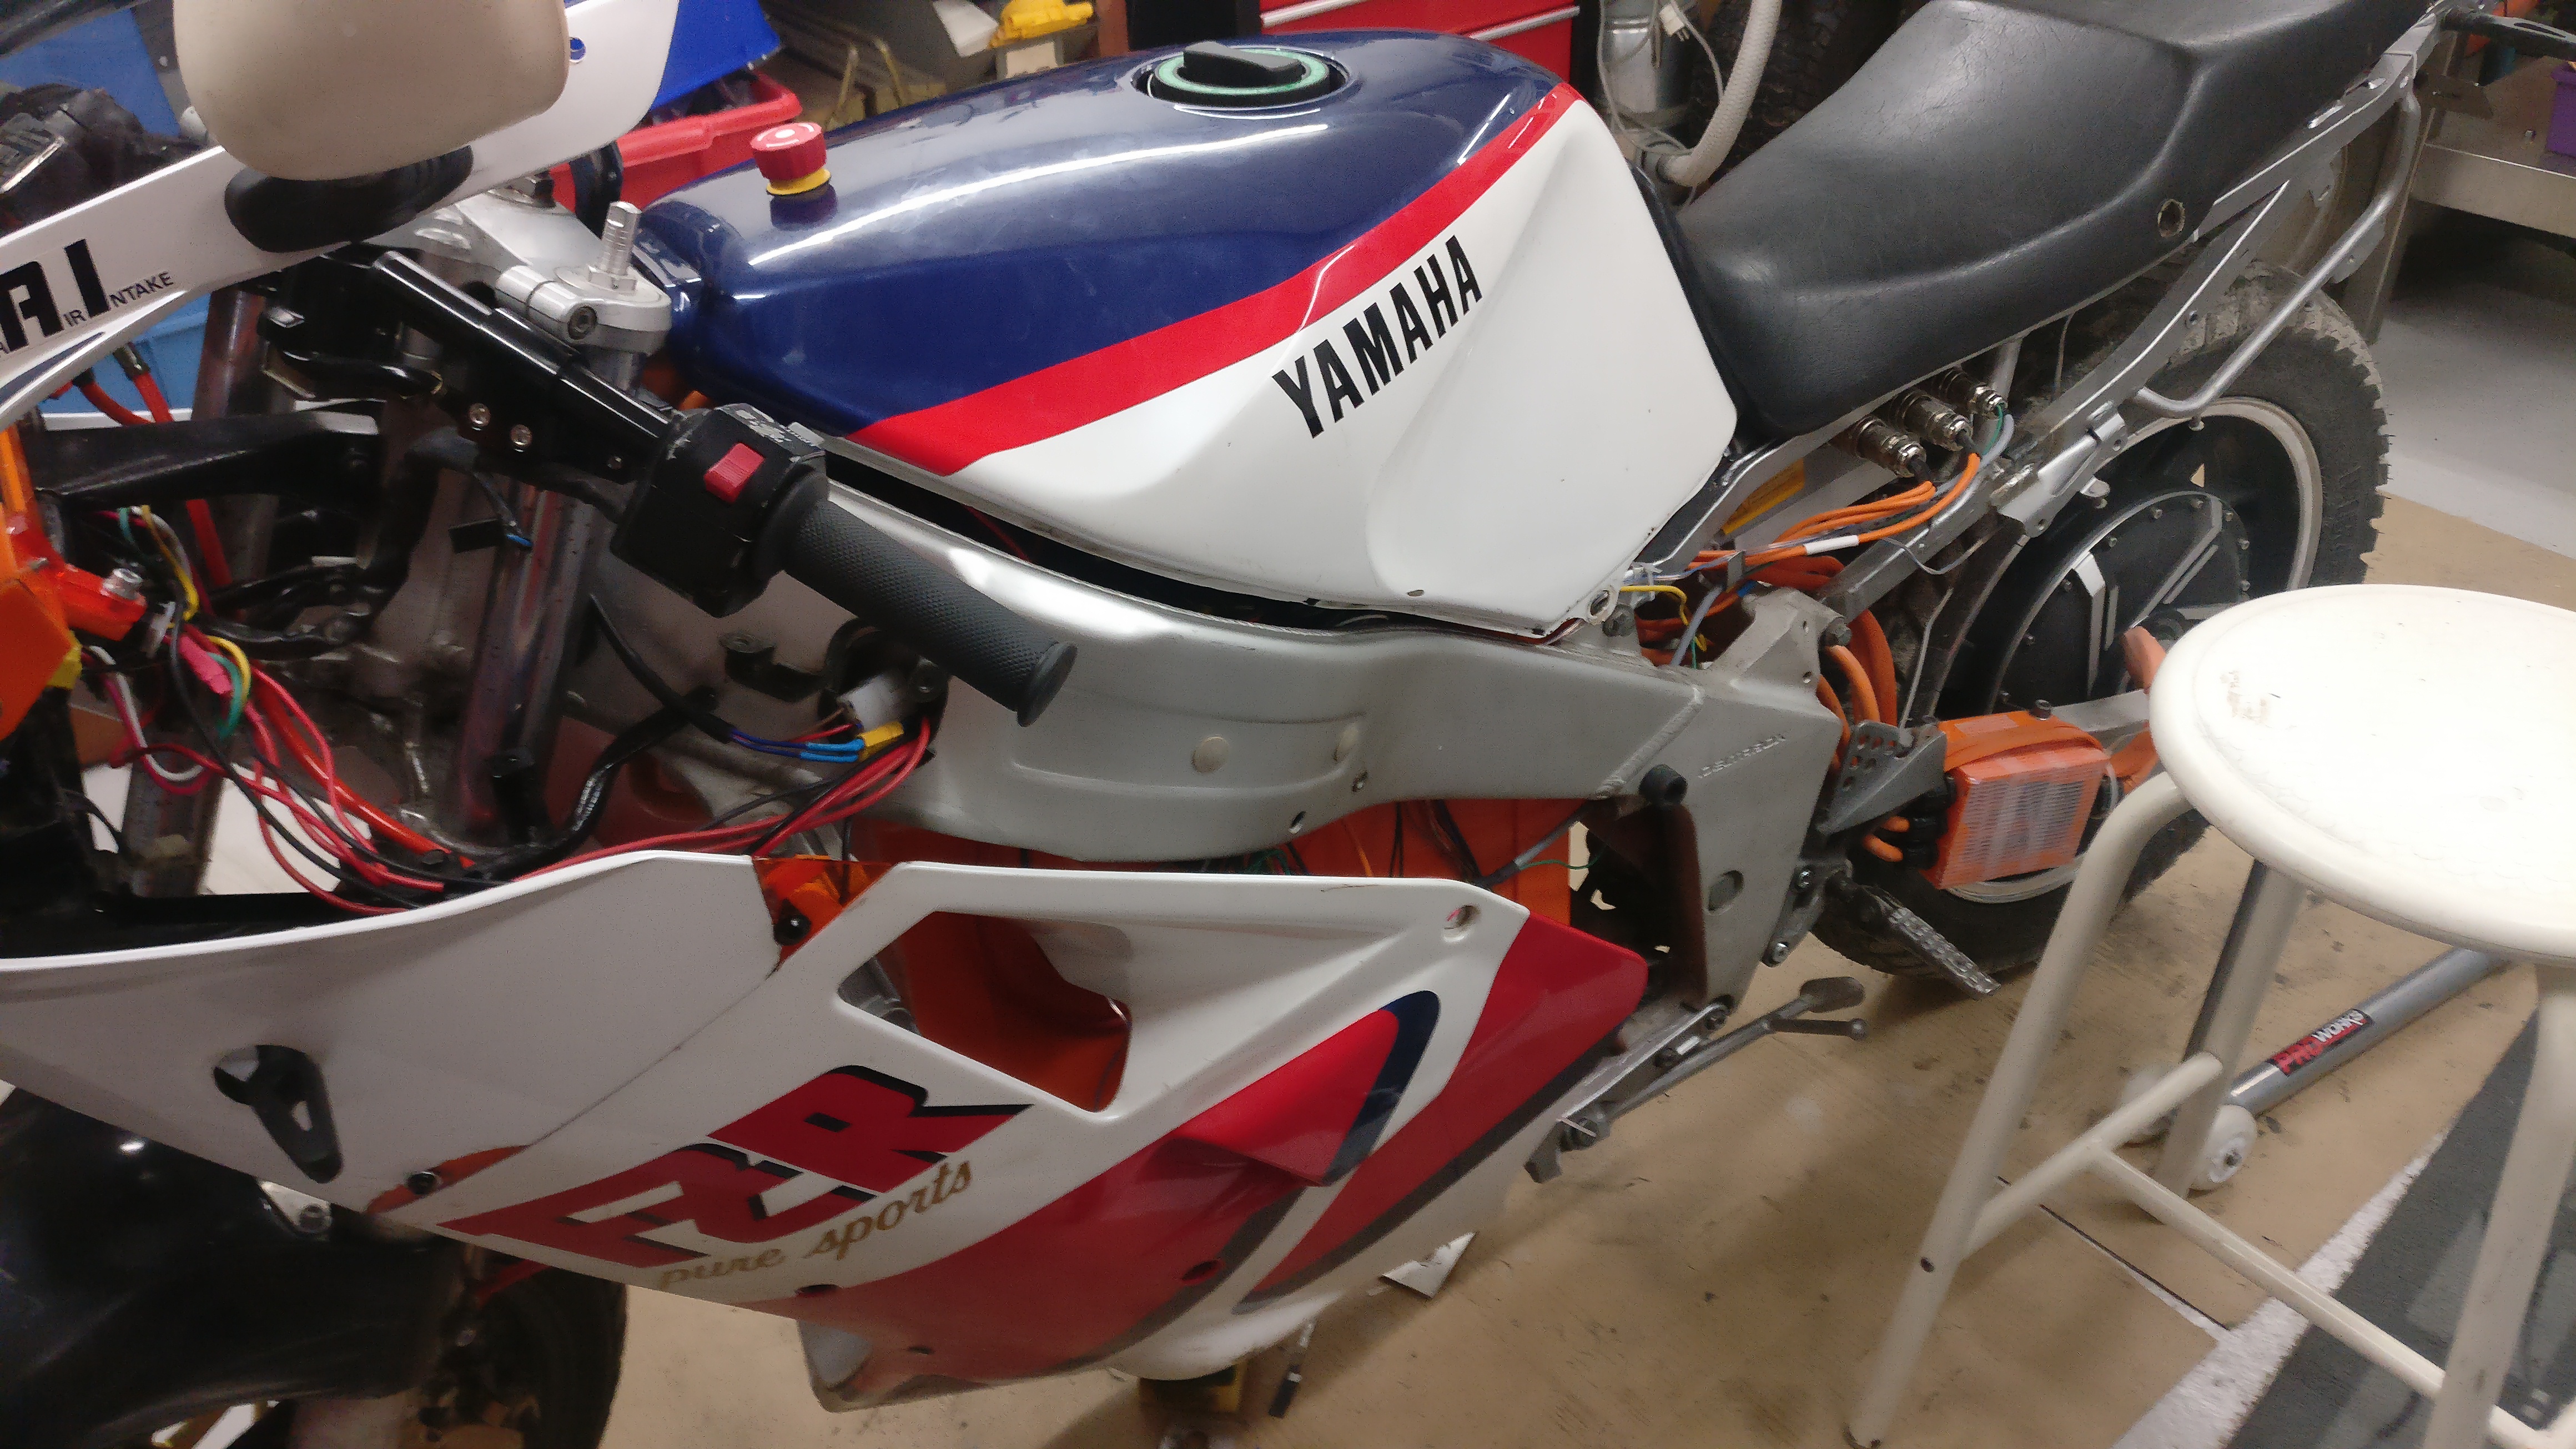
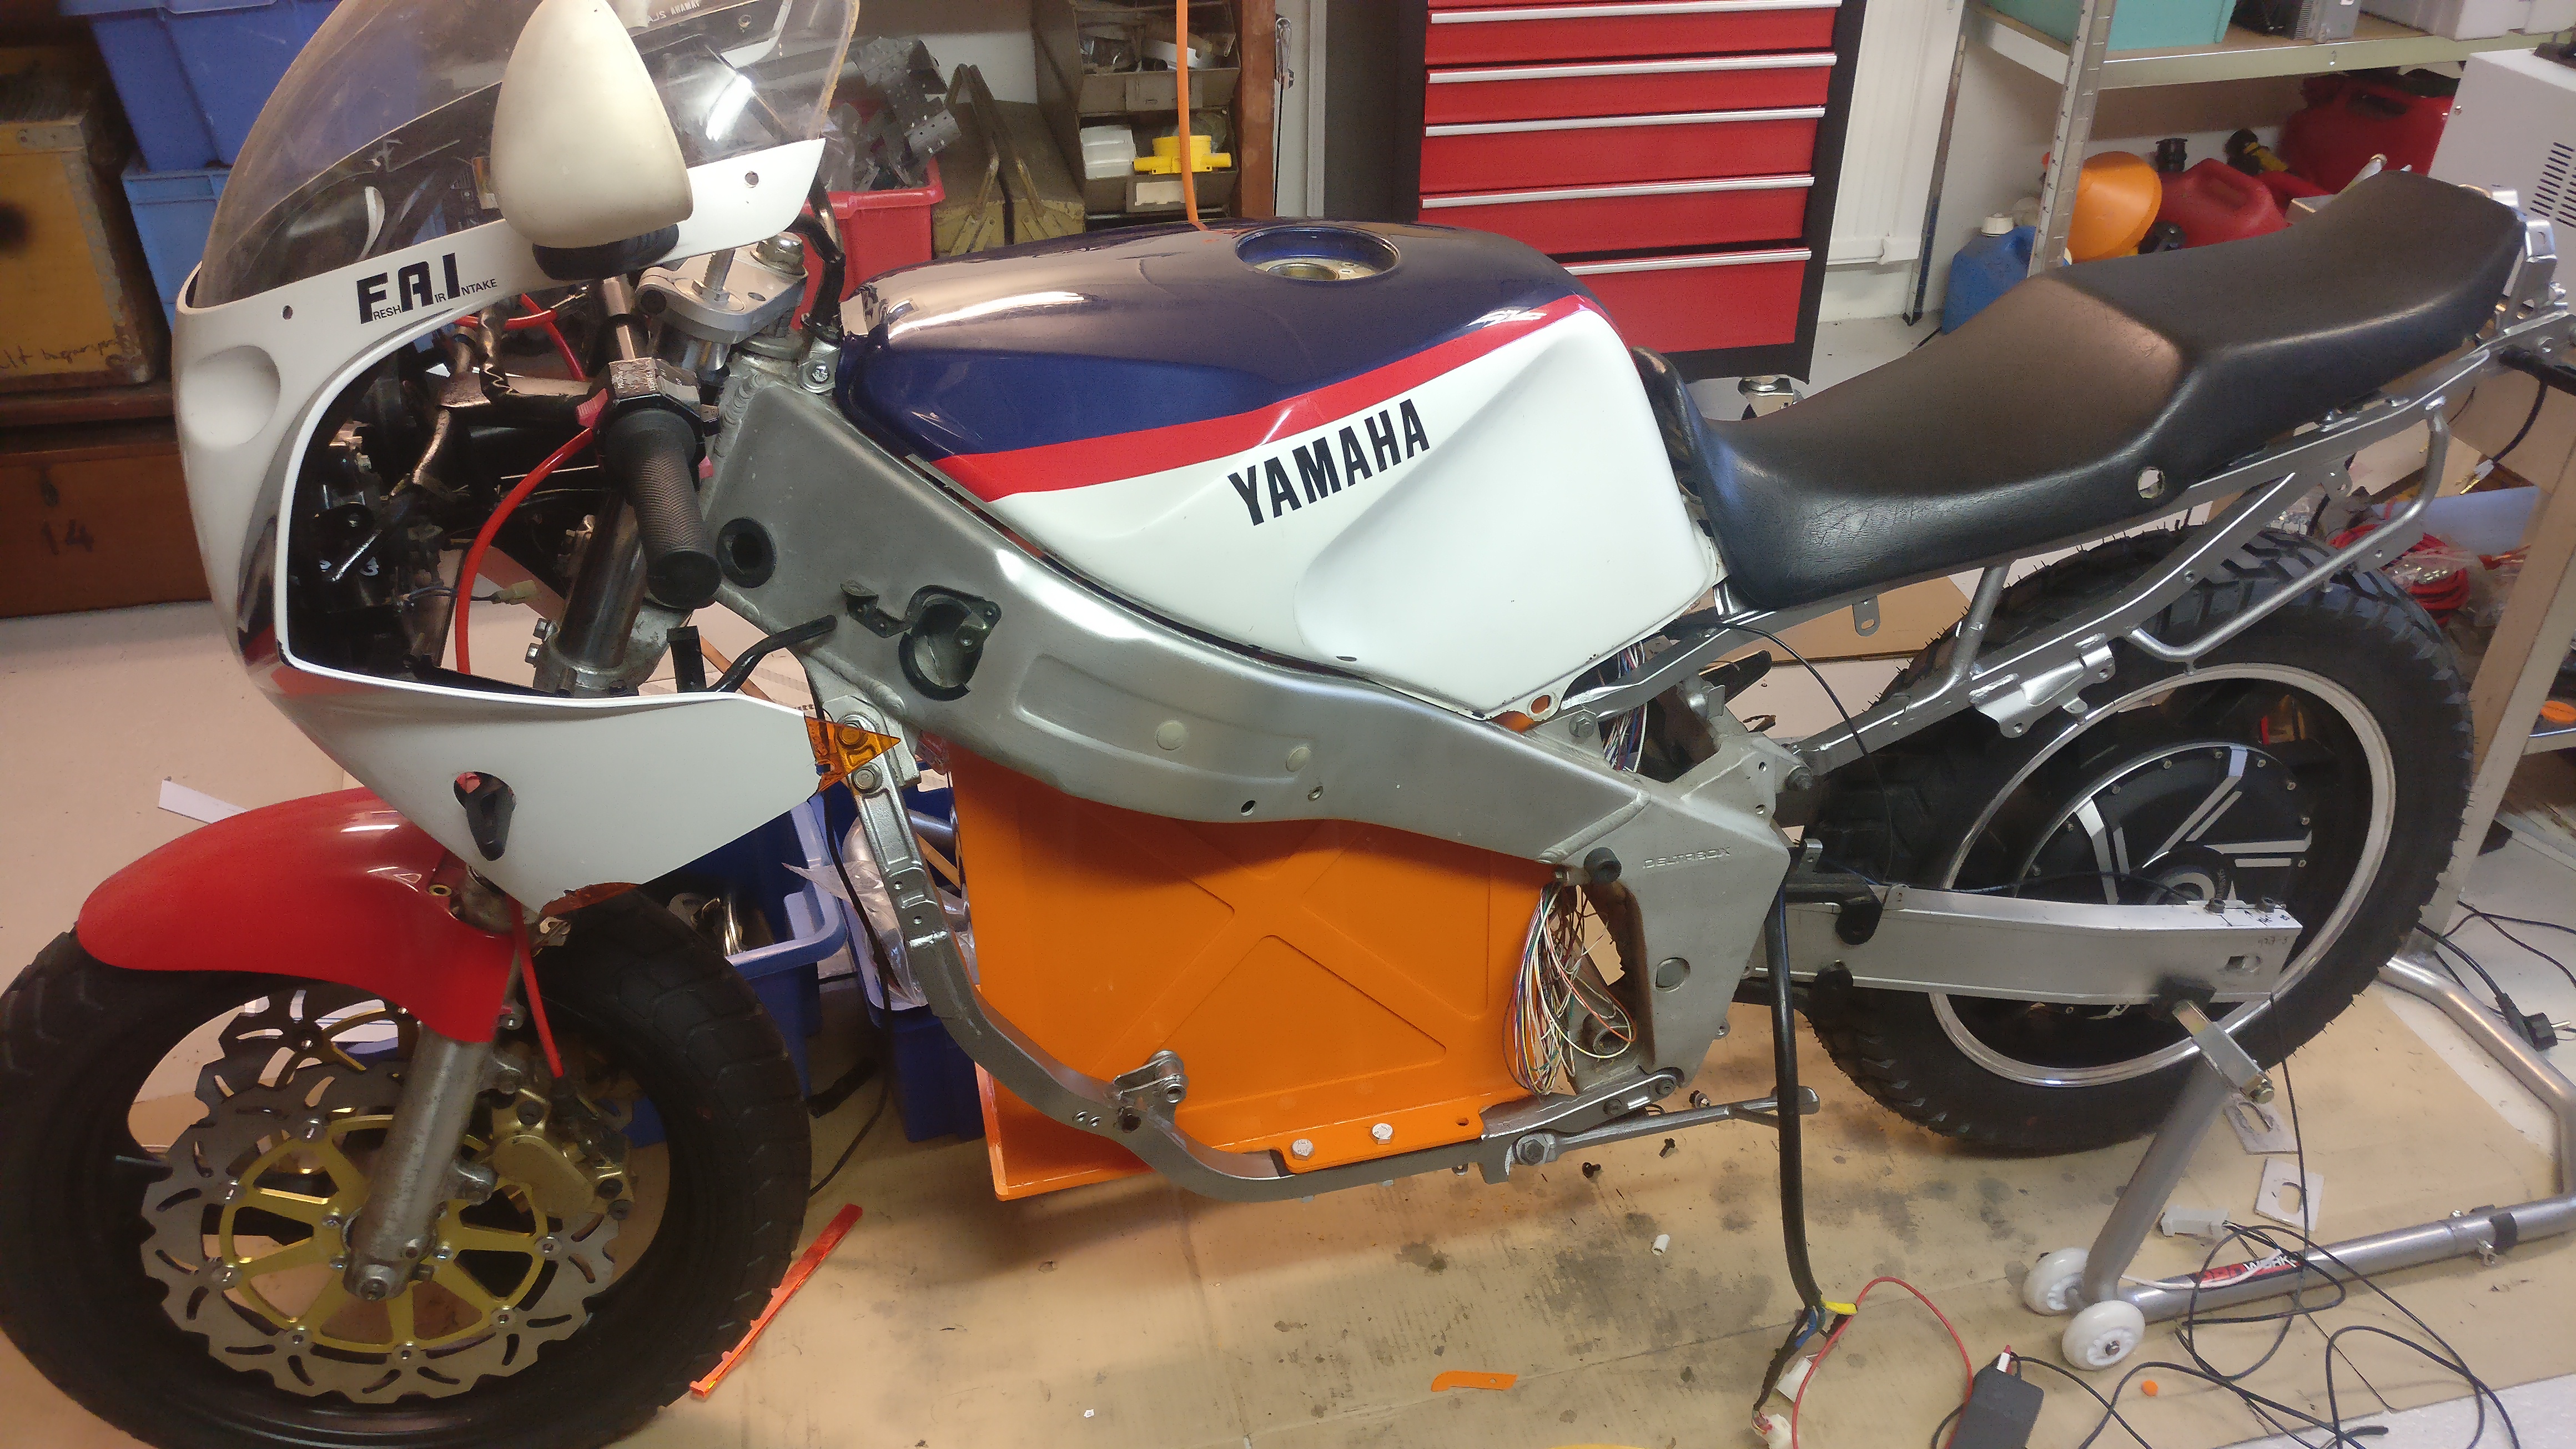
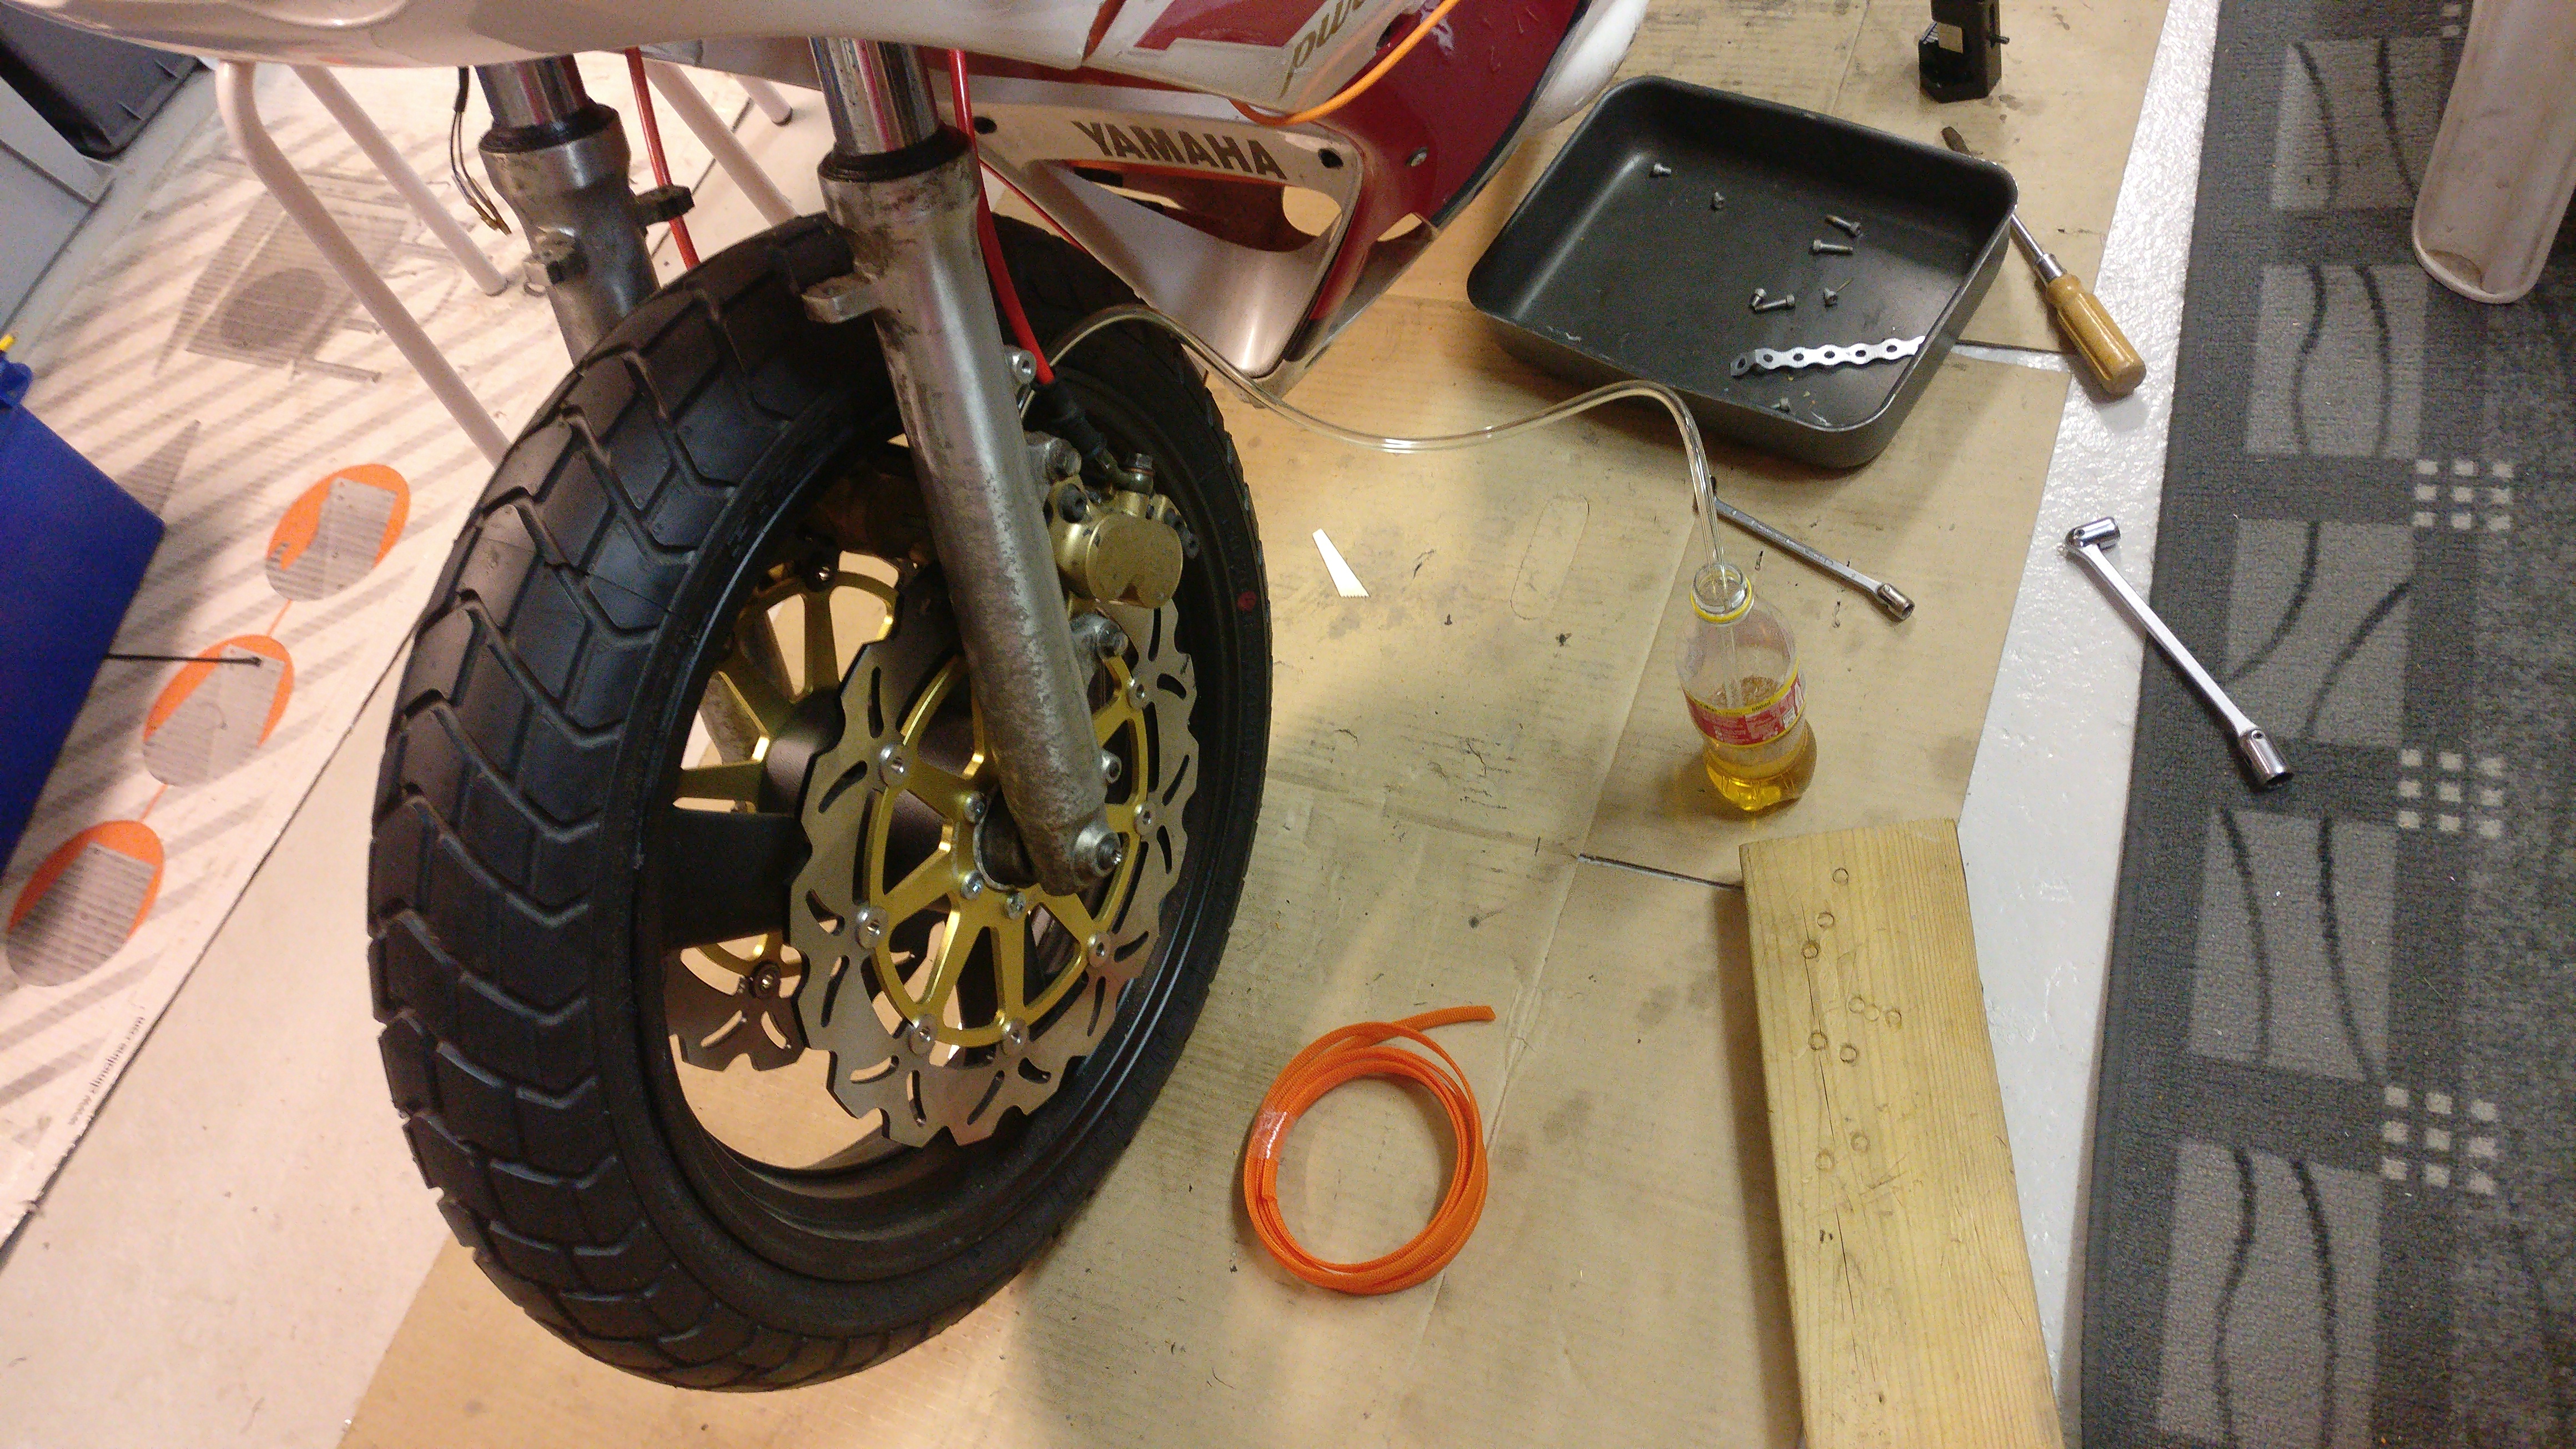
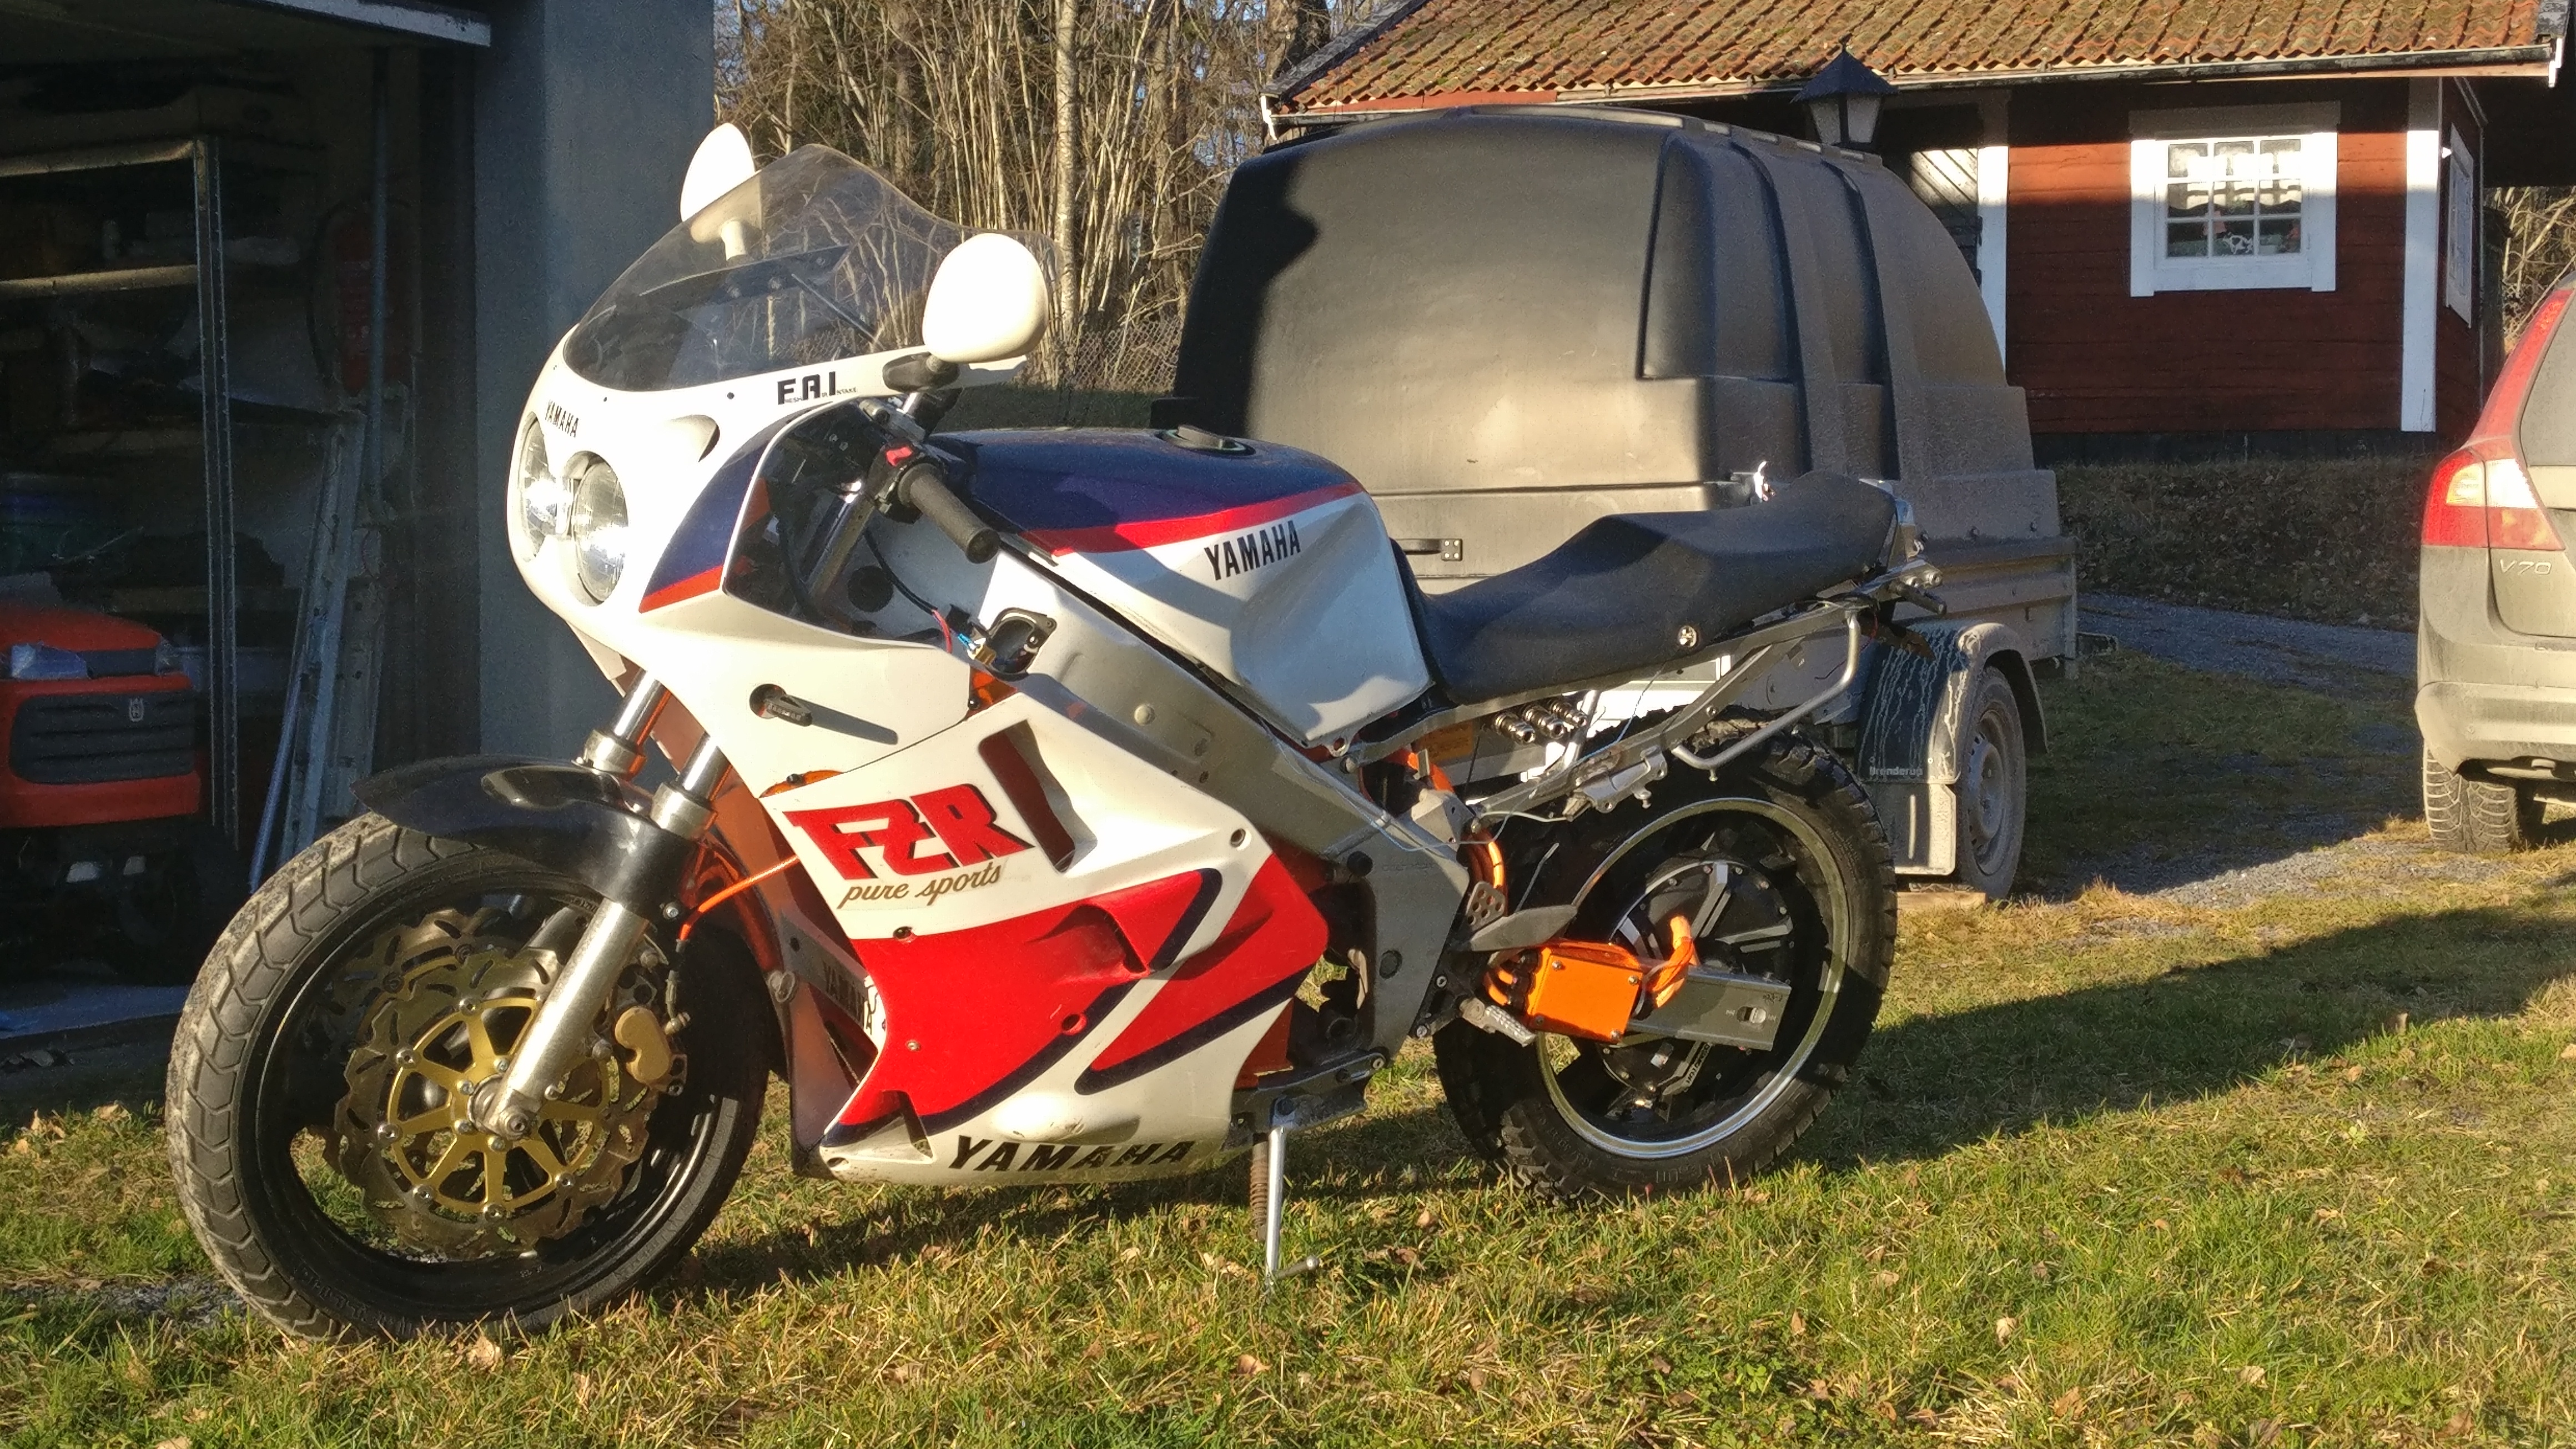
Looks cool! You gave yourself a bit of extra work picking a bike with a loadbearing engine though, avoiding that was one of the reason I went with the FZR-1000 instead of something newer like an R1 or GSXR1000.
Thanks!

")