My 4s2p A123 Amp20 Battery Build

granolaboy

100 W
Joined
Nov 9, 2011
Messages
274
Location
Skidegate, BC, Canada
So I finally have some time to do something with the stuff I ordered from OSN Power.

What I got:

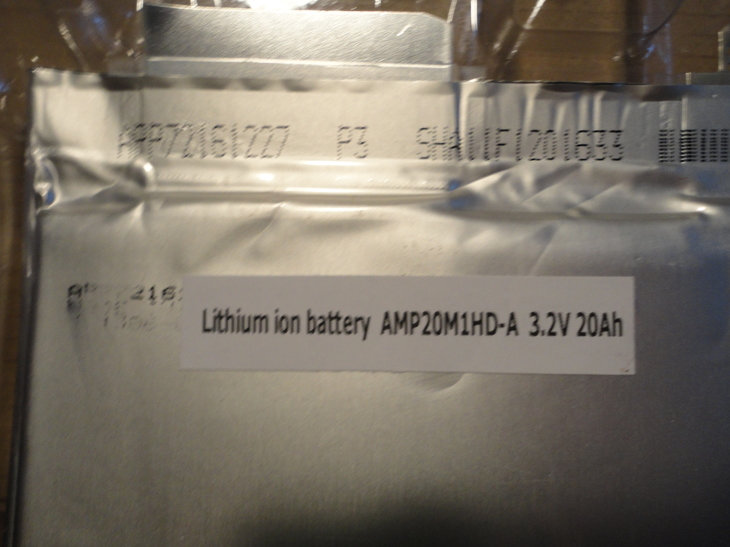
8 x AMP20M1HD-A A123 20Ah cells
1 x OSN-Assembly kit
1 x BMS-L4S100100-480 4S 100A 100A BMS
1 x CHA-1210 Lifepo4 12V 10A charger

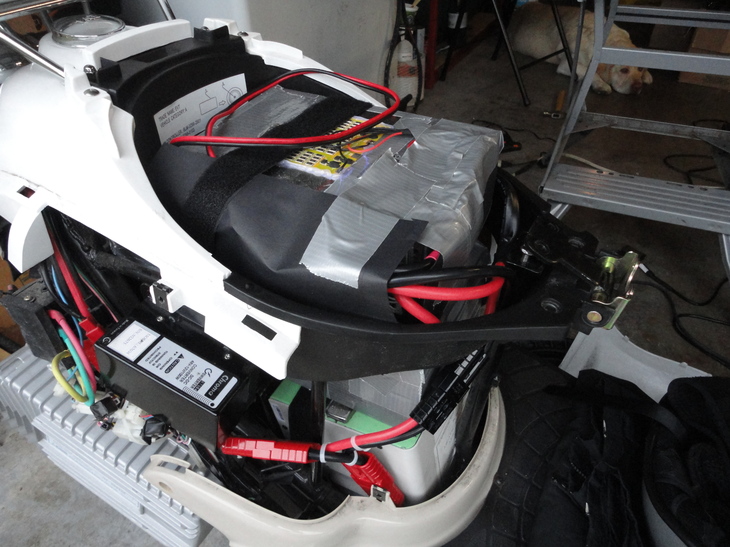
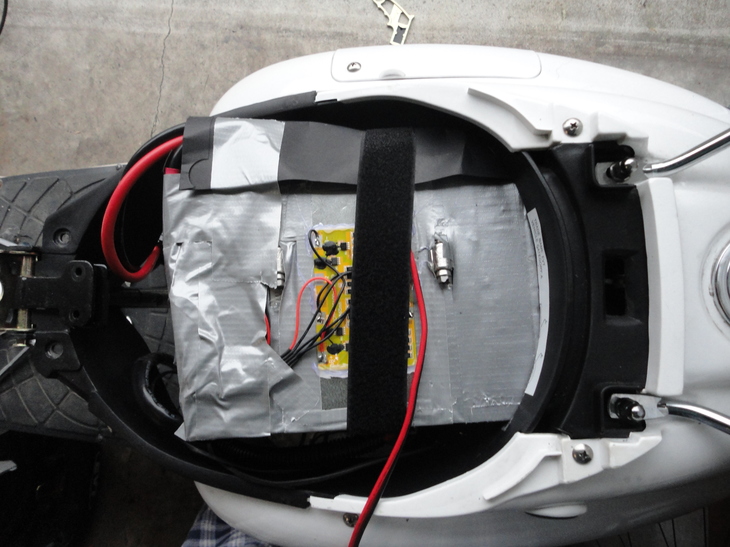
I'm going to build myself a 4s2p (12v 40ah) booster battery for my scooter. With my current 13s Li-ion battery at 54.6 volts fully charged plus the booster battery at 14.4v fully charged, I'll be sitting at 69v fully charged. I'm pretty happy with how the math worked out on that. :lol:

Anyway

First off, they sent me a 36v 10a LifePO4 charger by mistake. They basically said to keep it and sent me another 12v one. That's pretty cool if you ask me. I now have this charger to sell if anyone wants it.

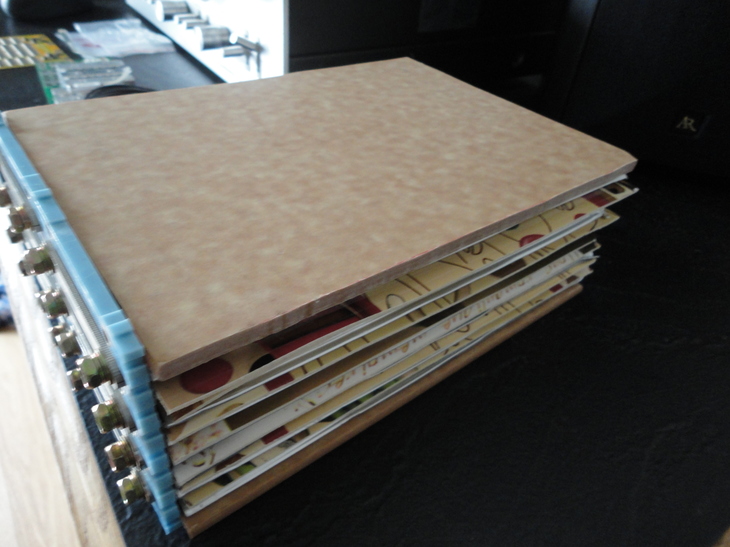
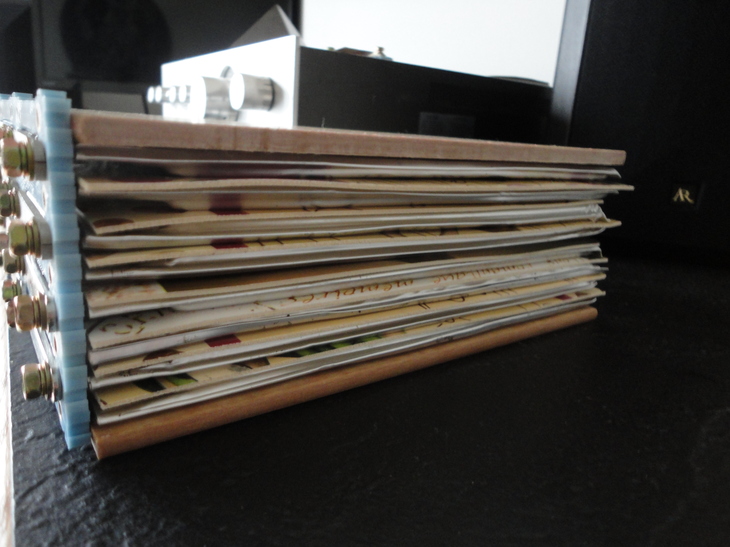
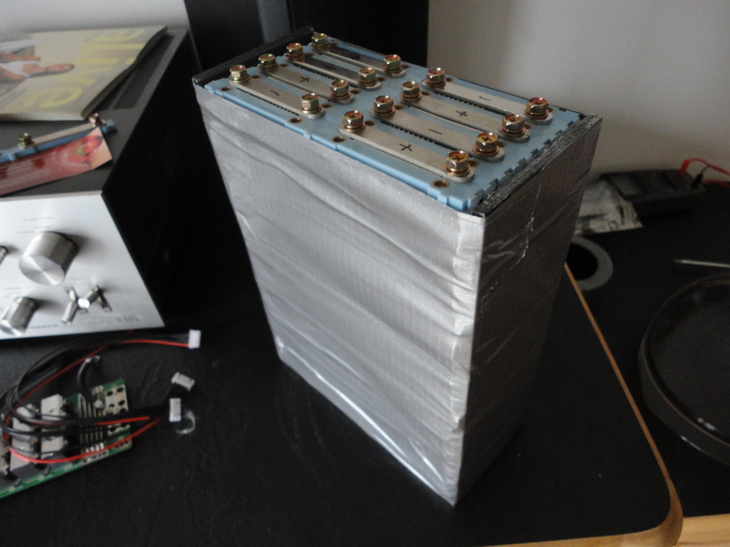
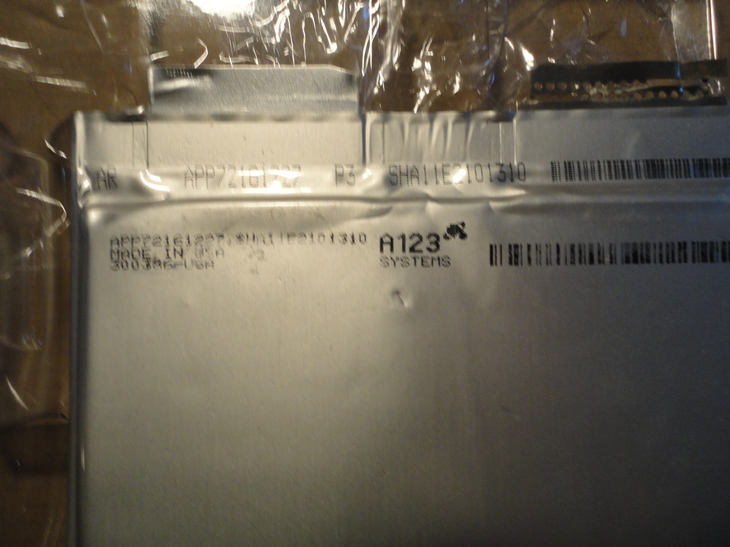
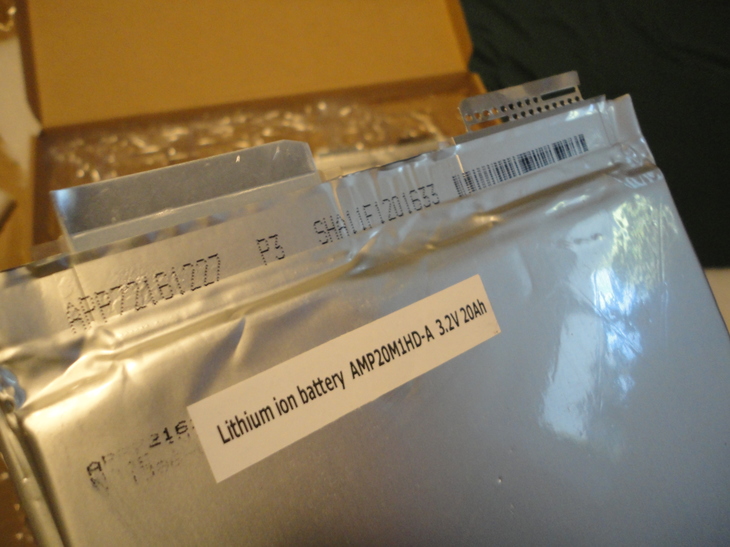
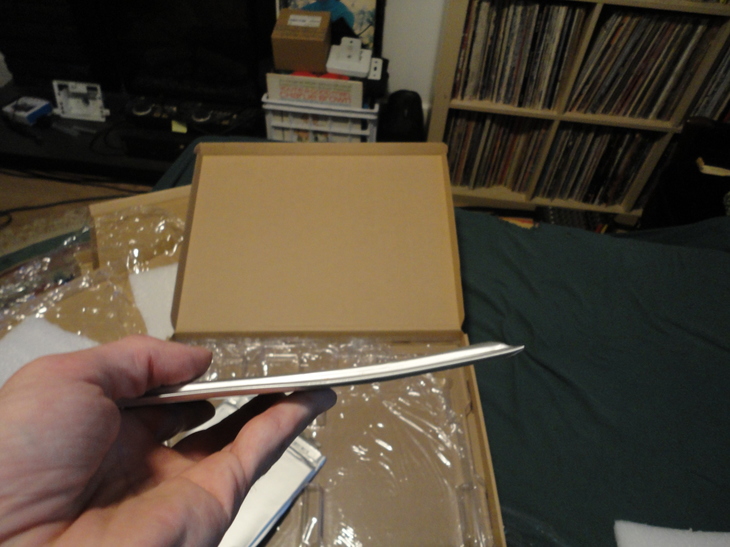
Here's what they look like:

DSC00948.JPG


Yep. Wrinles. Short tabs. Some were even bent a little. Not a chance these are grade A cells.


DSC00949.JPG

DSC00950.JPG

DSC00951.JPG

DSC00952.JPG


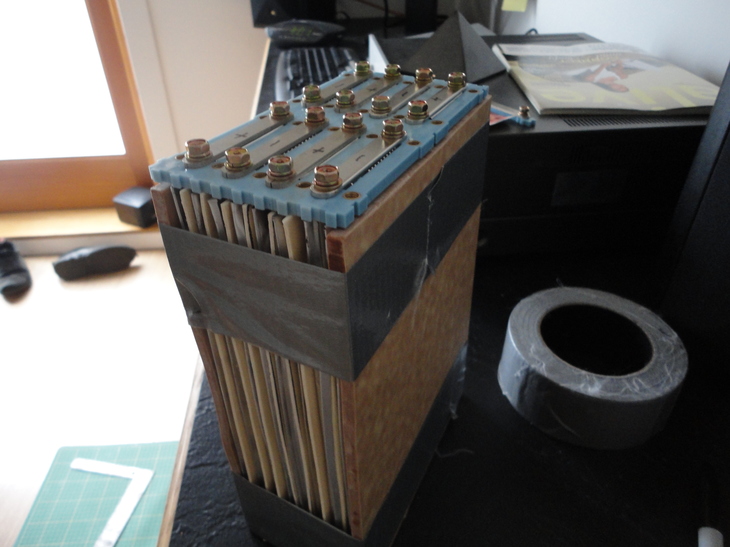
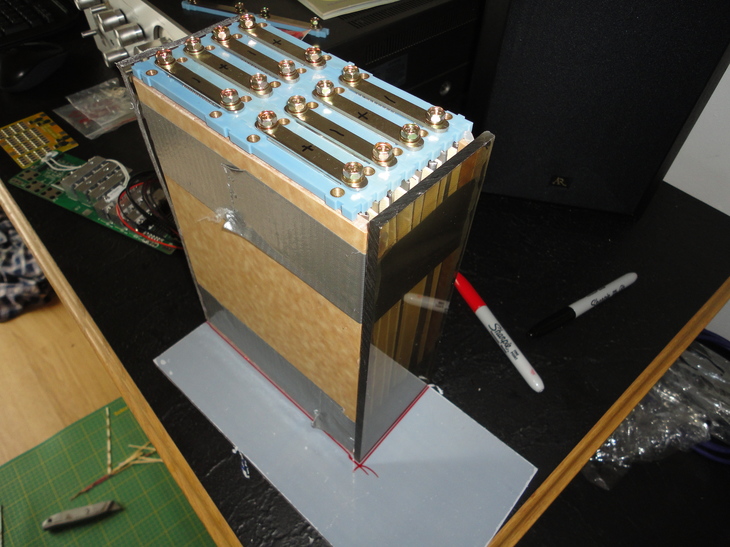
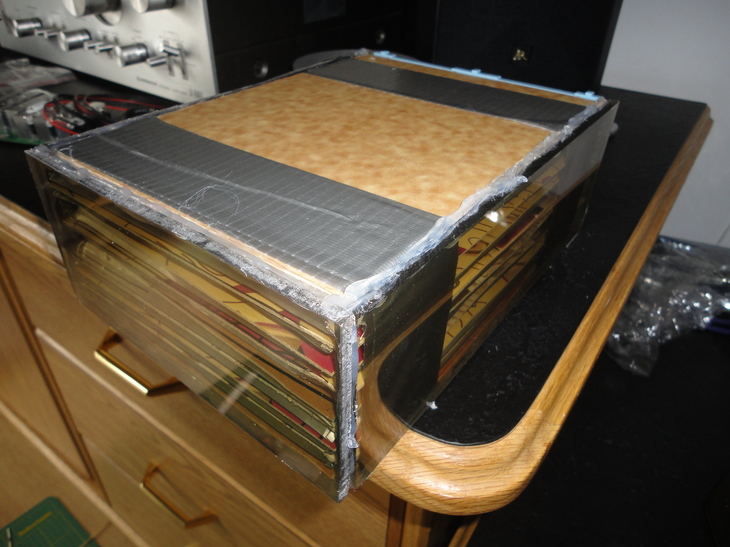
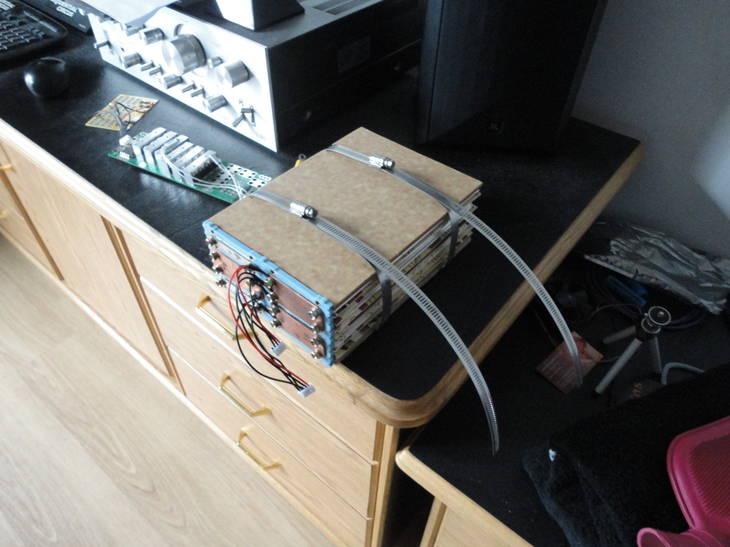
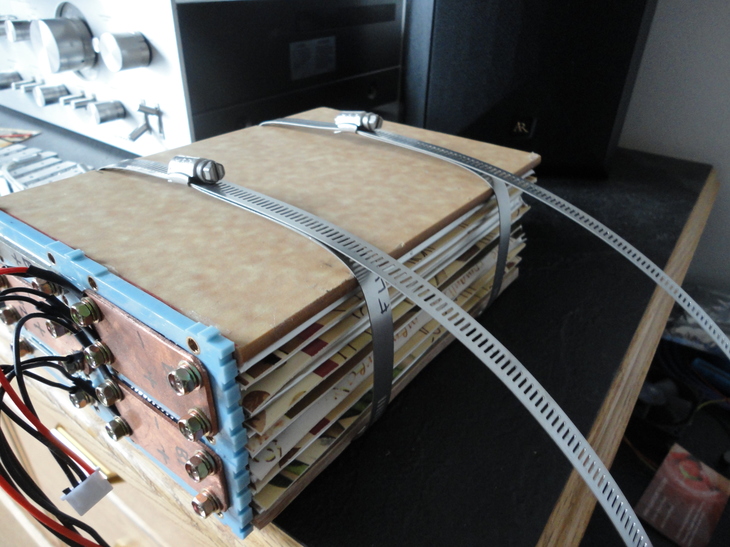
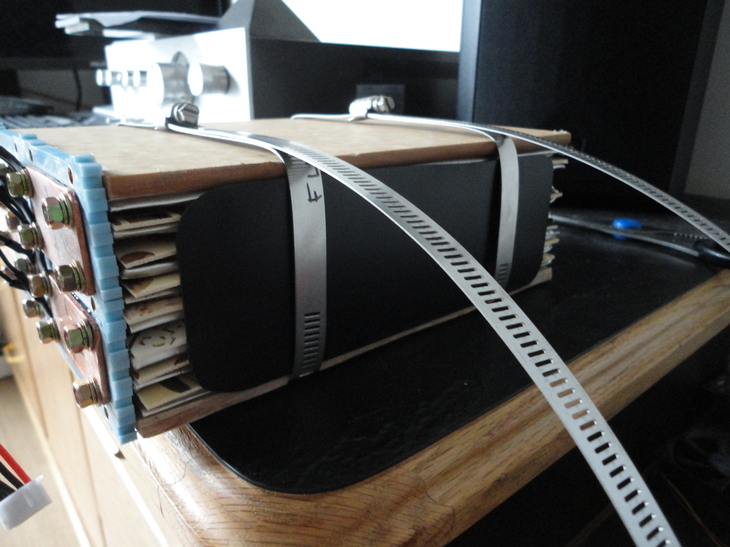
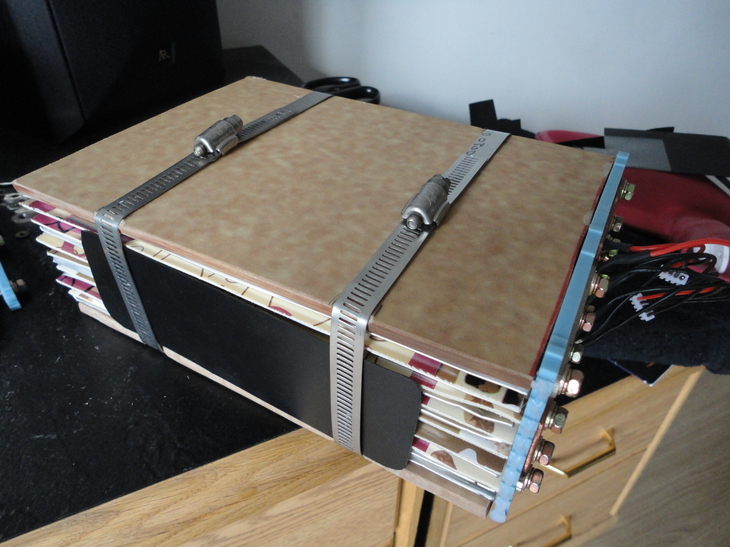
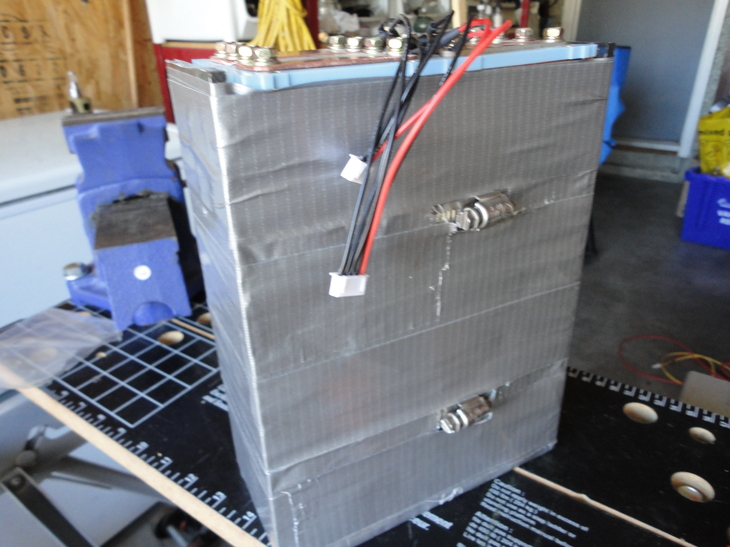
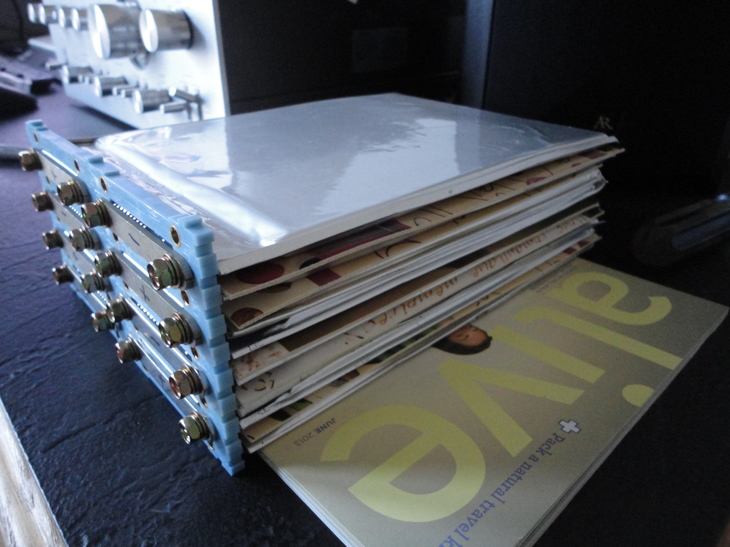
Oh well, they'll do for me I guess. So I went over to the dollar store and got some dinner placemats to use as spacer material, and started putting it together:


DSC00945.JPG


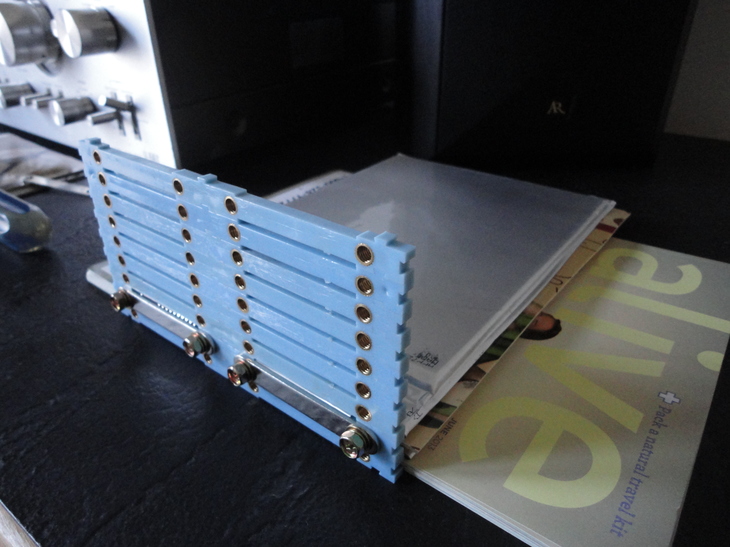
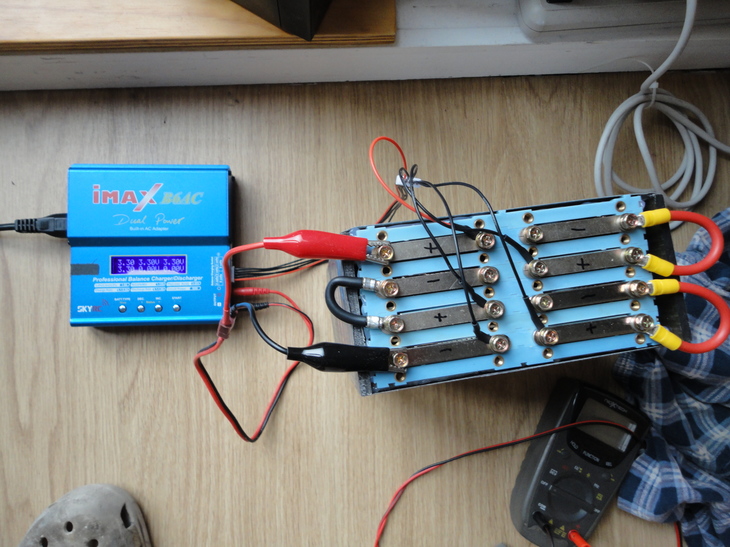
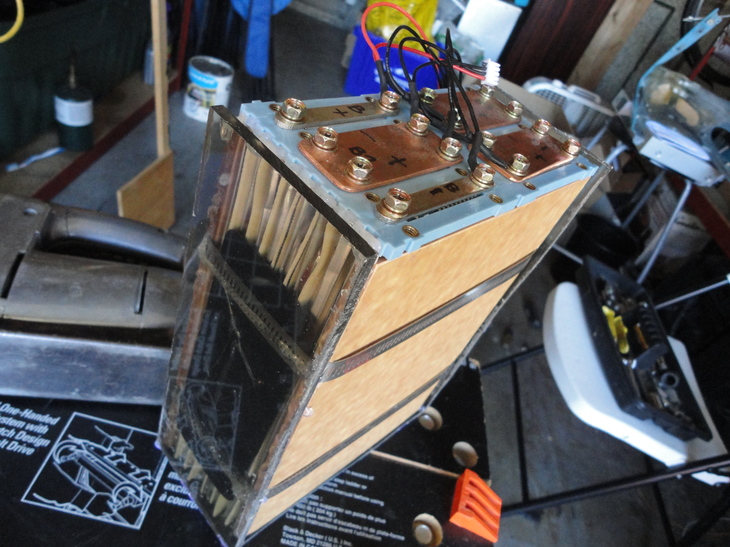
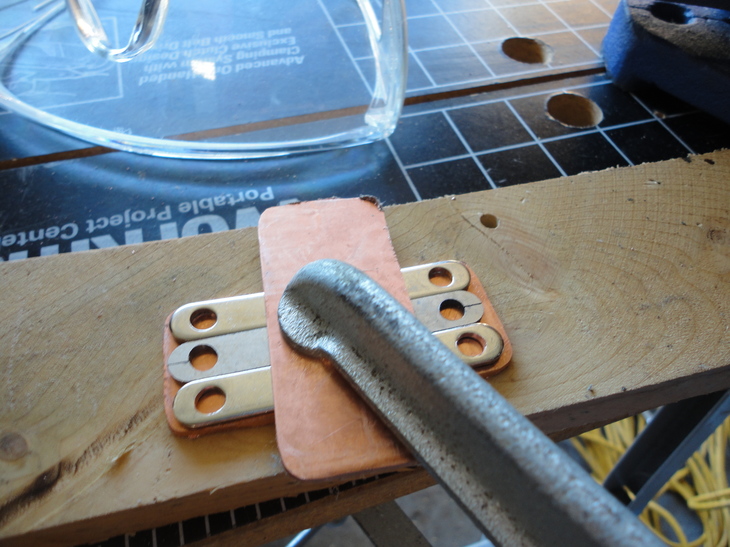
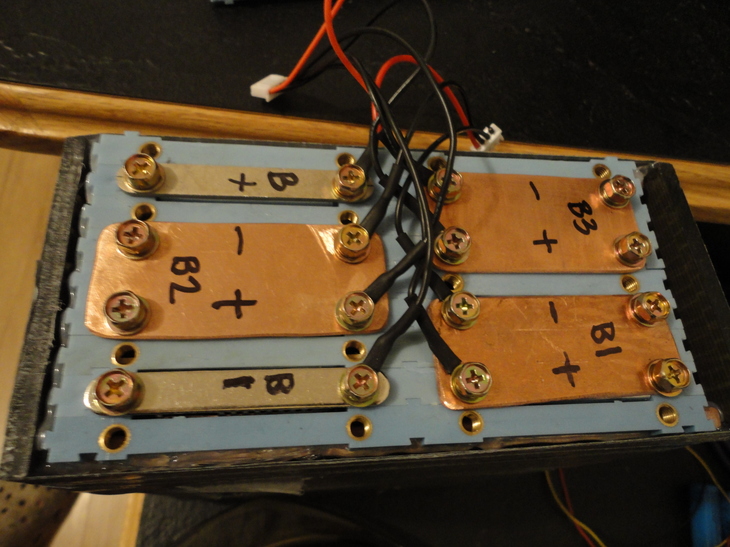
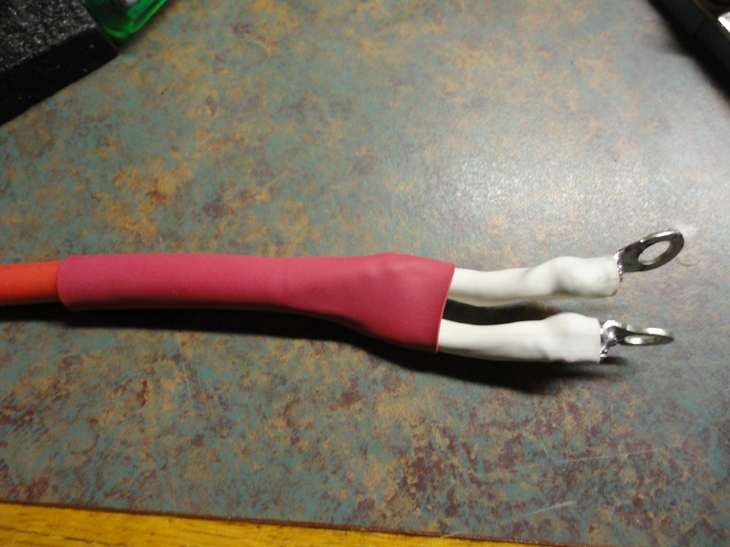
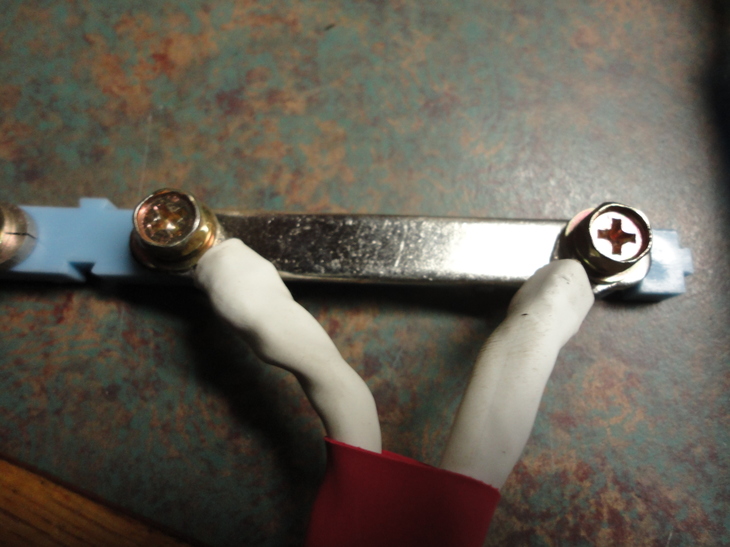
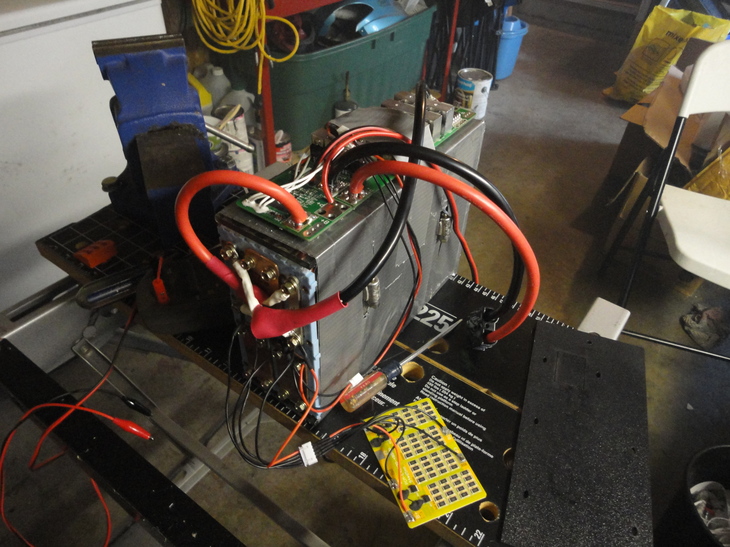
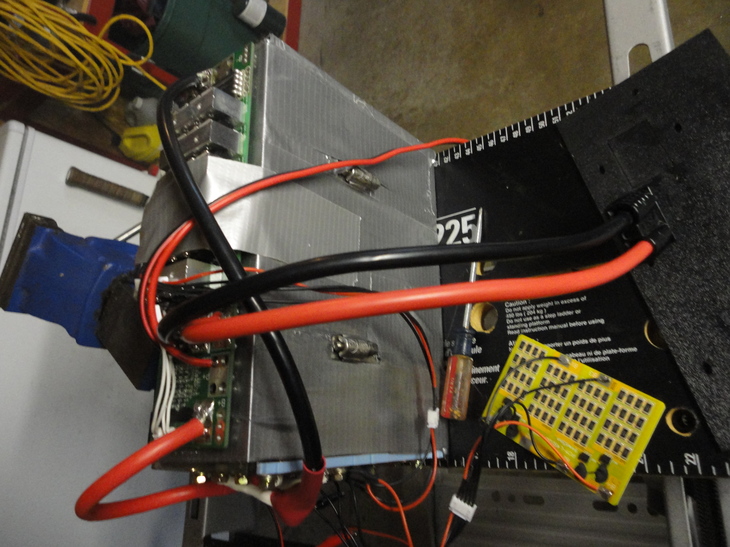
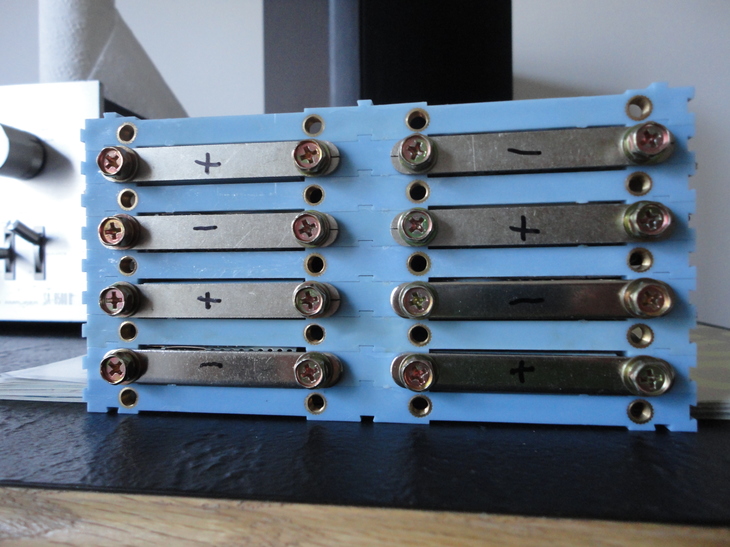
I figured to do the 4s2p, I'll connect them in parallel groups and then use some copper plate to make the serial connections after.


DSC00953.JPG

DSC00954.JPG


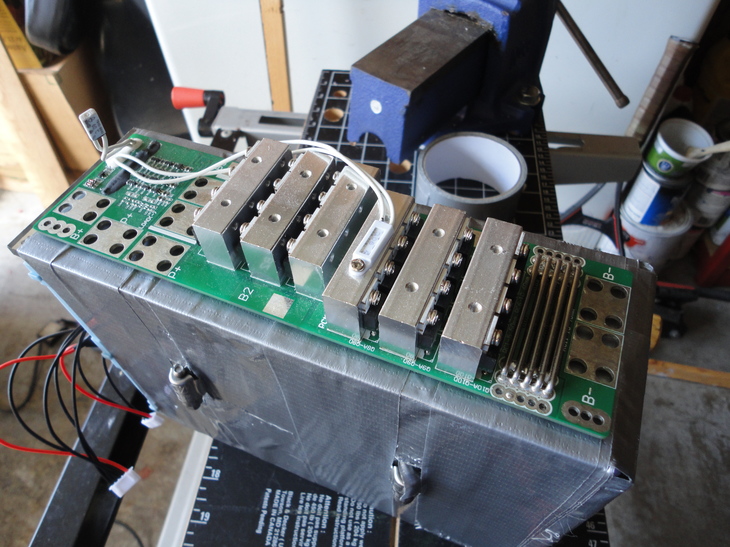
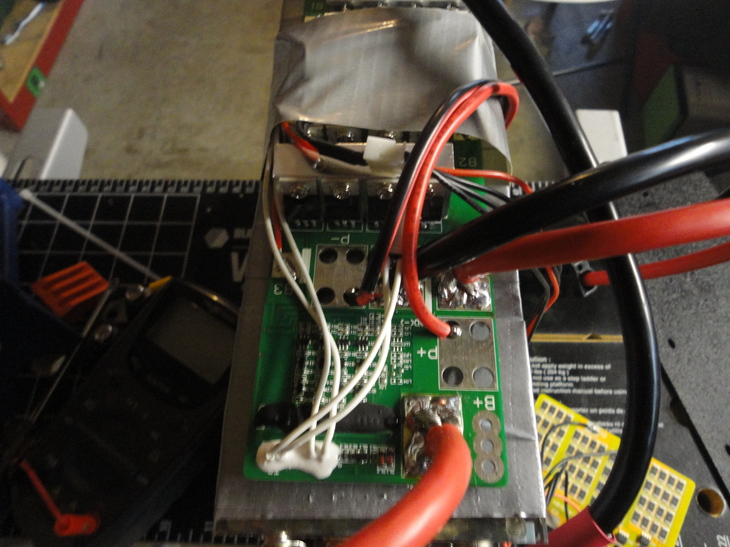
The BMS they sent me is actually 2 boards:


DSC00957.JPG

DSC00958.JPG


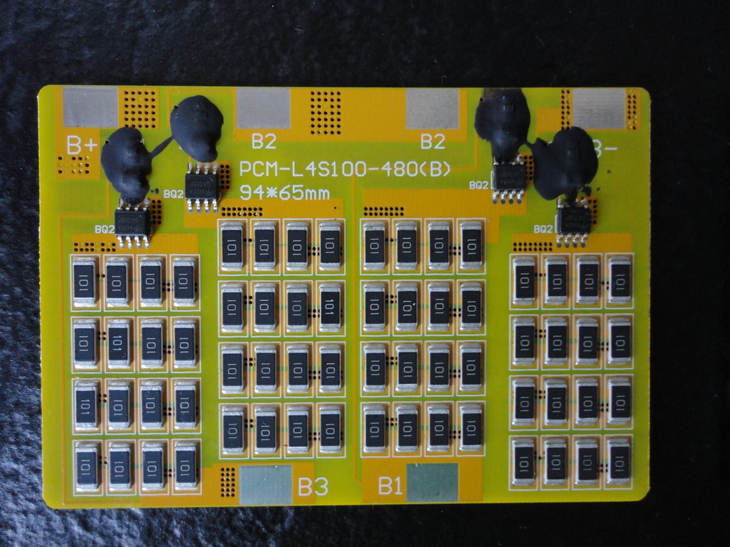
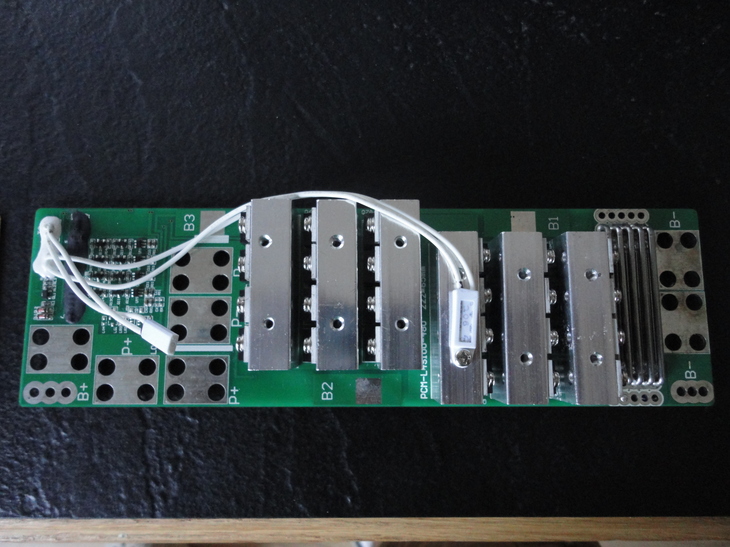
I assume that they both need to be hooked up. Seems odd to me tho...not that I know anything about BMS boards.
 
999zip999 said:
I would put them all in parallel and charge them to 3.6v first.

without compression? They are all sitting at roughly 3.3v right now. My plan is to assemble the pack when it is at this voltage, with stiff end plates, so that when it charges the cells will expand and become nice and compressed.
 
There is a big range of capacity in 3.3 and in 3.4v at the 3.5 number and up the lower and lower capacity and will race higher voltage very fast. So all the numbers have a different meaning. Like it will charge from 2.8v to 3.0 pretty fast then start filling up. The sweet spot of A123 lifepo4 cells. Of course this is my opinion.
The reason for pre charging to 3.6 or as I like to 3.5v then build the pack. Now it's not all on the bms to balance a new pack. Those poor little resistors bleeding down a 20ah cell for balancing.
 
Ahh...I hear yah...that makes sense.

I assembled it all at 3.3v, and I just threw it on the ImaxB6 and balance charged it for the first time. I was expecting a lot more expansion of the cells, actually...they didn't seem to expand much at all. All cells at 3.60v. This is after building the "box" and stuff...

I have a bunch more pics to post. Still waiting for the copper plate, and busy as heck, so posts will be infrequent.
 
Finally have some time to post pics and finish this thread.

So I needed some end plates that were good and stiff to put compression on the cells. Metal seemed too heavy to me, so I went down to the dollar store and got a cutting board. It's about 3/8" thick, really REALLY stiff, and much lighter than metal.

DSC00964.JPG

DSC00963.JPG


Then to see what kind of expansion I'd get once fully charged, I wrapped it as tight as I could with some duct tape:

DSC00965.JPG


It seemed pretty darn tight to me, and duct tape is pretty strong, so I just glue-gunned some sides and a bottom on it:

DSC00970.JPG

DSC00971.JPG


Then duct-taped the hell out of it:

DSC00973.JPG


Then charged it up:

DSC00974.JPG


Starting cell voltages:

DSC00975.JPG


Ending cell voltages:

DSC00983.JPG


The cells didn't seem to expand at all, so now I'm worried that duct tape isn't going to provide enough compression on the cells.

I discharged the cells to storage, and decided to go with a better solution.
 
So screw duct tape, I'm using metal banding for compression.

I took a file and notched the end plates so the bands had a place to sit and not slide around.

DSC01026.JPG

DSC01027.JPG


Crank those suckers down tight:

DSC01029.JPG

DSC01030.JPG


Glue on the sides and bottom again:

DSC01031.JPG


And copious amounts of duct-tape:

DSC01035.JPG

DSC01039.JPG

DSC01040.JPG
 
I didn't like wires making the series connections, so I got some 2mm thick copper plate and made my own bus bars.

I just cut them out with a jigsaw, and used my desk grinder to smooth the edges and round off the corners.

I used 3 of the original bars to make a jig to drill the holes:

DSC01005.JPG


Much better:

DSC01012.JPG
 
Now I got to wire this thing up to the BMS.

First I did the ends to connect to the battery. I split the 6awg silicone wire I'm using into two, then used 10awg ring terminals on each end. Then I heat-shrunk it up. Should make a decent connection.

DSC00993.JPG

DSC00994.JPG

DSC00995.JPG
 
So the way the battery is going into the trunk under my seat means mounting the BMS on the side makes the nicest fit.

DSC01055.JPG


Then I took the 6awg silicone wire, and split it into 4 wires. Each of the pads on the BMS has 4 holes in it, so I figure I'll use all of them for each connection.

DSC01057.JPG

DSC01062.JPG


A whole ton of soldering and an Anderson SB-50 later, we have this mess. Note this BMS uses the same connections for both charge/discharge.

DSC01063.JPG

DSC01064.JPG

DSC01065.JPG

DSC01066.JPG


And here it is in my scooter all hooked up:

DSC01071.JPG

DSC01076.JPG


I'll post another thread where I go through all the headaches of getting this battery to fit into my scooter, and the simple mod to my EVT scooter to wire it in. This thread is just the battery build.

I will say the results are fantastic. Everything fits perfectly, and the power increase is awesome.
 
I got everything from OSN Power

This is the BMS:

http://www.osnpower.com/pddetaildate/product/detail/20141028_21905563.html

Says it does 100A continuous, and over-current protection kicks in at 220A +- 30A.

I have to say, the over-charge protection voltage at 3.9v is totally useless for a LiFePO4 cell....how about 3.65?

If anyone knows how to mod this, please let me know, because 3.9v is WAAAAY too high. What were they thinking?
 
I paid $20 USD per cell when I ordered for AMP20M1HD-A.

BMS-L4S100100-480 was $75. Assembly kit was $40. CHA-1210 charger (12v 10A) was $40. All USD.

And I might as well mention that they accidentally sent me a 36v charger, and they just told me to keep it and sent me another one. Pretty cool if you ask me. I sold the 36v charger to someone on ES.
 
WOW! Super deal. I was under the impression that A123 was premium and premium price, cheapest I saw was maybe $30 each up to $70 for "real a123".

You are doing a Lead Acid conversion, right? so these should be lighter and higher power.

Did it change the balance and handling of the bike? Hopefully in a good way?

Are you driving it yet?
 
This cells are from a recall and probably cut out of a pack. This could be the reason for the short tabs. Don't get the ones with the repaired tabs. These are great cell with long life so can have a long shelf life if storage voltage above 2.8v or better 3.3v but who knows if they put a low cell on the charger before sale ? Plus they must be 5yrs old or more can be a gamble. My 24s pack has 735 cycles and stay well balanced bulk charging @ 16 amp and 40amp discharge.
3.9v hvc is nuts they are best at 3.5v that's full. It's like when filling your car and the nozzle cuts off and you pull the trigger 2 or 3 times or more till the gasoline spits out the top.

I was hoping to hear othet input about your 8ga 4way pos pig tail for the bms.
 
Was pointing this thread to a friend building a battery, and thought I might as well post the battery is still in use, and still functioning perfectly. I've probably put over 6000km on it.

The main battery that came with the bike is feeling a bit weak though...I think I'll probably have to replace it next summer if I want to still make it to town and back on a single charge.
 
Back
Top