cocoon
1 mW
- Joined
- Oct 29, 2015
- Messages
- 17
Hi everyone!
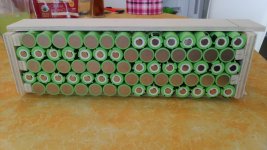
I just want to share a way to make simple and rigid battery pack for your ebike..
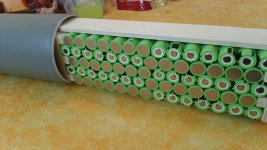
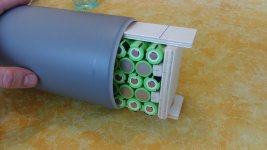
My goal was to make simple, stealth, cheap and good battery pack. I came up with idea to put batterys in sewage PPE 110 mm pipe. It is not finished yet but i will post progress in this topic. Any comments appriciated.
Price of components:
70x panosonic NCR18650PF = 210 €
1x PPE sewage pipe = 5€
wood frame = 5 €
end covers = 10 €
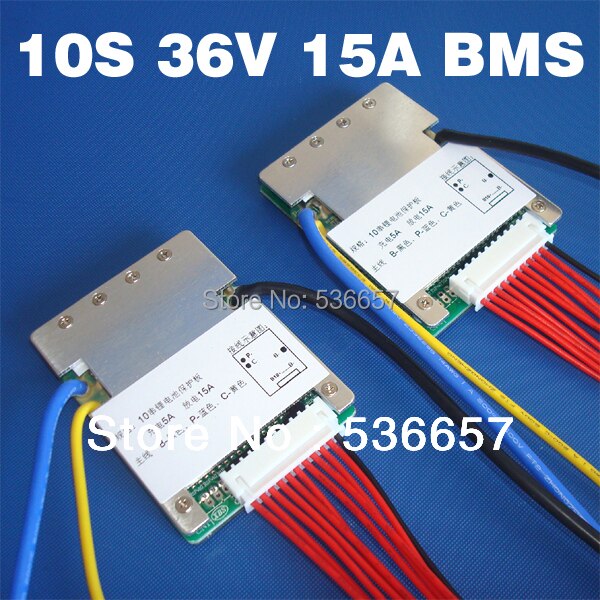
BMS = 10 €
In this pipe is enough room for 350 W controller and BMS.
I just want to share a way to make simple and rigid battery pack for your ebike..
My goal was to make simple, stealth, cheap and good battery pack. I came up with idea to put batterys in sewage PPE 110 mm pipe. It is not finished yet but i will post progress in this topic. Any comments appriciated.
Price of components:
70x panosonic NCR18650PF = 210 €
1x PPE sewage pipe = 5€
wood frame = 5 €
end covers = 10 €
BMS = 10 €
In this pipe is enough room for 350 W controller and BMS.
Google Drive: Sign-in
Access Google Drive with a Google account (for personal use) or Google Workspace account (for business use).
drive.google.com
Google Drive: Sign-in
Access Google Drive with a Google account (for personal use) or Google Workspace account (for business use).
drive.google.com
Google Drive: Sign-in
Access Google Drive with a Google account (for personal use) or Google Workspace account (for business use).
drive.google.com
") ...
...