Recent buy Chevy Volt battery module concerns

evo1087

100 mW
Joined
Oct 18, 2016
Messages
42
Location
Los Angeles
Do the gen 2 Chevy Volt modules have a natural bulge to them on the ends? or is this a sign of internal damage? Just recieved a module and would like to test it, but don’t want to risk possible further damage if the cells inside are compromised. Seller claimed 24k mikes on the car. Voltages were 3.91-3.92 out of the box.
 
Attached.
Bulge is 4.3mm/.17" on side in photos and 2.4mm/.09" on the other side. I think it needs more compression. When they are assembled together in the Volt pack the middle modules compress against each other. This must be one of those middle modules. Should I add thick insulated plates with threaded rod? The strap the seller put looks like its barely holding it together.
 

Attachments

  • IMG_2478.jpg
    IMG_2478.jpg
    103 KB · Views: 1,749
I have a bunch first gen cells disassembled from the original pack. I made a 14s pack with only very slight compression. I checked the capacity and looked for a bulge but it's just fine. So I don't think these need any crazy compression. Also I only discharge at about 2-3C peak.


I'd open the pack and see if it's the actual cell that is bulging, and if that is the case It's too late to compress now.

I imagine your cells in the middle are probably fine. Unless the pack got really warm during discharge, in which case all cells may be sitting under extreme pressure just waiting to pop the case open.


I forgot to ask, but did the cells ever get over discharged or overcharged?
 
I plan to replace the threaded rods holding it together and add a handle at which point I'll inspect the pouches. How thick should the cells be? As far as condition, I just received the module so I have no real idea. The only thing i know is that it was from a 2016 Volt with 26k miles. I am trying to drain it slowly to 3.3v per cell and charge up to get a rough idea of the capacity. I also have a Leaf module which was easy to charge and balance with my rc charger. How do you balance charge and get capacity from your volt modules. I have a Killawatt for my outlet and one of those cheap watt meters with the blue screen and 100a shunt that I plan to use, but maybe you have something more precise?
 
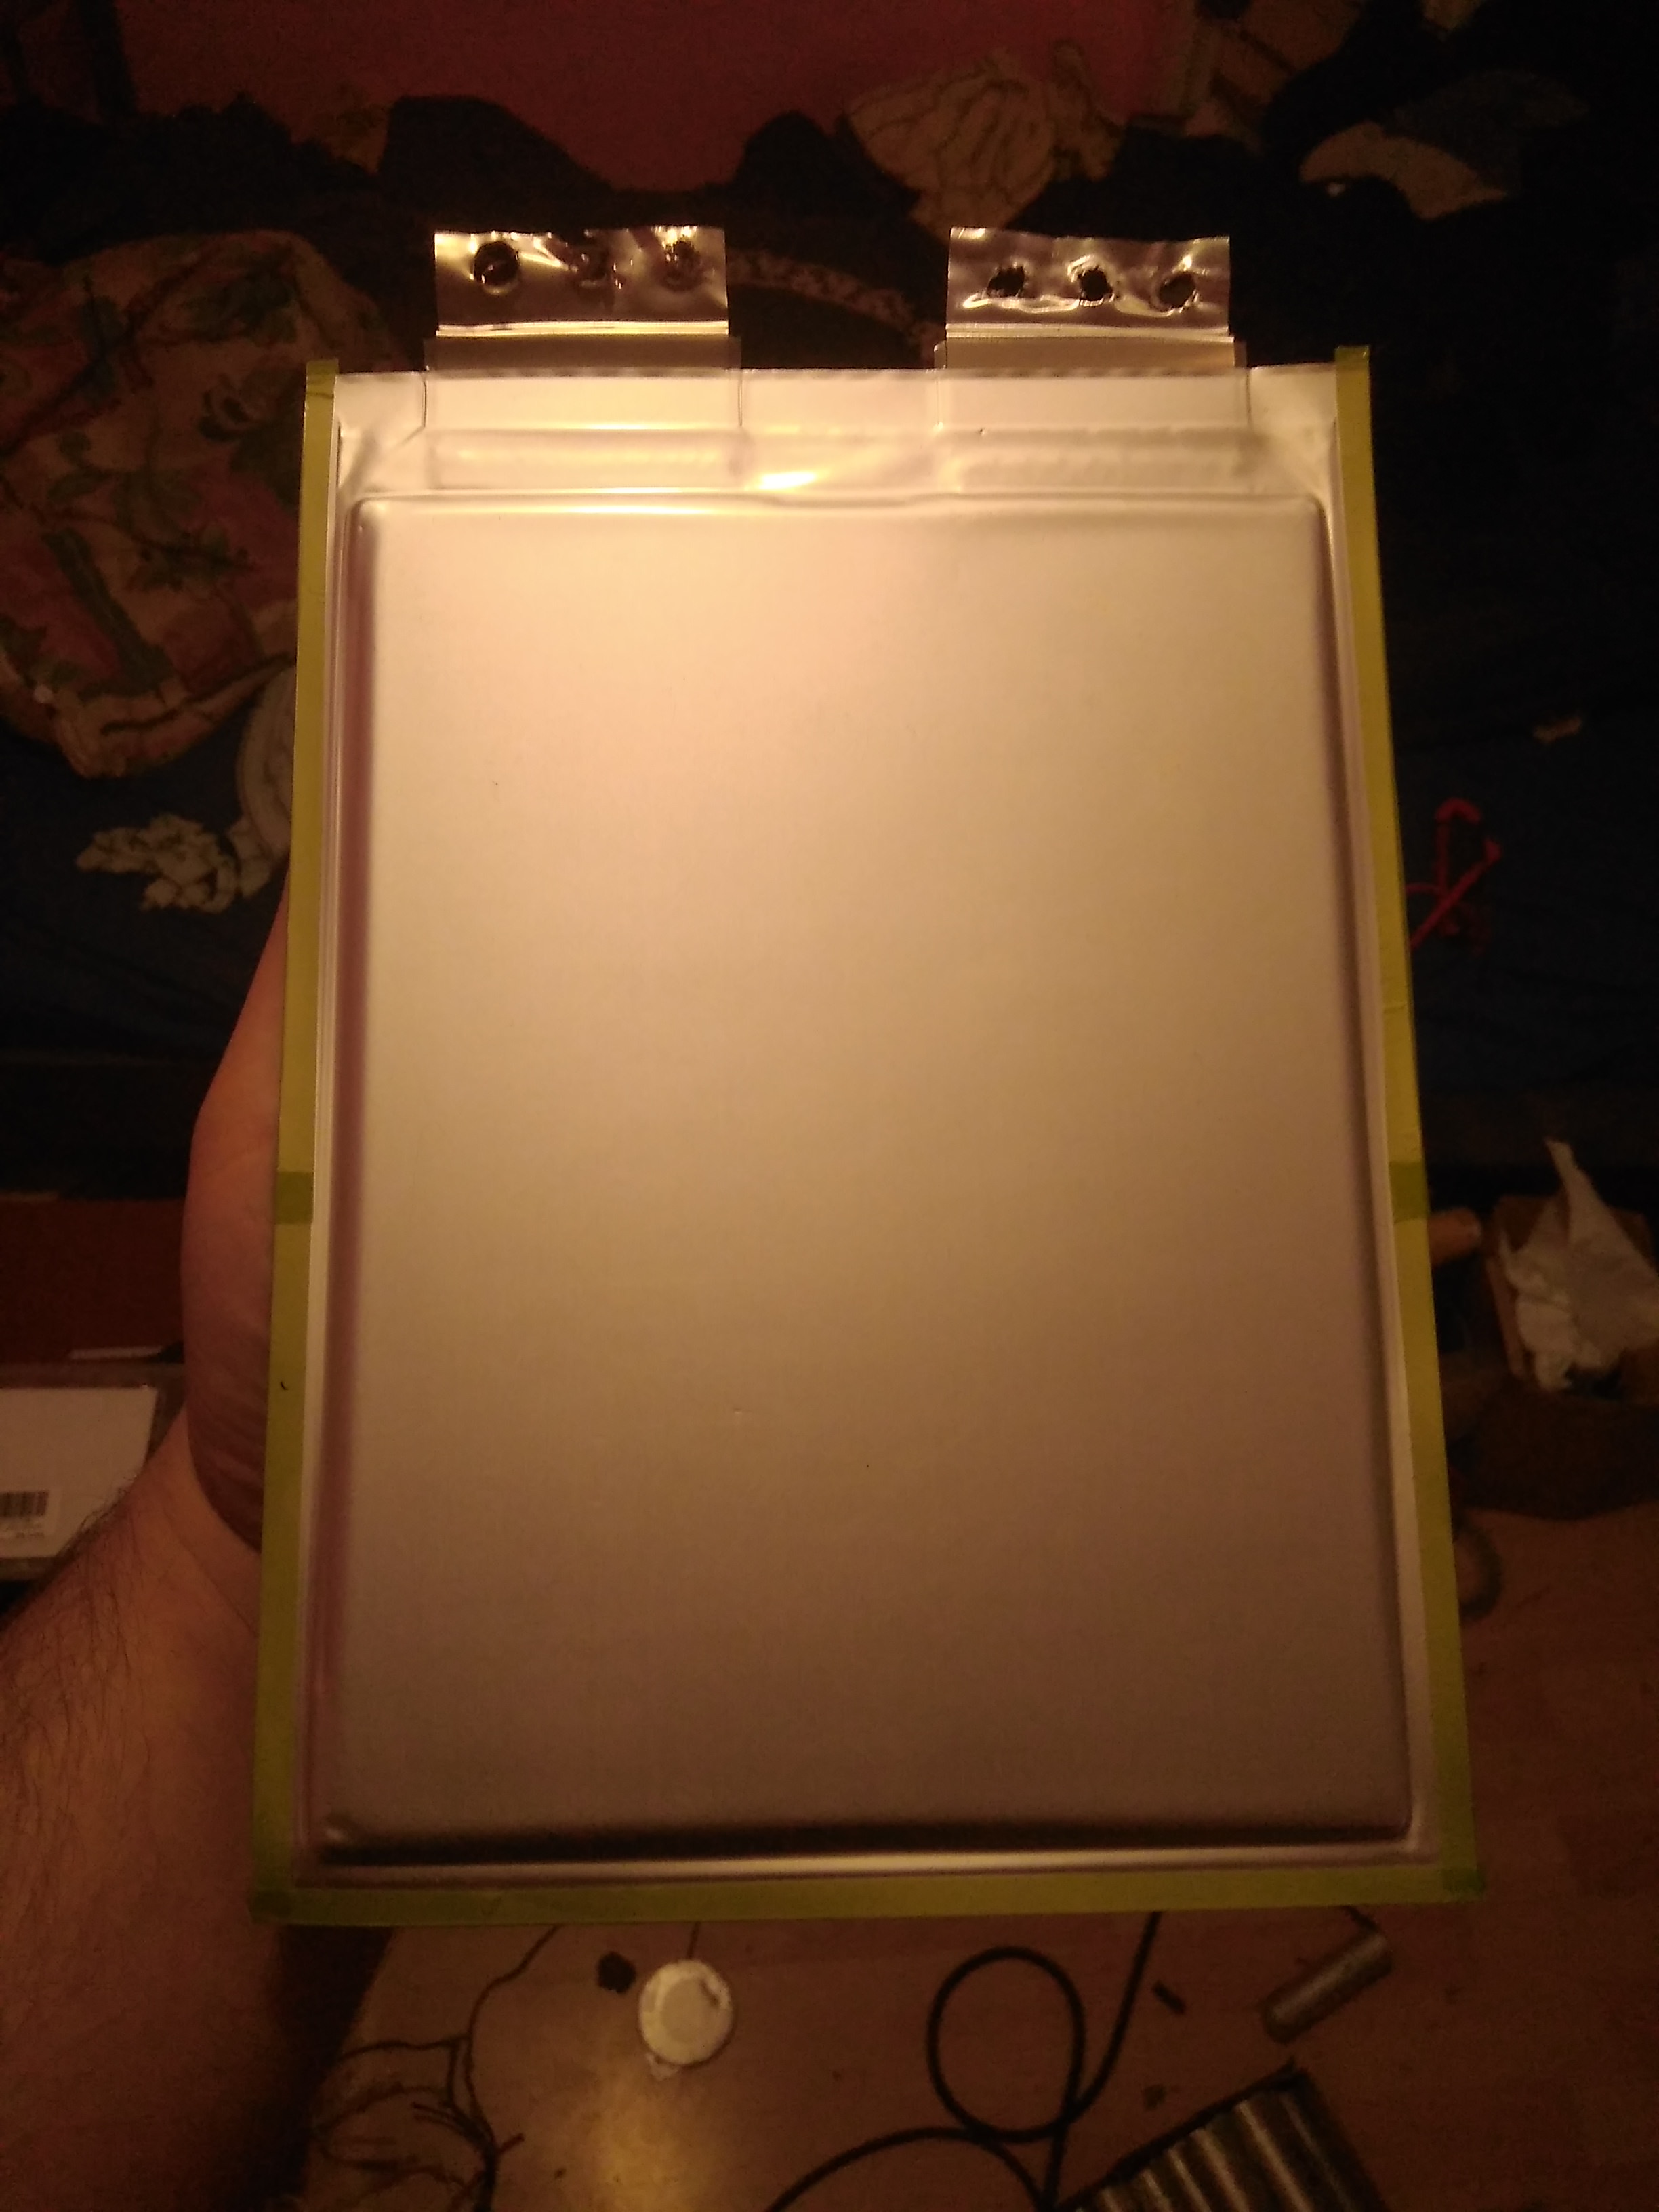
If that strap is connected together firmly, just take a piece if wood and shove it down between the strap and the end of the pack. Maybe use clamps to push the pack together some while pushing the plywood or similar down. Then, take loose the TOP set of the 4 bolts that hold the bottom together and put something like a metal bar across and tighten the bolts, so you get even compression on the total end plate.

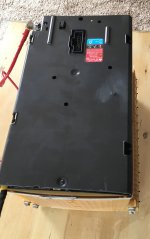
Normally there is a corrugated end plate on the very ends of the total battery, and at the center where the coolant attachment is for the long section of the battery. When i sell Volt modules, I put an end plate on where yours needs to be, just Like I described for you to do.
 
This is what I use to test single Cells: https://www.ebay.com/itm/EBC-A10-Li-Pb-Battery-Charging-Capacity-Test-Power-Performance-Tester-Charger/111772325592?hash=item1a062656d8:g:E3UAAOSwHjNV9-WL

I tested a few random cells from the pack and they are perfectly matched, unlike hobbyking batteries.

As to how the cells should look, it should be something like this.

6FeuZkc.jpg


The next two images is a left over Cell that has had a small bubble since the beginning, but it's completely acceptable.
7dyqJD8.jpg

YHTlHE5.jpg


Here is an example of badly puffed cells. The ones on the left are toast

2013-05-06+23.32.53.jpg


Here is what my test looks like. Just tested an hour ago.

jEAs2mU.png
 
It does look like you're missing the steel compression plates: https://insideevs.com/2013-chevy-volt-battery-pack-and-drivetrain-disassembly-video/

I'd cut a couple of aluminium plates and either retain the bolts, or clamp the assembly and applying banding if you need something lower-profile than the bolts.
 
eee291 said:
This is what I use to test single Cells: https://www.ebay.com/itm/EBC-A10-Li-Pb-Battery-Charging-Capacity-Test-Power-Performance-Tester-Charger/111772325592?hash=item1a062656d8:g:E3UAAOSwHjNV9-WL

Cool. Are you satisfied with the purchase?
I am looking for a decent tester set up.
 
Monstarr said:
eee291 said:
This is what I use to test single Cells: https://www.ebay.com/itm/EBC-A10-Li-Pb-Battery-Charging-Capacity-Test-Power-Performance-Tester-Charger/111772325592?hash=item1a062656d8:g:E3UAAOSwHjNV9-WL

Cool. Are you satisfied with the purchase?
I am looking for a decent tester set up.

Hell yeah man! :D

Also i only bought that weak tester because I wanted to test a bunch of 18650s and A123 ultra b cells.
The only reason I am testing the Lg cells is because I bought two different aged cells, and i want to know if they are close enough in capacity to be able to mix 'em together.

I am currently testing the other Lg cell, and hope they aren't too different in capacity.

If you want the stronger tester, they have one here:https://www.ebay.com/itm/EBC-A40L-5V-Battery-Tester-for-Lithium-Polymer-Power-Battery-Discharge-Charge/282860212684?hash=item41dbc851cc:g:l8IAAOSw~QRaMOQp

this beast can discharge at 40A, but the small one is enough for me.


Also I like the shape of the samsung cells better, so if you got anymore of those I would take 'em.
But things are going slow right now, and I might have to move soon :roll:
 
eee291 said:
I used a wood chisel and yes, they are fully intact.

Pretty cool that they still look intact. Any issues with putting individual cells together to make a module? If not, how did you do it? Thanks!
 
Back
Top