
Molten-Core
10 mW
- Joined
- May 22, 2018
- Messages
- 32
This thread is a sort of feedback from what i learned making my first battery pack, i'm quite sure i did some stuff wrong during the journey, first have look at my bike:
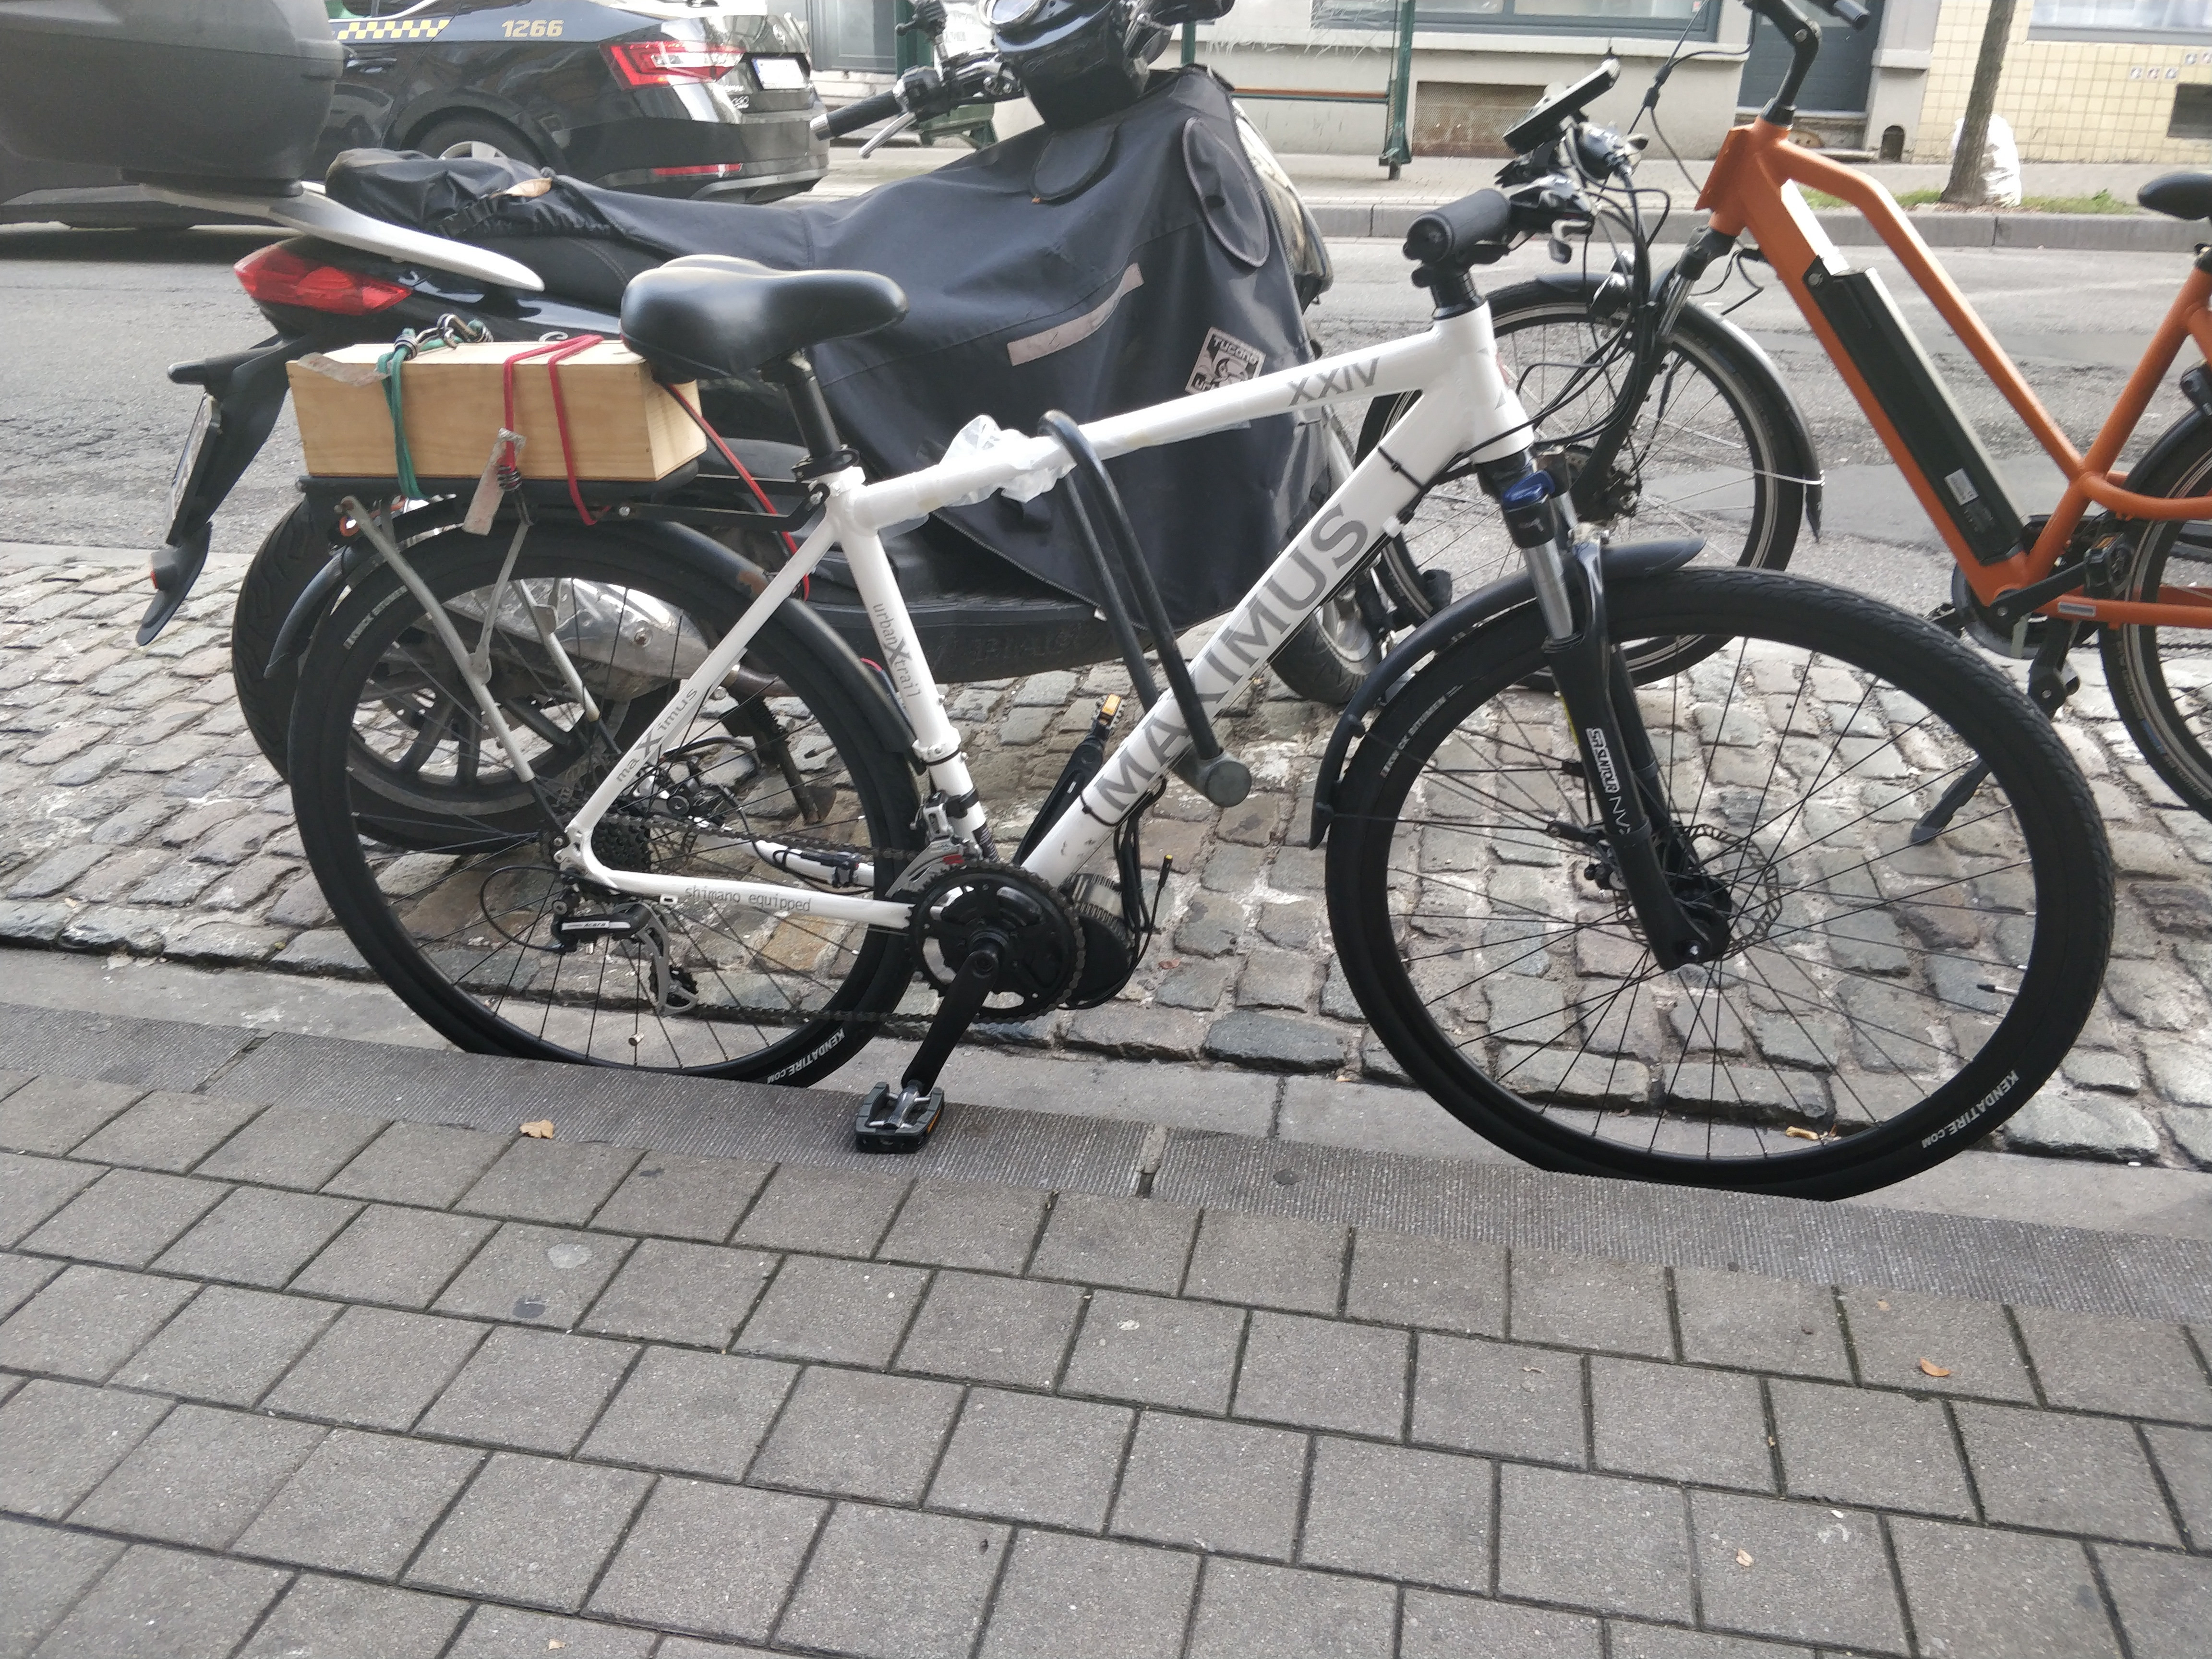
I wanted a 10p battery pack for my bbs02, i wanted it to last like a 100km because i work part time for ubereats and deliveroo, i wanted to go cheap and affordable, well i ended up spending just as much as i would have if i had bought everything ready made, still i'm glad i did it, the knowledge and the experience is worth it
When i bought my second hand bbs02 it came with a shark pack, the shark pack only lasted for 26 km, which was weird because the voltage of the pack cut at 48v and i expected it to go a bit further, so naturally i opened the pack to investigate, and i found chinese cells:
I did something not so smart because i immediately removed every strip fo nickel there was, and had 2 or 3 sparks during the process, at the end of the process i found myself having 65 separate cells, 60 of those measure more or less 3.8v, 5 measured 3.2v, and there you go, i had the culprit parallel.
Meanwhile i had ordered 160 batteries from Tumich (Thread), so i thought to myself "you did well buying more than you needed, you can spare some to repair this battery pack", and so i added 5 GA cells to fix this pack, was that a good idea? It sure looked like it, but it wasn't, still it teached me a lesson, never buy a second hand battery pack anymore, no matter how it looks like a good offer, or at least know the cells and the history of the cells.
Now, to reassemble the pack i decided to go for soldering (the fastest solution at hand), remember, it's my first pack, so i looked some vids on youtube, read some threads and decided to go buy myself a 100w iron, two hours later i finished tinning the cells and putting them in the cell holder, then i soldered the parallels together, and then i bridged the series, it was a stressfull operation, i sweated a lot, still i managed to get done with it without a single spark, i was proud, look at that pack:
Yes, bingo, that pack became "fatter", it wouldnt fit in its own shark pack, but i had a wine box lying somewhere so i used it to store the battery for testing purposes, when i tried the rebuilt pack i managed to do 40km, but if my math was correct i shouldnt hit the bms cutoff before 55km at least, at that moment i just gave up on that pack, learned my lesson, no more chinese no brand cell.
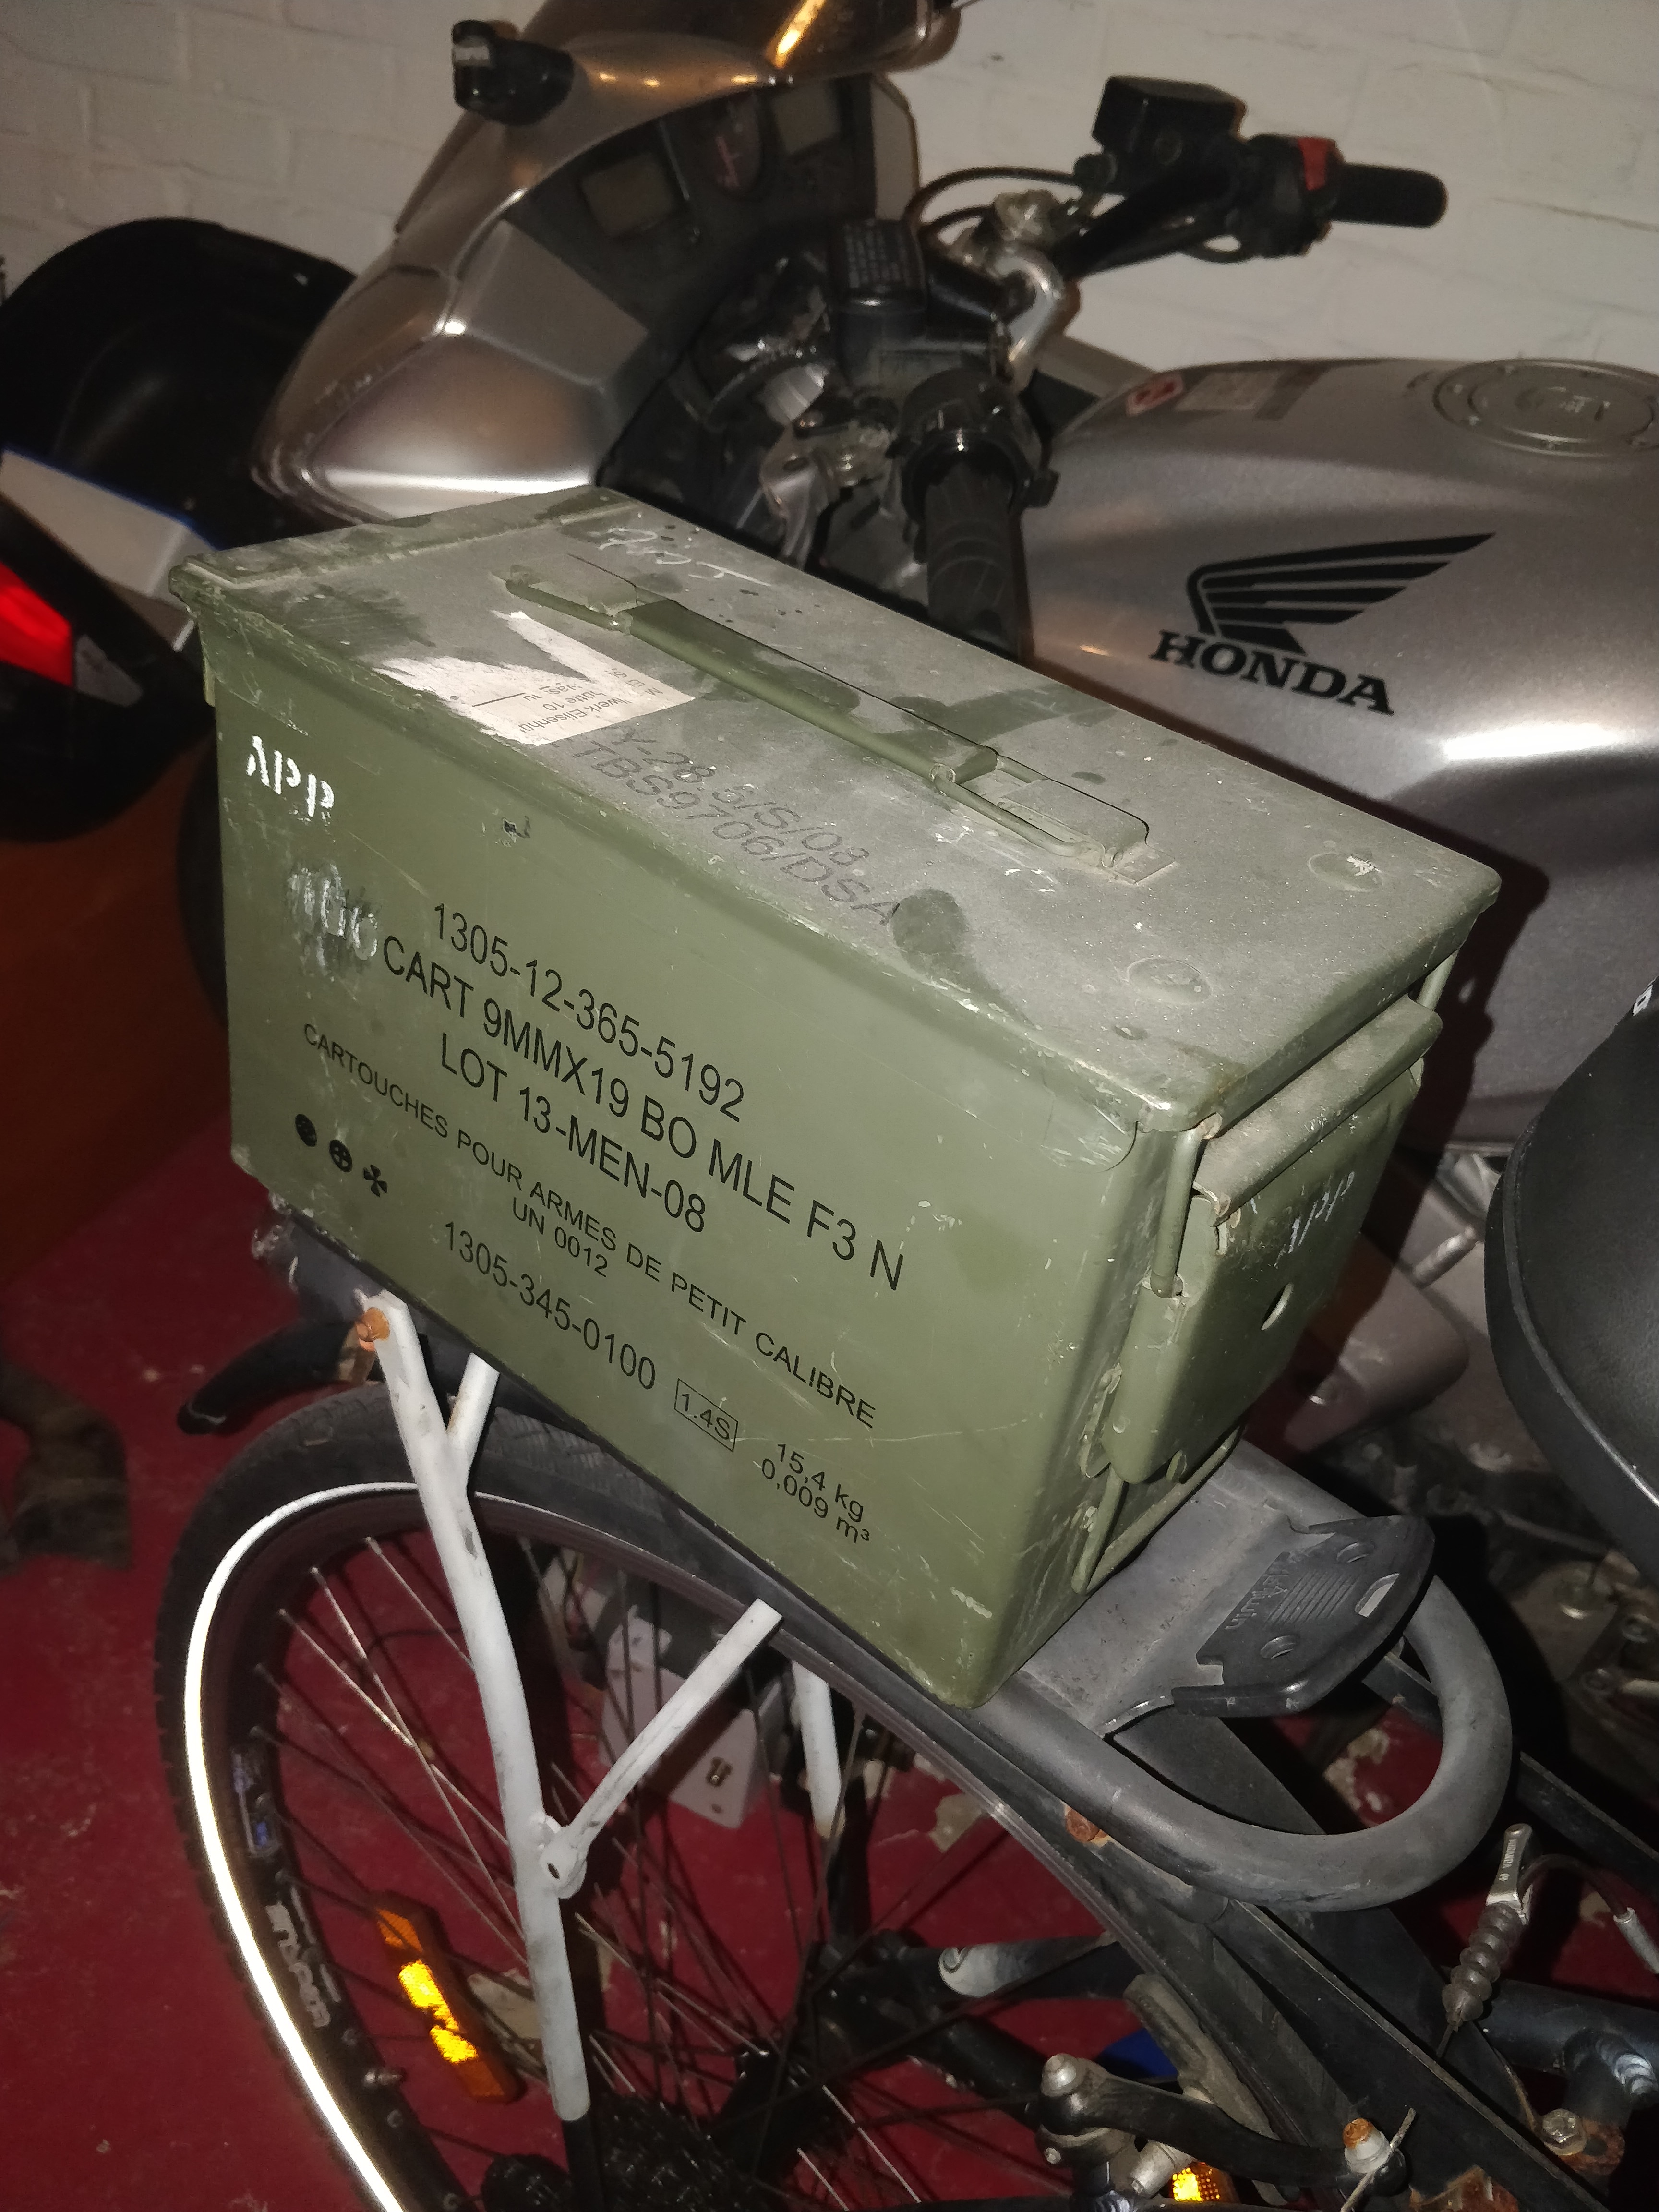
Then came the building of the real pack, it took me few days before making up my mind, 13s or 14s, two packs or a single one, at the end i went with 14s 10p single pack, but given the size of that pack i went for a double deck battery, Why? Because i had an ammo box and it's size was perfect, it was waterproof and heavy duty, and there was my first step into my first real build.
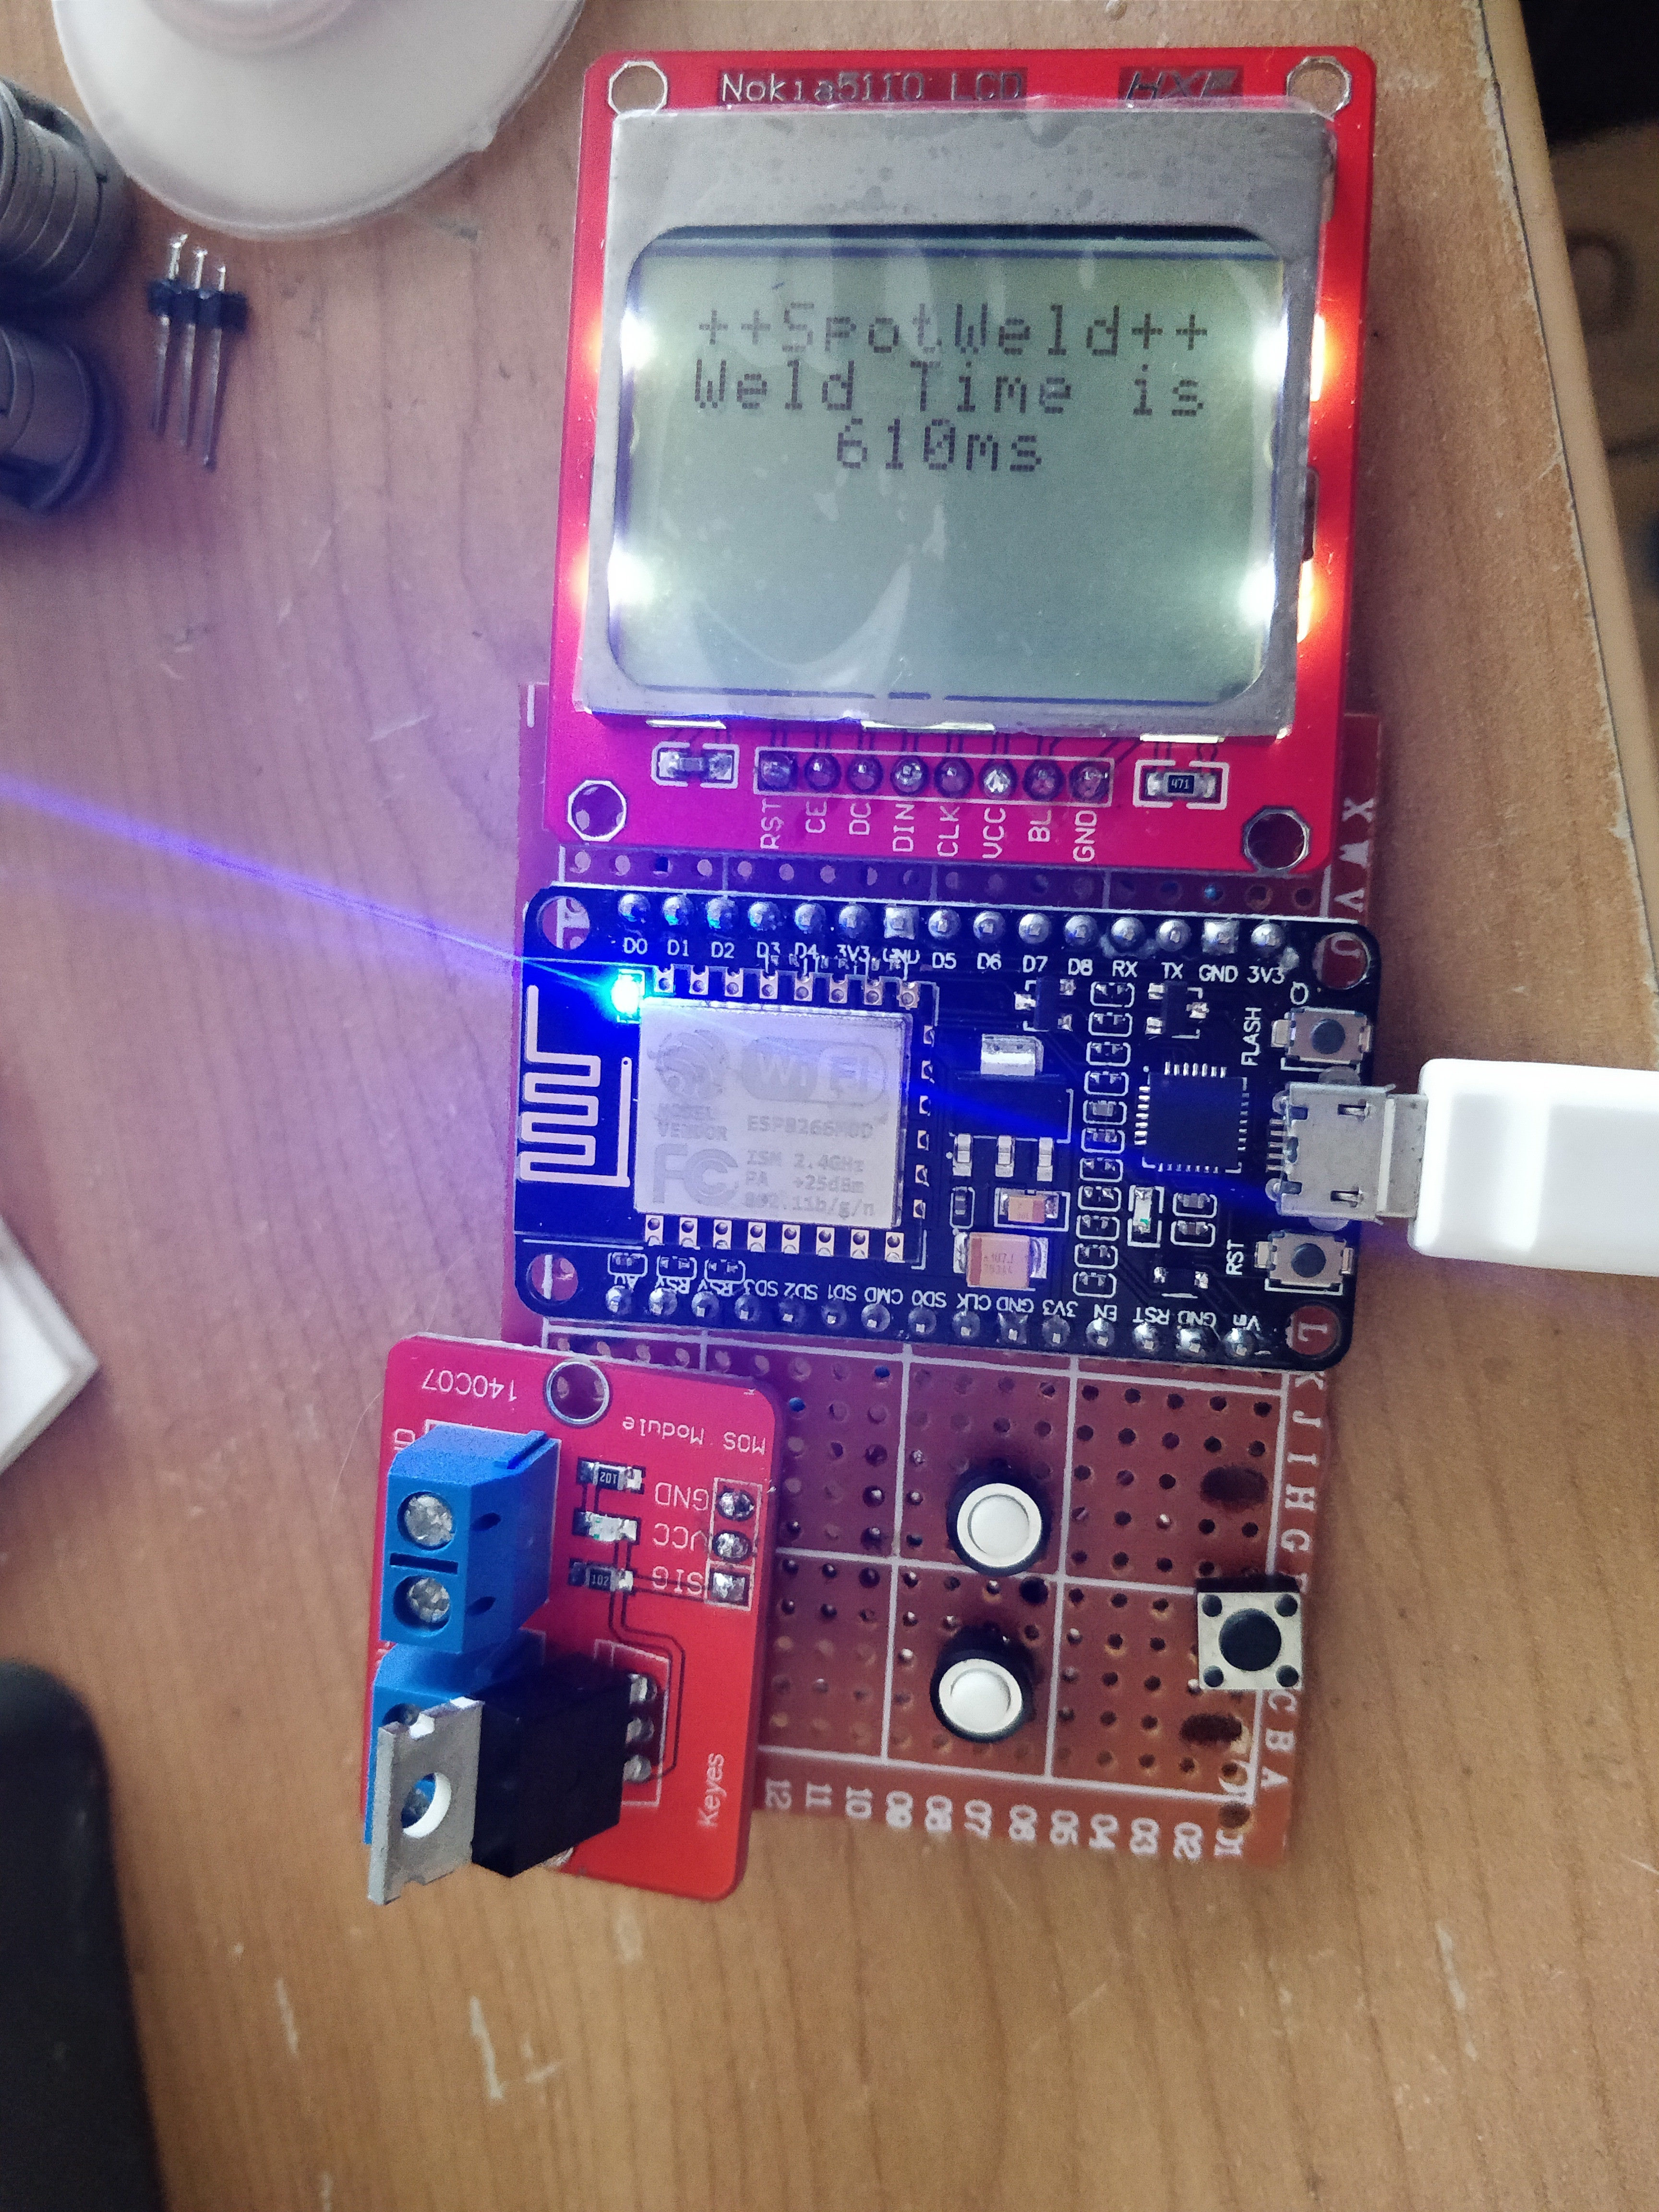
At first i 3D printed some battery supports (that's my main job), but then again for size reason i just went with hot glue assembly, i assembled 10 cells together with hot glue from both sides and then gave it a turn of masking tape, and then with some scavenged battery i started researching making a spot welder, so i assembled a simple circuit that allowed me to do a single pulse with an adjustable time (don't mind the 610 ms, i was only testing if the mosfet worked properly):
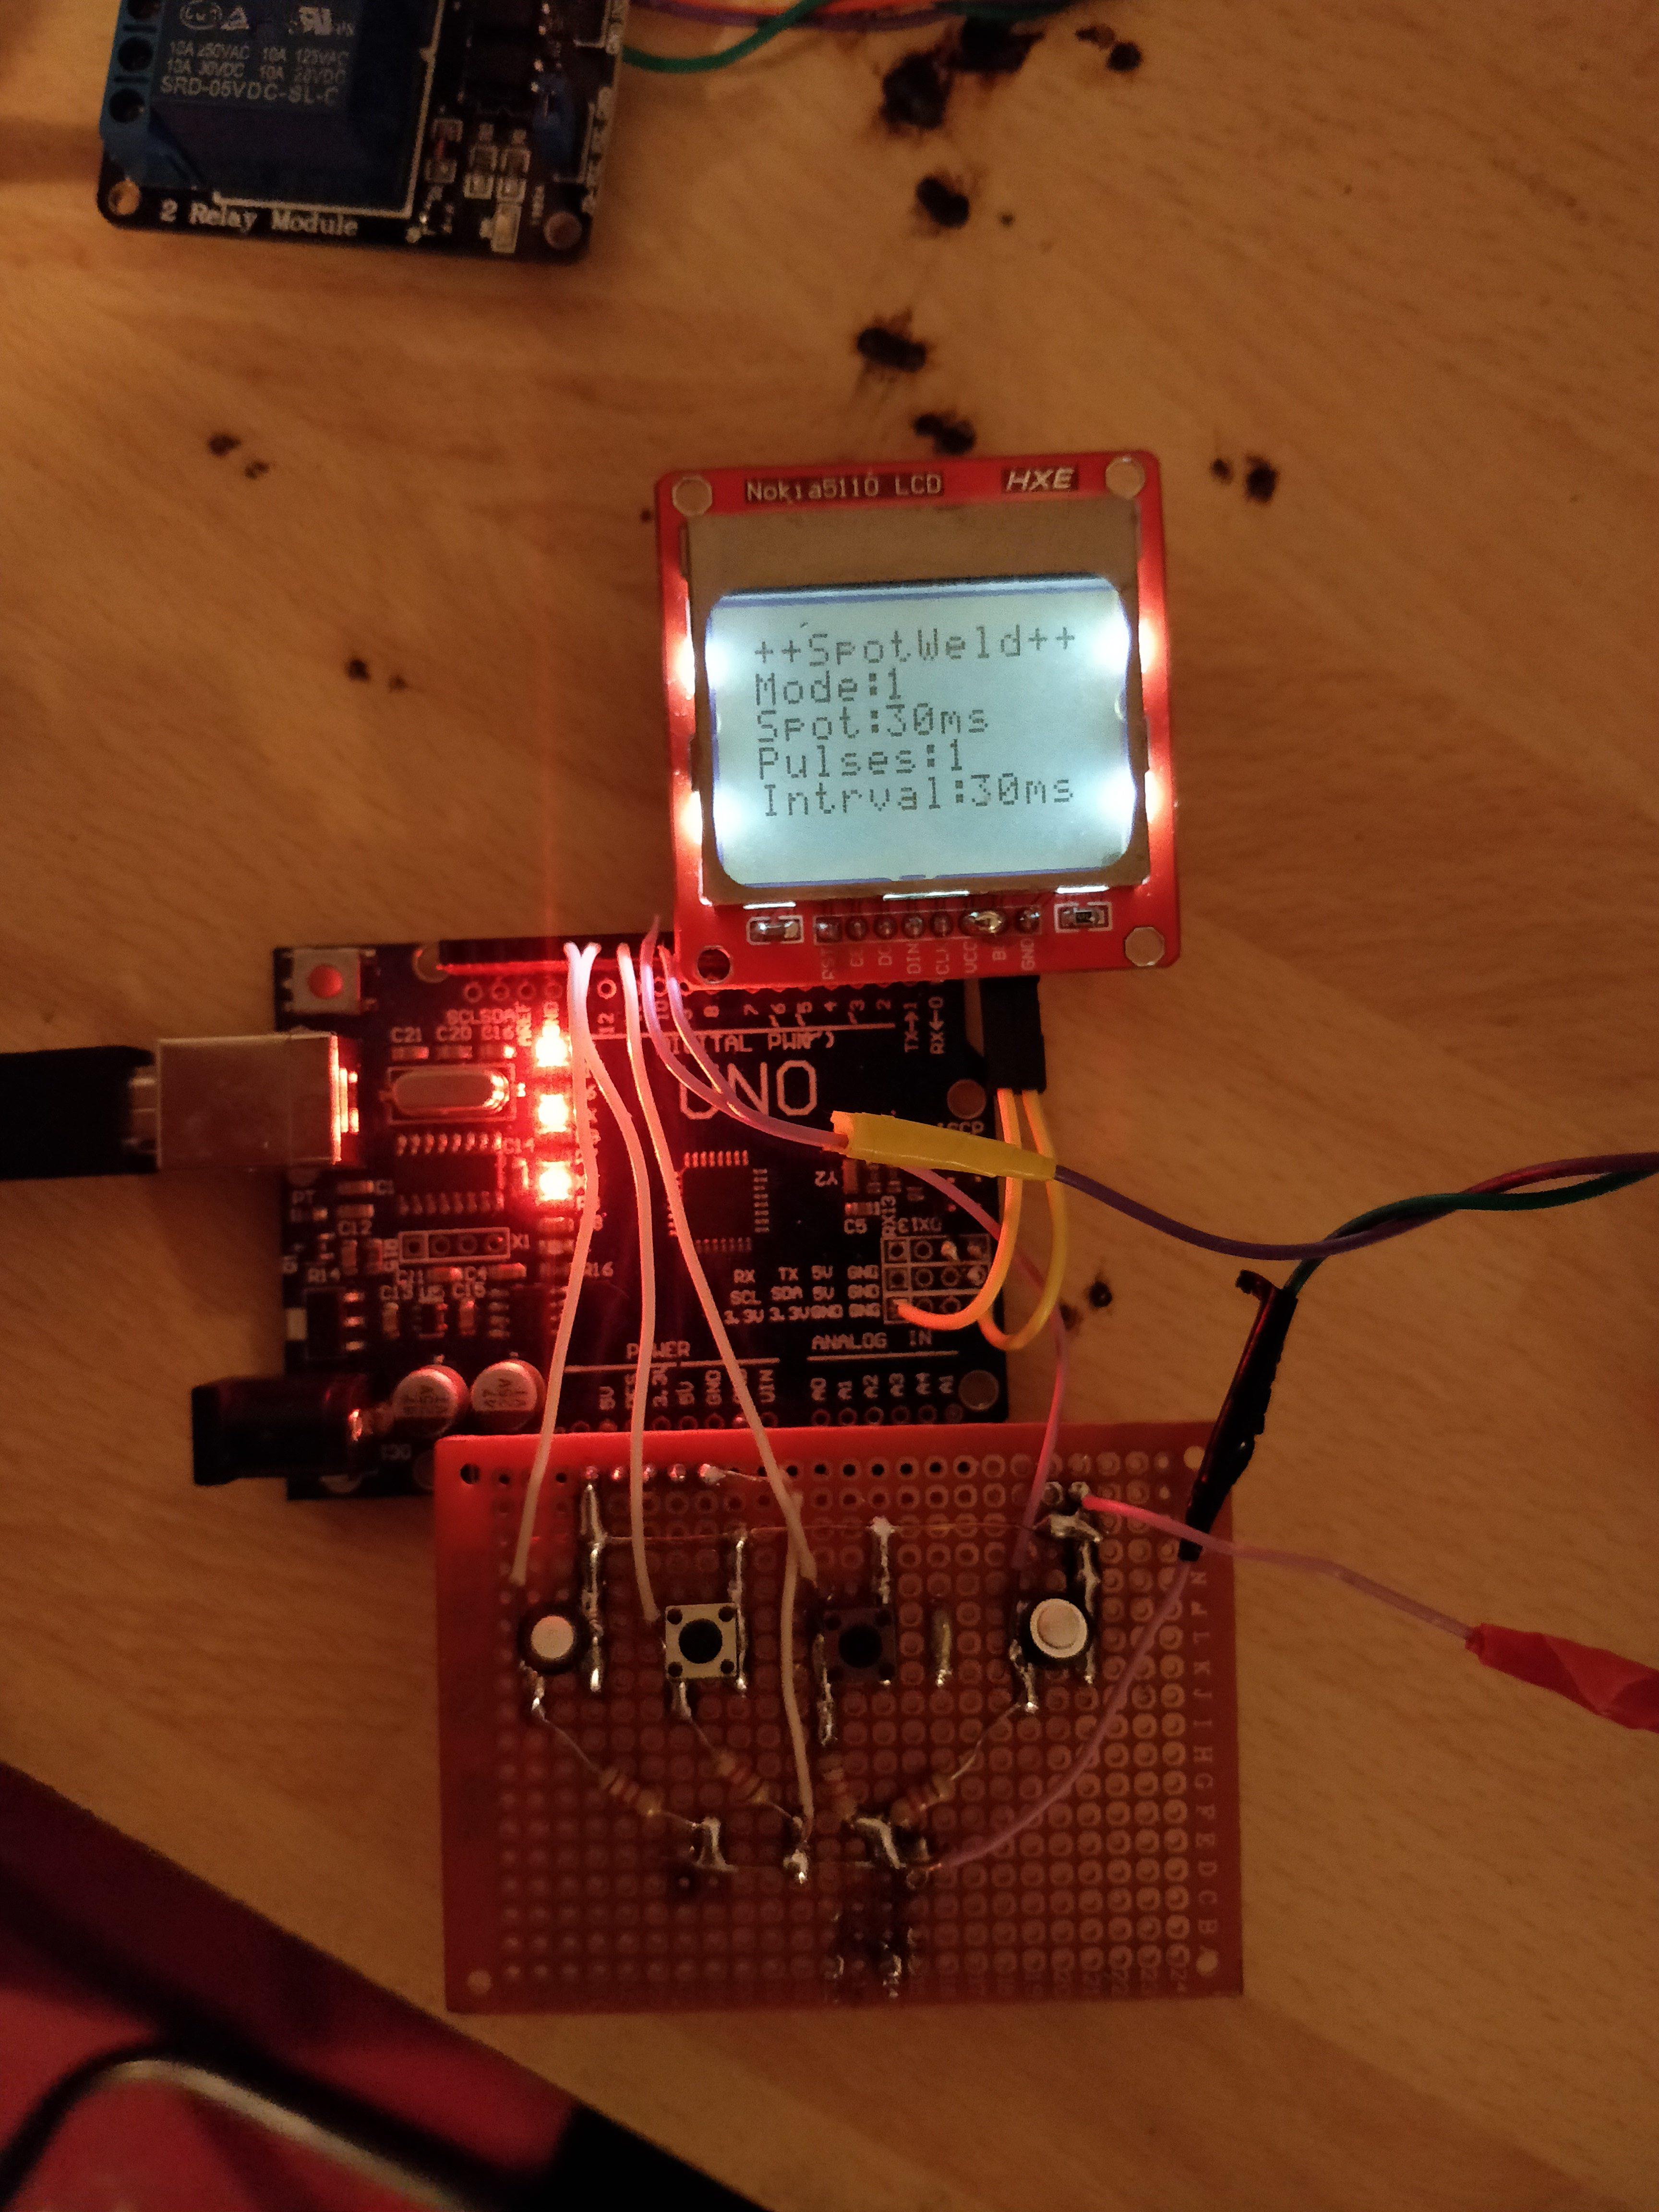
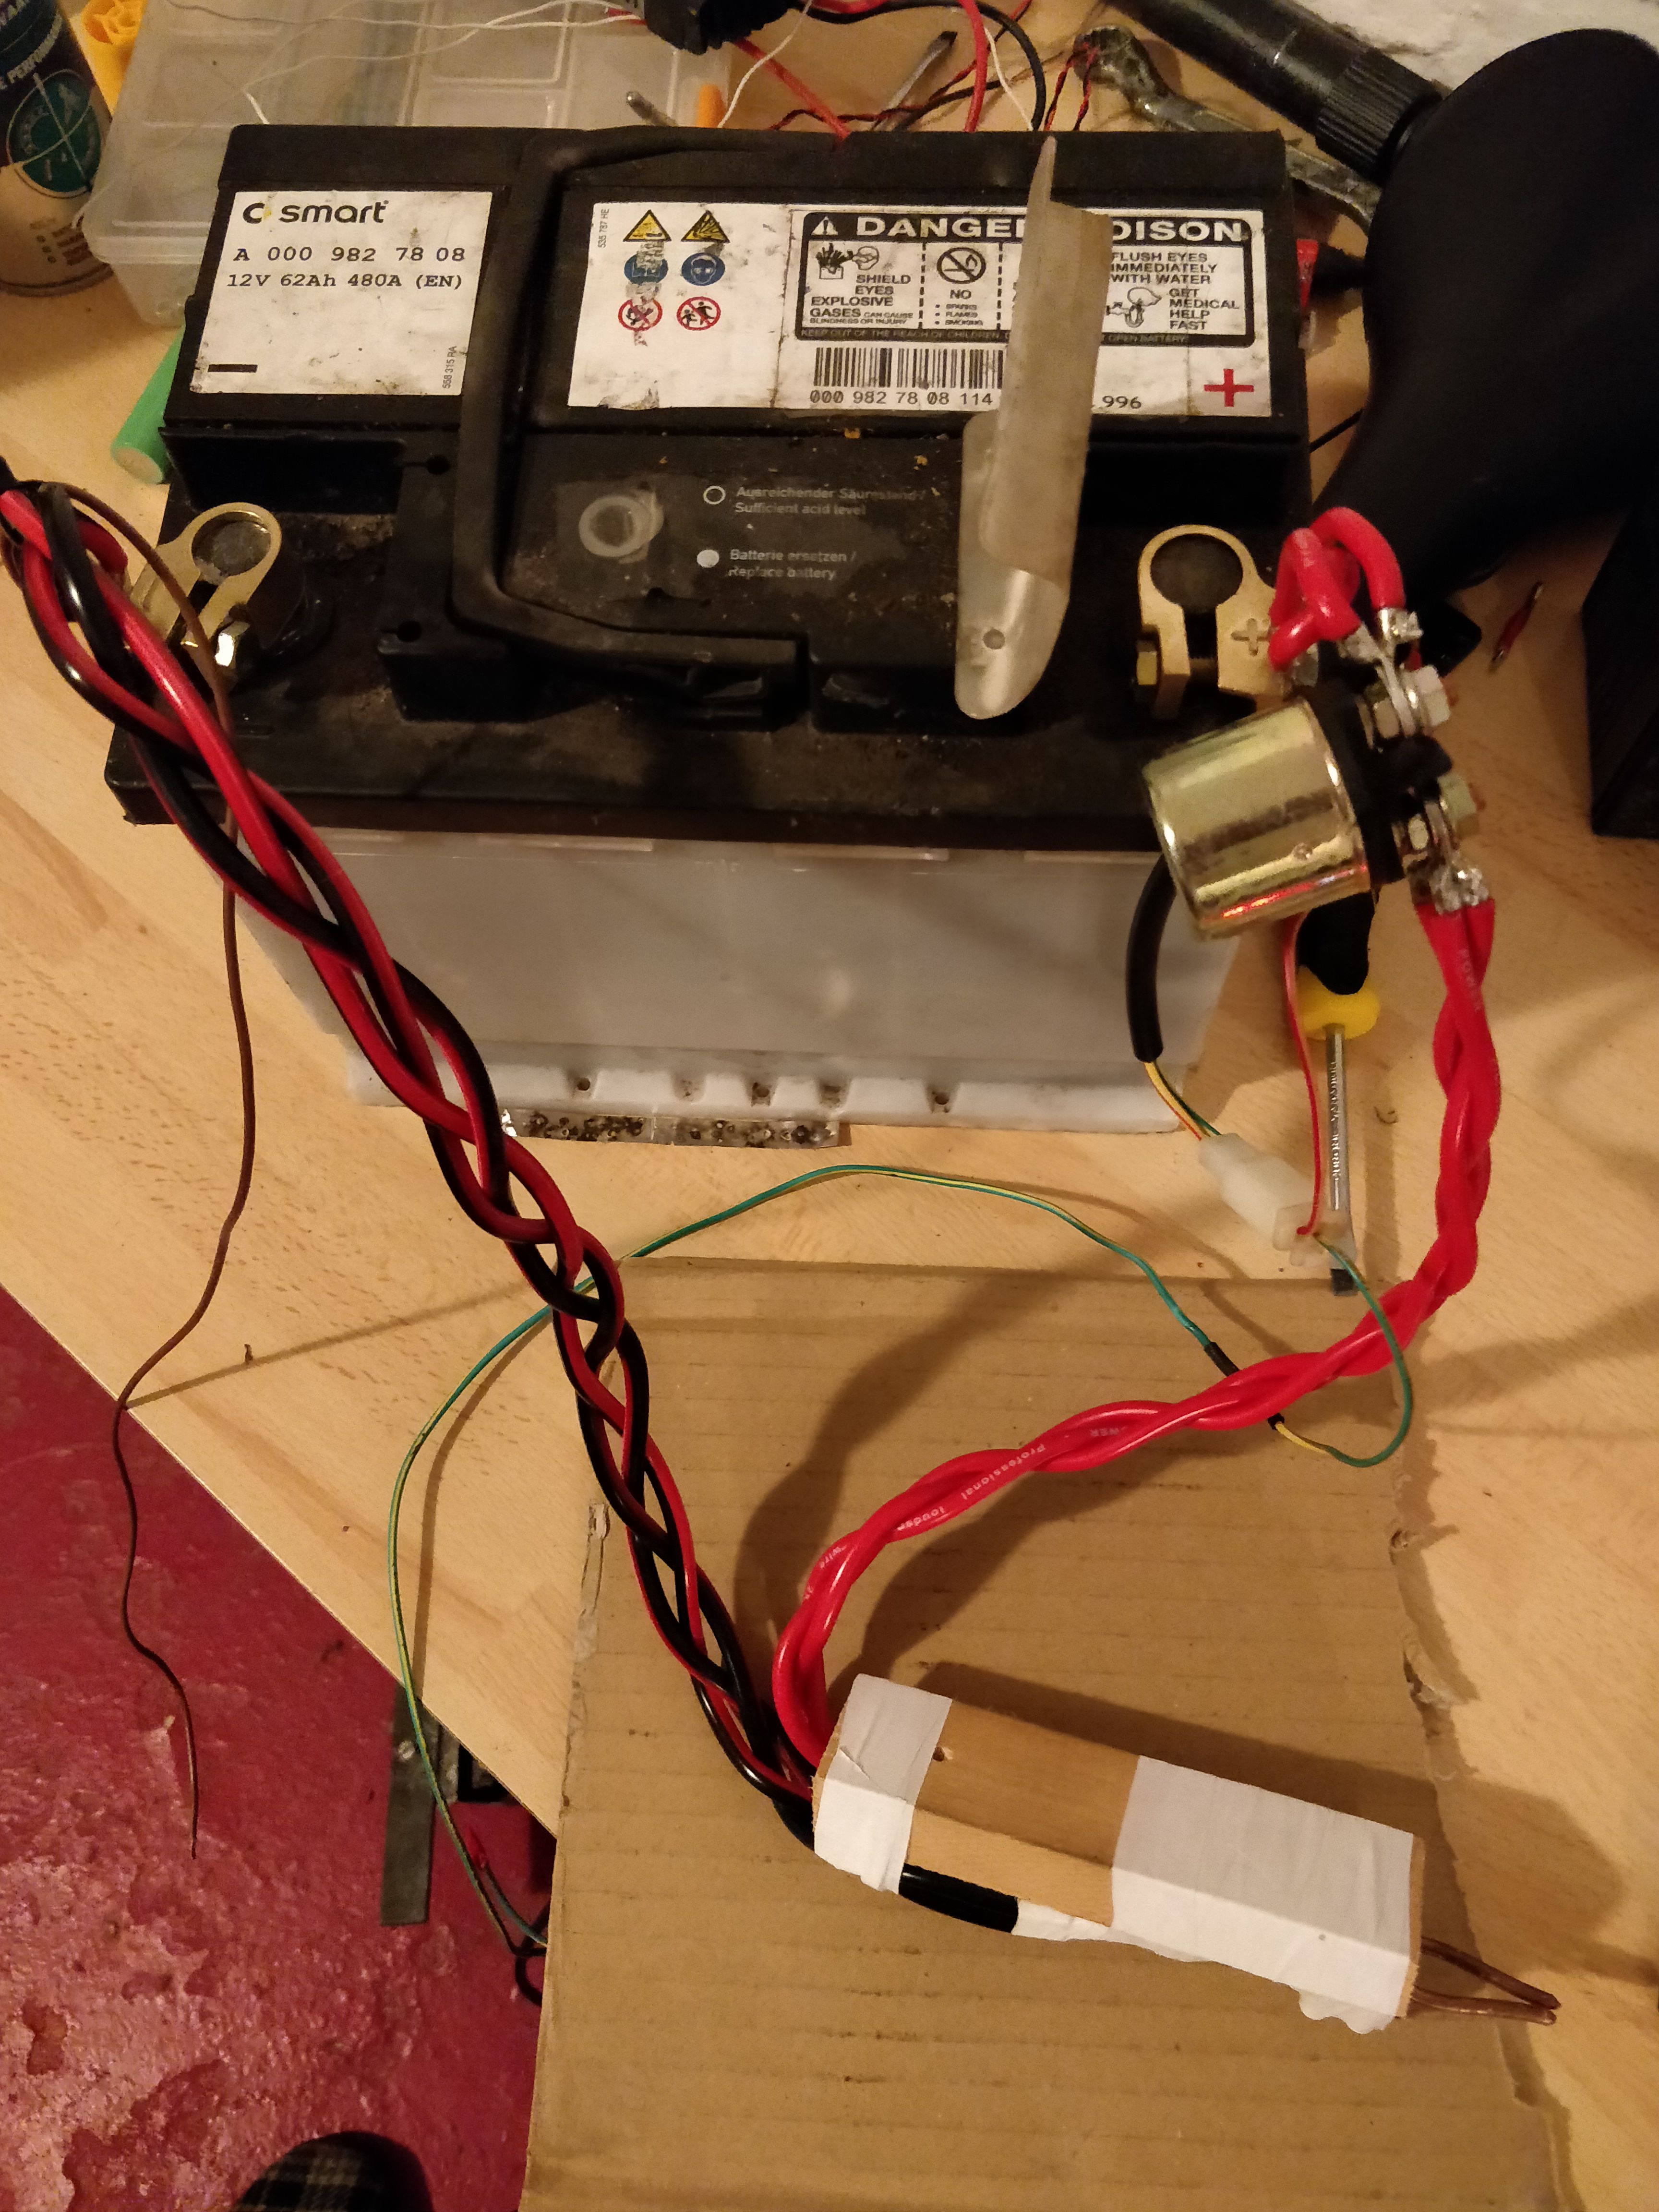
I tried with a scooter battery, and then my motorcycle battery and the current wasn't enough, the nickel wasnt sticking, and so i thought to myself if the professional spot welders had multiple pulse setting it should have a reason, so i started by frying my microcontroller (stupid accident) and then rebuilding a whole new circuit that allowed me to control pulse duration, number of pulses and pulse interval as seen in the picture:
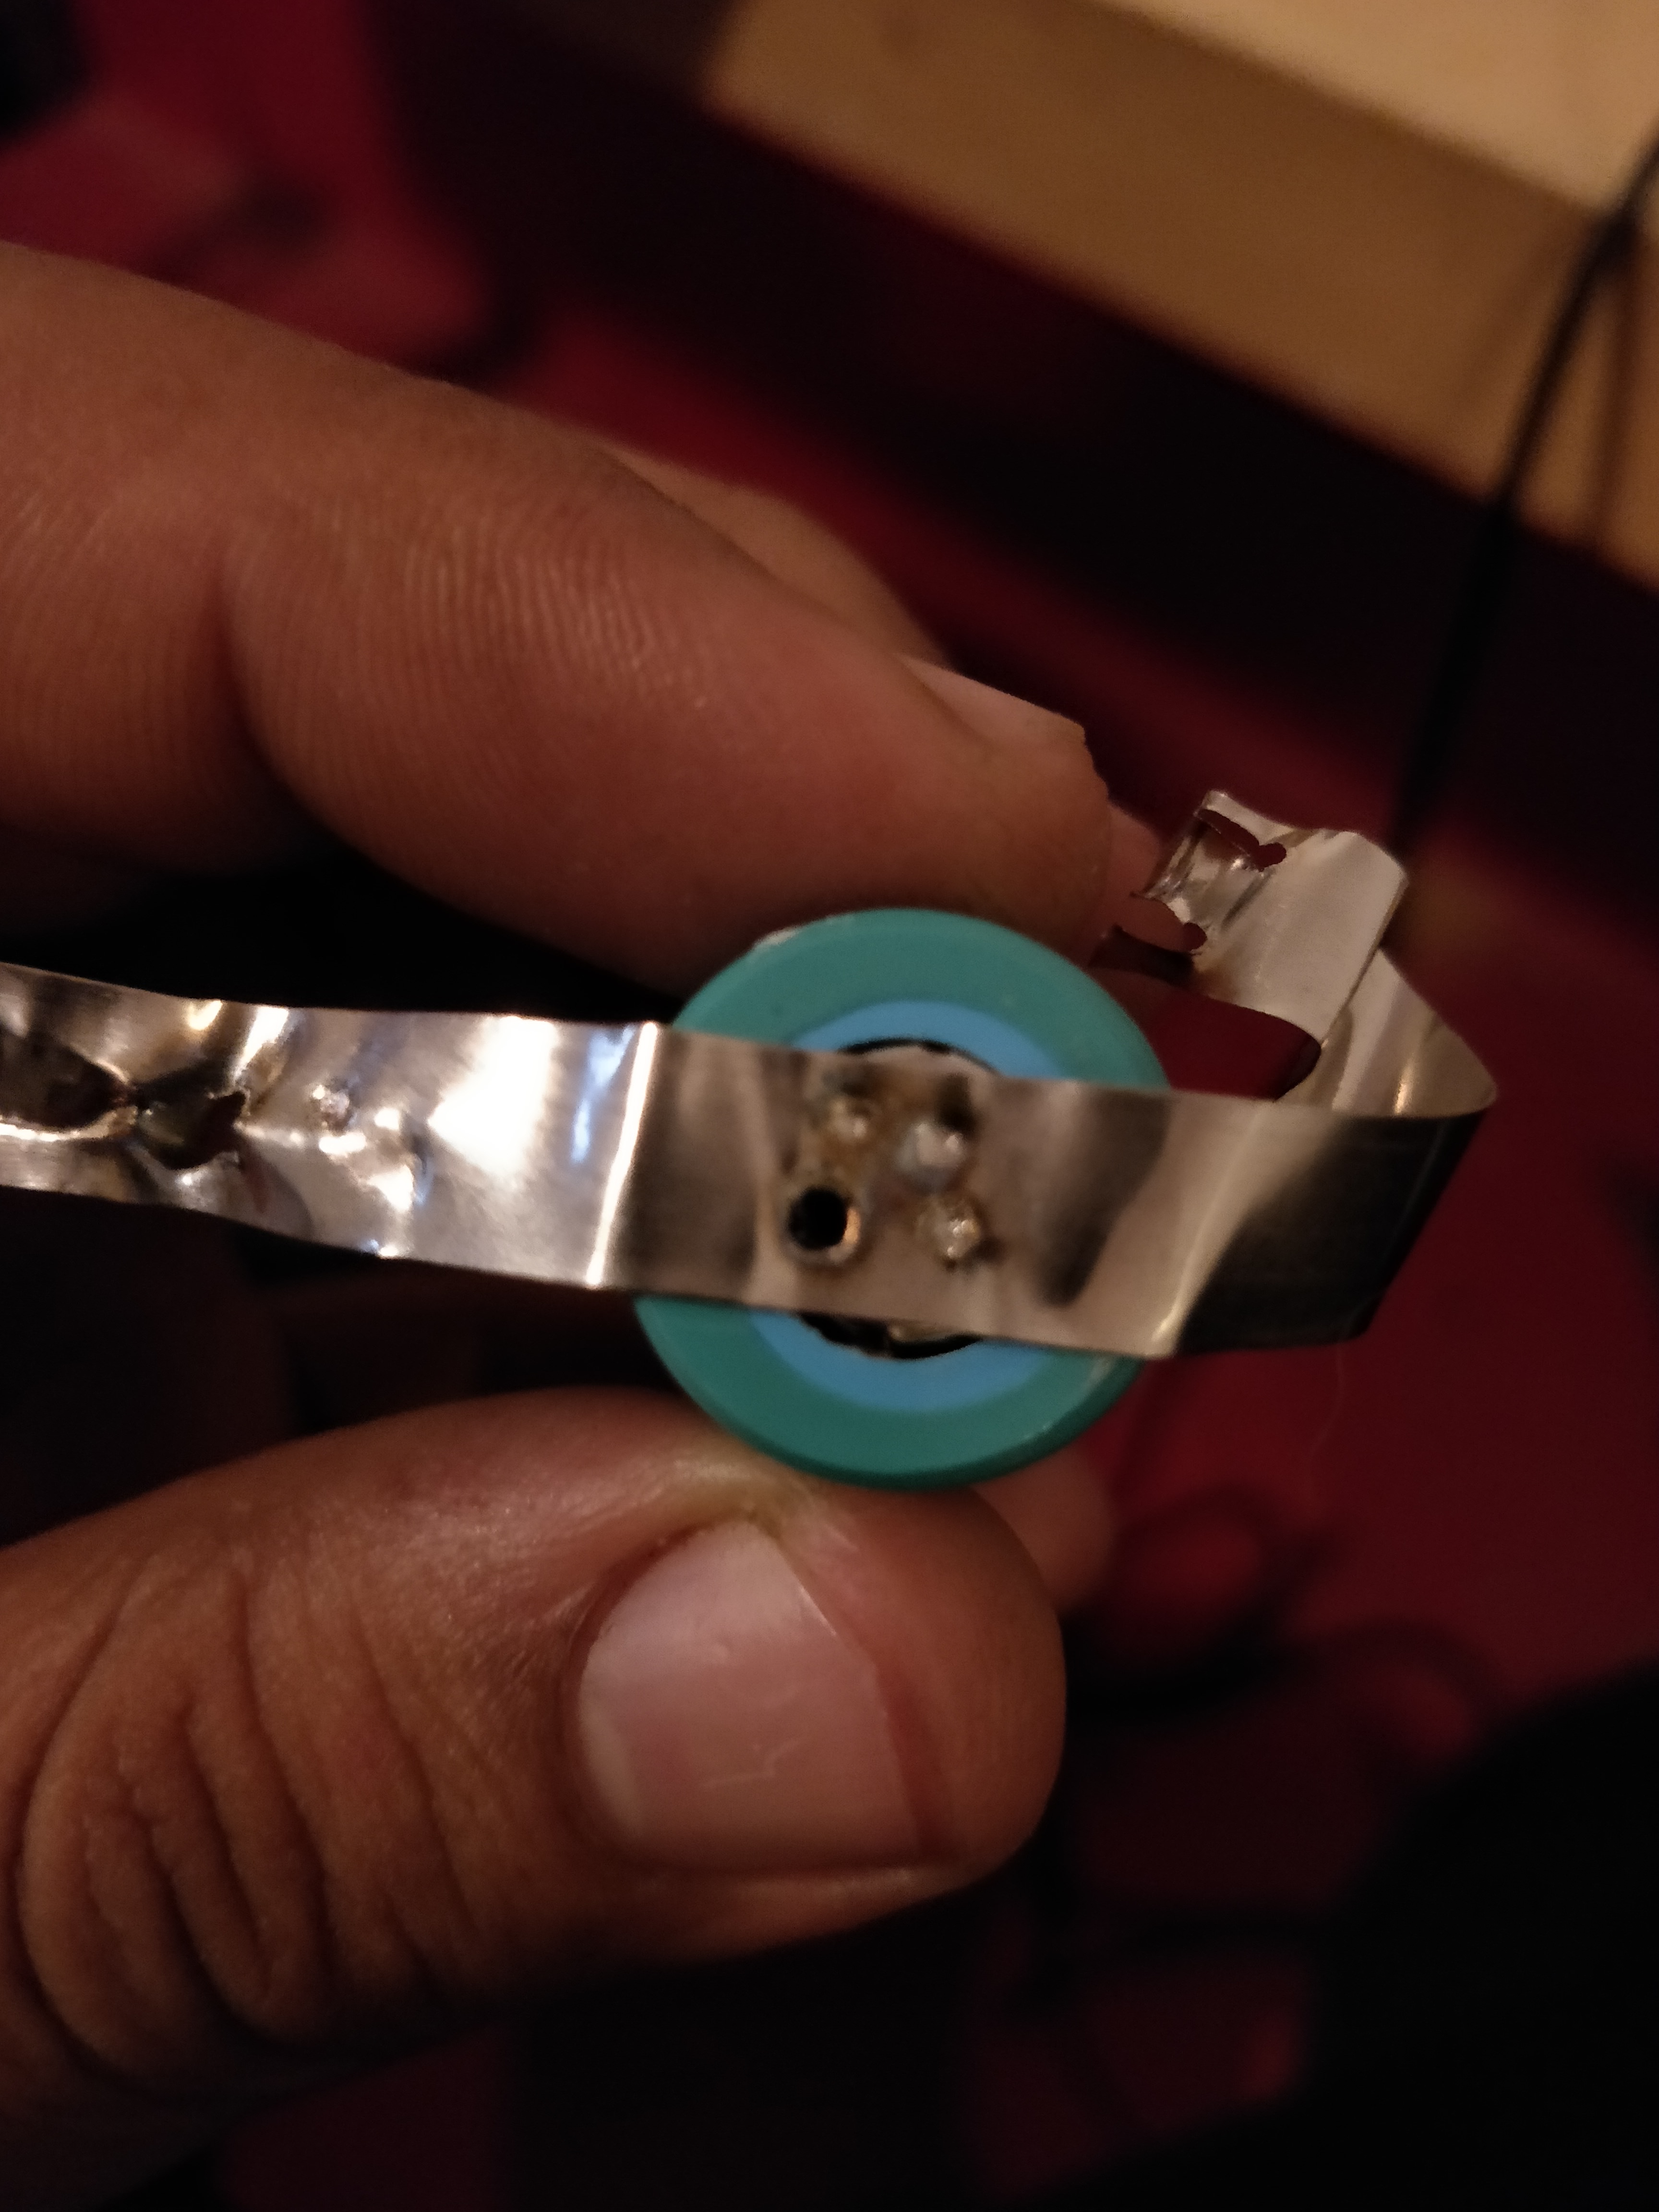
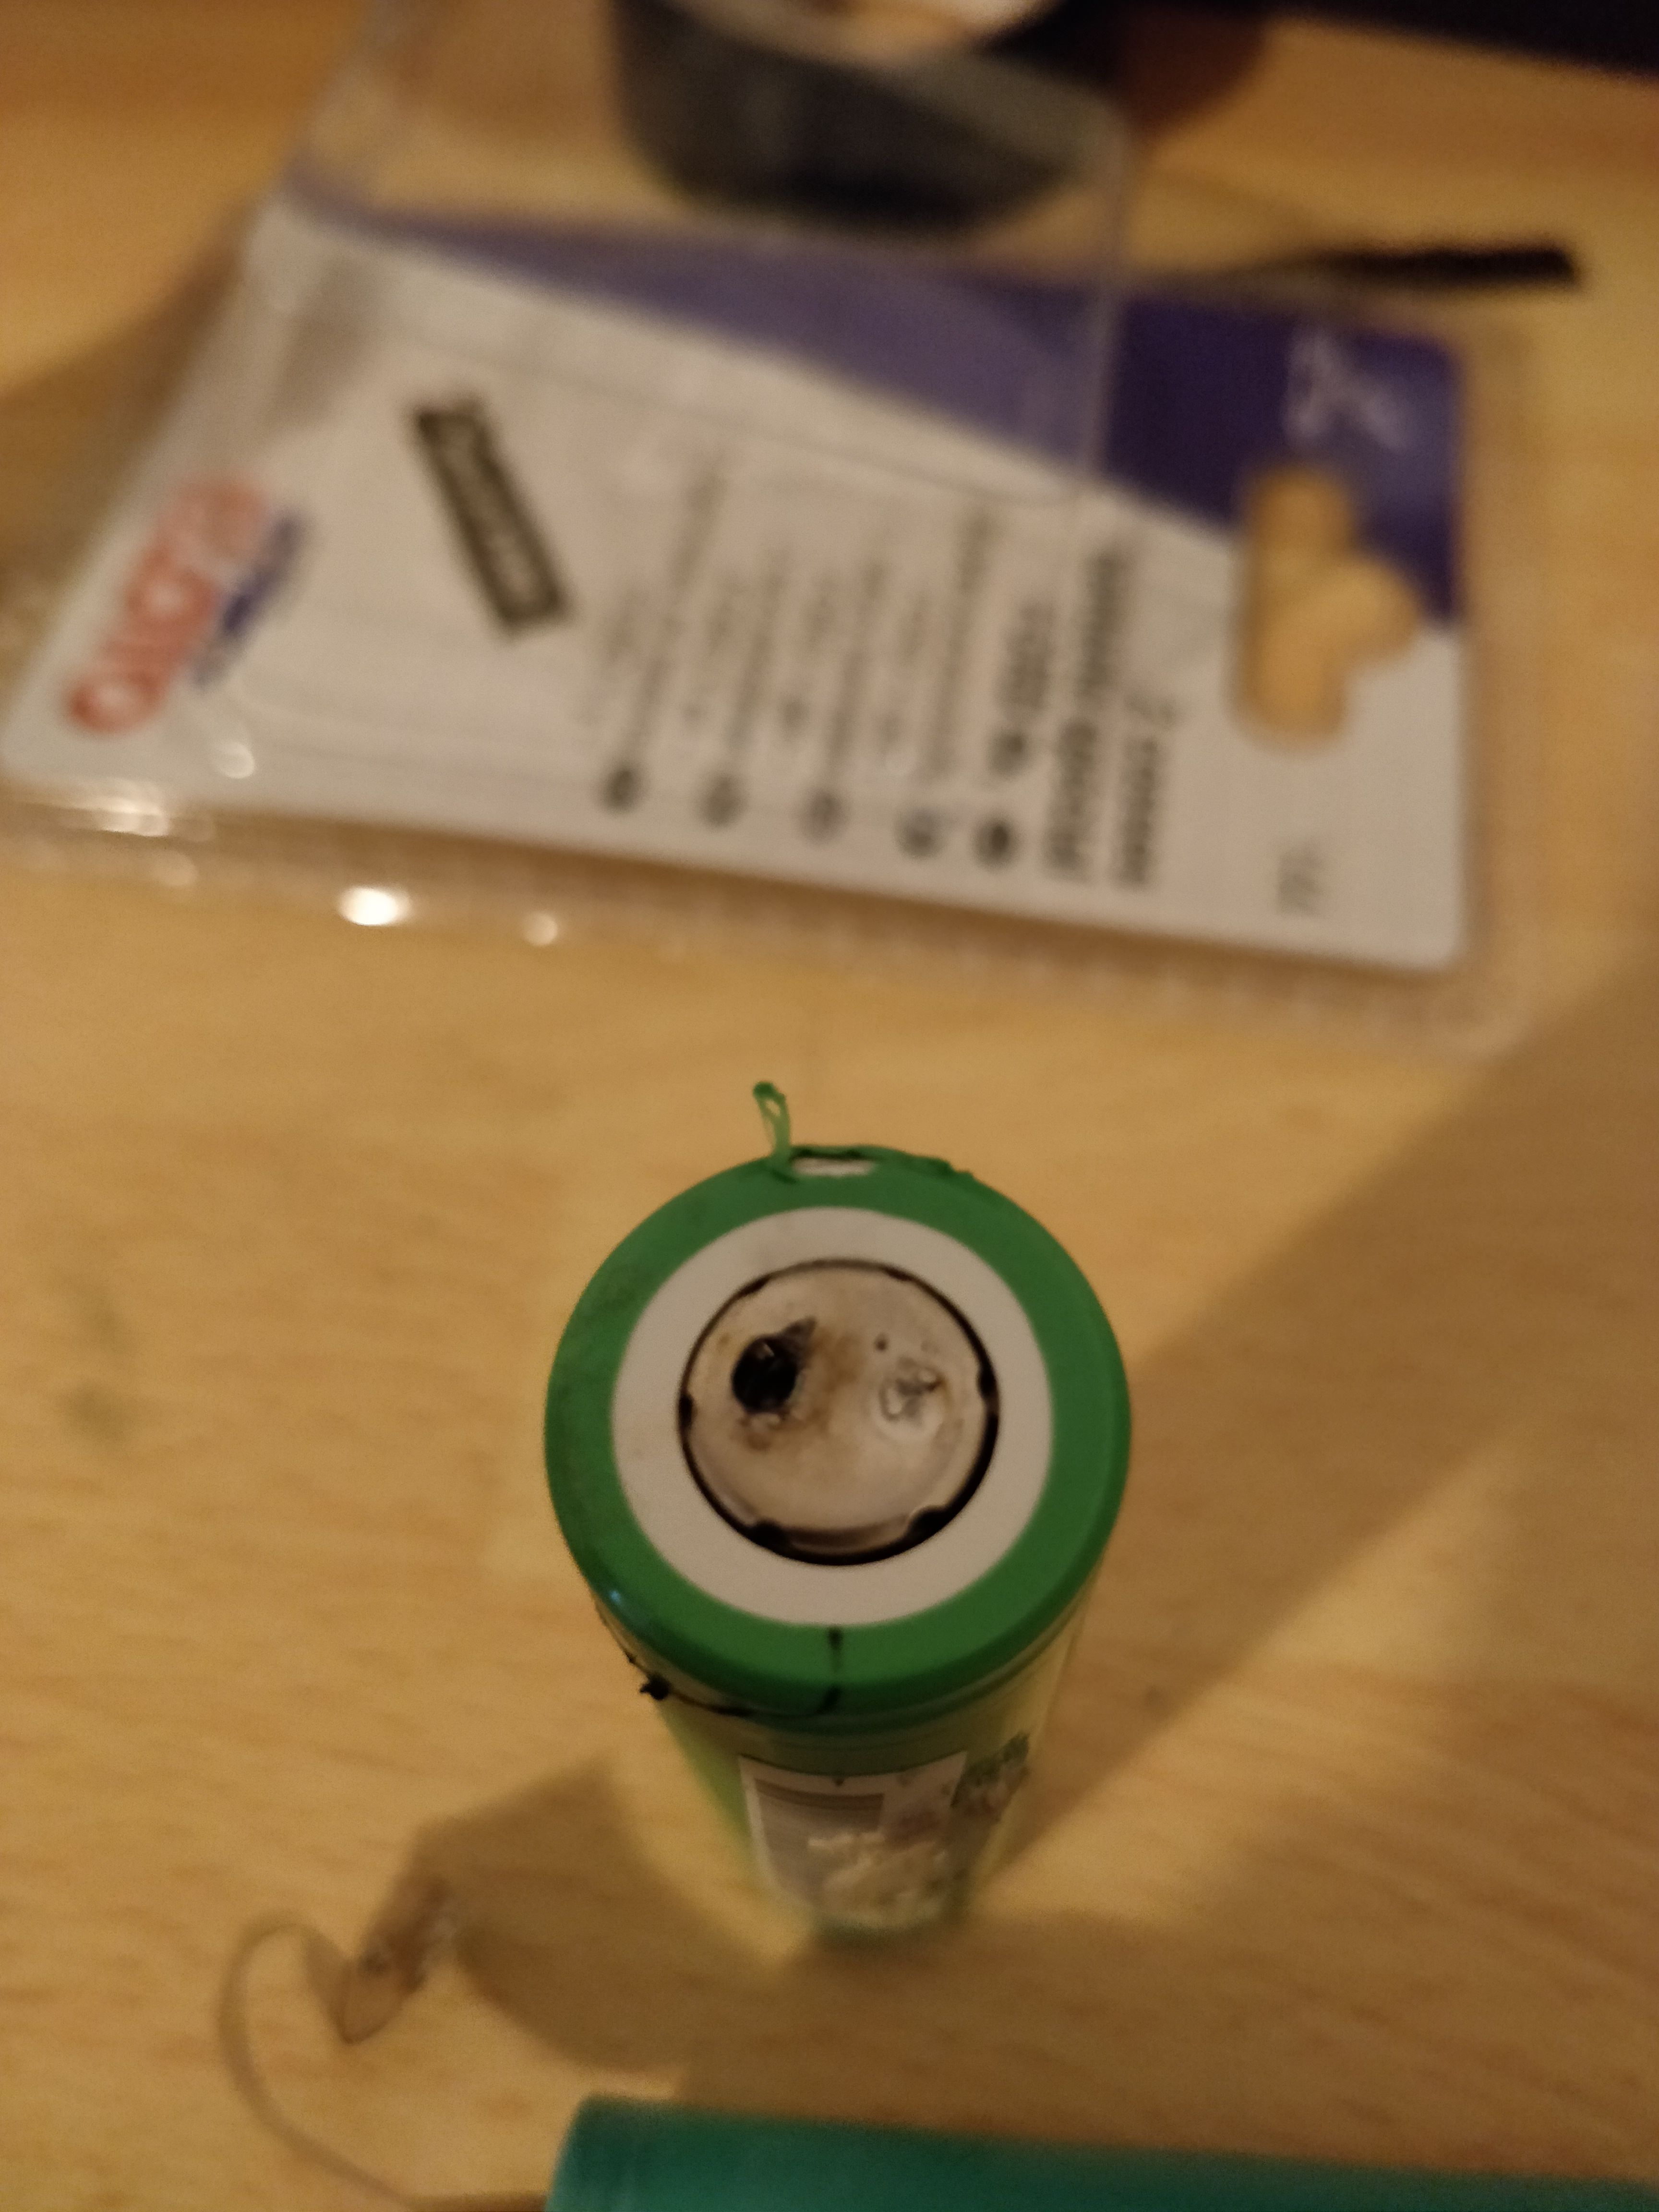
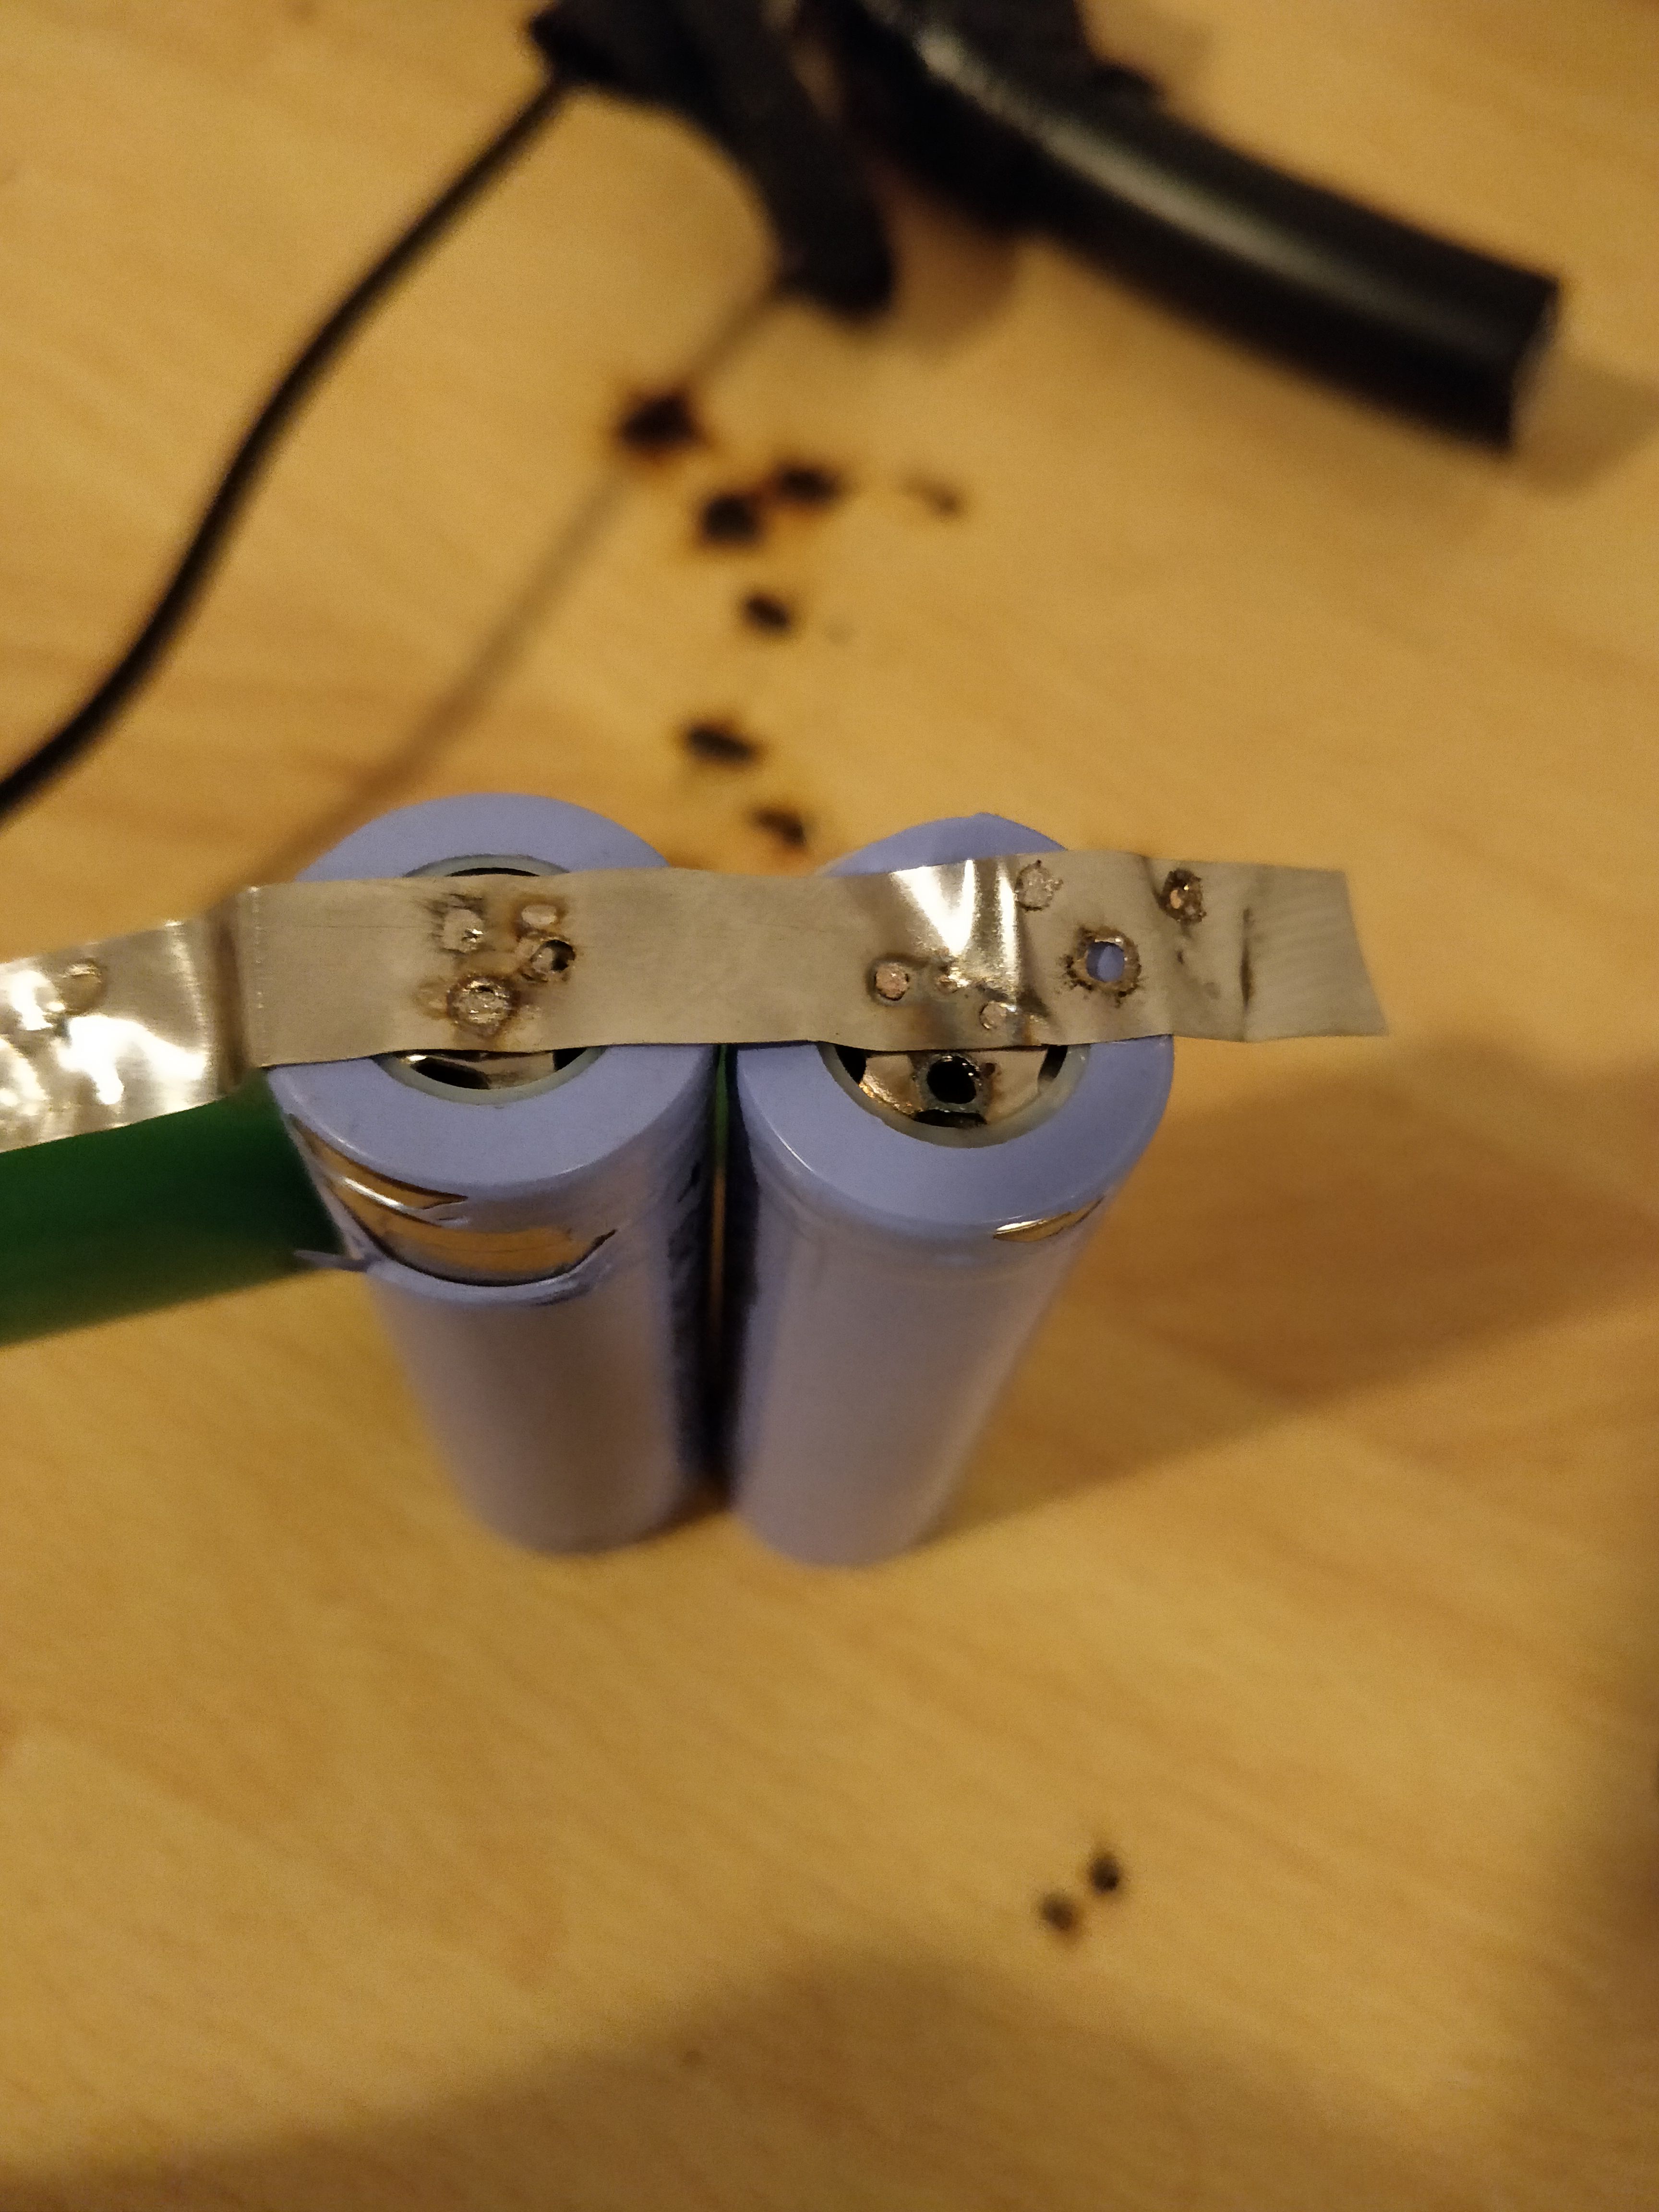
I was proud, and then i blew holes in the batteries, i was happy enough that i thought about testing on the positive side only, i can't imagine the amount of damage i would have done if i tested on the negative side.
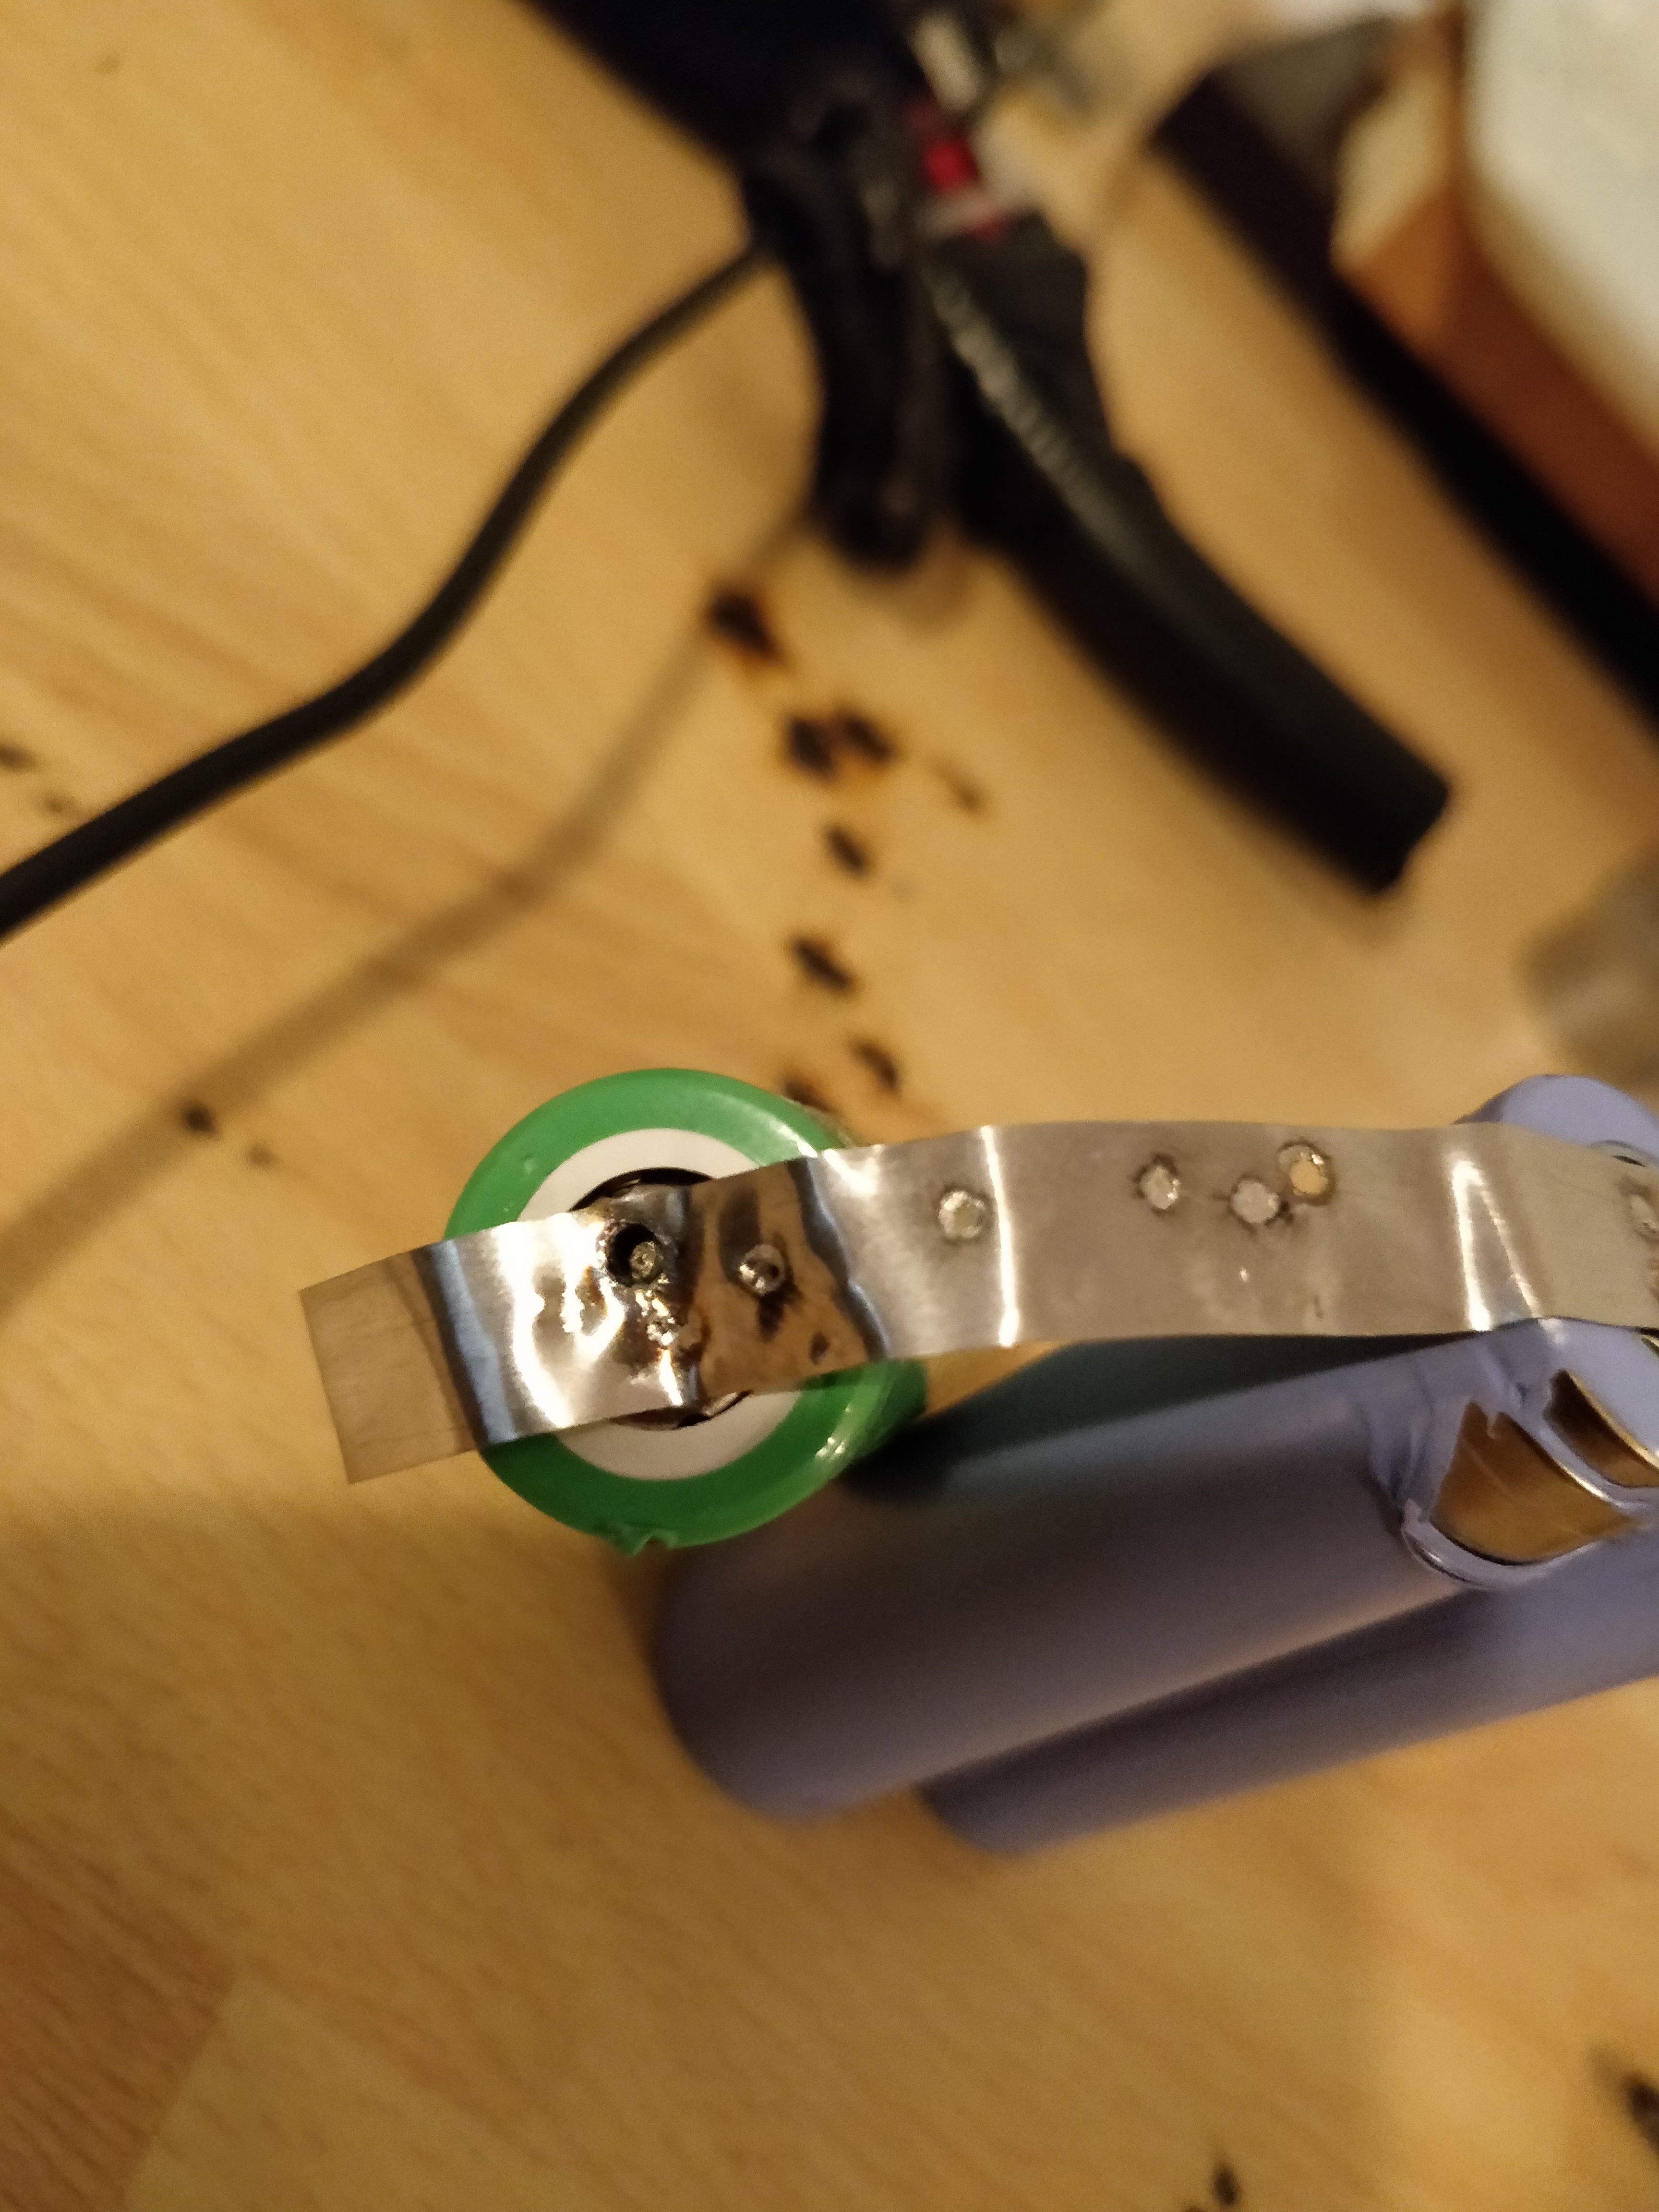
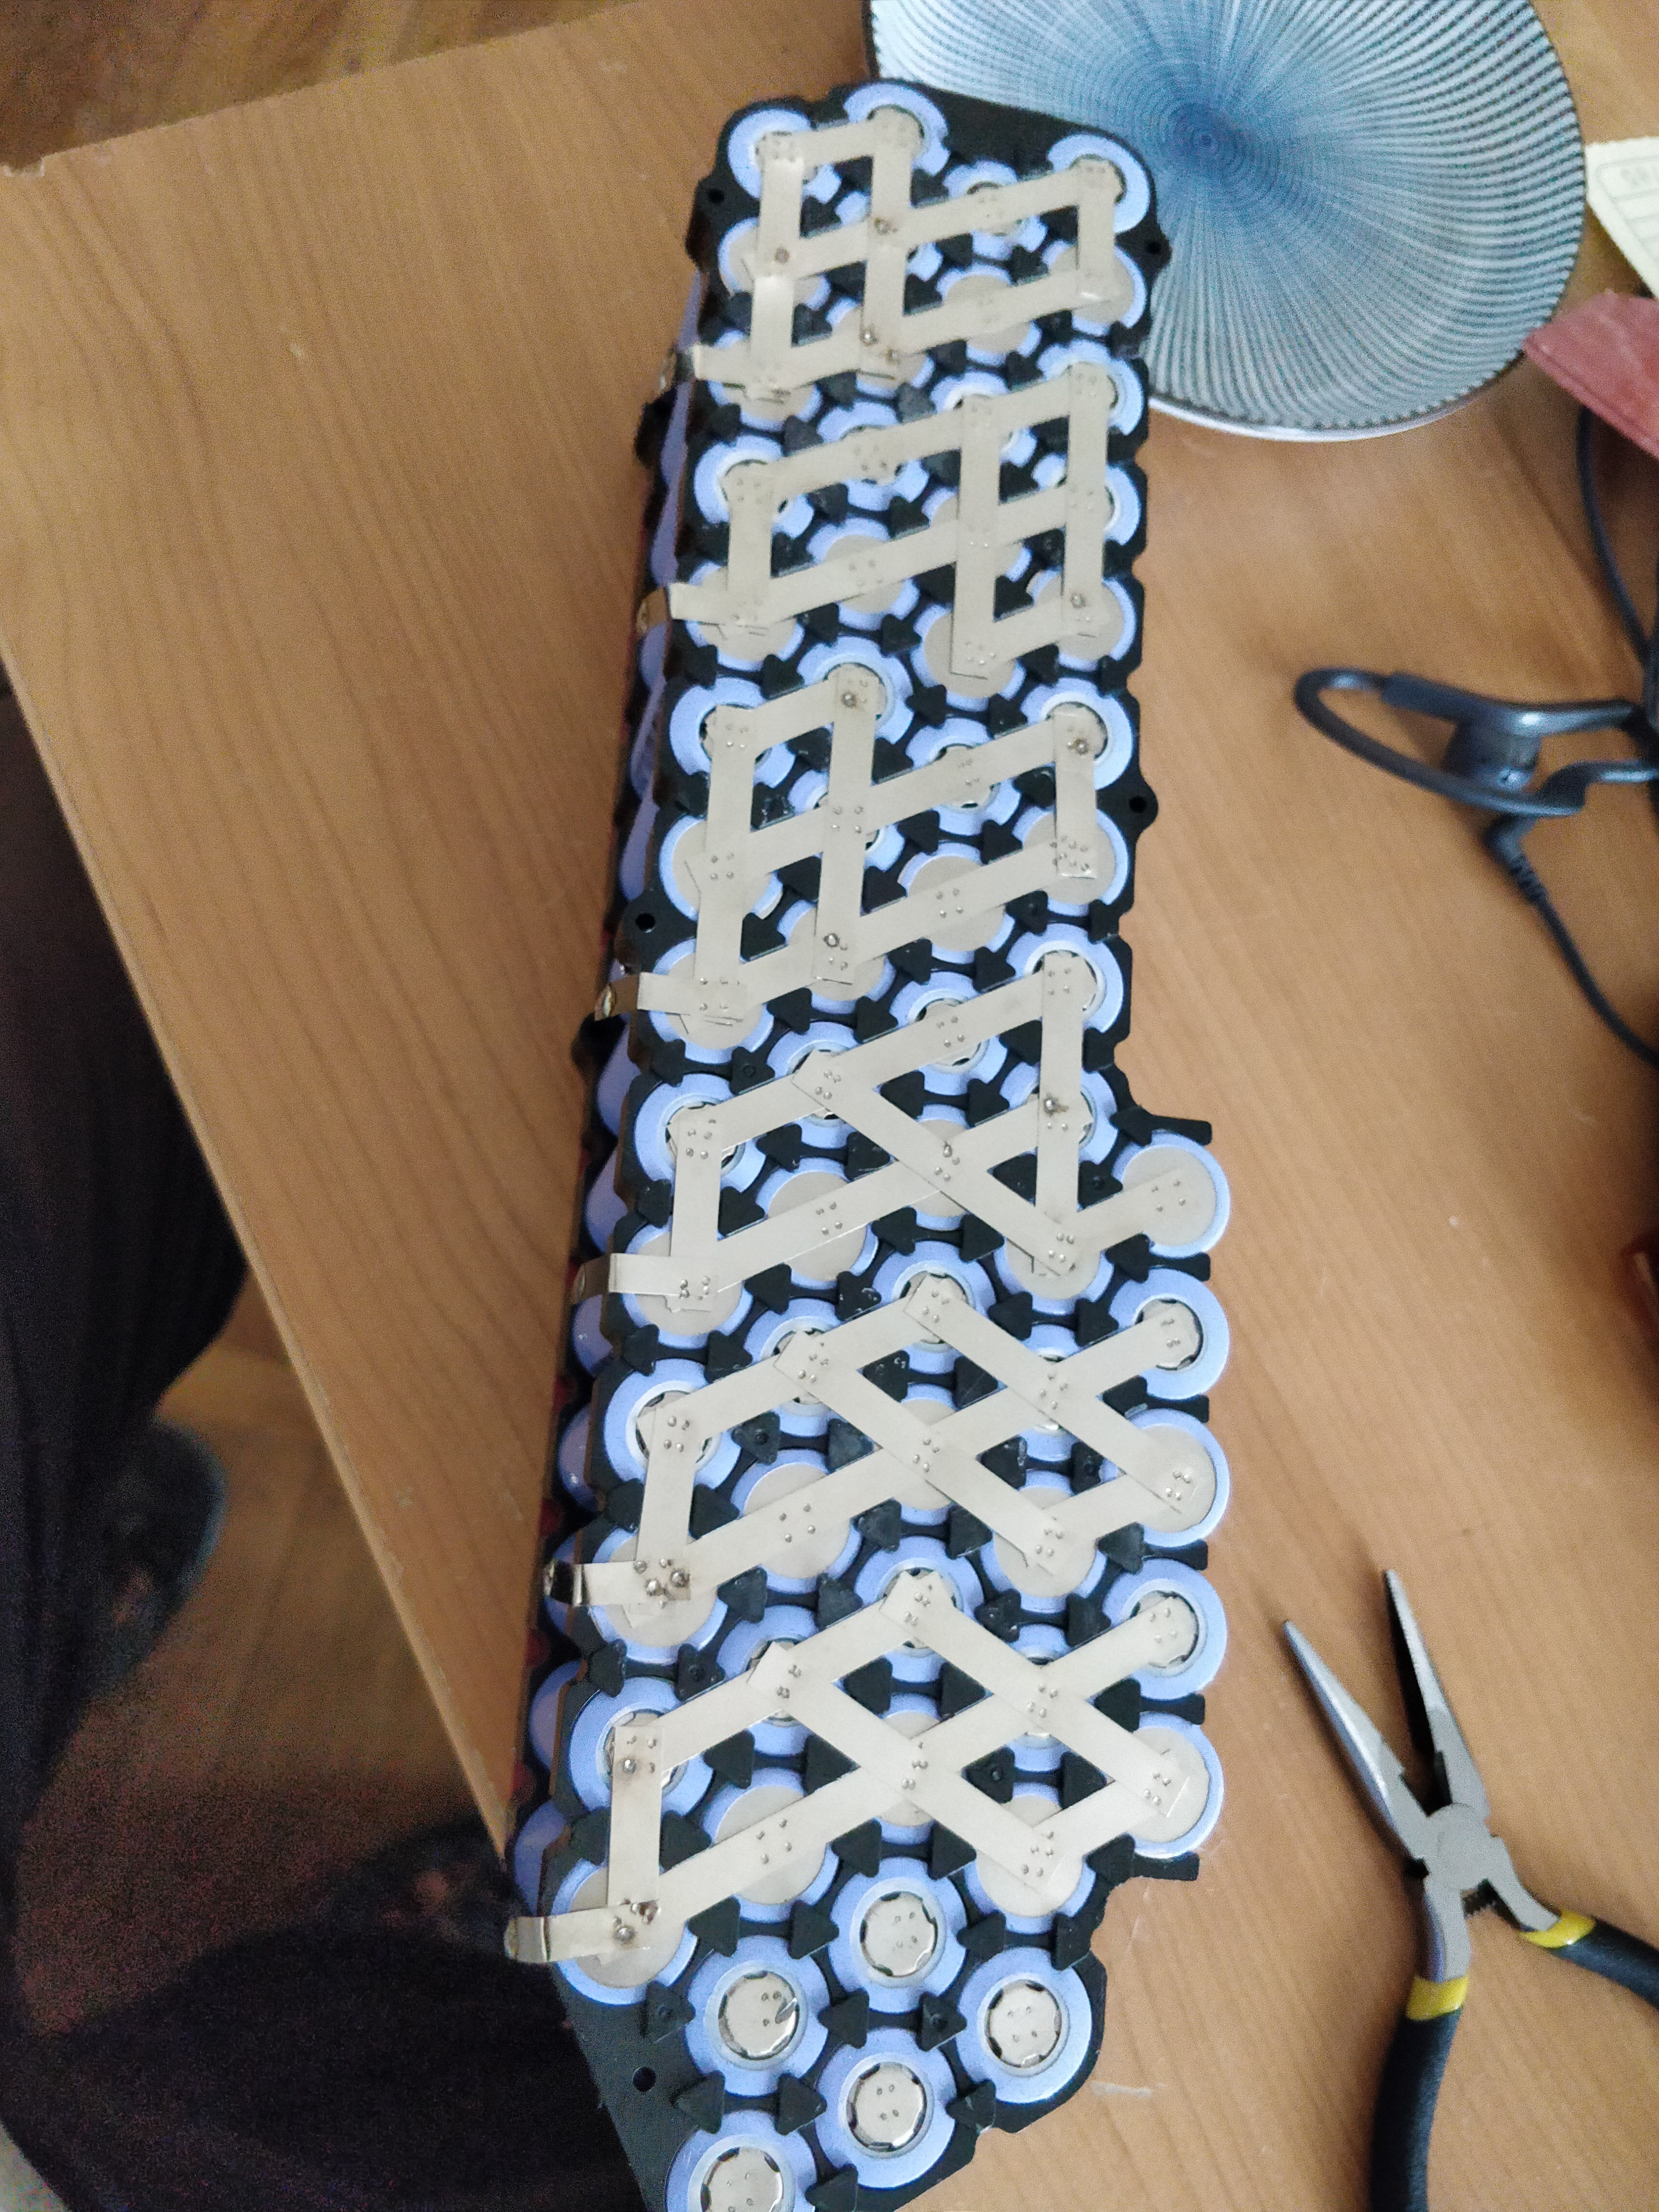
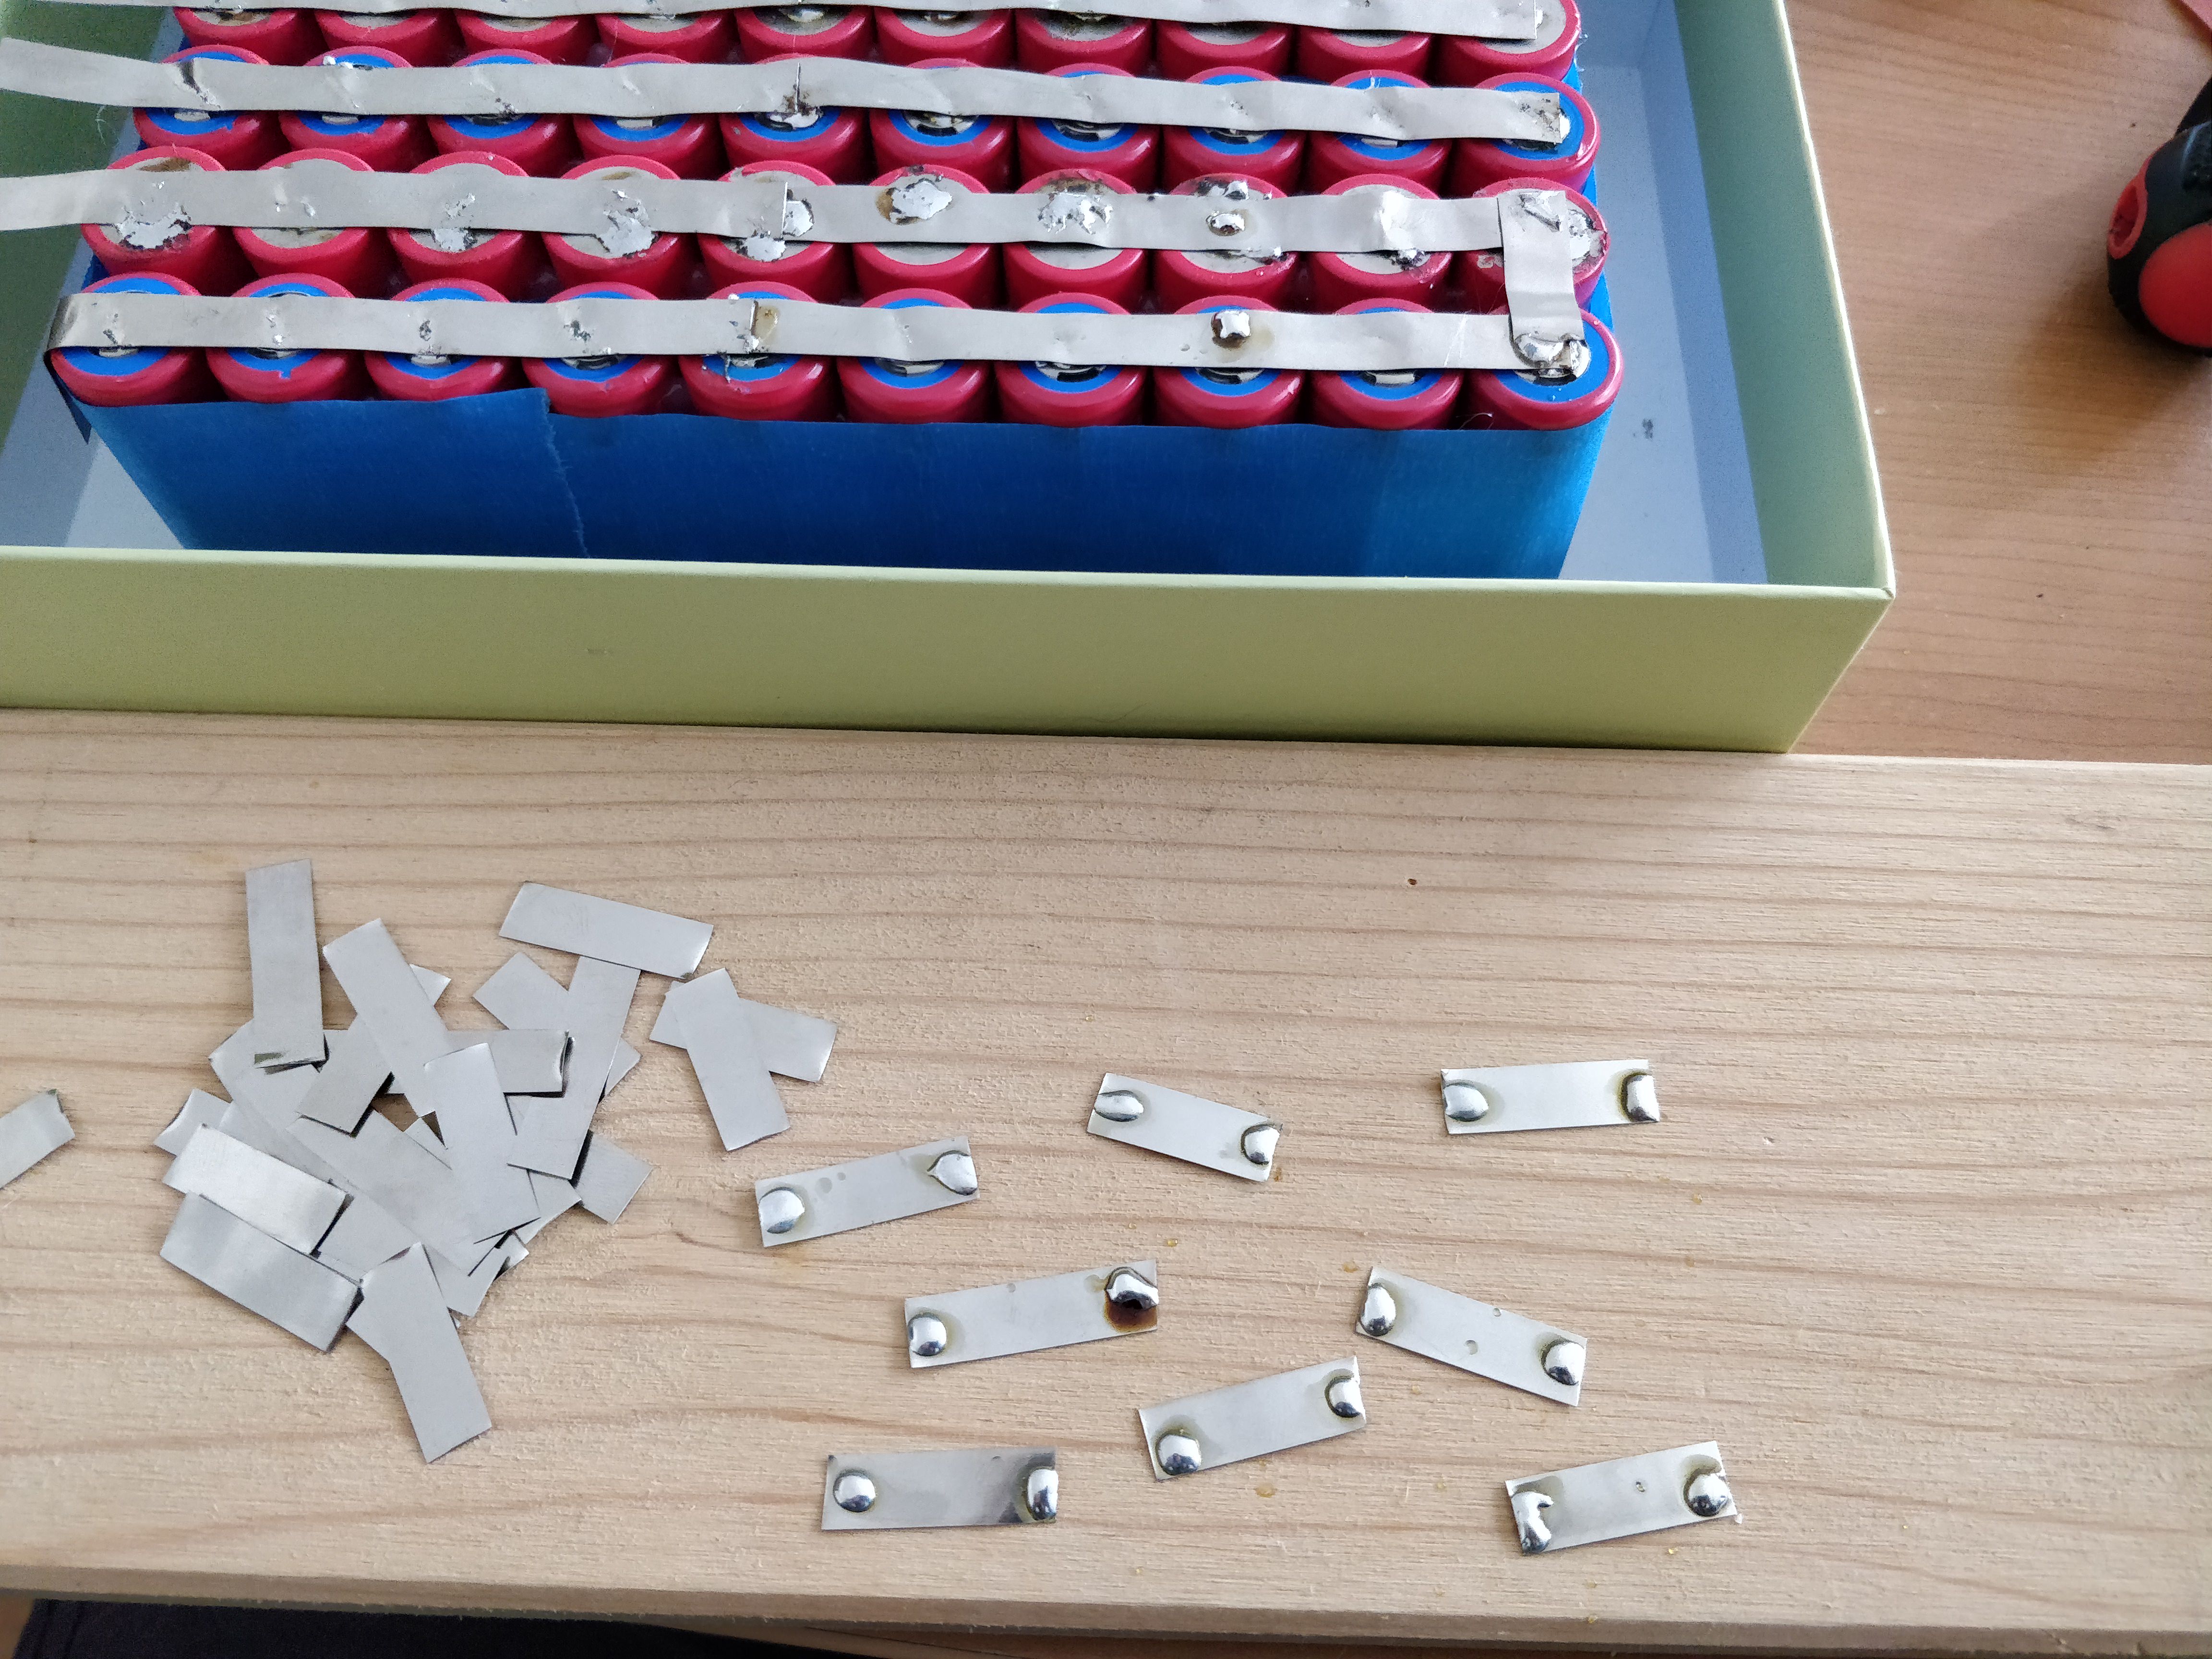
Given that there was only one of two outcomes no matter how i tried (either blowing a hole or the strip not sticking), i decided to go with soldering, and in order to go a bit cleaner i went with soldering the nickel strips this time, so it too every parallel, tined the cells, tined the strips and then applied the strip on the cells and heat it to melt the solder together, so far so good:
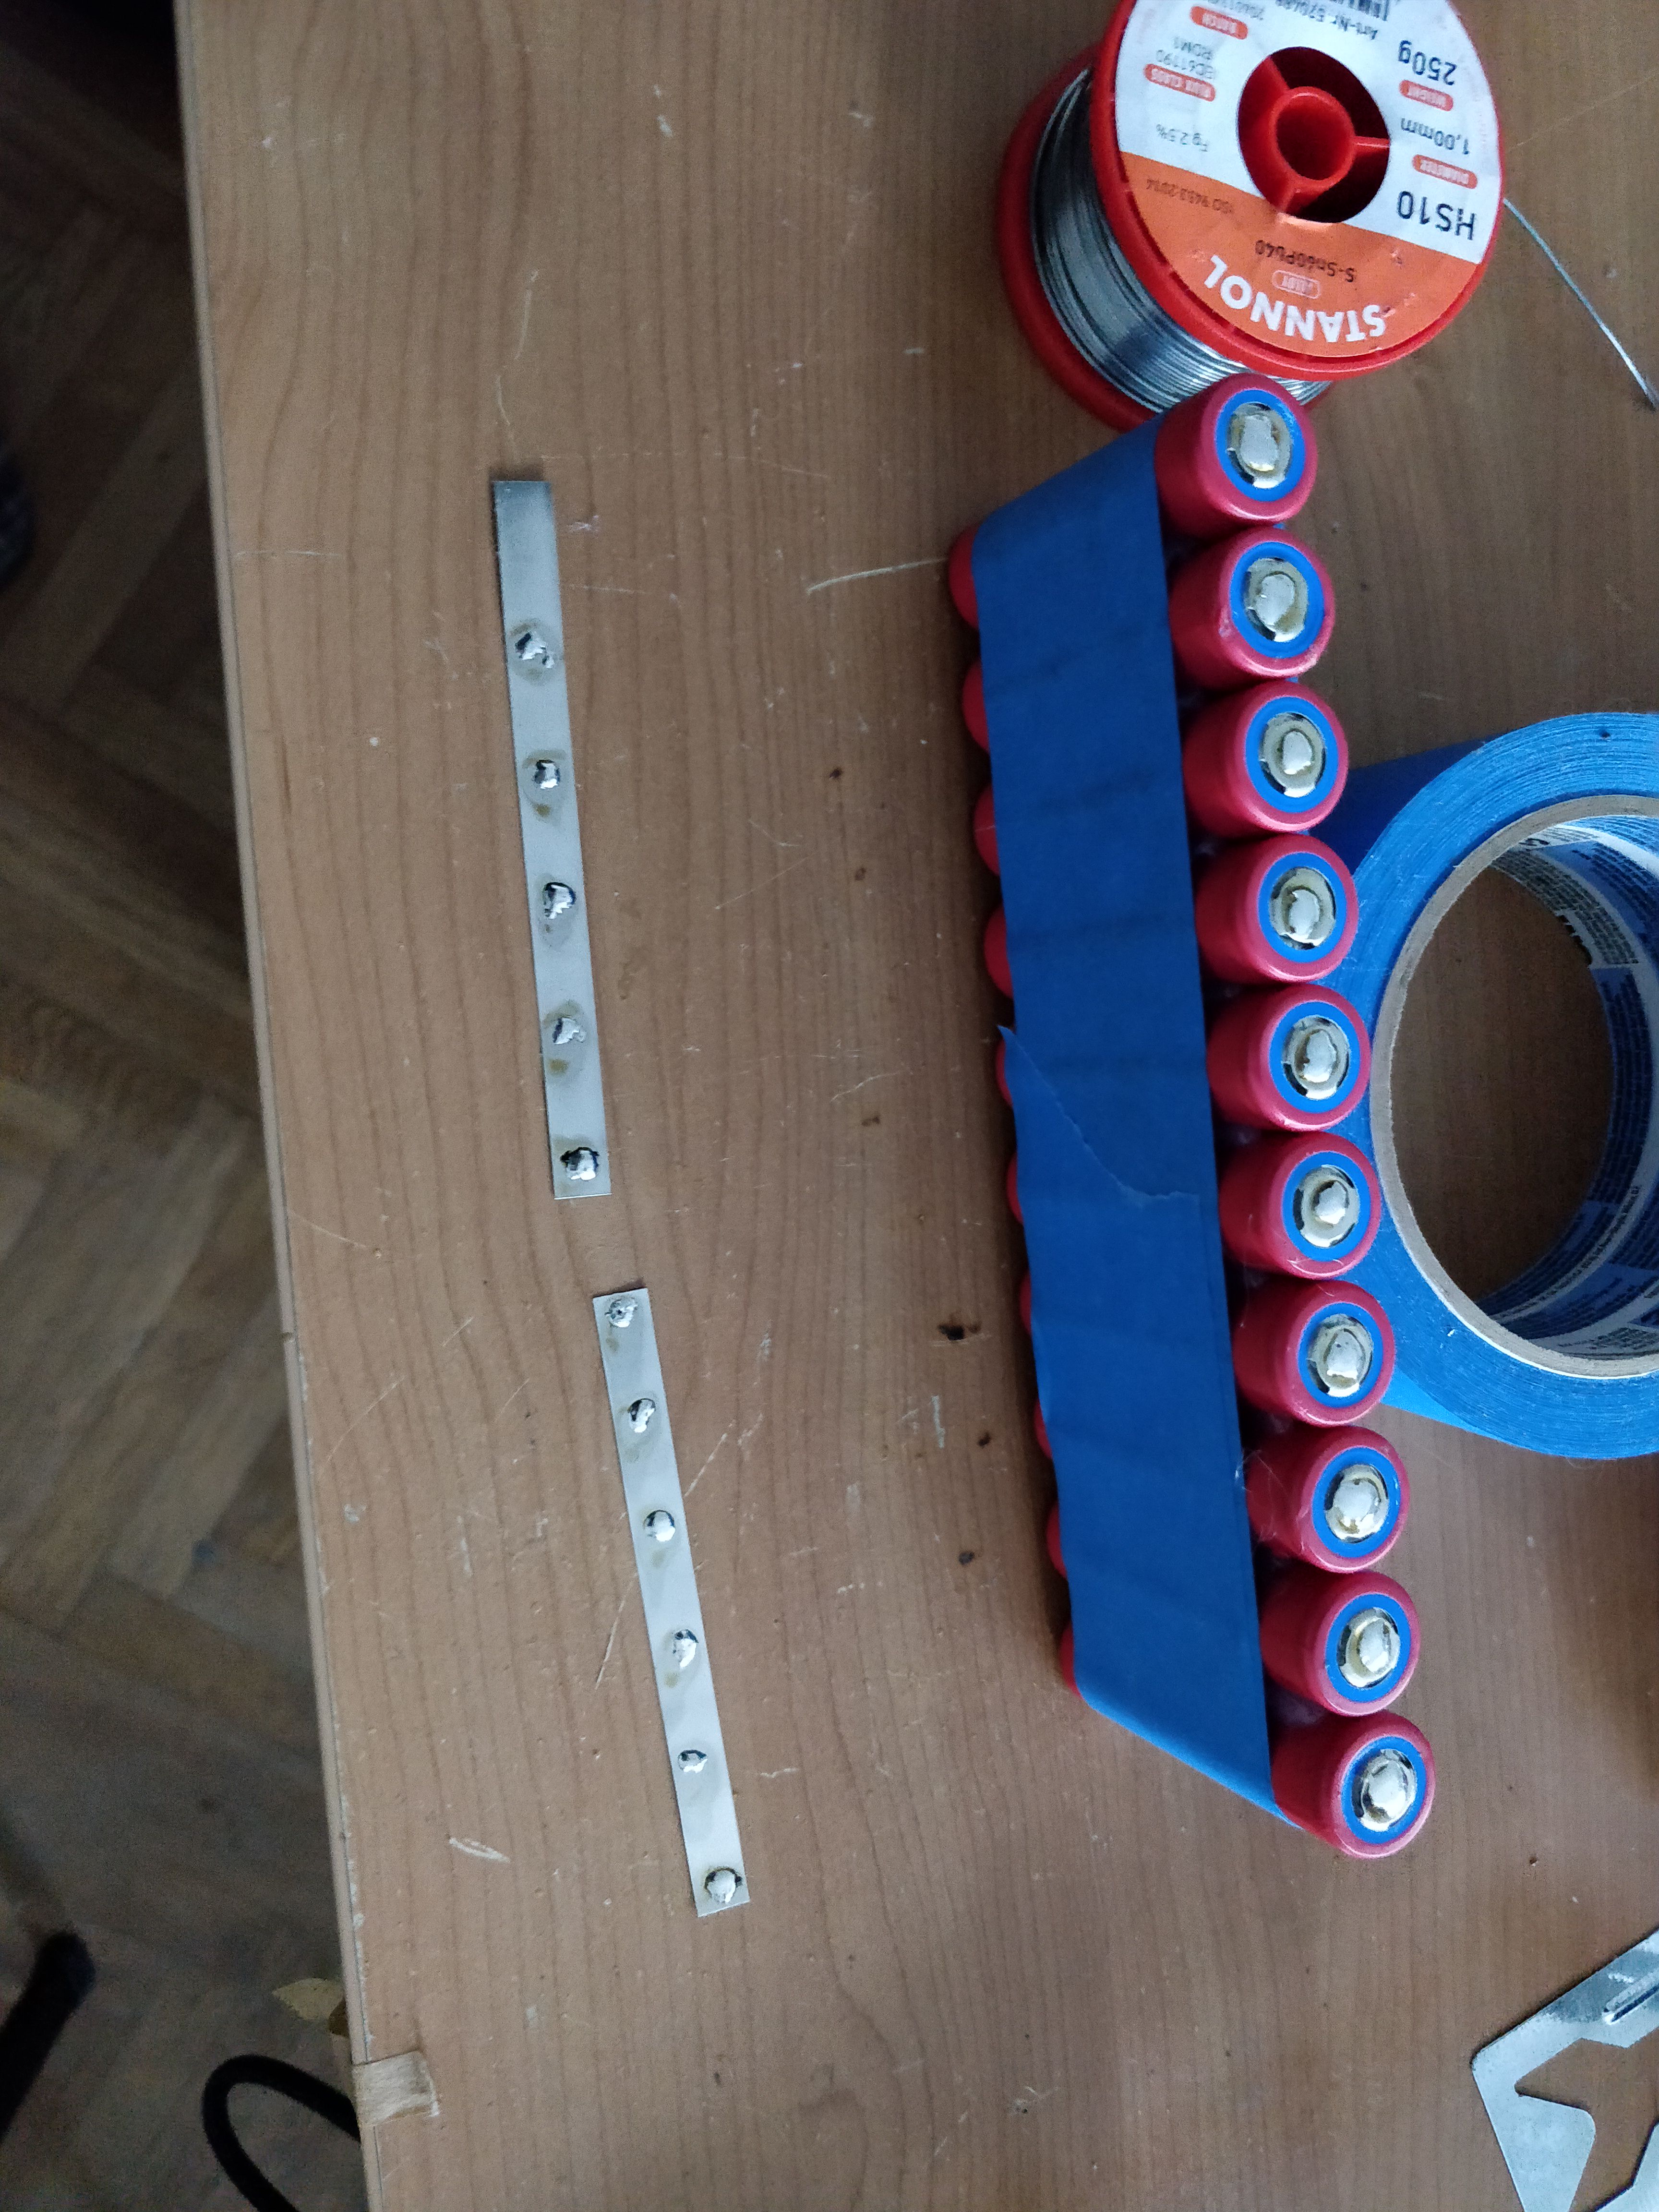
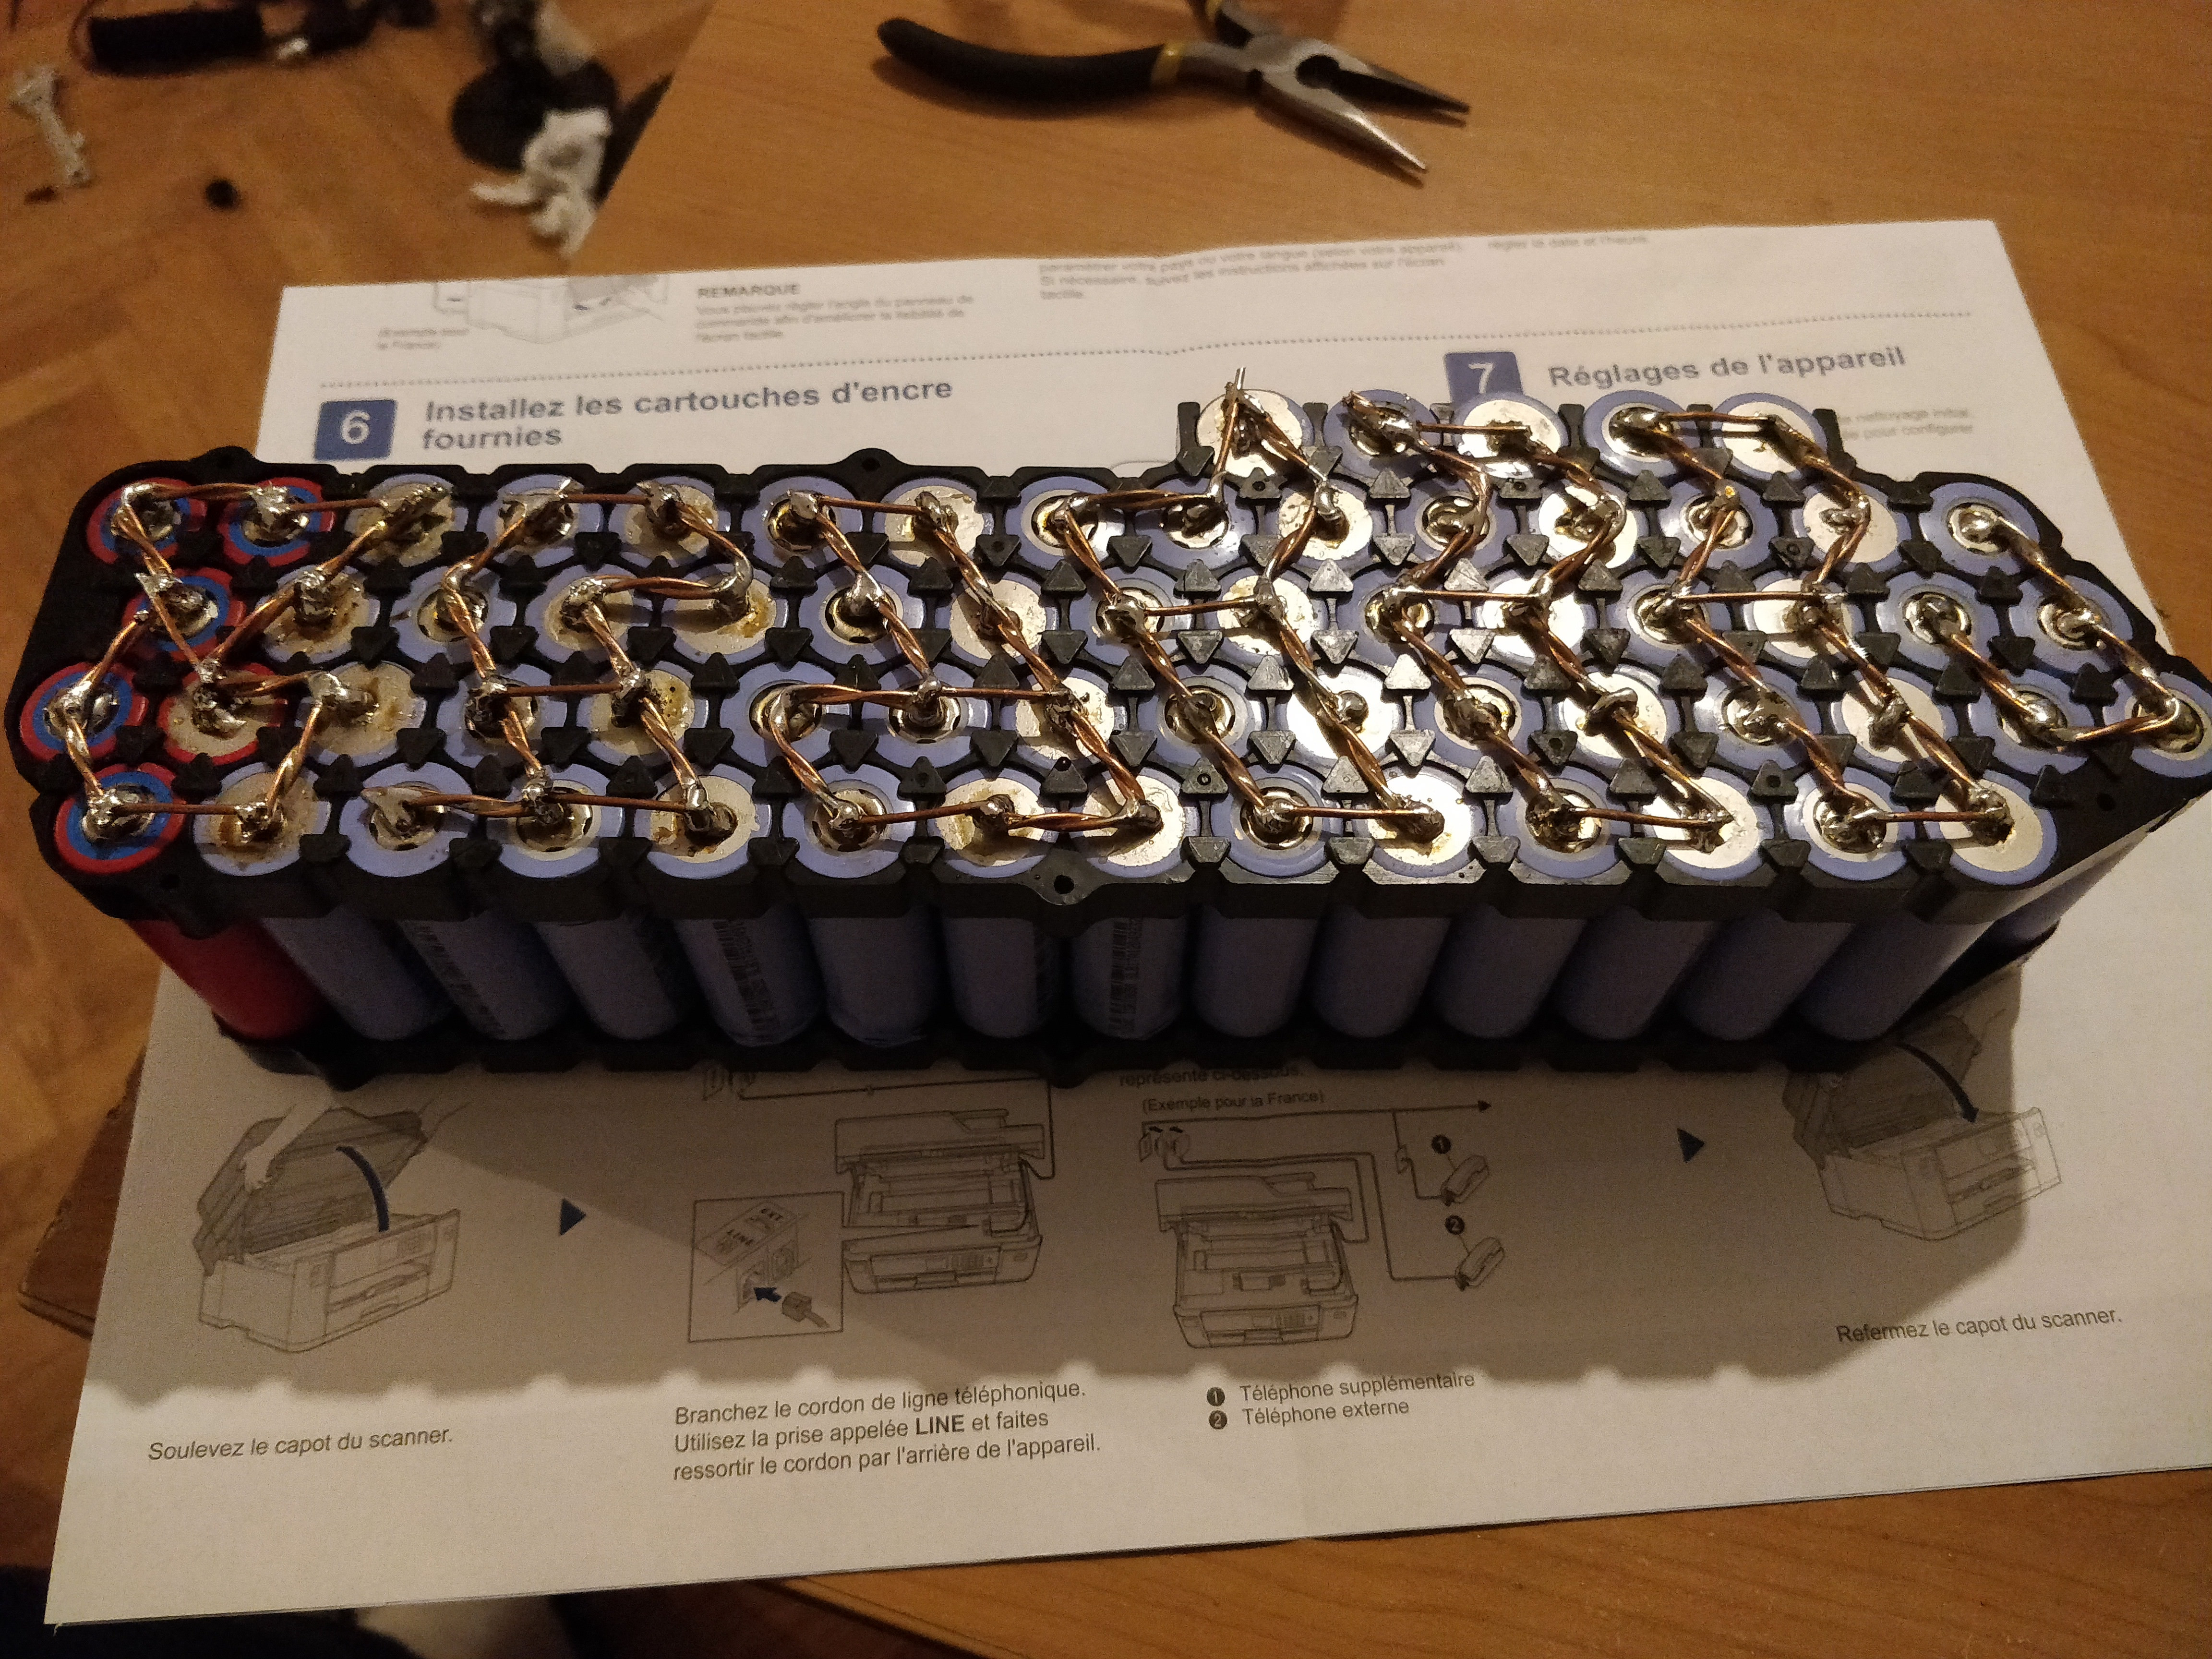
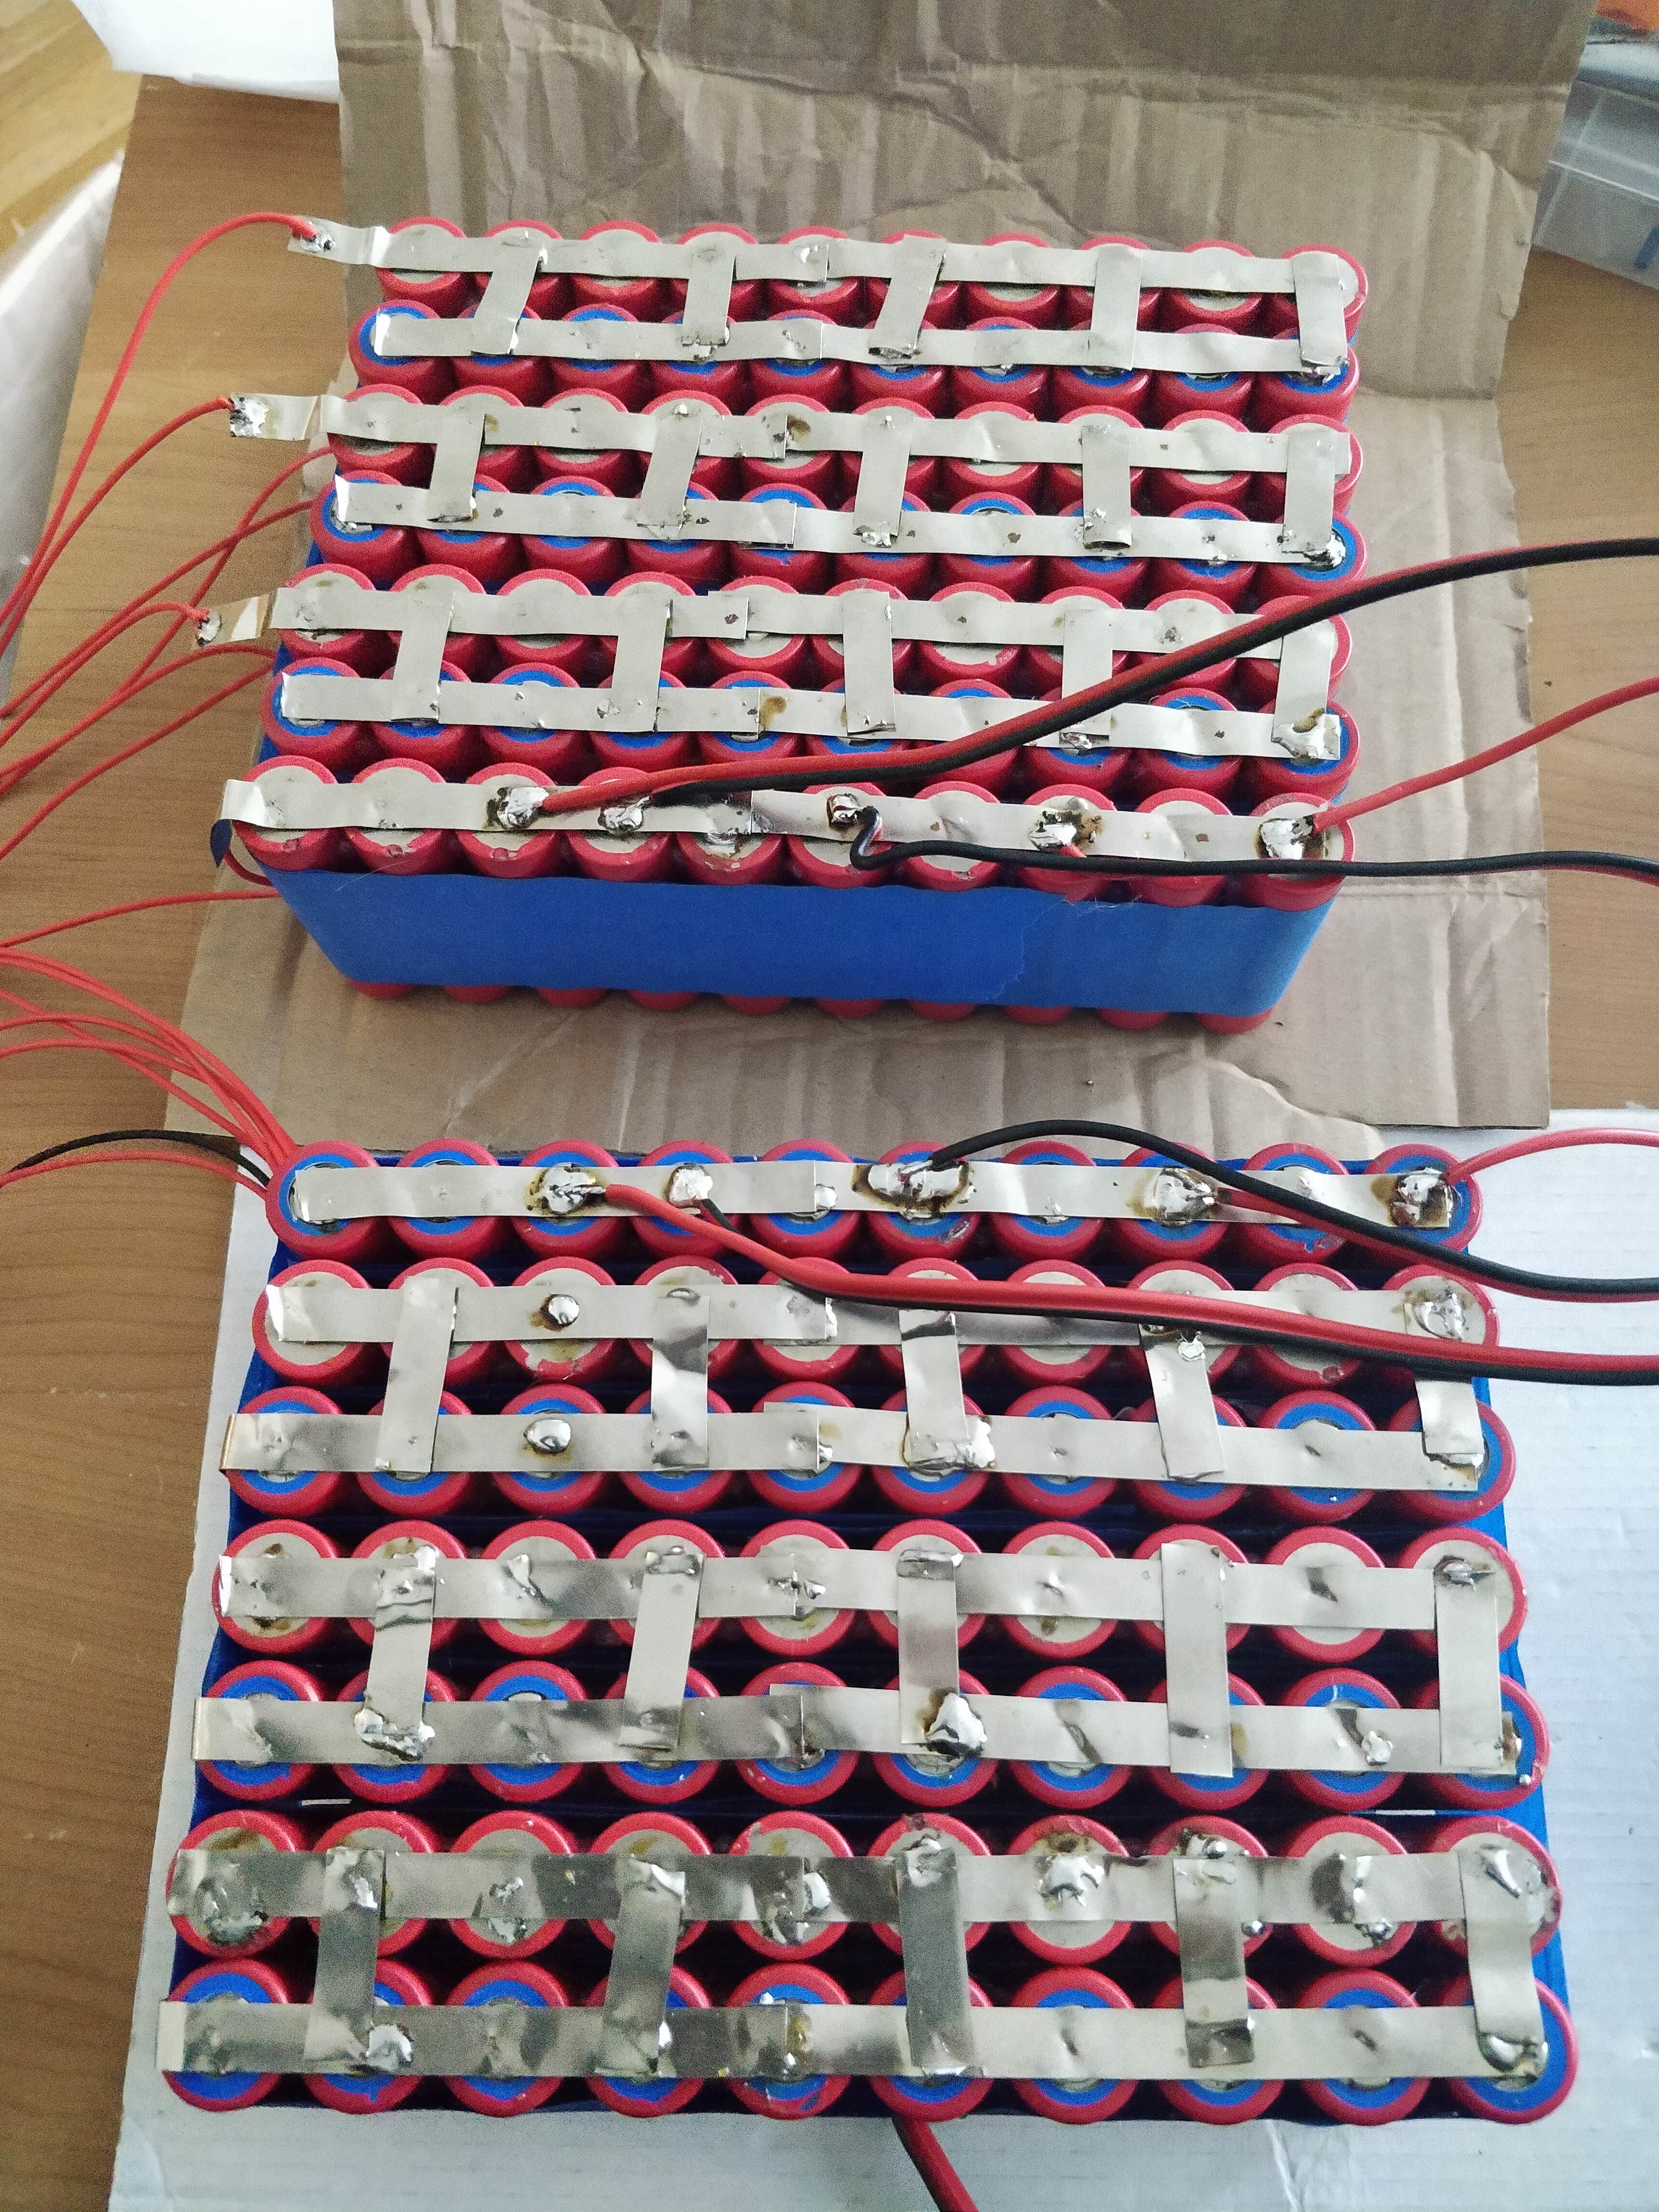
Once done with every parallel, i started making the series connection, and so i cut the nickel strips to acceptable sizes, tined them, tinned the batteries and there i went about making each half pack:
To ensure i didnt mix up the series i put some signs on the side of the batteries to recognize were to connect:

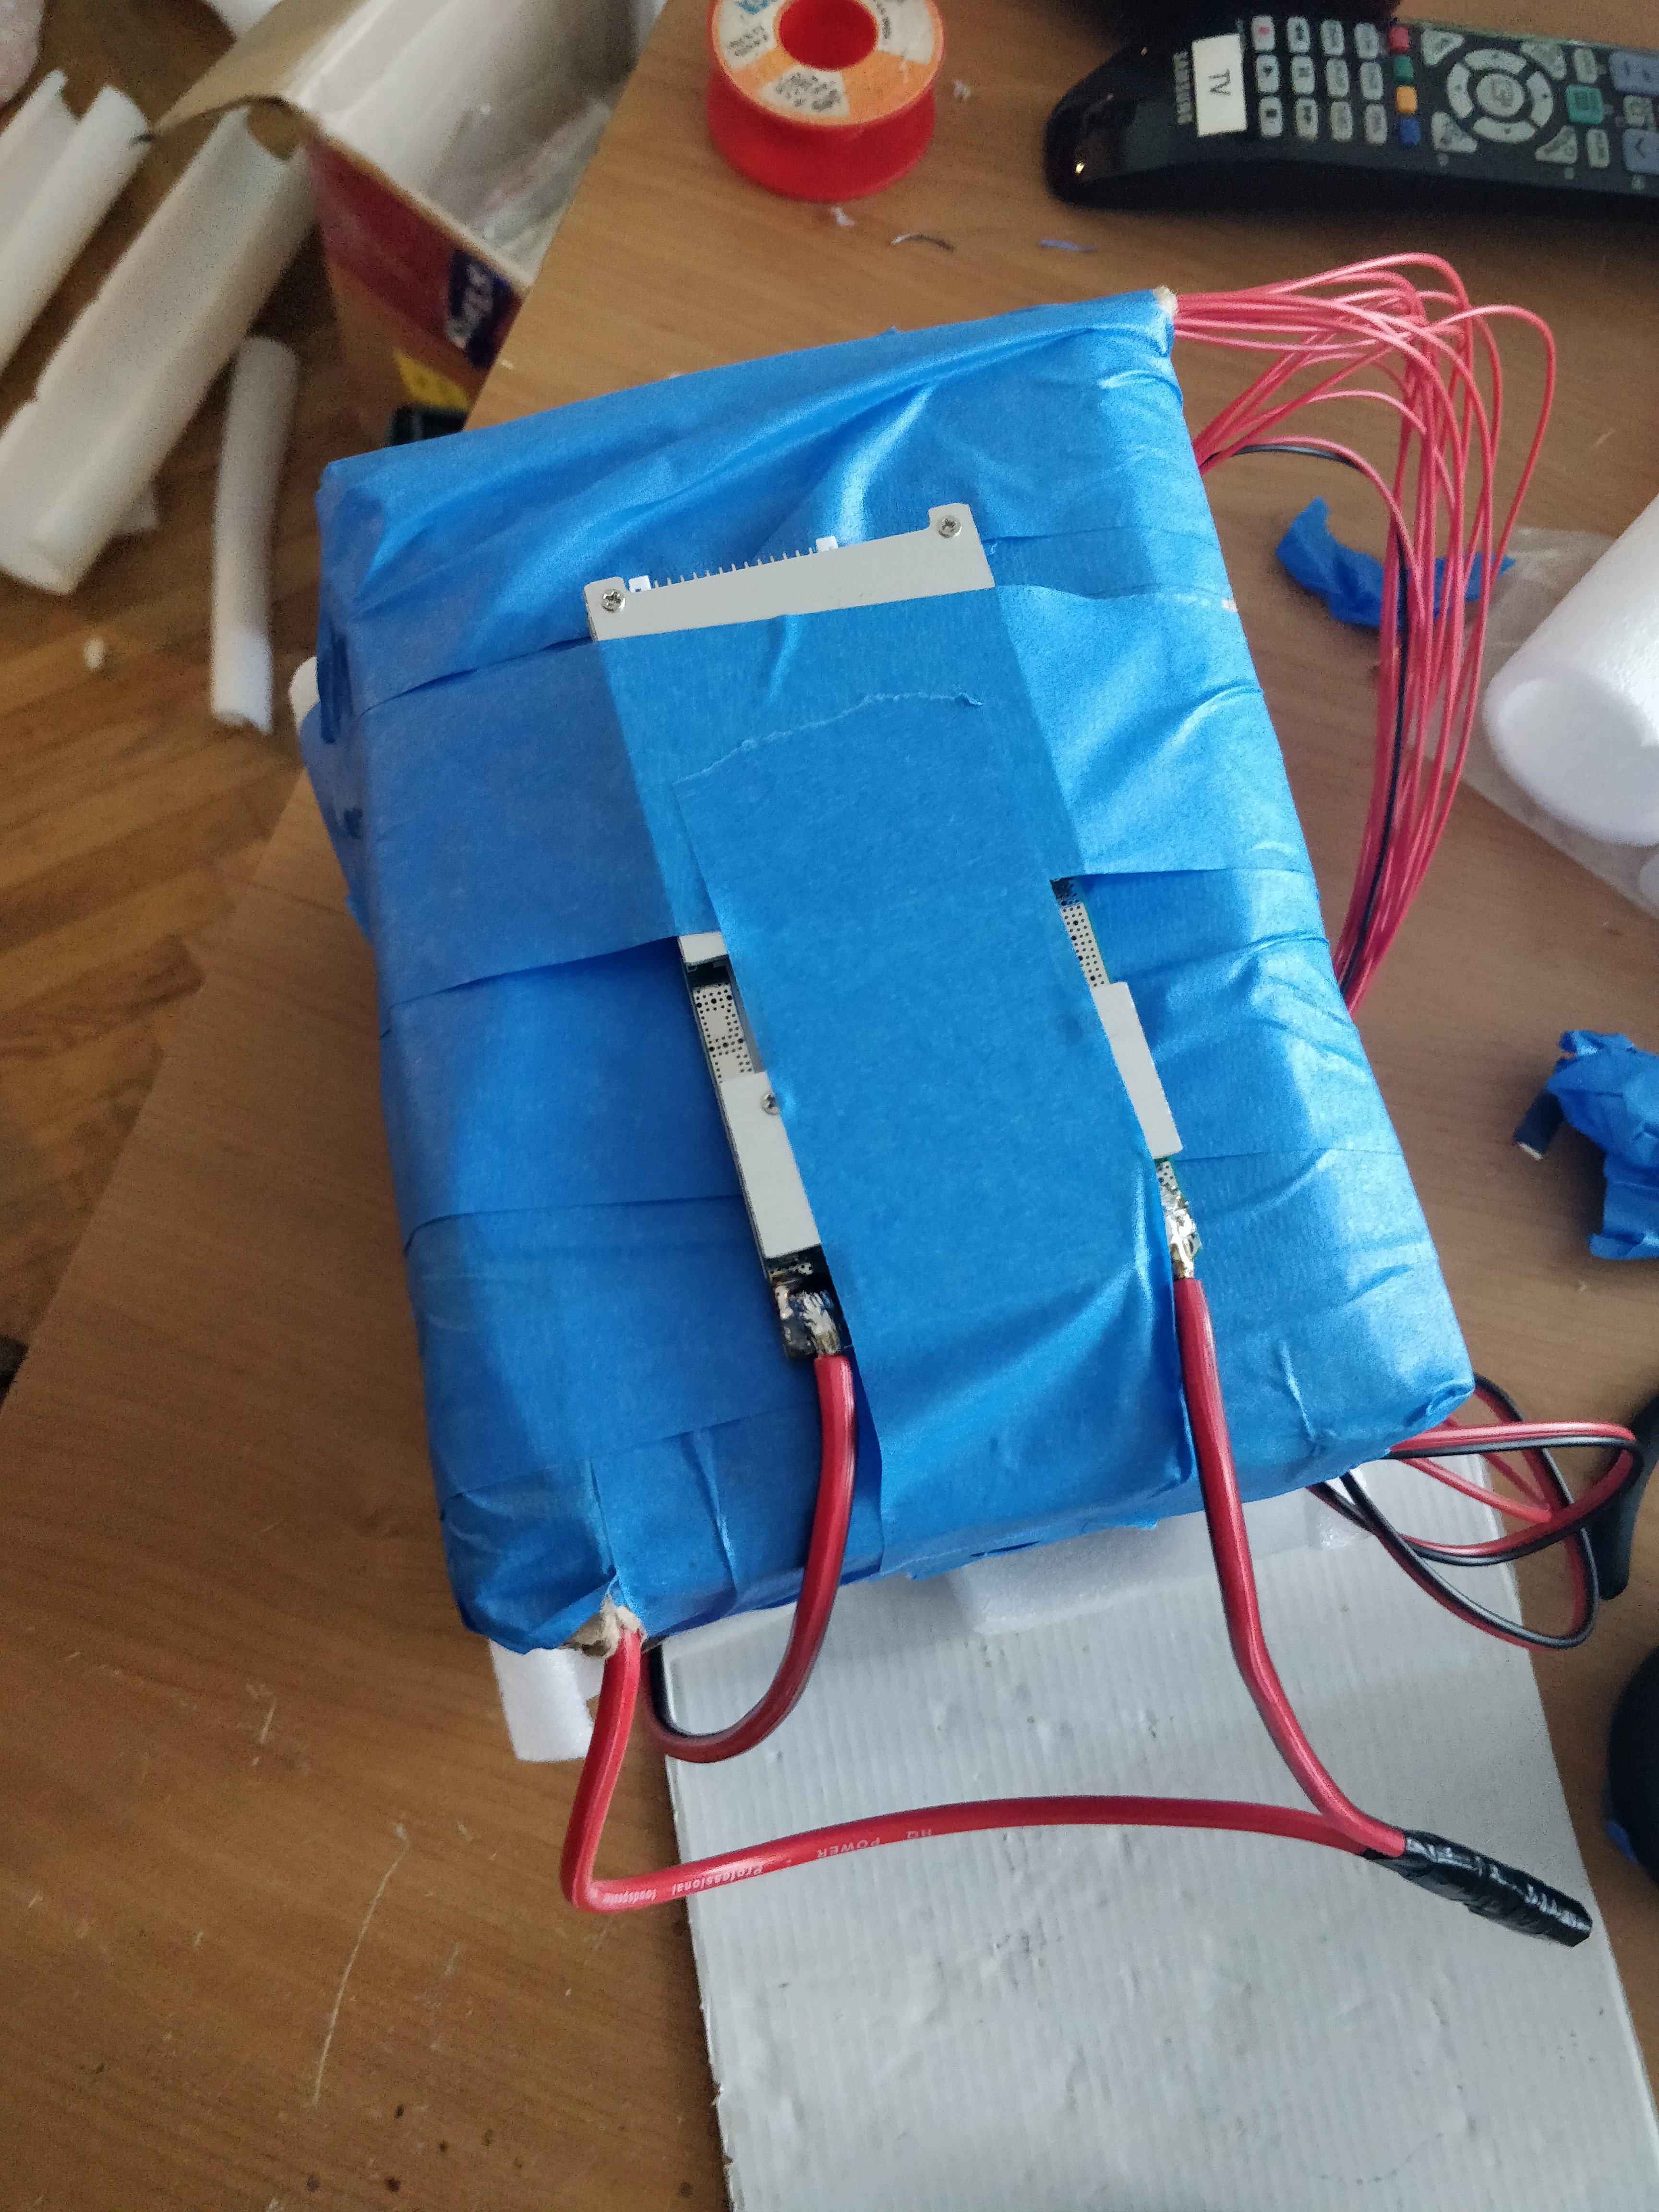
And naturally i connected each side of the pack with the other with flexible wire, at first i did it wrong and the pack became too fat and didnt fit in the ammo box, but then i opened it again and did a general rewiring, the wires may seem to thin, but i will only pull 20 amps at most, so it seemed okay.
After that i proceeded with isolating each pack with card board and masking tape, and then put them one on top of the other, and then tape them together, which gave me this:
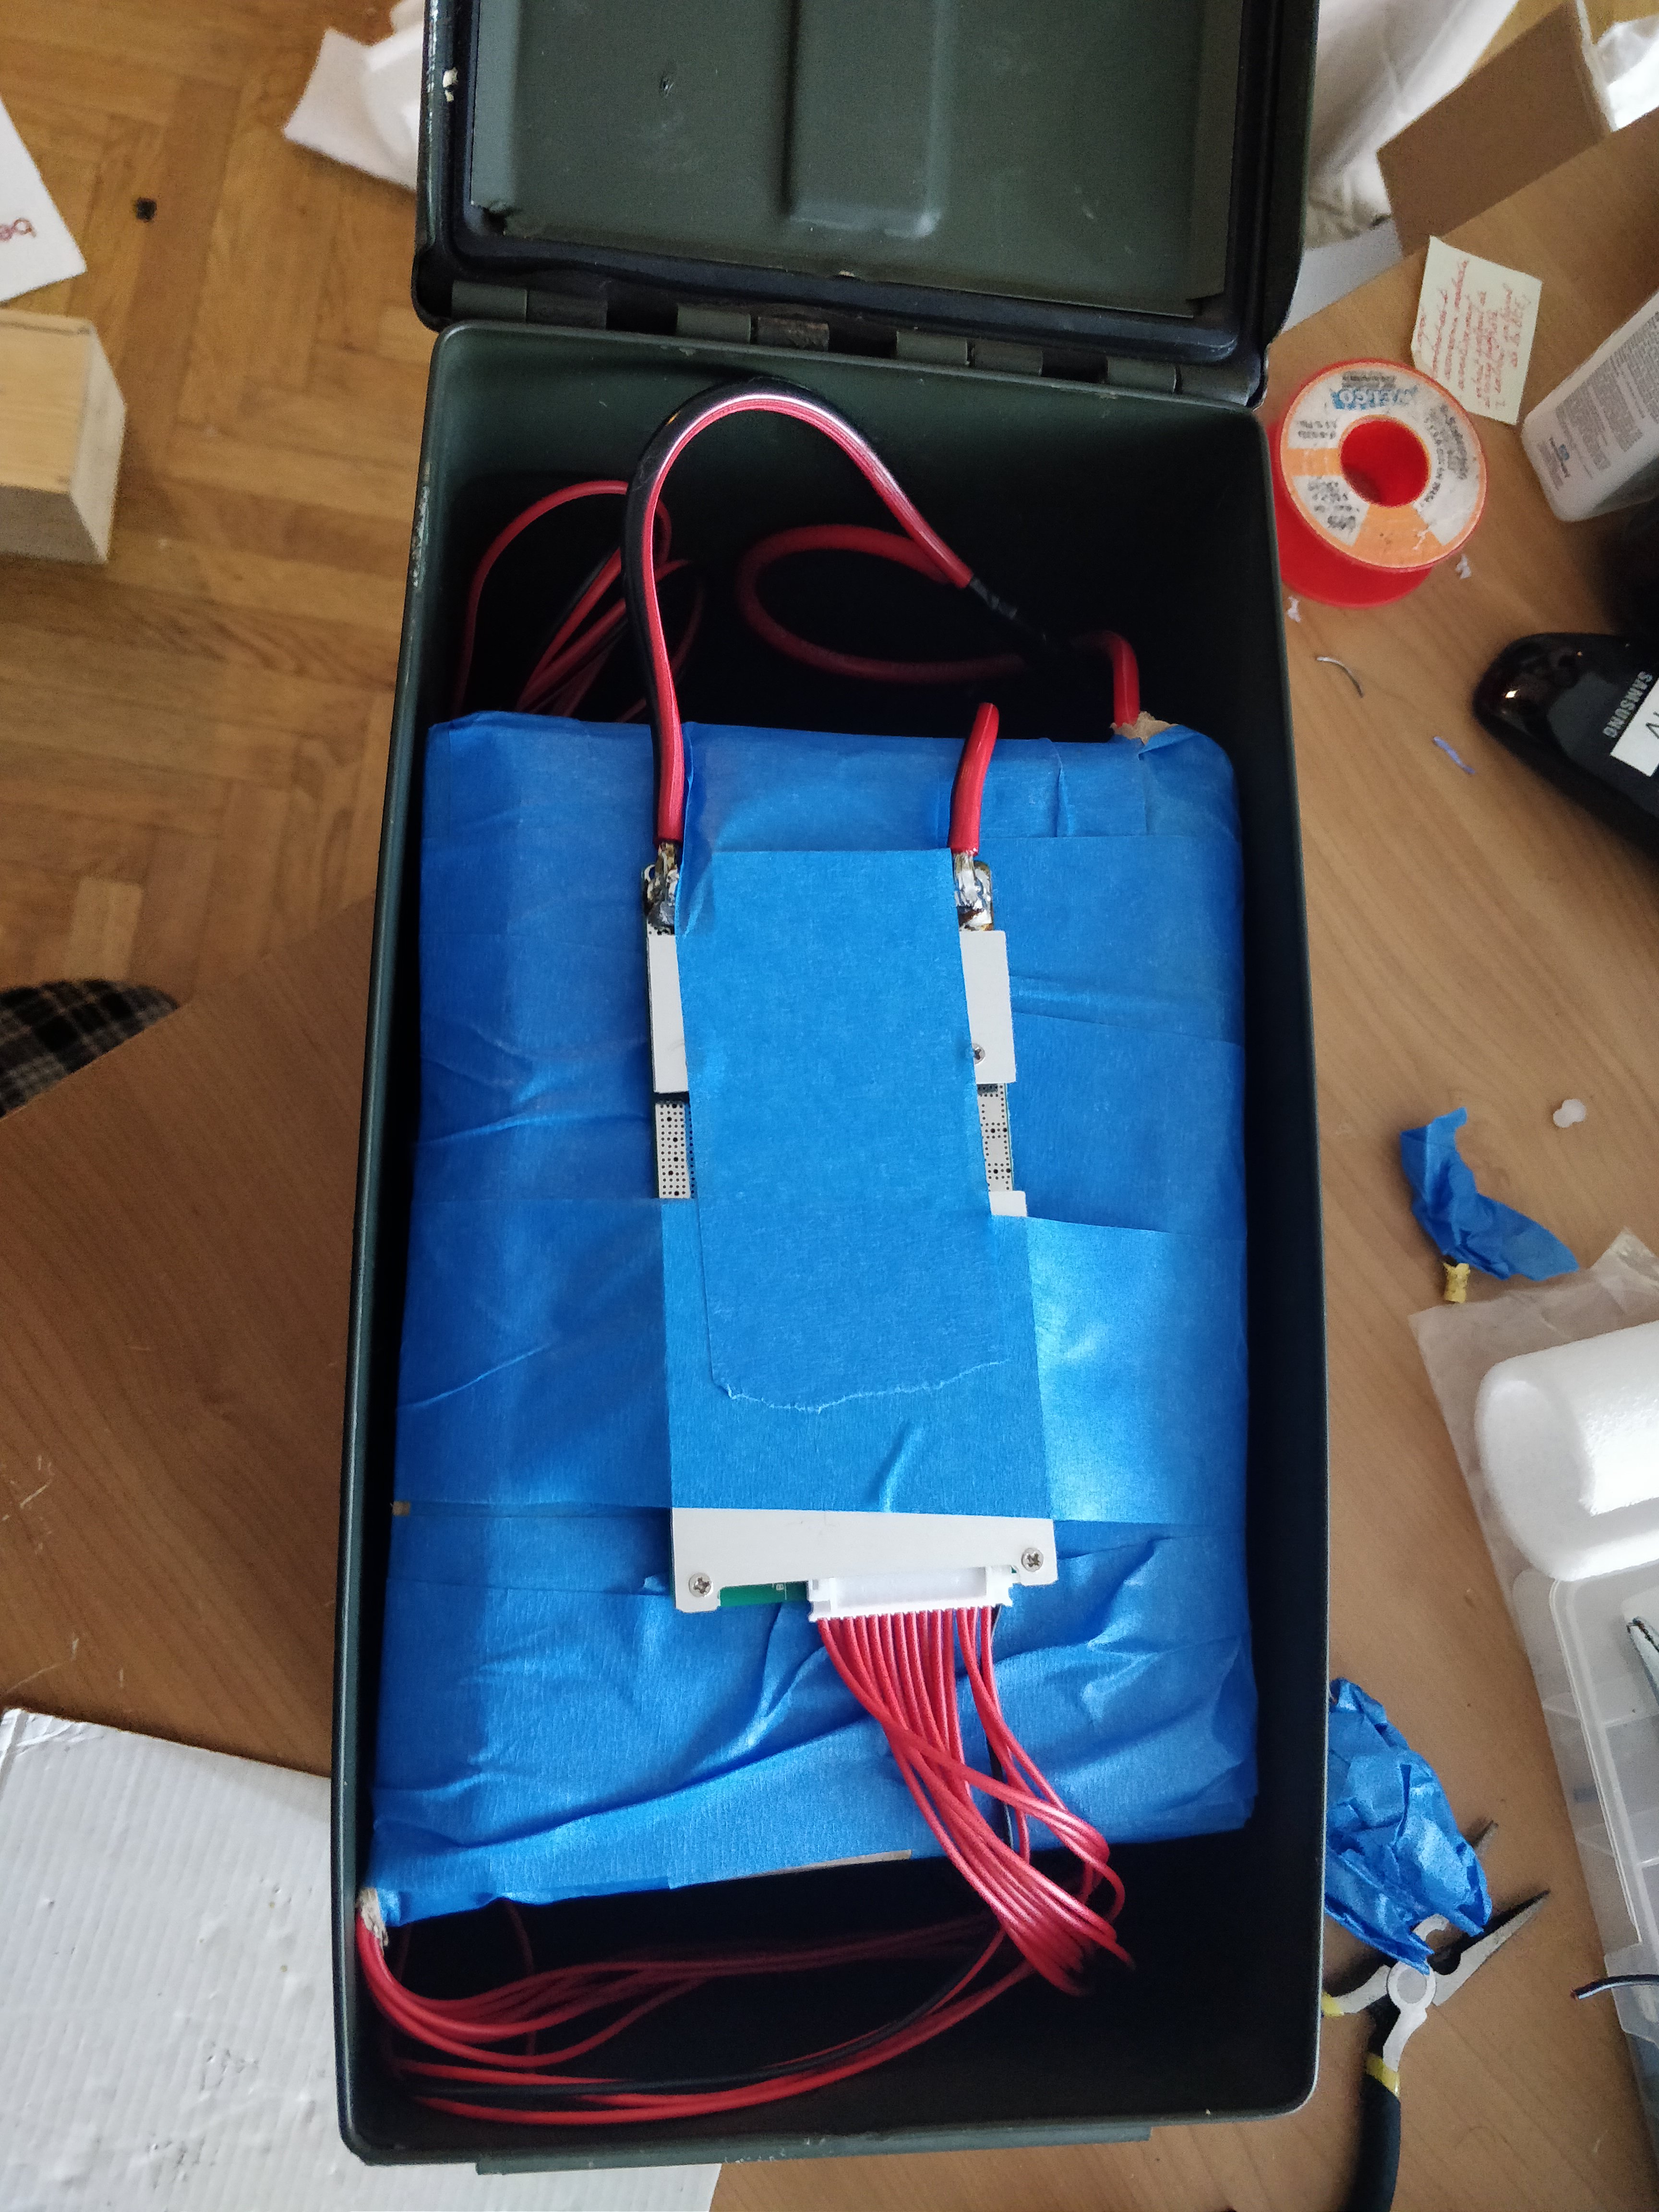
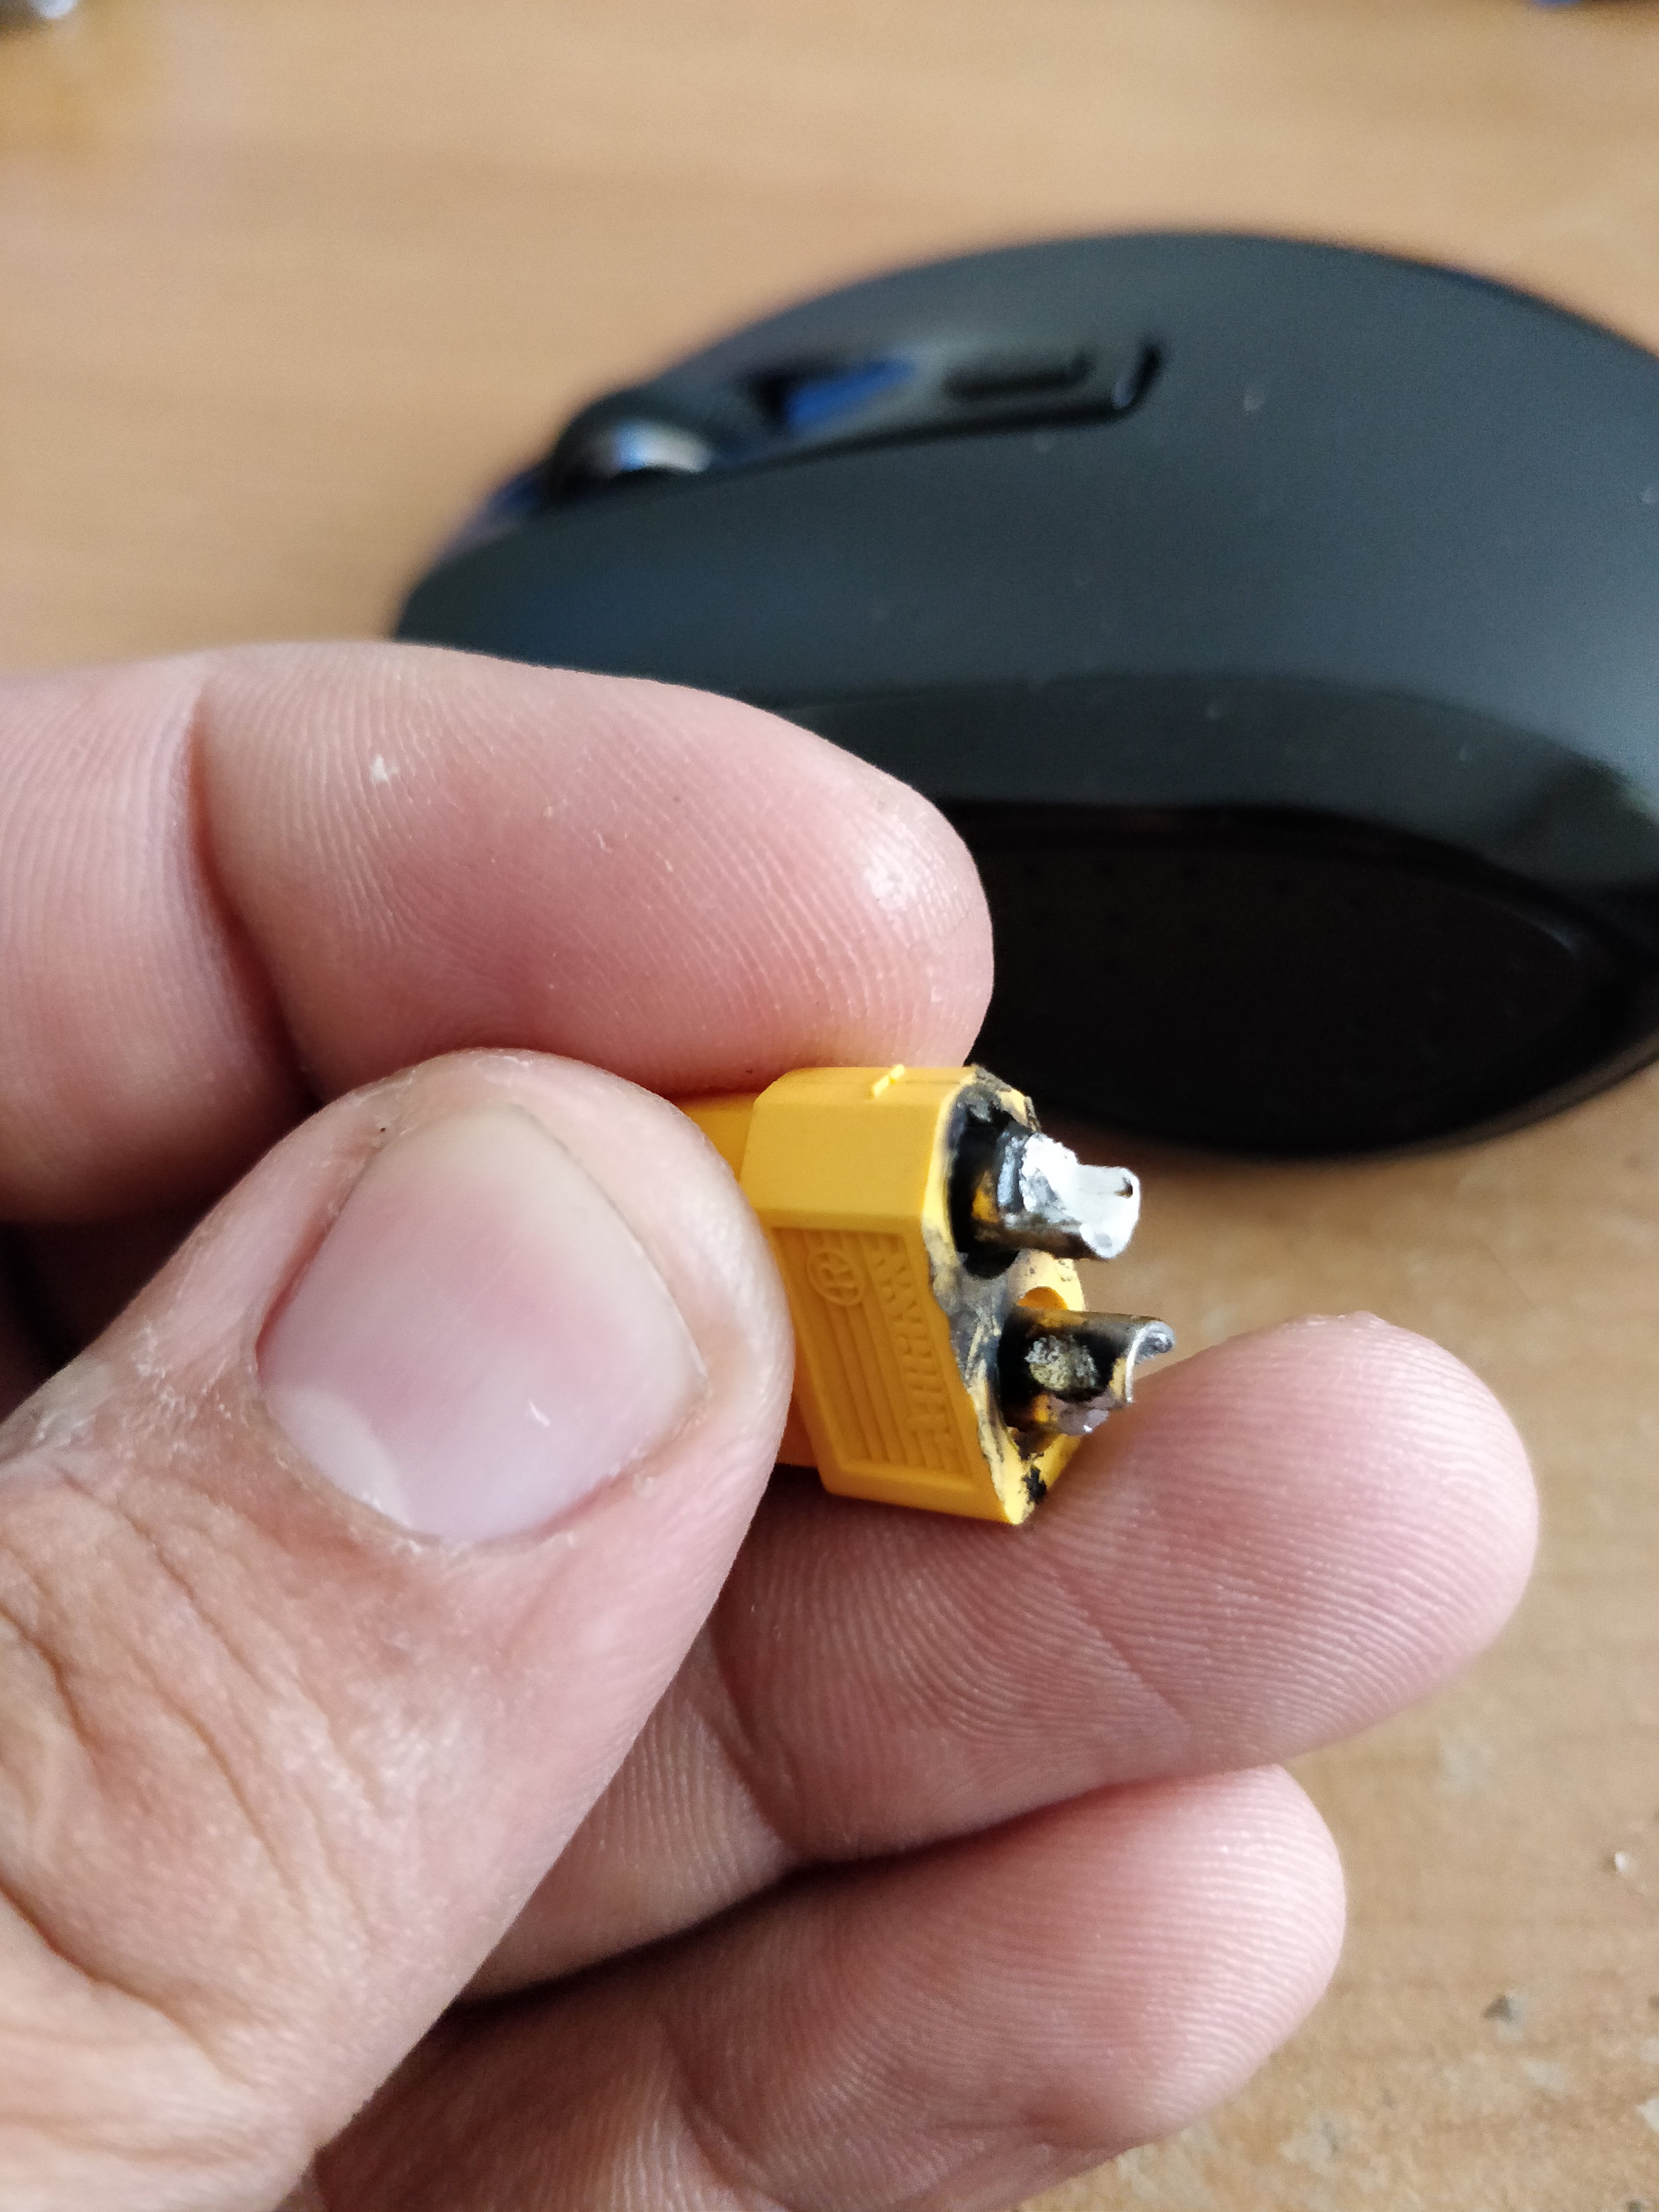
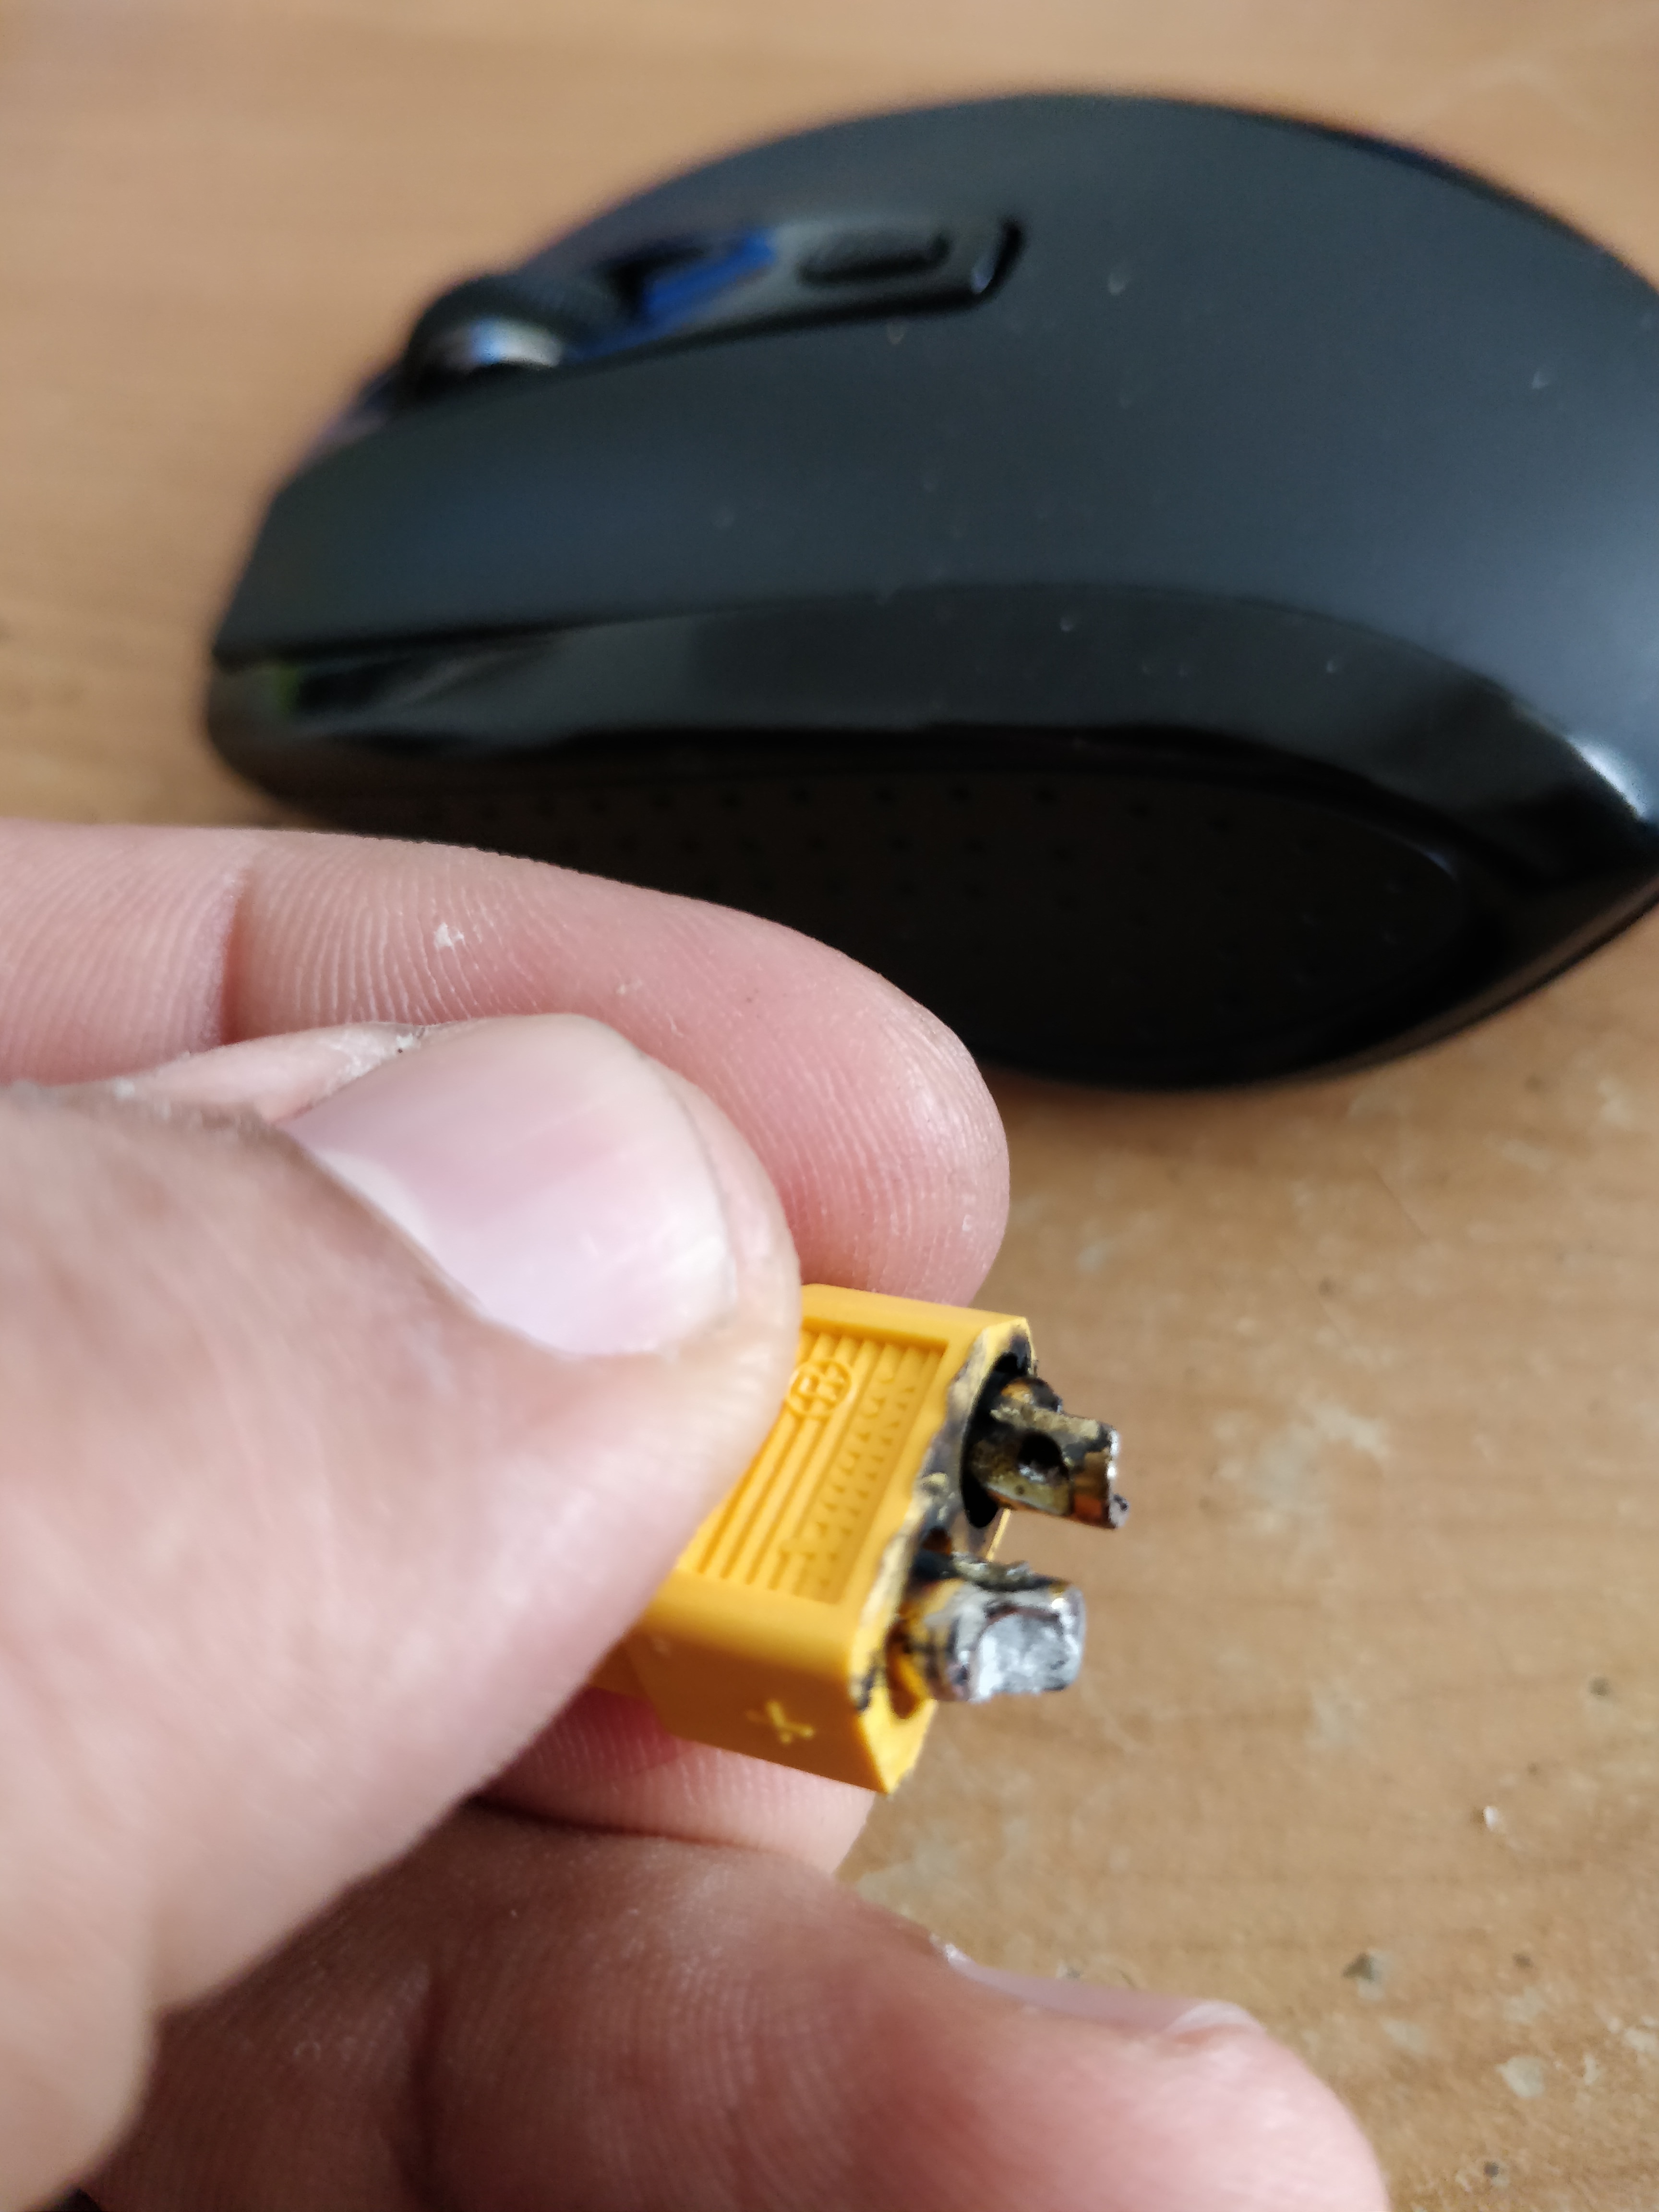
At the end i had to solder a connector, and as usual goofy me waited for the last second to give me a surprise, while soldering and xt60 connector i managed to make a spark, the damage was clear on the connector so i swapped it for another one just to be on the safe side:
So here i am with a finished battery pack that still needs to be charged and balanced probably, which to be honest i havent quite figured out how to do properly.
Any feedback is most welcome, and any idea how i should proceed to balance would be most welcome, for the charging part i bought a delta power supply, managed to adjust the voltage but not yet the current, so am i right if i adjust the tension and current, and then just plug it to the battery and let the bms manage the rest? the bms is just a regular bought off a german ebay seller (link).
I wanted a 10p battery pack for my bbs02, i wanted it to last like a 100km because i work part time for ubereats and deliveroo, i wanted to go cheap and affordable, well i ended up spending just as much as i would have if i had bought everything ready made, still i'm glad i did it, the knowledge and the experience is worth it
When i bought my second hand bbs02 it came with a shark pack, the shark pack only lasted for 26 km, which was weird because the voltage of the pack cut at 48v and i expected it to go a bit further, so naturally i opened the pack to investigate, and i found chinese cells:
I did something not so smart because i immediately removed every strip fo nickel there was, and had 2 or 3 sparks during the process, at the end of the process i found myself having 65 separate cells, 60 of those measure more or less 3.8v, 5 measured 3.2v, and there you go, i had the culprit parallel.
Meanwhile i had ordered 160 batteries from Tumich (Thread), so i thought to myself "you did well buying more than you needed, you can spare some to repair this battery pack", and so i added 5 GA cells to fix this pack, was that a good idea? It sure looked like it, but it wasn't, still it teached me a lesson, never buy a second hand battery pack anymore, no matter how it looks like a good offer, or at least know the cells and the history of the cells.
Now, to reassemble the pack i decided to go for soldering (the fastest solution at hand), remember, it's my first pack, so i looked some vids on youtube, read some threads and decided to go buy myself a 100w iron, two hours later i finished tinning the cells and putting them in the cell holder, then i soldered the parallels together, and then i bridged the series, it was a stressfull operation, i sweated a lot, still i managed to get done with it without a single spark, i was proud, look at that pack:
Yes, bingo, that pack became "fatter", it wouldnt fit in its own shark pack, but i had a wine box lying somewhere so i used it to store the battery for testing purposes, when i tried the rebuilt pack i managed to do 40km, but if my math was correct i shouldnt hit the bms cutoff before 55km at least, at that moment i just gave up on that pack, learned my lesson, no more chinese no brand cell.
Then came the building of the real pack, it took me few days before making up my mind, 13s or 14s, two packs or a single one, at the end i went with 14s 10p single pack, but given the size of that pack i went for a double deck battery, Why? Because i had an ammo box and it's size was perfect, it was waterproof and heavy duty, and there was my first step into my first real build.
At first i 3D printed some battery supports (that's my main job), but then again for size reason i just went with hot glue assembly, i assembled 10 cells together with hot glue from both sides and then gave it a turn of masking tape, and then with some scavenged battery i started researching making a spot welder, so i assembled a simple circuit that allowed me to do a single pulse with an adjustable time (don't mind the 610 ms, i was only testing if the mosfet worked properly):
I tried with a scooter battery, and then my motorcycle battery and the current wasn't enough, the nickel wasnt sticking, and so i thought to myself if the professional spot welders had multiple pulse setting it should have a reason, so i started by frying my microcontroller (stupid accident) and then rebuilding a whole new circuit that allowed me to control pulse duration, number of pulses and pulse interval as seen in the picture:
I was proud, and then i blew holes in the batteries, i was happy enough that i thought about testing on the positive side only, i can't imagine the amount of damage i would have done if i tested on the negative side.
Given that there was only one of two outcomes no matter how i tried (either blowing a hole or the strip not sticking), i decided to go with soldering, and in order to go a bit cleaner i went with soldering the nickel strips this time, so it too every parallel, tined the cells, tined the strips and then applied the strip on the cells and heat it to melt the solder together, so far so good:
Once done with every parallel, i started making the series connection, and so i cut the nickel strips to acceptable sizes, tined them, tinned the batteries and there i went about making each half pack:
To ensure i didnt mix up the series i put some signs on the side of the batteries to recognize were to connect:
And naturally i connected each side of the pack with the other with flexible wire, at first i did it wrong and the pack became too fat and didnt fit in the ammo box, but then i opened it again and did a general rewiring, the wires may seem to thin, but i will only pull 20 amps at most, so it seemed okay.
After that i proceeded with isolating each pack with card board and masking tape, and then put them one on top of the other, and then tape them together, which gave me this:
At the end i had to solder a connector, and as usual goofy me waited for the last second to give me a surprise, while soldering and xt60 connector i managed to make a spark, the damage was clear on the connector so i swapped it for another one just to be on the safe side:
So here i am with a finished battery pack that still needs to be charged and balanced probably, which to be honest i havent quite figured out how to do properly.
Any feedback is most welcome, and any idea how i should proceed to balance would be most welcome, for the charging part i bought a delta power supply, managed to adjust the voltage but not yet the current, so am i right if i adjust the tension and current, and then just plug it to the battery and let the bms manage the rest? the bms is just a regular bought off a german ebay seller (link).