MAC hall replacement. Lotsa Pics

Joined
Jan 6, 2012
Messages
206
Location
Bloomington, IN USA
Finally decided to attempt to replace the halls in my MAC 8t. Or at least tear it down to learn something, taking pics along the way to share in the hopes they may help somebody else.

Lots of help from spinningmagnets' teardown thread: http://endless-sphere.com/forums/viewtopic.php?f=16&t=51310
and Spicerack's cooked MAC repair thread: http://endless-sphere.com/forums/viewtopic.php?f=2&t=34806

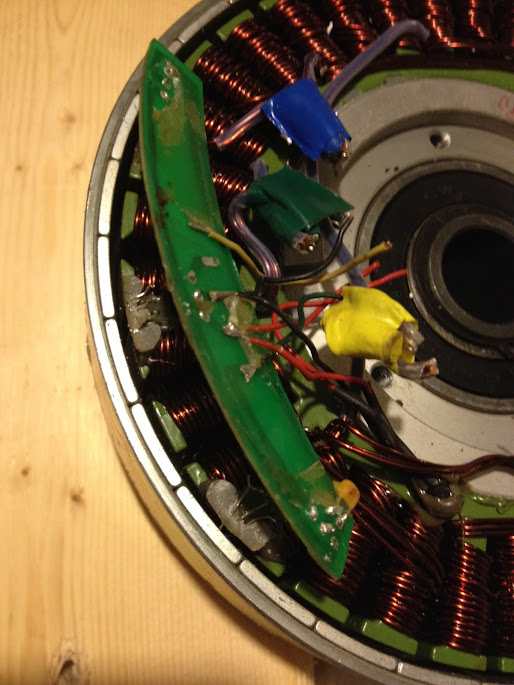
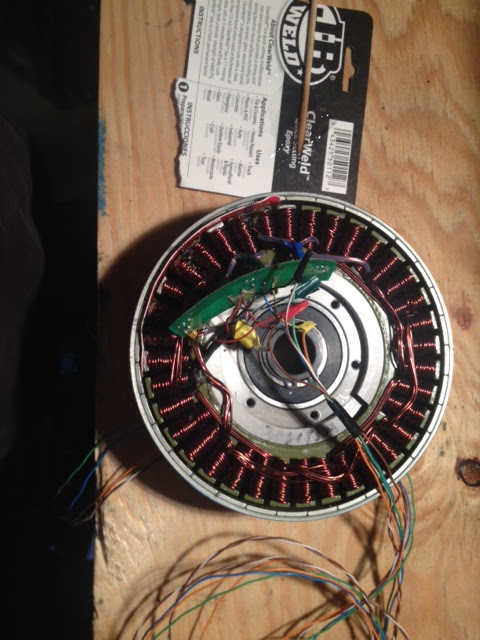
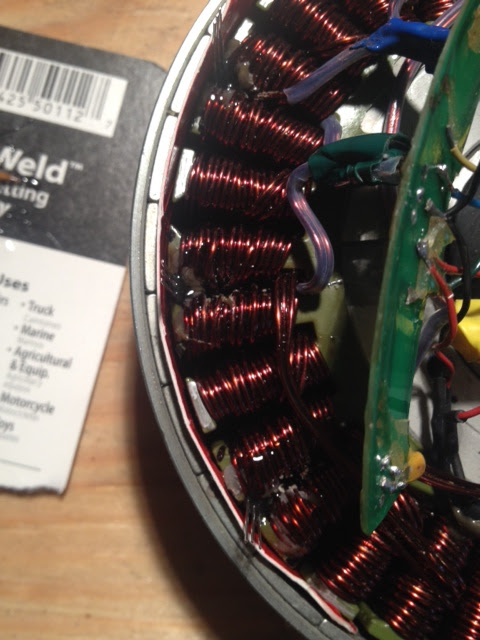
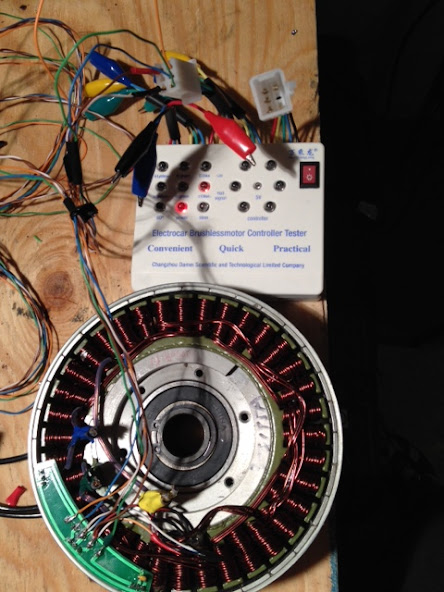
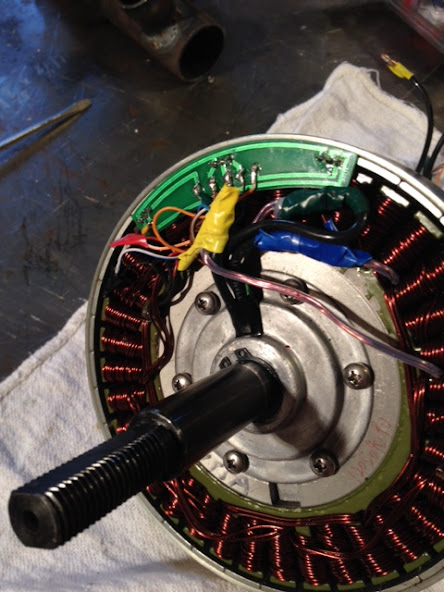
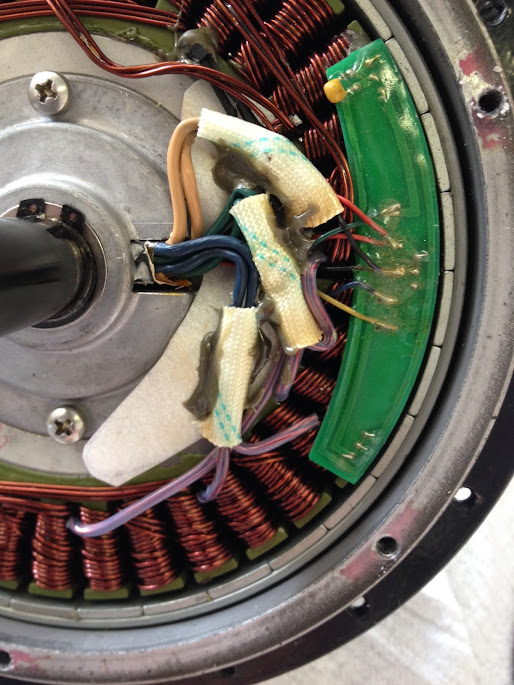
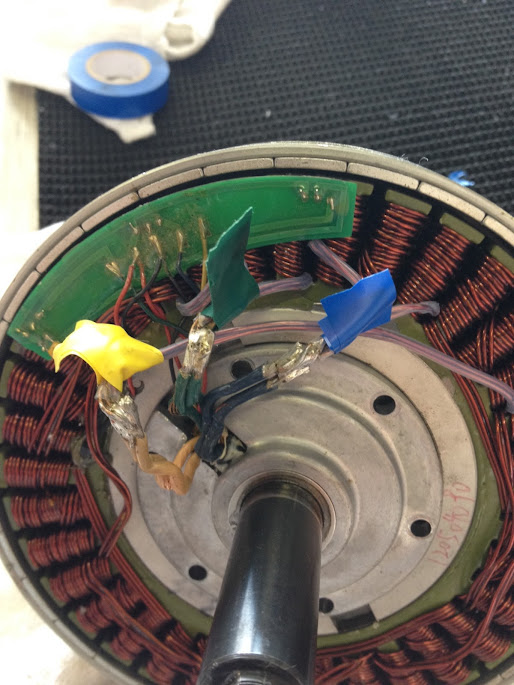
Before too much damage done:
2014-10-03.jpg


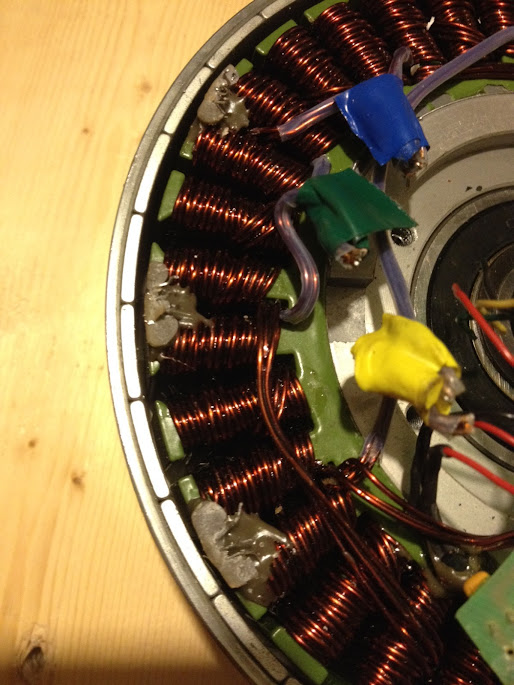
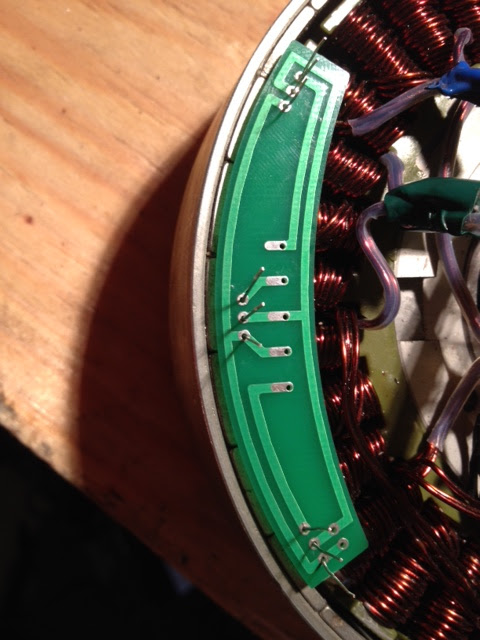
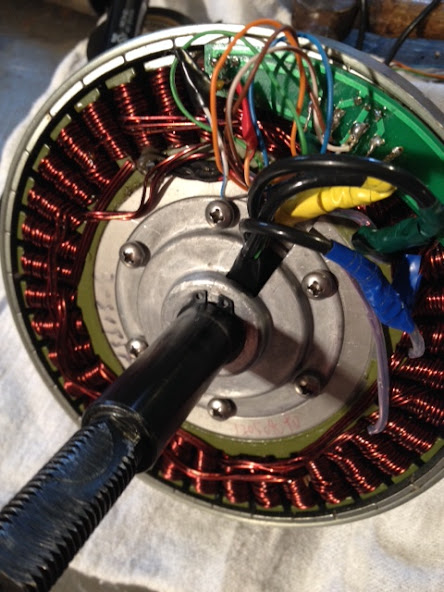
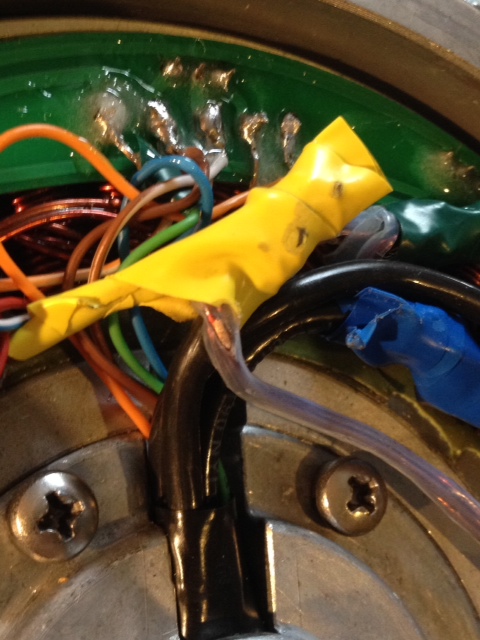
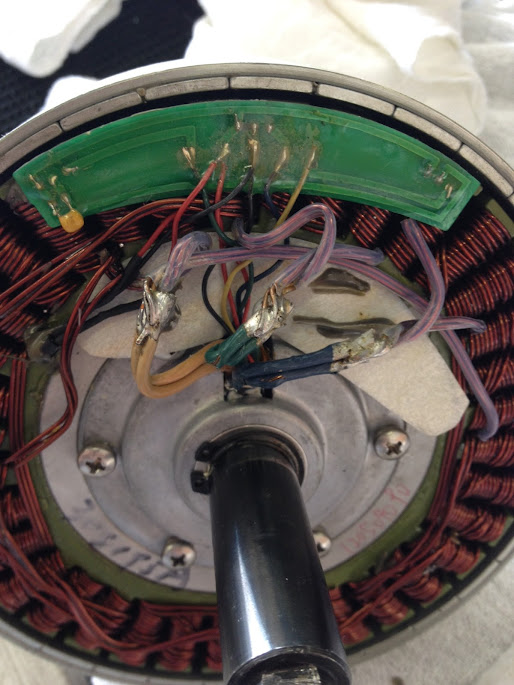
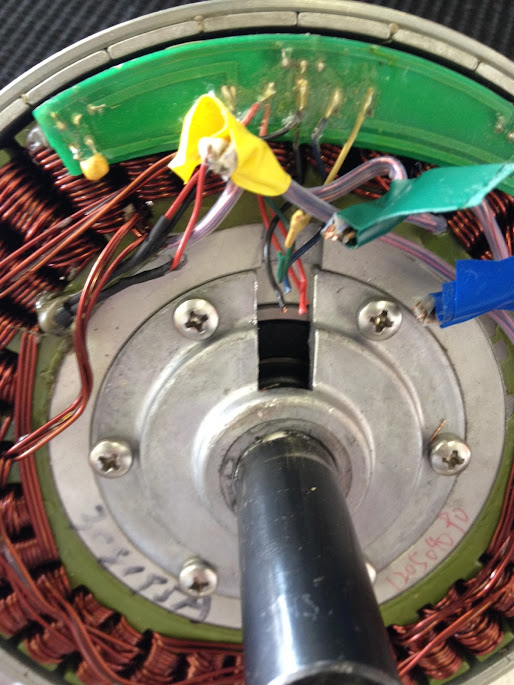
Removed the sleeves from the solder joints:
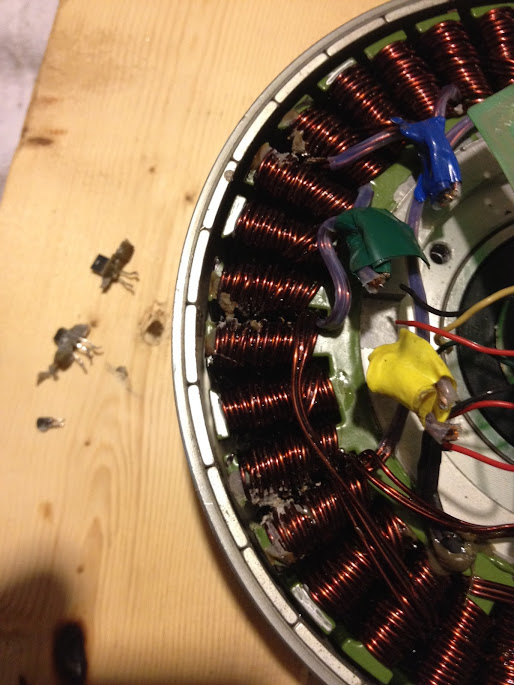
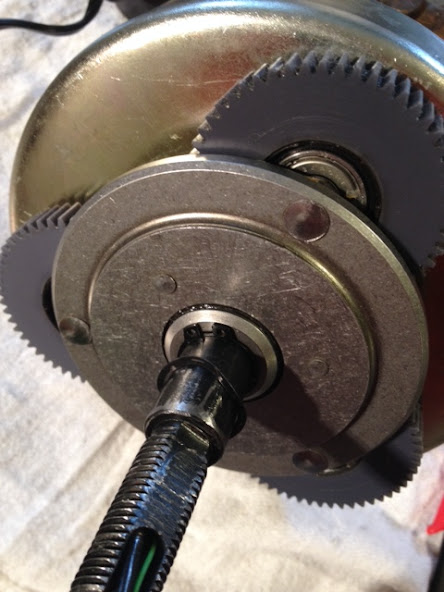
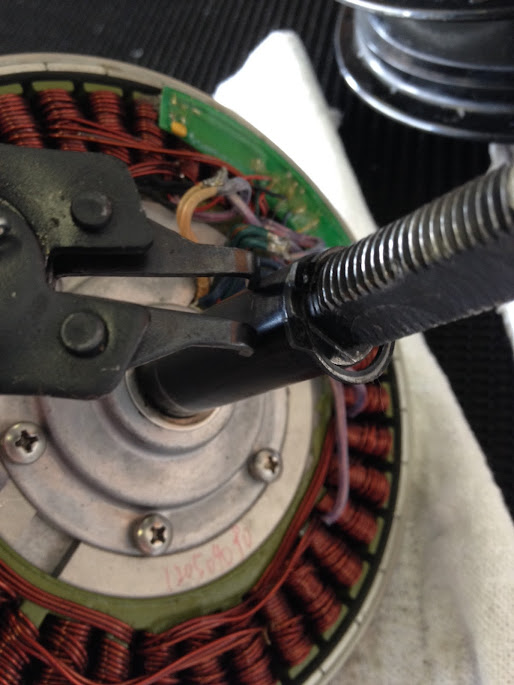
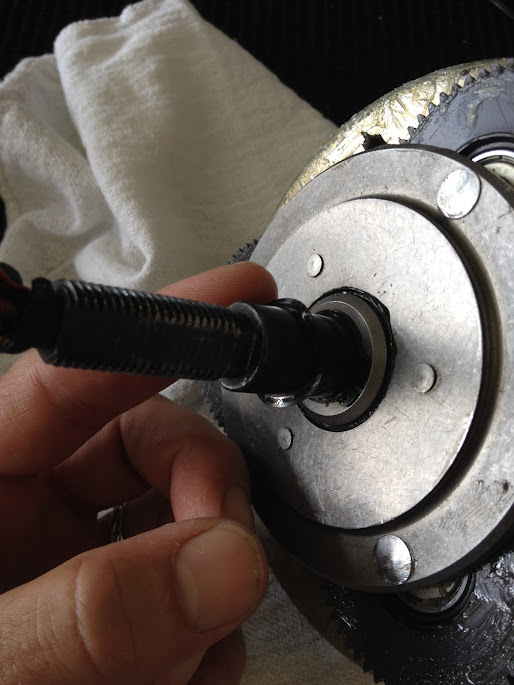
2014-10-03.jpg


Circlip removal:
2014-10-03.jpg


Spacer next. (took a lot of these pics to help remember the assembly order.)
2014-10-03.jpg


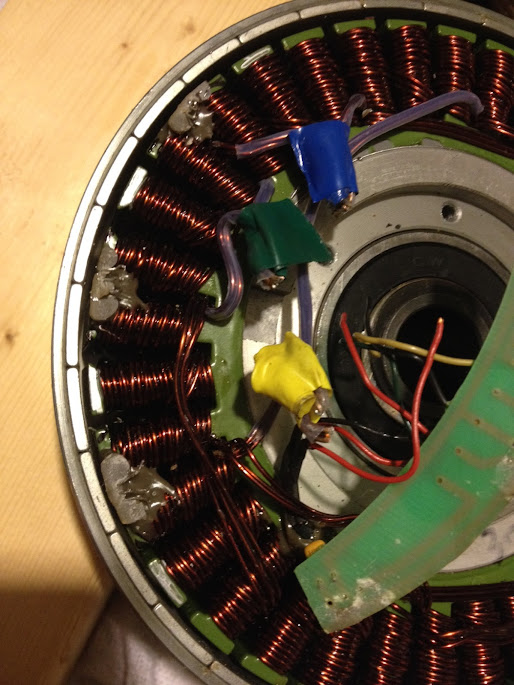
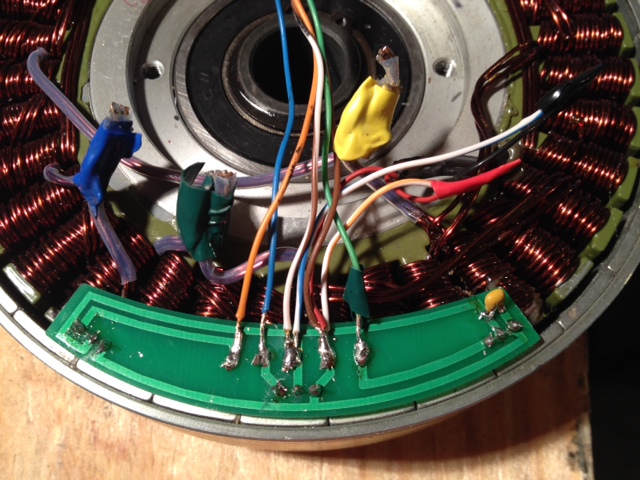
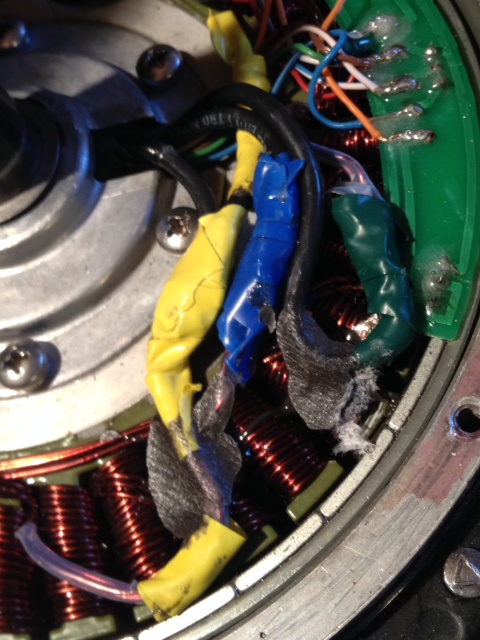
Tape color-coded phase wires for later:
2014-10-03.jpg


Cut and removed wires from axle:
2014-10-03.jpg


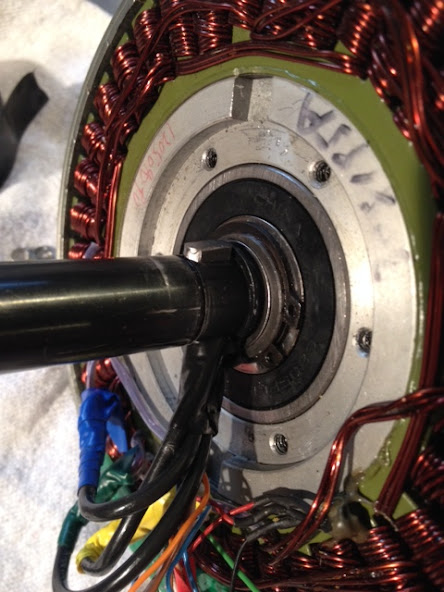
Spring washer from clutch side:
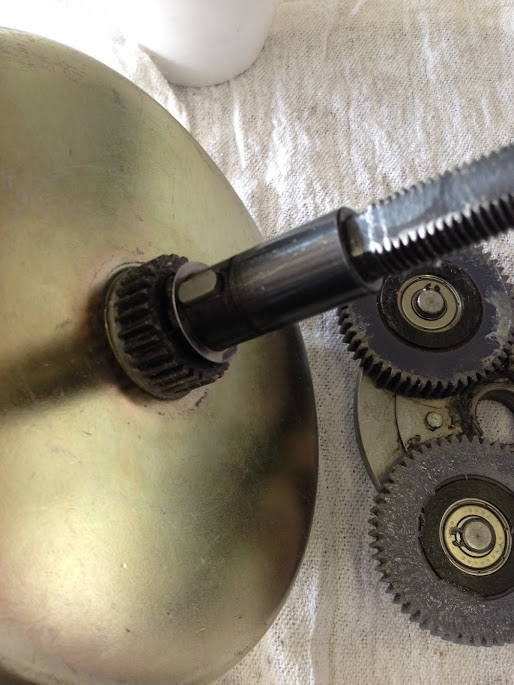
2014-10-03.jpg


Circlip was next:
2014-10-03.jpg


Clutch came off with a wiggle, a pull, and a helper tapping lightly with a hammer:
2014-10-03.jpg


Removed the key and washer:
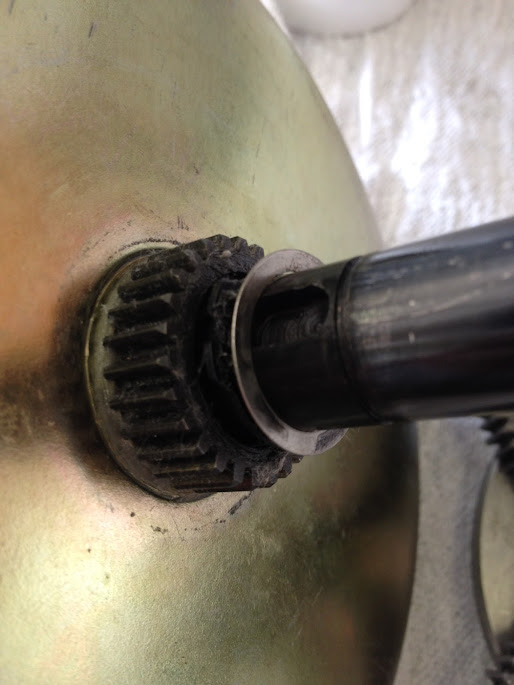
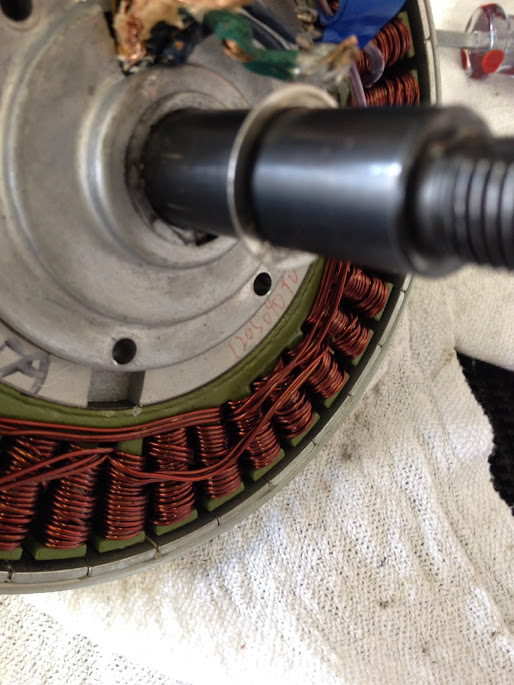
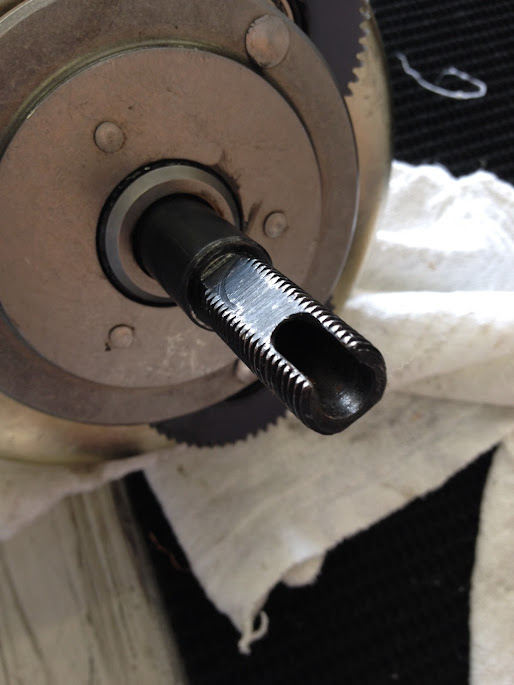
2014-10-03.jpg


Shaft free:
2014-10-03.jpg


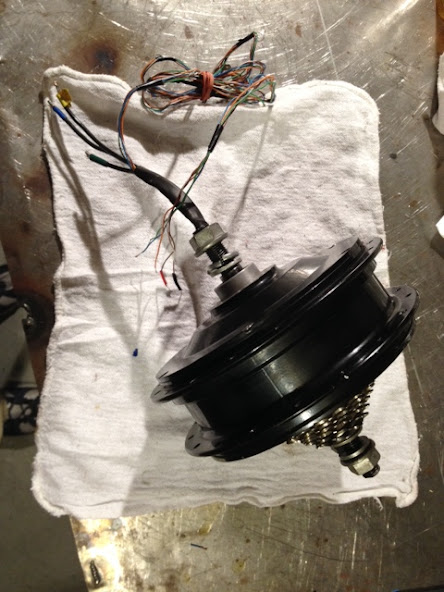
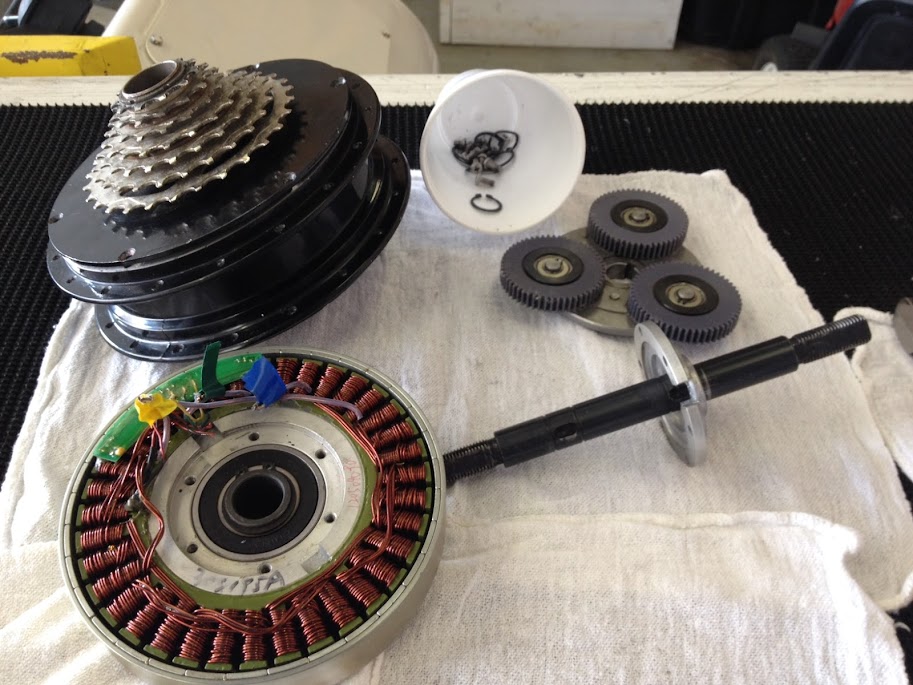
The disassembly: Note the small parts in a coffee cup. It has a lid, too! :D
2014-10-03.jpg
 
Used a heat gun to soften the epoxy and remove the PCB from the halls:
2014-10-03.jpg


PCB out of the way:
2014-10-03.jpg


Marked in silver sharpie to note the hall placement:
2014-10-03.jpg


And used the heat gun again to loosen the sensors and remove most of the epoxy:
2014-10-03.jpg
 
Been awhile.
Here is what I did next:

Epoxied the new hall sensors. There is a piece of cardboard separating the halls and the magnets. Wouldn't want to glue them would I? (I know, I should have got a gear puller and separated things.)
2014-12-18.jpg


2014-12-18.jpg


Paul (em3ev.com) was kind enough to send along a new pcb as well as the halls, so I didn't have to use the old one. I kept it handy for color reference, however.
2014-12-18.jpg


Sense Wire is from an ethernet cable. Enough twisted pairs to get similar to the original colors, i.e. yellow becomes orange, blue is still blue, but black is brown while red is red. Green is green.
2014-12-18.jpg


And the lights show it all working!
2014-12-18.jpg
 
Re-assembly...

On the clutch side, the order is: washer - circlip - key - clutch - circlip - spring washer.
2015-01-01.jpg


I managed to stuff 12ga phase wires (from the hardware store) through the axle. Just short bits that will connect up with 12ga silicon from hk. just outside the axle.
Re-assmebly of this side goes: circlip on the axle - key -
2015-01-01.jpg


Then the plate - circlip on the outside.
2015-01-01.jpg


Tidied up the wires. Hall check still good.
2015-01-01.jpg


I found it easier to remove both side plate covers from the motor shell so I could see and align the gears. Of course, remember to put the nuts on over the wires before fixing the connectors.
2015-01-02.jpg

2015-01-02.jpg


Performed a quick bare wire test with the motor mounted on the bike for stability and everything checks out. :lol:
[youtube]XhV0dInkxl4[/youtube]

Final steps will include sealing the pcb and epoxying the phase wires flat, lightly greasing the gears, and making the final wire terminations.
 
Good thread, well done! I moved it to the technical reference area for easier finding it again later, but left the thread also visible in the ebike tech section.
 
Thanks dogman dan!

Here is a late addition:
2015-01-18.jpg


Just the short test with power wore through the insulation on the yellow phase wire where it rubbed against the casing.
I re-routed the yellow wire and epoxied it down. An important step.
2015-01-18.jpg
 
Thanks for posting. However, I'm having trouble making the disassembly work for me. Dropout fail, axle spinout, abraded wire set, need to do some wire surgery. :x I have the upgraded MAC bought last October and maybe there are some differences? As far as I can tell, its remove the circlip from the clutch side and then remove the clutch? Got the circlip off and there is supposedly a spring washer next? :?: Don't see that. Can't make the clutch come off. Reluctant to do damage taking it apart. Help would be much appreciated. :idea:
 
This one is an older motor, before the change in laminations, so there may be differences. Remember the clutch also slips over the key in the shaft. I removed mine by holding the motor by the clutch with both hands and having a helper lightly but firmly tap on the axle. Once off the key it came much easier. I've disassembled another and was able to remove the clutch myself with one hand like a three-prong puller and tap tap tap. Your failed dropout and and axle spinout might make things difficult though. Apologies for the delayed response. Hope it helps.
 
Thanks for reply. Per recommendation of Paul & others, I got the three jaw puller set from Harbor Freight, which worked like a champ. So I got the axle free, cut the wire set near its junction points on the motor, did wire surgery, put it all back together and .... wait for it.... NOTHING! I'm now suspecting a short in the phase wires may have caused some other damage, perhaps the controller. I'm determined to get this motor/controller kit fixed! Sometimes when you've got this ridiculous amount of time invested, you just want a sense of completion. In the meantime, I ordered up another upgraded MAC kit from EM3ev. Need redundancy anyway. I'll use it in a swap test to see what's not working and then proceed from there.

FYI, I asked Paul for an axle/wire set replacement part, which he's going to send along with the new kit. The problem I experienced is that the wire set is so tightly packed into the axle that it can not be pulled either way without doing additional damage to the wires. In order to get those upgraded phase wires packed in, the insulation layer is thin and easily abraded. So should anyone else with this problem land here, I highly recommend doing what I'm doing and save a lot of time and agony. 1> get the 3-jaw puller and use, 2> circlip pliers, and 3> the replacement axle/wire set.
 
Back
Top