I finished my bike build yesterday and it came out to just over 40 pounds.
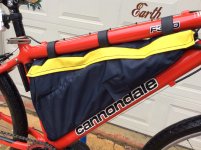
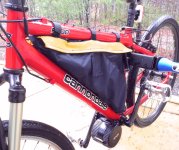
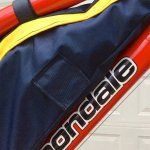
Frame: 1999 Cannondale CAAD 2 mtb hardtail frame.
Tires: Kenda Karma 26 x 1.95
Seatpost: Thudbuster
Fork: Sid Race
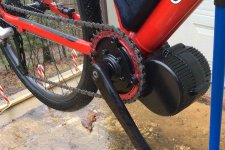
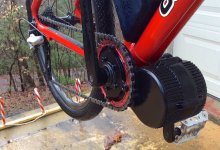
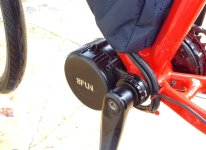
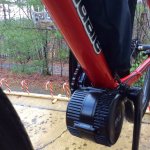
Bafung BBS-02
Chainring: Race Face 34 tooth
Cassette: 11-28 Sram
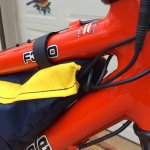
Battery: Dolphin pack with Panasonic B cells 13S4P 48Volt
After finishing the build I rode it about an hour close to home, going up and down some 10% plus hills to see how the motor handled the climbing. It never got more than very slightly warm, even after a steady 10mph climb up a 1 1/2 mile 12% grade. (I live on the side of a mountain.)
Took it for its first real ride today, 31 miles, 1,616 feet of climbing, average speed 12.3mph. Some cruising around in town, some single track and lots of rolling country roads, both paved and gravel. Got back with about 1/3 battery charge. Was mostly in PAS 3 (of 5) and got a good workout peddling (I built this to level out the hills, not do all the work for me.) I'll tweak the programming on the BBS-02 tonight and hope for another day of freakishly great weather like we had today and give it another go.
I am very happy with the build and want to give a big shout out to the great folks at Luna Cycle, especially Erik. It was great dealing with them and I couldn't be happier.
I'll give the bike a bath and take some photos and post them tomorrow.
Frame: 1999 Cannondale CAAD 2 mtb hardtail frame.
Tires: Kenda Karma 26 x 1.95
Seatpost: Thudbuster
Fork: Sid Race
Bafung BBS-02
Chainring: Race Face 34 tooth
Cassette: 11-28 Sram
Battery: Dolphin pack with Panasonic B cells 13S4P 48Volt
After finishing the build I rode it about an hour close to home, going up and down some 10% plus hills to see how the motor handled the climbing. It never got more than very slightly warm, even after a steady 10mph climb up a 1 1/2 mile 12% grade. (I live on the side of a mountain.)
Took it for its first real ride today, 31 miles, 1,616 feet of climbing, average speed 12.3mph. Some cruising around in town, some single track and lots of rolling country roads, both paved and gravel. Got back with about 1/3 battery charge. Was mostly in PAS 3 (of 5) and got a good workout peddling (I built this to level out the hills, not do all the work for me.) I'll tweak the programming on the BBS-02 tonight and hope for another day of freakishly great weather like we had today and give it another go.
I am very happy with the build and want to give a big shout out to the great folks at Luna Cycle, especially Erik. It was great dealing with them and I couldn't be happier.
I'll give the bike a bath and take some photos and post them tomorrow.