PacoMarkE
10 mW
I've been doing a lot of research for a winter e-bike build and thought I'd lay out my thoughts here to share my reasoning for others who are considering a build and to get some feedback from others more experienced. I've certainly benefitted from what others have posted and it's time to share. I primarily use my bike to commute to work, 5 miles each way, but also use it to run errands and get around the suburbs and into the city.
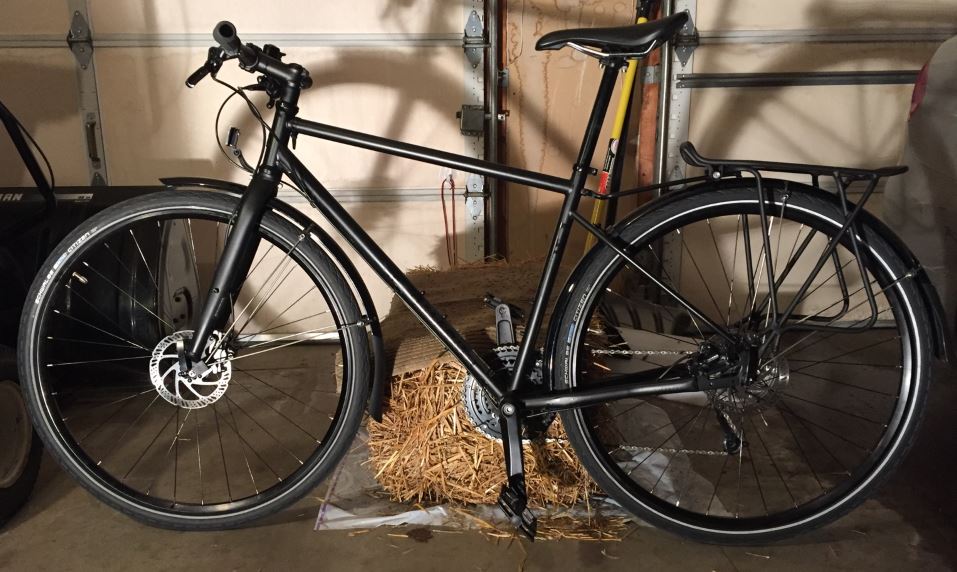
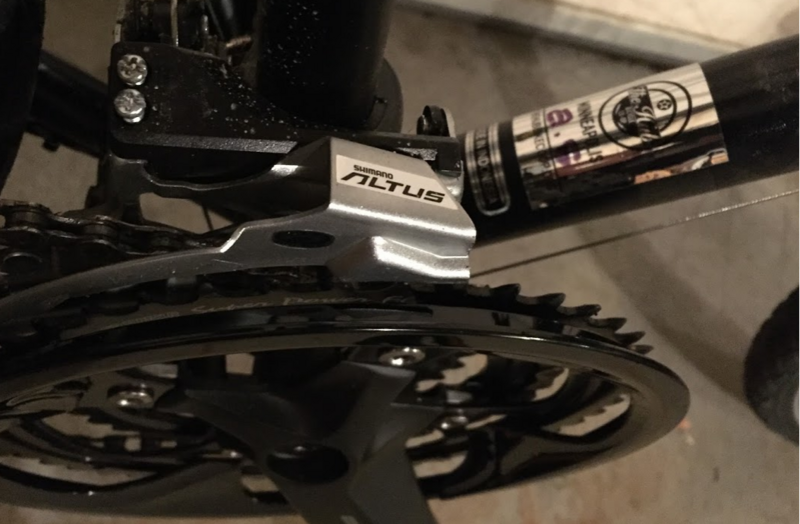
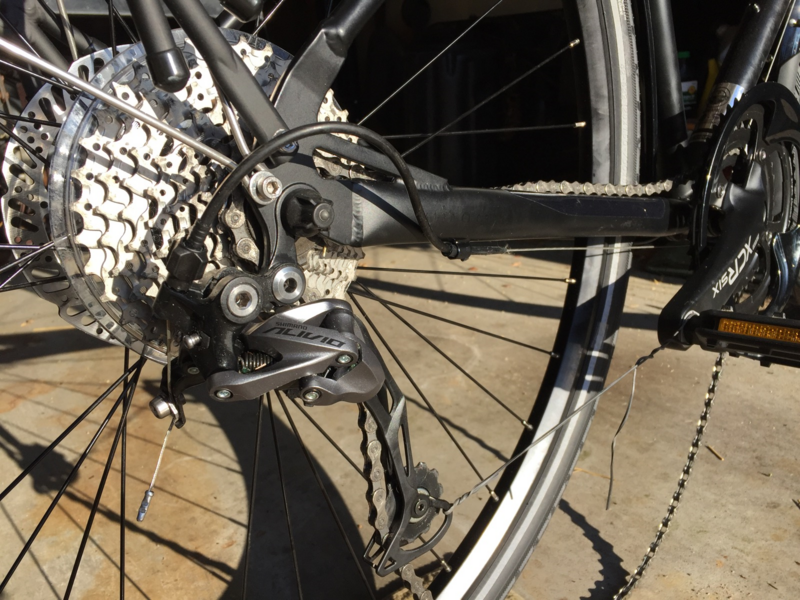
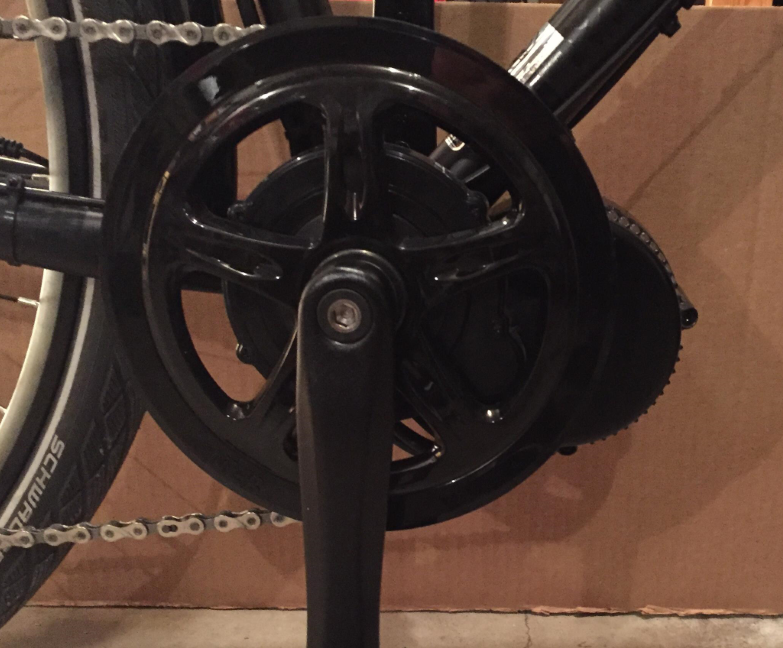
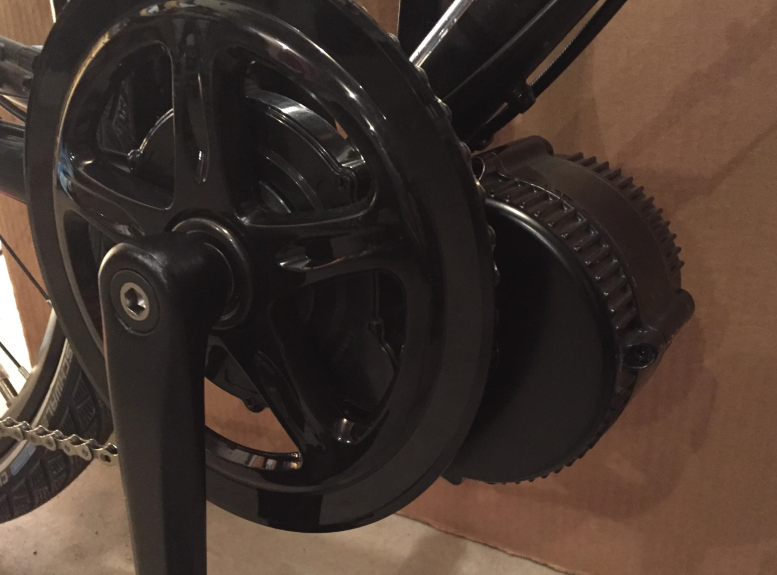
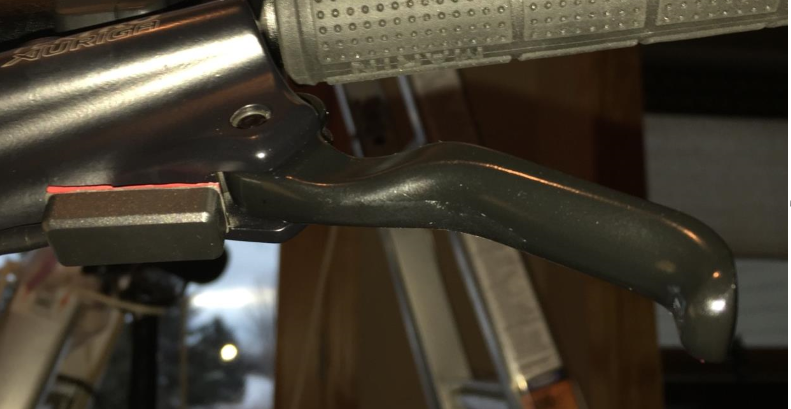
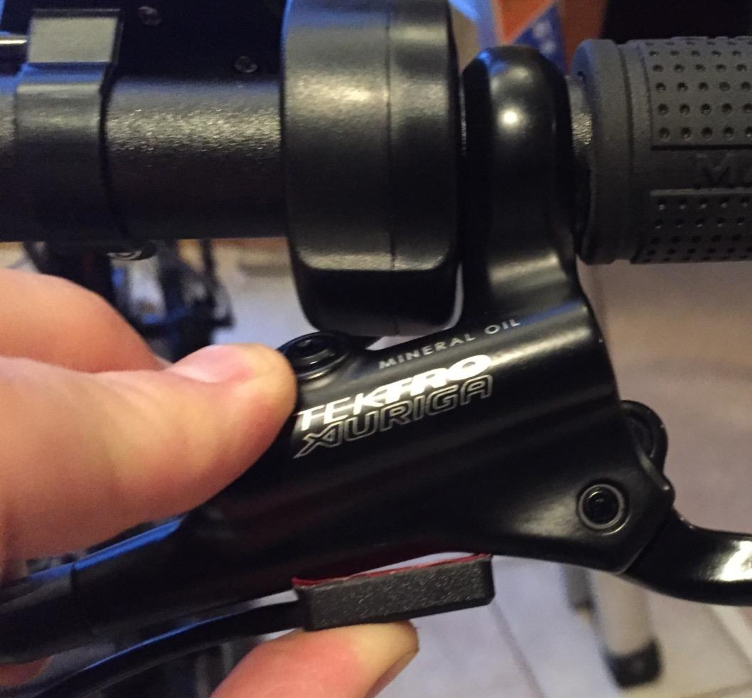
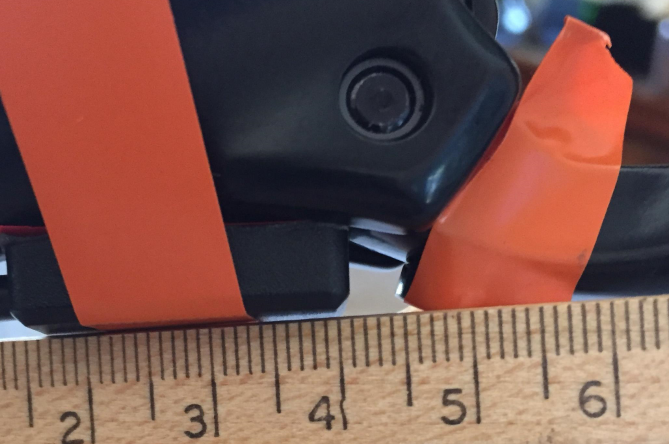
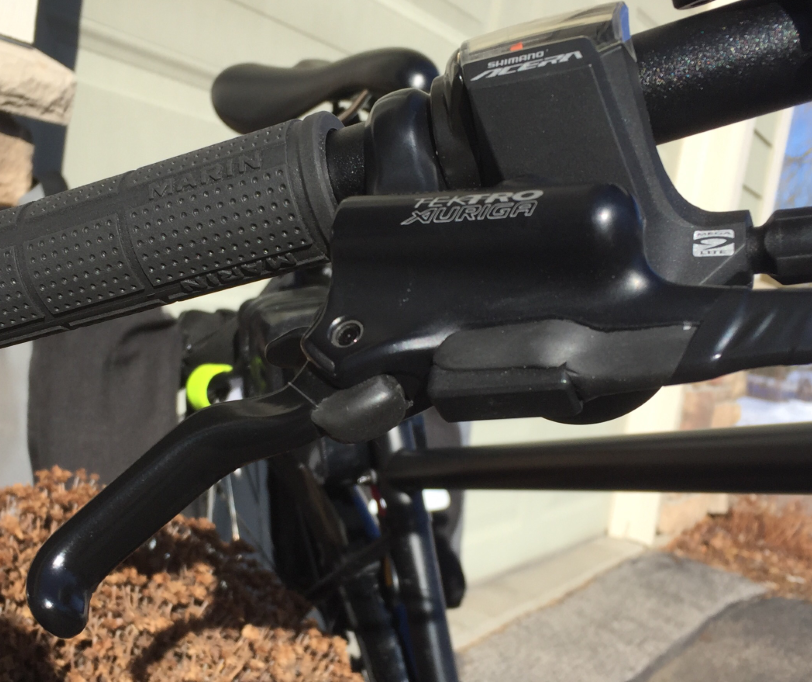
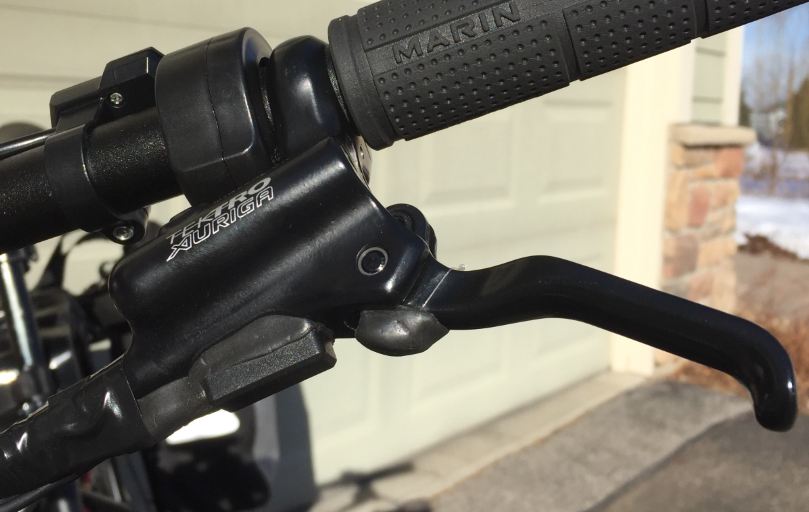
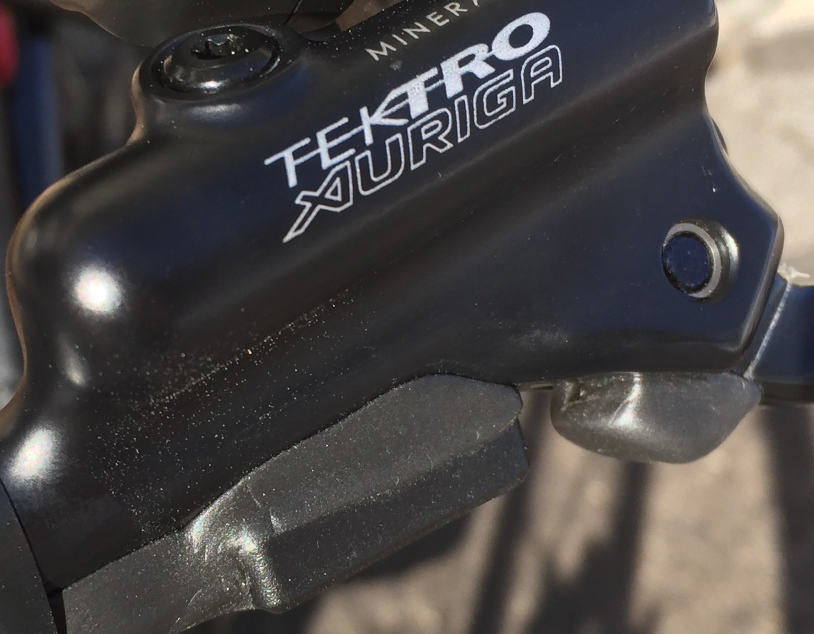
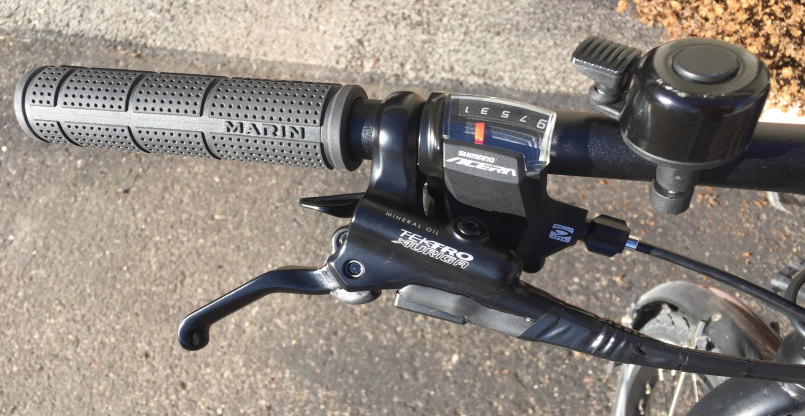
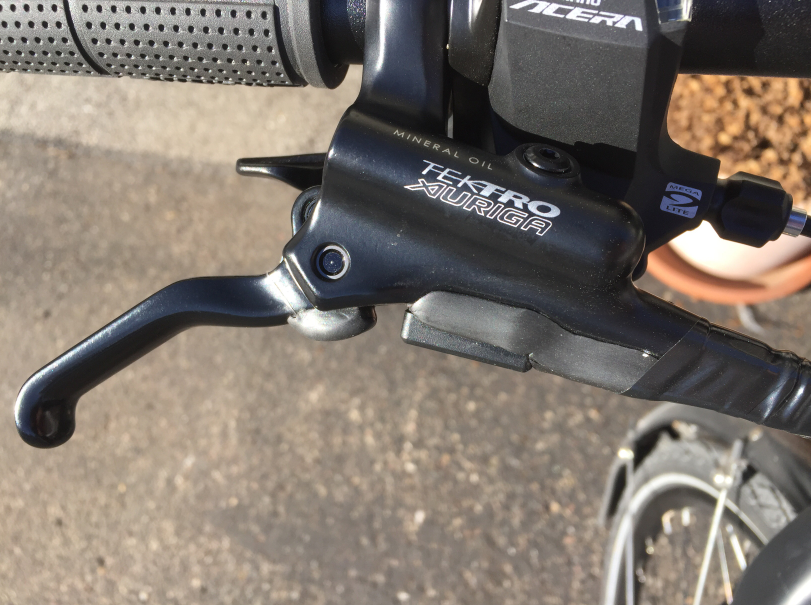
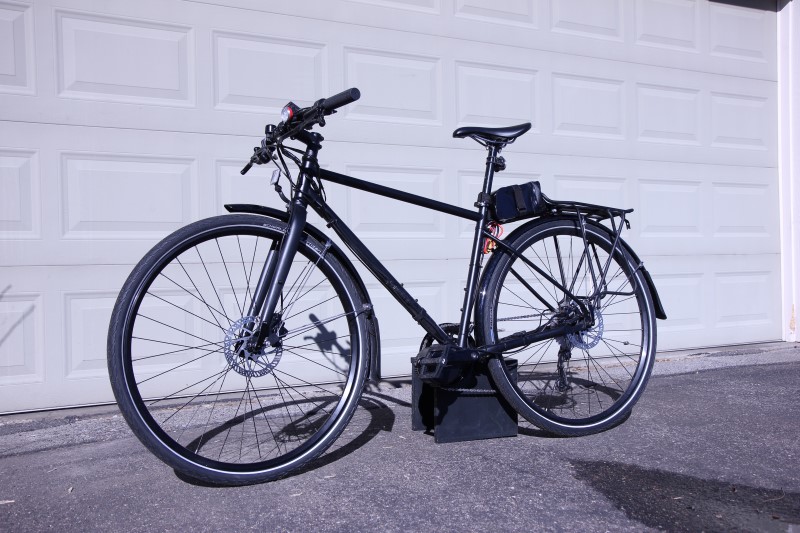
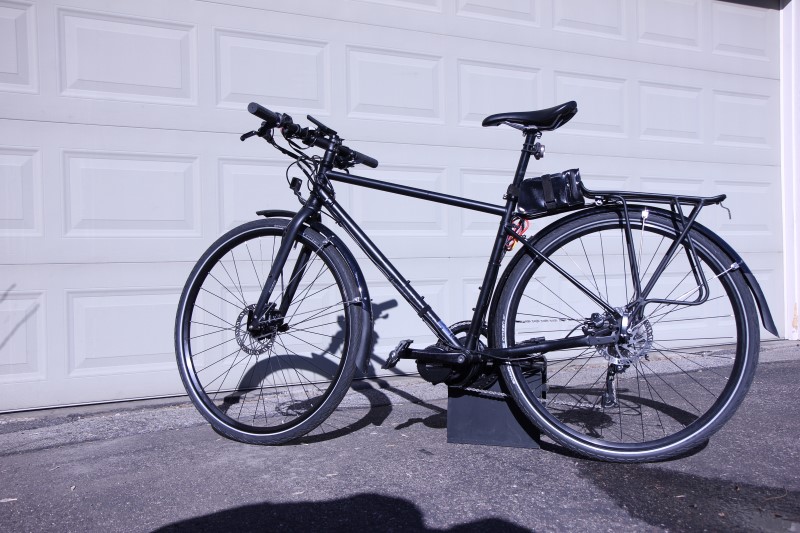
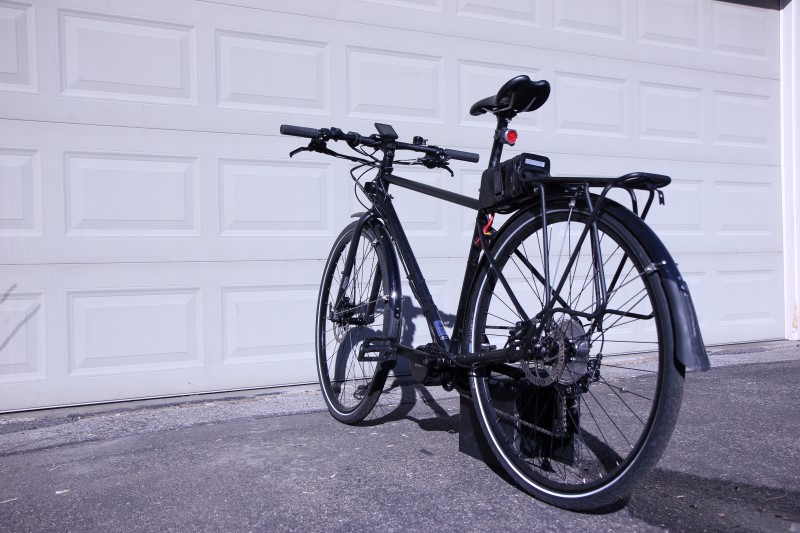
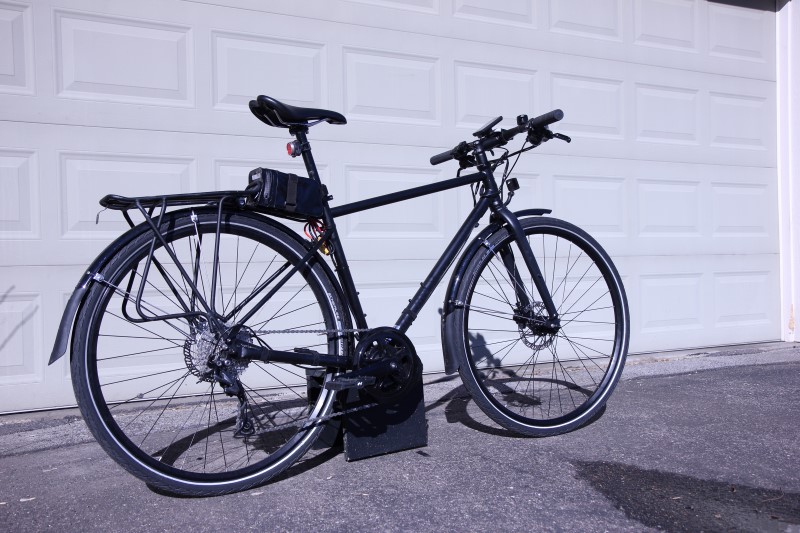
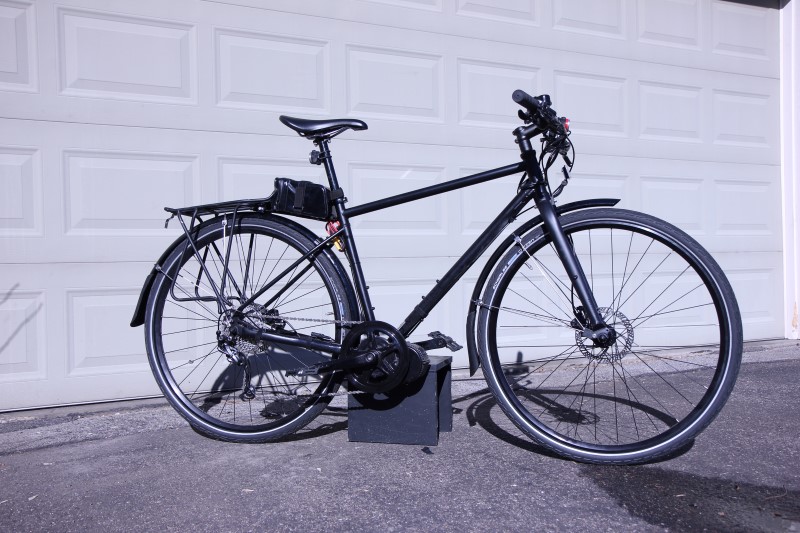
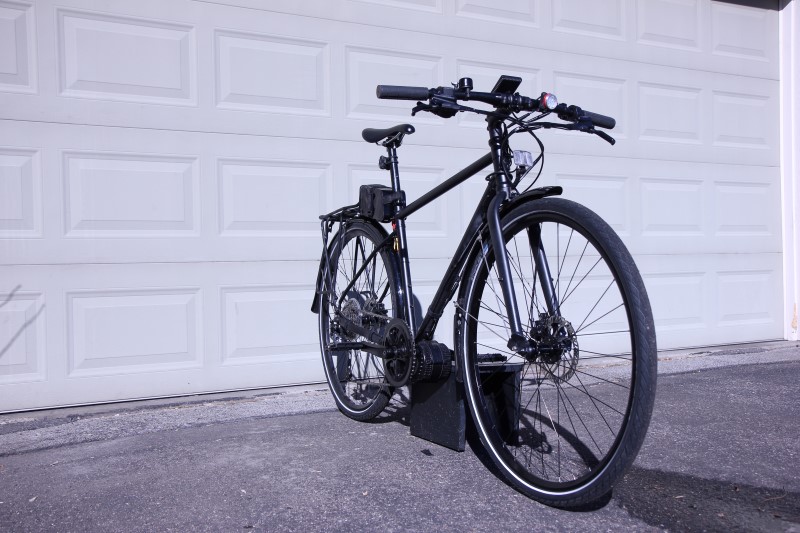
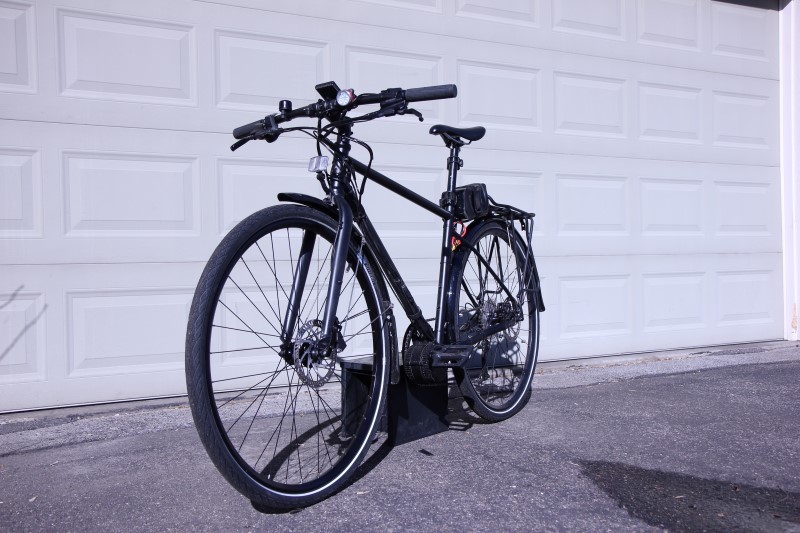
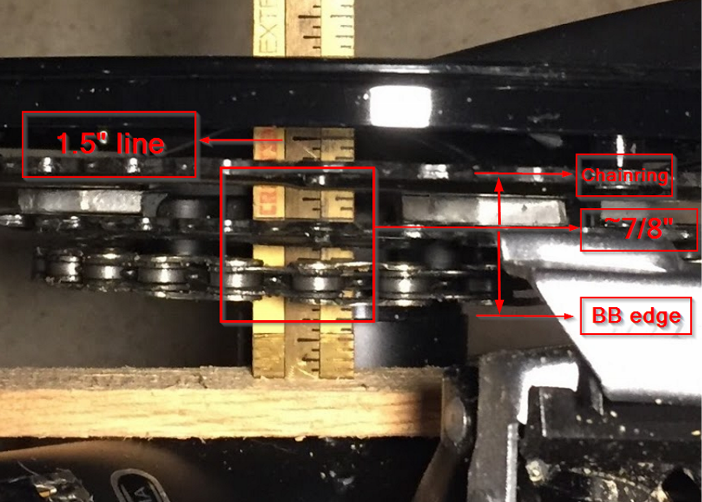
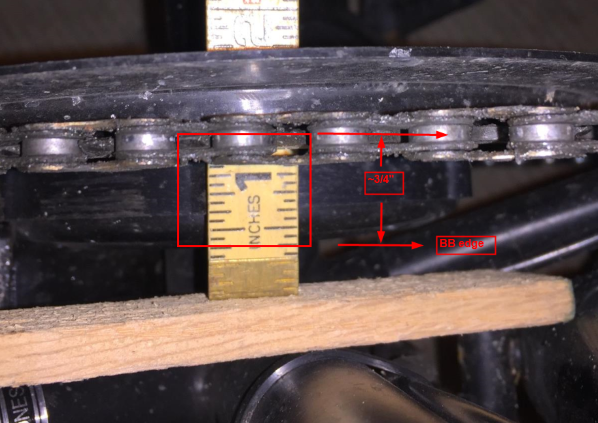
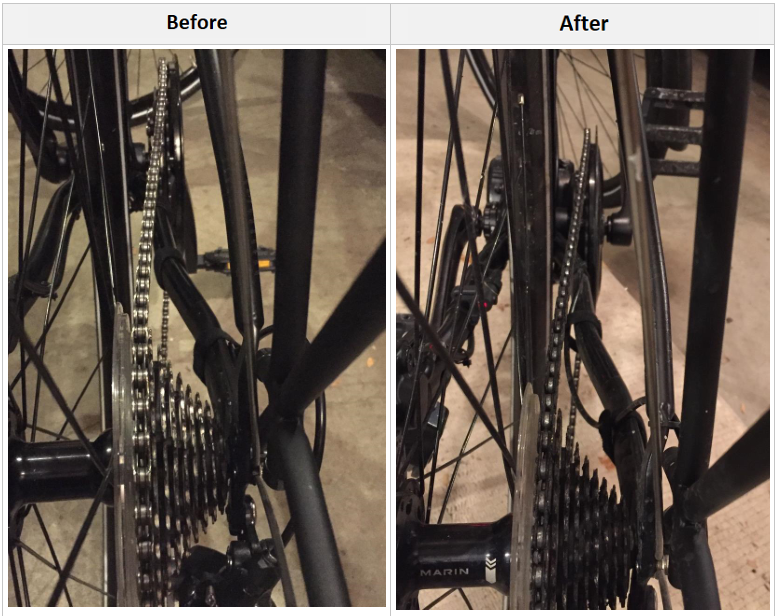
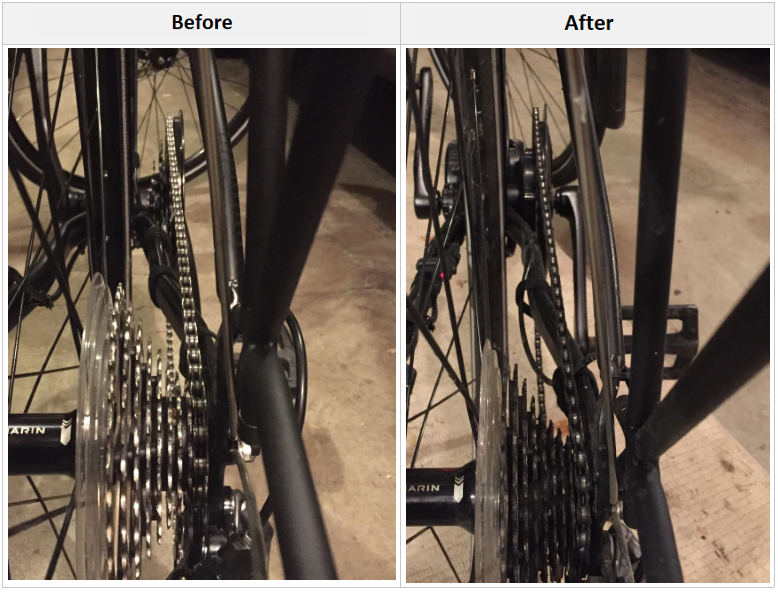
I purchased a Marin Muirwoods to use as a donor bike. It's a 4130 CrMo steel self-described "rough and tumble commute machine" with Tektro Auriga hydraulic disc brakes and a 9-speed Shimano Alivio rear derailleur. Weighs about 28 pounds. Got lucky and saw it brand new on deep discount (LT $500 tax included) at a LBS a few weeks ago. The 68mm bottom bracket is ideal.
.jpg")
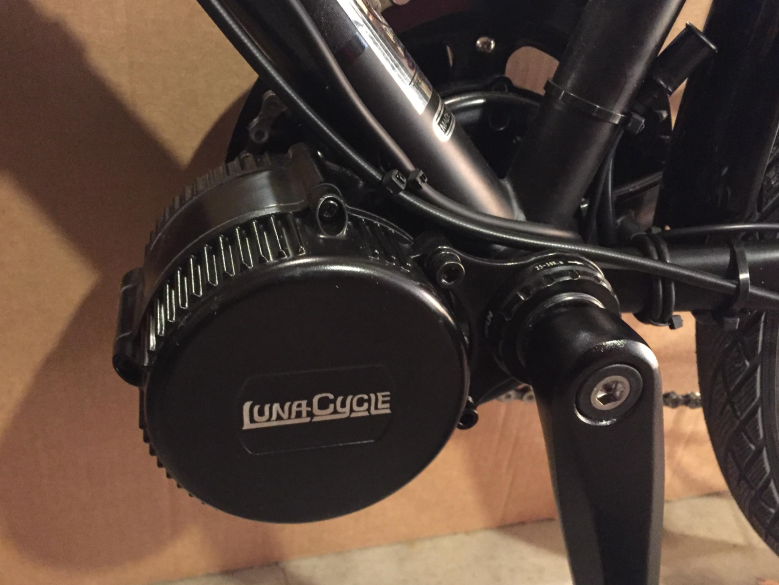
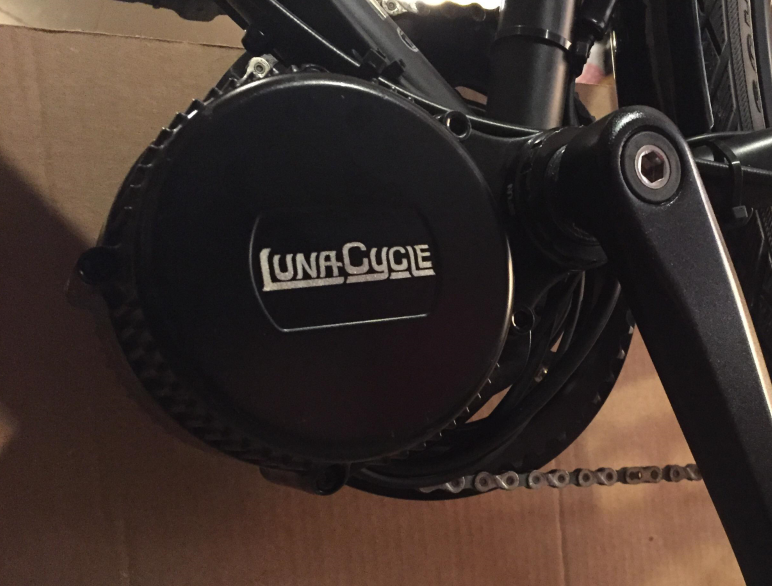
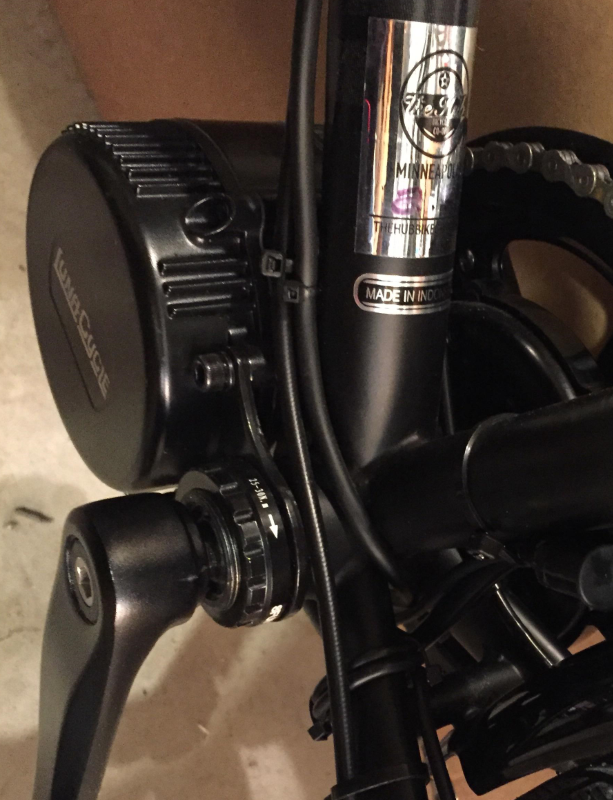
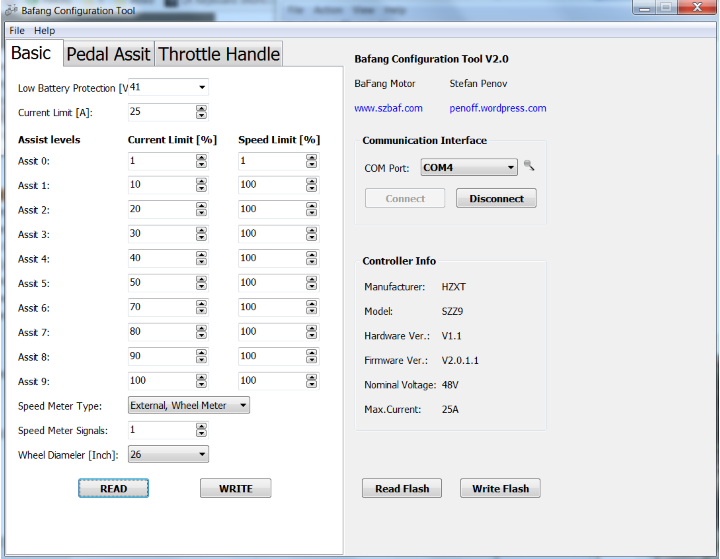
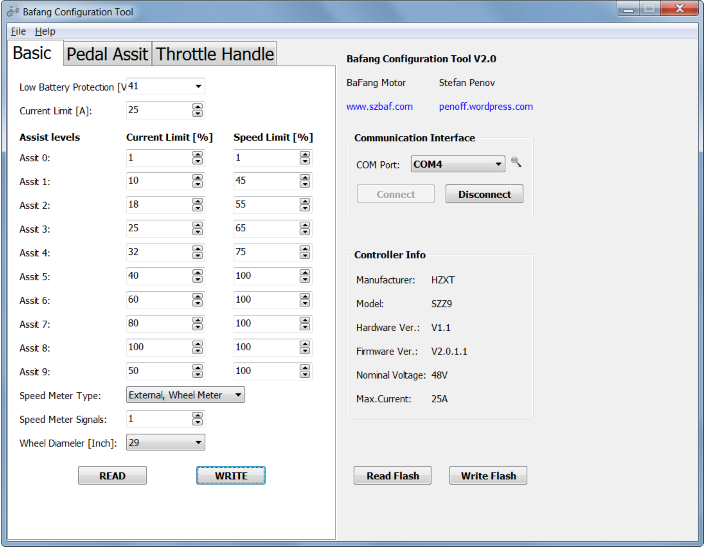
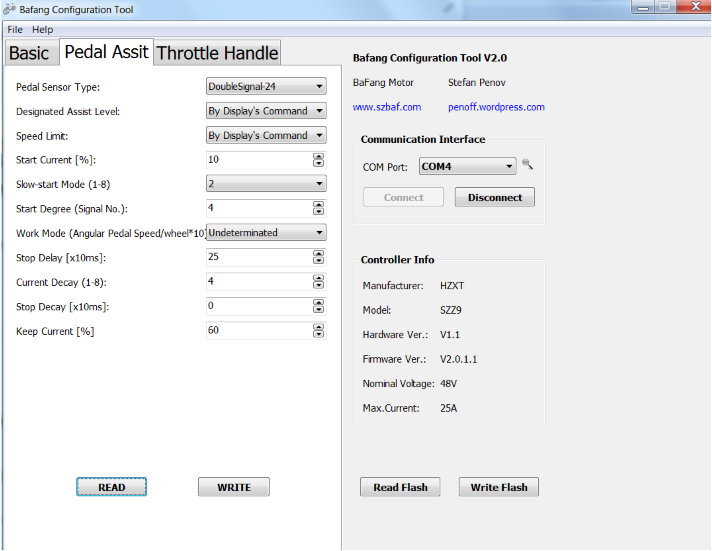
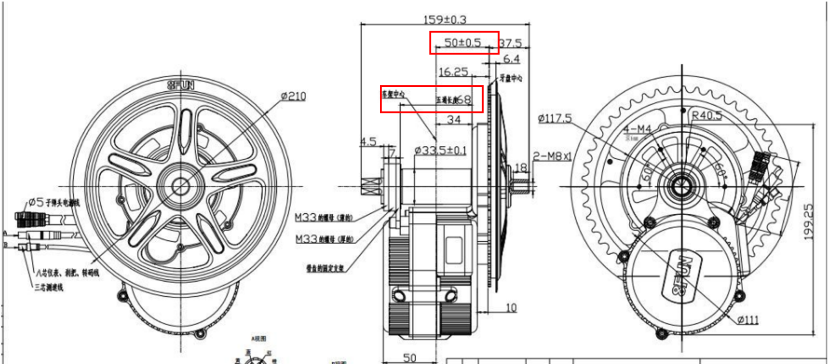
I'm planning to add a BBS02 mid-drive over the winter. Luna is my winner for the kit. Here's my order from Luna that I placed a few days ago:
Here are some thoughts I went through in researching and thinking this out.
Hub vs Mid
I started out like many thinking a simple 250w hub kit was all I wanted. Just travel my 5 mile commute to work and be a little less sweaty. I was interested in the 250w hub motor partly because it's such a stealth approach but also because I felt I could fairly easily add it and remove it from my bike: one bike to rule them all! Another dream was to be able to install it on other bikes to share the electric experience with others on group rides while I pedal along with them w/ no assist. I was thinking about a super-simple kit that had the hub motor, battery, and on-off switch on the handlebar. At 150 pounds, I'm light and I'm willing to pedal along so I still feel this would have been reasonable. But as I read more and more (and started travelling greater distances on my bike) I came to the conclusion I wanted more speed and power. I researched the hotrodding path but came to the conclusion I'd fry a 250w hub motor. Then I started looking at more powerful hub motors but they were bigger and more obvious. And heavy. I had frequently come across the bbs02 in my research but blew it off for months because "I didn't want a mid-drive". Then one day something just clicked and I started giving the bbs02 more consideration. It's fairly stealthy with its mounting point below the bottom bracket. Check. The controller is integrated so I don't have to carry another brick. Check. I can tweak the programming. Check. It mounts about as low as you could mount a motor which is great for weight distribution. Check. I had to give up the dream of easily moving it from bike to bike. Okay, don't like but let's keep talking. In exchange I get to use the rear derailleur as a transmission. Bonus! 25+mph. Bonus! Hmmmm….yes, this is for me. Mid drive it is.
Prebuilt vs DIY
A lot of really cool prebuilt ebikes exist. It would have been an easy choice that would have gotten me into an e-bike much faster and with LBS support. I went to a LBS and tried a Trek. It was fun but it just didn't feel right to cut out at 20mph, I can pedal that fast and I knew I wanted the ability to go faster. I just didn’t feel it was worth the sticker price. A different Trek that does 28mph is close to $3,000. With DIY, I like the idea of being able to tweak the programming. I live in the suburbs and when I commute to work I'm frequently the only bike I see -- I'm not going to bother anyone going 25mph on the side of a 55mph highway. Plus I'm making a small hobby out of this DIY project, I like the lower cost, and have enjoyed learning more about wrenching, motors, controllers, and batteries.
Steel vs Aluminum
Steel won for me. I just didn’t feel comfortable with aluminum knowing the BBS02 bites into the bottom bracket to help it stay put. I also like the softer feel of the ride and it's such a reliable and dependable material. It appears many people have had successful builds on aluminum and Luna is using them on their own builds which I'm sure they stand behind but the aluminum bikes I was looking at were 25 pounds themselves, upwards of 30 with a front suspension and with the Muirwoods donor bike coming in at 28 pounds, just three more than the comparable aluminum models, I felt more comfortable with steel.
Other bikes I considered:
The Muirwoods was also an interesting combination of lower-end Altus front derailleur (which I didn't care about because it'll be removed) and the next level up rear derailleur from the Alivio line. At least I didn't pay a premium for a front transmission I won't be using.
Disc vs Rim Brakes
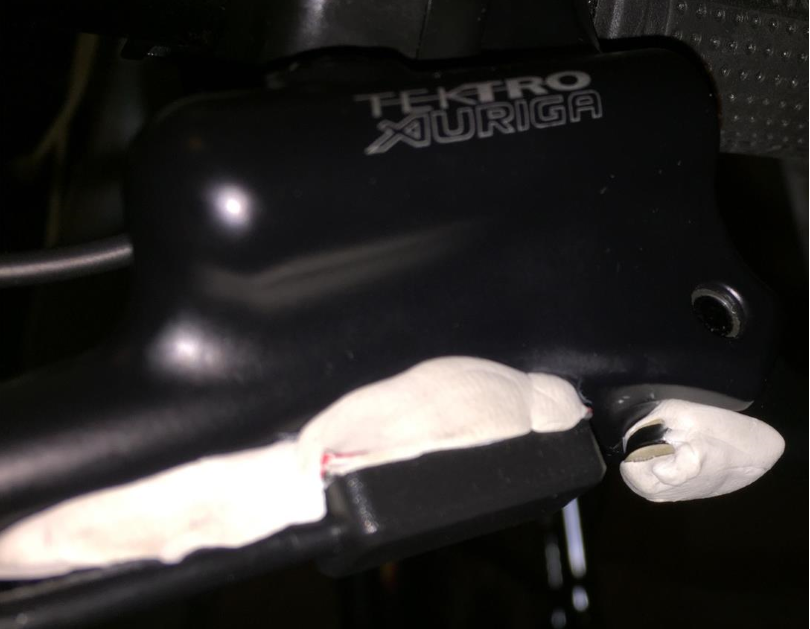
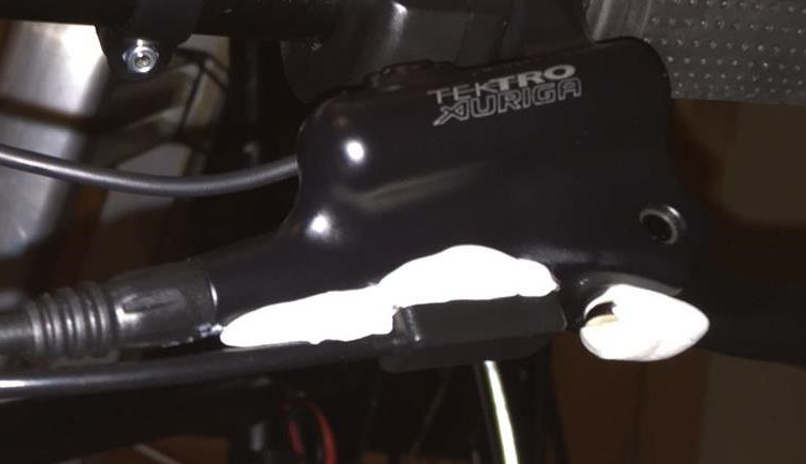
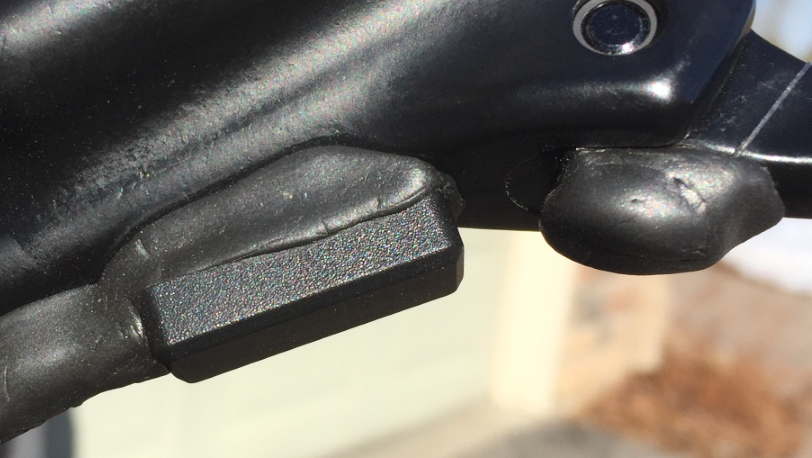
I bike in all types of weather and with the increased speed I wanted disc brakes for consistent performance regardless of conditions. I wound up with hydraulic but feel like I could have been just as happy with cables, and maybe even happier, because mounting e-brake cutoff sensors appears to be a challenge because of the way the hydraulic levers work. I'm sure I'll have to tinker with this a bit.
Suspension or No
I went without. I currently commute on a Masi CX cyclocross bike with 700x28c tires. It's a steel frame with no suspension. I travel up to 30mph on the big downhill portion of my commute with no issues or complaints. I have no problem lifting off the seat to avoid bumps and potholes. The Marin donor bike has 700x40c tires which should provide additional cushion from where I'm at now with 28c. For me the front shock just seemed like extra complexity and weight I didn’t need. I'm not planning to ride singletrack or do any substantial off-roading. In short, I plan to ride this like a bike, not sit on it like a motorcycle, so I feel comfortable I'll be fine w/o a suspension.
Gear Ratio/Inches and Wheel Size
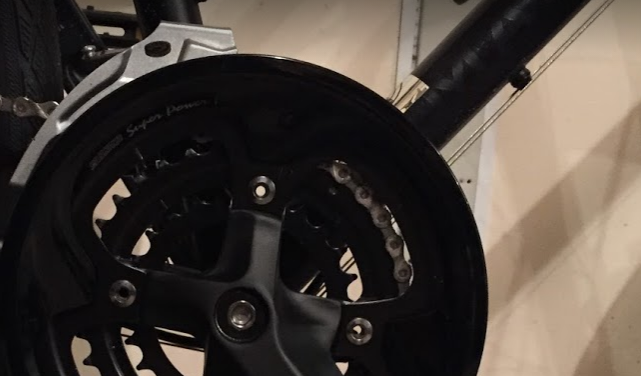
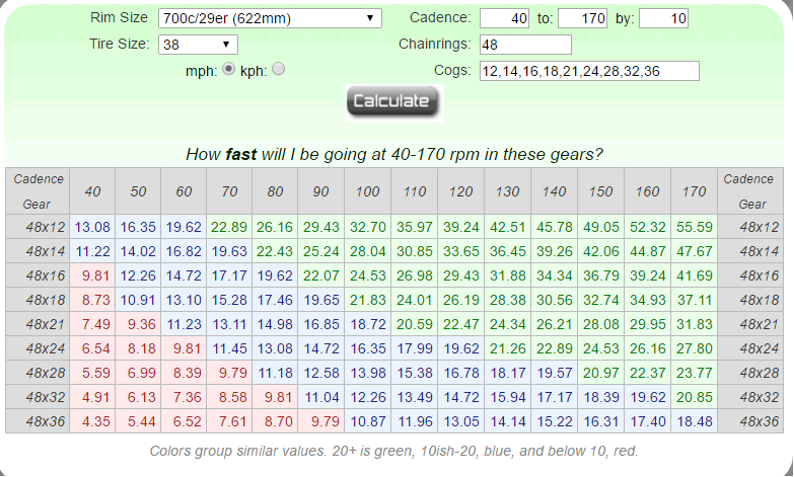
I wanted a wide range back cassette to be able to control the load on the motor to prevent overheating on hills and to be able to go fast on the flats. I wound up with a 12-36 cassette in the rear. Perfect. The existing front chainring is 48/36/26. Since I've already got a 48t in the front I got the 48t Bafang chainring and I think this will work great with the 12-36 in the rear. The front-back 48-12 gearing paired with 700x40c wheels should provide a very reasonable cadence of 77rpm at 25mph. Calculate your cadence at speed.
Flat or drop bars
Went with flat mainly for safety. I can be upright riding in traffic with good vision and I can keep my hands right on the brakes where I've got options for emergency stopping/skidding. I might add bar ends for some additional riding positions when not in traffic and for use when out of the saddle.
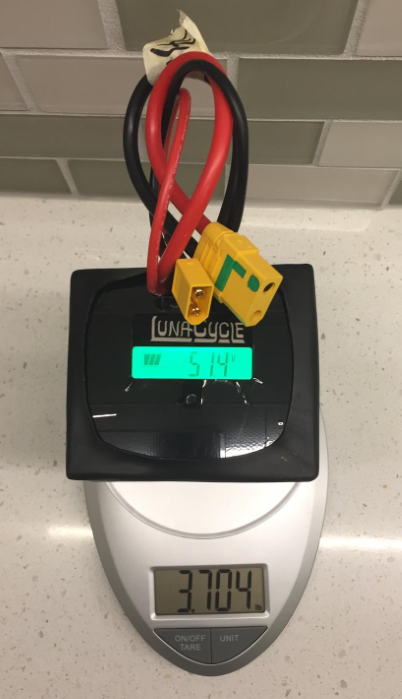
Battery
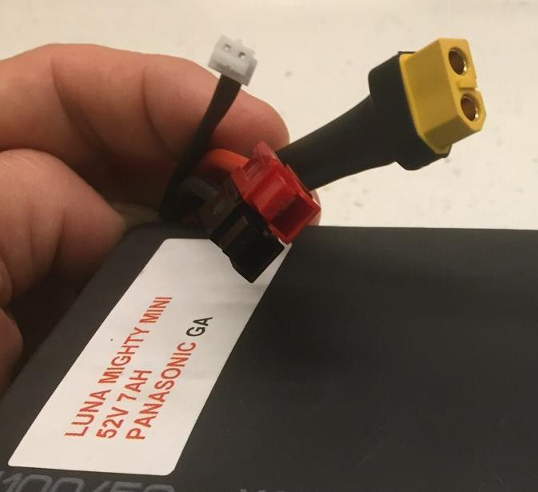
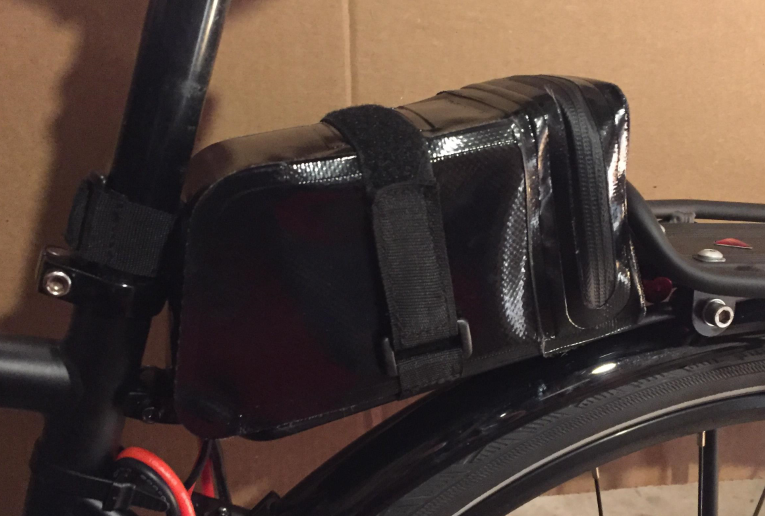
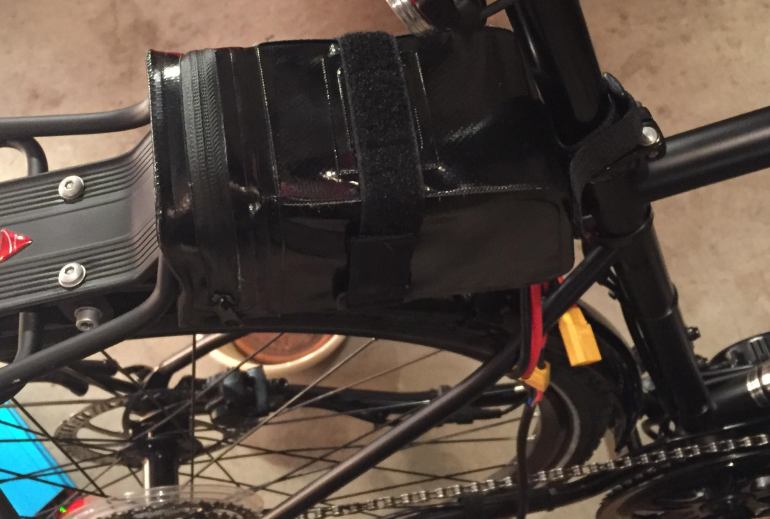
I ditched the hub motor but I'm still wanting to make this build as stealthy as possible. I'd prefer not to have a shark pack or bottle mounted in the triangle. I might regret not having the battery locked to the frame but I don't think I'd be able to trust the lock. How do others feel? In what conditions do you leave your $500 shark pack locked to your frame when you lock up your bike? I went with Luna's mighty mini, the 52v x 7Ah version with the GA cells. Sure, it's got limited range, but it would easily get me to work and back (10 mile RT). I thought I'd start with one and maybe work my way into another to extend my range. This battery is small. It would easily fit in my saddlebags, in Luna's seat bag (which I purchased), in a third party seat bag like this, maybe on my rear rack with a custom mount, or possibly I could make something to store it inside the main triangle using the two sets of bottle cage bosses on my frame. It's 6x2.75x3.25 inches -- that's pretty stealth. At 3.3 pounds it's light enough and small enough to carry along with you. At 110Wh/pound it's the most dense battery I've found. I wanted to get a feel for exactly what it would be like so I made a scale model by cutting up and re-gluing a cracker box and filling it with some padding and coins to 3.3 pounds. I know, #geekalert, but it's really given me a good idea of what it would be like.
Tools I already own
Tools and supplies I bought specifically for the build
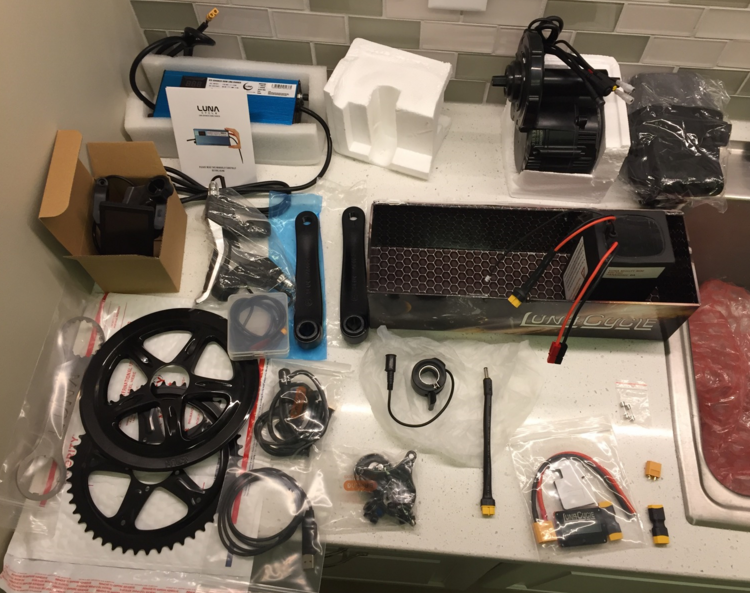
Here's a picture of some of the tools and supplies.
.jpg")
Still need
Something you might need that I don’t
My background
This section I'm writing just to give other noob builders out there some idea of my background as I embark on this project. I've read a few posts from people that felt they were fooled into taking on a bigger project than they could handle after hearing that a DIY e-bike build is "easy". My hope is that this will help you calibrate your own chance for success as I go through my own build. Here goes:
Finally, I just got word that my motor and battery have shipped! I've got to get going on the bike prep. I'm hoping to make a couple updates about that and then it will be on to the BBS02 install itself. Cheers.")
I purchased a Marin Muirwoods to use as a donor bike. It's a 4130 CrMo steel self-described "rough and tumble commute machine" with Tektro Auriga hydraulic disc brakes and a 9-speed Shimano Alivio rear derailleur. Weighs about 28 pounds. Got lucky and saw it brand new on deep discount (LT $500 tax included) at a LBS a few weeks ago. The 68mm bottom bracket is ideal.
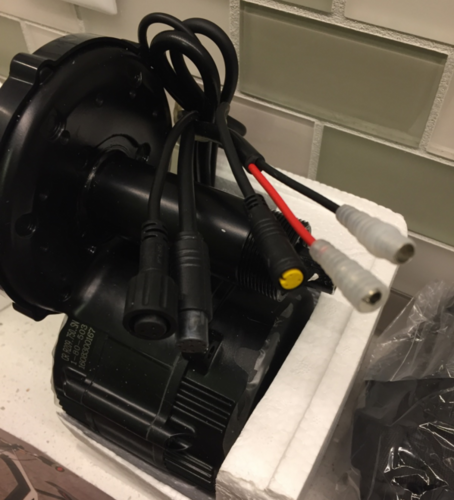
I'm planning to add a BBS02 mid-drive over the winter. Luna is my winner for the kit. Here's my order from Luna that I placed a few days ago:
- Bafang BBS02 750w Mid Drive eBike KIT (Sprocket Size: 48T, Full Color Display, Bafang BBSxx Universal Thumb Throttle, Magnetic sensors to use your own brake levers, Bafang Programming Cable, Mighty Mini 52v GA, 52V Advanced 300W Ebike Charger
- Luna Cycle Mighty Mini Battery Pack Seat Case
- LUNA Wrench BBSHD and BBS02 Mid Drive Installation Tool
- $1050 including shipping
Here are some thoughts I went through in researching and thinking this out.
Hub vs Mid
I started out like many thinking a simple 250w hub kit was all I wanted. Just travel my 5 mile commute to work and be a little less sweaty. I was interested in the 250w hub motor partly because it's such a stealth approach but also because I felt I could fairly easily add it and remove it from my bike: one bike to rule them all! Another dream was to be able to install it on other bikes to share the electric experience with others on group rides while I pedal along with them w/ no assist. I was thinking about a super-simple kit that had the hub motor, battery, and on-off switch on the handlebar. At 150 pounds, I'm light and I'm willing to pedal along so I still feel this would have been reasonable. But as I read more and more (and started travelling greater distances on my bike) I came to the conclusion I wanted more speed and power. I researched the hotrodding path but came to the conclusion I'd fry a 250w hub motor. Then I started looking at more powerful hub motors but they were bigger and more obvious. And heavy. I had frequently come across the bbs02 in my research but blew it off for months because "I didn't want a mid-drive". Then one day something just clicked and I started giving the bbs02 more consideration. It's fairly stealthy with its mounting point below the bottom bracket. Check. The controller is integrated so I don't have to carry another brick. Check. I can tweak the programming. Check. It mounts about as low as you could mount a motor which is great for weight distribution. Check. I had to give up the dream of easily moving it from bike to bike. Okay, don't like but let's keep talking. In exchange I get to use the rear derailleur as a transmission. Bonus! 25+mph. Bonus! Hmmmm….yes, this is for me. Mid drive it is.
Prebuilt vs DIY
A lot of really cool prebuilt ebikes exist. It would have been an easy choice that would have gotten me into an e-bike much faster and with LBS support. I went to a LBS and tried a Trek. It was fun but it just didn't feel right to cut out at 20mph, I can pedal that fast and I knew I wanted the ability to go faster. I just didn’t feel it was worth the sticker price. A different Trek that does 28mph is close to $3,000. With DIY, I like the idea of being able to tweak the programming. I live in the suburbs and when I commute to work I'm frequently the only bike I see -- I'm not going to bother anyone going 25mph on the side of a 55mph highway. Plus I'm making a small hobby out of this DIY project, I like the lower cost, and have enjoyed learning more about wrenching, motors, controllers, and batteries.
Steel vs Aluminum
Steel won for me. I just didn’t feel comfortable with aluminum knowing the BBS02 bites into the bottom bracket to help it stay put. I also like the softer feel of the ride and it's such a reliable and dependable material. It appears many people have had successful builds on aluminum and Luna is using them on their own builds which I'm sure they stand behind but the aluminum bikes I was looking at were 25 pounds themselves, upwards of 30 with a front suspension and with the Muirwoods donor bike coming in at 28 pounds, just three more than the comparable aluminum models, I felt more comfortable with steel.
Other bikes I considered:
- Trek 750 Multitrack (steel, used, rim brakes)
- Trek Zektor 2 (aluminum commuter w/ disc brakes)
- Trek DS2 (aluminum, disc brakes, front shock)
- Norco Indie (aluminum, disc)
- Novara Buzz (aluminum, disc)
- Cannondale Bad Boy (aluminum, disc)
- Fuji Police Bike (aluminum, disc brakes, front shock, 26" wheels)
- Luna makes a fully assembled e-bike out of the KHS Police Bike
The Muirwoods was also an interesting combination of lower-end Altus front derailleur (which I didn't care about because it'll be removed) and the next level up rear derailleur from the Alivio line. At least I didn't pay a premium for a front transmission I won't be using.
Disc vs Rim Brakes
I bike in all types of weather and with the increased speed I wanted disc brakes for consistent performance regardless of conditions. I wound up with hydraulic but feel like I could have been just as happy with cables, and maybe even happier, because mounting e-brake cutoff sensors appears to be a challenge because of the way the hydraulic levers work. I'm sure I'll have to tinker with this a bit.
Suspension or No
I went without. I currently commute on a Masi CX cyclocross bike with 700x28c tires. It's a steel frame with no suspension. I travel up to 30mph on the big downhill portion of my commute with no issues or complaints. I have no problem lifting off the seat to avoid bumps and potholes. The Marin donor bike has 700x40c tires which should provide additional cushion from where I'm at now with 28c. For me the front shock just seemed like extra complexity and weight I didn’t need. I'm not planning to ride singletrack or do any substantial off-roading. In short, I plan to ride this like a bike, not sit on it like a motorcycle, so I feel comfortable I'll be fine w/o a suspension.
Gear Ratio/Inches and Wheel Size
I wanted a wide range back cassette to be able to control the load on the motor to prevent overheating on hills and to be able to go fast on the flats. I wound up with a 12-36 cassette in the rear. Perfect. The existing front chainring is 48/36/26. Since I've already got a 48t in the front I got the 48t Bafang chainring and I think this will work great with the 12-36 in the rear. The front-back 48-12 gearing paired with 700x40c wheels should provide a very reasonable cadence of 77rpm at 25mph. Calculate your cadence at speed.
Flat or drop bars
Went with flat mainly for safety. I can be upright riding in traffic with good vision and I can keep my hands right on the brakes where I've got options for emergency stopping/skidding. I might add bar ends for some additional riding positions when not in traffic and for use when out of the saddle.
Battery
I ditched the hub motor but I'm still wanting to make this build as stealthy as possible. I'd prefer not to have a shark pack or bottle mounted in the triangle. I might regret not having the battery locked to the frame but I don't think I'd be able to trust the lock. How do others feel? In what conditions do you leave your $500 shark pack locked to your frame when you lock up your bike? I went with Luna's mighty mini, the 52v x 7Ah version with the GA cells. Sure, it's got limited range, but it would easily get me to work and back (10 mile RT). I thought I'd start with one and maybe work my way into another to extend my range. This battery is small. It would easily fit in my saddlebags, in Luna's seat bag (which I purchased), in a third party seat bag like this, maybe on my rear rack with a custom mount, or possibly I could make something to store it inside the main triangle using the two sets of bottle cage bosses on my frame. It's 6x2.75x3.25 inches -- that's pretty stealth. At 3.3 pounds it's light enough and small enough to carry along with you. At 110Wh/pound it's the most dense battery I've found. I wanted to get a feel for exactly what it would be like so I made a scale model by cutting up and re-gluing a cracker box and filling it with some padding and coins to 3.3 pounds. I know, #geekalert, but it's really given me a good idea of what it would be like.
Tools I already own
- Basic homeowner toolkit including several sizes of crescent wrenches, vice grips, channel locks, pliers, hammer, screwdrivers, drills, etc.
- Metric Hex wrench set
- Cheap-o socket set
- I already own a Digital Multimeter
- Soldering Iron
- Park PW-5 pedal wrench
Tools and supplies I bought specifically for the build
- Bikehand bottom bracket tool
- Park Tool crank puller CWP-7
- Dielectric grease for waterproofing electrical connections
- Blue threadlocker
- Aquarium thermometer. Not sure if I'll install this but it was only $3.
- Zip ties
Here's a picture of some of the tools and supplies.
Still need
- C-spanner tool and bottom bracket cup wrench. I bought the Luna wrench which does both.
- (Might need/want) Moldable rubber like Sugru or Versimold. This could be useful for mounting the brake sensors or providing some cushion for the battery.
- I may need a small grindstone for an electric drill as there may be tiny bits of weld inside the BB. Or a Dremel. I'm hoping I don't need this and my BBS02 will just slide right in.
Something you might need that I don’t
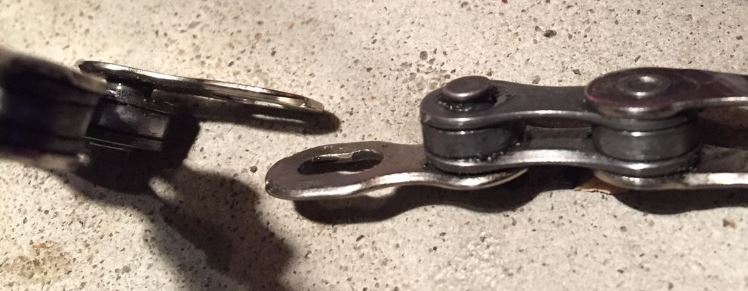
- Chain breaker if your chain doesn't have a missing link and you want to remove your front derailleur you'll need to break your chain. My chain has a missing link -- there's a tool for that too but it can be done by hand or I've seen some hacks using a wire. I'll take my chances on this and if I have trouble I may need to get a special pliers-like tool to get the missing link apart. Here is a good video that explains a lot about chains.
My background
This section I'm writing just to give other noob builders out there some idea of my background as I embark on this project. I've read a few posts from people that felt they were fooled into taking on a bigger project than they could handle after hearing that a DIY e-bike build is "easy". My hope is that this will help you calibrate your own chance for success as I go through my own build. Here goes:
- I've done basic bike maintenance like changing tires and adjusting brakes.
- I recently assembled a brand new single speed bike shipped to my house in a box.
- I've never pulled off cranks or a bottom bracket.
- I own a home and do much of the maintenance myself. I change out the mower deck and snowblower every year on my tractor. I've done some small remodeling projects like finishing a roughed-in bathroom but that was near the limit of my desires, abilities, and tools. I've dabbled in woodworking and have power saws, drills, and sanders.
- After reading and watching a ton of material over the last few months, with the set of tools I own, and the few purchases I've made, I'm feeling prepared to get going on the build.
- In summary, a mid-drive install is not something you do at home with "mother's toolbox". You need some special tools and knowledge. But it is within the reach of mortals -- you don't need to be a mechanic to do this. Or so I think. Time will tell.
Finally, I just got word that my motor and battery have shipped! I've got to get going on the bike prep. I'm hoping to make a couple updates about that and then it will be on to the BBS02 install itself. Cheers.