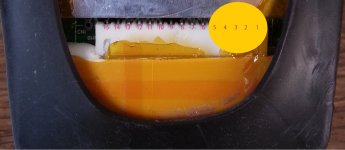
I have a 50v 18.5amp battery from cell man.
Discharge port of battery shows 55.4v it's charged enough to power a controller.
I connect the battery to the controller, then switch on the ignition,
For a brief 2 seconds my CA displays "low voltage" then the power whimpers down.
I turn it off switch the ignition back on and the same happens accept it powers on for half the time it did the last time.
If I wait 15 minutes or.more I can try again but the same thing happens. The controller does not remain powered.
What could be the issue guys?
Any help is much appreciated!