kiwiev said:
Thanks Cowardly duck
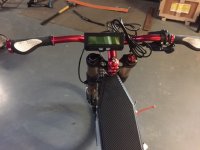
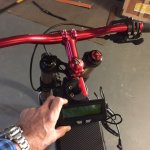
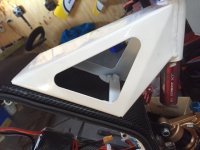
I tried sitting it on bars and top of battery box see below still UN-decided :|
Thinking about using 12 volt battery isolator switch for main pack Do you think they are OK?
No worries. You can always try mounting it on the bars for a while and if you don't like it then look into moving it down.
I don't use an isolator...at all.

So far though, I've never had an issue. I just have my controller on/off switch wired to a key switch for main bike power.
I wouldn't know if you can use that isolator, but if the whole battery power is going through it, you'll want to make sure it's pretty beefy!
kiwiev said:
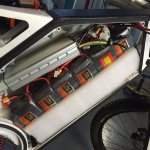
That is entirely dependant on how much current they are putting out. By the looks of it you'll be running 4P, so your total amps of 60-90 divided by 4 is 15-23 amps per pack. I would halve the C rate they state they can give and if that's still above 23amps then I would say for at least the first 200 or so cycles, these cells shouldn't get hot at all. Also keep in mind, you will only be able to draw 60-90 amps for short bursts before heating up your motor, or you'll be up to speed anyway, so the cells will never see that much load sustained.
In other words...don't worry about it...with 4 packs in parallel, you'll be fine...as long as they are not complete fakes.
kiwiev said:
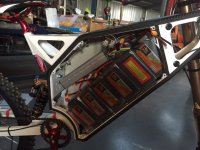
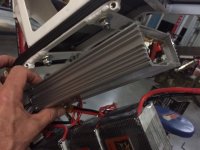
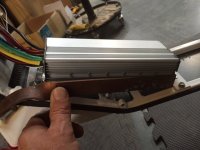
My controller doesn't get hot on my Trance and would like to keep it in the box to make a neat install with no wires hanging outside.
I would not do that unless you give the controller a way to get it's heat out. You will end up turning your battery compartment into an oven! When the controller gets warm, it needs to use more amps to give the same power...that generates more heat (than it would if it were not so hot) leading to it then needing more amps again. It's a cyclic thing and eventually (probably once the weather starts to warm up) you will have a melt-down.
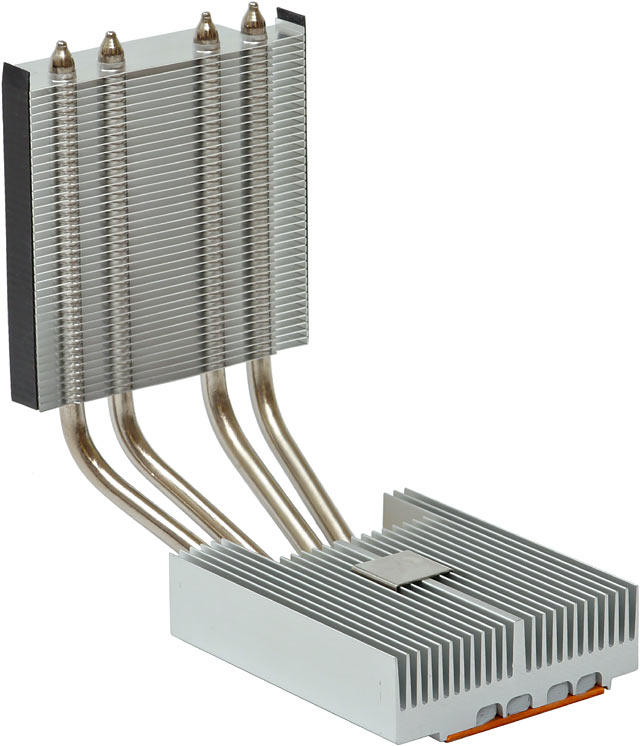
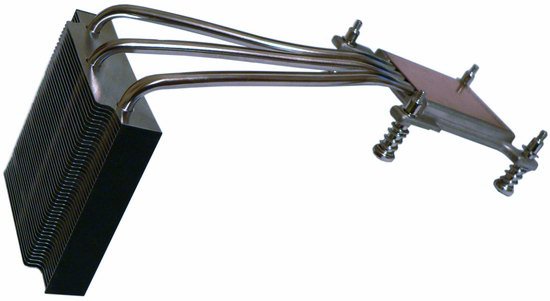
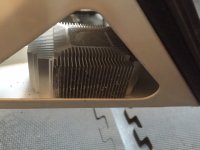
Others have taken the controllers out of the aluminium shell, and bolted the FET heatsink (where almost all the heat comes from) directly to the inside of the frame. I'm not sure if your frame has any metal parts to do that with though. Another option is to use thermal paste or pads to move the heat to the metal of the frame if it is metal. If you can heat sink the controller to the outside air somehow, that will solve all your problems giving you good cooling air flow and wire-free setup.
")
Cheers