How To Solder Your Own VESC!

Joined
May 27, 2013
Messages
2,940
Location
San Francisco, CA
Hey guys... I decided to take on a new project and work on soldering my own VESC. Granted, I am starting here from zero and many people here have much more experience than myself. However, I think a lot of folks on here would like to take on the same project for fun and the learning process. Of course, it's much more fun if it's a step by step process and less of a headache. I hope to help solve this problem by doing the leg work ahead of time.

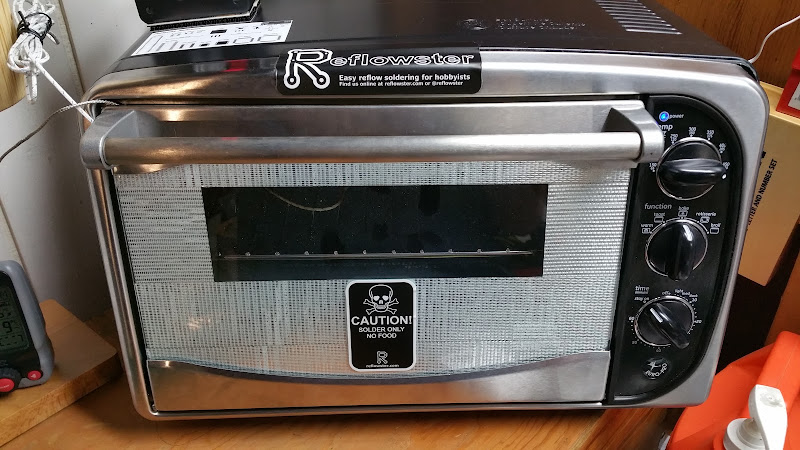
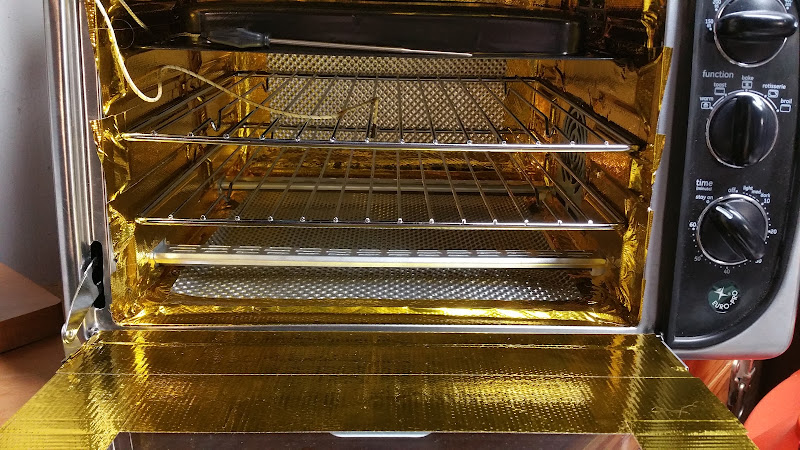
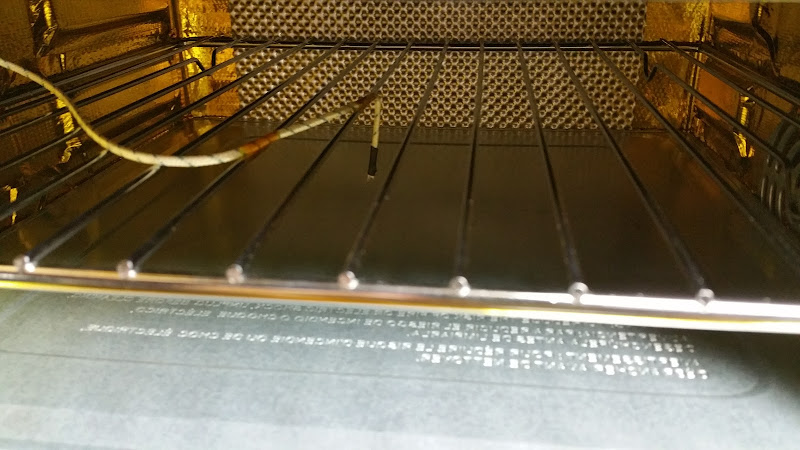
If you do have experience please recommend what tools/materials which you use such as a your reflow oven, etc. Any tips and suggestions would be great as well.

Thanks to Ben for releasing this awesome ESC.
You can view the original thread here - 10S custom skate ESC: testers wanted!

Materials Required


Parts Required


Reading Material
- VESC - Open Source ESC - Original Source Page for VESC
-
 
So, I'm working on this and the first thing that pops into mind is figuring out exactly what is a reflow oven and how to solder on SMT (surface-mount technology) components.

For this let's also add a glossary section. I've added it to the first initial post.

I'm thinking of going OshPark option to purchase printed PCB boards from oshpark and purchase printed PCB stencil from OshStencils. Use Solder flux and a reflow oven.

Will continue again.
 
I'll post up a new reflow option I'm looking at.

I got one of the Reflowsters Chuttney mentions. Kinda cool to have a plug-n-play option to add to any toaster oven.

As in most things i went overboard... I bought a big roll of the reflecta-gold tape to insulate, and some of the silver tunnel shield as well (fiberglass insulated). Took the convection oven apart (which i already had for Kydex projects and was ~$50 iirc) - eliminated the rotisserie motor and insulated the crap out of it. (overkill). So taking into account the cost of the insulation materials (80'ish i think), plus oven ~50, plus reflowster $135 shipped... I'm easily up to a real reflow oven like the T962 if not close to the T962A (larger drawer for more boards).

I thought i had pics of the oven all insulated (looks cool). Just finished the other night and reading through the instructions before i try it out. Will use it on some of the Anti-Spark Switches i have to see how it compares with hot air by hand. I figure if i can get decent enough SMD soldering with the smaller switches, i'll be ready to try a couple VESC's!


Great thread!
 
Lemme add some information

Toaster reflow oven. You have the option to buy a already made one or DIY. The ones to aim for use infrared heating elements. Any toaster oven with infrared heating elements works. A used on from a local thrift store works. If toaster oven has fan, even better for eliminating hot spots. I find toaster oven for batches of VESC very good idea until you start running into issues from SMD part not sitting correctly on the pcb.

Plug in and go version:
http://store.reflowster.com/products/reflowster

DIY Version, this is what I use for my build:
  • Rocket Scream controller, http://www.rocketscream.com/blog/product/reflow-oven-controller-shield-arduino-compatible/
    Arduino Uno and power supply for it
    Fiberglass to insulate toaster
    AC-DC solid state relay, must select correct amperage for project
    Type K thermocouple
    Hamilton Beach infrared toaster oven

I find toaster oven for batches of VESC very good idea until you start running into issues from SMD part not sitting correctly on the pcb. I use my Sparkfun hot air resoldering gun to get the job done.

One comment about my build. While it works as suppose to, I didn't include the option of using some push-dials to change values on the fly when the toaster oven is on. After doing a cost analysis on building one of these vs buying a VESC already made and provided to users on this forum. Its only useful if it works out. I watched a bunch of videos to learn. Doing this project means playing live mains voltage, 120 V or 240 V depending on your country. I am not at fault for lack of awareness. Triple check your wiring and connections before turning on.
 
The reflow oven's seem to be about $250+. Is that the going rate for these reflow ovens?

Any reviews on this guy here? http://www.amazon.com/ALL-ONE-X-TRONIC-SOLDERING-PREHEATING/dp/B00DRHRZ3S/ref=sr_1_4?ie=UTF8&qid=1447952601&sr=8-4&keywords=reflow+oven

2015_11_19_09_10_08_ALL_IN_ONE_X_TRONIC_MODE.png


It's like a 3 in one setup. If I can get that hot plate too that works out.

I was also looking at this Kendal SMD Station - http://www.amazon.com/Kendal-REWORK-SOLDERING-IRON-STATION/dp/B004ZB9D4O/ref=sr_1_2?ie=UTF8&qid=1447952943&sr=8-2&keywords=smd+station
2015_11_19_09_09_26_Kendal_2_IN_1_SMD_HOT_AIR_RE.png
 
Torqueboards,
The engineering club I'm in has had the Kendal SMD Station and it's wasn't all that great. The only useful part was the heat gun. Other than that, the iron tips would constantly be breaking and the iron itself malfunctioned quite a bit. One of the members brought in their Hakko station (http://www.amazon.com/gp/aw/d/B00ANZRT4M/ref=mp_s_a_1_1?qid=1447994317&sr=8-1&pi=SX200_QL40&keywords=Hakko+soldering&dpPl=1&dpID=41sCMxh%2BAYL&ref=plSrch) and we loved it!

Just thought I'd give you my two cents. :D
 
I hand soldered several working VESC from bare PCB, and used:

1 stereo soldering microscope https://www.amazon.com/gp/aw/d/B005C75IVM/ref=yo_ii_img?ie=UTF8&psc=1
hakko fx-888d soldering iron
heating gun, needed for DRV8302 ground pad and to fix issues
flux, tweezers, leaded solder

I didn't use any reflow oven and no heating bed.

One tip: solder 3 or 4 VESCs at the same time. print out the layout and mark components done.
VESC has about 120 components, take a few evenings for 4 VESCs. Usually one doesn't work, that's normal.
Start with the MCU STM32F4, then DRV 8302 (don't forget solder under chip, use heat gun),
then cheaper components. end with the 6pin connectors.

By the way, that 3 in one is not a reflow oven. it is a nice soldering iron, heat gun and heated bed.

Good luck, it is fun and rewarding.
 
If you want a re-flow oven this is probably the best option for anyone on a budget. http://www.whizoo.com/buy

Here's a link to the gerber files I uploaded to OshPark:
VESC - https://oshpark.com/shared_projects/NNzfrwPG
Capacitor Board - https://oshpark.com/shared_projects/MOHS1gwF
I recommend using these, if you uploaded the original gerber files to OshPark it can have some issues. I had to rename a few file extensions and merge the drill files before it would recognize the files correctly.

I really hope more people start assembling E-boarding electronics "in house". We need more quality products and service if we expect this to become a viable alternative means of transportation.
 
torqueboards said:
Thanks for the help Chaka. I was looking at those. Crazy how expensive the old 2 layer board is from the 4 layer board.

That was the problem. The VESC has always been 4 layers, the OshPark automated system was handling the files incorrectly and leading the community to believe it was a 2 layer board.

Definitely worth it to place a medium size run with them if you plan on assembling a sizable number. When you figure the quality of the OshPark material specs it is well worth the cost of even the short order price.

I would like to add one tool no one mentions much, a vacuum operated pic and place tool. You can purchase them or make your own. They are the heart of automated and manual assembly systems. You can make one by reversing the diaphragm on an aquarium air pump and use a syringe dispenser or a retrofitted pump style pic and place tool to place the smd components.

You could add a foot switch to the pump in this video and have a great setup.
[youtube]qJWUUK1s_G0[/youtube]
 
I don't think a two layer board, I mean two-sided board is a good choice to learn Smd technique. If you're only building one or two, or four a lot of people will just hand solder... Those are people who are experienced, have a good temperature control, magnification, hot air etc.
 
torqueboards said:
Thanks Chaka! That vacuum pump makes perfect sense.

I think OshPark's medium size is only for the 2 layer boards. 4 layer boards don't seem to have that option.

You have to send an email to get a medium 4 layer order going. But like I said when you figure the quality of the PCB's you get from OshPark even the minimum order is a good deal.
 
NyOliver said:
I don't think a two layer board, I mean two-sided board is a good choice to learn Smd technique. If you're only building one or two, or four a lot of people will just hand solder... Those are people who are experienced, have a good temperature control, magnification, hot air etc.

I was new to SMD hand soldering and within a few weeks learned VESC assembly by hand SMD soldering,
using microscope, hakko soldering iron and hot air. Using hand soldering seems a good SMD technique, although it takes time and patience.

Do you suggest that using a reflow oven is easier to assemble VESC? How do you place the 120 parts, and deal with two sided PCB? Which oven?
Or does the heated bed of the IR Preheating Station (50°C - 400°C) such as above X-tronic's 5040 help with assembly,
reflow?

Does anyone have VESC specific assembly tips using reflow oven ?
 
erwincoumans said:
NyOliver said:
I don't think a two layer board, I mean two-sided board is a good choice to learn Smd technique. If you're only building one or two, or four a lot of people will just hand solder... Those are people who are experienced, have a good temperature control, magnification, hot air etc.

I was new to SMD hand soldering and within a few weeks learned VESC assembly by hand SMD soldering,
using microscope, hakko soldering iron and hot air. Using hand soldering seems a good SMD technique, although it takes time and patience.

Do you suggest that using a reflow oven is easier to assemble VESC? How do you place the 120 parts, and deal with two sided PCB? Which oven?
Or does the heated bed of the IR Preheating Station (50°C - 400°C) such as above X-tronic's 5040 help with assembly,
reflow?

Does anyone have VESC specific assembly tips using reflow oven ?

I am agreeing with you 100%, but not from personal experience. It seems experts often hand solder, if they are only making one board. Oven and solder paste seems awesome for single sided and production.
 
chuttney1 said:
Lemme add some information

Toaster reflow oven. You have the option to buy a already made one or DIY. The ones to aim for use infrared heating elements. Any toaster oven with infrared heating elements works. A used on from a local thrift store works. If toaster oven has fan, even better for eliminating hot spots. I find toaster oven for batches of VESC very good idea until you start running into issues from SMD part not sitting correctly on the pcb.

Plug in and go version:
http://store.reflowster.com/products/reflowster

This is what i got - reflowster. I was all set to mod a toaster oven w/ the arduino and relays... then figured i'd just use the oven i already got for some Kydex projects. Nice since it has a 12" area and fan to circulate the hot air.

20151121_183843.jpg


Can easily bypass or swap to another oven - the controller sits on top (how i have mine at least):
20151121_183854_001.jpg


I added a lot of insulation to seal it up better and improve it's efficiency. Or at least make it look cool if not...
20151121_183921.jpg


Type K it comes with is taped to top rack and hovers just over the crumb tray i use to place PCB's on.
20151121_183951.jpg


Just finished it last week and have been heating it up a few times to burn in the insulation. Pretty stinky so far w/ only a few cycles, but not horrible.

Cost wise i would say a good T962 is still cheaper considering the parts and time. But a little at a time vs one bit $ purchase... Plus fun tinkering (which honestly you will need to do even with the T962/T962A).

GL!
 
http://www.smallbatchassembly.com

people may want to check these guys out too. you send them cpus and specialty parts on leaders and they take care of everything else.
 
Back
Top