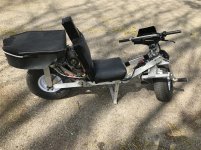
all season e-bike (second build, Fattest)

Tommy

10 W
Joined
Jul 12, 2011
Messages
76
Location
Southeast Wisconsin
few years back I did my first e-bike build, and had years of summer fun with it. https://endless-sphere.com/forums/viewtopic.php?f=28&t=41681&p=886292#p886292

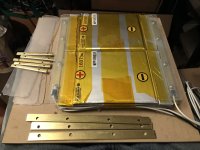
This project is going to be a little more involved because of the power source I plan to use.(SPIM08HP lipo battery cells)

I have no equipment for or experience with lipo cells.

I opted to go with a 7s-2p configuration to accommodate a 24v or 48v setup.(starting with 24v)
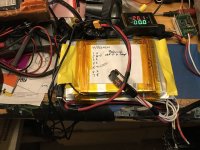
IMG_0244.JPG

like all my past projects I always go the cheapest options available to me.
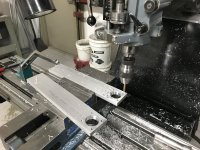
at the company I work for they have bar stock available.
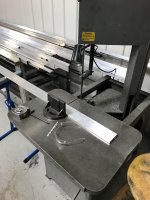
IMG_0247.JPG

and mills & lathes.
IMG_0246.JPG

IMG_0249.JPG

IMG_0241.JPG

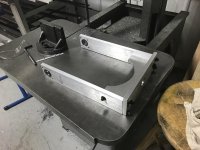
the one thing the office does not supply is welding facility, so I'm using bolts
to hold the frame together until I can take it in to be welded professionally.(I suck at welding)

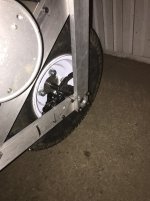
not sure if I'm going to use studs or chains for winter use, so I left 1" clearance on each side of the wheels.

also thinking of all wheel drive for winter use.
 
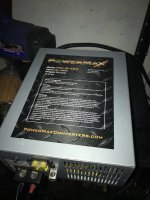
my hope is to be able to use my 20amp PowerMax 24v charger to charge the SPIM08HP cells.

IMG_0253.JPG

because these cells are used, I want to test them one at a time, and match them, before they are put into 7s packs.
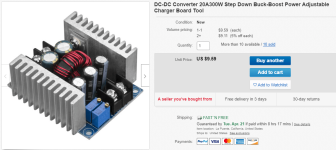
I found this device on ebay that I hope can do that job.(parallel charge 7p 3.7v cells at 15amp with my powerMax charger)

Capture10.PNG

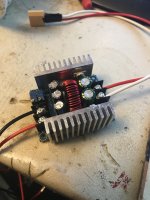
it didn't work out for me.
it is a cute little Adjustable Buck Converter, but not even close to 20Amp.(I'll keep it just in case I need 2amp buck someplace)

IMG_0254.JPG
 
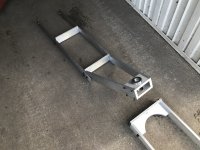
frame coming together

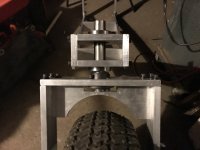
with this setup the front forks are going to be at a 45 degree angle, not sure how that's
going to effect steering. most bikes I see have about 20 degrees.

IMG_0257.JPG
 
it seems 6061 aluminum does not like being welded(lose 40 percent straight) so
I may have to look at gusseting in stead of welding.

but because I'm using half inch thick stock losing 40 percent may not be an issue.

IMG_0267.JPG

because I want to try all wheel drive, and I'v never tried front wheel drive on a bike
that is where I'll start.

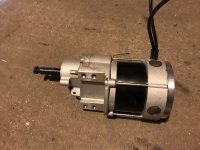
motor for testing front wheel drive.
IMG_0268.JPG

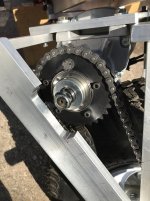
now I need to find a #35 chain freewheel with a .75" ID.

IMG_0269.JPG
 
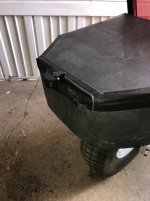
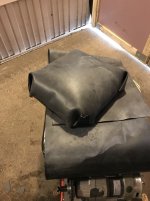
used some wood and roofing rubber for an (almost) hard tail to hold the battery pack
and electronics.

also handy for mounting tail lights.

IMG_0280.JPG
 
Nice build. Perhaps when it's finished you can drill some holes in the frame to make it lighter. Are those wheelbarrow wheels?
 
armandd, the wheels came of my riding lawn mower, I get the hole drilling, this frame
is a pig. but, it does give me a warm&fuzzy feeling, army tank comes to mind.

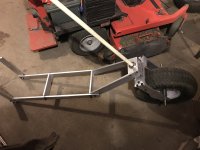
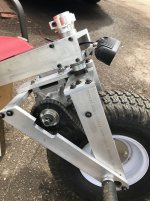
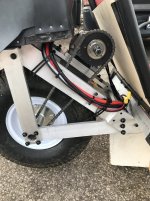
I decided to raise the gap for the front fork to let the motor sit on the inside, doesn't
give me much foot room, but give me a place to put the peddles.

IMG_0281.JPG

i put some foot pegs on so I have some place to put my feet until the peddles are installed.

IMG_0282.JPG
 
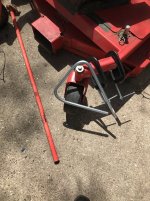
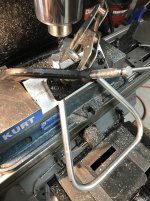
if you want to make a triangle shaped steering wheel out of 5/8" steel rod, It's
handy to have a gravely mowing deck. and a long pipe helps

IMG_0288.JPG
 
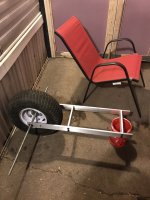
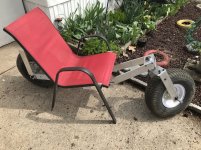
Just wanted to let you know I'm keeping up to date with this project :) I did not expect that lawn chair in the background to be part of the build! Are you in kenosha county?
 
thundercamel, the lawn chair and the wheels got me thinking of this project.
(all winter sitting in that chair in my work shop looking at them wheels)
can't tell from the picture, but that chair is very comfortable.
I'm in jefferson county.


because I'm going to want things like Acc/Dec, stop lights and cruise control I'm going to use
an arduino nano for motor speed control.(ESC is a SyRen 50A regenerative motor driver, too bad I'm using freewheel)

to get speed information I replaced one of the bolts that hold the sprocket to the freewheel with a magnet.

IMG_0289.JPG
 
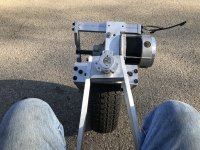
the handle bars turned out nice, but I'm going to have to move that big motor to the
rear wheel. steering at slow speeds with a 30lb motor hanging off one side would be a bear.

IMG_0290.JPG

IMG_0291.JPG
 
while the frame is not welded, and all the disk brakes parts have not come in, the day
was just too nice to not give the motor a try.

my first impression of the motor is Wow!
powered up hills, through farm fields. (sweet)

with the current gearing of this gear motor, #35 chain 14 teeth on the axial, 32 teeth on
the motor freewheel it seems like it would do 25 mph on a hard surface road.

I'll wait until i get the brakes compete before I find out.

even without welding the frame seems very rigid.(sweet)

because the frame and motor are giving me a warm&fuzzy feeling, adding more weight seems possible
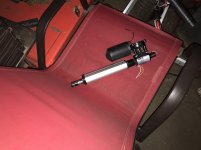
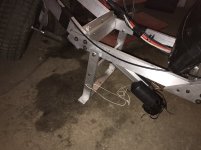
so I'll look at adding a power kick stand(because of the weight of this pig, a kick stand is needed :shock: )

had this sitting around for 10 years waiting for an application.
IMG_0299.JPG
 
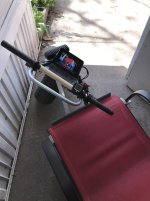
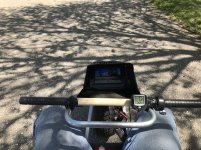
seen this video rear view camera on amazon and had to give it a try, for the price
even if I can't use it, it should still be fun to try.

IMG_0304.JPG

IMG_0305.JPG

IMG_0307.JPG
 
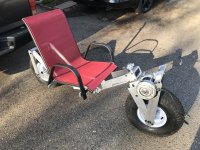
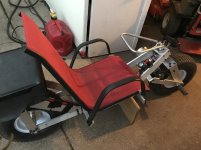
while that chair may be good for sitting around contemplating the meaning of life, it
just isn't right for this build.(too big, always in the way)

I wonder if roofing rubber and foam rubber could survive year round.

IMG_0308.JPG
 
without any first hand knowledge I ordered 160mm disk brakes for the rear wheel,
but, it lacks enough stopping force for my fat bike, they seem like a good chose for the
front wheel.

seen some 203mm disks on ebay, have to give it a try for the back wheel.


IMG_0310.JPG

also looking at the kickstand.

IMG_0315.JPG
 
It's probably not the rotor size, especially since that wheel has a much smaller diameter than bike wheels anyway. Read my little review on brake pads here.
 
thundercamel, thanks for the feedback, I'll spend some time looking over information
on bike disk brakes before I order a replacement rear brake.
 
For the seat, you might look at bleacher seats, stadium chairs, a few names for them, like what I use on SB Cruiser. I went thru a number of seats for it...but this one is as close to perfect as I'll get without custom-making one.

https://endless-sphere.com/forums/viewtopic.php?f=2&t=67833&p=1355550

file.php


file.php
 
amberwolf, thanks for the search terms, while I have no issues putting my own
seat together, I always end up with something that weights a lot, and I'm not
done adding motors which tend to be heavy, so I'll search the net.
 
This is the actual brand I have, and it is very well made. You can easily replace the cover, as well, when it wears out.

http://www.stadiumchair.com/chairs_stadium.html

They are one of the more expensive versions, but I found mine for a few dollars at Goodwill, like many of the things on my trike (and other projects like the recent solar panels). All I had to do to mount it was drill four holes in the squaretube sidebars, as seen in the pics I posted, to secure it to the lid of the cargo/seatbox.

It is steel and canvas, so it is not light, but it's worth the weight.

I also have at least two of something very close to this version (but in dark blue):
https://www.dickssportinggoods.com/p/dicks-sporting-goods-stadium-seat-16dsgudsgstdmstxxodr/16dsgudsgstdmstxxodr
and they suck for this purpose, the padded seat is nowhere near as good as the suspended-mesh (canvas) type.


I've also tried one like this (but without arms):
https://www.groupon.com/deals/gs-alpha-camp-stadium-seat-chair-with-arms-and-side-pocket
but the front bar hits the back of your thighs, and would have to be cut out. That means having to weld or bolt crossbars in a shallow U-shape under the seat to support the sides and use it for mounting, whcih is work not necessary with the stadiumchair brand, that just works.
 
seat is going to the back burners, for now. because I enter the bike over the seat,
seat width is a factor(because of my short legs). top on my list is to motorize the
kickstand, then figure the peddles.

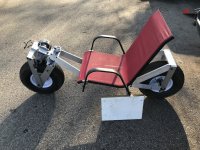
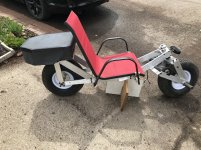
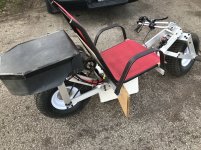
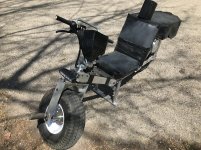
I used stuff I had to make a temporary seat.

IMG_0327.JPG
 
Back
Top