
teakuh
1 mW
Hello everyone ")
I'm new here and I decided to show some pics of my e bike project I've been up to, since last summer. I have build an e-bike before but I decided to get some more power this time. This bike was an old city bike and had a 48v 700w e-bike kit on it from Ebay.
I wanted to build a faster bike but also a more reliable bike, this time, that can handle some though off road biking.
After searching and comparing some e-bike kits (which were higher powered than 1500w) I decided to get a 2000w 48v kit from uumotor.com. Ofcourse I needed a good battery, too. I've got a 30AH one from Vpower.hk. After some searching and asking around in the neighbourhood I got myself a crappy old mountain bike. The frame was OK and it still shifted gears well enough. It had no rear suspension and a really cheap from suspension. But I'm happy with it because I wanted to build suspension by myself.
I think you want to get some pics of it now, don't you?
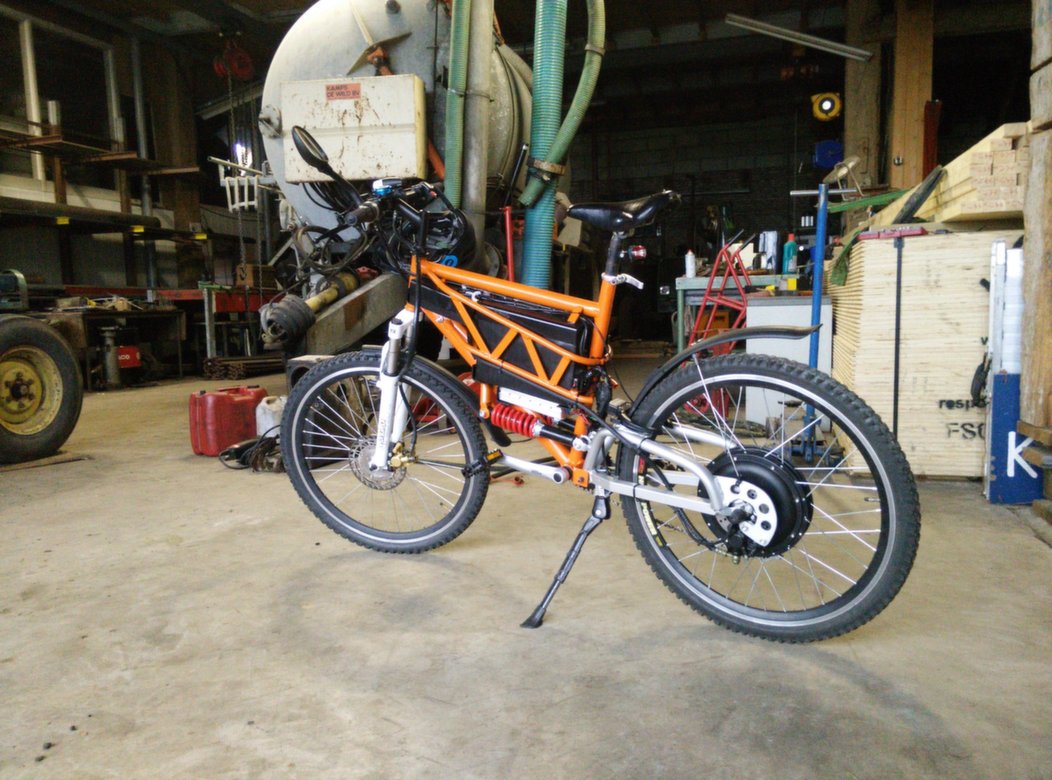
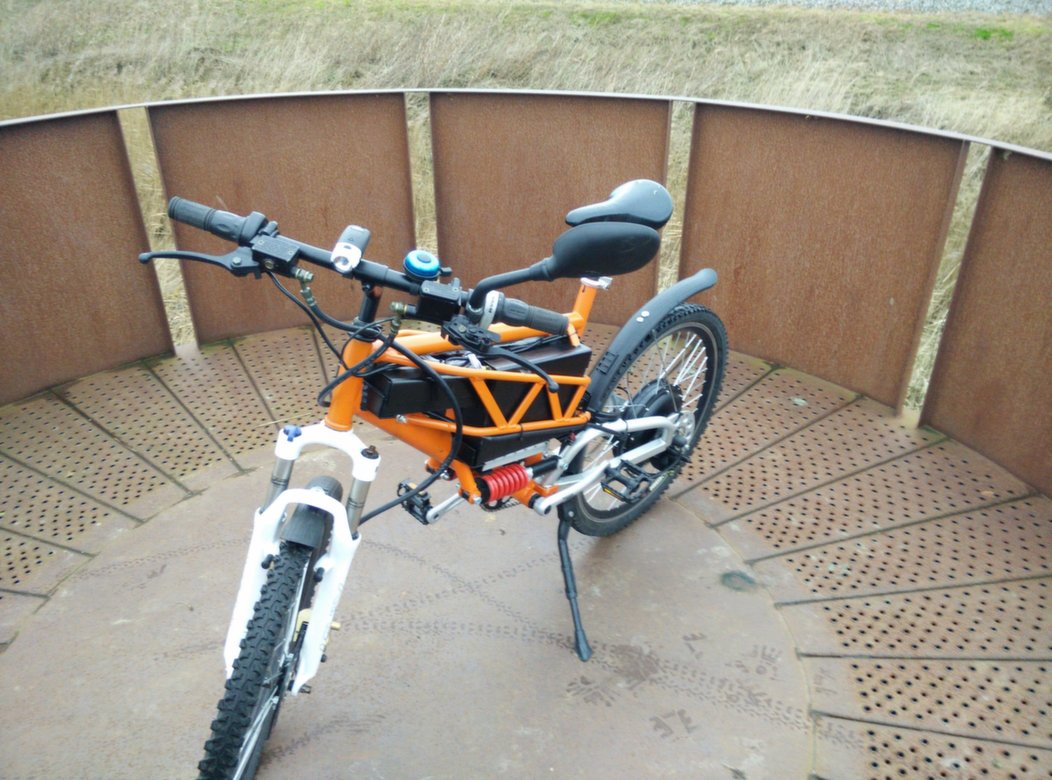
This is the bike all finished up:
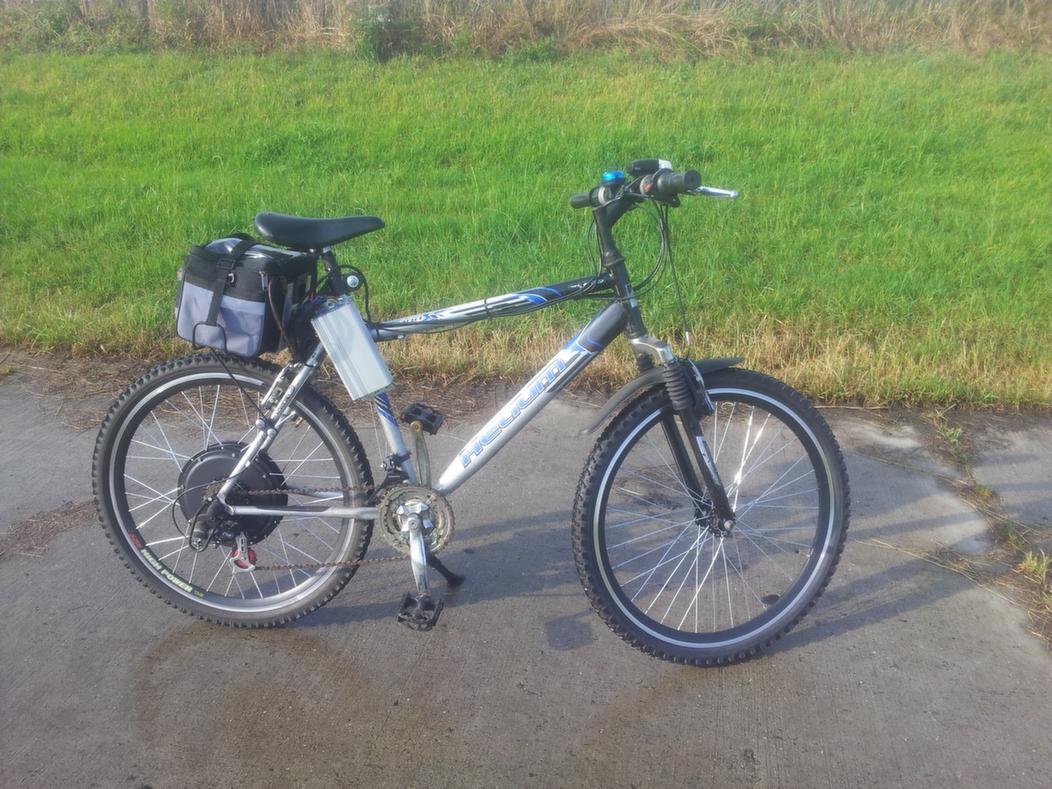
This was the previous version of the bike. I attached a strong bag at the seatpost to fit in the 15AH battery (this one was from my electric scooter).
At first, I started demounting the whole bike. To fit in the brand new 30AH battery I had to cut some corners out of the frame. After that I welded angle bars in.
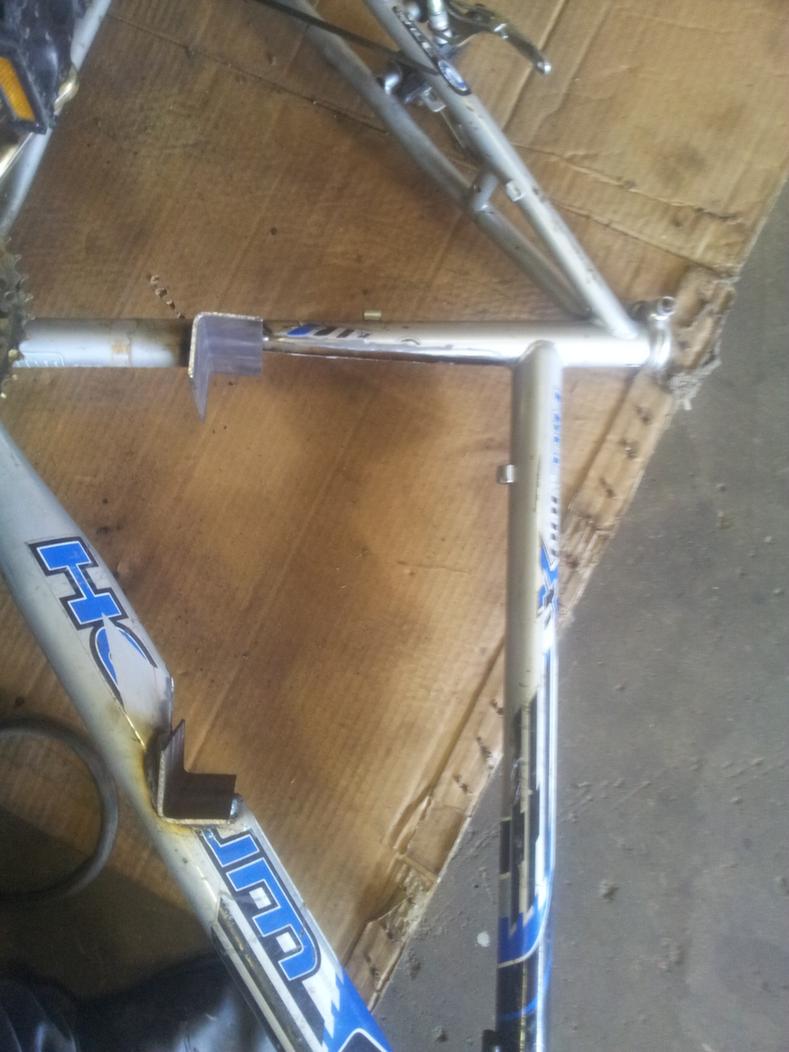
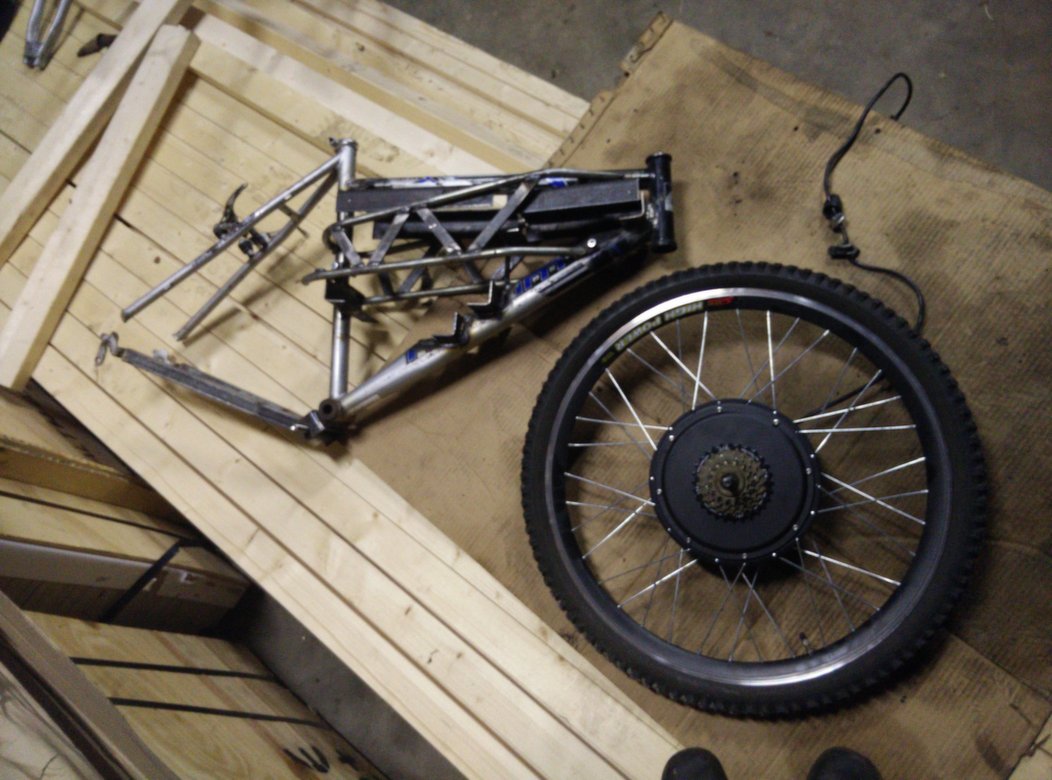
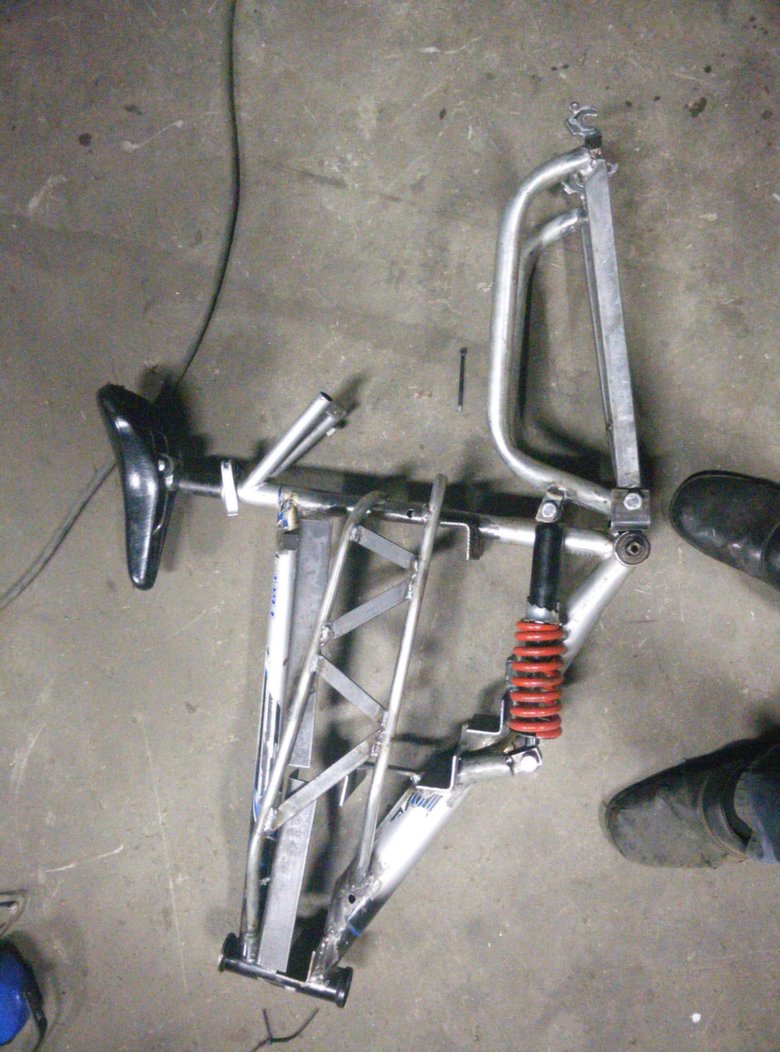
Then I started with the new swingarm. I cutted away the old swingarm but I left the upper frame tubes with the "wheel holders" on their original position so I would get a perfectly aligned swingarm. I welded angled square bars between the pivot point and the wheel holders. Then I removed the upper frame tubes.
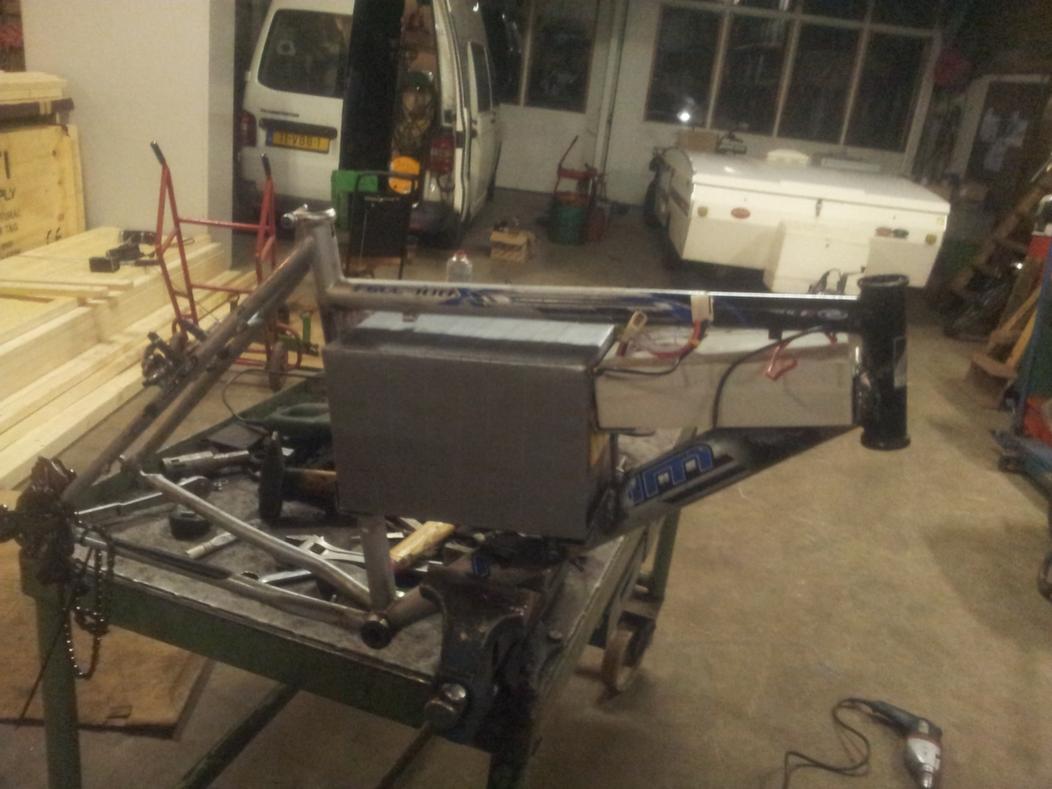
I've welded a frame right next to the battery (yes the other side is removable).
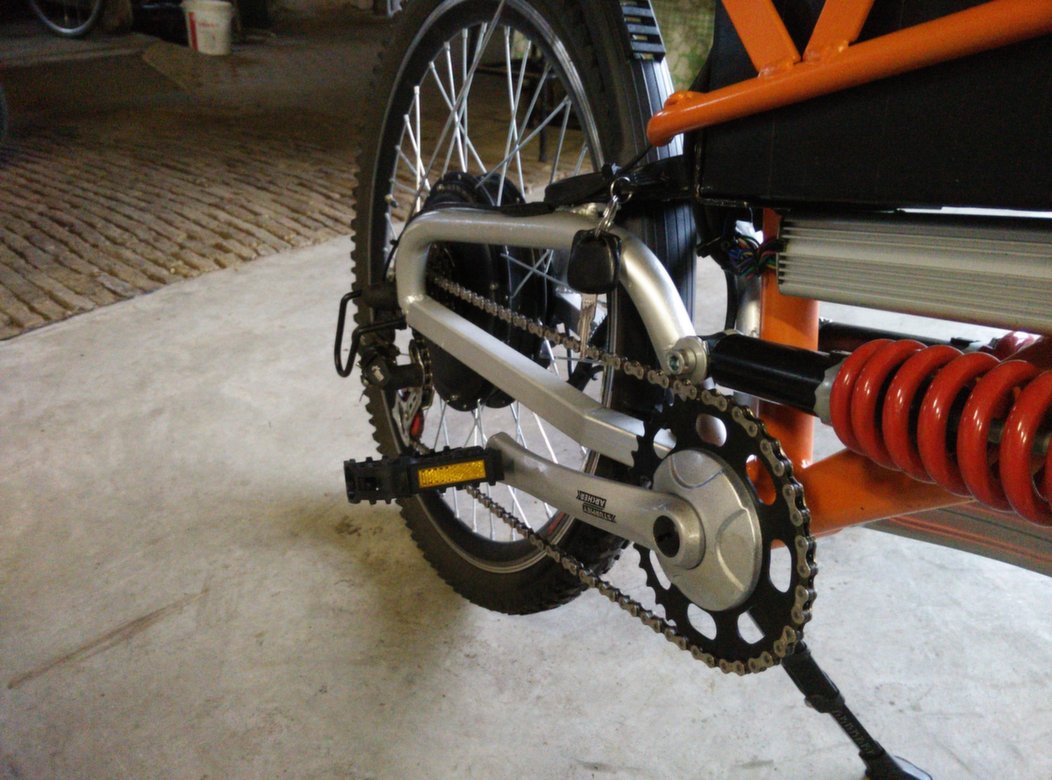
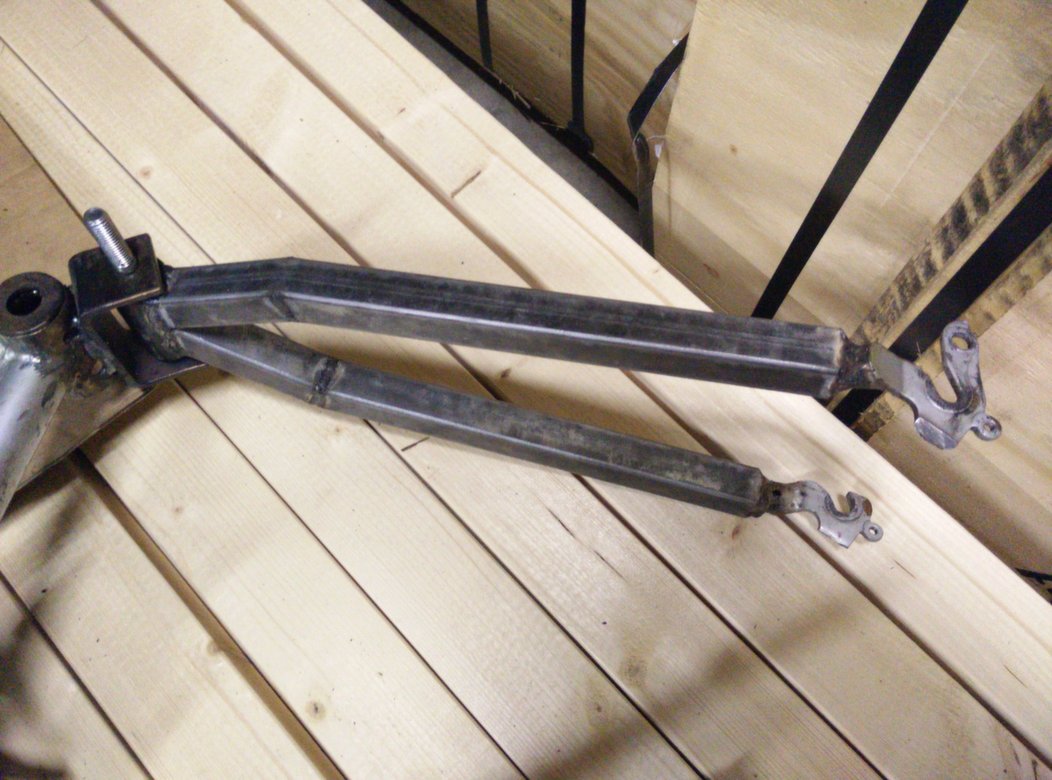
I added extra tubes on the swingarm so I could attach suspension springs between the swingarm ant the frame.
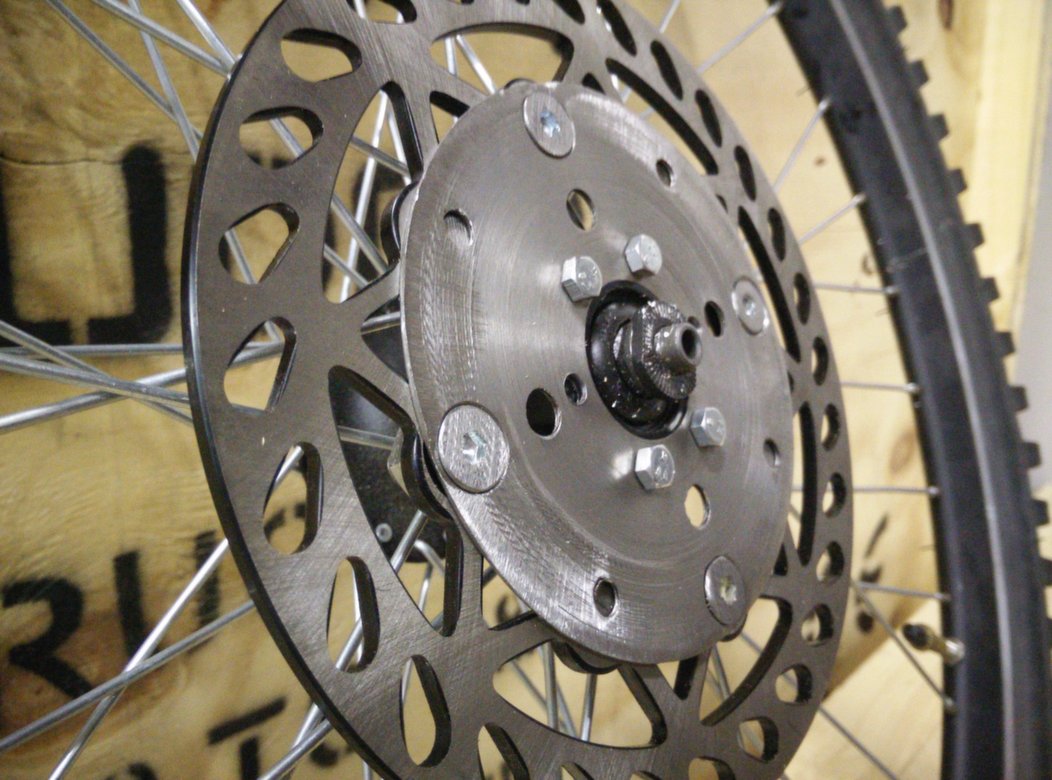
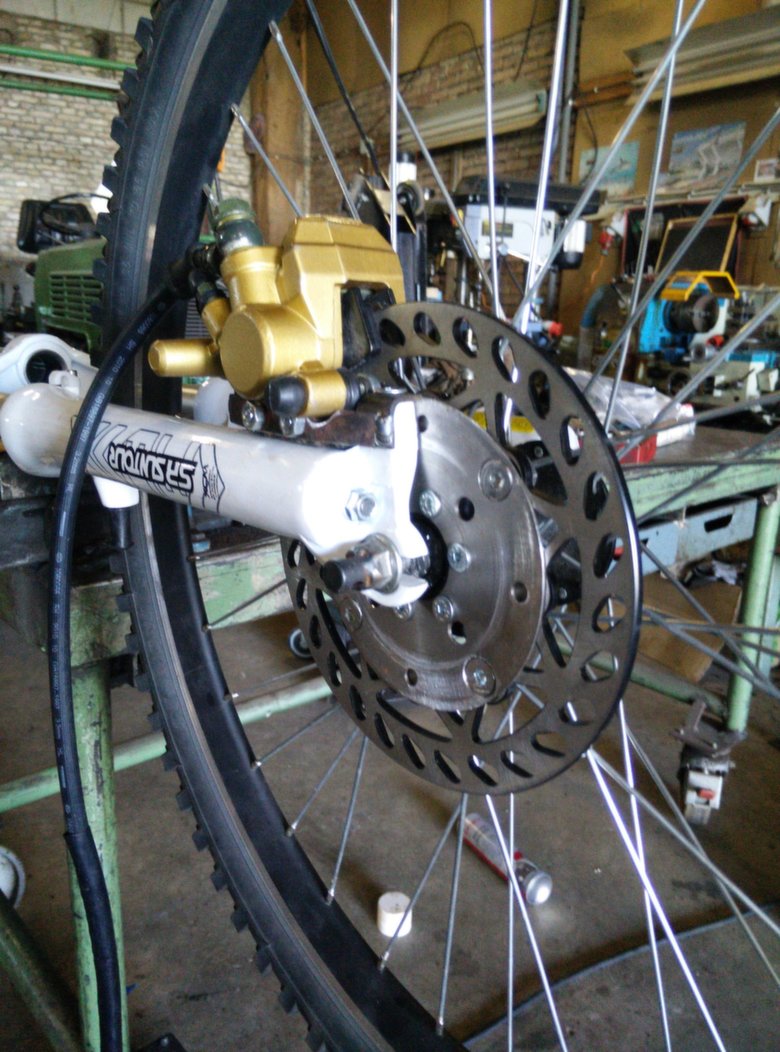
A fast bike needs good brakes. That's why I decided to add dirtbike hydraulic braking systems to it. I made a connecting piece to attach the brake disk to the wheel hub.
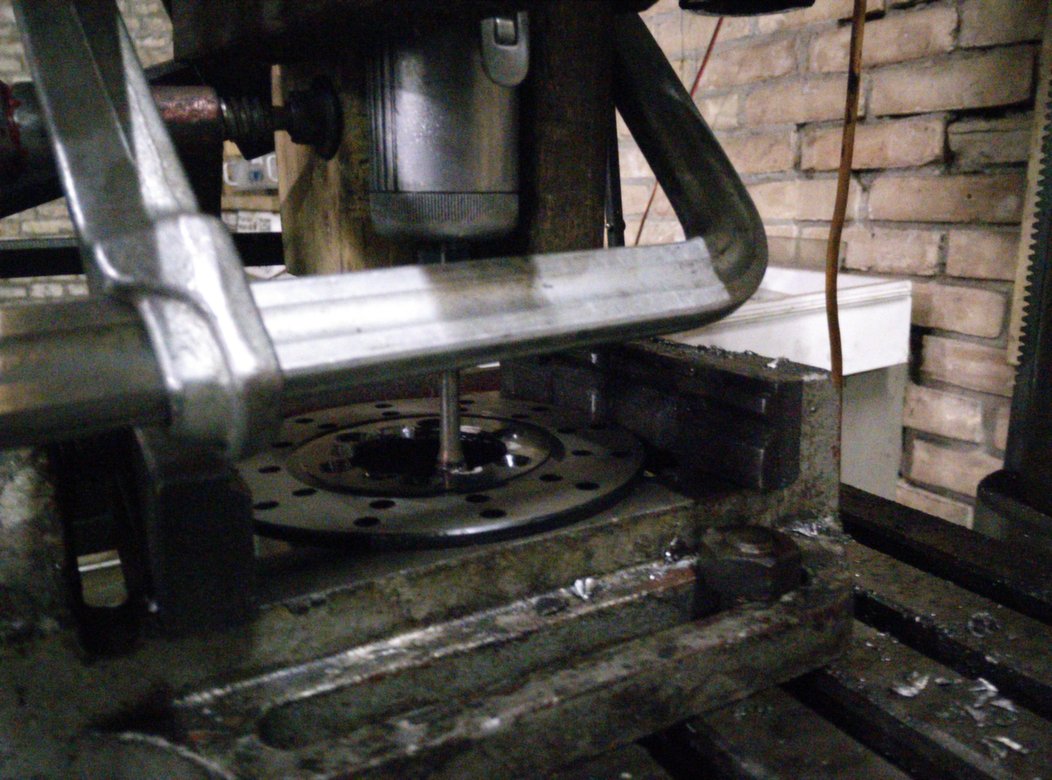
I needed to mill out some material from the disks to fit in the bolts. This was a nasty job to do... I don't own a miller so I attached a pneumatic hand miller to our drilling machine with a movable table and cutted out the material carefully.
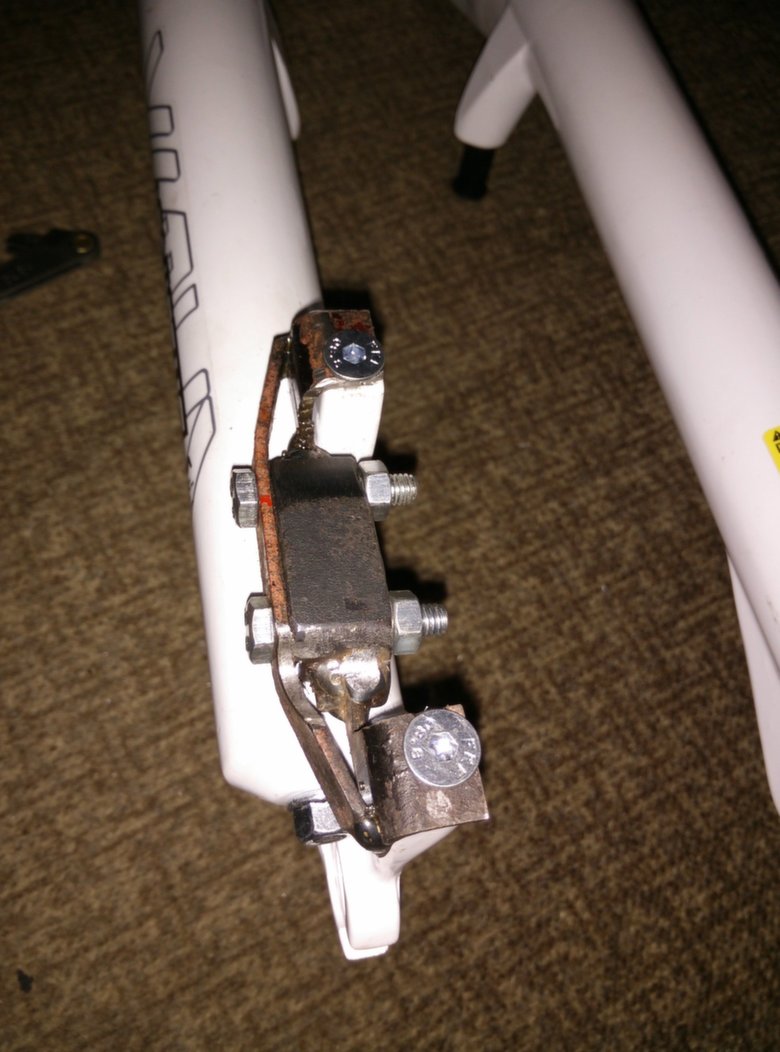
To attach the front brake to the front fork I made a connecting piece.
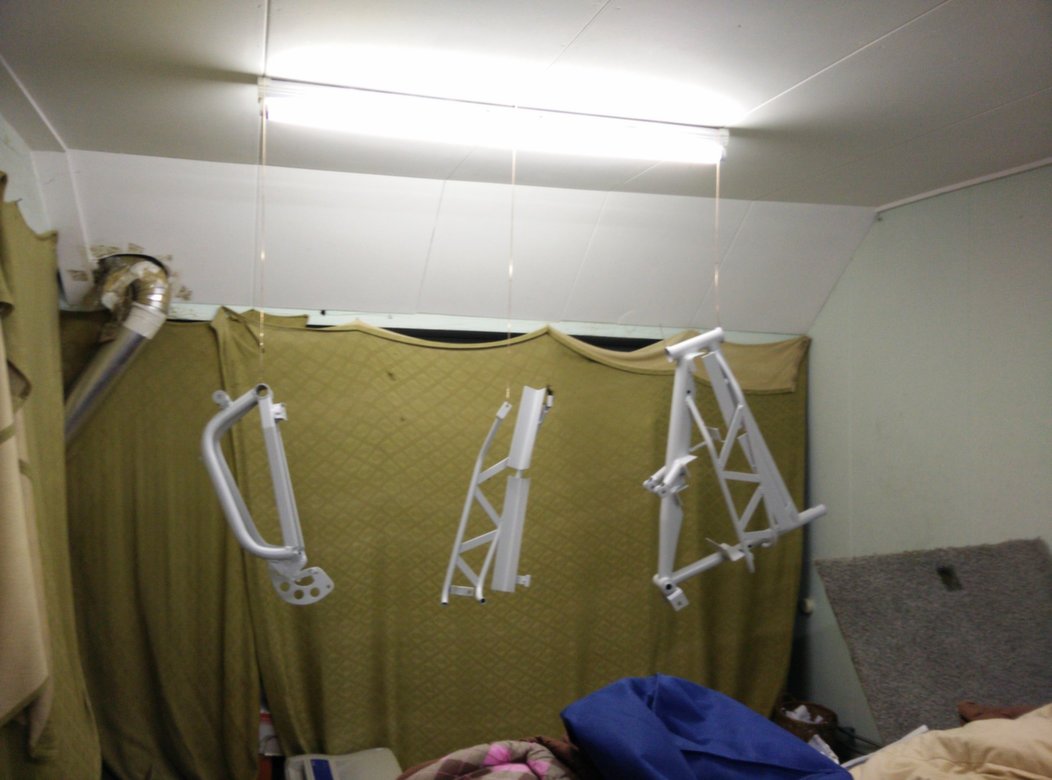
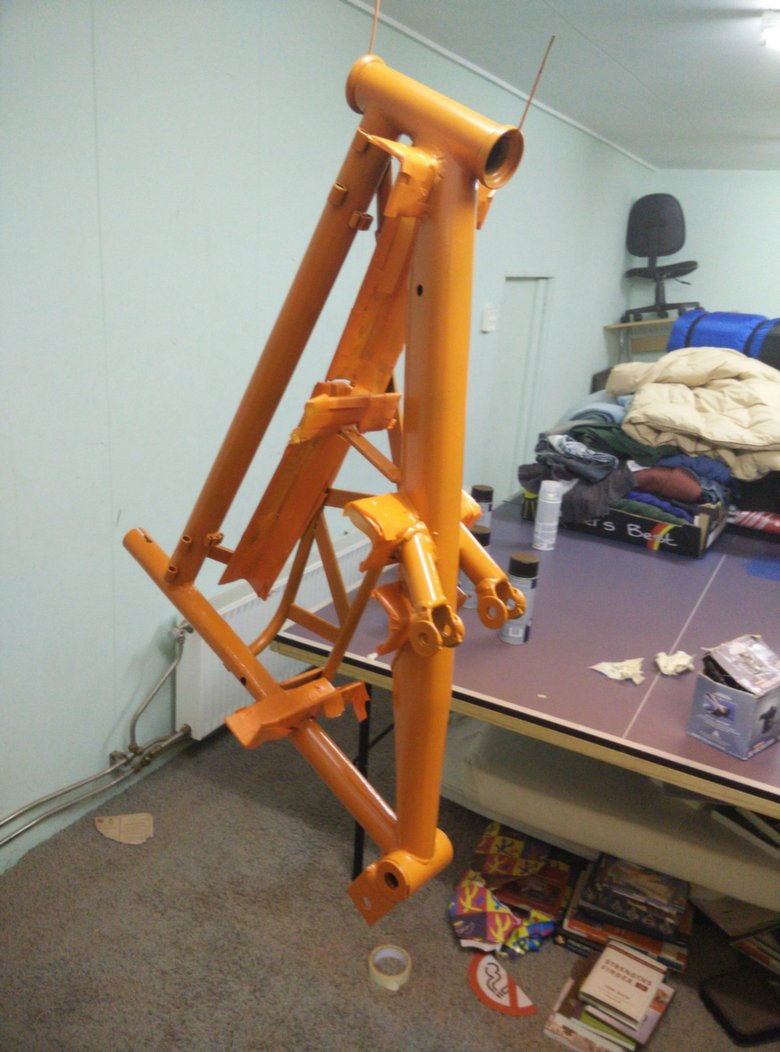
A professional painter sand blasted the frame parts and sprayed the primer on it.
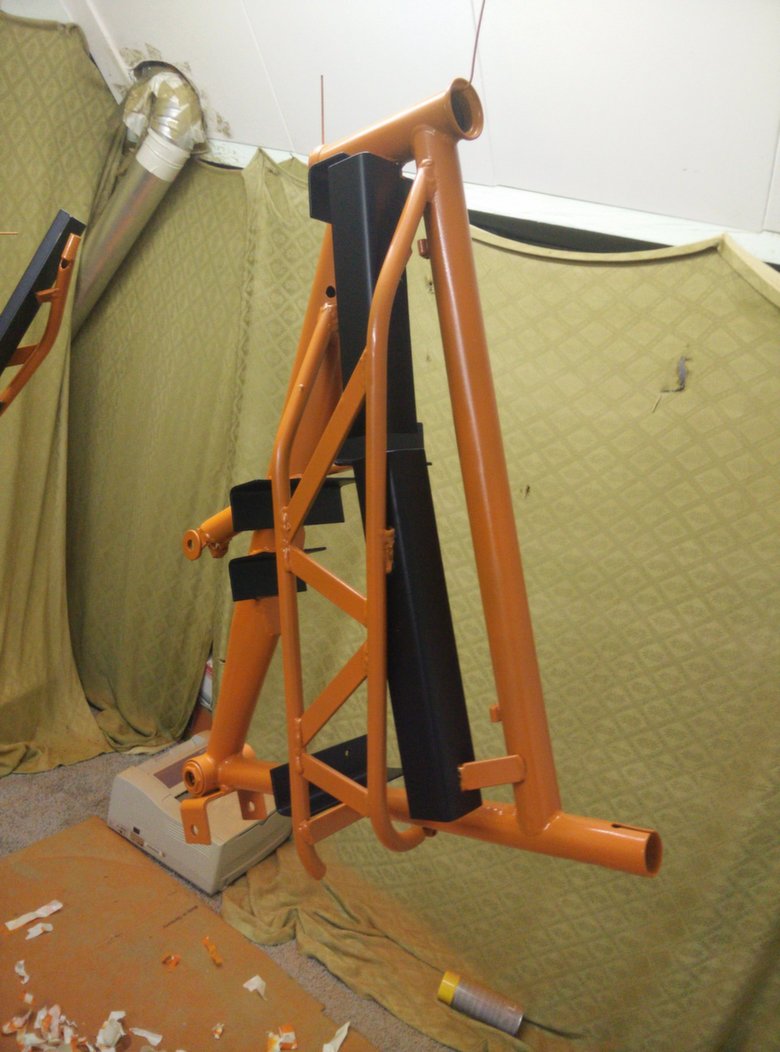
The top coat I did by myself at home. I didn't want everything the same color so I made the angle bars black.
Assembling... (The new front fork is a SR Suntour XCM V3)

The bike drives very good.. I love the new suspension on it.. The braking is much better than it was before. The whole bike is a lot more stable to drive. Top speed is about 30 mph and range is about 30 miles.
I hope you guys like it and I'd love to hear some comments from you :wink:
I'm new here and I decided to show some pics of my e bike project I've been up to, since last summer. I have build an e-bike before but I decided to get some more power this time. This bike was an old city bike and had a 48v 700w e-bike kit on it from Ebay.
I wanted to build a faster bike but also a more reliable bike, this time, that can handle some though off road biking.
After searching and comparing some e-bike kits (which were higher powered than 1500w) I decided to get a 2000w 48v kit from uumotor.com. Ofcourse I needed a good battery, too. I've got a 30AH one from Vpower.hk. After some searching and asking around in the neighbourhood I got myself a crappy old mountain bike. The frame was OK and it still shifted gears well enough. It had no rear suspension and a really cheap from suspension. But I'm happy with it because I wanted to build suspension by myself.
I think you want to get some pics of it now, don't you?
This is the bike all finished up:
This was the previous version of the bike. I attached a strong bag at the seatpost to fit in the 15AH battery (this one was from my electric scooter).
At first, I started demounting the whole bike. To fit in the brand new 30AH battery I had to cut some corners out of the frame. After that I welded angle bars in.
Then I started with the new swingarm. I cutted away the old swingarm but I left the upper frame tubes with the "wheel holders" on their original position so I would get a perfectly aligned swingarm. I welded angled square bars between the pivot point and the wheel holders. Then I removed the upper frame tubes.
I've welded a frame right next to the battery (yes the other side is removable
).
I added extra tubes on the swingarm so I could attach suspension springs between the swingarm ant the frame.
A fast bike needs good brakes. That's why I decided to add dirtbike hydraulic braking systems to it. I made a connecting piece to attach the brake disk to the wheel hub.
I needed to mill out some material from the disks to fit in the bolts. This was a nasty job to do... I don't own a miller so I attached a pneumatic hand miller to our drilling machine with a movable table and cutted out the material carefully.
To attach the front brake to the front fork I made a connecting piece.
A professional painter sand blasted the frame parts and sprayed the primer on it.
The top coat I did by myself at home. I didn't want everything the same color so I made the angle bars black.
Assembling... (The new front fork is a SR Suntour XCM V3)
The bike drives very good.. I love the new suspension on it.. The braking is much better than it was before. The whole bike is a lot more stable to drive. Top speed is about 30 mph and range is about 30 miles.
I hope you guys like it and I'd love to hear some comments from you :wink:
