vandenmar
1 mW
- Joined
- Apr 8, 2018
- Messages
- 11
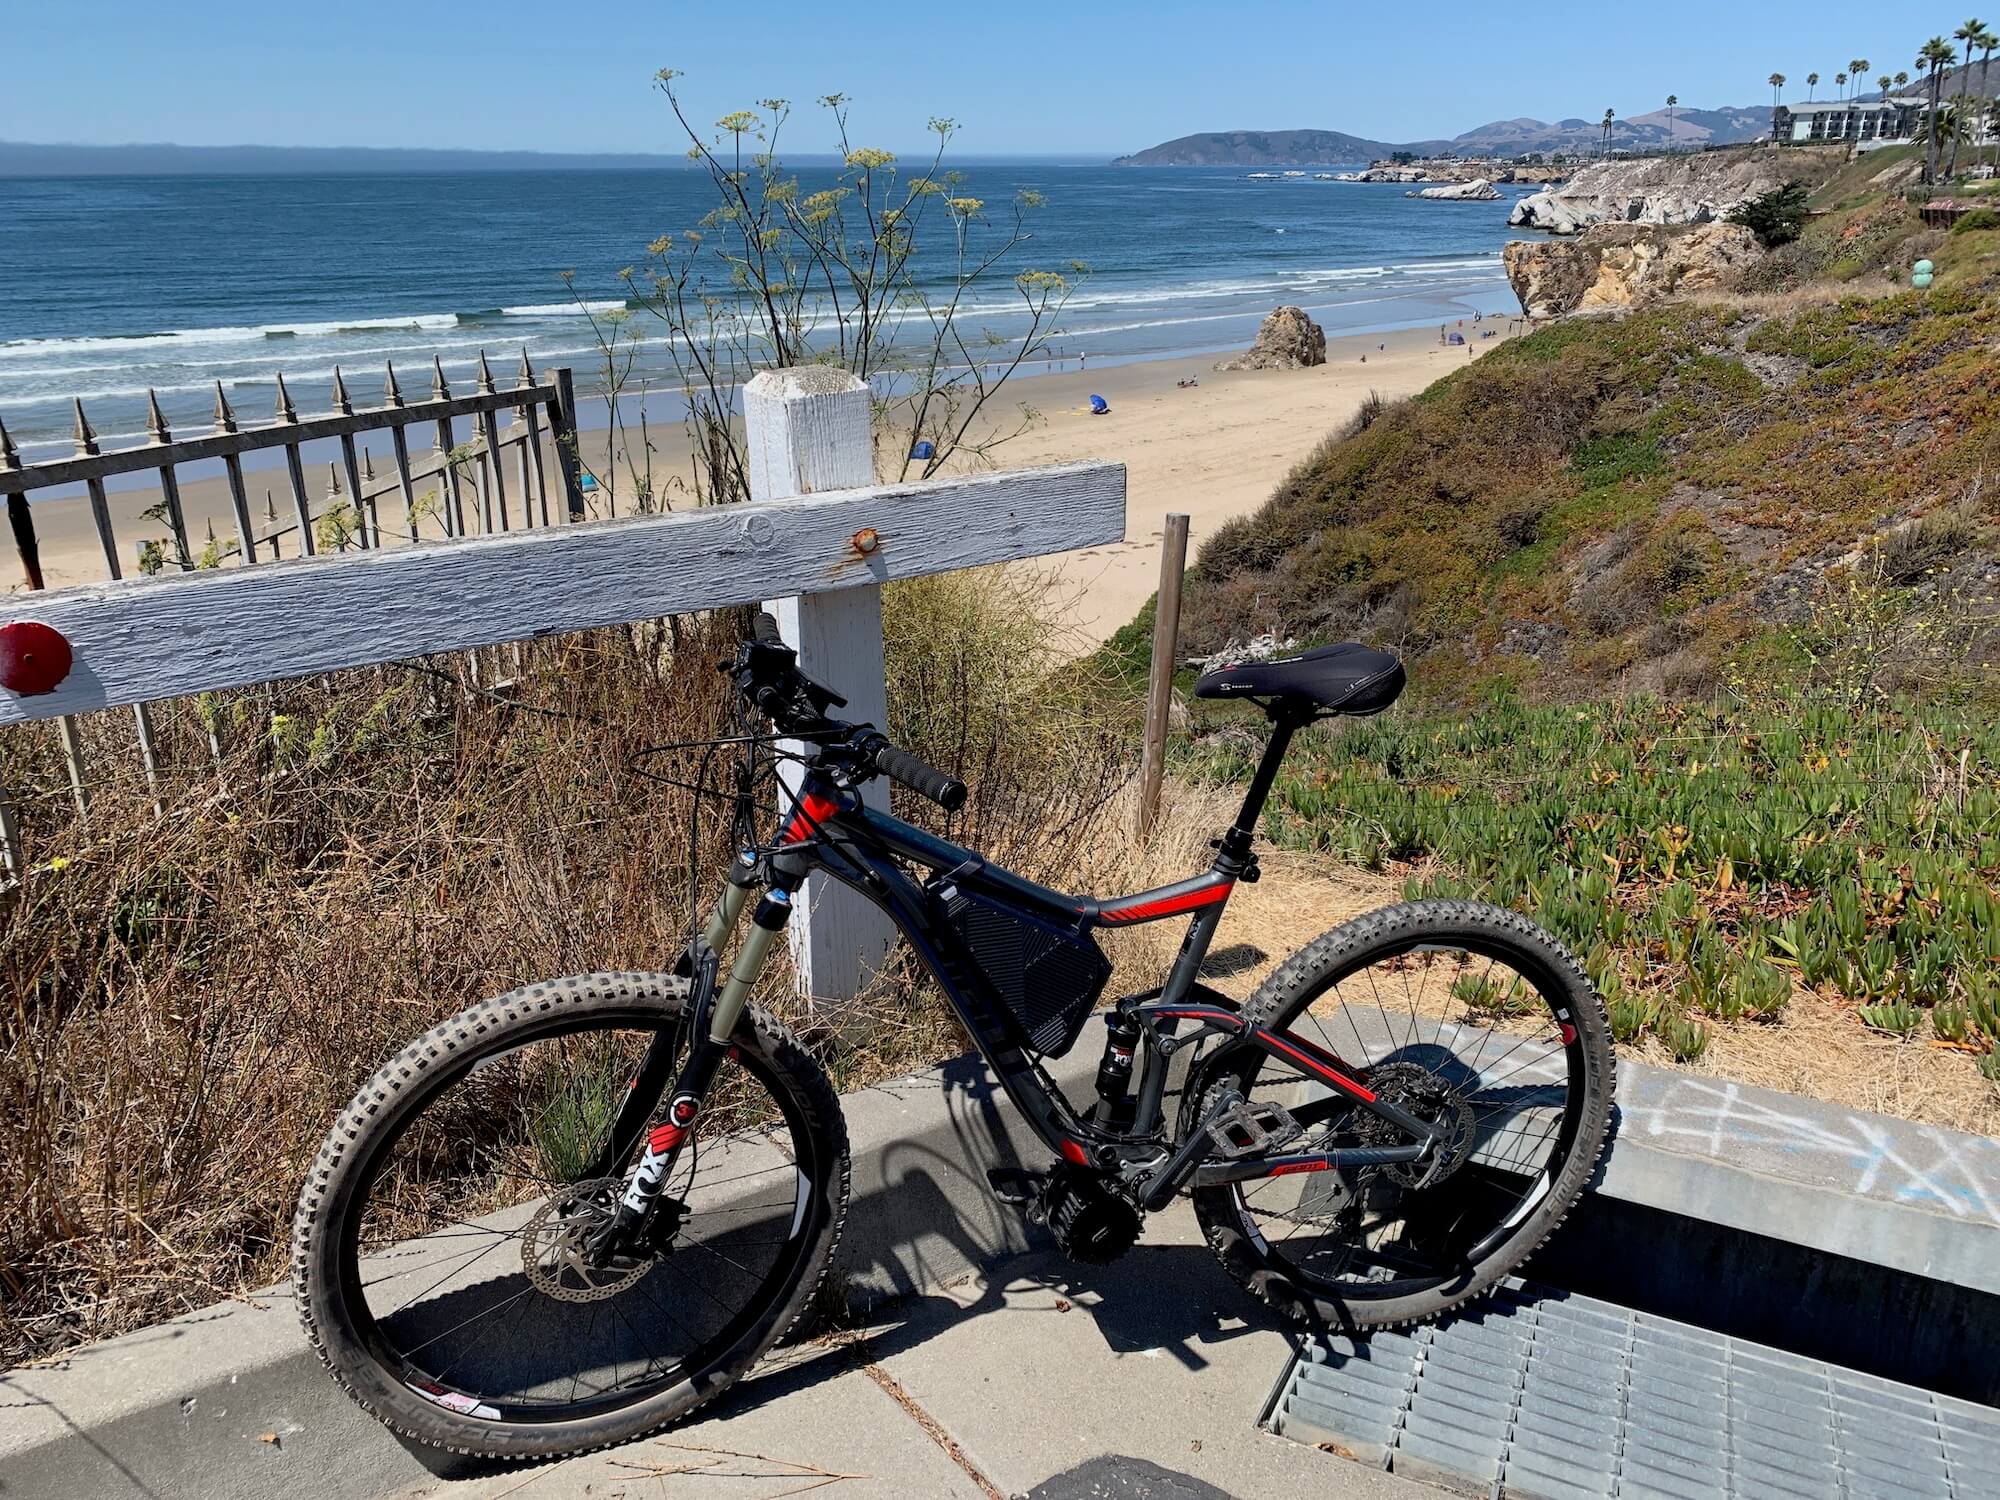
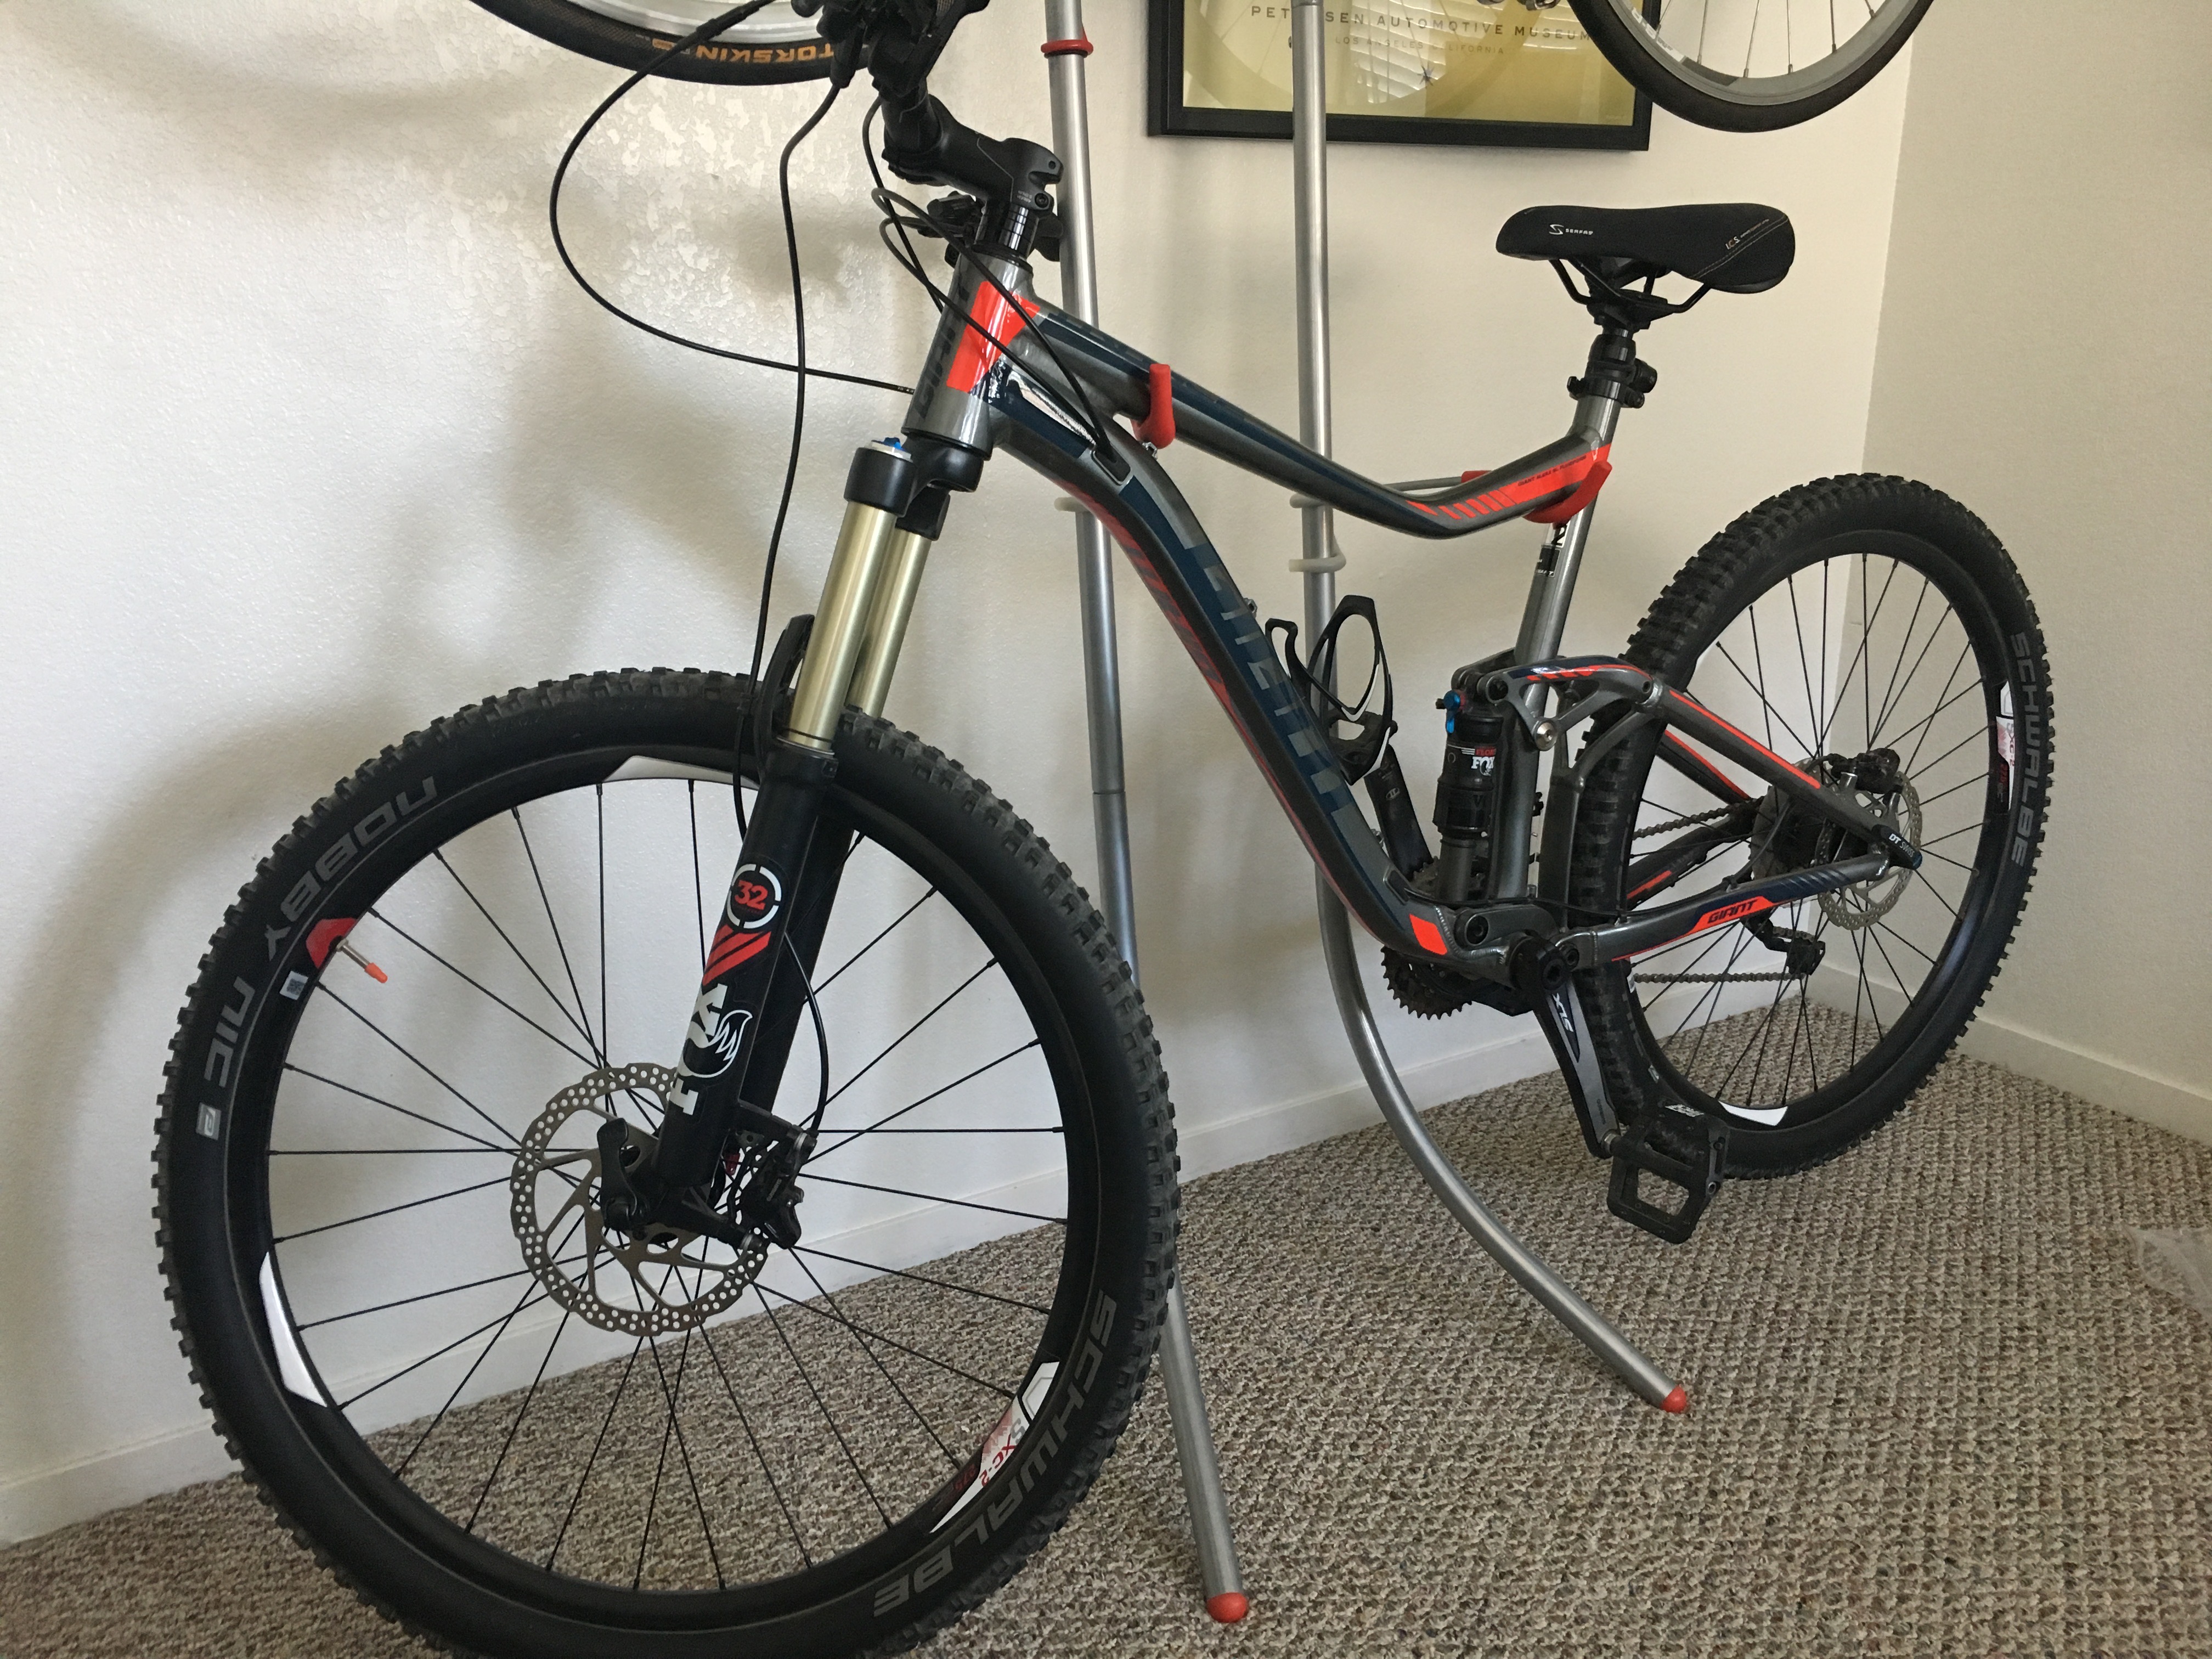
So I have this awesome MTB from Giant, but I've been getting the electric itch.
I've been ogling at the Luna Giant bikes and thought to myself, if they can do it to these production bikes then it should be possible to do it to mine too. I've been reading up and down on the forums to get some knowledge and pulled the trigger.
On the Luna site they list 3 types of the BBSHD kits - 68-73mm (Standard), 73-100mm (Fat), 120mm (Extra Fat). The lack of my knowledge and the not so specific wording on the site got me totally confused about what I needed. My bike is not a fat bike, so by definition I should go with the standard size. Wrong. Only when I had the motor in my hand, ready to size it up to the bike, I realized that I ordered the wrong size. The motor was untouched so Luna agreed to an exchange. My mistake set me back about $70 in shipping fees though, so that sucked. Only after that panic moment I realized that in fact my BB is not standard at all, and I needed an adapter. A BB92 adapter for that matter, and I read that the locking triangle ones are the best - problem is that almost nobody has them, but I found one in Germany. It wasn't cheap, but this things is beautifully made, anodized aluminum with really high grade milling.
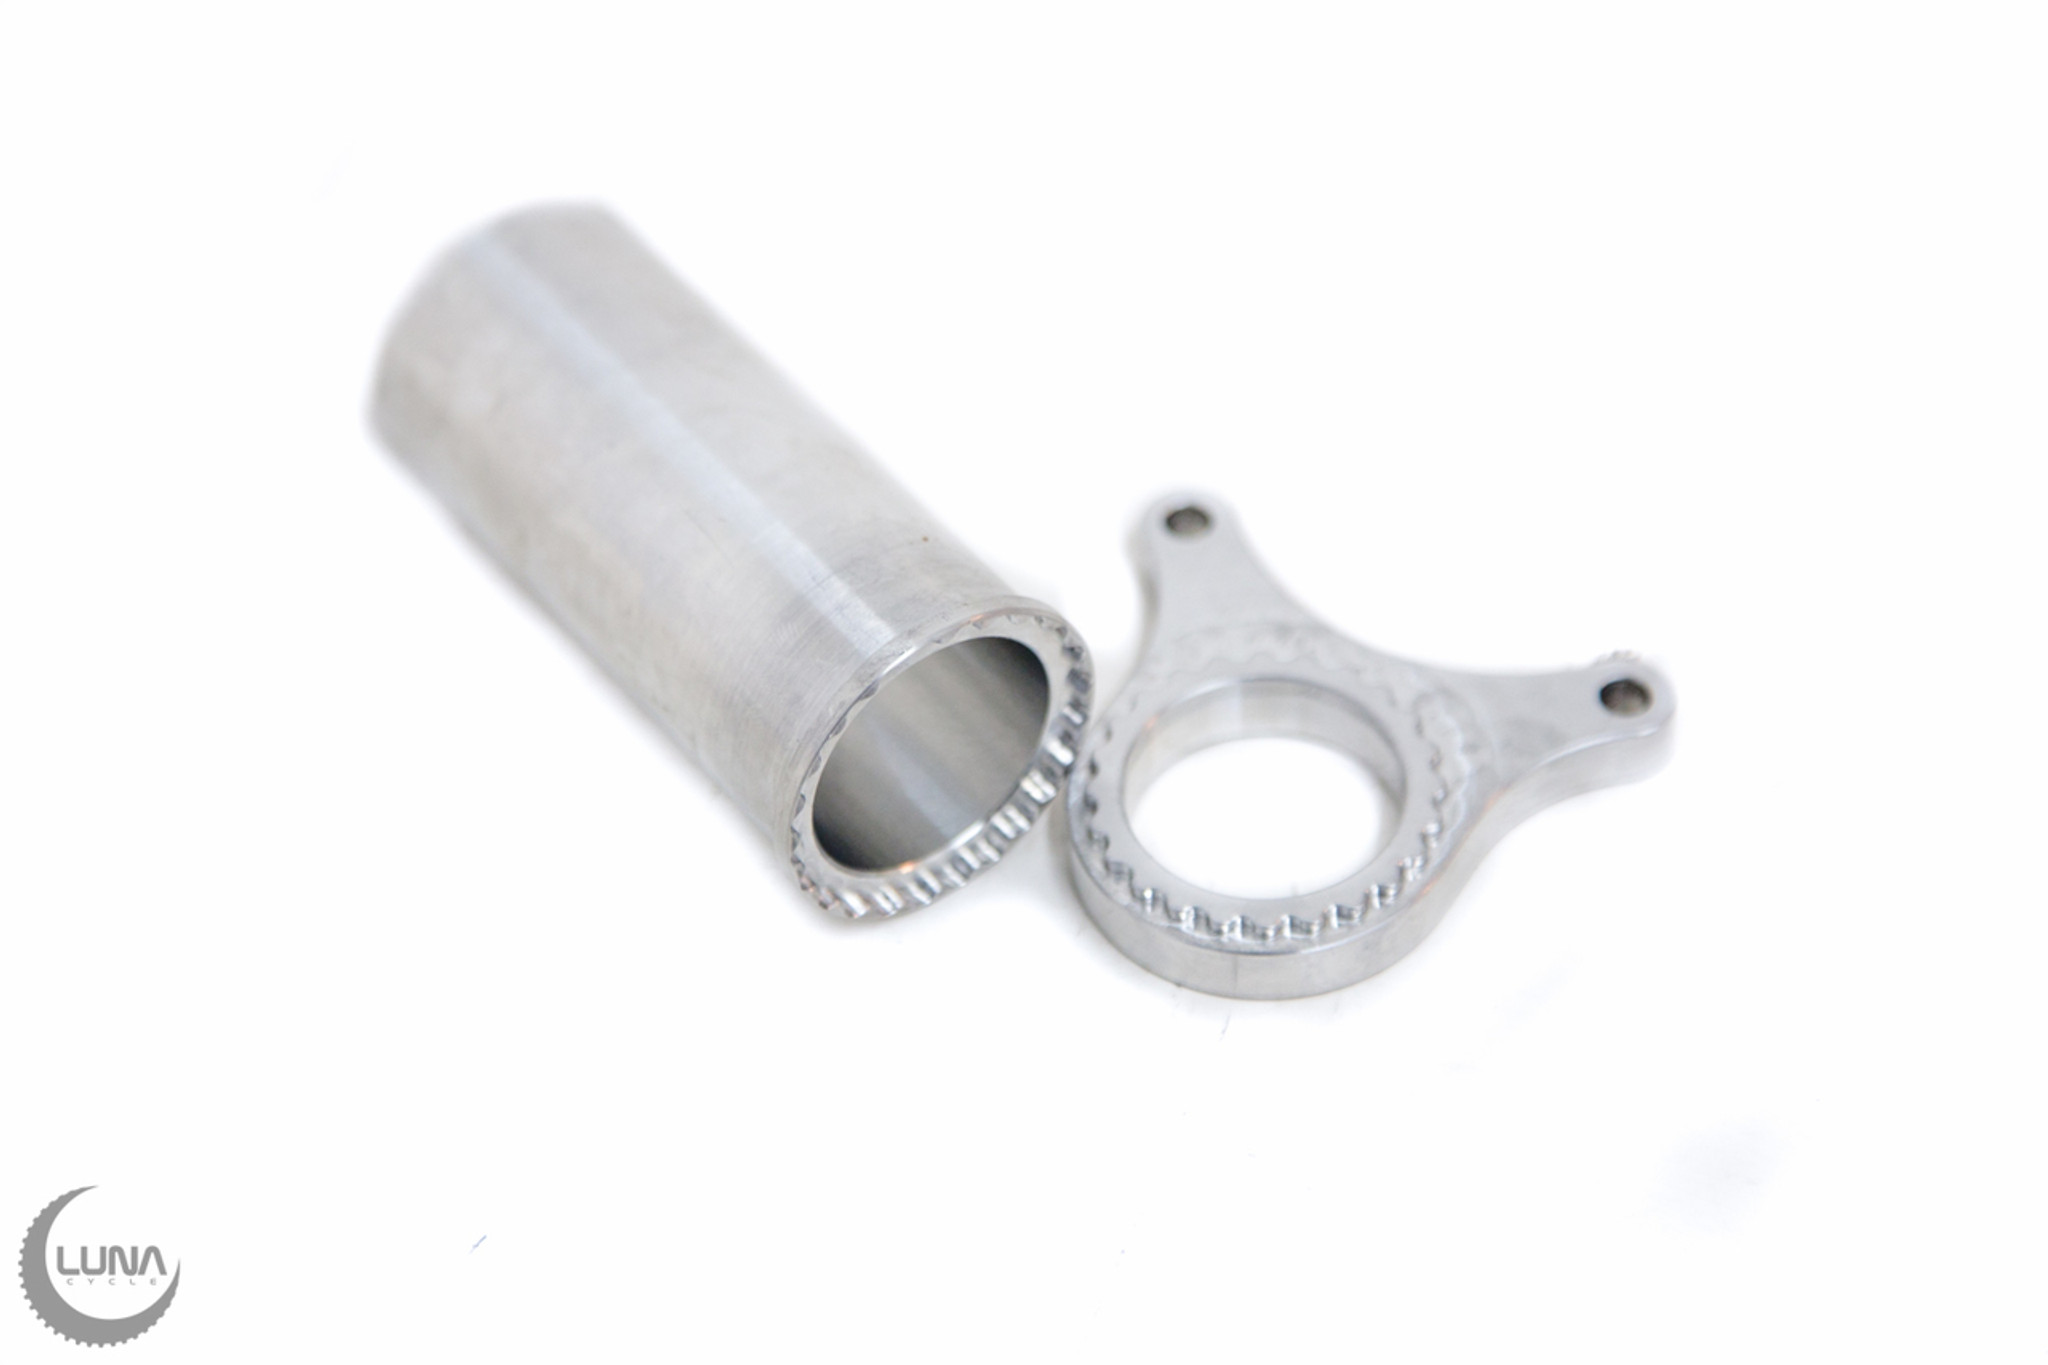
Once all the parts arrived I rolled my sleeves up and got to work, fully expecting that things won't go easy. First things first, I had to remove the old BB. Didn't want to buy one, so instead I 3D printed one. Mallet and tool, couple tippidy-tap-taps and the BB was free. After a thorough cleanup with acetone I was ready to put the adapter in. Only to be confronted with the hole not being proper round in the mid part and a small welding spot that also was in the way. Got my trusty Dremmel tool out and rounded everything out. To pressfit things in the bracket, I put together a tool out of a steel threaded rod and some nuts with washers. The adapter went in just fine.
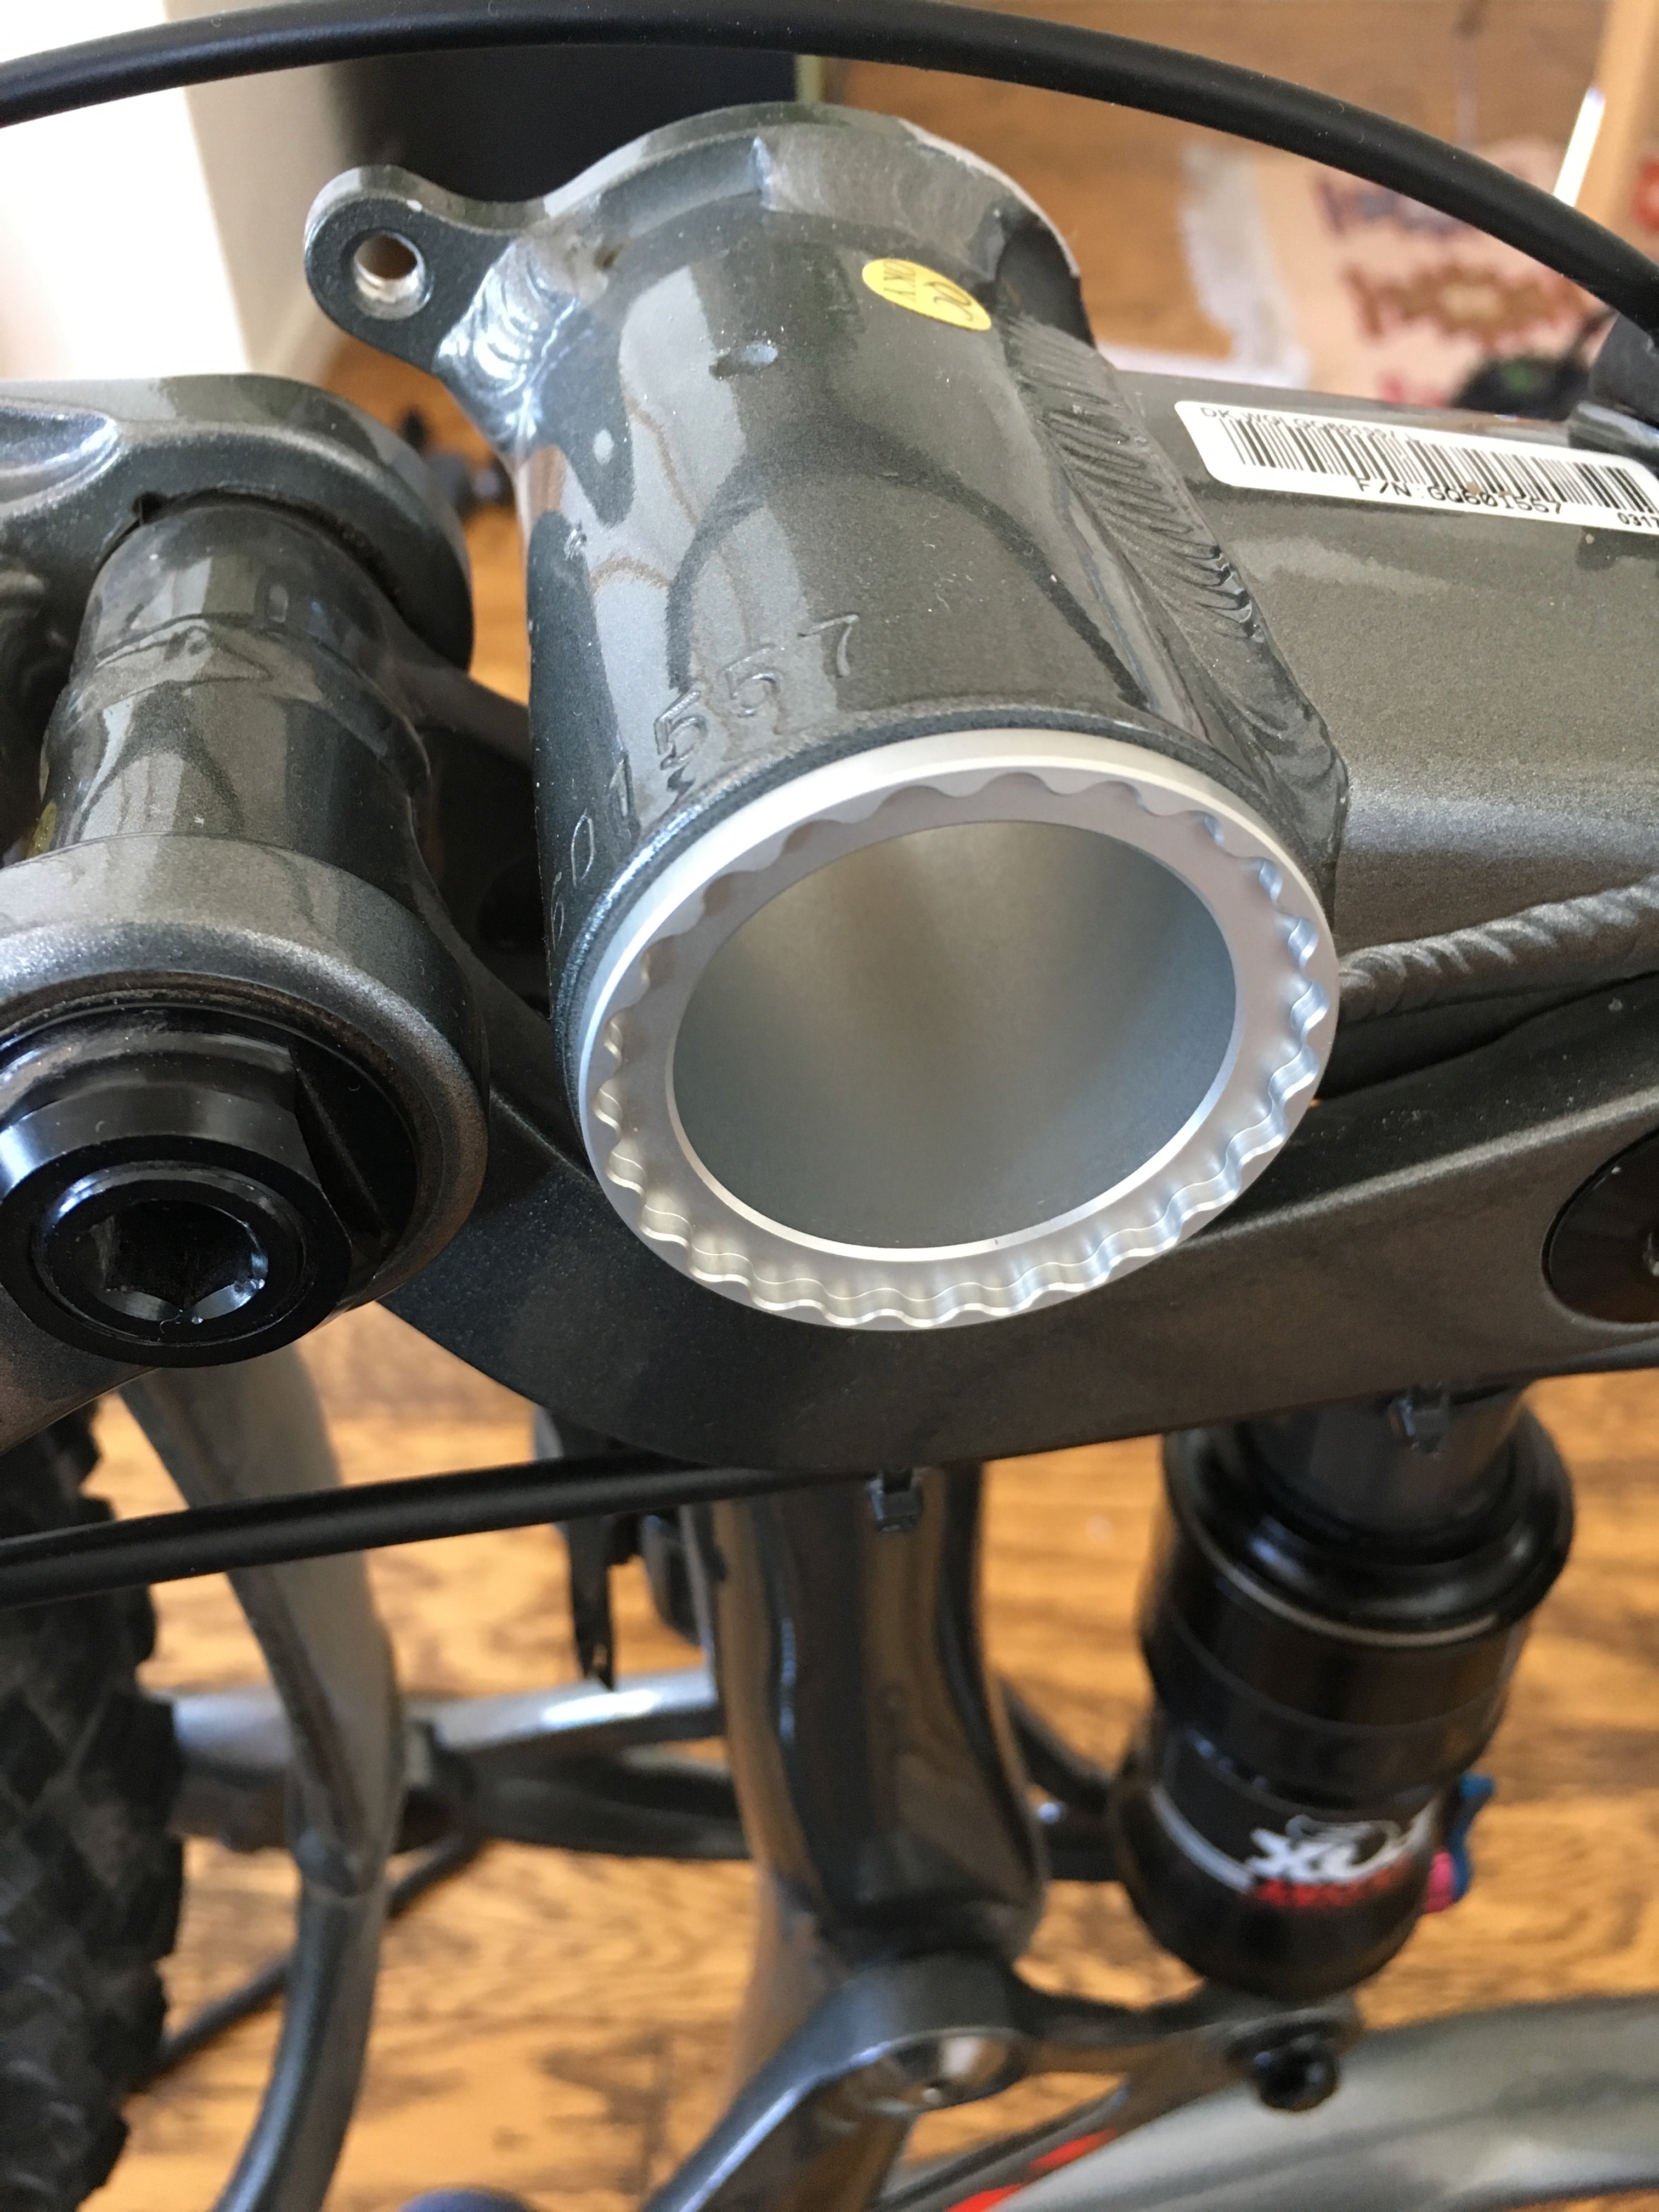
Note the missing ISC chain tensioner ear that I had to remove and grind down proper so that it wouldn't interfere with the motor. I'm glad I was able to do it with just one of the ears off - keeps the option open to put the tensioner back on at a later time.
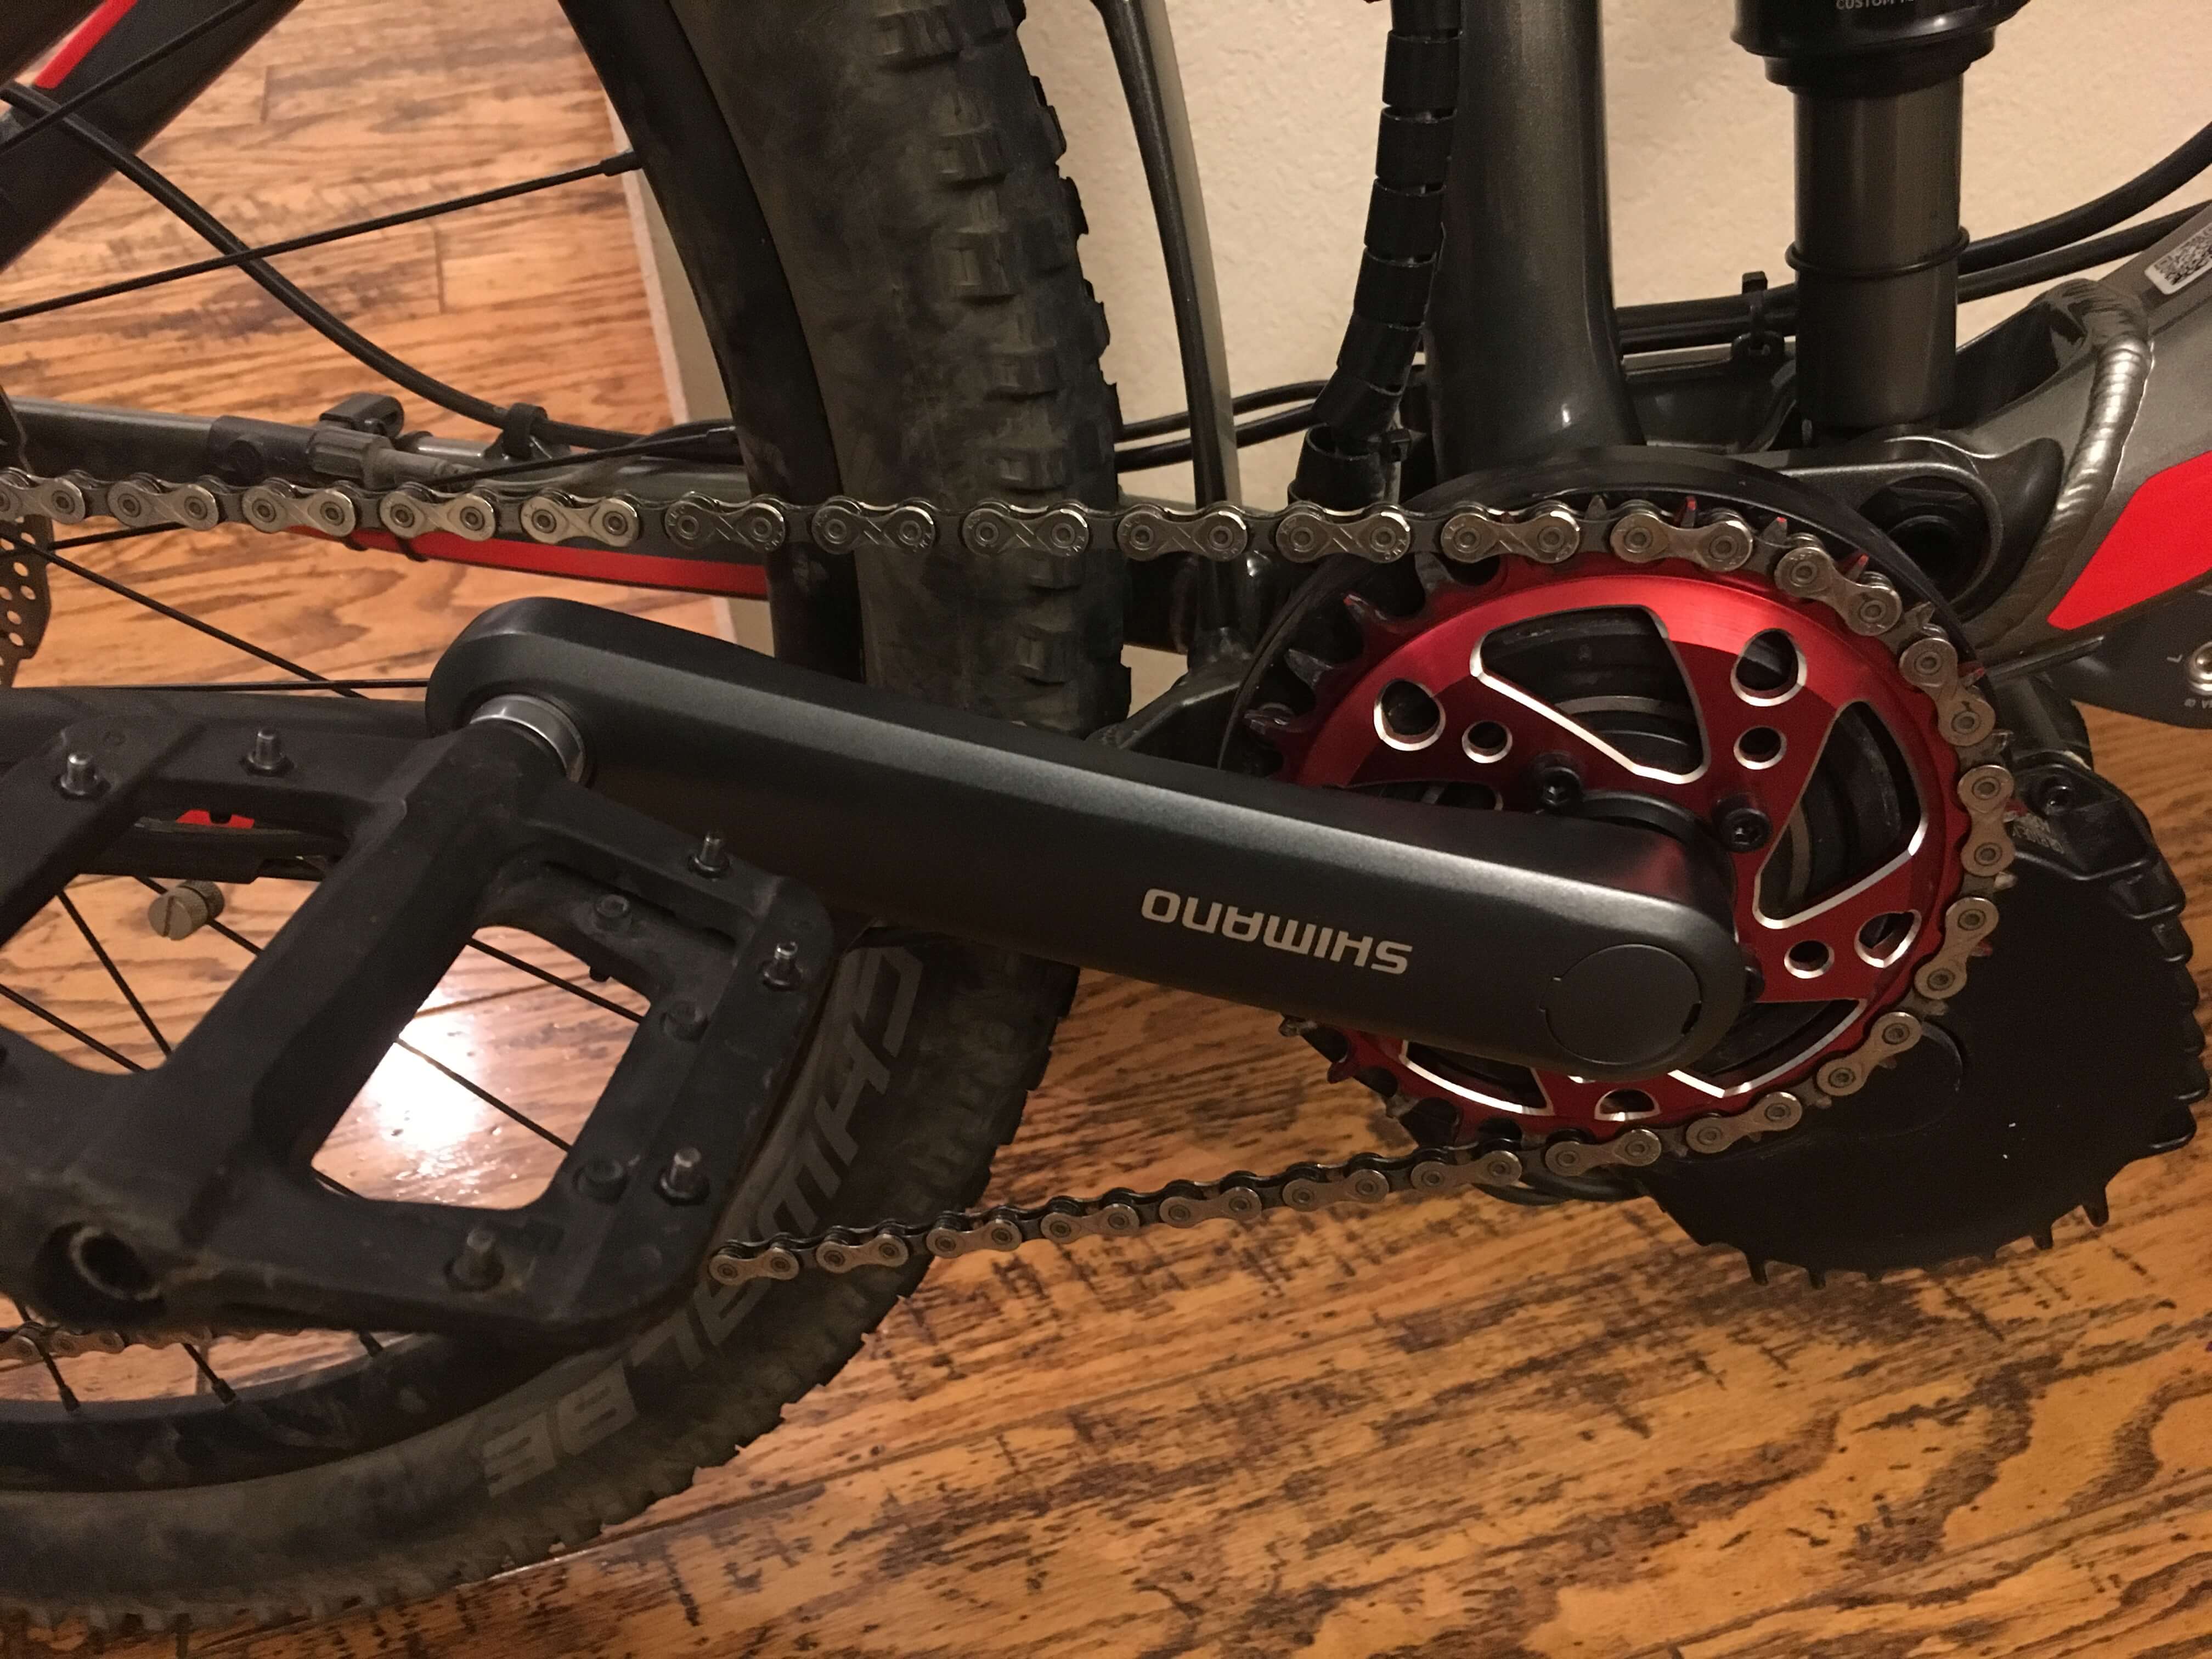
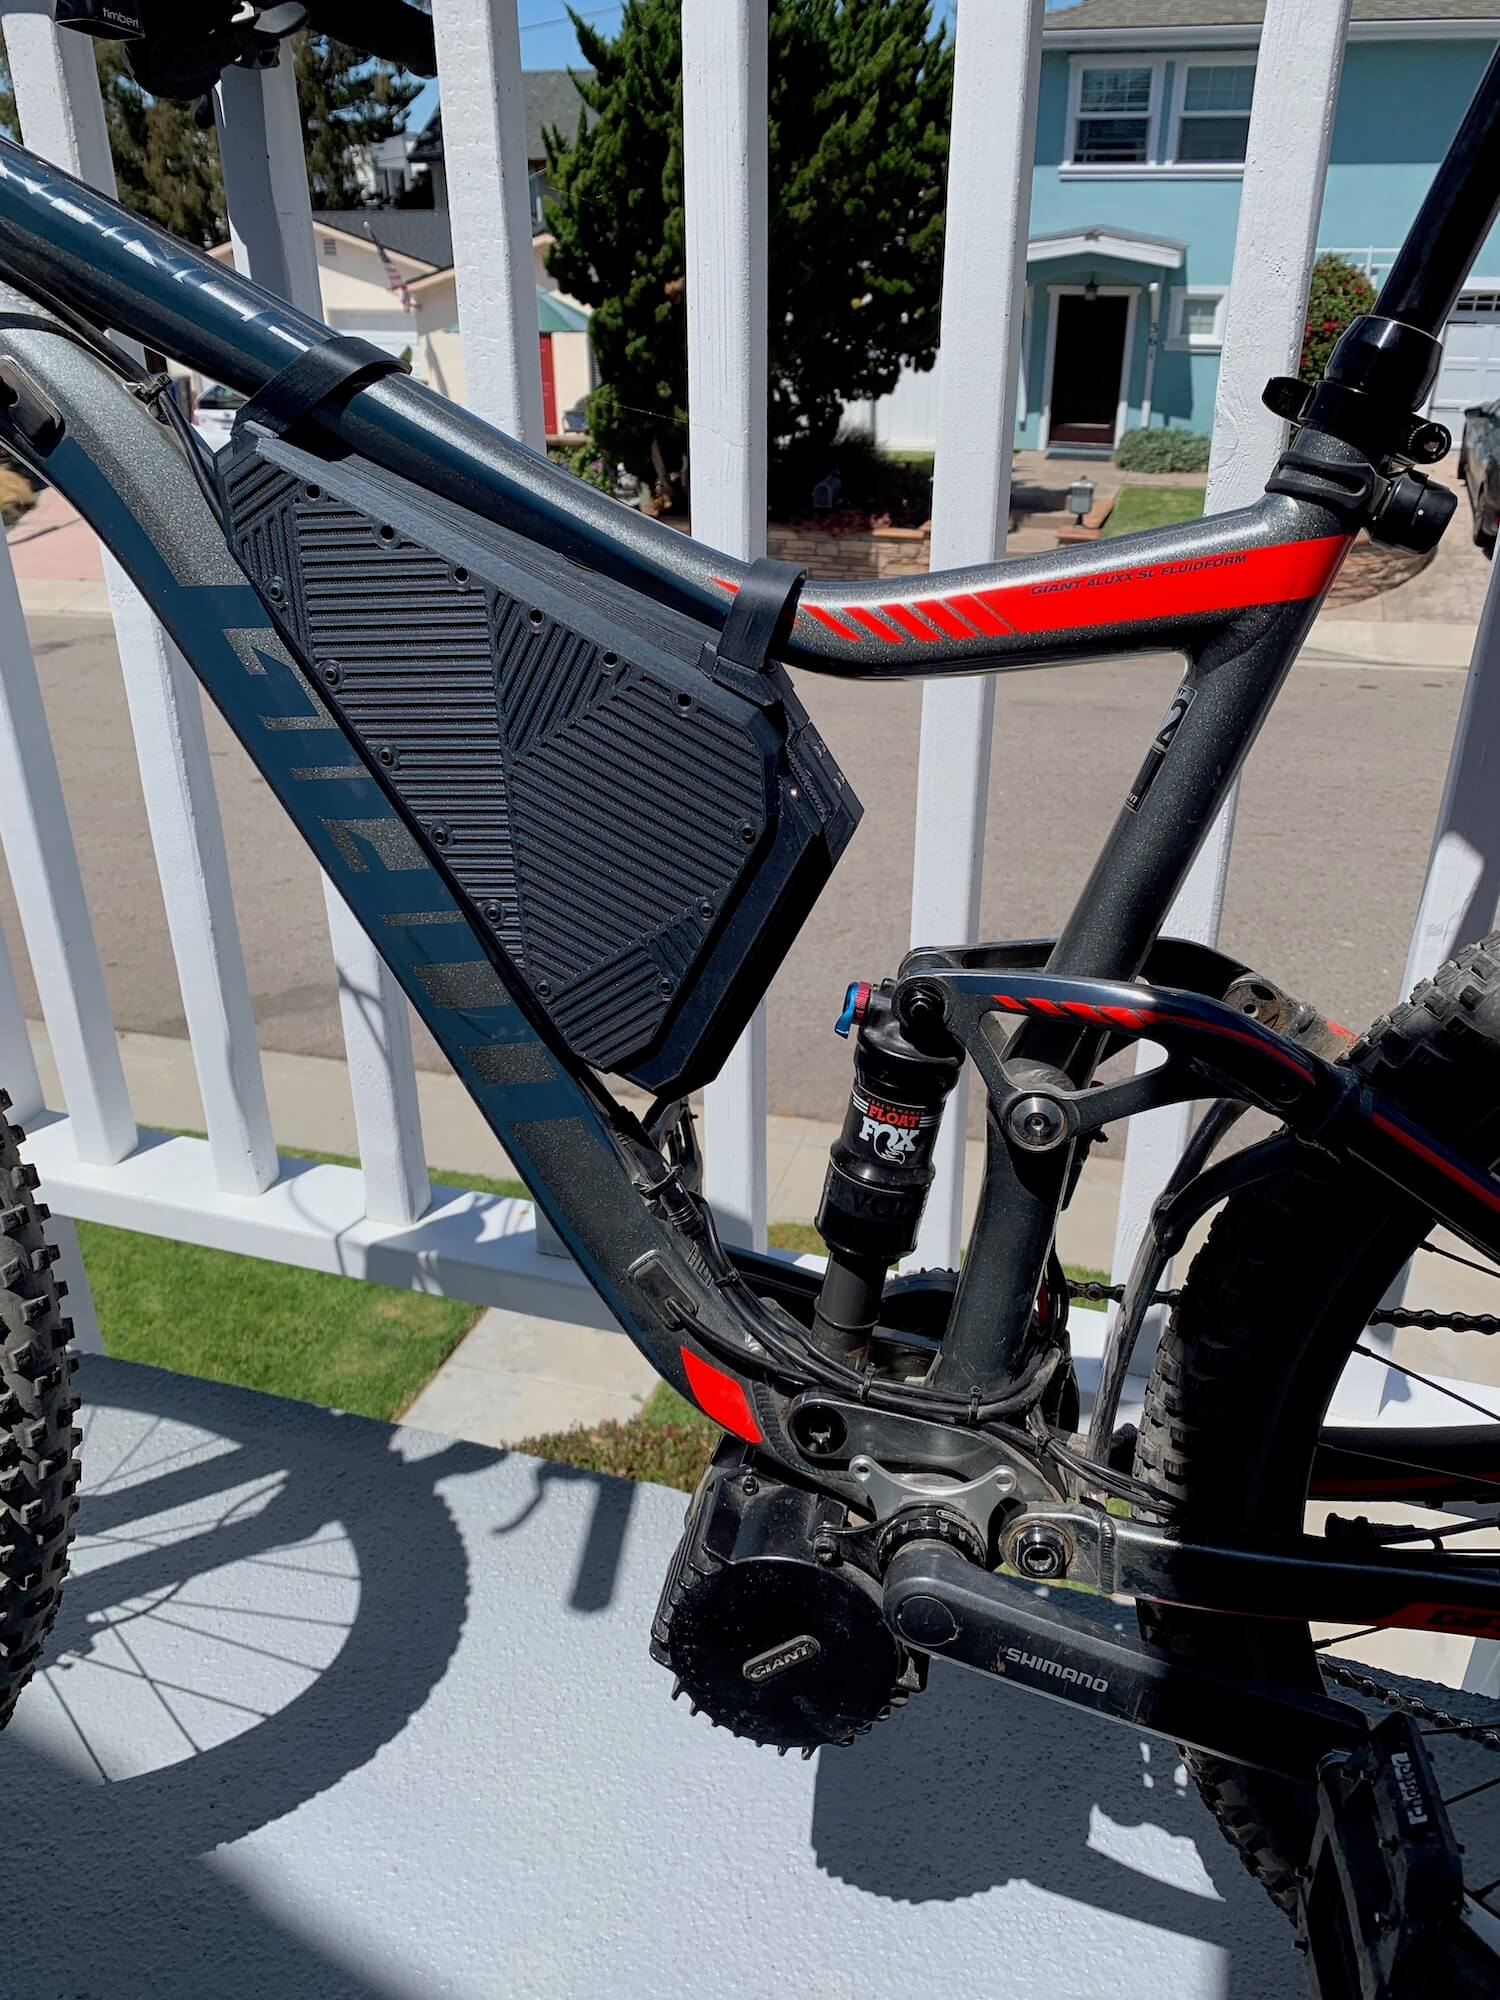
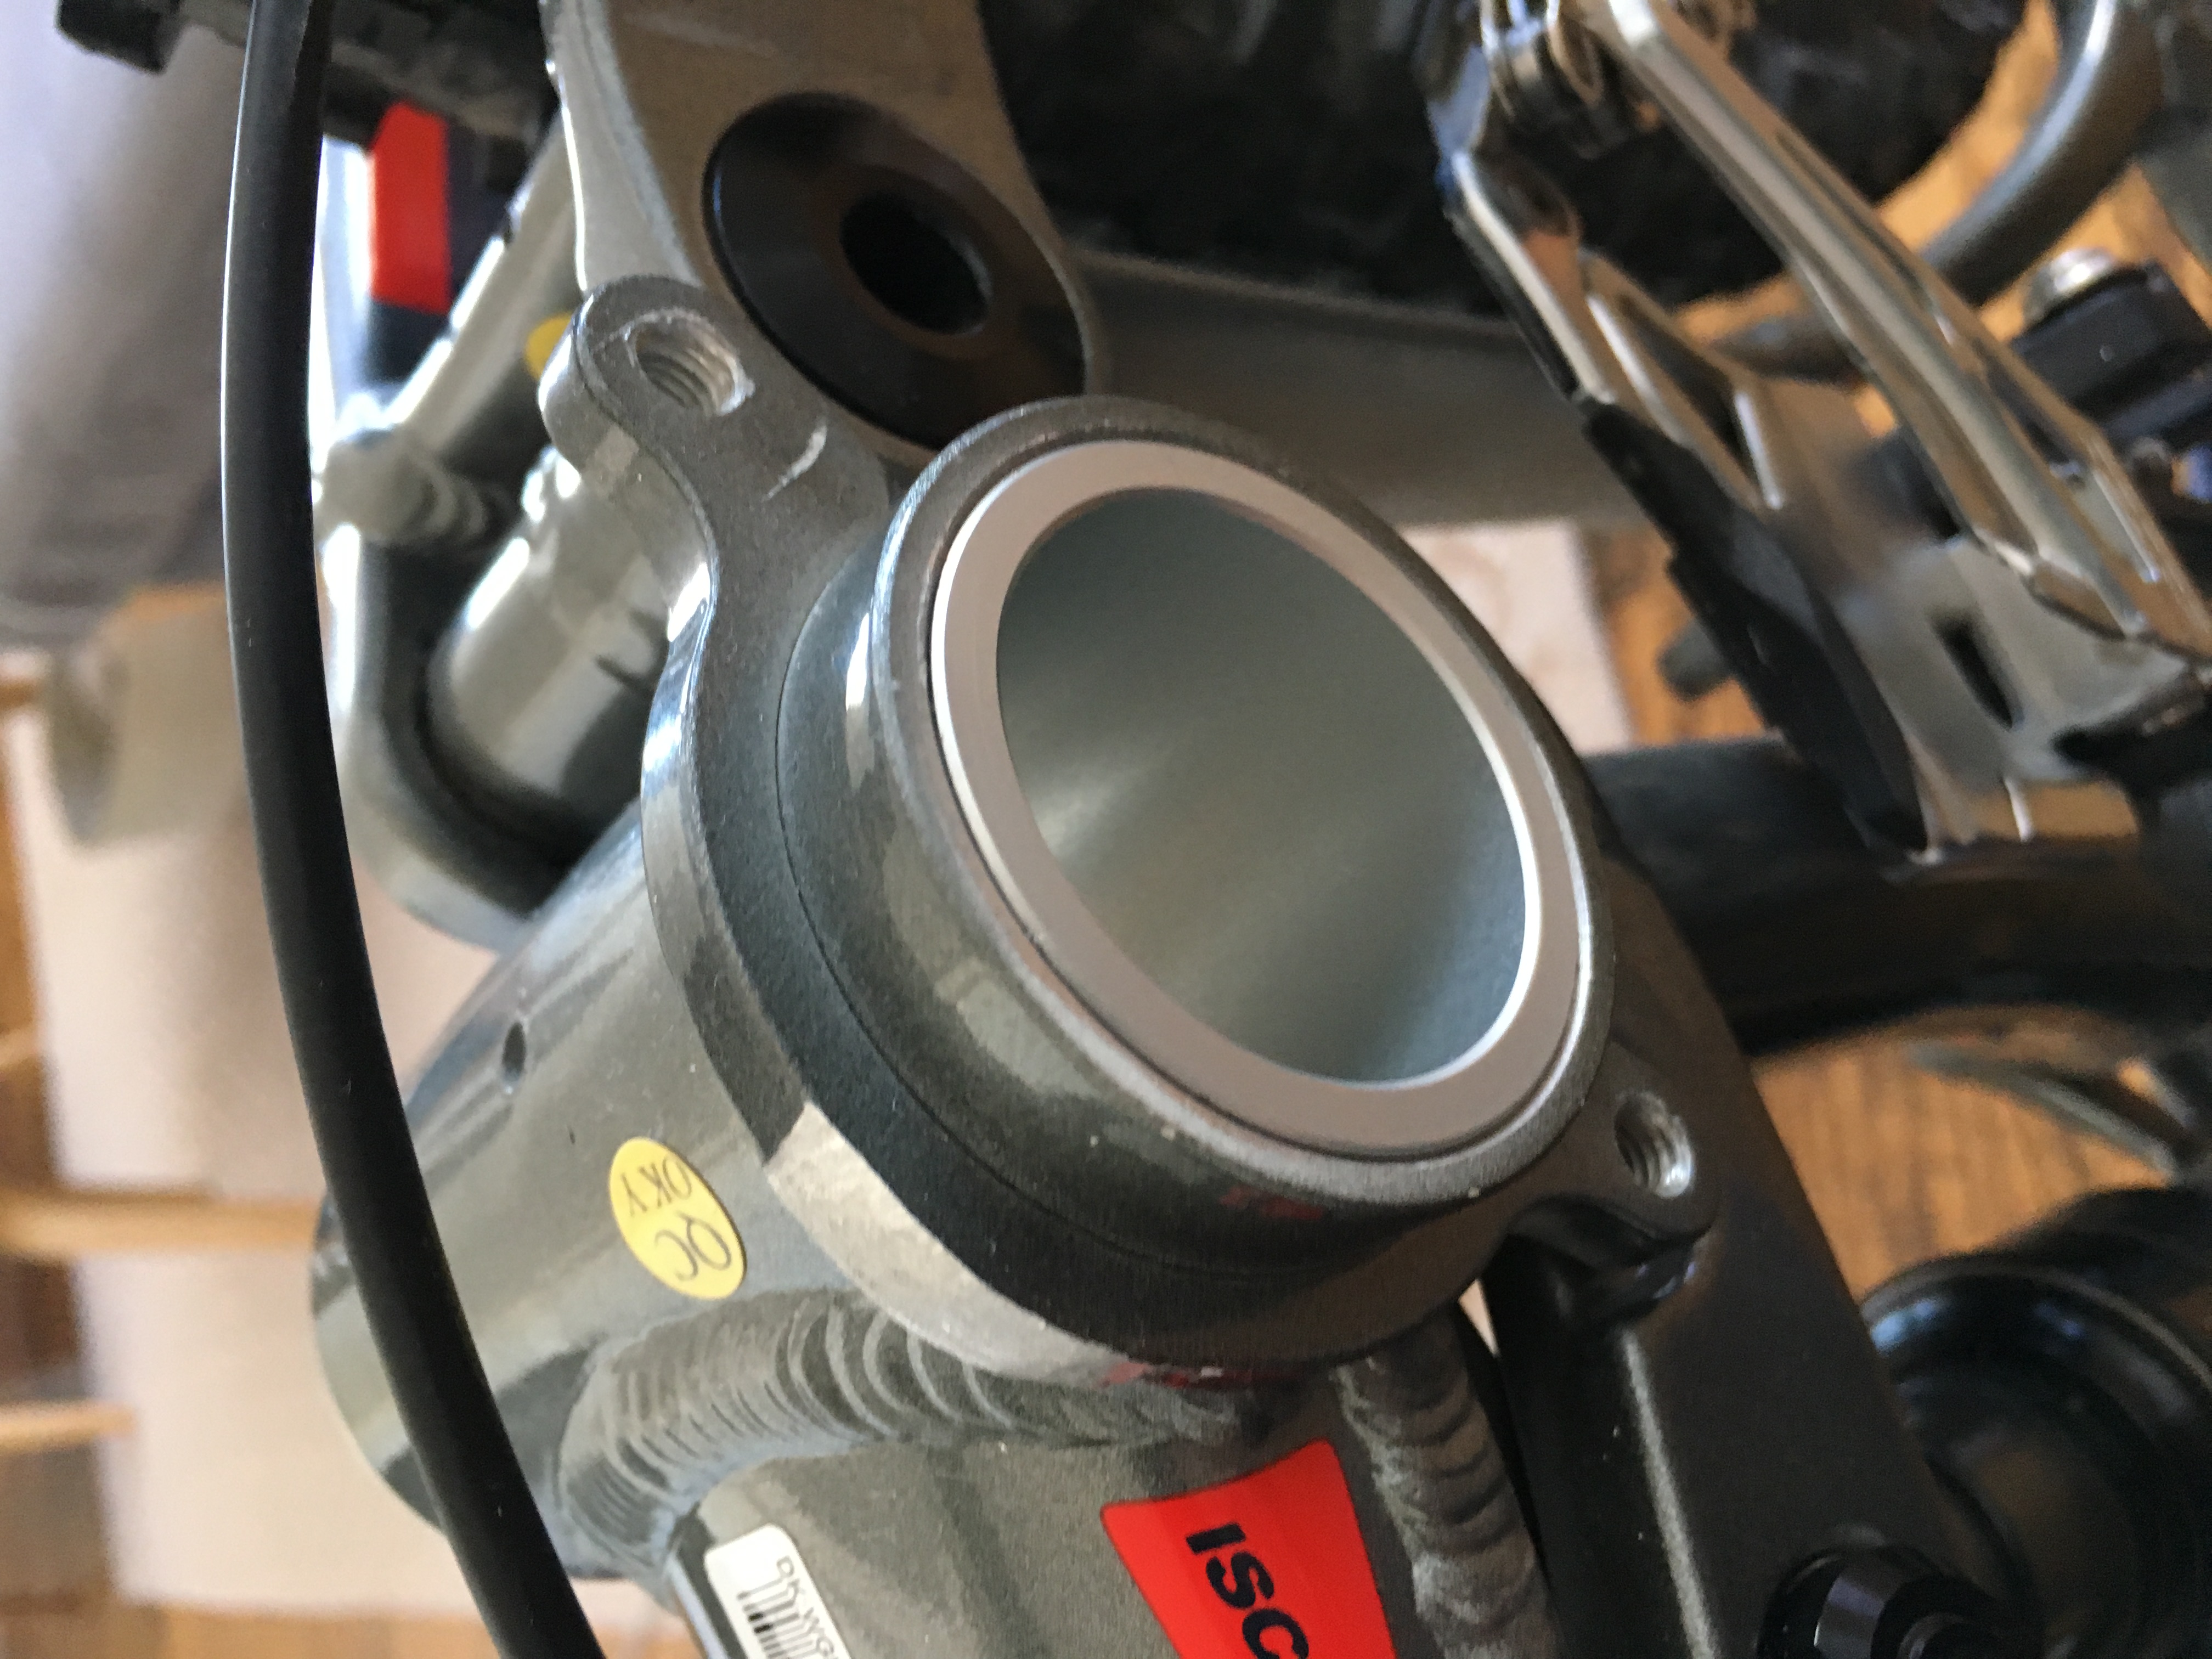
Now comes the tricky part. Once I got the motor on and in all the way, turns out I won't be able to use the nice locking plate to mount the motor Unless of course I'd milled the motor's mounting points down by quite a lot, which is not an option. What I ended up doing instead, I used the locking plate as a spacer and used the stock triangle mounting plate to mount on the motor. I need to get another triangle mount though, because I ended up having to put a spacer on the other side - which in the case of the Trance 2 is not a good thing as you want no adapters on the driver side because the chainline will be affected. You can see on the photos that the aluminum plate is sticking out - I kinda want to keep it that way and use it to mount something on it in the future. Not sure what yet... but definitely don't want to chop it off.
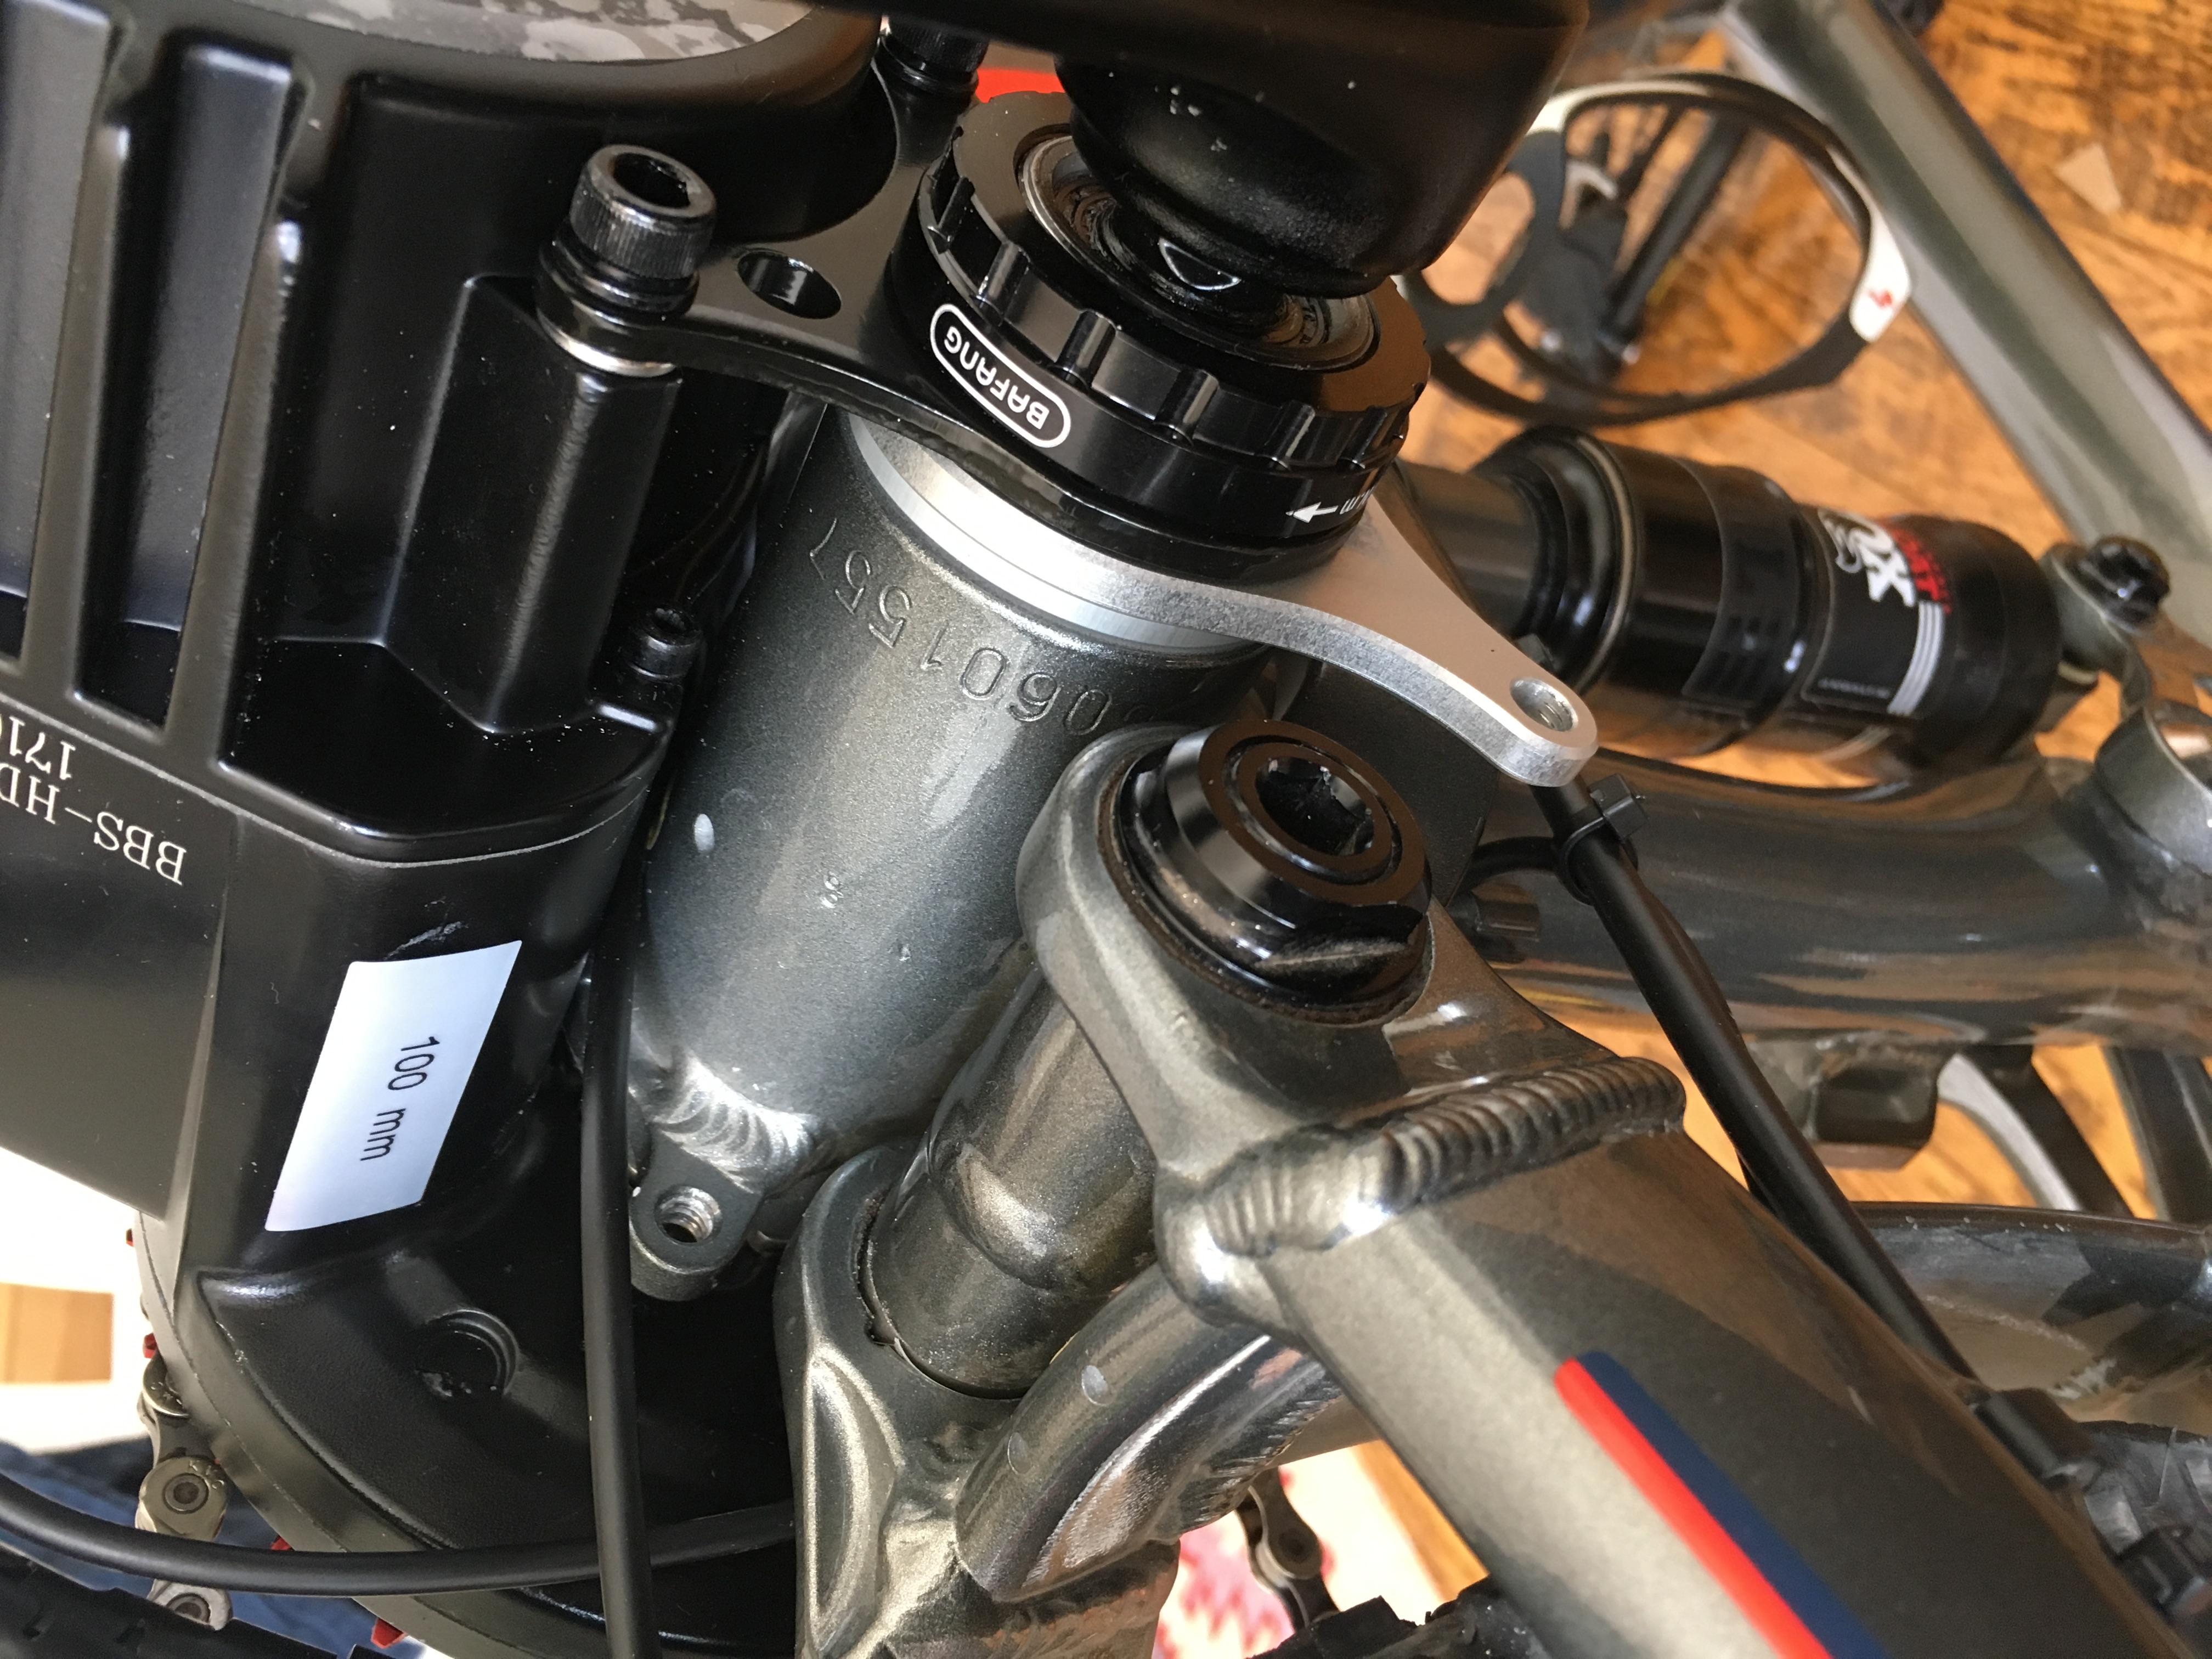
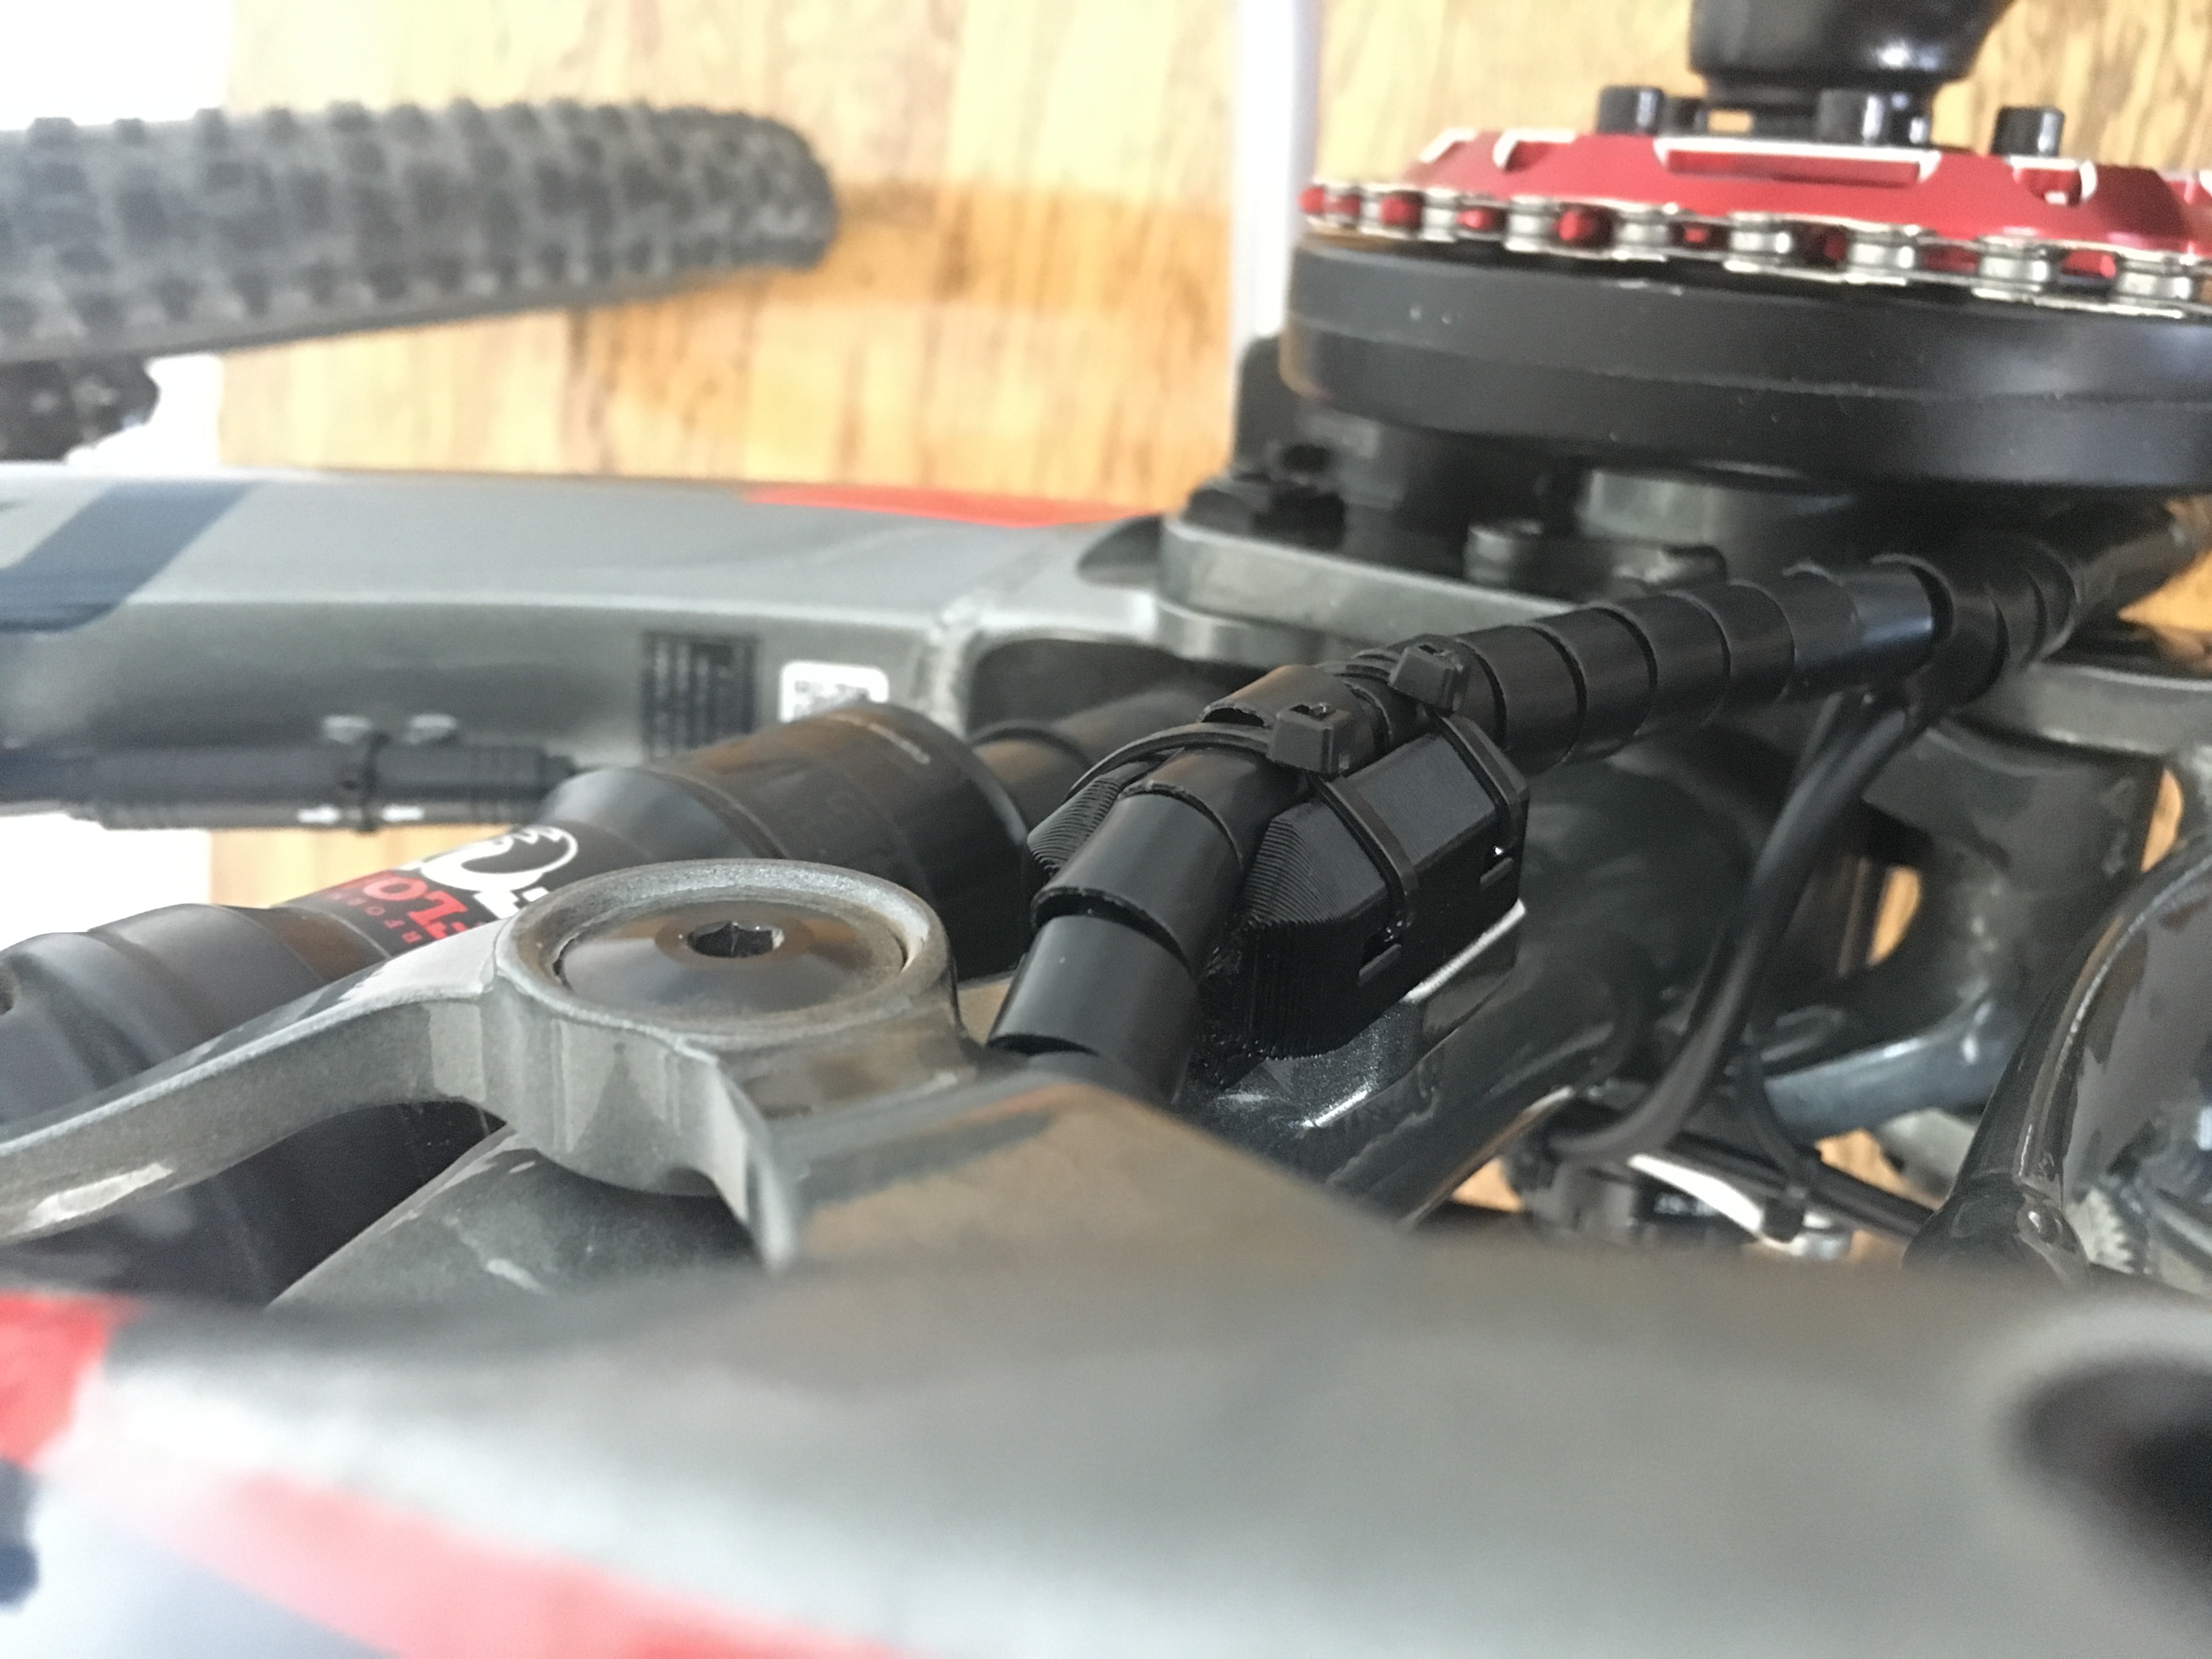
Now that it's mounted, I couldn't help but notice that if I applied enough force on the front on the motor it will eventually swivel up because the whole assembly pivots with the adapter. Not freely, but still, got me concerned about the possibility of vibrations loosening the whole thing. Seeing the remaining ISC mount hole, got me the idea of mounting a sort of wedge in there that would limit any turn of the motor. A couple of hours of tinkering with my 3D printer and I got a part that does just that!
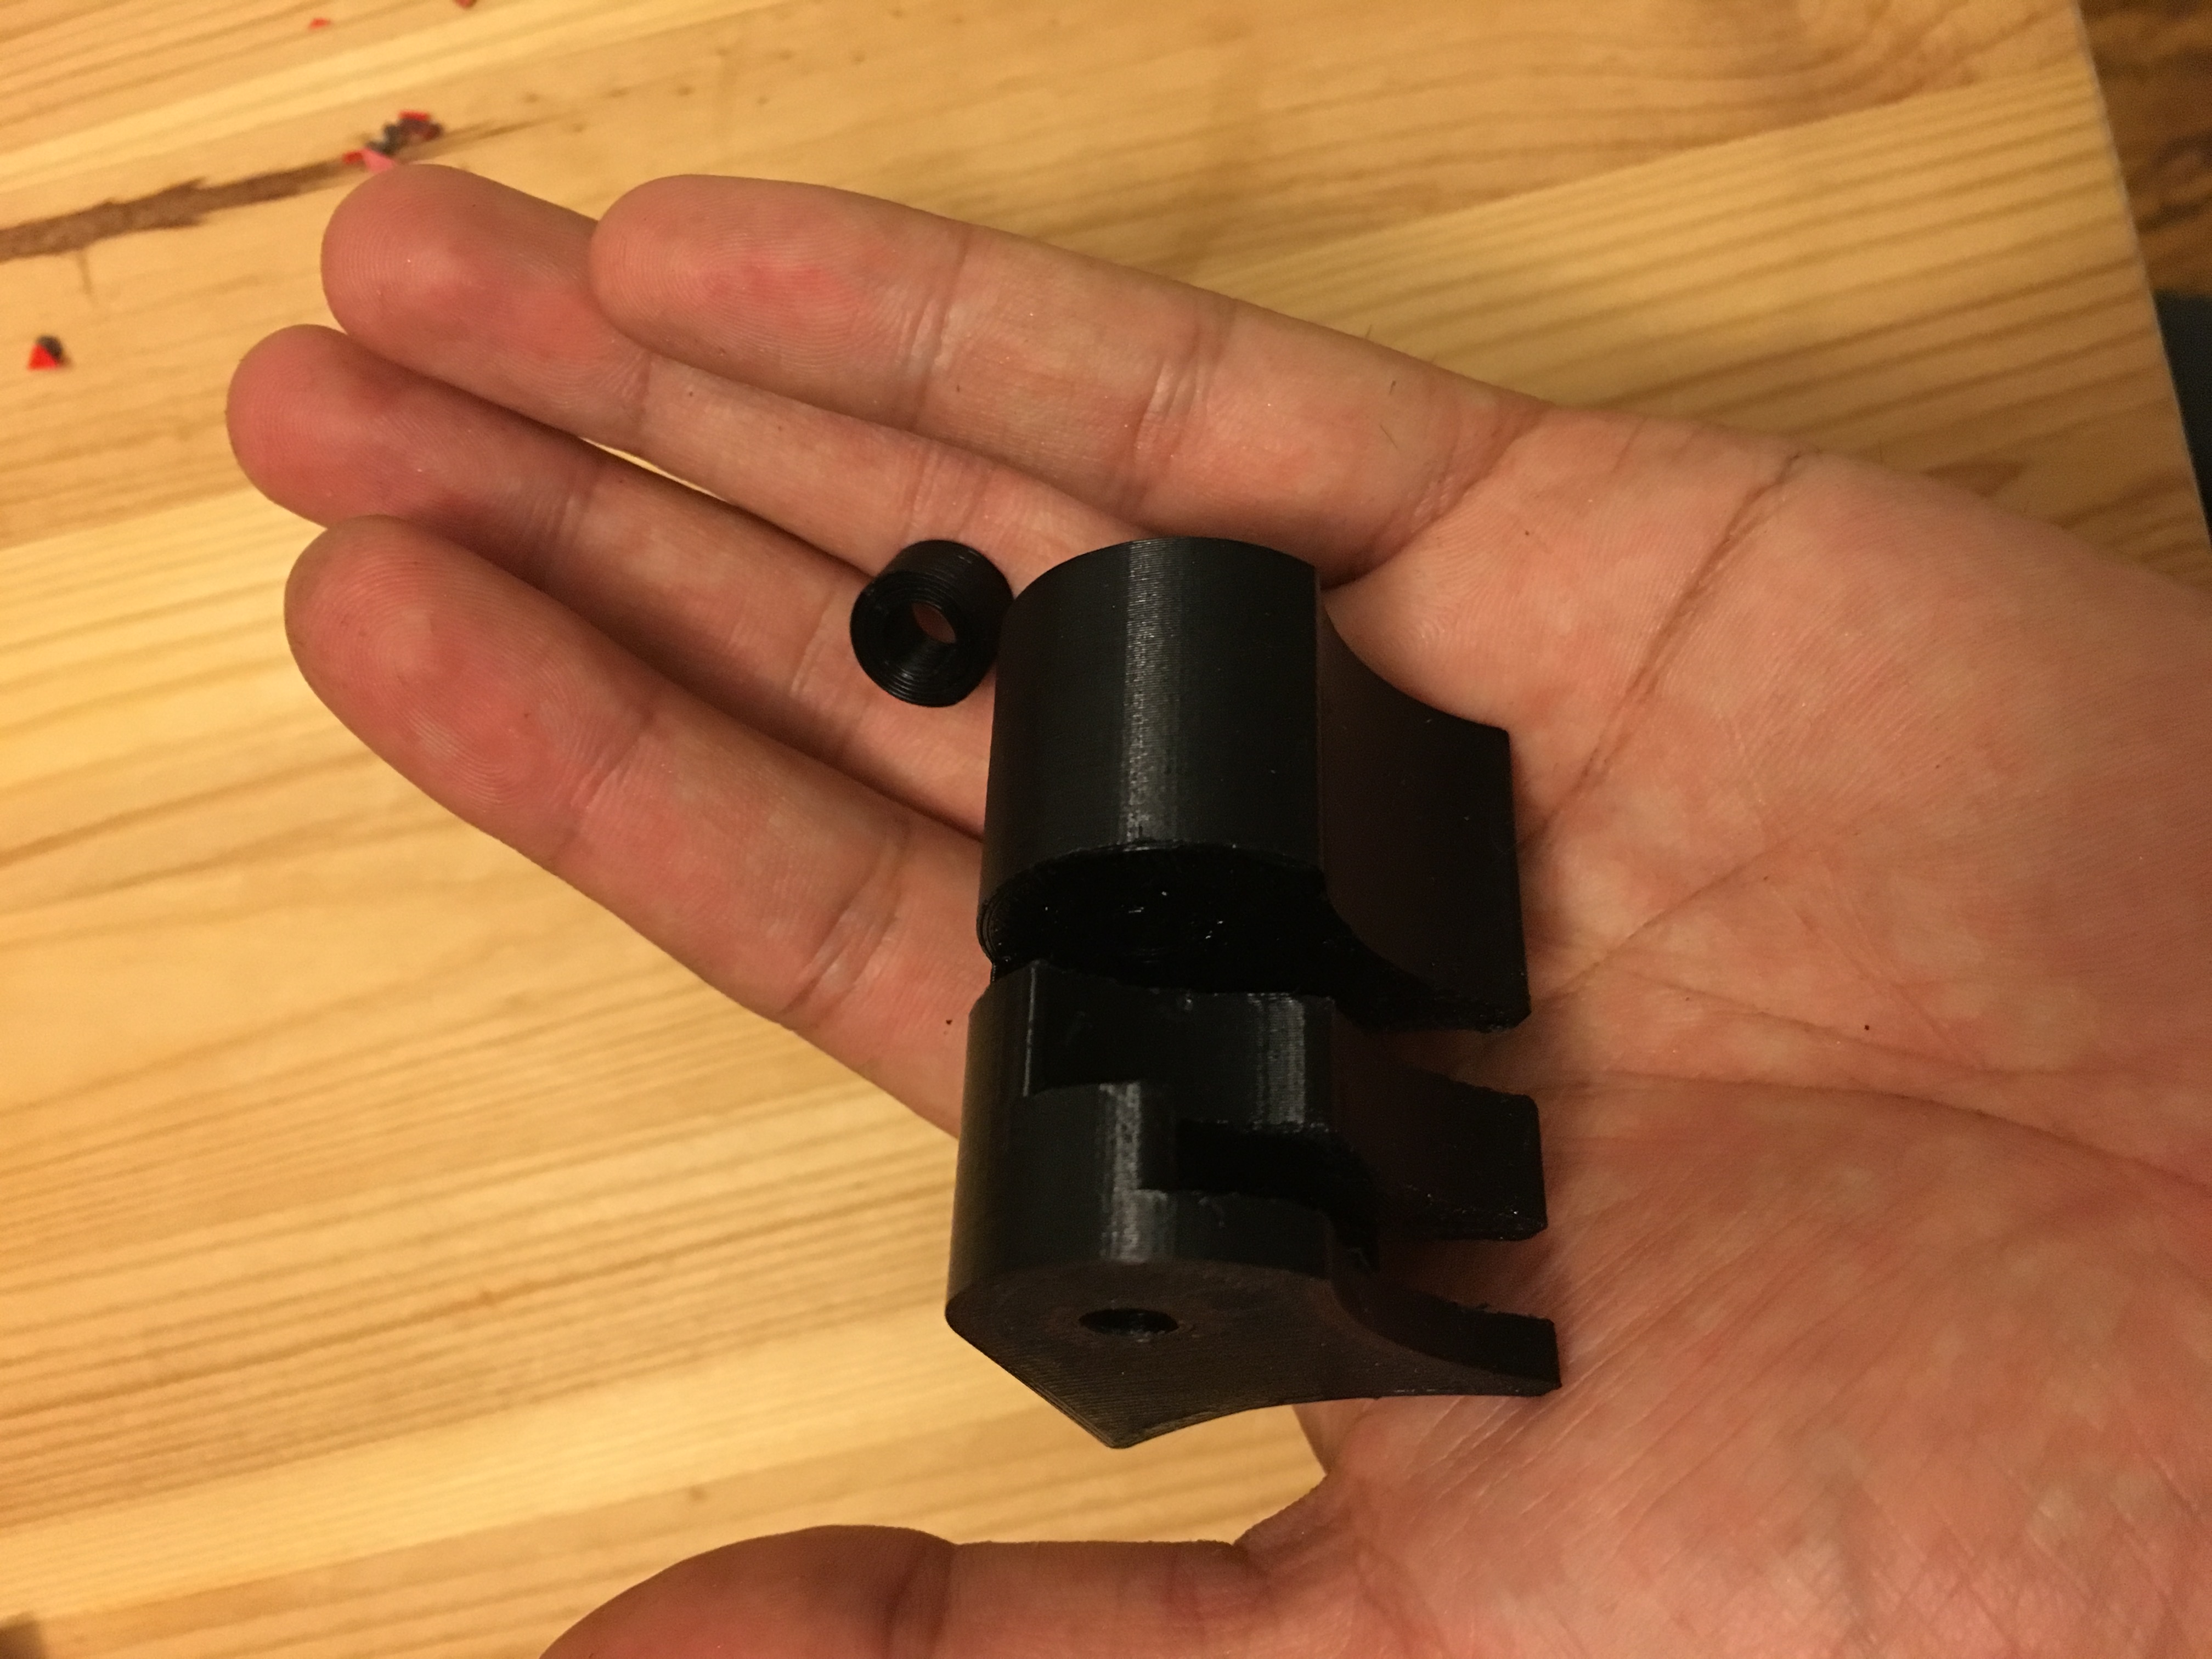
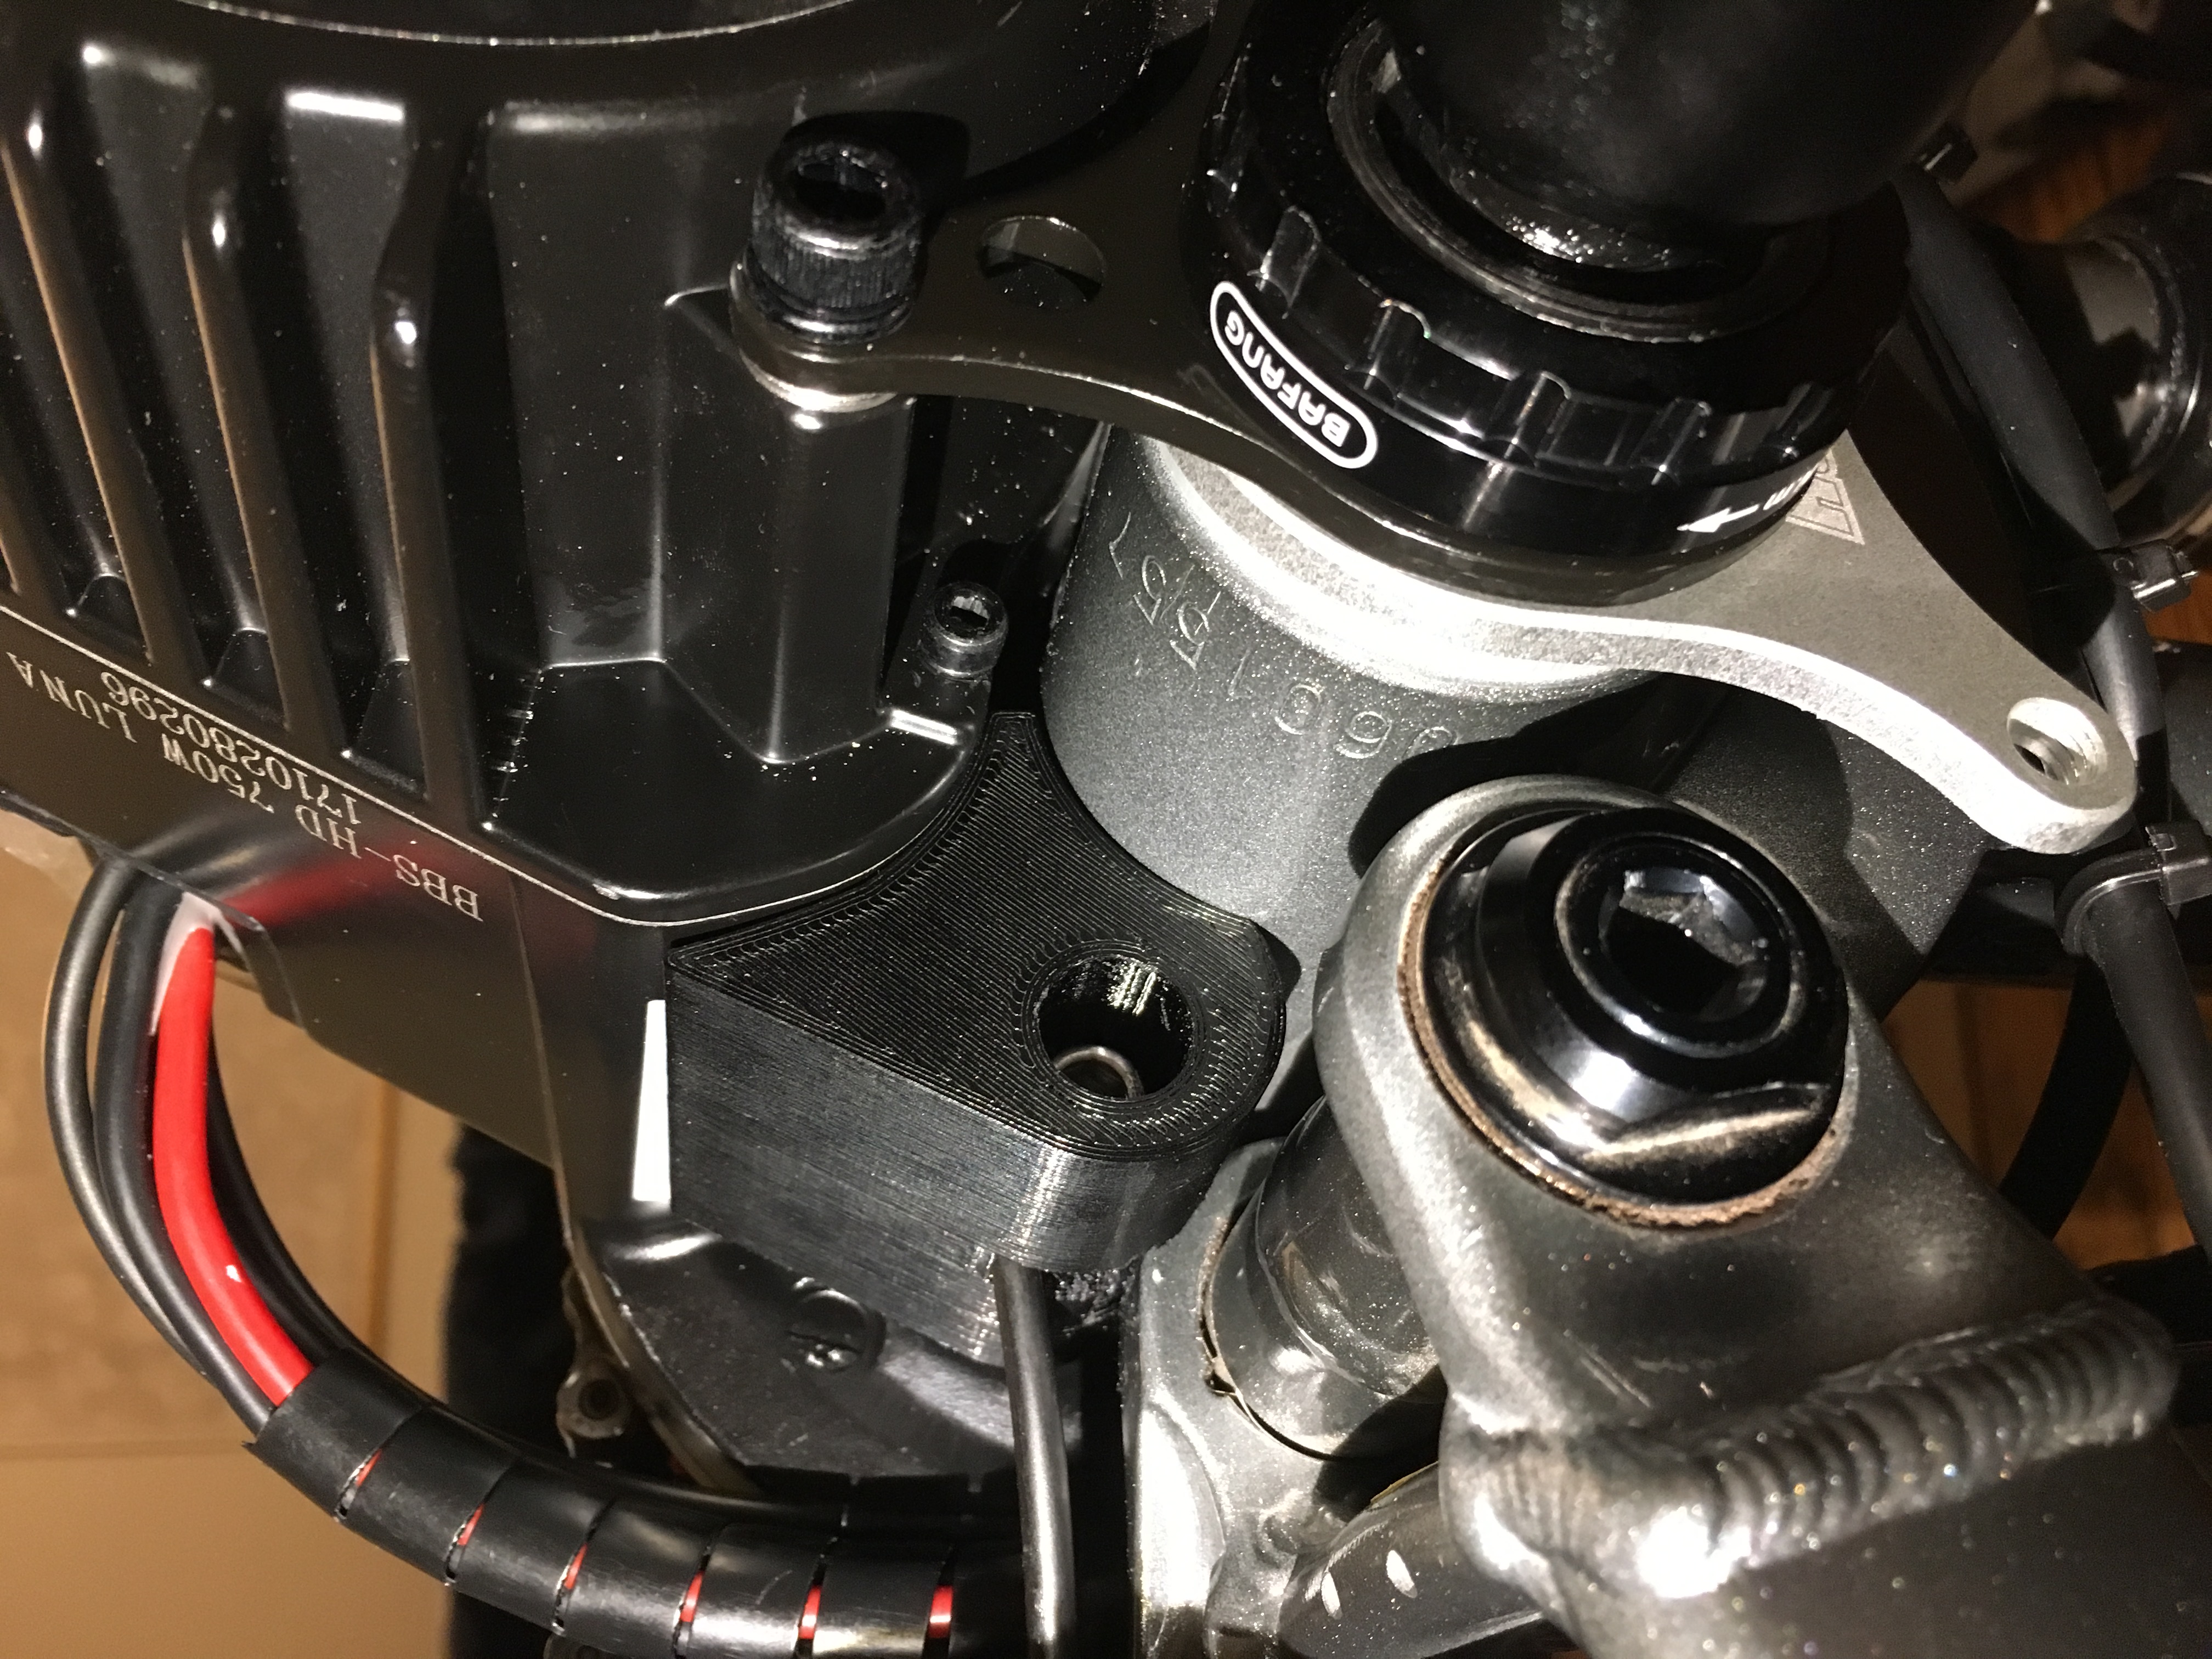
And here it is mounted:
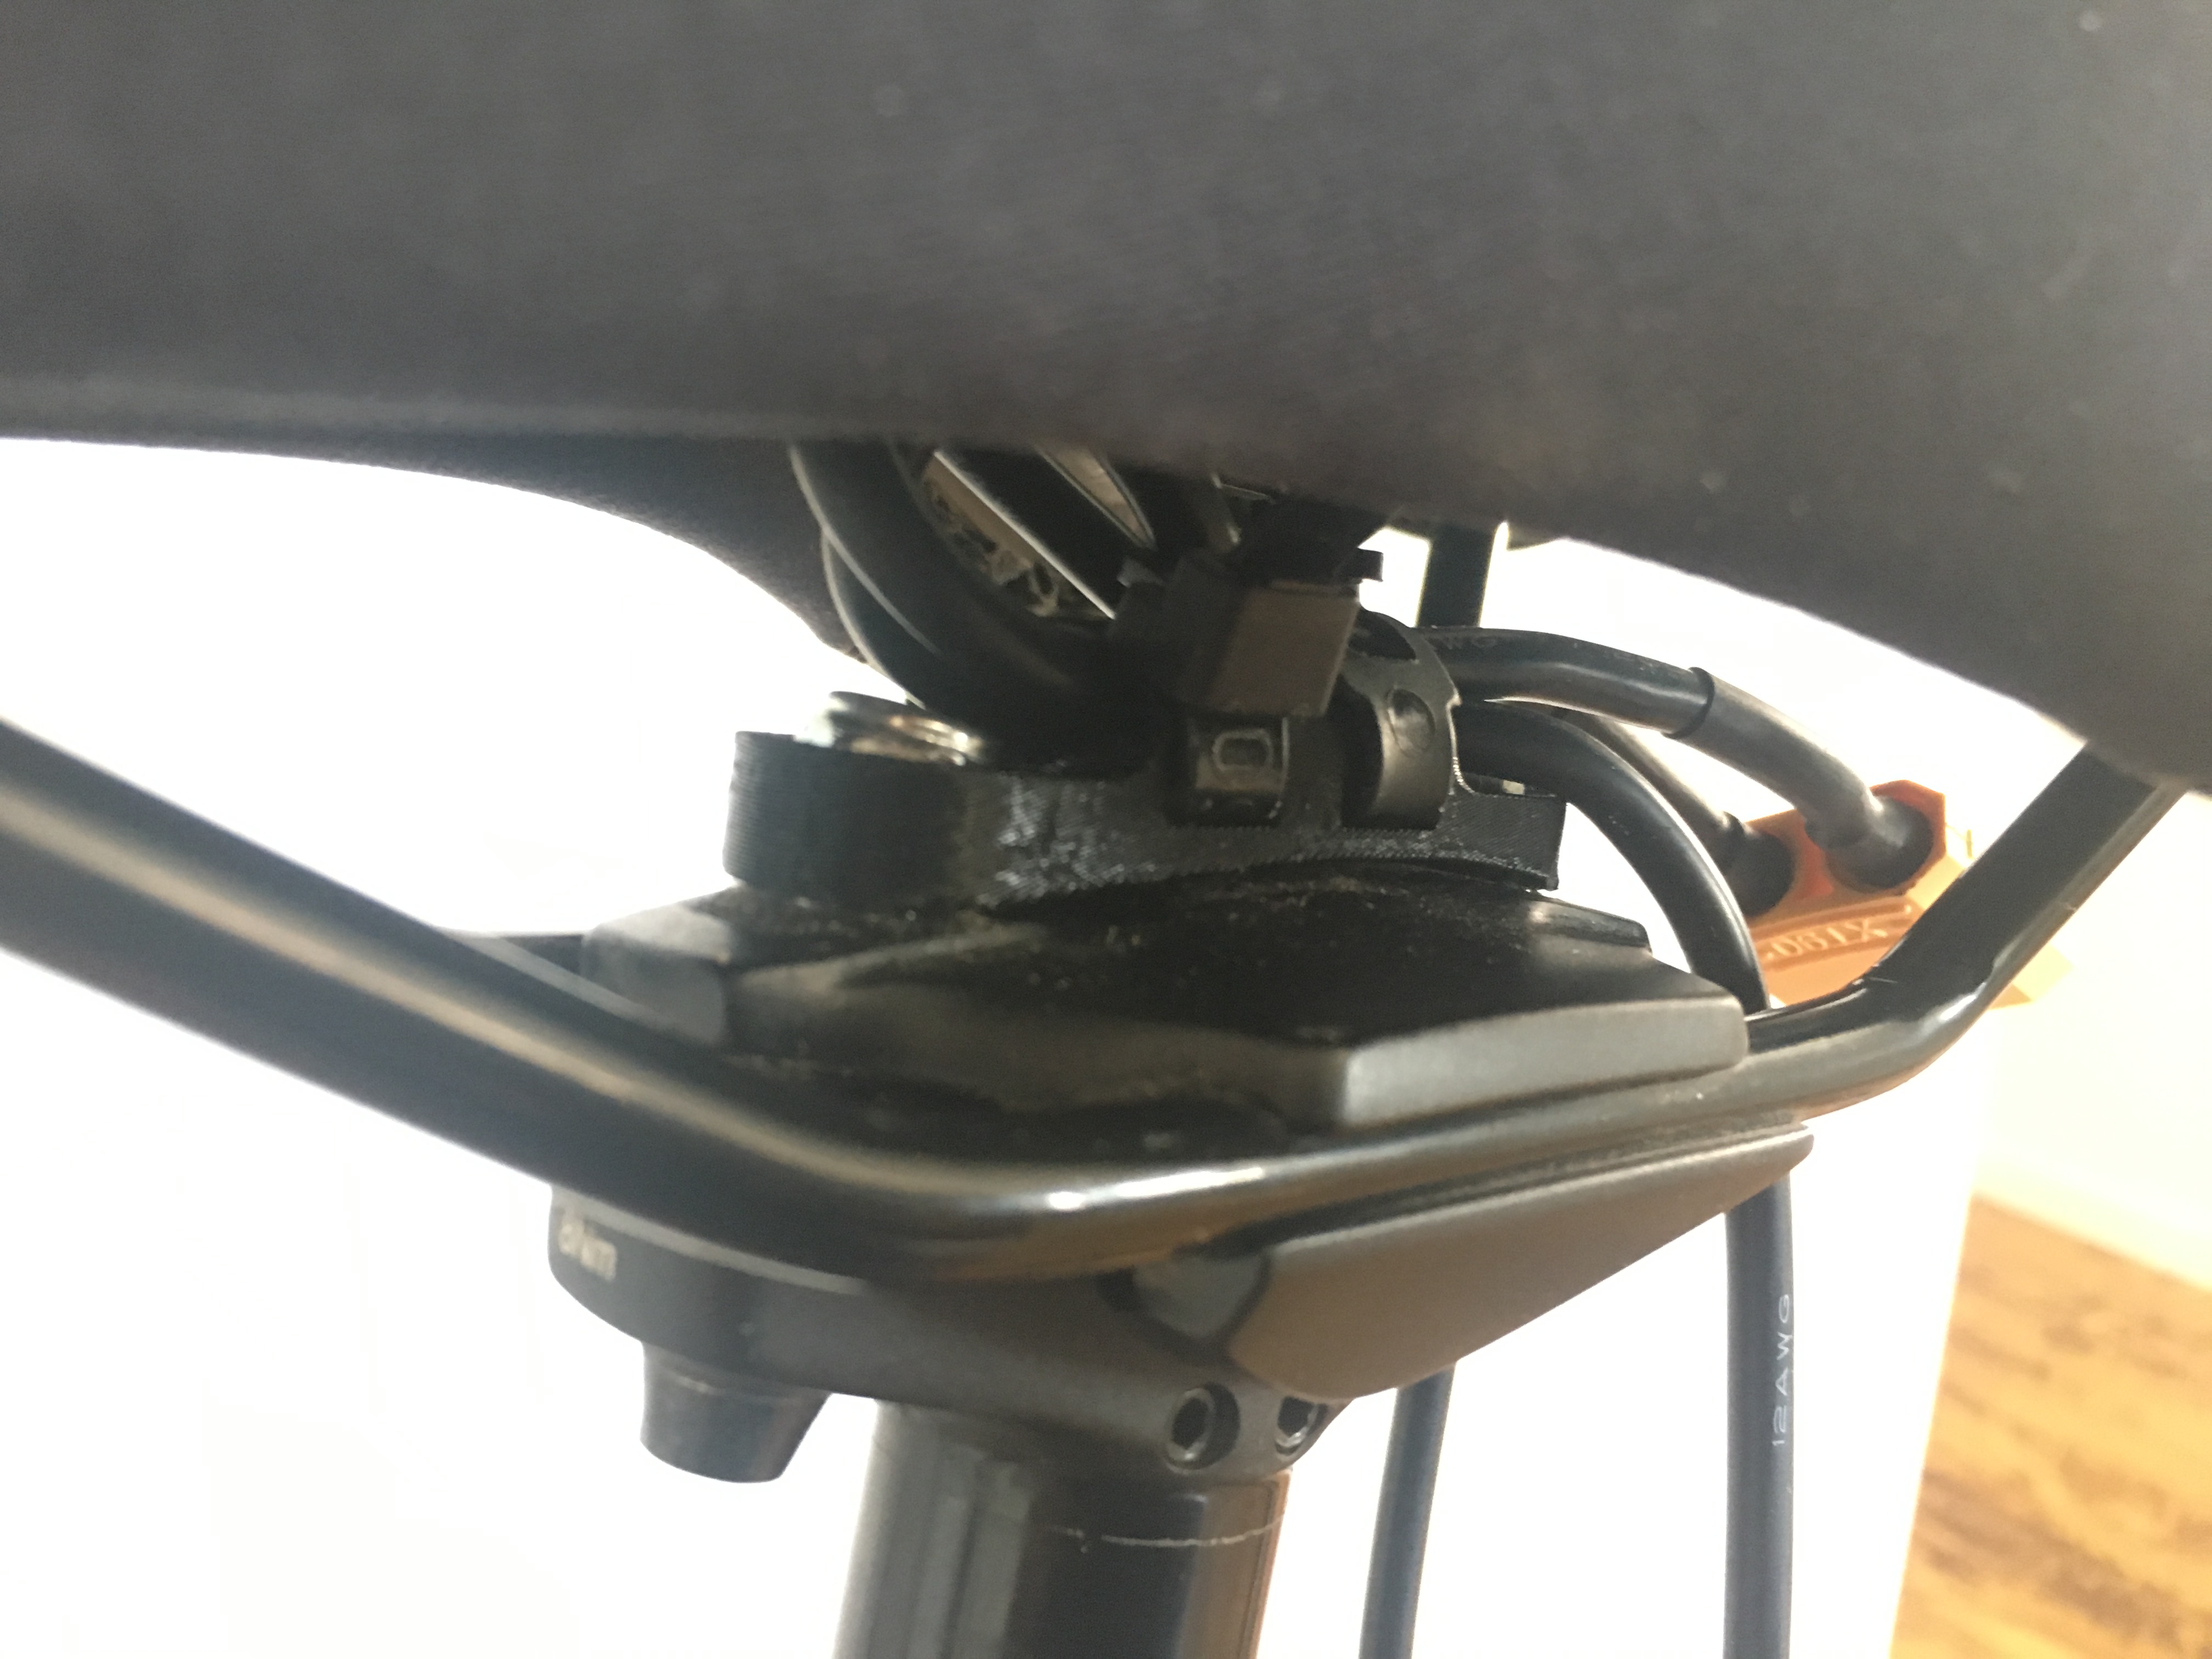
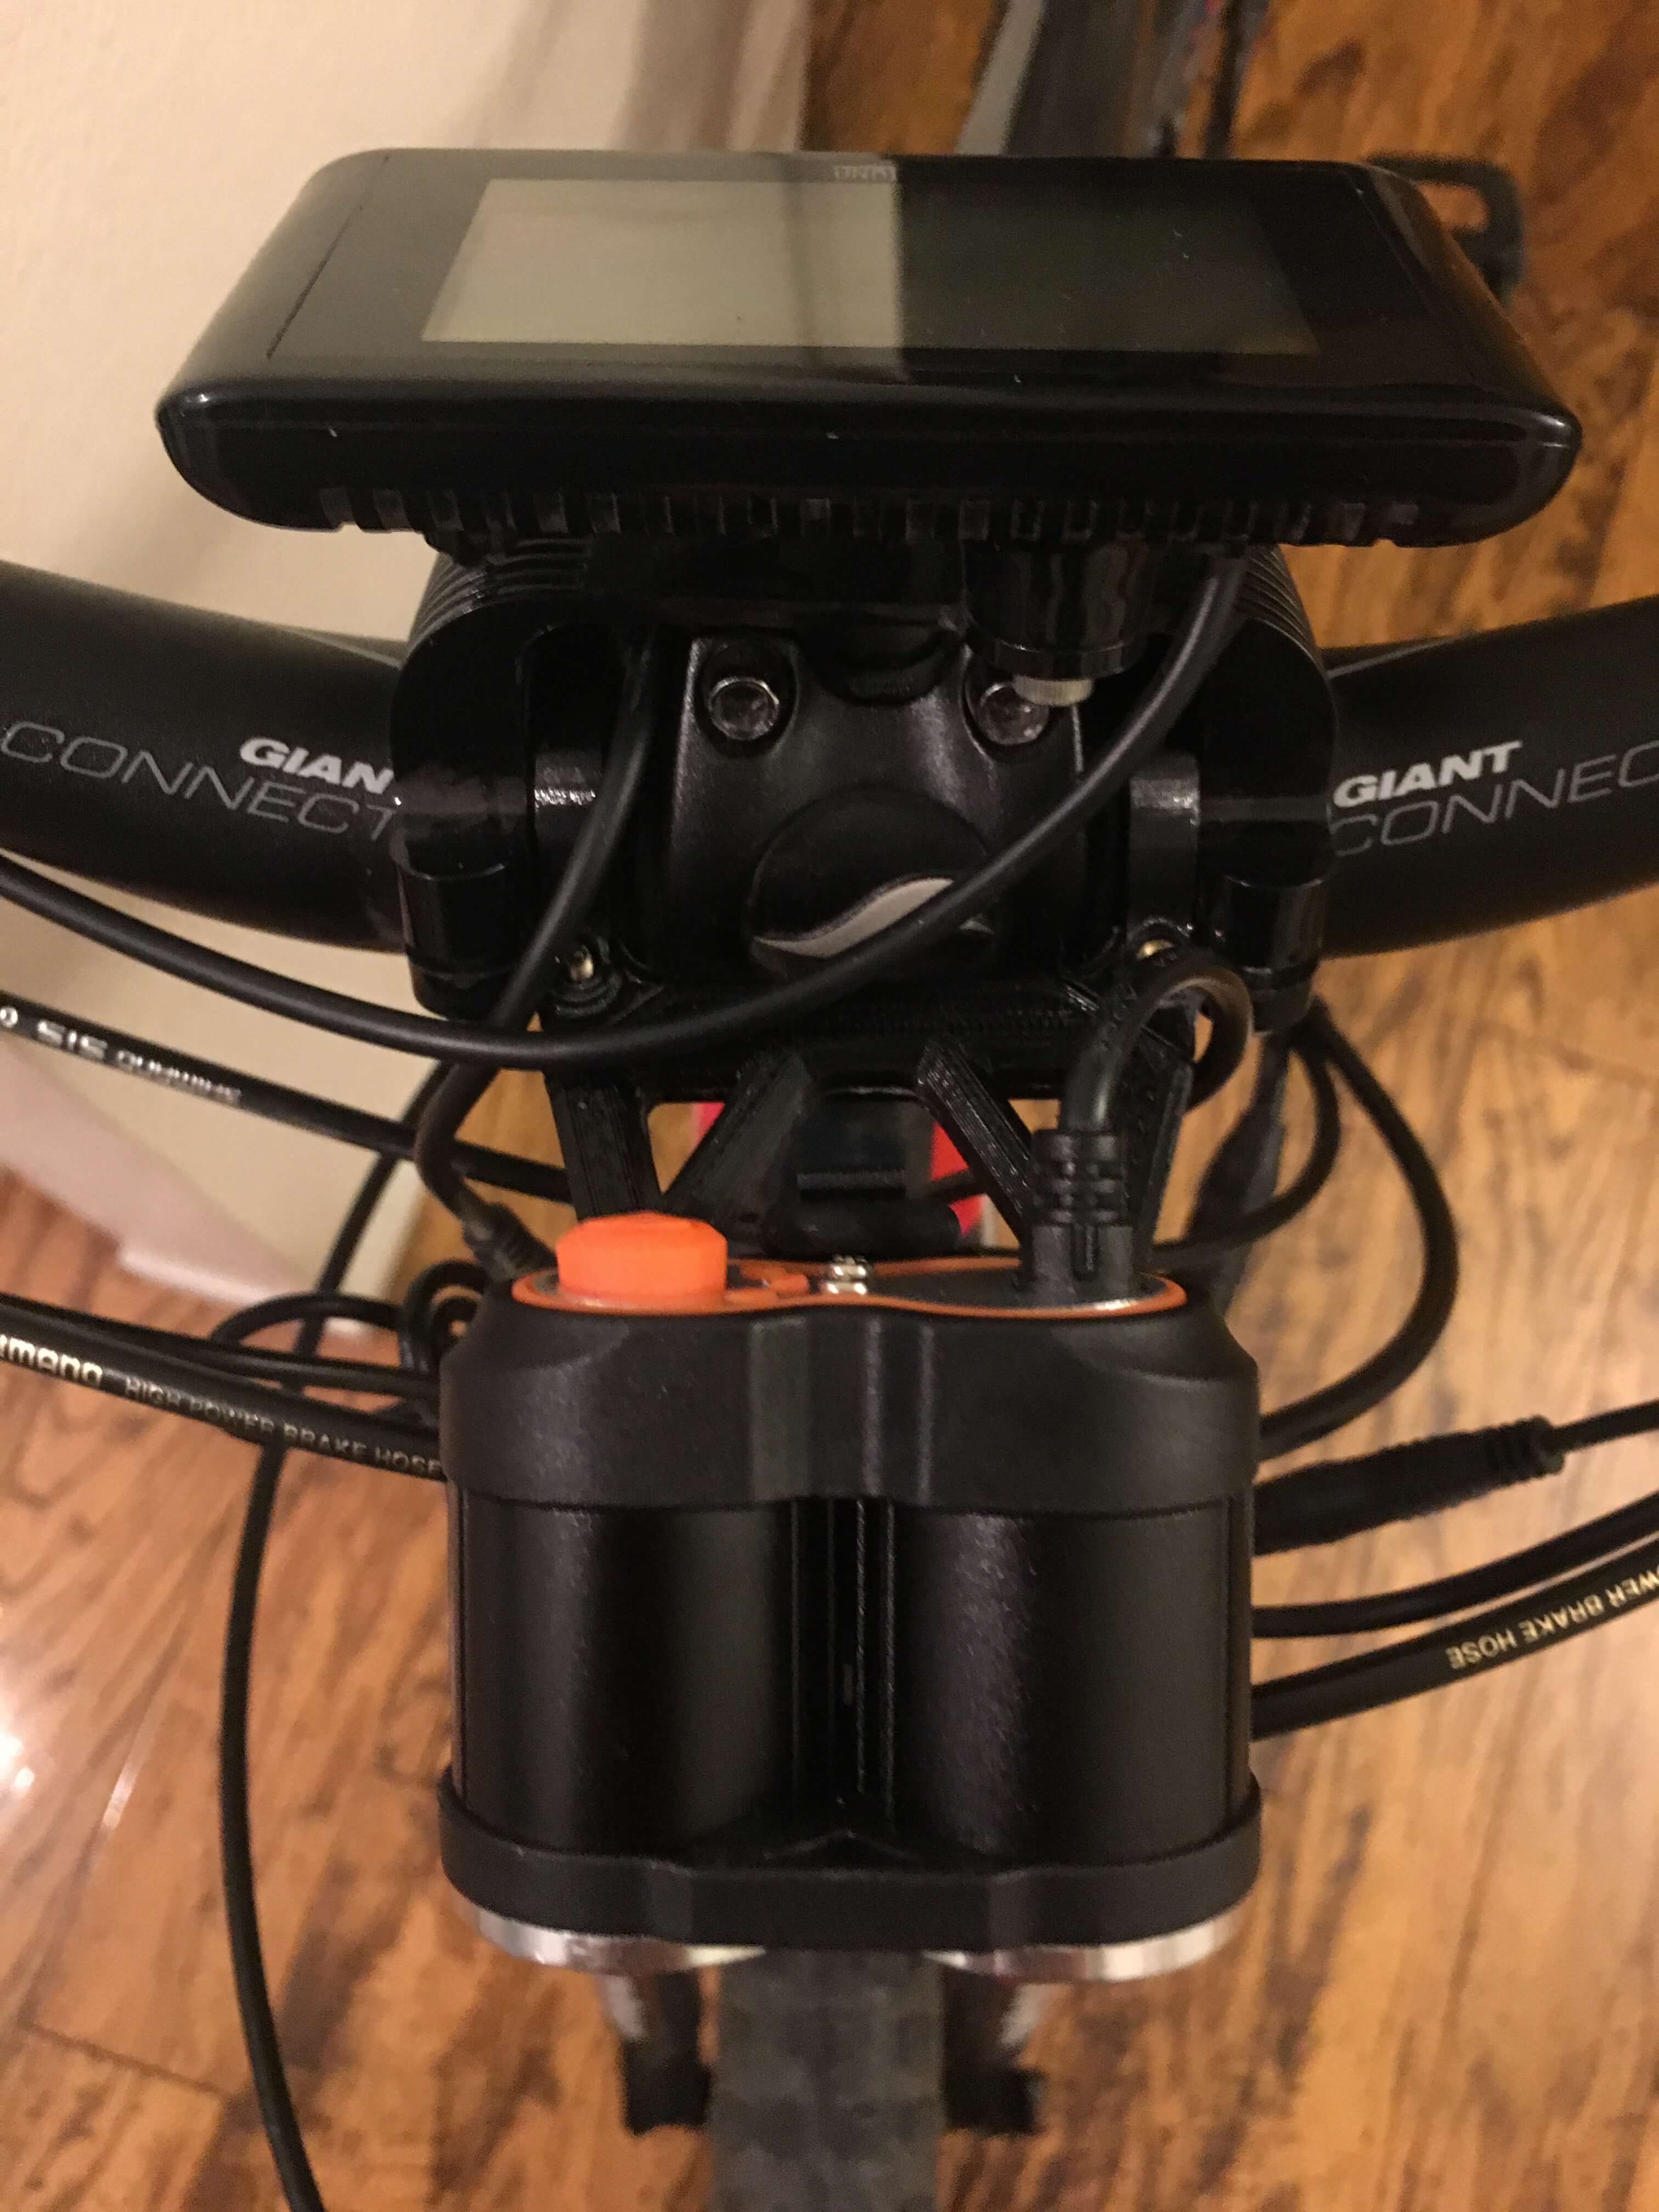
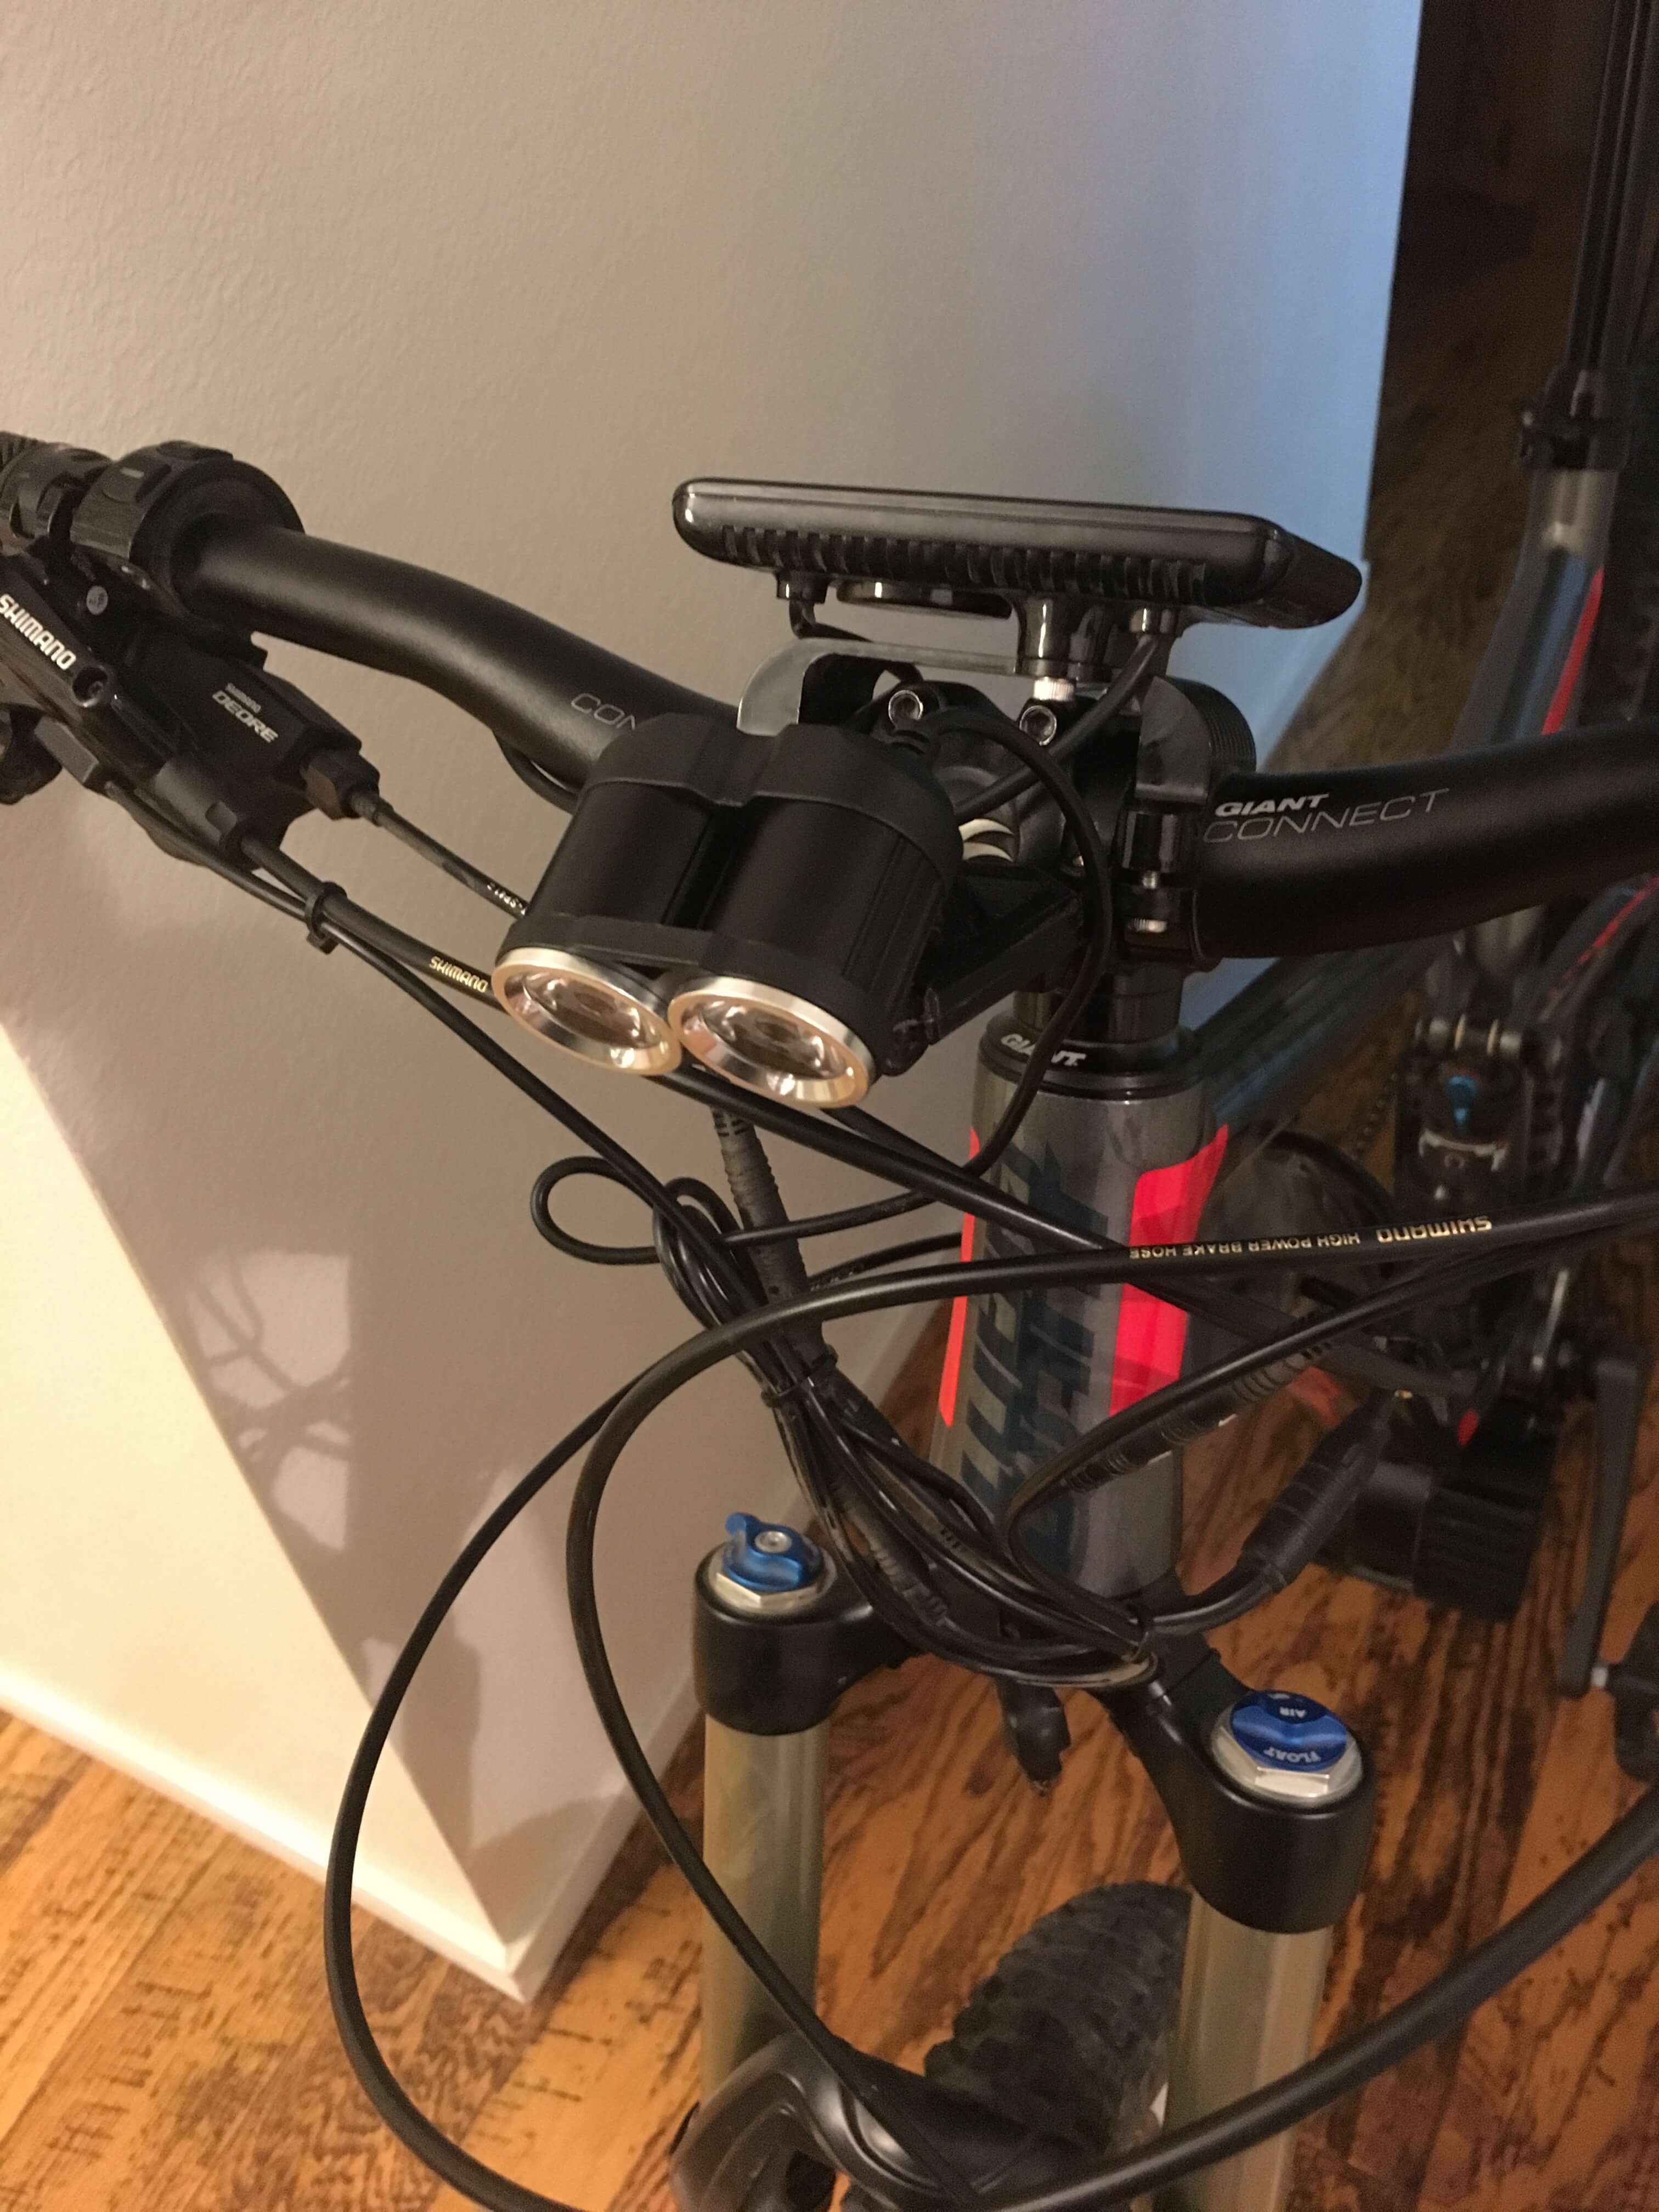
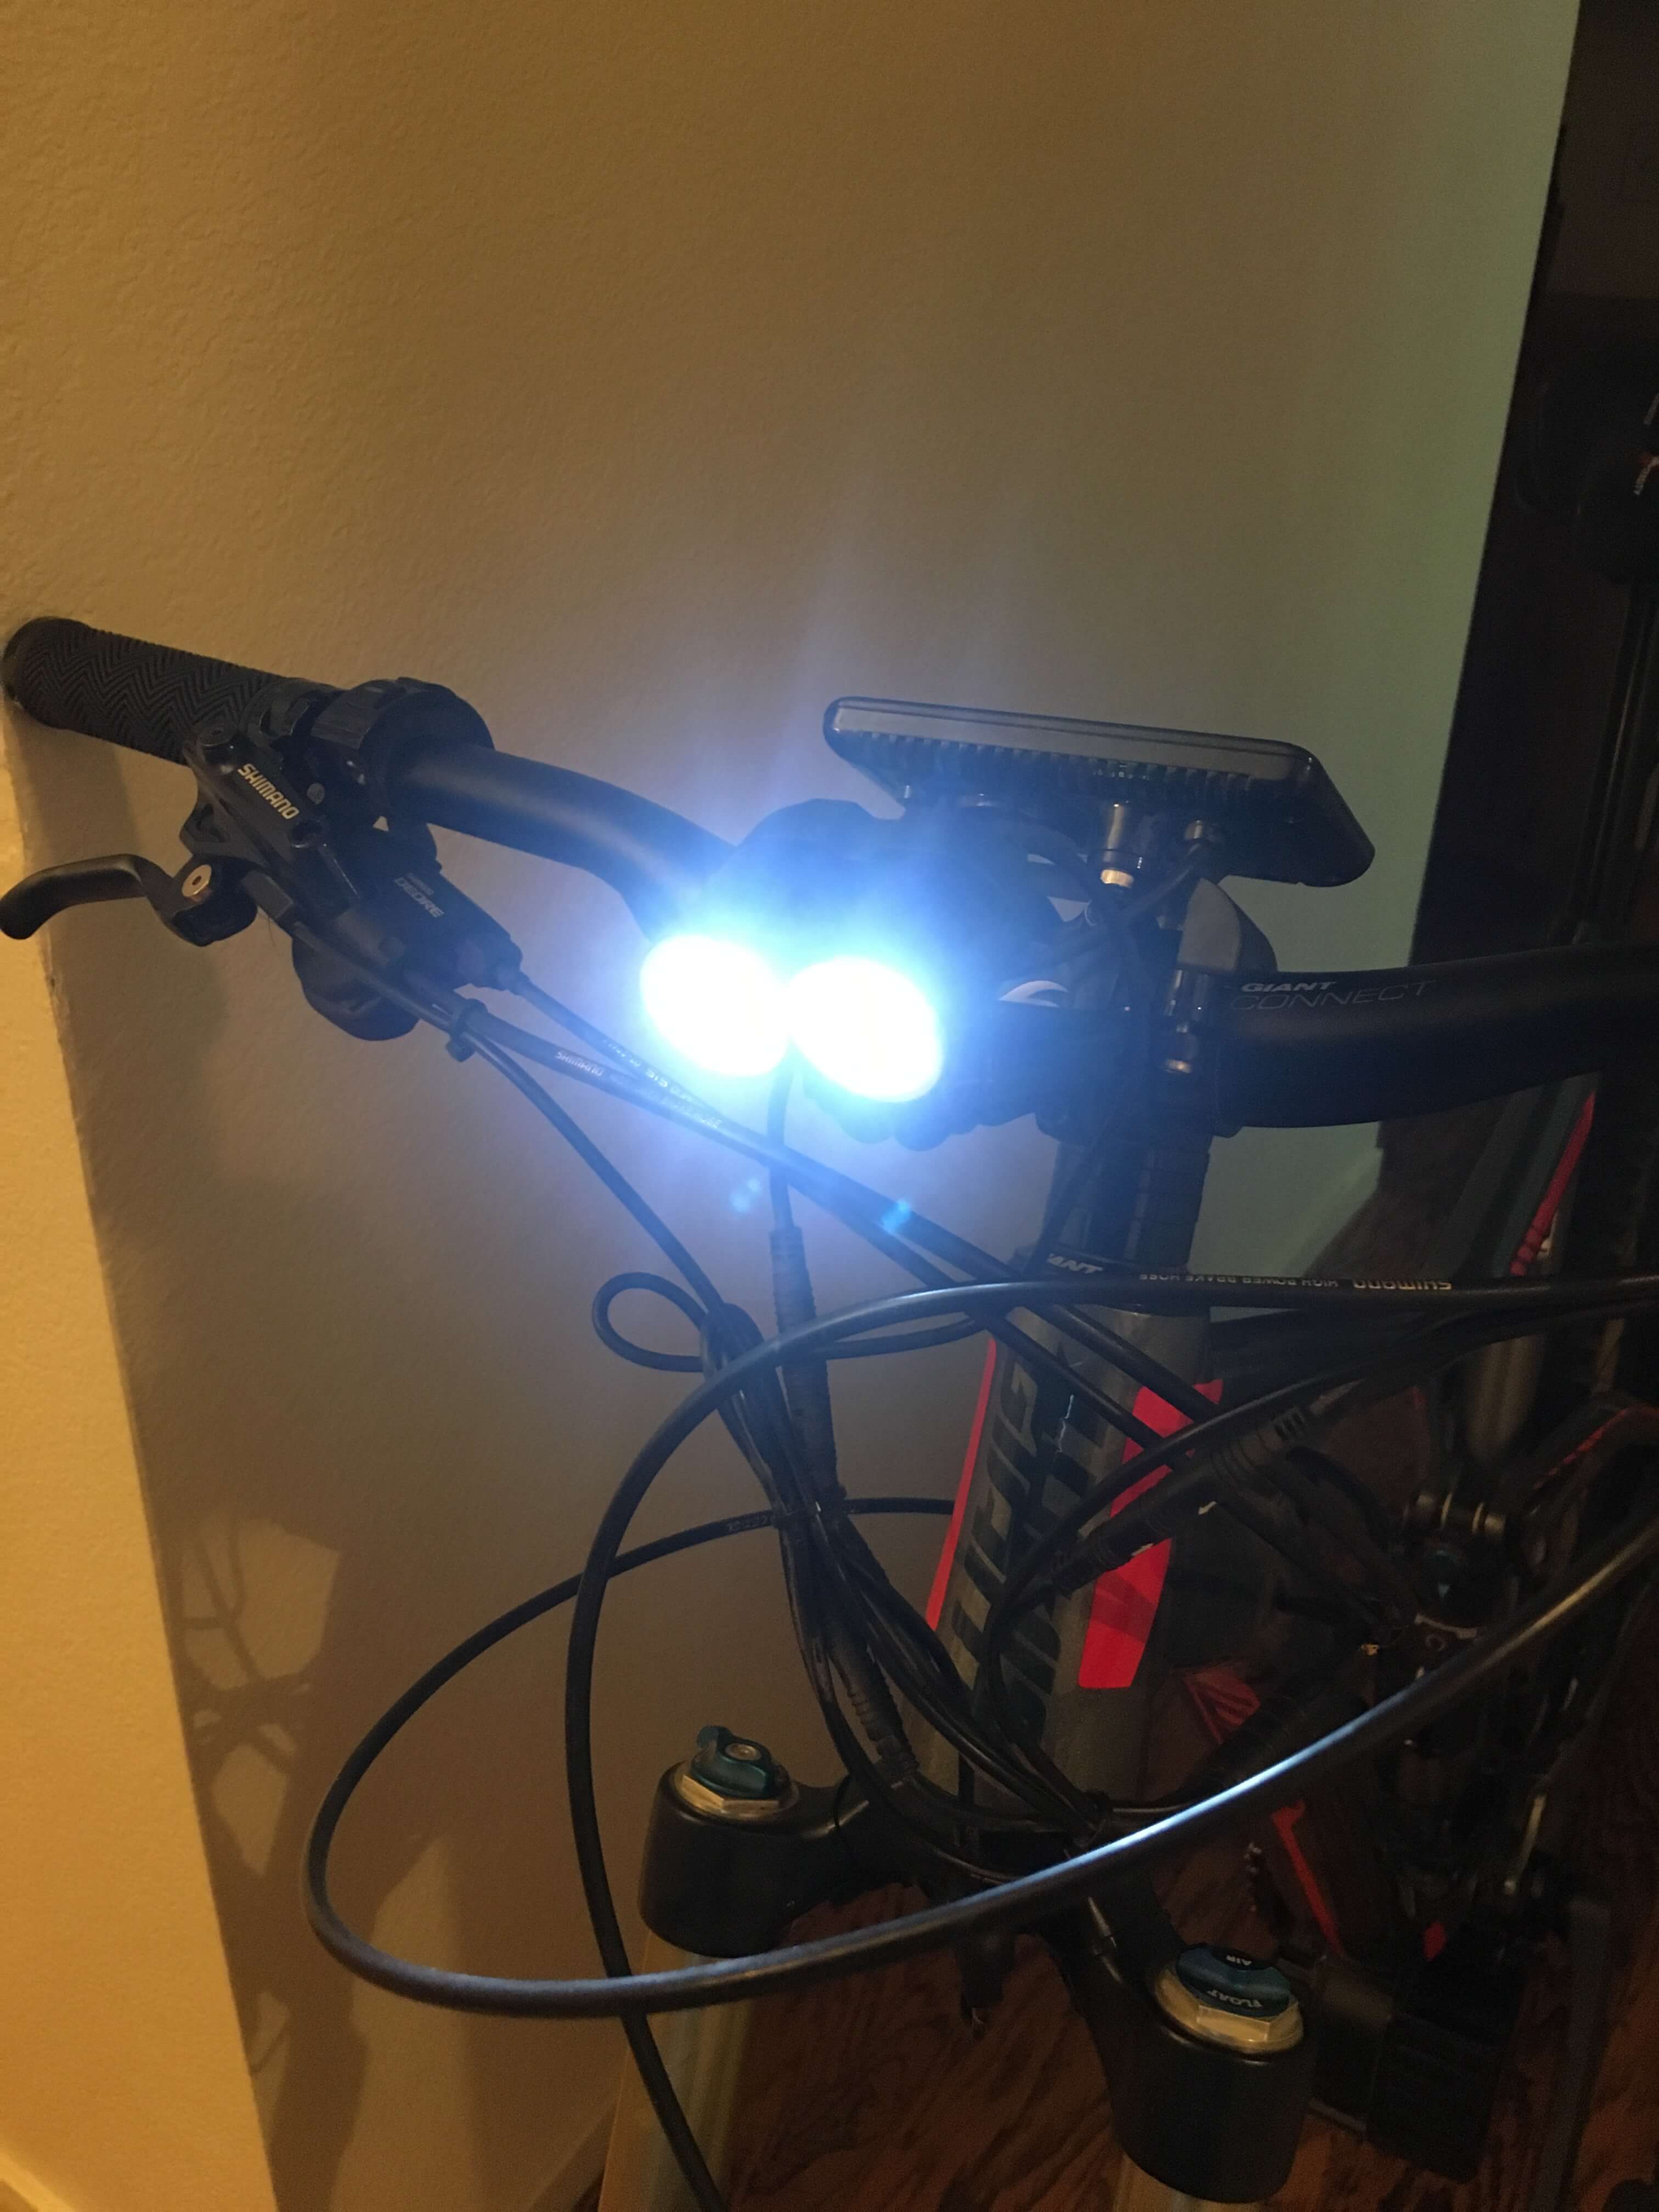
The rest was easy-peasy. Got the speedometer, display, controls, and the break sensors on. Did the cable management as I was going along.
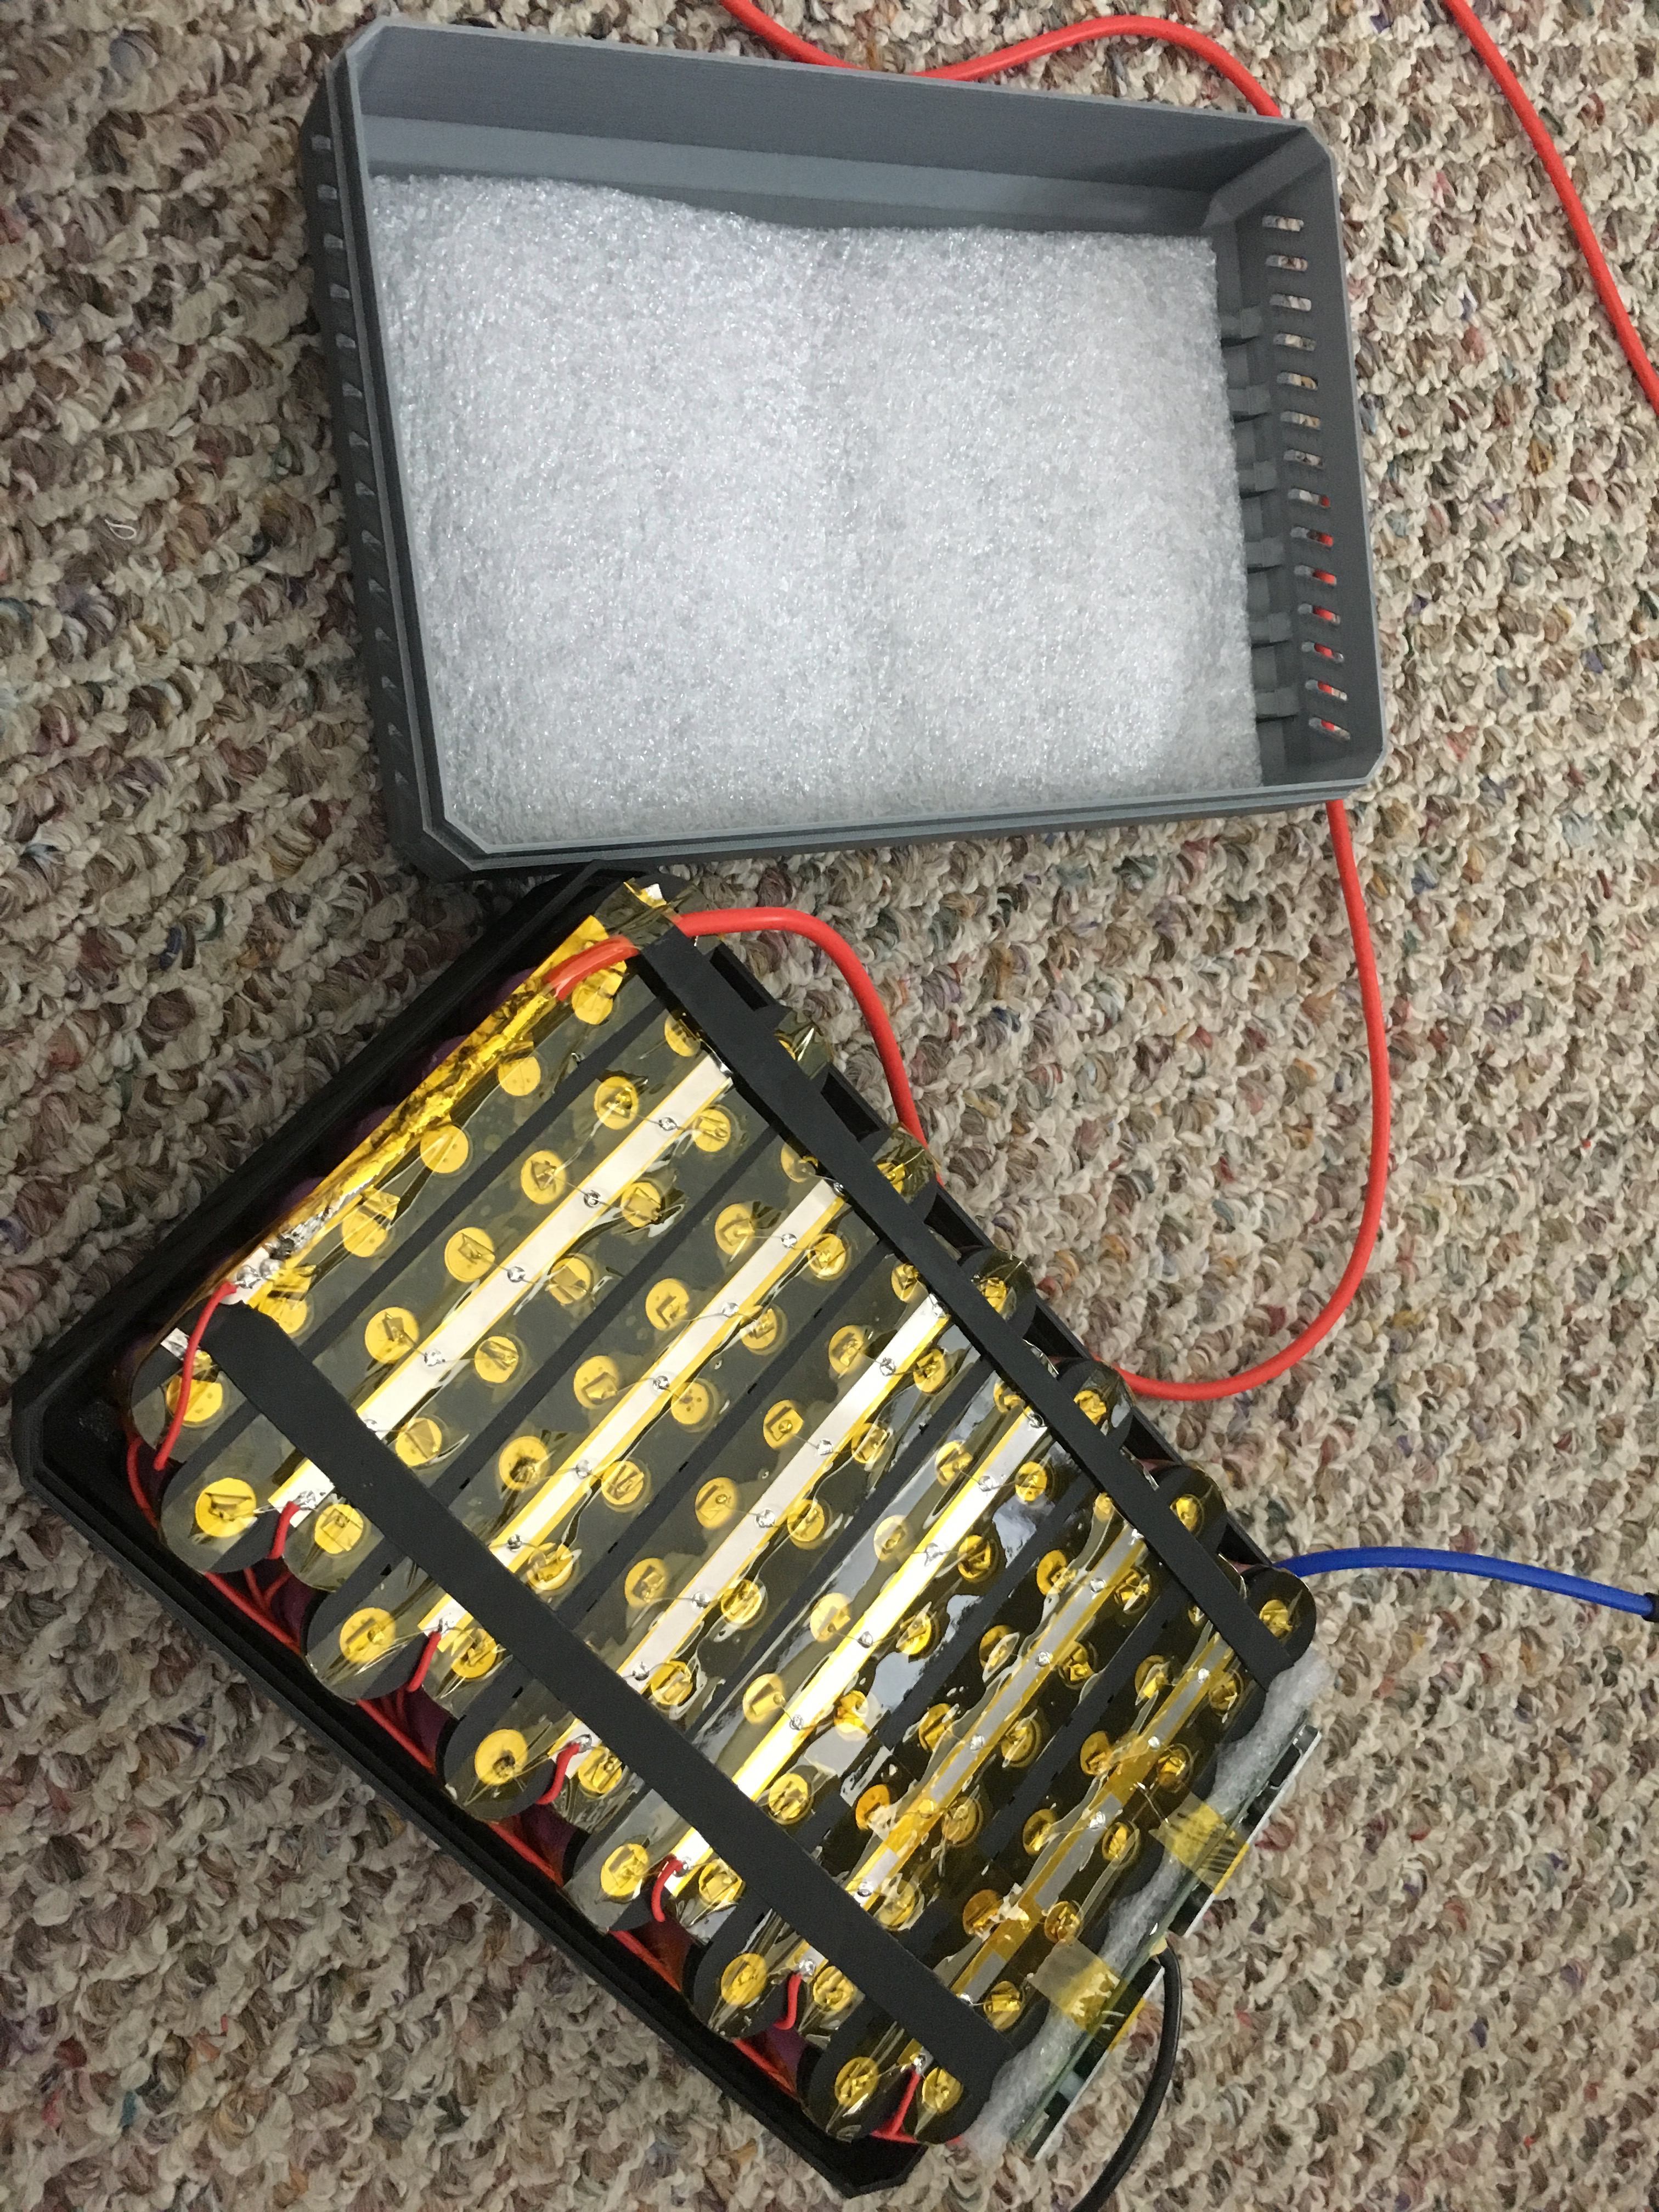
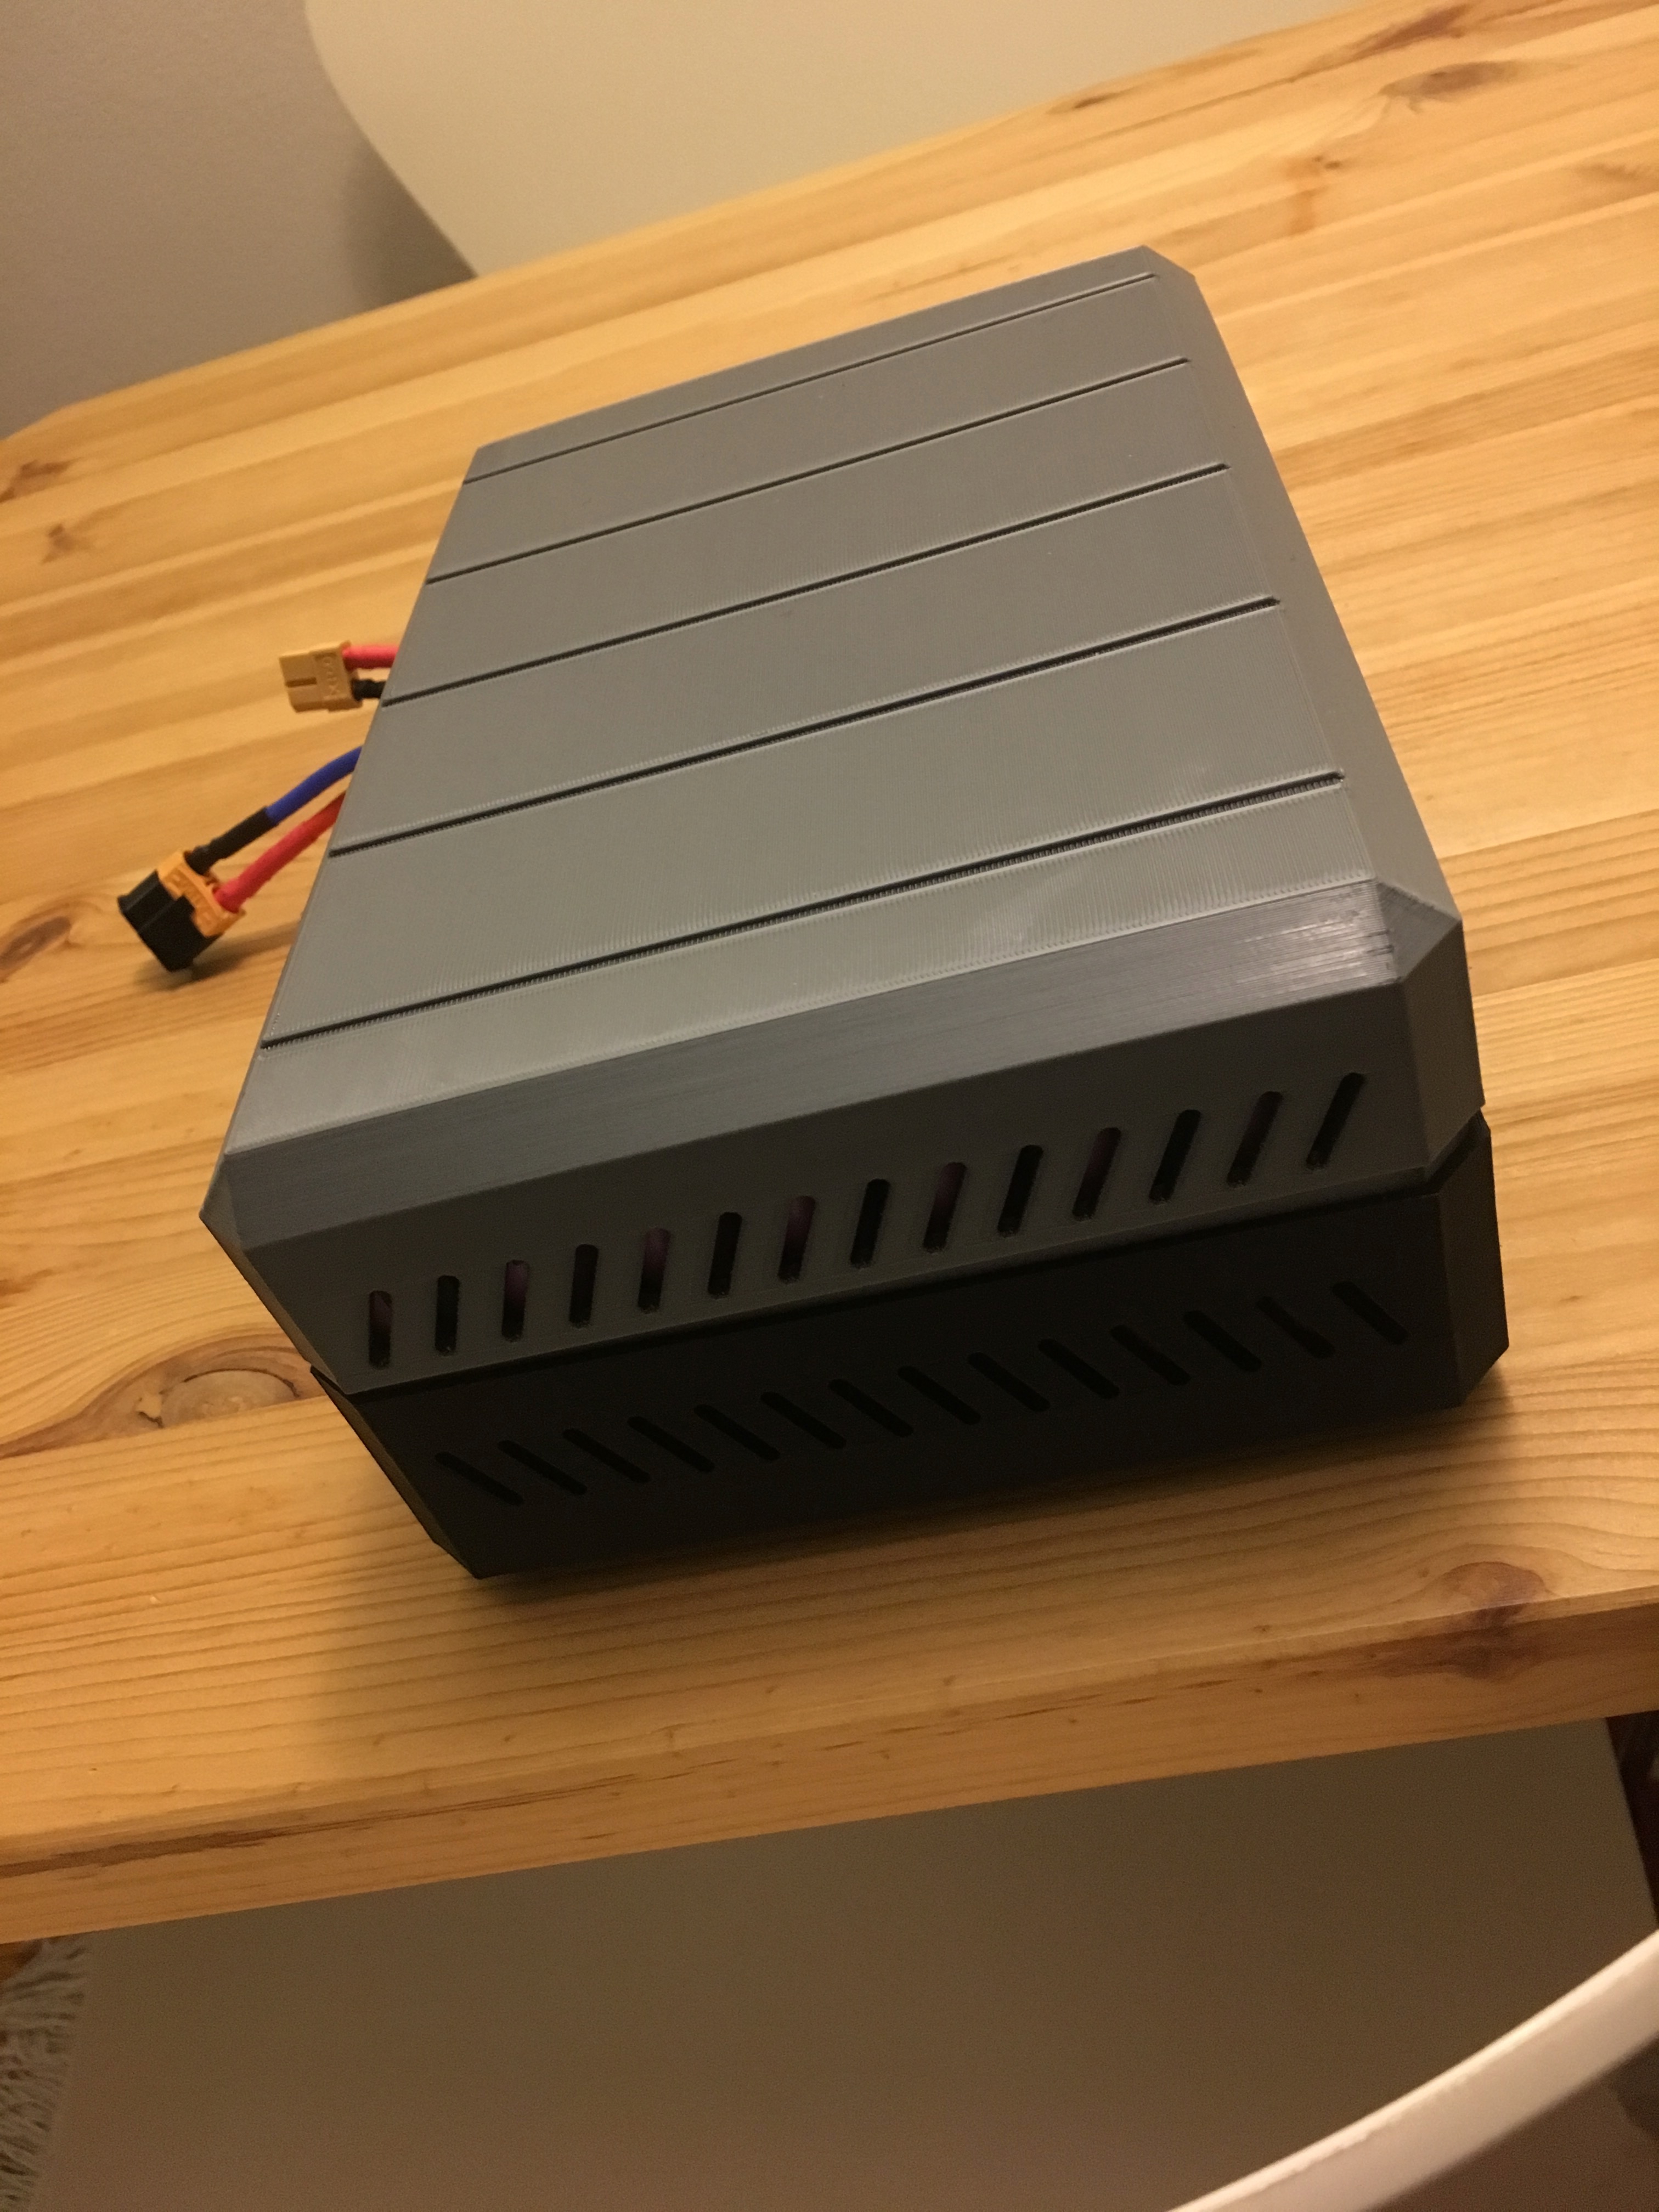
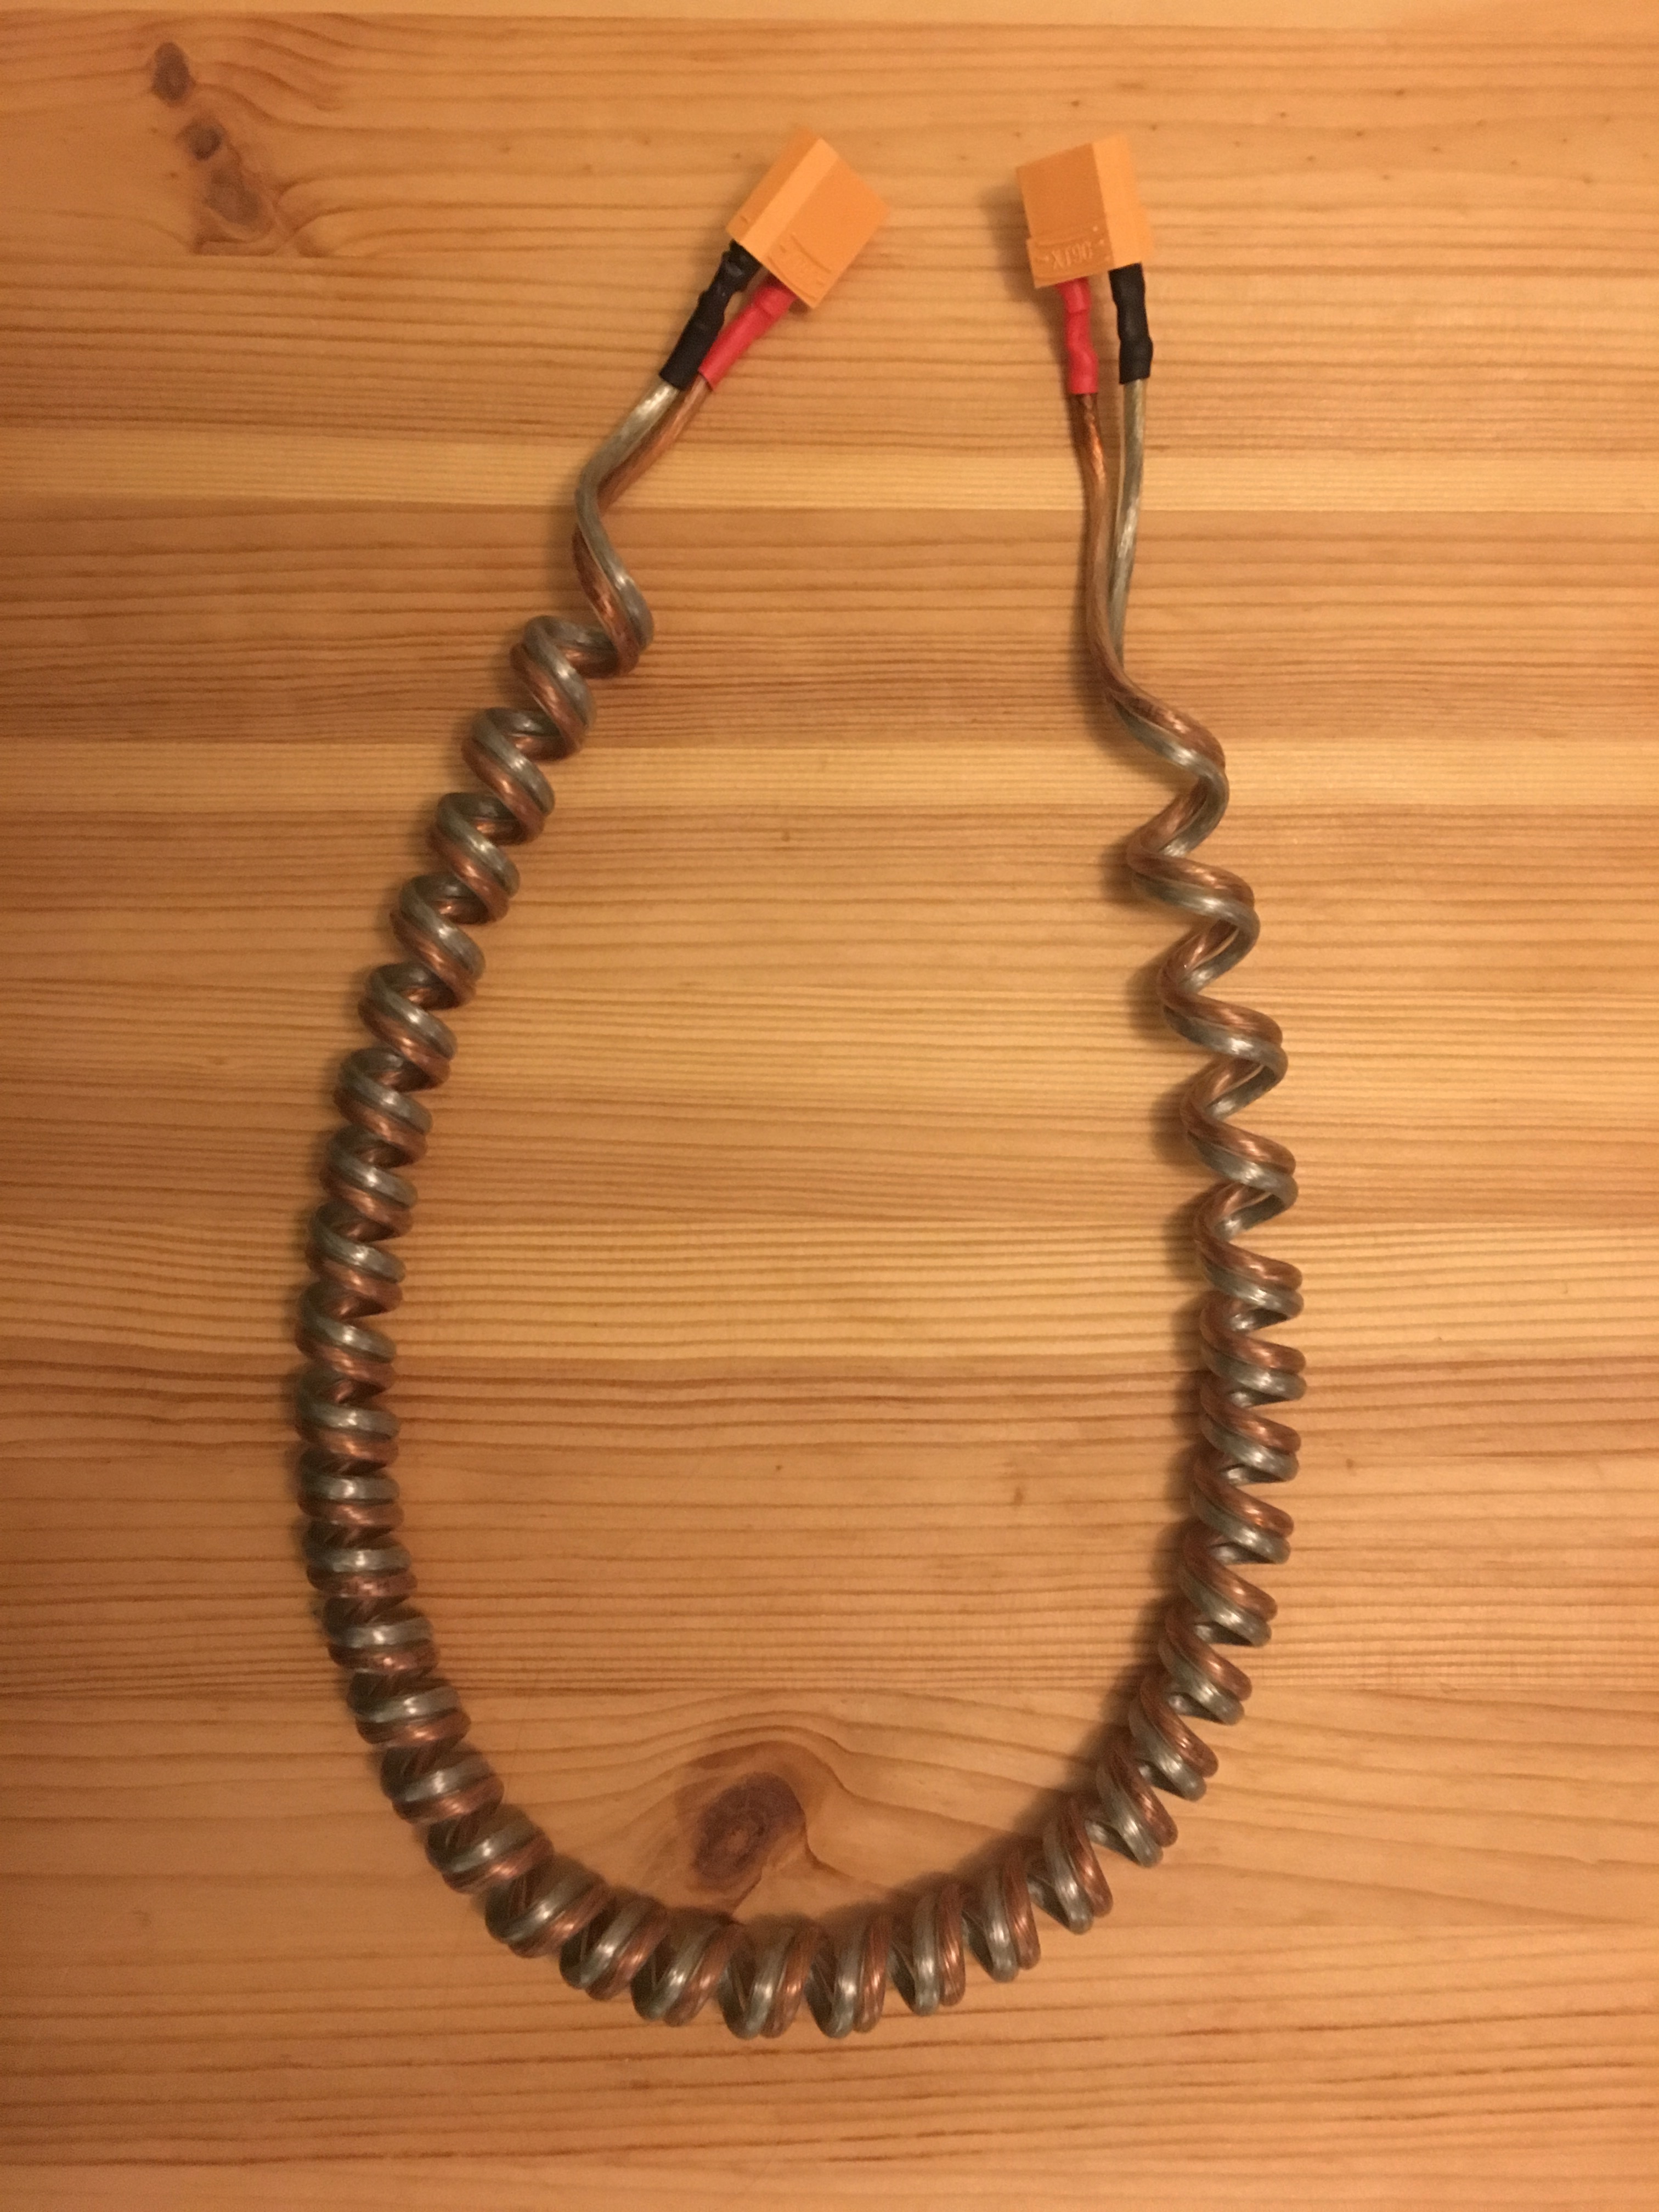
Next up is to get the battery connector up under the seating post as I'll have the battery in a backpack. More soon...
I've been ogling at the Luna Giant bikes and thought to myself, if they can do it to these production bikes then it should be possible to do it to mine too. I've been reading up and down on the forums to get some knowledge and pulled the trigger.
On the Luna site they list 3 types of the BBSHD kits - 68-73mm (Standard), 73-100mm (Fat), 120mm (Extra Fat). The lack of my knowledge and the not so specific wording on the site got me totally confused about what I needed. My bike is not a fat bike, so by definition I should go with the standard size. Wrong. Only when I had the motor in my hand, ready to size it up to the bike, I realized that I ordered the wrong size. The motor was untouched so Luna agreed to an exchange. My mistake set me back about $70 in shipping fees though, so that sucked. Only after that panic moment I realized that in fact my BB is not standard at all, and I needed an adapter. A BB92 adapter for that matter, and I read that the locking triangle ones are the best - problem is that almost nobody has them, but I found one in Germany. It wasn't cheap, but this things is beautifully made, anodized aluminum with really high grade milling.
Once all the parts arrived I rolled my sleeves up and got to work, fully expecting that things won't go easy. First things first, I had to remove the old BB. Didn't want to buy one, so instead I 3D printed one. Mallet and tool, couple tippidy-tap-taps and the BB was free. After a thorough cleanup with acetone I was ready to put the adapter in. Only to be confronted with the hole not being proper round in the mid part and a small welding spot that also was in the way. Got my trusty Dremmel tool out and rounded everything out. To pressfit things in the bracket, I put together a tool out of a steel threaded rod and some nuts with washers. The adapter went in just fine.
Note the missing ISC chain tensioner ear that I had to remove and grind down proper so that it wouldn't interfere with the motor. I'm glad I was able to do it with just one of the ears off - keeps the option open to put the tensioner back on at a later time.
Now comes the tricky part. Once I got the motor on and in all the way, turns out I won't be able to use the nice locking plate to mount the motor
Unless of course I'd milled the motor's mounting points down by quite a lot, which is not an option. What I ended up doing instead, I used the locking plate as a spacer and used the stock triangle mounting plate to mount on the motor. I need to get another triangle mount though, because I ended up having to put a spacer on the other side - which in the case of the Trance 2 is not a good thing as you want no adapters on the driver side because the chainline will be affected. You can see on the photos that the aluminum plate is sticking out - I kinda want to keep it that way and use it to mount something on it in the future. Not sure what yet... but definitely don't want to chop it off.
Now that it's mounted, I couldn't help but notice that if I applied enough force on the front on the motor it will eventually swivel up because the whole assembly pivots with the adapter. Not freely, but still, got me concerned about the possibility of vibrations loosening the whole thing. Seeing the remaining ISC mount hole, got me the idea of mounting a sort of wedge in there that would limit any turn of the motor. A couple of hours of tinkering with my 3D printer and I got a part that does just that!
And here it is mounted:
The rest was easy-peasy. Got the speedometer, display, controls, and the break sensors on. Did the cable management as I was going along.
Next up is to get the battery connector up under the seating post as I'll have the battery in a backpack. More soon...