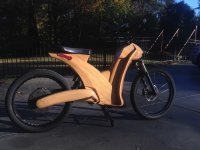
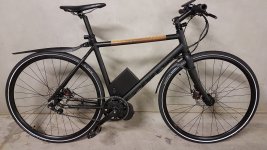
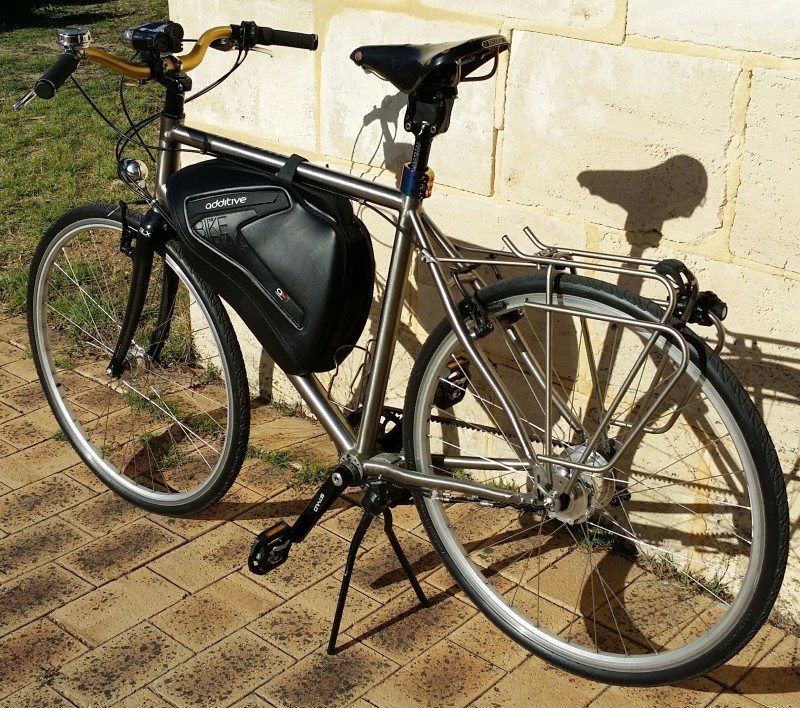
Tonight i started getting a new box ready for a build i'm planning, its not finished but i think its a good proof of concept, could use advice on one thing though.
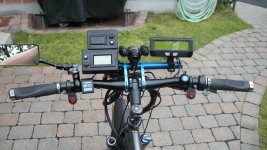
Started with an mdf placeholder to test width and if it got in the way, looked lovely riding with this haha
View attachment 9
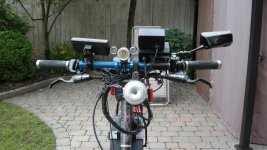
mocked up a shape from some corflute i had laying around, couldn't find cardboard, theres a few projects going on haha
View attachment 8
Grabbed a blowtorch and circular saw and tried to re-make it from acrylic (iv'e seen people use ABS but i couldn't find any, bunnings had acrylic sheeting so here we go.
View attachment 7
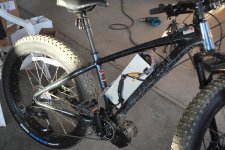
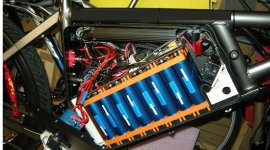
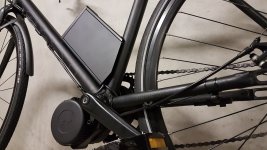
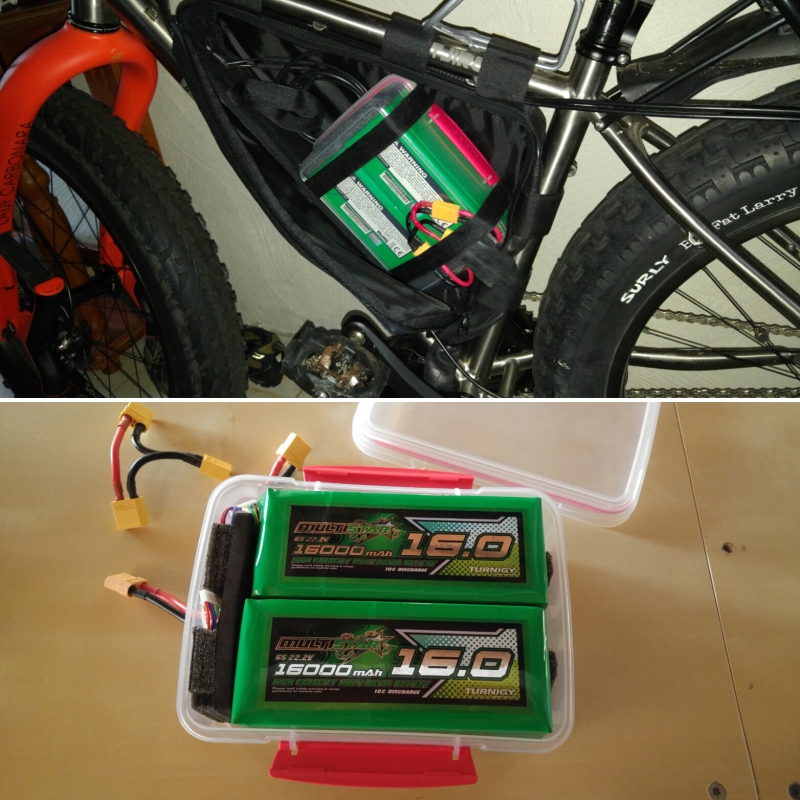
test fit of 14s multistars
View attachment 6
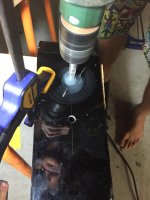
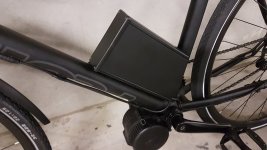
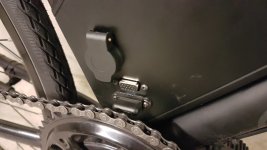
i needed to mount the acrylic to the frame without cracking it or transferring too much vibration so i cut down the rubber acoustic dampeners from a recording studio build i had left laying around
View attachment 5
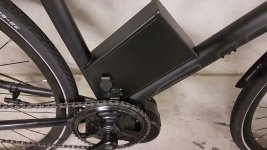
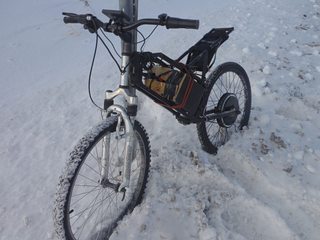
they worked much better than i hoped, its firm but vibration dampened, attached by 4 water bottle mounts, i will probably do one at the top as well
[ATTACH type="full" alt="fixings.
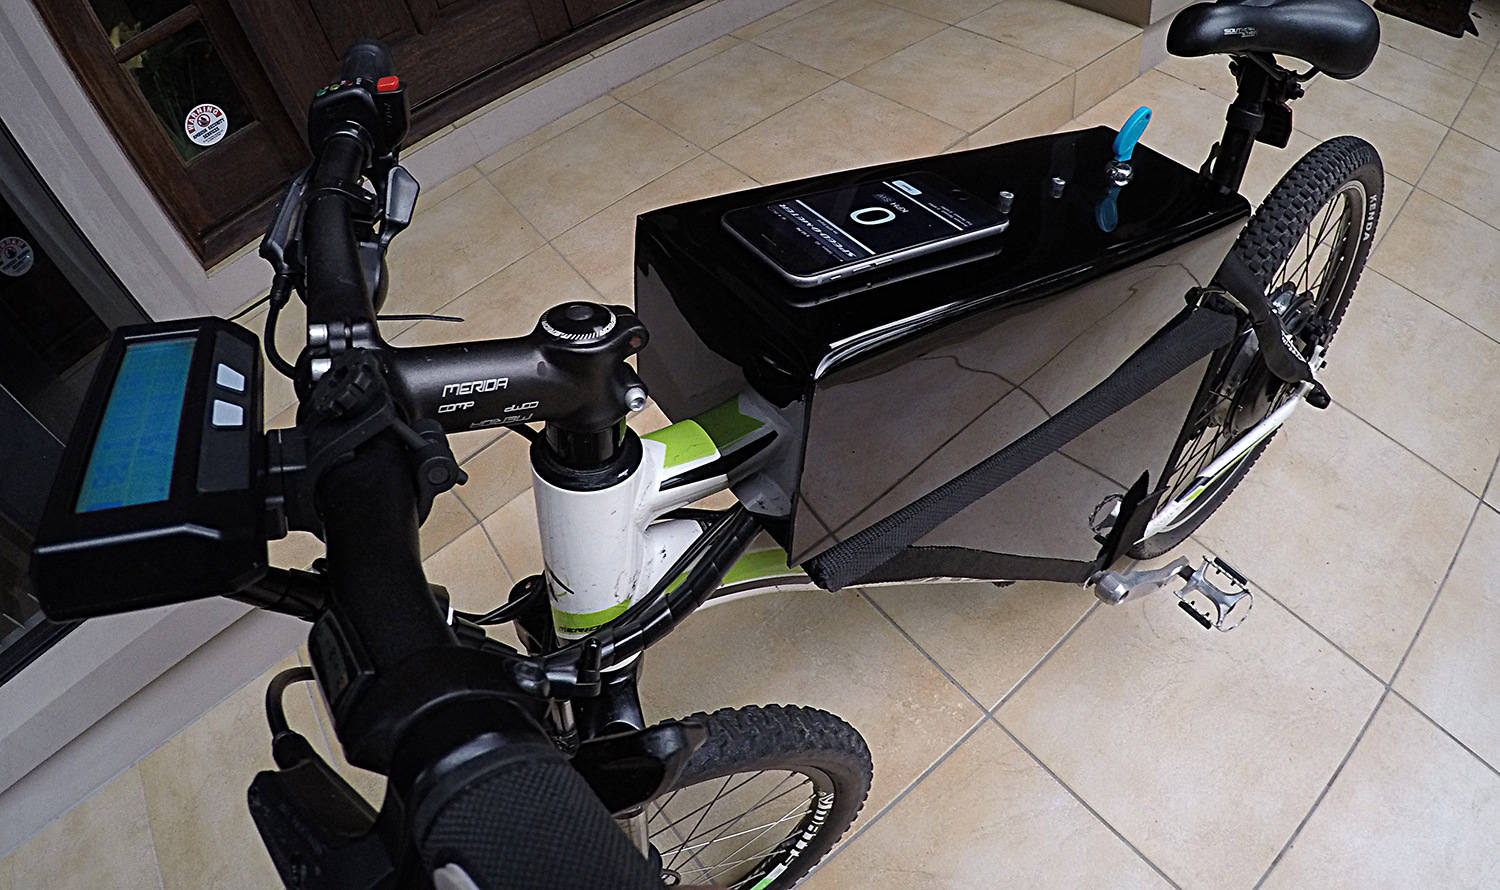
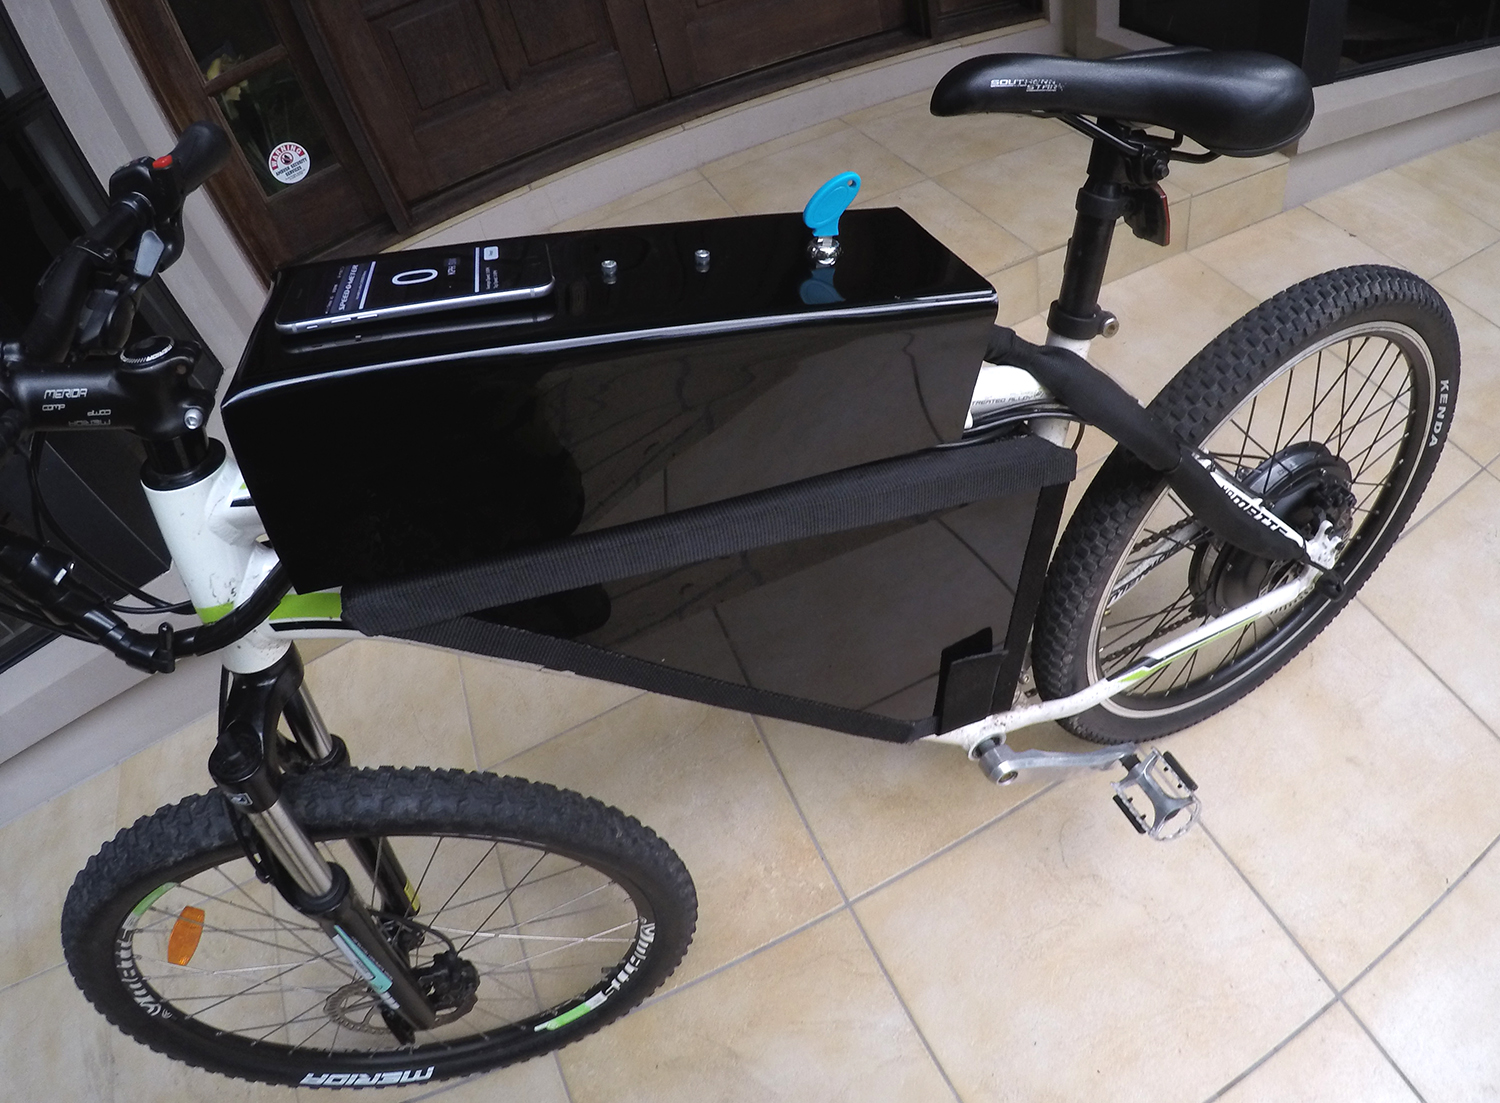
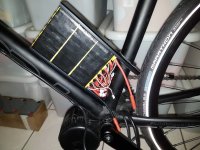
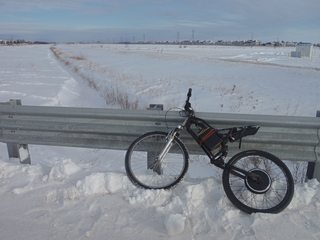
testing the balance it feels quite good with the weight down nice and low, the inside of the housing is lined with 3mm acoustic/vibration rubber i had laying around from same studio build
[attachment=1]batt test 2 with rubber .jpg"]2[/ATTACH]
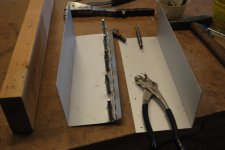
this is where im up to tonight, and where i could use a hand, i will permanantly fix one side to the box but the other i would like to hinge for easy access, there are a few options im considering, maybe make a fabric hinge from some seatbelt type webbing and run it along the corners of the box all round so it looks even, or a piano hinge but that would look ugly, i'm open to suggestions?
I'm 100% open to suggestions if you're looking at it thinking ( he should have done it like this) i'm happy to hear them haha
tomorrow ill fix the side panels, drill and groment some more holes for wiring and i'm also thinking about making a tube top dashboard from the same acrylic, with the master switch, CA and whatever else i need room for etc


")
.jpg")