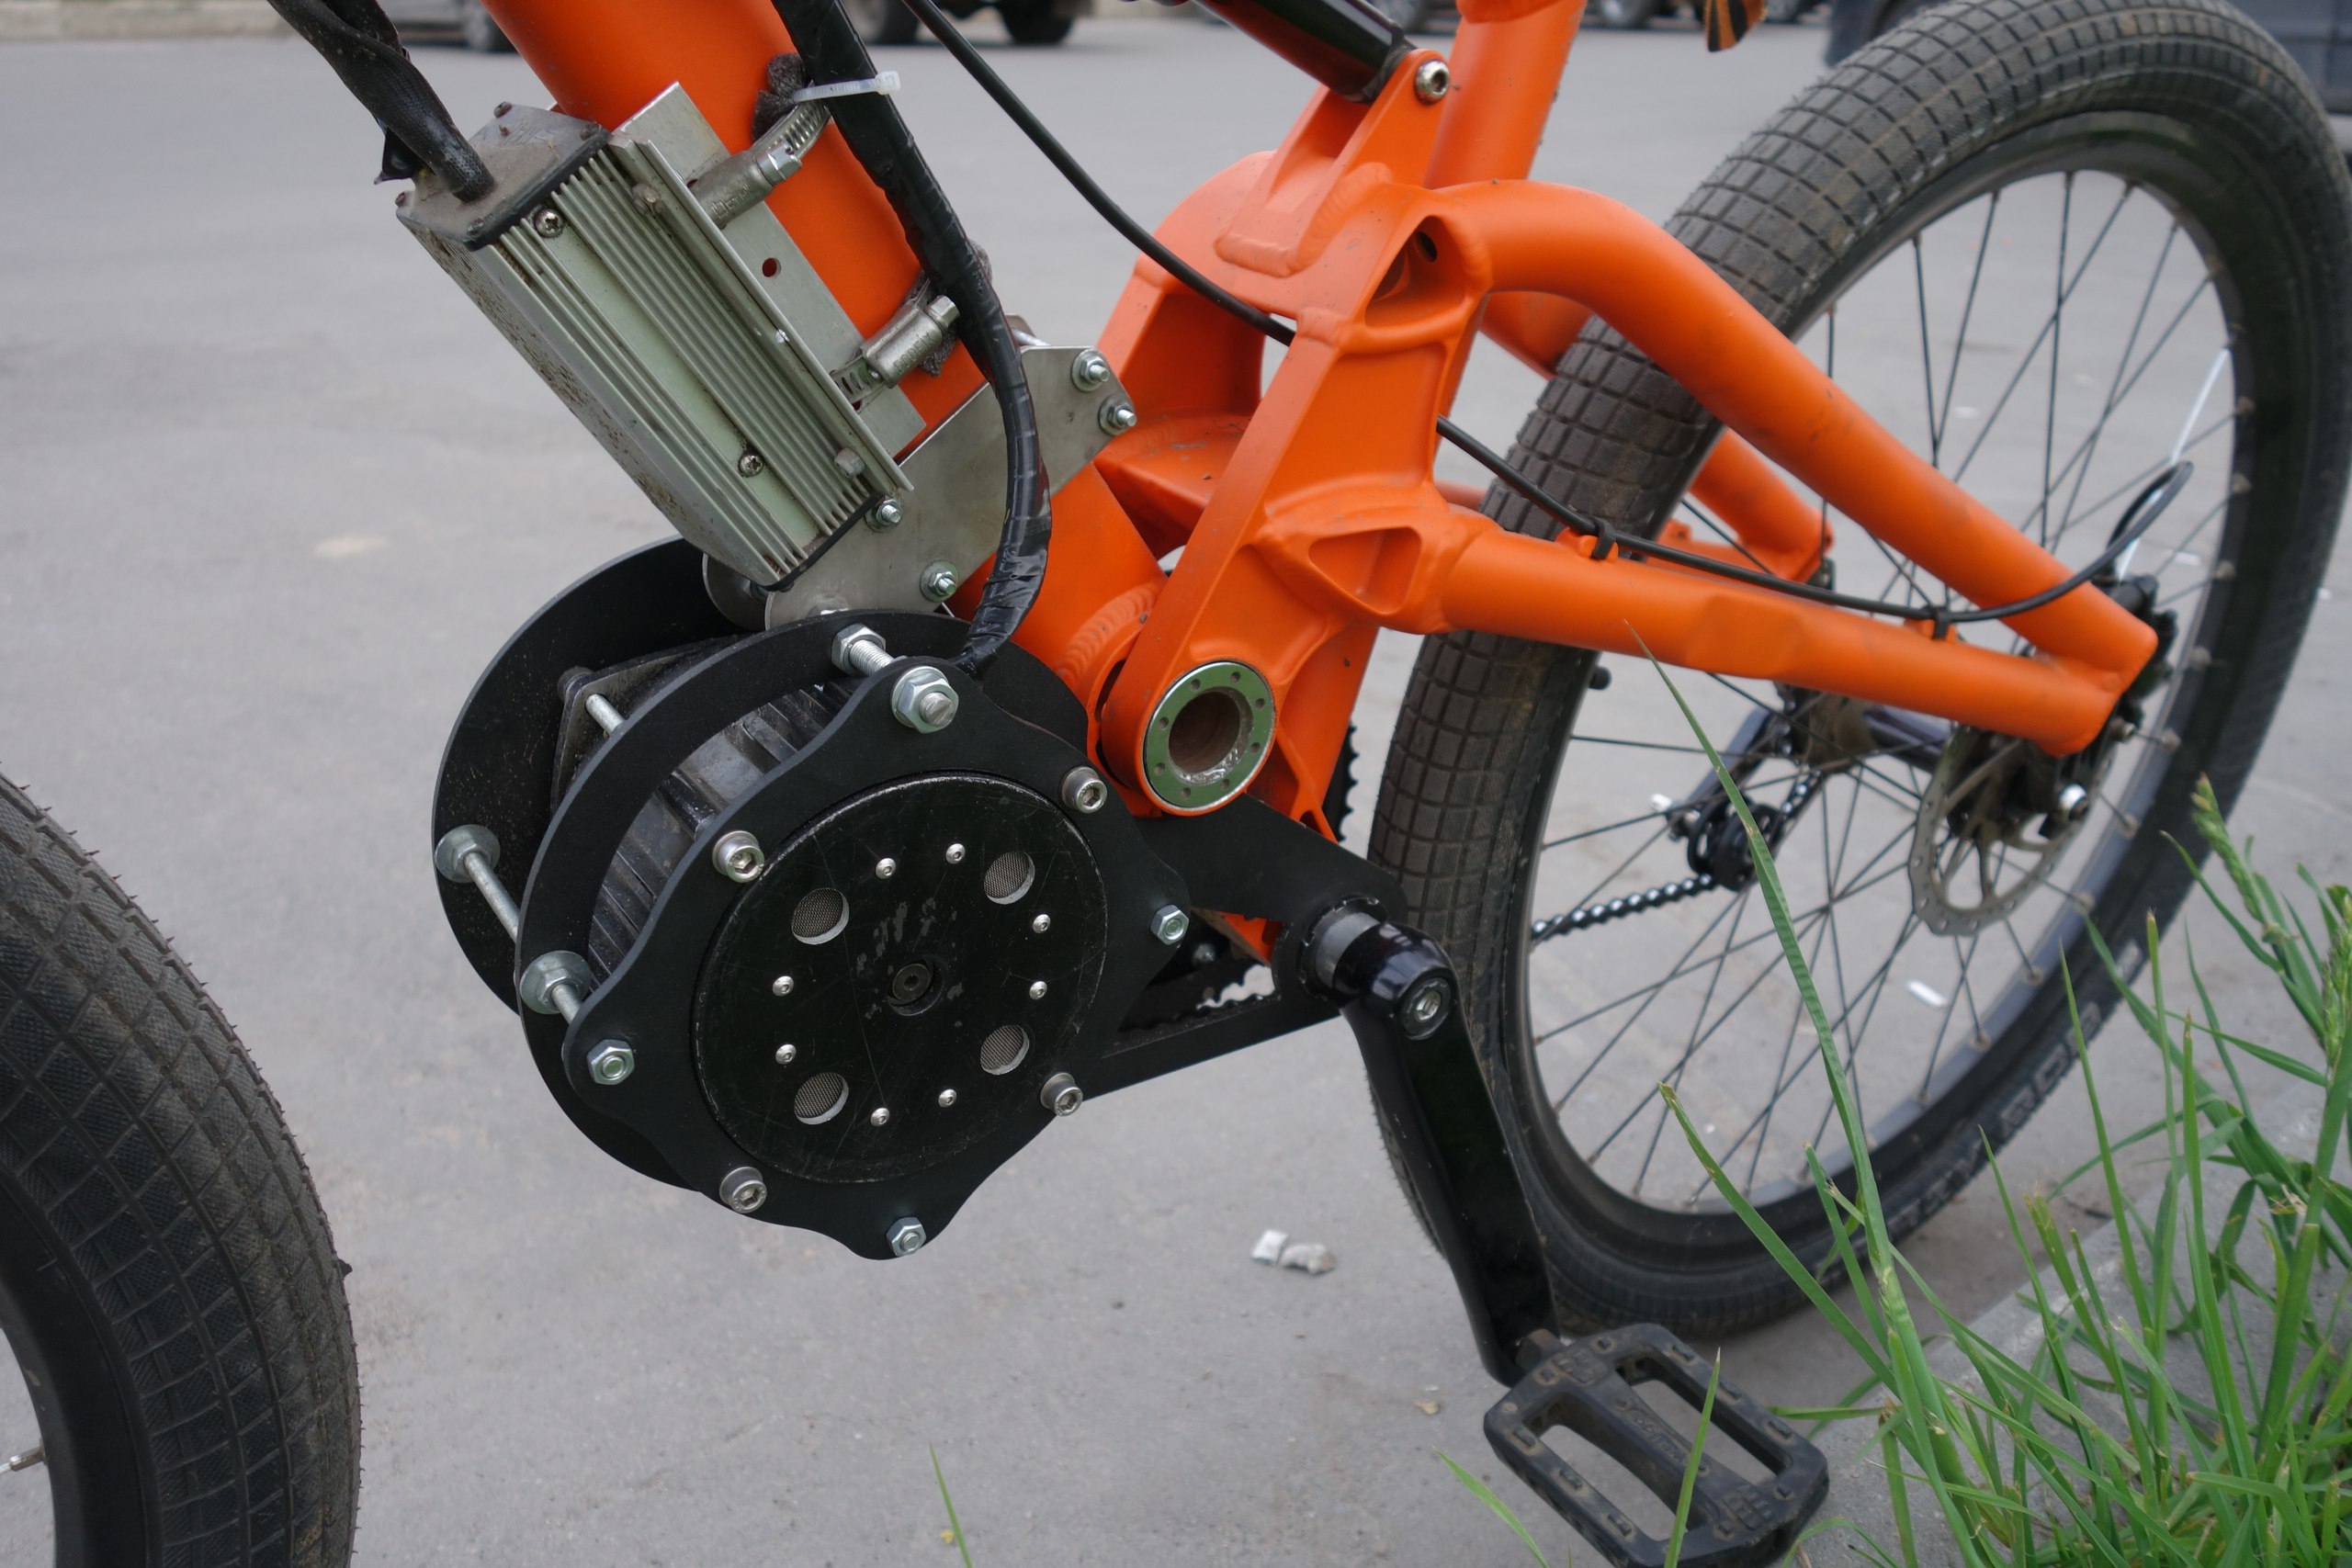
I was not entirely satisfied with the 4mm weep holes for removing dampness from the C3000 motor case. I decided to install much bigger holes and position them so as to get ram air cooling while riding pavement at high speed yet have the capability to plug them for wet trail riding and stream crossing.
To get some ram air I needed to put an elbow on the outside of the motor cap in that location where the pedal crank does not sweep. I used a 1/2" copper street "L" with the small end inserted into the 5/8" hole drilled on the motor case and the bigger end of the Street L oriented toward the front. Here is a pic of the L inserted into the case and the lip of it segmentally folded over.
View attachment 4
I additionally anchored the L on the outside with high temp hot glue and left the opposite hole without any fitting added.
View attachment 3
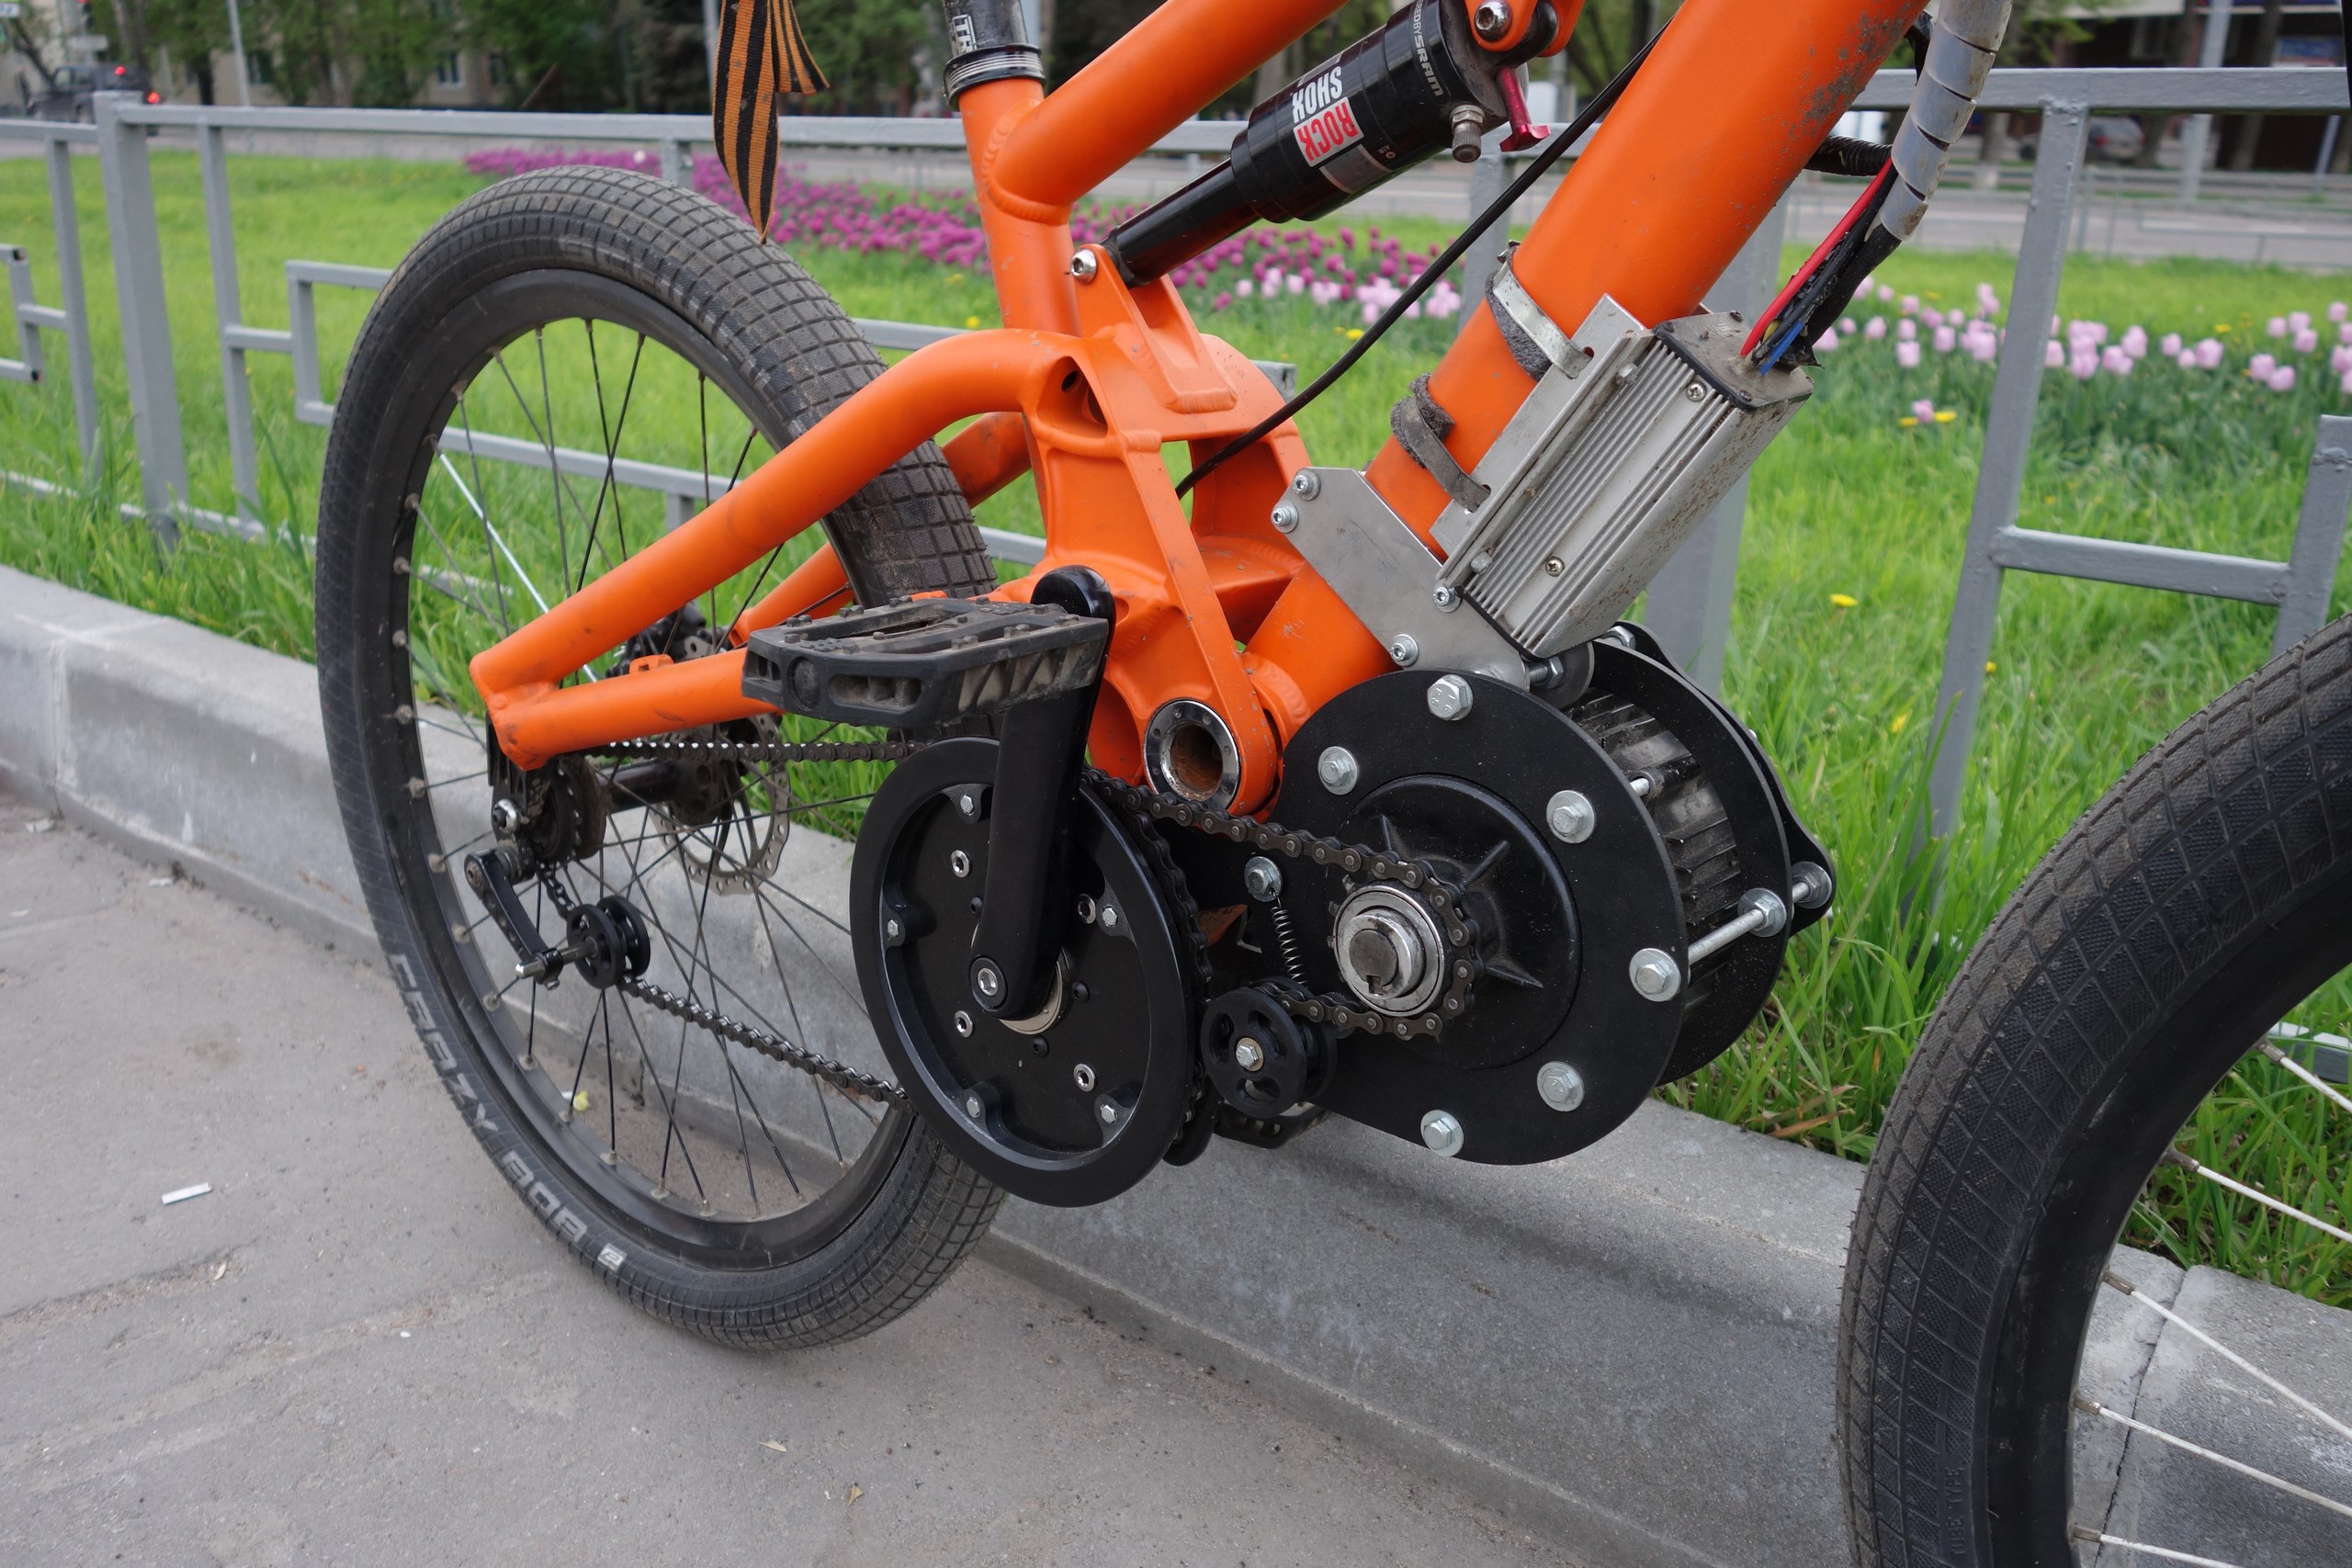
There are 2 different plugs I use on this setup. I use a cutoff rubber stopper on the air exit hole where the pedal crank sweeps. On the Ram air hole I used an internal bullet sweat plug that fits in tight on the big end of the street L. I was thinking the stiff copper insert might help keep the copper elbow from getting flattened if the bike falls over on a rock. On a 26 mile trail ride the plugs were pushed in tight once and never came out during the ride.
View attachment 2
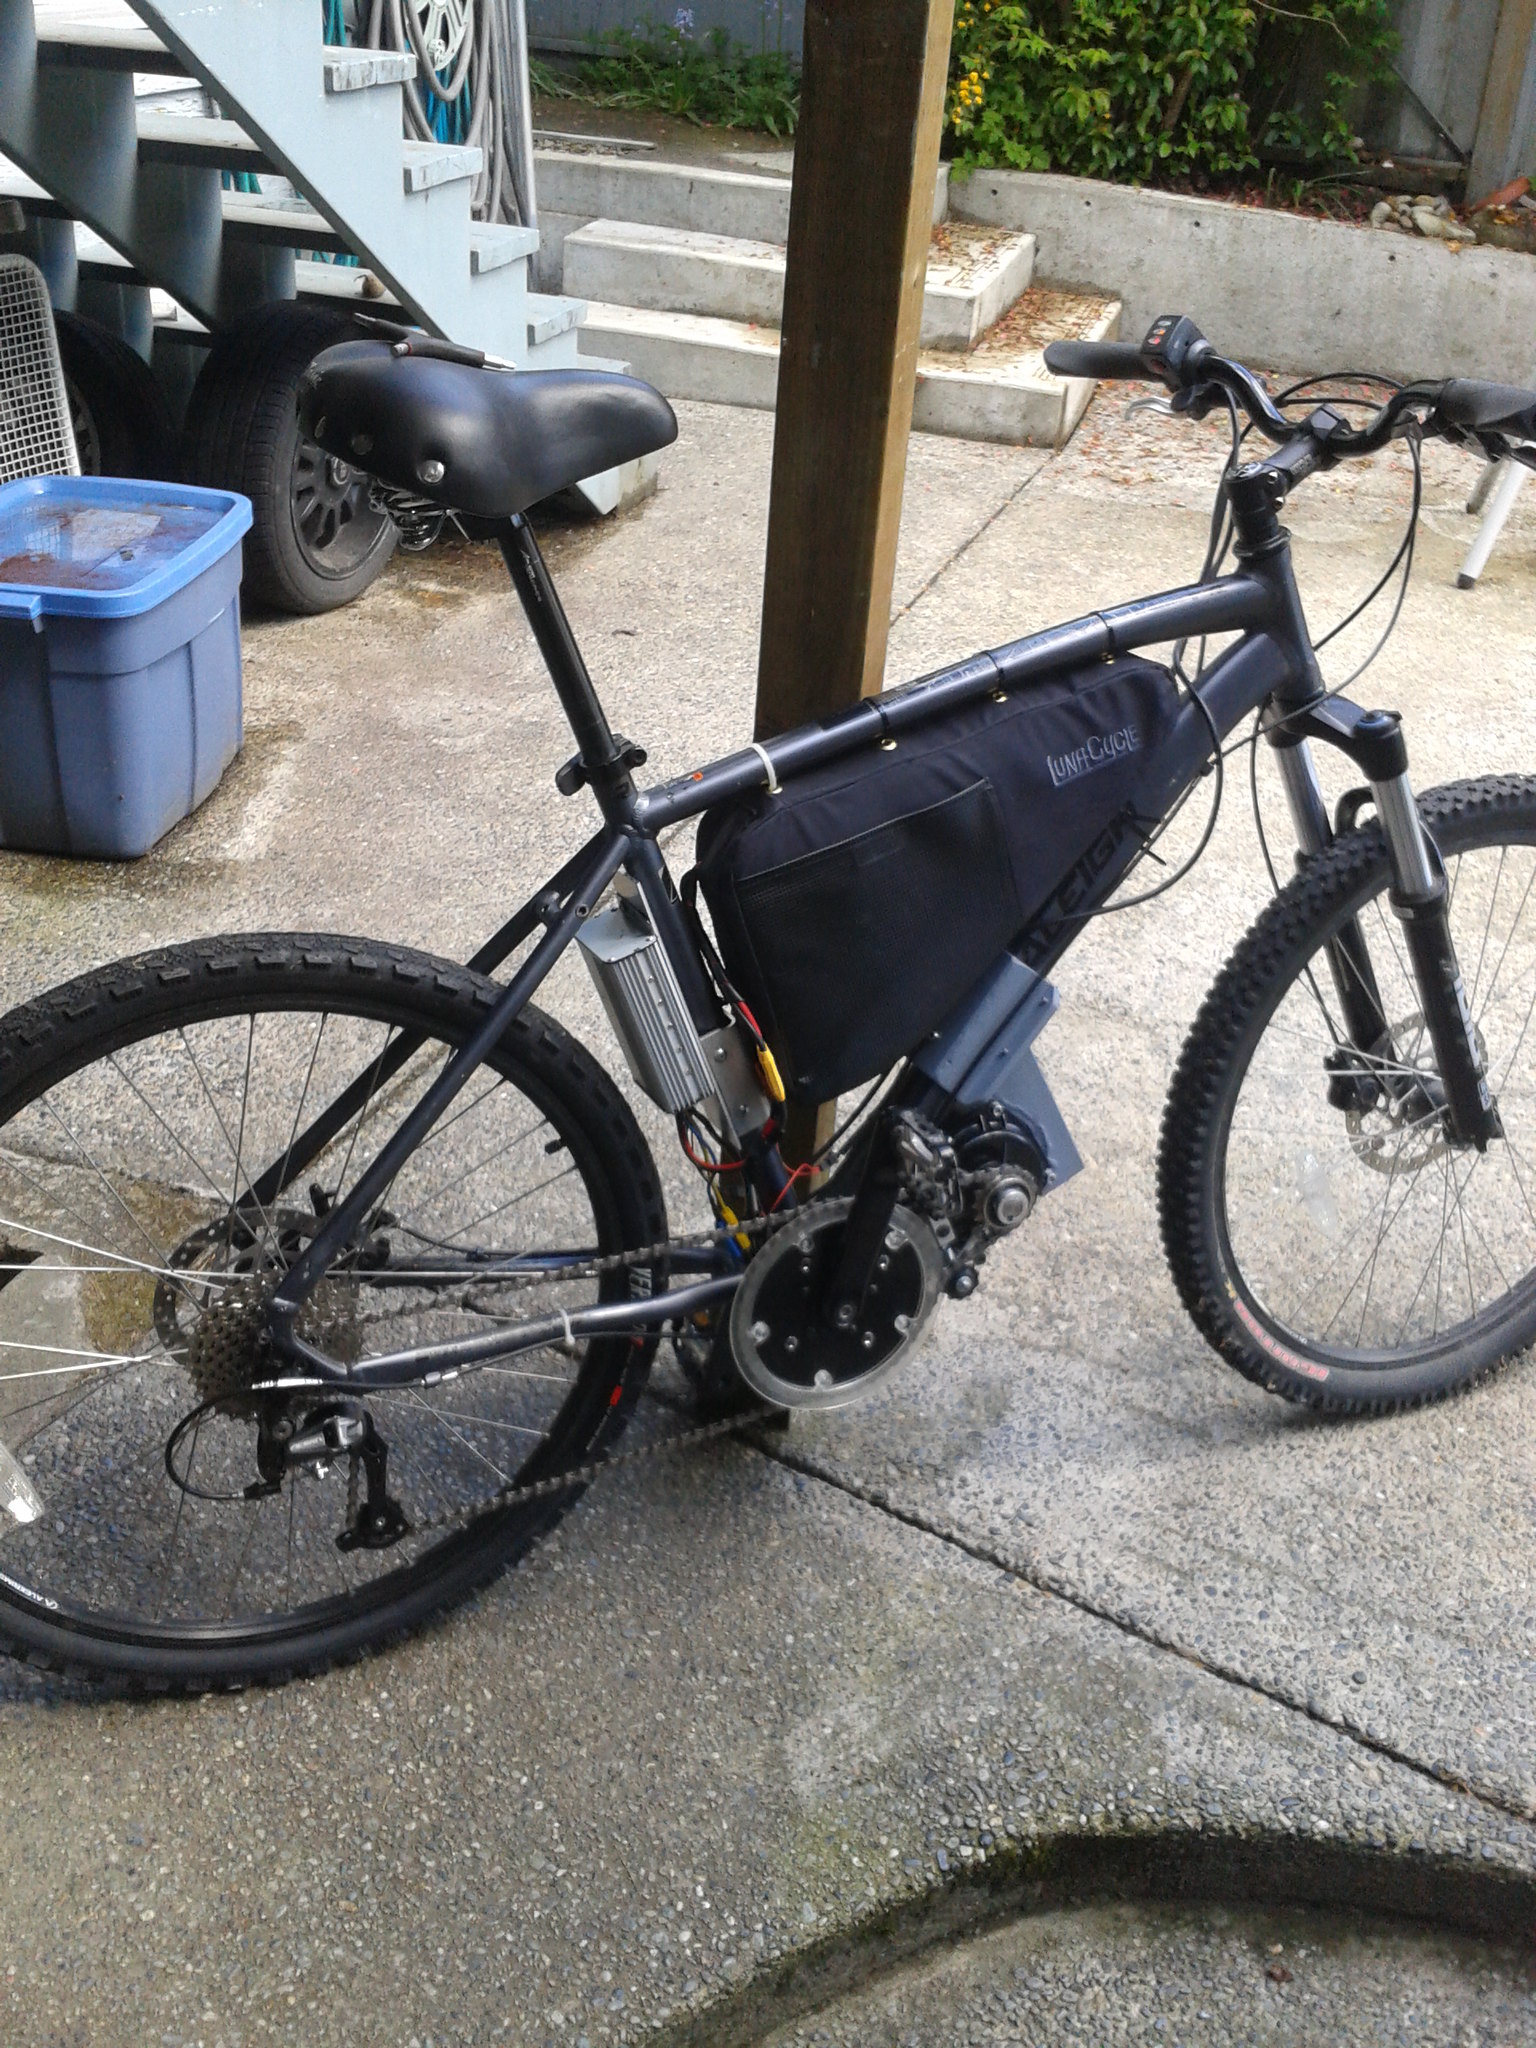
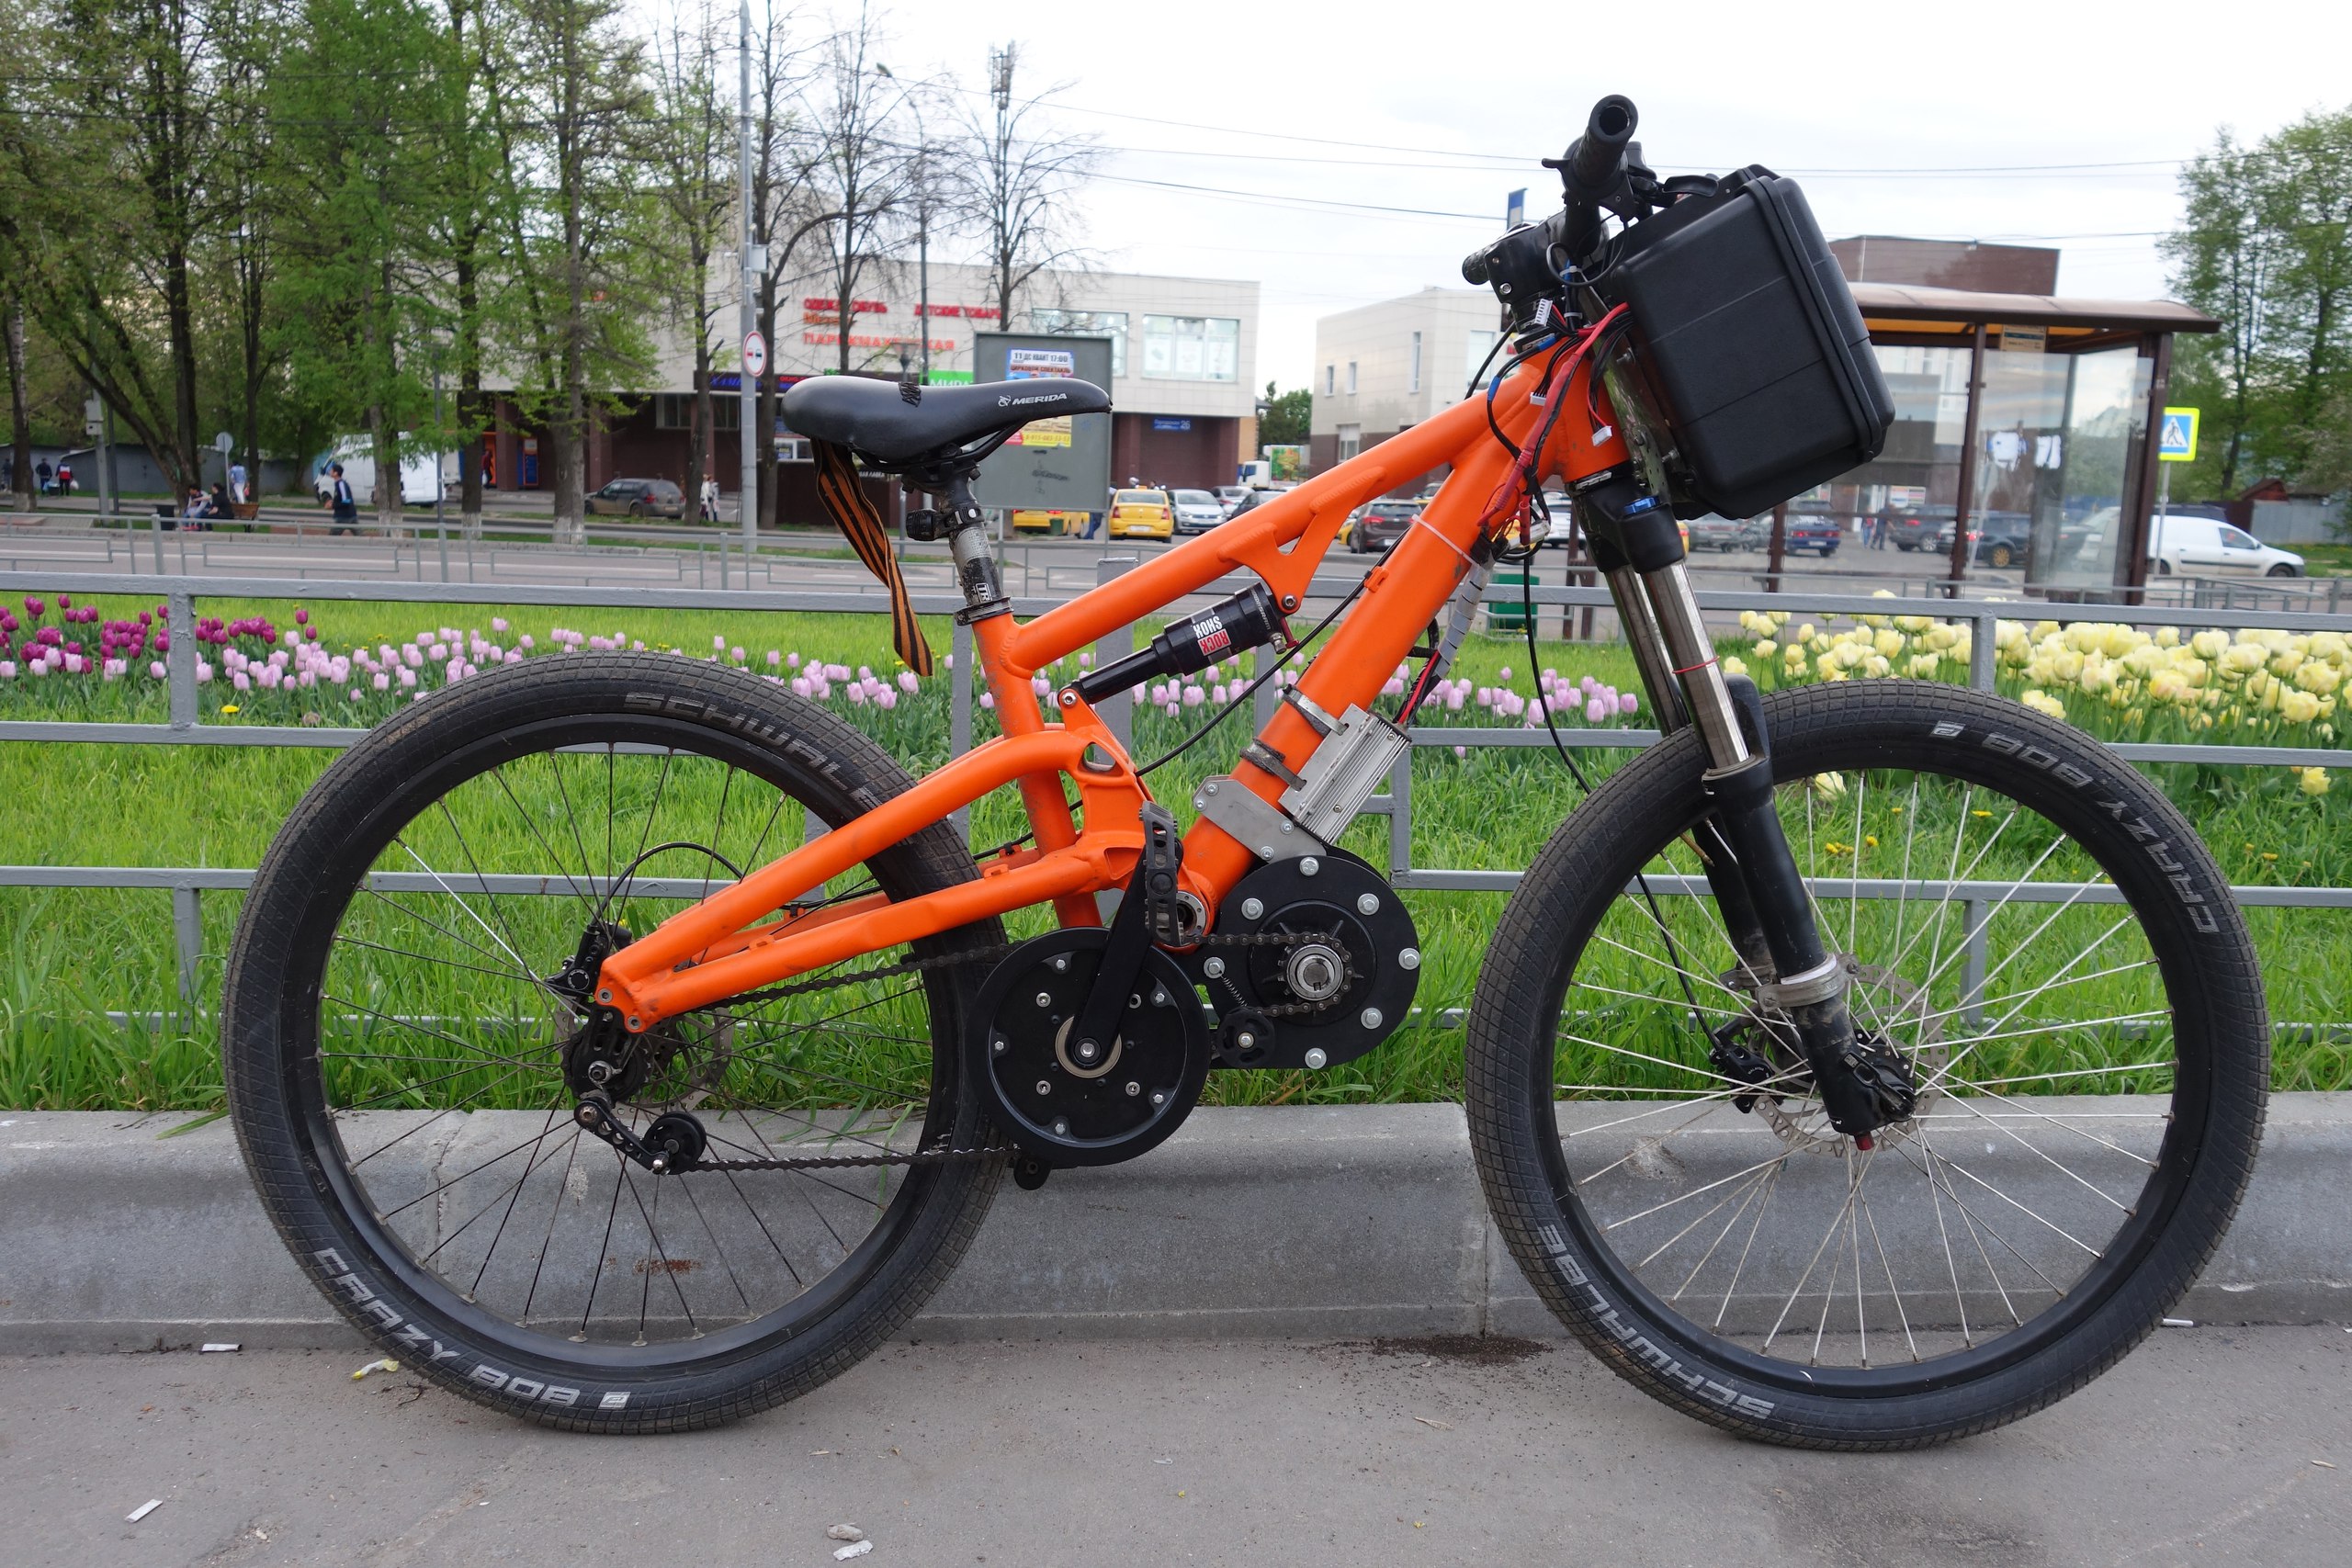
The setup mounted on the ebike:
View attachment 1
The Ram Air holes certainly get rid of the sweat beads of water condensed on the motor case when the holes are left open overnight inside the house [ambient 67F]. But how good does the Ram Air ventilation work for cooling. I rode a 10 mile 1200' rise of I-80 east of Laramie on 2 occasions. Without the holes and riding at 37 mph on the shoulder of I-80 the motor temp at the summit was 75C. With the ram air holes on the same stretch and speed the summit motor temp was 67C and the ambient air temp on the ram air test was 2 degree F hotter. So it is safe to say the motor was about 9C degrees cooler with the elbow ram air.
There are more tests of motor temp cooling in store. 1. Add a funnel to the elbow to see how much more cooling can be achieved with a funnel. 2. Mechanically enhancing the air flow with a Makita 18v blower. The air speed of blower exit air is about 180 mph.