RTIII said:
. Is the issue that you don't want to lose any lever travel in starting the braking effect?
Yes. But there's no way (short of adding higher tension retraction springs on the arms) to pretension teh cable/housing enough to prevent that, without changing the housing out.
I've actually been keeping the spring thing in mind for a while now as I sort stuff in the junk I"m tossing out/recycling from the sheds, because I'm willing to try that, too (and it's a "free" test in that it'd be parts I already have, costing nothing but time).
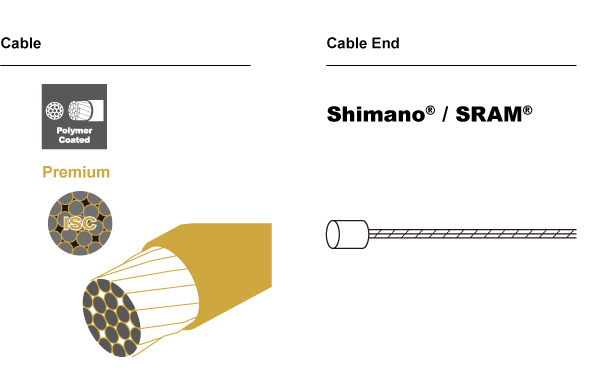
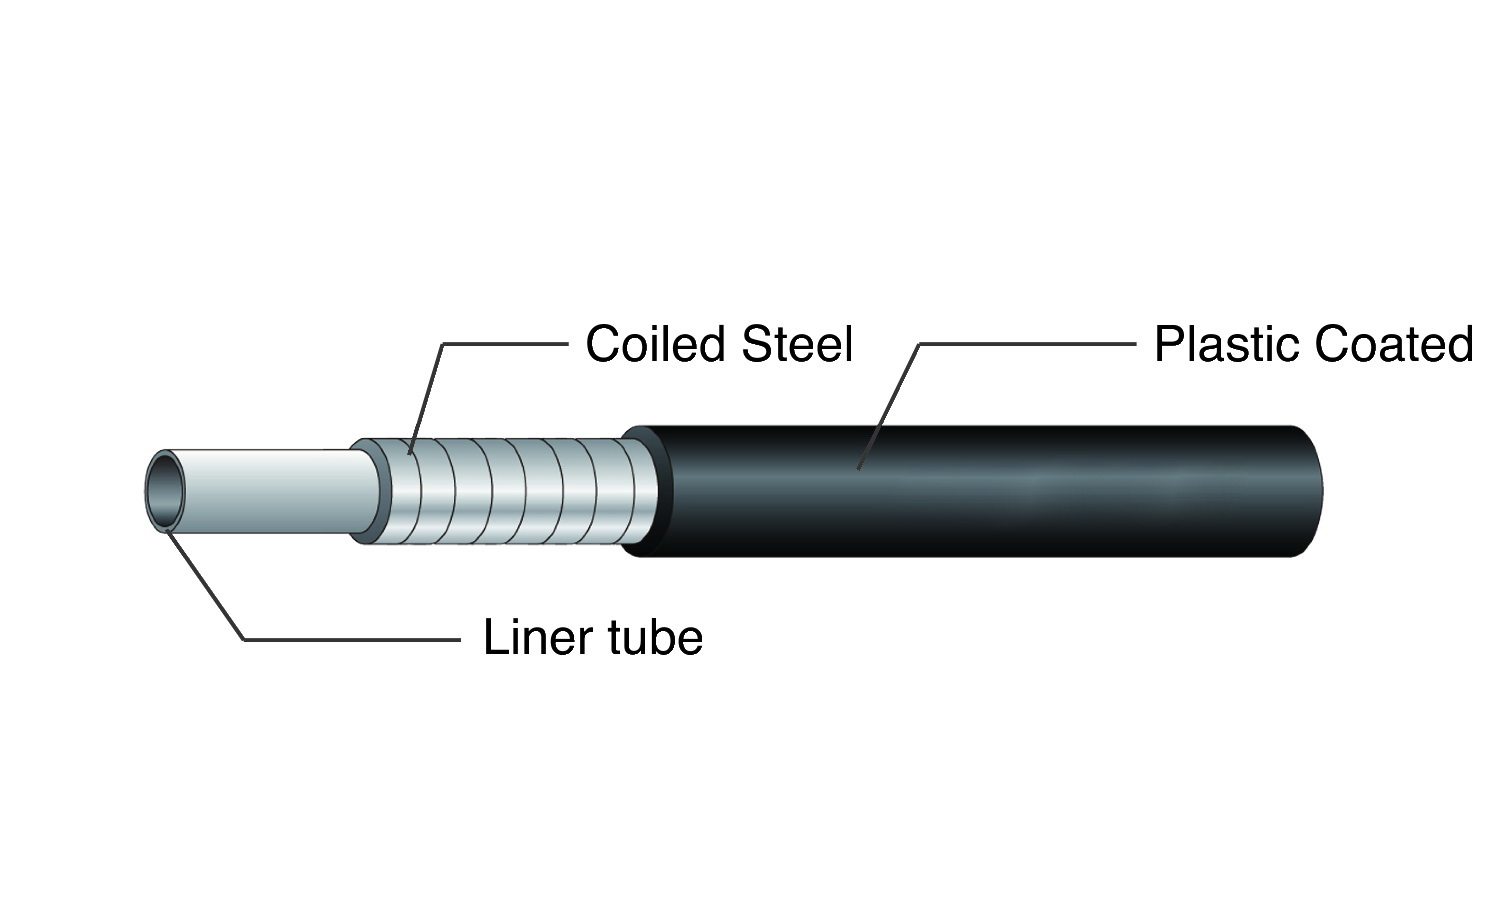
"Linear" construction of tubes for a brake cable make _no_sense_at_all_ because the tube won't be able to support much compression without failing.
That's what the kevlar housing is for. (otherwise, it *would* burst)
As I said, though, I haven't actually used any yet, so couldn't say how well it would work, but it's reported to make a noticeable difference. I'd certainly try it out if I had money to spend.
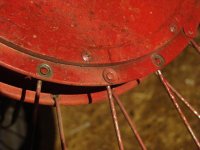
I'm tempted to use some derailer housing just to test the theory, but at present the front brake will skid the wheel under most conditions (at least with the unloaded trike--still not tested with Kirin in the cargo area and Yogi on the trailer) if I set the lever for that and squeeze hard enough; can't get better braking on that wheel than that.
")
Once I move more weight forward (at least lighting pack in the front triangle or somewhere up there, possibly part of the traction pack, or add the middrive motor idea just behind the cranks) then that'll change braking characteristics and maybe it won't be able to skid it anymore, and I'll worry about it then.
I expect that with Kirin and Yogi it'd actually skid easier, because weight will be removed from the front wheel during a stop by the trailer pushing down on the hitch, and Kirin will typically have about half of her weight on either side of the rear axle, making that about neutral. So better rear brakes and/or trailer brakes would be needed to fix that issue.
If you have wire stretch issues you have too small diameter wire for the application! There's just no two ways about it.
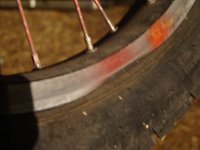
I don't know if I have "wire stretch" issues, because the brakes work much better now with the single run (per brake) of undistorted housing in wide curves (previously at least one of my housings was two pieces butted up against each other at the ferrules, as I didn't have a single run long enough for it that I wasn't using elsewhere, and both housings had too-sharp bends in their routings).
And the single (dual-pull) lever to pull both at the same time (since my hand can't easily wrap around and apply the right pressure to two separate ones on the same side, especially on bad days when things are hurting).
I forget if I changed the cables, too, but I probably did because the other ones would've been too short for the new routing.
But I can still feel (and see) the housing move/compress, just a bit, over the approximately five feet from brake lever to brake arms. On a shorter brake cable run, with less total pressure needed to cause full braking (less inertia to overcome), it would probably be less of a problem.
If I had thicker cable and housing to go with it, I'd use it, but I don't.
Side note: Back on CrazyBike2, there was a time one strand in the cable snapped, and it reduced my braking so much it was scary. So I know the thickness of the cable does matter.
(though it made much less difference when the same thing has happened on regular bikes back when I weighed 50-60lbs less, for something like half the weight to be stopped, which tells me that it does take significantly more braking cable force to be able to stop a heavier bike)
Regarding the settling-in process, I generally do that before even testing it out--I just set the tension as high as I can, with pads already on the rims with no lever squeeze, then squeeze as hard as I can, then readjust, until I can't squeeze the lever significantly with the pads already on the rims. Then I reset it to normal operation, and generally don't have to worry about anything changing as I ride from that point on, other than pad wear.
(plus if anything is going to break, I"ll probably have ti happen right then instead of on the road).
However, I do think that over time something happens with the braking mechanism that makes it less effective, and most likely it's the cable itself actually stretching (meaning, too thin a wire), as braking on this trike is a problem I've fixed repeatedly in different ways over the past 3 years, with no permanent solution yet. Part of it is adding weight to the trike, as I improve it's usability it gets more stuff permanently made part of it, but the rest of it has to be something else.
Thus, I'd like to add mechanical rear brakes, and I'm still working on a pair of Lebowski controllers that can both do "EABS" actively-braking the rear wheels (only one of the generics I have now does that), and add trailer brakes, etc. More braking can't hurt.