Long tail cargo bike build

What kind of spray gun are you going to use? And how big is your air compressor?

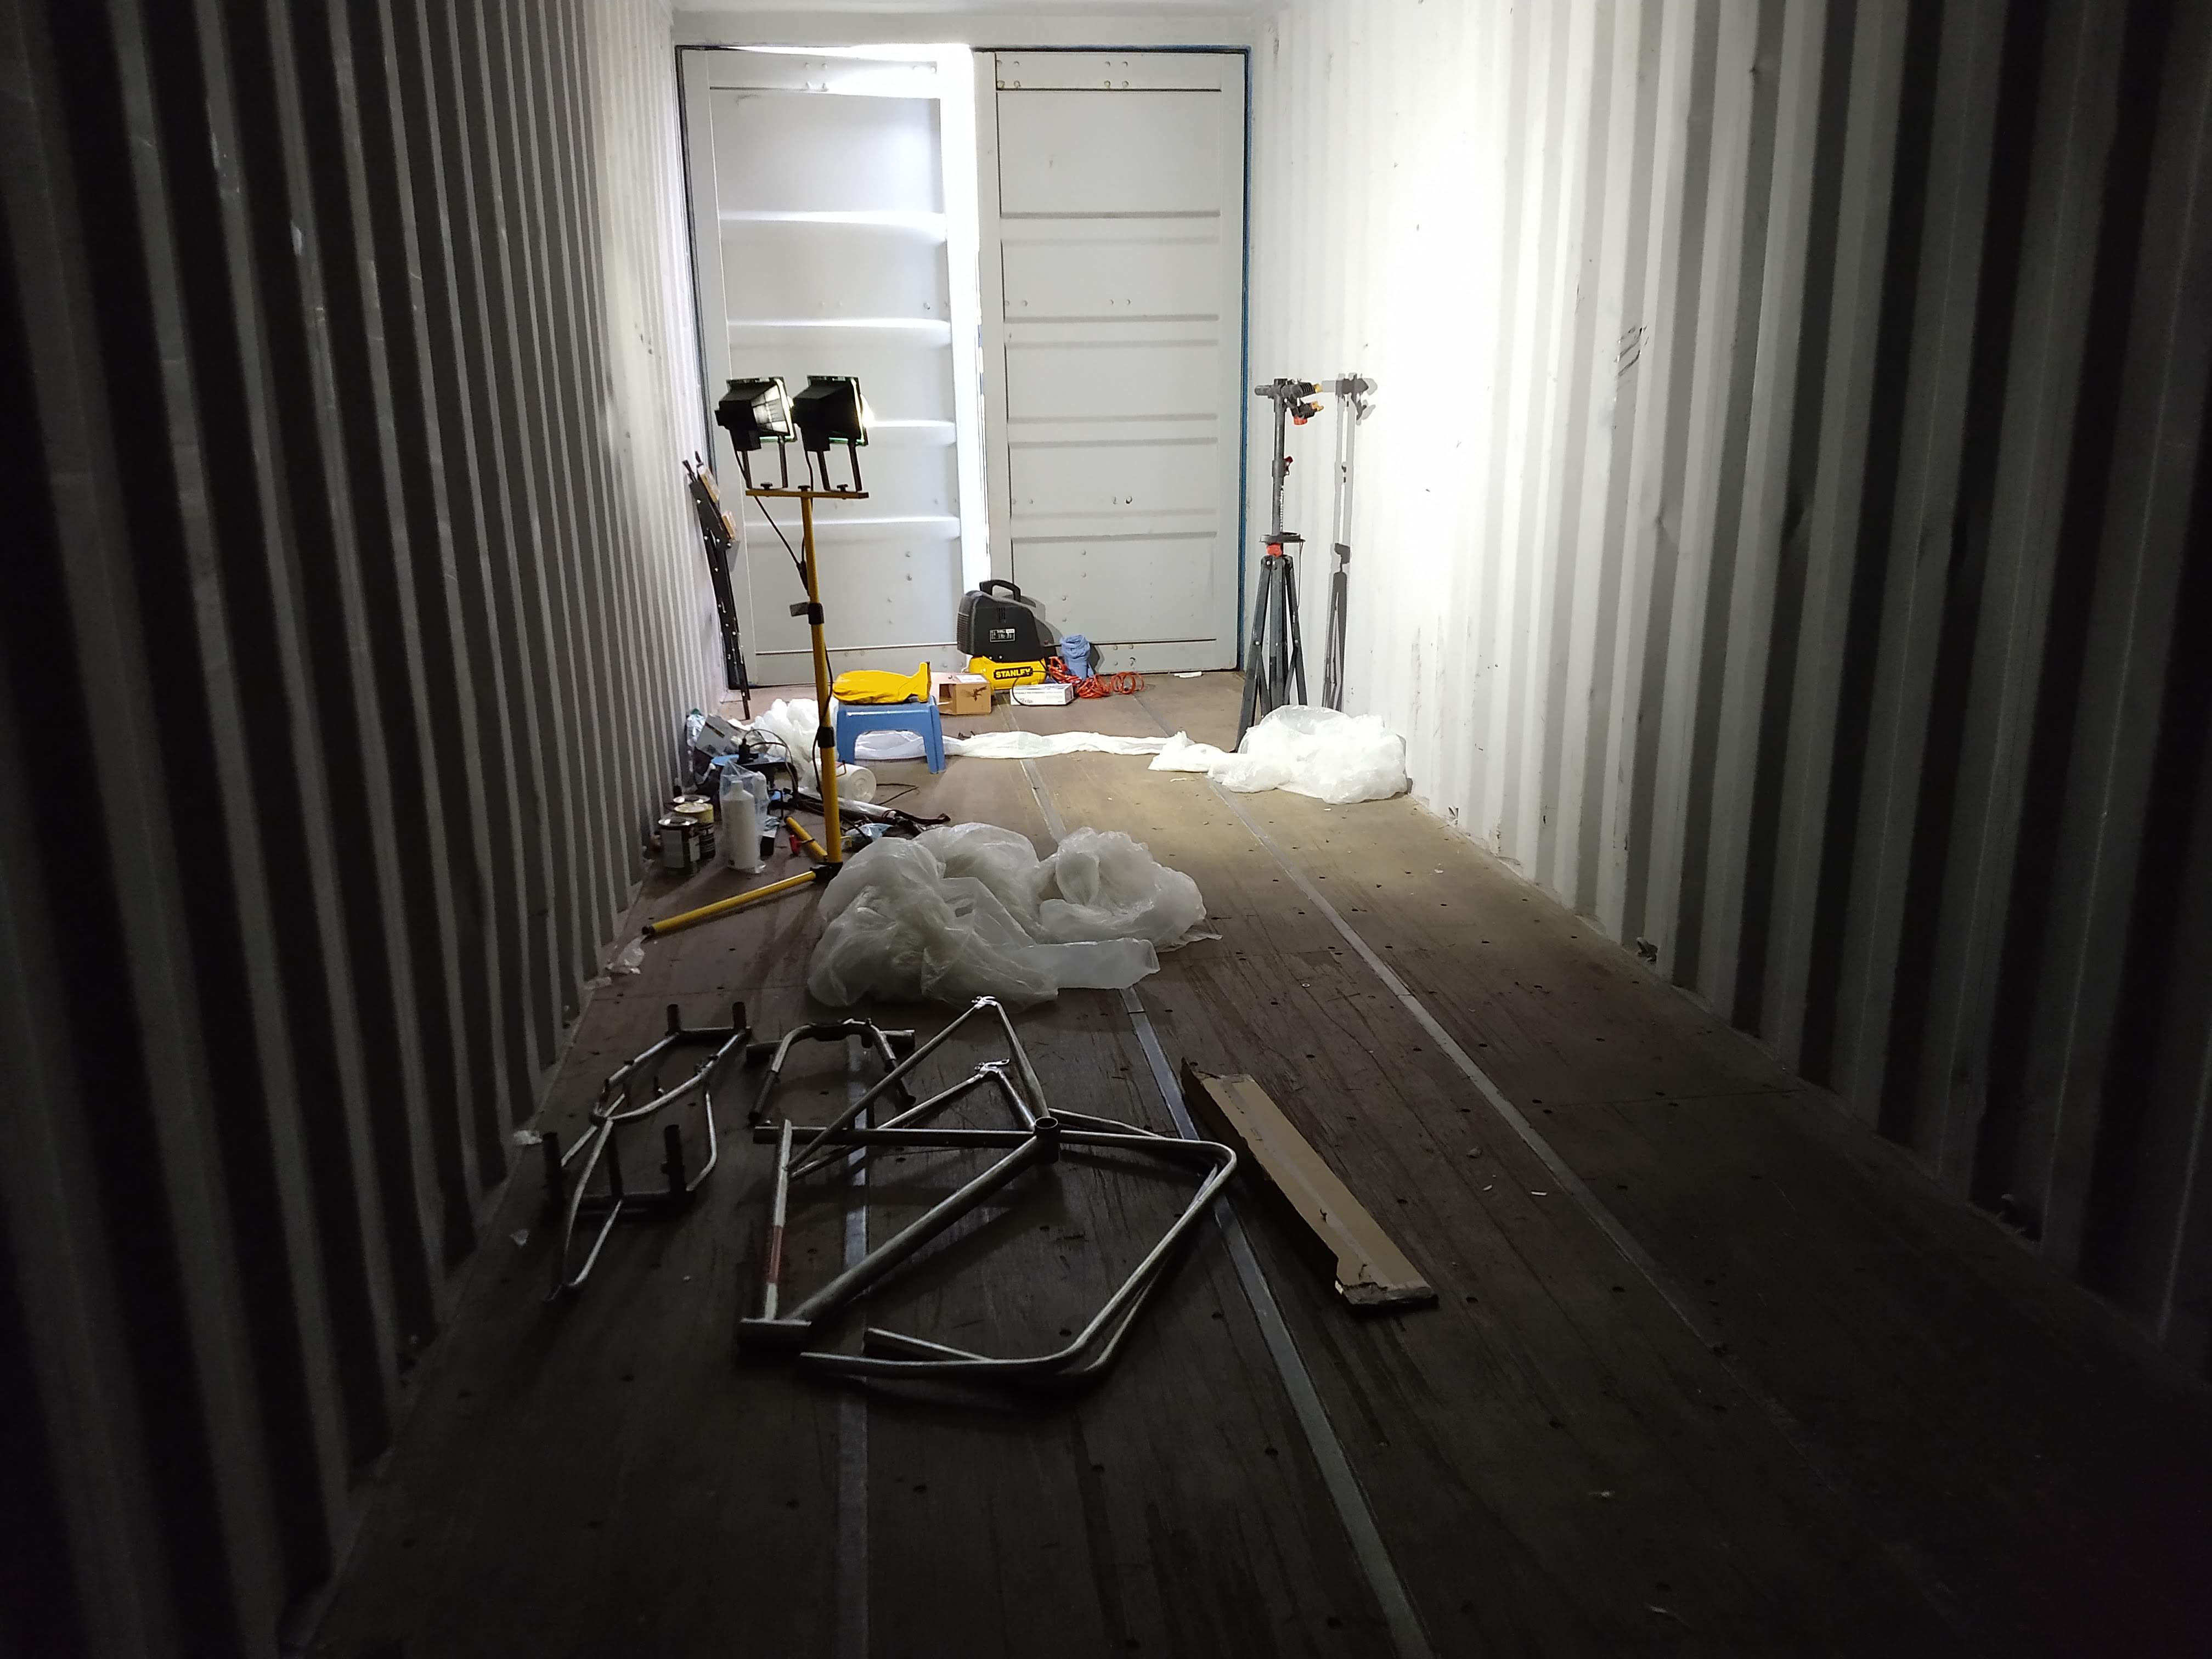
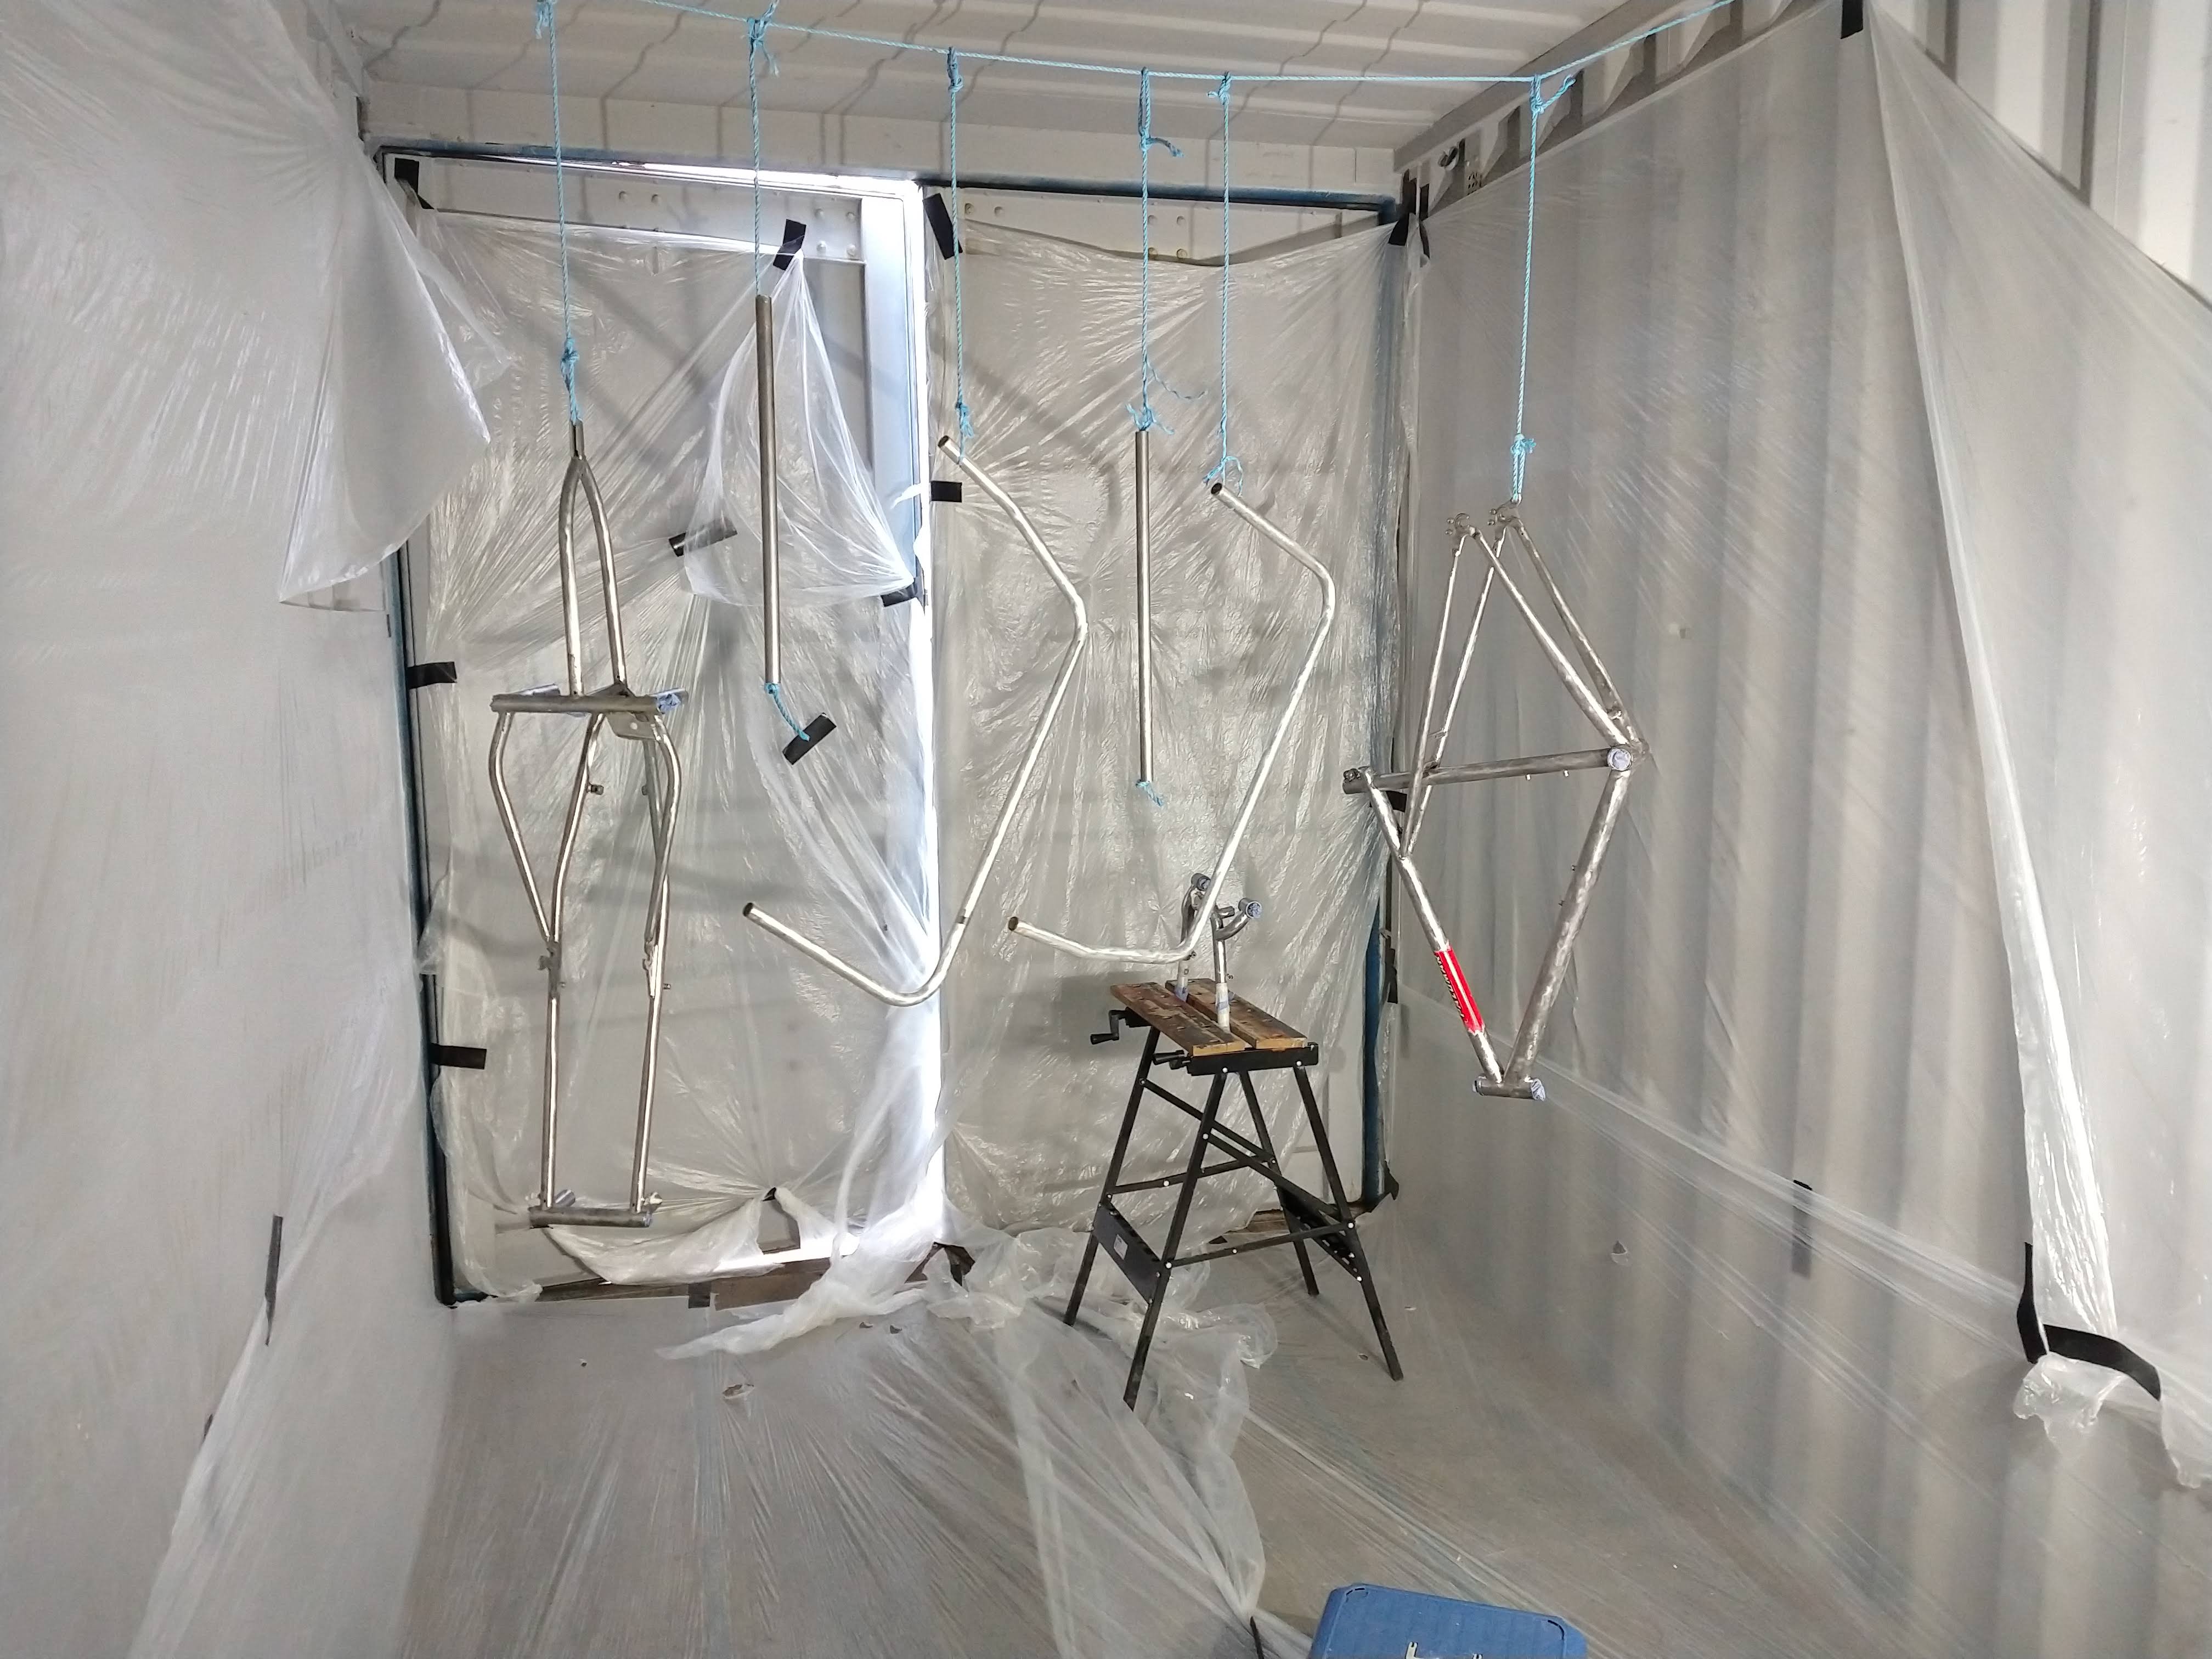
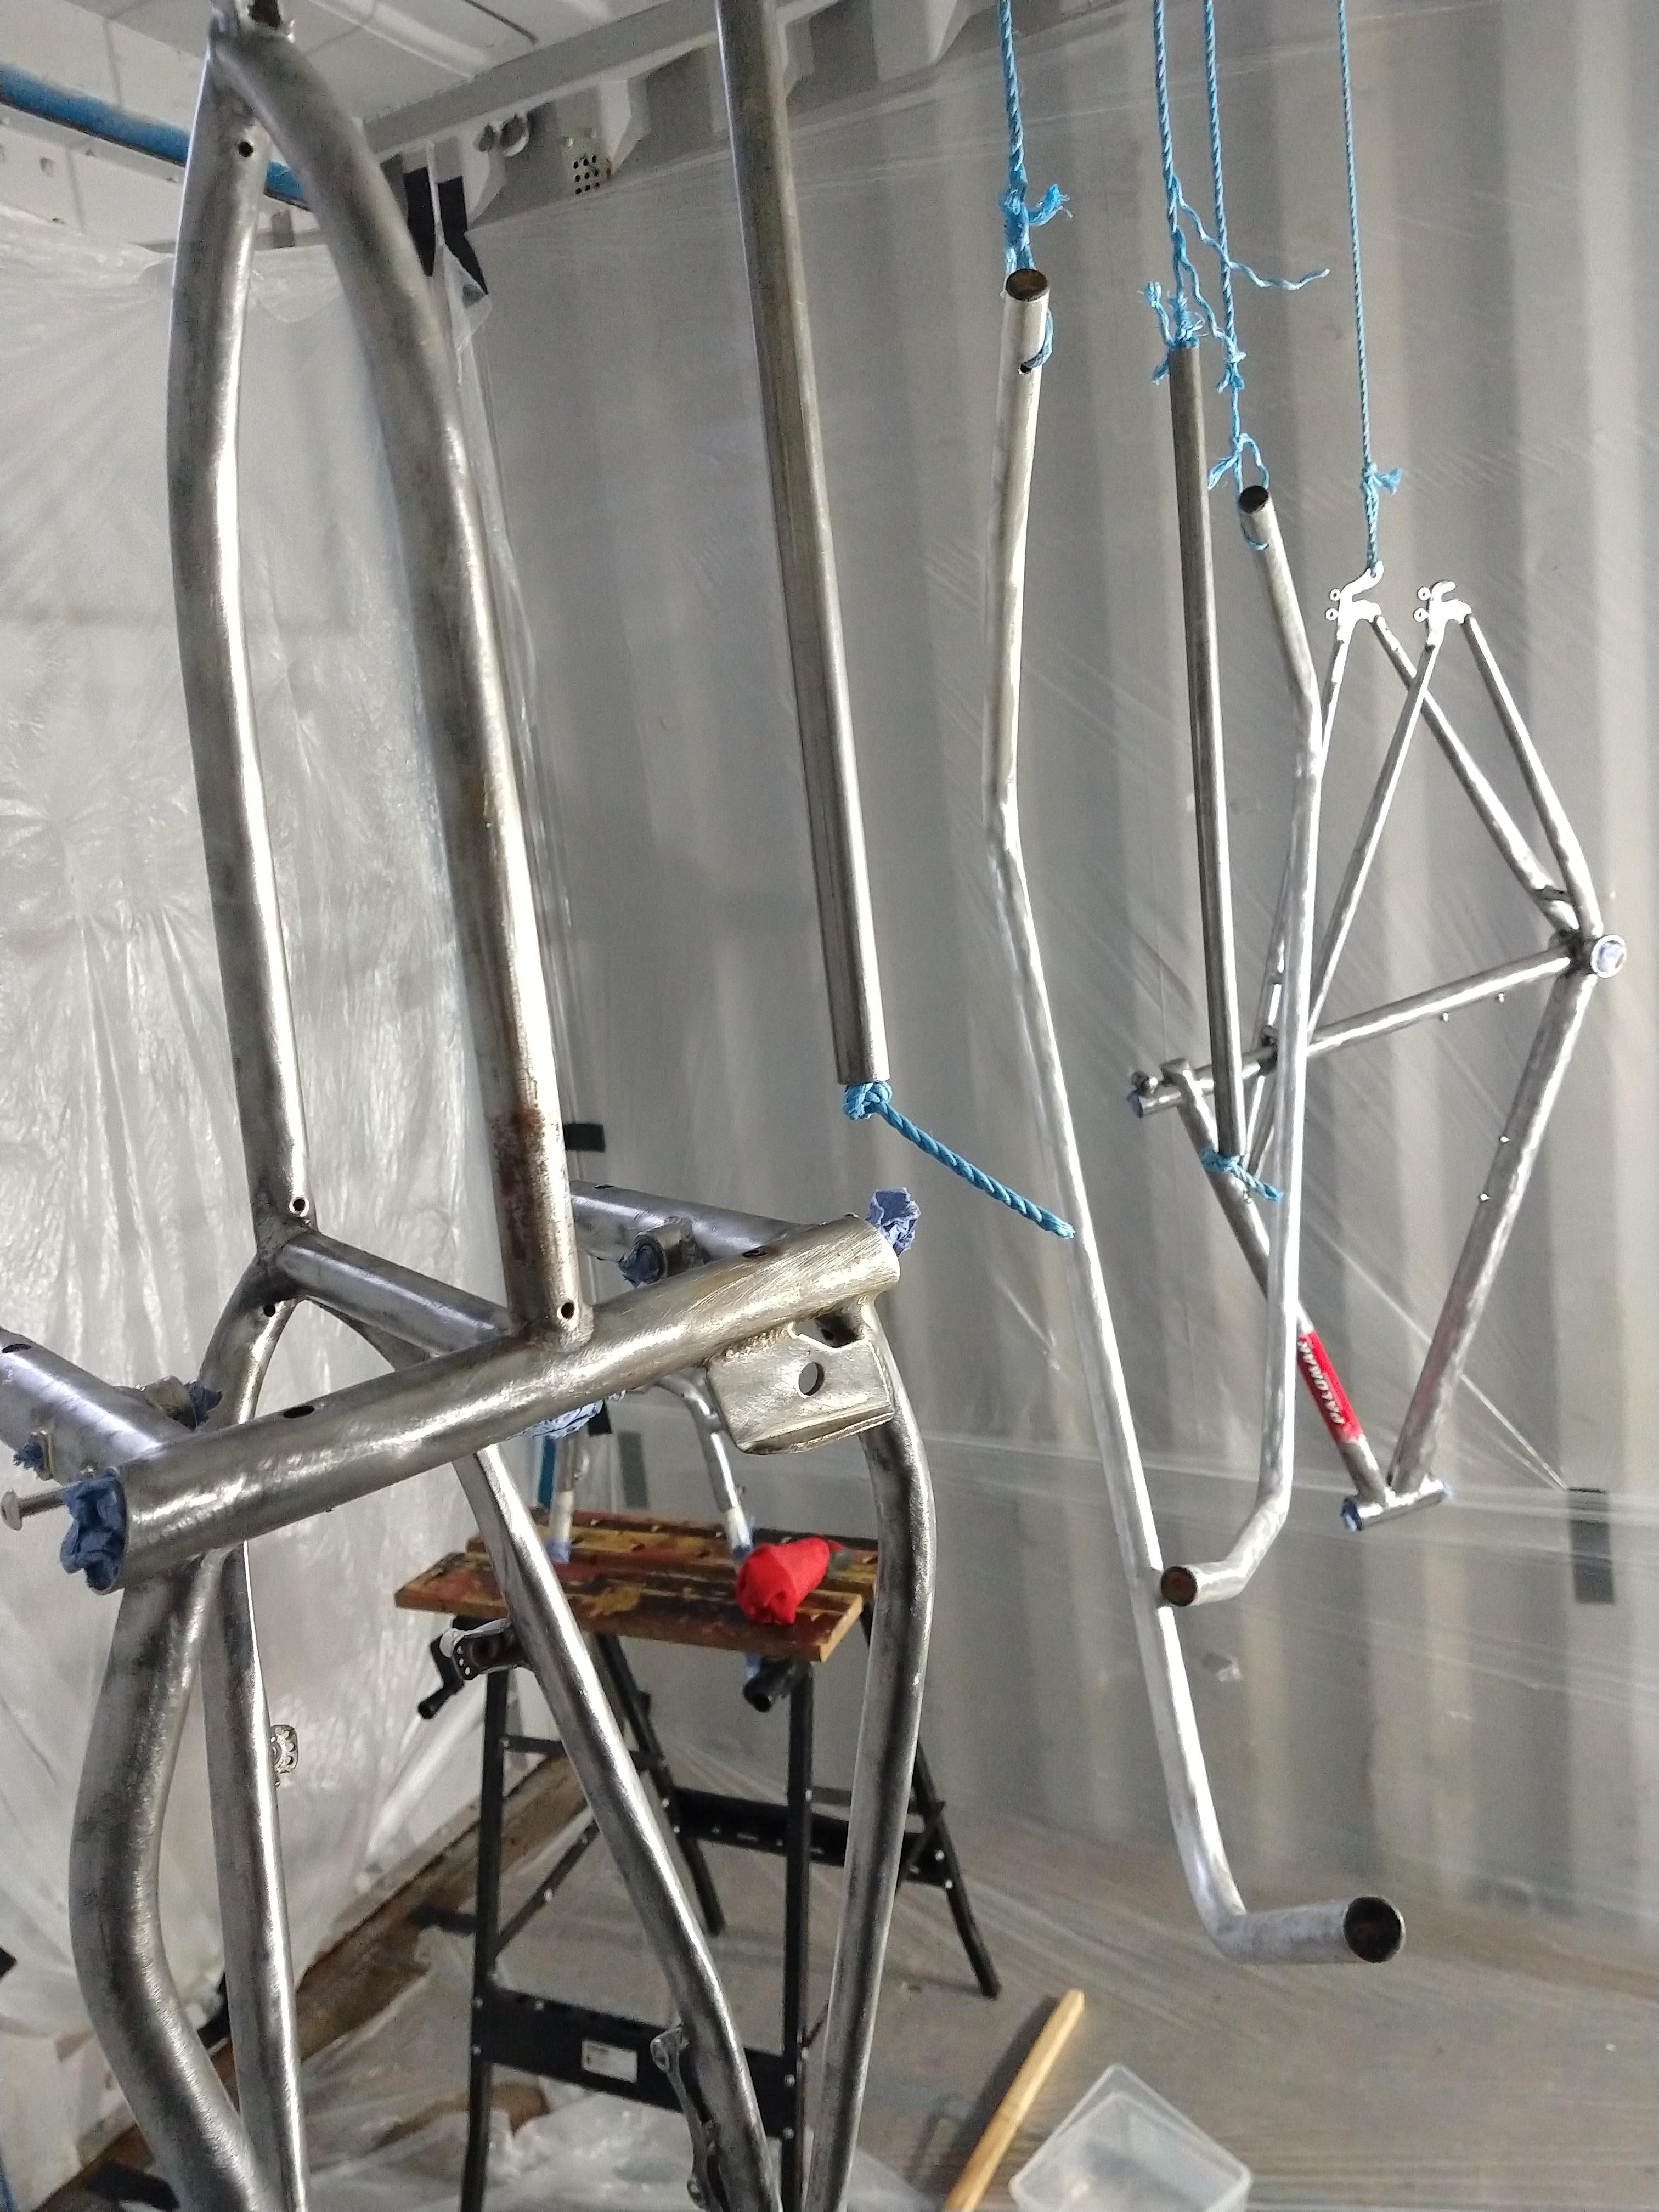
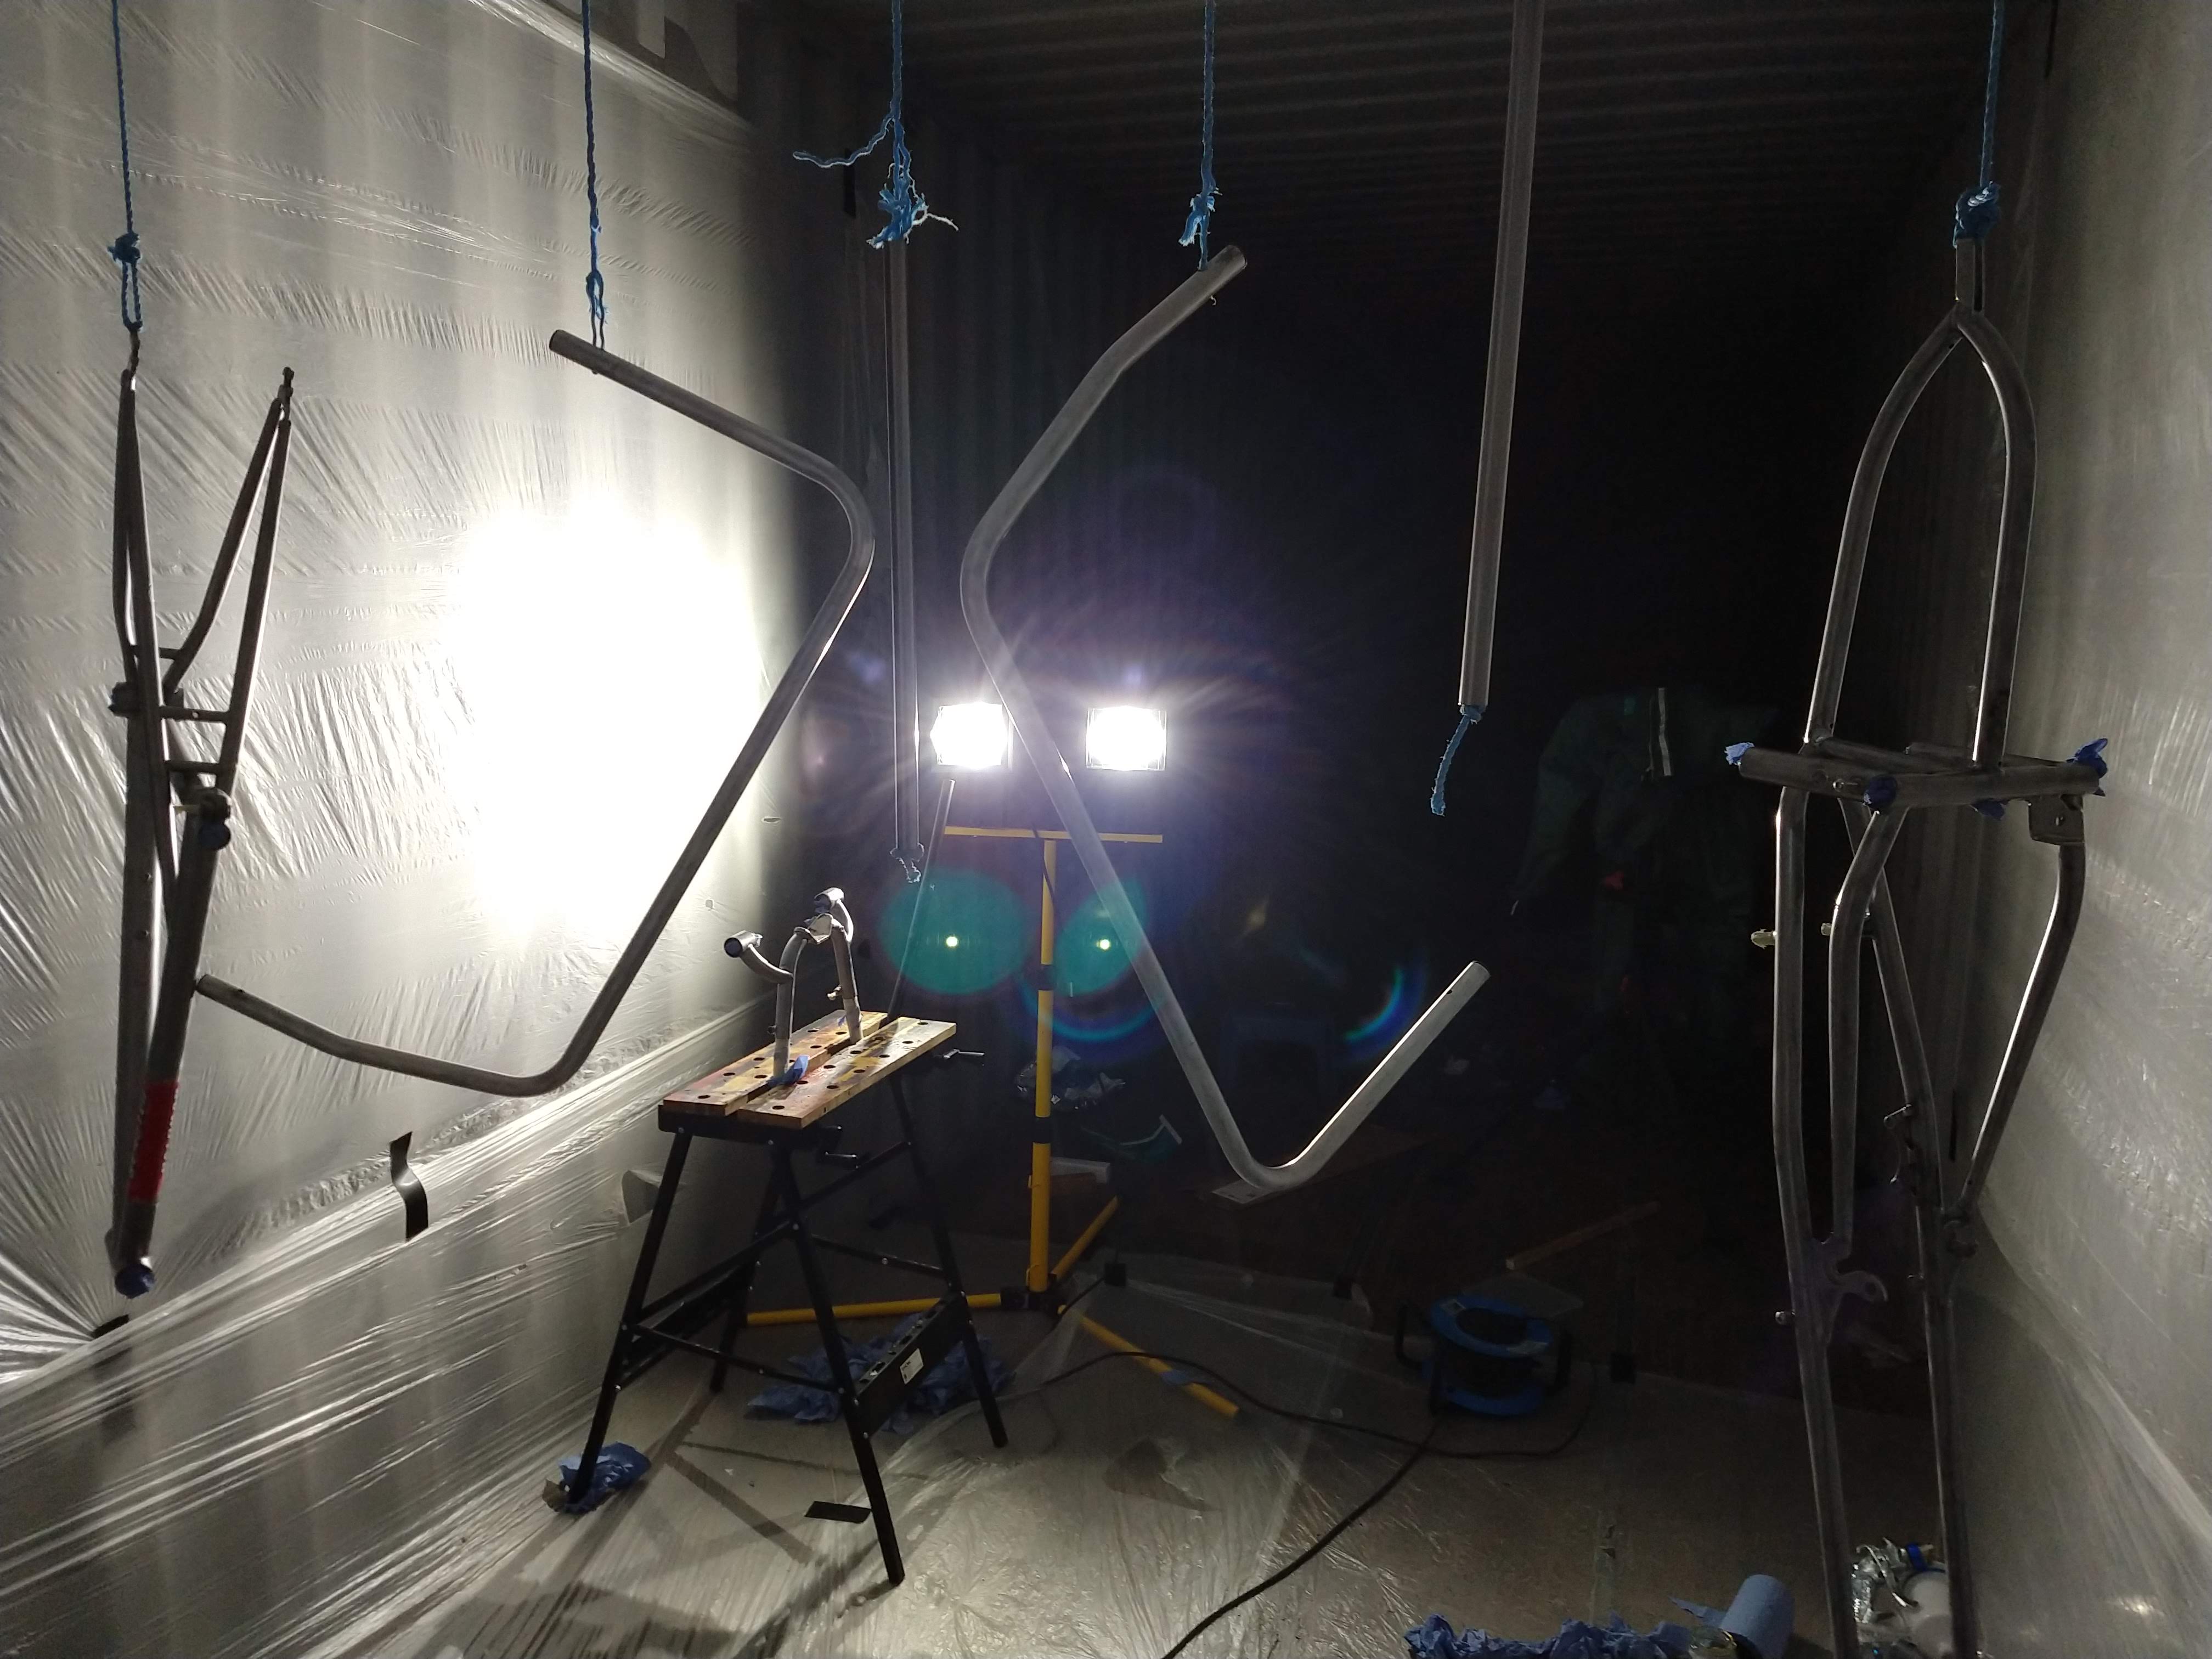
You will need to devise a way to hang your frames, so that you can spin them around for painting, just an eye
hook and swivel will do. Plus, you will need to have a place to move them to, once they are painted.

Make some long hooks to hang them with, long enough to grab with your hand, so that you can lift the frames,
and move them from place to place.

It's best to paint them outside, if possible, and then move them indoors. Unless you have a paint booth.
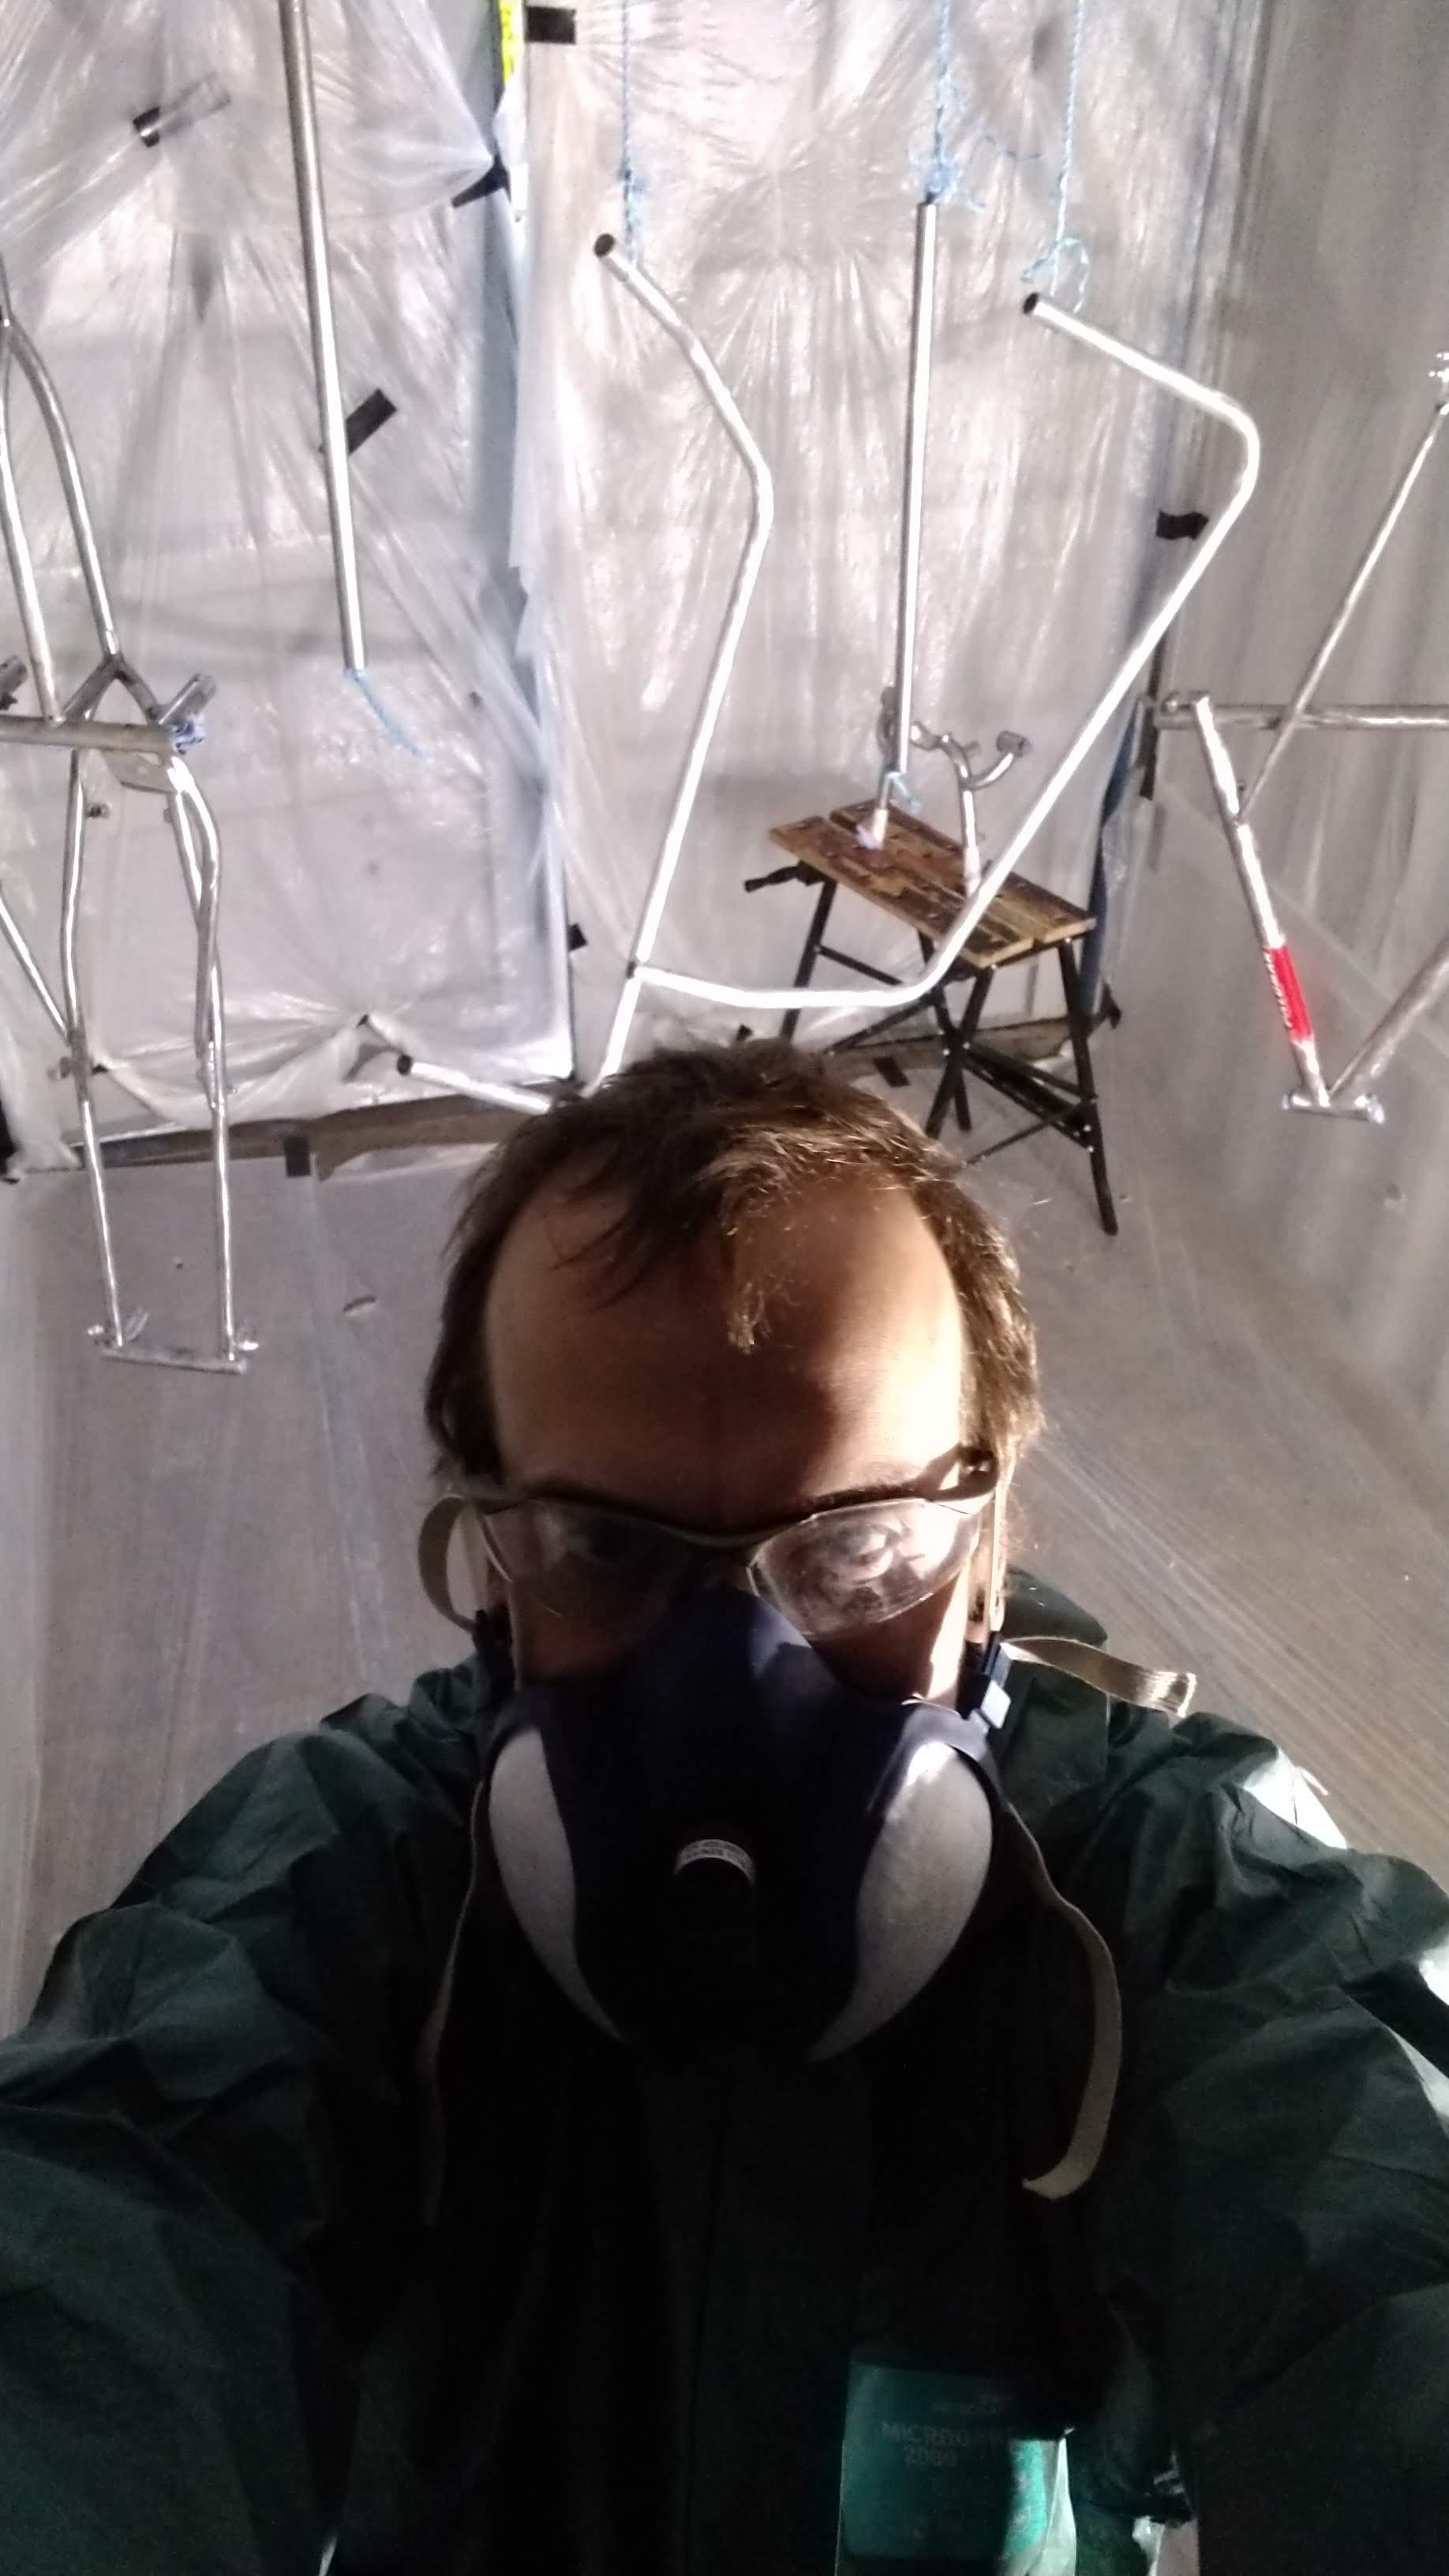
Use neoprene gloves, and for sure, a paint mask, not a dust mask.
Don't under estimate how nasty paint is,.. I have a cousin thats on oxygen because of it.

Painting clear is tough, because after the first coat, you can't tell where you've been, you'll wind up painting
areas two or three times, and it will run.

It's best to try and figure out a pattern, and stick with it. That is, start in one spot, move through the tubes in a
definite pattern, and end up at a certain point. Do that the same way each time.
The faster you can move through it, the more gloss you will have too.

You could put a couple of drops of dye in the clear, and that would help you see it,.. but you probably don't want
to color it.

Hope some of this helps. :thumb:
 
Hey. Thanks for the advice.

I'm planning on painting in an empty shipping container. I was going to make an internal room out of thin hanging clear plastic.

I just bought this air gun - https://rover.ebay.com/rover/0/0/0?mpre=https://www.ebay.co.uk/ulk/itm/223141889712

And already had a small compressor. Cant remember what it is and not back to see it for a few days.

I'm not expecting to get a top notch finish, rather something that is functional, hard wearing and raw aesthetics. I hope I can get a good enough finish with the combination of bits I have!


Sent from my moto g(6) plus using Tapatalk

 
Enjoying this build... so over the top that it sounds like something I would do. :lol:

If you are in the US get the purple $10 HVLP paint gun from Harbor Freight. Works great.
 
That looks good handbaked, a small gun is best for bikes, since they're just skinny tubes, and most guns are made for cars.
I would suggest turning the 'fan' knob all the way down,.. maybe open just a crack.

Then turn the air pressure down as well, to conserve air from your compressor, and to be more controllable on the tubes.
Turn it up just enough to get a good gloss coat with the trigger pulled all the way back. (one way to do it)
One less thing to have to think about, while your trying to cover everything with paint.

Keep in mind that sprayed paint is a volatile and explosive air mixture, and you'll need ventilation. Explosions have happened.

Another trick is to wet the floor with a slightly soapy water mix, (sprinkle it), and if you can, hang an old brake cable.
or wire from the frame, to the floor. This 'grounds' the frame, and shunts all the static electricity, caused by air flow, down
to ground. Static on the frame attracts dust particles in the air.

Most of the dust that gets in a paint job comes from the dust that the spray gun kicks up from the floor, walls, and ceiling.

I'm sure you'll do fine. I know your not after the greatest.
Don't mind me,.. it's just that I've painted so many bikes, and I need somebody to 'pounce' on! :lol:
 
Are those 2 controls (fan and pressure) controls on the actual gun? Not even opened the box yet.

Thanks for info on grounding etc. Would never have known that. I'm awaiting a free weekend as well as for the temperature to rise a bit. I live in the UK.


Sent from my moto g(6) plus using Tapatalk

 
Yes the two knobs on the gun are the 'fan',.. I think the side one on that gun,.. and the paint flow adjustment knob.
The one on the back of the gun adjust's how much paint comes out the tip, or nozzle.

That''s the important adjustment,.. the knob in back. Usually you turn it all the way in, or right, and then back it out
about one, to one and a half turns. Each gun is a little different, and it depends on how much paint you want to come out.
But for bikes, it's about a turn or so.

If you adjust it that way,..then when you pull the trigger all the way back, only just enough paint will come out for good
coverage, and you won't soak it with too much paint by 'gas pedaling' the trigger. Not everybody does it that way though,
most will just gas pedal it.

Hopefully you have an air pressure regulator with a gauge on the compressor? This regulates how much air will flow
through the gun. Usually you set it for about 45lbs for a bike, but it could go as low as 30, or even as high as 60.

It depends on the thickness of your paint, or how much you thinned it, and how the gun is built. Start low,..40-45lbs,
and paint some test tube, and go from there with different pressures.

If your compressor is small, then you will want to find the lowest pressure that will still work for you.
 
Ah, I understand. I was slightly worried the compressor was a bit small. Im not at that location, but it's only a small, Stanley horizontal cylinder. I have never adjusted anything on it tbh, though it has a guage. Will take a look on Friday when there next. Saturday I plan to spray, so will take some photos :)

Sent from my moto g(6) plus using Tapatalk

 
I have an entire 20ft+ long, empty shipping container to my disposal for a weekend. I was thinking making a false room to the back of it, with plastic sheeting gaffa taped up and a set of halogen lights on their tripod. Somehow work out how I can possibly hang the frames from the middle of the ceiling, next to each other. So then I should not have to move them at all, as long as I'm clever with how I string them up.

Idea being that I do a coat, then build some other bits for the bike elsewhere, with the container shut, while I wait for it to dry enough for the next coat.

Sent from my moto g(6) plus using Tapatalk

 
handbaked said:
[...]and a set of halogen lights on their tripod.

For heat? Hot-wire lights are like steam engines or vacuum tubes these days-- wasteful to a degree that can't be justified on any rational basis.

I mean, do what you like. But dude. Really?
 
handbaked said:
They are actually led, I just meant halogen floodlight style.

Oh good. Those are probably cheaper than the old rotisserie oven kind by now, not to mention easier to feed.
 
I mentioned it before,.. but I'll say it again, so I can sleep at night,.. paint fumes in an enclosed area are explosive. :flame:

You'll need to ventilate that container somehow,.. to be safe.

Good luck on your paint job! :thumb:
 
APL said:
I mentioned it before,.. but I'll say it again, so I can sleep at night,.. paint fumes in an enclosed area are explosive. :flame:

You'll need to ventilate that container somehow,.. to be safe.

Good luck on your paint job! :thumb:

hey. thanks for the reminder. im certainly going into the deep end with this part of the project and kind of feel totally unprepared for it! how would you suggest setting up the container? I was just thinking of making a smallish room at the back with plastic sheeting, maybe with a 180 'hallway' entrance out of plastic so that the door can be left open but not too much dust coming into the space. any suggestions?

is it best to put all the nuts back into the tapped holes on the xtracycle? there are a lot of them and I guess if I don't then the threads will be filled with clear coat.

im kind of concerning myself by how evil this 2k acrylic stuff is. im using this mask, goggles and a boiler type painting suit. is that enough?

https://www.screwfix.com/p/3m-4251-...-vapour-particulate-respirator-ffa1p2rd/13038
 
Good choice on the mask, and a suit is always good too. It's good idea to use some goggles, but they might not
last very long, paint gets on the outside, and sweat gets on the inside fairly fast. I've always used cheap plastic
safety glasses, but the gog's are better, if you can get them to work for you.

If you can find a nice enough day, I'd just paint next to the open doors, as long as there isn't any wind. The wind
determines everything. Theres more light there, and all you really need the container for is a place to keep them
while their drying. I do a lot of painting outside, but it takes a calm day, and you don't always have that choice.

It really depends on what kind of environment you have there. In the amount of time it takes to paint something,
you don't usually encounter that much dust, mostly you need a calm dry place to hang the bike while it's drying,
which is a much longer time.

It's a good idea to take a bath, or shower afterwards, to get it off your hair and skin. Your right,..theres nothing
healthy about paint.
 
So I managed to get 4 coats of matt clear coat on all the frame parts and stand. The first I did was a bit heavy and had a couple of runs. I managed to dab these away once they had run to the bottom, then with 3 lighter coats I managed to get rid of most of the imperfections. I am not too confident on my skills if I were to do it on a coloured paint job! Tomorrow I will be back at the unit, where I will see how it's looking now it has dried a bit. I plan to leave it all alone and untouched for a few more days before I move them.

Thanks APL for all the advice on this part of the build!

QB4rnUz.jpg

DkcwnY6.jpg

4dY9eke.jpg

p2F3b1Z.jpg

rUslCTD.jpg

ekTBO5V.jpg
 
Great job handbaked! Looks like you were very successful. :thumb: Glad I could help out.

Everything looks just as it should, and if you paint anything else, things will go a bit smoother,.. congrats on a new skill.

Awesome pictures! Now comes the fun part,..putting it all together! :)
 
Thanks APL. So I haven't made huge progress but I do have almost every part I need now. Rear wheel is now built, currently with just the outer shell of a Bafang CST motor. I am going to continue using my current CST that I have over 6000 miles on. So that my current bike is not taken off the road I used a spare CST side plate, then I can slide in the guts from my daily use motor (once I have fitted a temperature sensor). The rim is a NOS 26" atom labs DHR, with sapim strong spokes.

I have also just welded together the first battery pack. I decided on brand new cells for the main hailong battery, that will be fitted in the triangle like normal. I decided on 13S4P (48v 14ah) as this will give me around 25mph top speed and enough range for the vast majority of my daily uses. I will then have another backup battery on board, made from recycled cells, for long hauls. I need to fit a Bluetooth BMS to all packs, hopefully one from power velocity, as I will be using his dashboard / smart phone device.

MzjHKrQ.jpg

iiQb6lQ.jpg

O5qER1W.jpg

0sY3WOu.jpg

DJe8xu7.jpg


Sent from my moto g(6) plus using Tapatalk


I have been putting effort Into the electronics. I have made this switch box that will mount to the top tube. It will be the main power on and off for the controller, 3 way switch for the 3 speeds and a switch to turn the lights on and off. It also houses a small voltmeter, that will output the voltage of the main battery in use. It is all housed in an aluminium die cast guitar pedal box, heavy duty toggle switches with rubber waterproof covers, wired with higo connectors.

1XyFx1n.jpg

HZoVjqq.jpg


I now also have a circuit working for my lighting system. It allows front and rear light as well as front and rear indicators.

I am using a long LED bar light for the rear, and a motorbike front headlight, converted from halogen to LED bulbs, bringing the current draw down to the capacity of the higo multicore cables (2A).

The front and rear lights will come on when the switch is flicked on the switch box. The indicators will be controlled via latching switches on the handlebars. I am also going to take an extra feed off the front indicators to feed indicators attached as bar end plugs. The next job is to reduce the size of the circuit board to fit into a neat metal project box case I have, alongside a DC-DC adapter providing 5v for 3A fast charging over USB, on the handlebars.

dyZxHrh.jpg


Here is a video showing it working - https://i.imgur.com/Myzhtg0.gifv

The next goals will be to have the the front forks rebuilt and stripped of stickers, build the rear runner boards for the xtracycle, and get the lighting electronics completed.


Sent from my moto g(6) plus using Tapatalk


The lighting rig has been compressed and housed neatly.

I needed to go from the prototype down to this:
vd7S72D.jpg

Xz1mZdR.jpg


the little circuit boards are inline LED flasher circuits.
OB5CgdG.jpg

F4xpA5c.jpg

8eiThuH.jpg

XTPJnPM.jpg

f17pY2k.jpg

FHpoHFo.jpg
 
I changed the handlebars for some I had laying around. They were lighter and actually looked better in the end. Mad Max stylings.

I tapped small threads into the cross brace for mounting the bracet of the motorcycle light:

jDZyfl8.jpg

CHTjG8z.jpg


Overall looks how I envisaged. Ready for the zombie apocalypse.

aDMOQIk.jpg

C3F2AvM.jpg

Ci1LJtU.jpg


I also drilled a tiny hole to thread some kynar cable through for each bar end light, that will flash alomg with the other relevant indicator. Then I modded some handlebar bar end lights to connect via JST connectors:

hx4OD7B.jpg

cqB8LAL.jpg

4zZDecH.jpg
 
I have also been designing and building panels to 'box in' the rear triangle, to house all my electronics.


cardboard templates are always a good place to start:

DzdNuys.jpg

srs0TeP.jpg


I then replicated this onto aluminium composite panel. This is 3mm in thickness and are 2 super thin sheets of aluminium sandwiching a plastic composite core. great material. Cut using a normal jigsaw and metal blade, trim finished using car door edge trim.

CYwoSlj.jpg

AWXPirg.jpg


the idea being that the left panel folds down on hinges, with some electronics bolted to the back of the board, with the remainder on the other side panel, that is a fixed position. kind of like opening the hood on a car.

i modified a 12v 10A DC-DC supply to have multiple outputs, 2 with inline fuses:

Ua9DcQY.jpg


So the fold down panel will have a heavy duty physical switch that will be connected to the main power line from the battery (top left). This will obviously turn off the entire bike and is largely for when popping into shops so the throttle then cant be knocked etc or overniht storing so that nothing trickle drains the battery. Then there is the 12v 10A supply, running a line to the 2 channel on board CCTV DVR system (1 camera front and back, auto record power-on). Another 12v feed to the lighting circuit + 5v DC-DC supply. Lastly a 12v feed going to a cigarette lighter with onboard 10A fuse.

BG5ho4Z.jpg


on the other panel, will have the Lyen controller,trip switch and GPS tracker :)
 
Back
Top