PWD's Rocky Mountain Blizzard - mid drive

I think I would sooner get one of these before I try the tedious task of installing my own studs: https://www.schwalbetires.com/bike_tires/studded
 
E-HP said:
Ever consider heated grips? I started looking at them after reading DrkAngel's Snow Beast thread. They don't look like they draw too much current. Folks I know with them on motorcycles say they're pretty effective.
I am definitely willing to give heated grips a try. After my bar mitts are tested in the cold; that will determine how much more heating/insulation I will need for my fingers. :kff: <-- Kanadian Frozen Fingers


thundercamel said:
I think I would sooner get one of these before I try the tedious task of installing my own studs: https://www.schwalbetires.com/bike_tires/studded
Pre-studded tires would certainly save a lot of work. However, when it comes to fat tires (4.5+ inches wide) the price for pre-studded tires seems to be around $200 USD minimum per tire for something with a half-decent tread pattern :shock: !

I'll be reporting pack when I get these items tested on the bike. One thing is for sure; it is sure nice to go for a ride during these dark winter evenings. I was out for a run last night over some snow and ice and had a blast. I'm hoping to get some photos up soon!
 
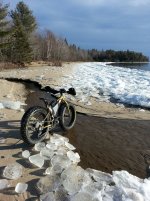
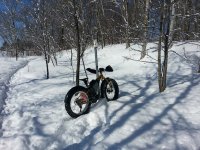
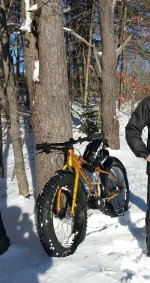
The bike had been working well and I was finally able to test it out in some proper snow. The bike is a lot of fun; I've also aired down the tires for more traction. It does exceptionally well on semi-packed to fully packed snow. Anything deeper than about 20 cm of snow and it becomes very difficult to maintain traction.

IMG_20191116_142642_resized.jpg

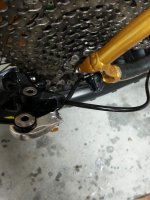
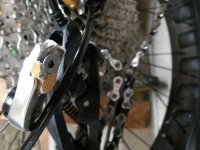
While out for a ride in the bush one day; I manged to shear off my derailleur :flame: :
IMG_20191117_170811_resized.jpg
IMG_20191117_170719_resized.jpg

The bike has been out of commission for the past couple of weeks but is back on the road with a new derailleur hanger and plenty shift re-adjustment. The derailleur cage was also bent enough to cause the chain to rub; it seems to be back into shape now. As you can see from the photos; it also ripped a chunk of the frame dropout with it which was a bit concerning but the new hanger managed to stay on thanks to the clamping force of the quick release axle skewer.

I've been back on the bike but taking it easy to make sure I don't end up in the same boat again. I'm still waiting for my tire studs and bar mitts from Aliexpress. The roads around here are covered in ice; so the tire studs will be installed asap when they arrive.
 
i found similar limitations on my fat ebike. around 7in (your 20cm :lol:) it gets very squirrely (and fun). i stay away from snow covered sidewalks and iced over areas without studs.

What studs did you buy? i found a few small ones on aliexpress but never ordered.
 
SaabGuy said:
What studs did you buy? i found a few small ones on aliexpress but never ordered.
These are the studs I ordered:
https://www.aliexpress.com/item/32845574061.html?spm=a2g0s.9042311.0.0.b3664c4djFa3kB

I'm hoping to try them out over the weekend if they arrive this week.
 
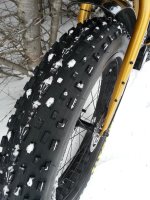
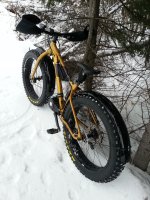
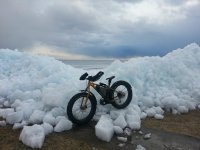
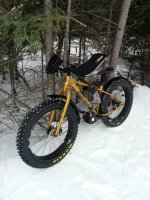
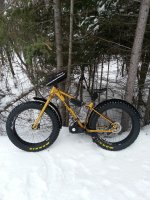
The bike has been working great since replacing the derailleur hanger etc... and my studs and bar mitts arrived. Unfortunately, the seller only sent me half of the studs that I ordered (100/200). I've decided to just stud the front tire only and 100 studs seems to be just enough; they really make a difference. The inexpensive bar mitts ($12 USD) also do a great job. Seeing as how my run times are limited to an hour anyway; I'm glad I went with inexpensive bar mitts. When paired with thick warm gloves; they keep my hands warm for the whole ride up to about -10C. Colder than that and my hands will still get cold but it has greatly extended my ride time. Here are some shots I'd like to share:

IMG_20191208_092746.jpg
image (2).jpg
image (1).jpg
image.jpg

I had a good ride last night. The normal walking paths turn into a fat bike dream at night; minimal to none else on the trail and hard packed snow that is as good as a gravel road (especially with studs now). I can safely say this build was worth it!

Merry Christmas and Happy New Year
 
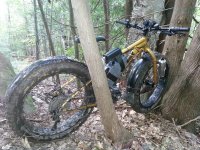
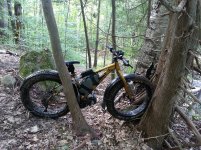
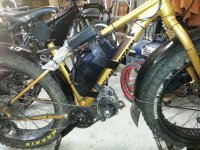
Just wanted to add some more photos. This bike is still running well and I have been getting out with it on the weekends to do some trail riding. I'm using my 14S6P triangle pack in the frame of the bike so I don't have to run a packsack battery. I'll probably switch back to the packsack for cold weather,

A shot from the spring:
IMG_20200416_192014.jpg

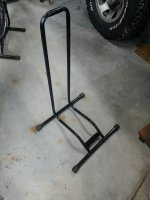
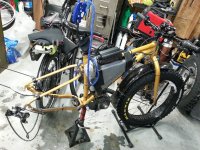
I ordered a regular bicycle stand (Aliexpress < $30 USD) and then extended it with some some scrap tubing:
IMG_20200419_194218.jpg

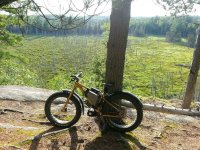
Recent shot on a trail:
IMG_20200725_184431.jpg
 
This bike has now over 3200km and is being ridden almost daily. I've learned the hard way that it is important to keep the drivetrain clean and well lubed especially in sticky/dirty/salty snow.
IMG_20201222_090837.jpg
IMG_20201222_090953.jpg
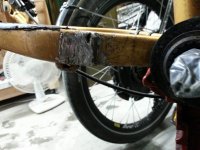
Made patch with some aluminum plate and JB weld; which needs to be replace again.

IMG_20201225_142249.jpg
IMG_20210225_121942.jpg

Upgrade coming soon:
IMG_20210301_161711.jpg
My plan is to go 21S3P with these Molicel P42A cells for 75.6V nominal. I will dial down the battery current to 30A on the controller (YKZ7240JN) and slowly turn it up to 40A depending on how much voltage sag I get. The controller will remain at 100 phase amps on this Cyclone motor. I don't want a much larger battery pack so the range won't be much. The idea is it will be capable of more power (compared to running at 50.4V) when I max the throttle for short bursts of fun.
 
I'm impressed with the amount of usage you're getting. What exactly happened with the salt on your drivetrain? I thought that aluminum patch section was from a larger chainring earlier.
 
Thanks, it is my go to activity during the winter now. You are correct about needing the patch due to wear from a larger chainring. However, on top of that; I was having chain suck issues where the chain wouldn't let go of the chainring as is spun around. This caused the chain to grind up against the exact same area on the chain stay which has ripped a chunk out of the patch.

I figured out that the chain was getting sucked up because of the wet/freezing conditions I was riding in combination with a dirty chain. I have since given the chain a thorough cleaning and re-lube and the problem went away. I have never done so much chain maintenance in my life; part of the mid-drive experience :lol:
 
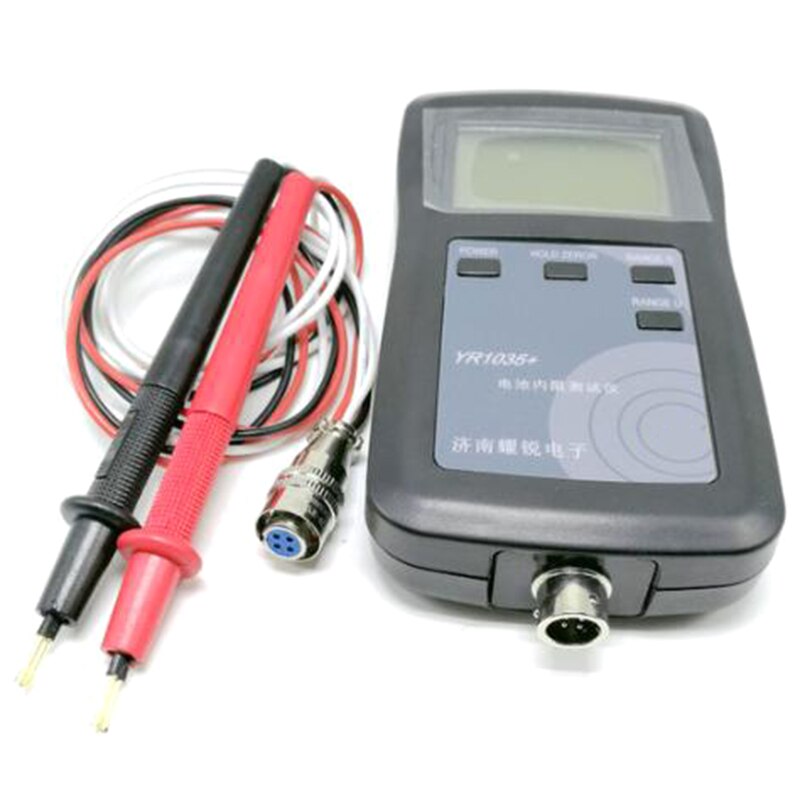
I received my "4 wire" internal resistance tester today, the YR1035+ :
H3747ae1677f64c8ebf77a9b0df1590a9z.jpg

https://www.aliexpress.com/item/1005002004465045.html

Very happy with the tester and would highly recommend it.

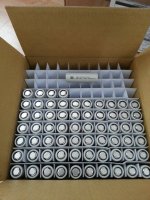
I measured all the cells and found that they were all very consistent. Internal resistance between 9.84 milliohms and 10.11 milliohms @ 16.9-17.5 Celsius. Voltages between 3.519V and 3.532V. I was going to attempt to cell match each group but I am not going to bother since I am more than happy with the results. I am just going to not use two of the cells with the highest IR.

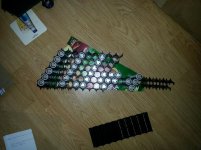
Next steps for the new pack will be confirming the cell layout and then start gluing the cells together.
 
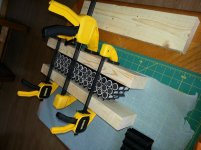
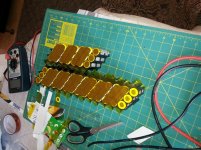
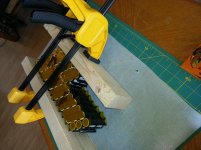
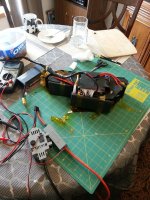
Battery pack build is finished and working.

IMG_20210315_150655 (1).jpg
IMG_20210317_143341.jpg

Spot welding with 0.2mm pure Nickle sheet
IMG_20210319_083651.jpg

Joining the two sub packs
IMG_20210319_162622.jpg

Series link for the two sub packs.
IMG_20210319_101140.jpg

Spot welding and balance wires complete. The end terminations are a little stressed from the bends but they'll do the job. I added a connector between the BMS and pack negative to allow the BMS to be disconnected without un-soldering.
IMG_20210321_175124.jpg

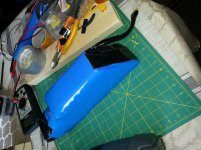
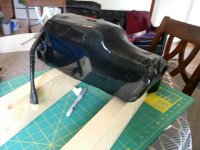
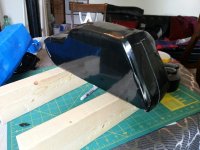
Rubber padding + BMS (24S 50A BMS with Bluetooth)
IMG_20210321_175134.jpg
IMG_20210322_155252.jpg

Shrink wrap + main connector
IMG_20210323_110450.jpg

I managed to only get one spark/flash while building the pack; which scared the hell out of me but was worth a chuckle. I've had the bike out for two rides with the new pack and am quite happy with the result. I am still waiting on my charger from Aliexpress, so I caved and bought a 72V 2.5A (SLA) charger locally for an astronomical amount ($89.99 CAD + tax). That will keep me happy till the proper charger arrives. Did a ride today starting out at 85.6V and it works well, I definitely notice the extra power. I've got the controller turned down to a max of 30A battery; so I probably turn it up to 40A again once I get more comfortable with the throttle response again.
 
pwd said:
I've learned the hard way that it is important to keep the drivetrain clean and well lubed especially in sticky/dirty/salty snow.
What products are you liking?
 
99t4 said:
pwd said:
I've learned the hard way that it is important to keep the drivetrain clean and well lubed especially in sticky/dirty/salty snow.
What products are you liking?

I first give the chain a wipe down with an old rag to remove loose sand etc.. and then a clean shop towel with wd40 to remove some of the outer grime. To lube, I've been using some motorcycle chain oil (viscous like maple syrup) on each roller, mostly because I got it for free and seems to hold up ok. The chain does requite a deep clean every so often to remove the grime between the rollers and plates.

That combination also seems to keep the chain from rusting, even with some exposure to road salt.
 
goatman said:
have you seen what the connector resistance values in the bms app are for each p-group?

I have not but would like to. The BMS app I'm using is VBMS (ANT BMS) for Android. What app/version will show the resistance values for each group?
 
pwd said:
To lube, I've been using some motorcycle chain oil (viscous like maple syrup) on each roller, mostly because I got it for free and seems to hold up ok.
Yes, that stuff is very tenacious. I still have some from my past gone MC days. I had thought it might be too thick. Will have to try some.

pwd said:
That combination also seems to keep the chain from rusting, even with some exposure to road salt.
Thanks for that. My environment is mostly consistent rain, so lots of puddles and thrown up grit.
 
The bike and 21S pack have been working out well. Finally got a proper voltage charger. The brand is "Yarlan" from Aliexpress. I'm not an electrical engineer but the build quality is noticeably better than the YZPower charger I had been using. I was able to easily adjust the end voltage up to 86.1V.

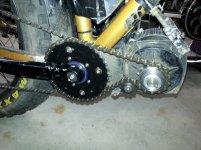
A while back; I purchased a new crank freewheel (the HD one made by White Industries) from Sick Bike Parts. Although I never had a failure on the regular crank freewheel; I wanted something that was more weather resistant when going through a creek etc...
IMG_20210517_191338.jpg


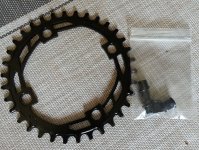
I've installed it and hacked up a worn out chainring to used as an adapter to go from the 5 bolt pattern of the crank freewheel to the 4 bolt 104BCD pattern of a generic chainring. here is the generic steel chainring I chose:
IMG_20210607_113350 (1).jpg

I'm off to go ride...
 
had the bike out for a good ride and found a new section of local trails. I like to think riding a rigid bike will be me a better rider in the long run :lol:
IMG_20210814_100618.jpg
IMG_20210814_100607.jpg

on my way back home; a cell imbalance I had with the pack had gotten drastically worse. My bms app read a difference of ~ 0.7V and eventually it cut out. Luckily for me I wasn't too far from home and was able to pedal back without the motor (gotta love low gearing).

it was time to remove the pack and inspect it. I had a good idea what the problem was before opening it though.
IMG_20210814_120715 (1).jpg
IMG_20210814_130145.jpg

Some of my spot welds on the first cell group had let go and were causing the parallels connection to break. I believe it was from incorrect pressure with my spot welder when initially building the pack. I recalled the Malectrics documentation recommends about 1KG of force when welding; so that what I did. I couldn't get as many good welds per cell as I hoped for since there wasn't much room left on the nickle; but I saw the BMS immediately show a balance improvement as the cells evened out.

now was my chance to re-wrap the pack and make it look a tad nicer
IMG_20210814_145154.jpg
IMG_20210814_145206.jpg

after a couple of test rides; it seems to have held up pretty good; although I'm still balancing out the cells
IMG_20210814_155746.jpg

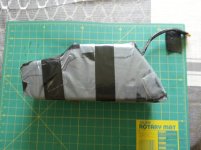
I'd also like to note; I cannot believe how well Gorilla tape works for securing the battery to the bike; especially considering I hose the bike down and it experiences vibrations from trail riding and small jumps etc...
 
It seems that the damage on the chain stay from the chain has compromised the frame and caused a crack further toward the bottom bracket
IMG_20220316_192452340_HDR.jpg


new build on the way - Scott Big Jon frame
p4pb15128638.jpg
 
I always figured cracks like these could be cleaned out with an angle grinder and then filled in by a welder. I am not a welder however...
 
Cracks can be fixed that way for something like steel but with aluminum the consensus seems to be that it will need to be heat treated and even then; it will be more prone to cracking.

I had a brief look for steel fat frames; but it's a bad time to buy anything and there isn't anything suitable and available under ~ $2000 USD. The Surly Ice Cream Truck was on my list but not available.
 
Back
Top