N.E.S.E. the no solder module

elhnad said:
if i want a 10s8p bike pack is it as simple as getting,
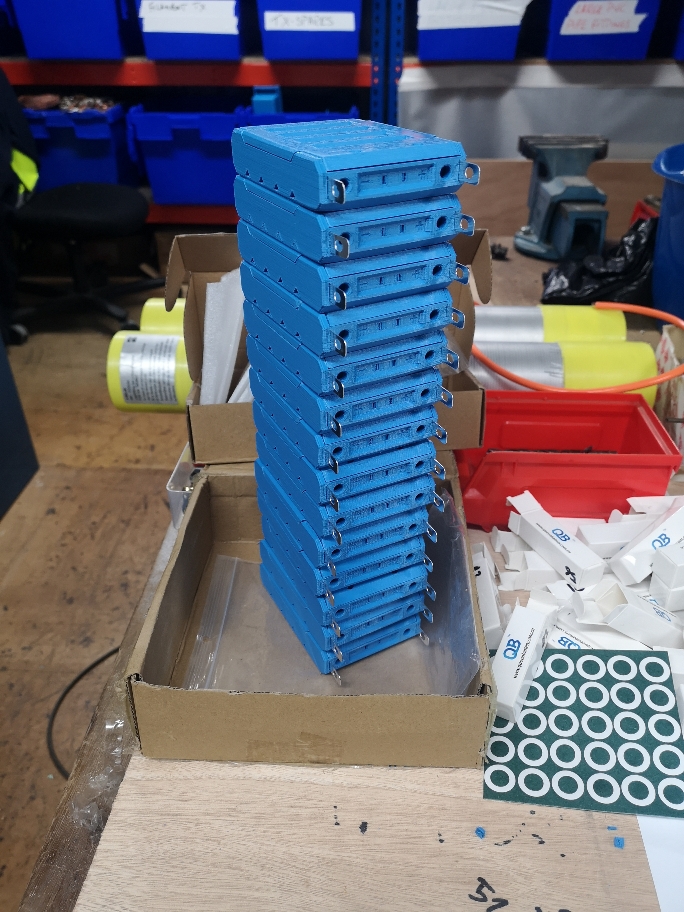
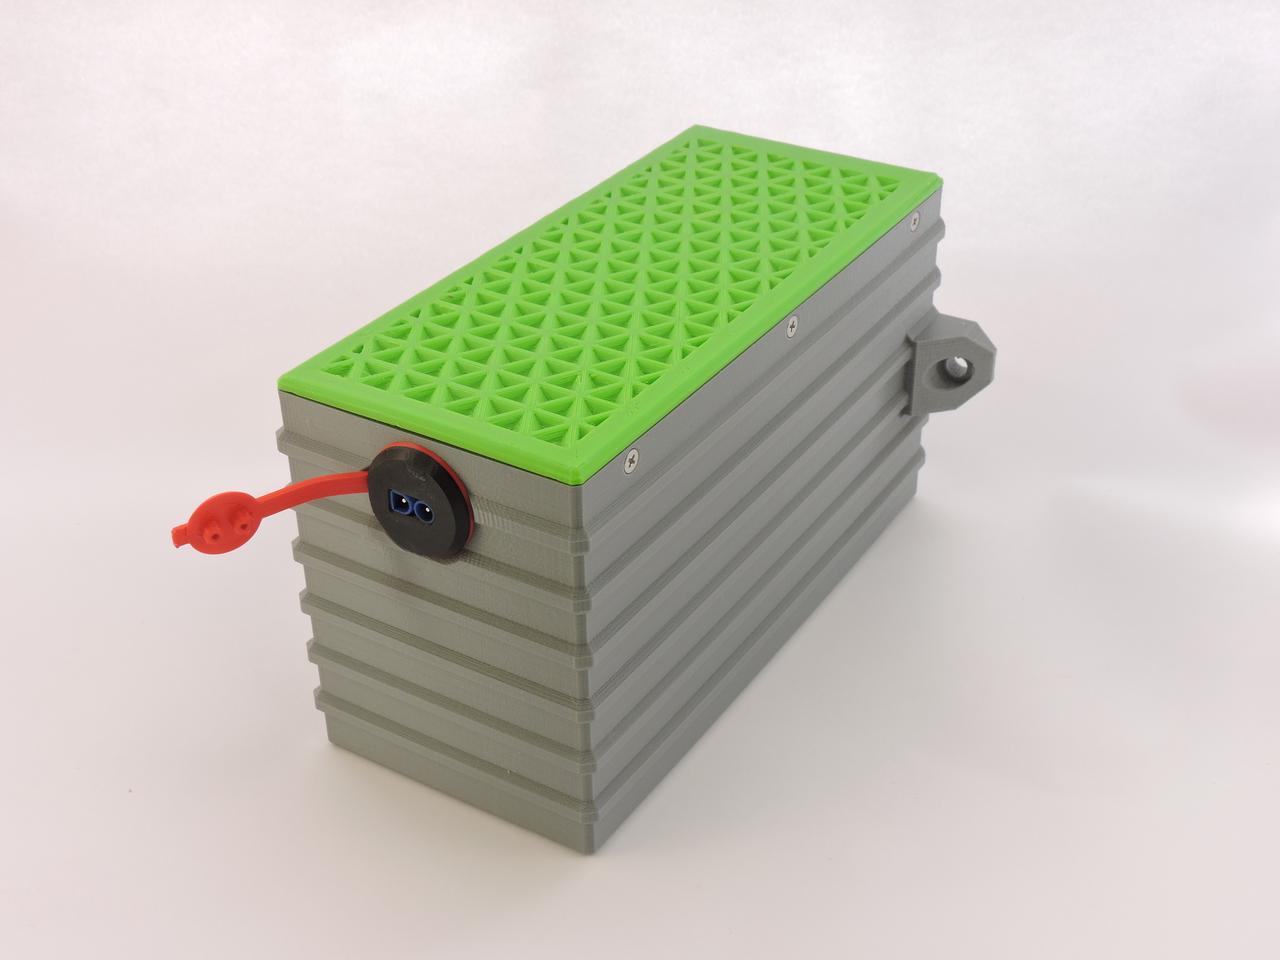
10 of these 8p module kits?
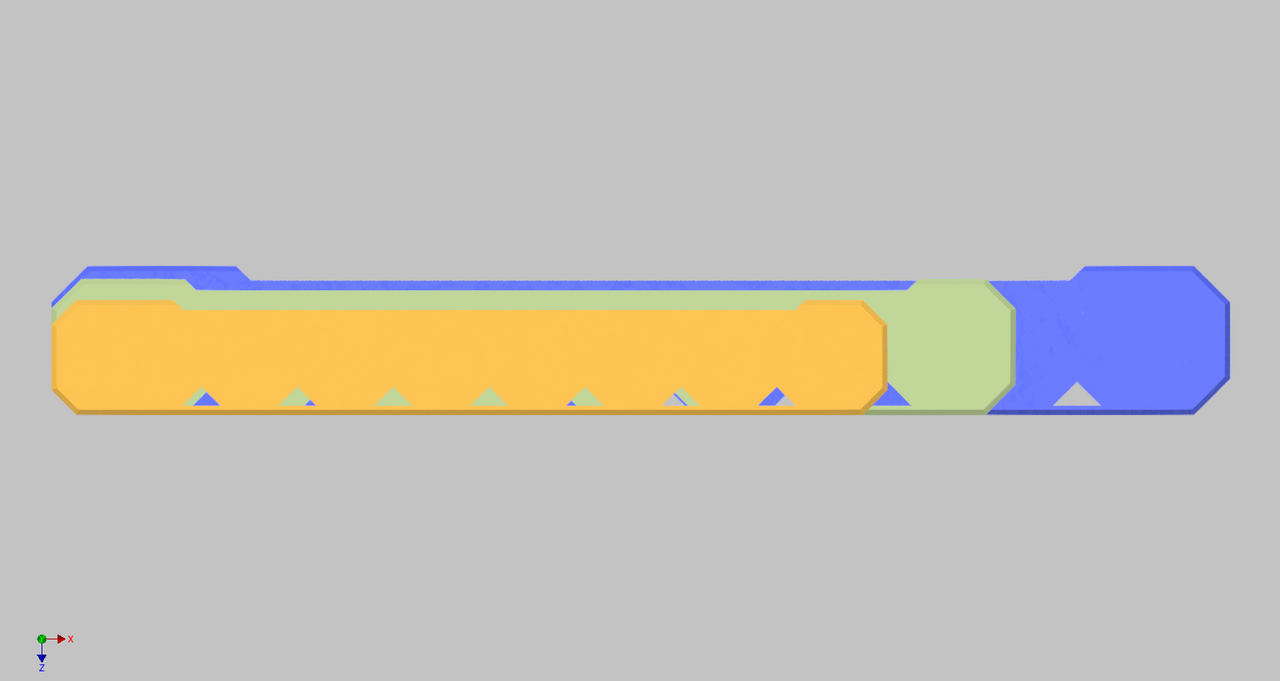
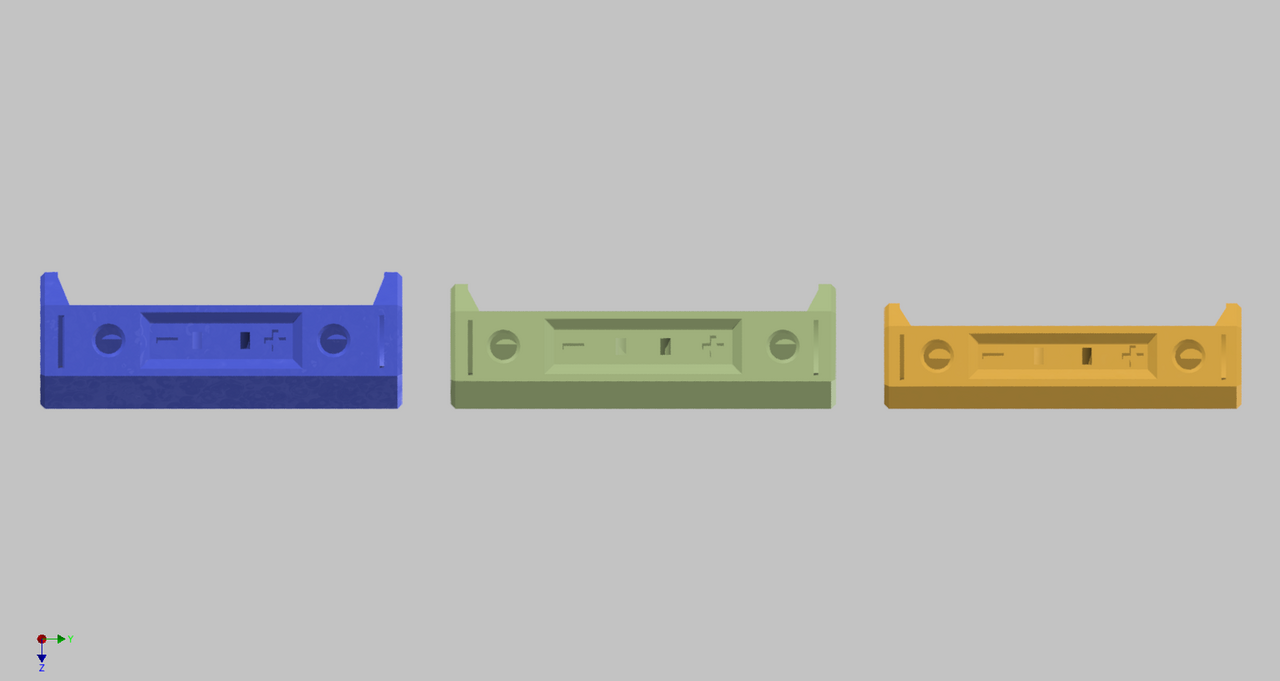
https://18650.lt/index.php/product/n-e-s-e-module/?attribute_pa_parallelgroup=6p&attribute_pa_fixing-type=standard

my gut tells me im missing some stuff.

there's nobody in the US distributing these for you is there?

Yes, that's what you need. You could get 9 of the series bus bars to connect it all up. I also have ring terminals, power connectors, bolt caps.
There is no distribution in US but my shipping prices are just a few dollars higher than local US prices.
 
Fair shipping, typically 20% or more off bike-discount.de and their ilk shipping costs.
To many businesses bury added profit in shipping. Yup it all has a price but it’s the disingenuous “lowest price” offers I find frustrating. No problem here!
 
I don't see a series connect Amp rating on the website. Somewhere I read that it's 50A per P module ... but it didn't say how many P configuration??
 
mxs said:
I don't see a series connect Amp rating on the website. Somewhere I read that it's 50A per P module ... but it didn't say how many P configuration??

You can draw max rating of the cell from NESE. If the cell is 20A max you can draw 160A from 8P or 60A from 3P module.
You can double that by paralleling 2 modules, e.g. 2 8P modules for 320A.
Most cell datasheets would tell you continues current of the cell but you have to validate that against temperature rise so it does not exeed safe limits and stays bellow 60C
 
I get the cell current limitation .... But isn't the series connection/joint have its own limits from design/material stand point? The way you are describing is that the only limit is the cell rating itself??
 
mxs said:
I get the cell current limitation .... But isn't the series connection/joint have its own limits from design/material stand point? The way you are describing is that the only limit is the cell rating itself??
You can always double or tripple up series connections. The path is short and conductor is 1mm copper. It will be better than any quadrupled spotwelded nickel connections
 
Its a bus bar so different to a wire. By the calculator i have it can handle 78A to 60C. V drop 0.034V. As mentioned you can double up or use thicker DIY bus bar
 
Thanks for making the STL files public especially since my winter grocery getter trike was stolen the day before my batteries were delivered. I had planned on building my first electric slowly with a mtb frame I already had or maybe find something easier along the way but I am now forced to rush the build and buy an overpriced cargo bike to replace my trike for now.

Now on to my question. I am building a 16s6p pack for a cyclone 3000watt with its stock 40amp controller and I have some 8x0.3mm nickel plated copper strip. Should I double up the strips so its 0.6mm thick or would the 0.3mm be fine? Also how thick should I make the series connectors? I have some 0.5mm bare copper I can make them from.
 
Stormsorter said:
Thanks for making the STL files public especially since my winter grocery getter trike was stolen the day before my batteries were delivered. I had planned on building my first electric slowly with a mtb frame I already had or maybe find something easier along the way but I am now forced to rush the build and buy an overpriced cargo bike to replace my trike for now.

Now on to my question. I am building a 16s6p pack for a cyclone 3000watt with its stock 40amp controller and I have some 8x0.3mm nickel plated copper strip. Should I double up the strips so its 0.6mm thick or would the 0.3mm be fine? Also how thick should I make the series connectors? I have some 0.5mm bare copper I can make them from.

Modules are made to be used with custom tabs i make. The tabs are 1.2mm thick as they have pressed bumps in them. You probably could so something with flat tabs and button head cells, but you will still need foam for compression. I have separate tabs for sale and they are not that expensive if purchased alone, without bolts and series bus bars. Certainly will be cheaper and easier than trying something DIY. €82.26 total with shipping and if you quick, you can knock off another 20% off of it till first of January
 
Hey. Happy New Year everyone! I would like to thank everyone for support, criticism and your hard earned money spent on my products. Its been a good ride this year and i am looking forward to the coming. I wish You lots of creativity, success in your hobby, happiness, good health and wealth for your close ones and friends. HAPPY NEW YEARS. Agnius

P.S. Promotion code 'WINTERSALE2020' will still be valid to 00:00 2020.01.01. You can still make it when you sober up :smiley:
 
@agniusm

Finally building my battery. Cheers bud.

Would you out the poron backed tabs on the positive or negative?

Sent from my CLT-L09 using Tapatalk

 
Great. Does not matter but i usually put neg on the poron side.
When did you got the kit and what batyery are you building? I cant refference your purchase to your nicknae :D.
Latest modules have +/- near terminals
 
14s5p.

I printed the modules and just bought the tab set and insulator discs.

I under ordered so had to order 1 more tab set.

To the uk


Sent from my CLT-L09 using Tapatalk

 
These cell holders are brilliant.

I would definitely reccomend considering these as a viable option.

As there is no spot welding involved you can switch out the number of cells you want anytime.

I would actually reccomend considering printing/buying 8p regardless of size. That way you can change your config anywhere from 1p to 8p. 1s to 100s if you want. Wish I'd done that now.

I might print 14 more 5p ones so I can run 14s10p. Don't know.

But yeah anyone considering these. Customer service is helpful, friendly and quick. The products are top notch.

Cheers bud.
43fe28dd27a5de077faac5481a7fd340.jpg


Sent from my CLT-L09 using Tapatalk

 
I would be interested in a design **not** connecting the cells at all to each other within a module,

4/5 or 6-cell modules, so each can be kept under the TSA 100Wh limit for air travel with lithium (ref Grin LiGo packs)

No power leads, just bringing out a pair of #16 AWG wires per each cell, isolated from each other.

Where waterproofing is possible, accommodating incorporating a flat round spot with enough free space inside behind it, to insert a receptacle for 8/10/12 plugs, e.g. TE/Deutsch DT or DTM series.

Then different xPyS layouts can be accommodated in separate junction boxes, also allowing each module set of cells to be checked / charged / tested independently

or swapping out a 12V portable pack e.g. to run a dinghy, then merging back into the 48V propulsion or House / mothership bank upon return.

Or switching from 12V to 24V when winching is required, etc.

 
Yes but that's just one issue

Hard-wiring the parallel connections is less flexible than what I'm proposing.

can't rewire to a different layout just by swapping Jboxen

have to atomize the pack to check the cells individually, etc
 
john61ct said:
Yes but that's just one issue

Hard-wiring the parallel connections is less flexible than what I'm proposing.

can't rewire to a different layout just by swapping Jboxen

have to atomize the pack to check the cells individually, etc

I dont know what that means. Its not about flexibility but rather simplicity. I had many 1st timers building batteries without any issues, faster than pros welding packs.
Usually when you build a battery, you build it for purpose, you dont need to rewire it. You can change layout to 2 more different ones and its easy enough to do.
Just by checking your pack voltages will give you an idea if there is a problem. Cell count is not that large and it would go out of balance noticeably.
 
agniusm said:
Its not about flexibility but rather simplicity.
I am not criticizing your existing design for that simplicity use case.

I am proposing an alternative approach based on what you have already got, for a different use case oriented around flexibility.

I want a say 6kWh main bank, and to be able to rotate smaller say 500Wh packs or 2kWh packs in and out, same cells comprising many different packs at whatever voltage is needed for a given purpose,

and without needing different chargers for every voltage needed.

Automated balancing charging and capacity testing at the per-cell level as a periodic maintenance routine without opening packs up to remove the cells.

If this idea is not of interest to you that's fine never mind.
 
john61ct said:
agniusm said:
Its not about flexibility but rather simplicity.
I am not criticizing your existing design for that simplicity use case.

I am proposing an alternative approach based on what you have already got, for a different use case oriented around flexibility.

I want a say 6kWh main bank, and to be able to rotate smaller say 500Wh packs or 2kWh packs in and out, same cells comprising many different packs at whatever voltage is needed for a given purpose,

and without needing different chargers for every voltage needed.

Automated balancing charging and capacity testing at the per-cell level as a periodic maintenance routine without opening packs up to remove the cells.

If this idea is not of interest to you that's fine never mind.

Sorry, but are trying to just frock arround? Show me a single pack with per cell based monitoring? 5kWh is 400+ cells and you are proposing to somehow wire this all for what reason? No one is a maniac like this. No one needs per cell monitoring. You need to monitor each parallel group. BMS does that and balance charges cells.
Surely i am not interested in making something useless like this.
 
OK thanks for stating so clearly.

I was not talking about monitoring per-cell while in use as with a BMS. But never mind. . .
 
Off-topic. Building this 7S3P battery for my 2 year old son, pedal car conversion. Using car wiper motor and some other cheap electronics of ebay. Most important thing is lights and horn :smiley:
This is why 3D printer is a must for maker of any kind :slight_smile:
8DHOuDM.jpg


CpA8AIy.jpg
 
Considering finishing up lineup with 26650:

26650(blue) 21700(green) 18650(orange),
26650 8P is 225mm in length vs 21700 8P 184mm :slight_smile:

rpKOVNq.png


bGkwg23.png


o6Ek3xF.png
 
Back
Top