KTM 200 exc goes electric

Ok sorry about that. I don't know why I didn't see them. Really nice build! Do you find it top heavy with the batteries that high?

Cheers
Tyler


It is a good question, I am not sure. I think that about 1/3 of the battery is higher than the ice engine that was there before. The engine was probably heavier at the bottom, but then there was the fuel tank too. A bigger part of the weight is probably more to the front than before also.
 
Interesting. I'd love to know what you think once you are riding it. Did you think of mounting the motor to the swingarm only so it moves with the wheel?

When I saw how you mounted on the swingarm bolt I wondered if you could do something similar from below and hang the motor down with a second bracket onto the swingarm, the motor would not move slot since it is close to the fulcrum but would keep chain tension and make room for more or lower batteries. Just an idea.

Cheers
Tyler

 
No, that was not really an option. I would have to modify the swing a lot, or hang the motor under it. I don't think the chain will be a problem, the sprocket is close to where it was with the ice engine. And I didn't want the extra unsprung weight.

Sure, it would have helped the battery mount to some extent, but I don't want to make the bike to much wider at the bottom anyway.
Otherwise I could have mounted the front packs lower where the motor is now. But it would make the bike wider in the bottom, and it would shield the airflow over the motor (where it is mounted now).

But I don't have a lot of experience driving a dirtbike, I have just built it like I think seems best.
 
It is a very neat and organized build so you should be proud! The battery is very good too.

Cheers
Tyler

 
tylerwatts said:
Interesting. I'd love to know what you think once you are riding it. Did you think of mounting the motor to the swingarm only so it moves with the wheel?

I thought about the very same thing while watching the pictures too :)
Wonder how this would behave, pretty sure it would be nice since it would act like a counterweight for the wheel, so maybe it would artificially lower the unsprung weight even though it would be technically suspended. That would have been interesting to see.
 
Thanks guys :)
I don't have very much new to show. It has been some thinking, testing and a little building lately.

The battery has got some extra brackets:

dKPlKVb.jpg


I have changed the brackets for the controller, so it should fit both nucular 24 fet and votol 150sp:

SGtwDt7.jpg


It seems like it can be interesting to test both. I thought the votol was limited to 380 phase A, but it seems like it might be possible to get about 500. So it may be something after all. I don't have a charging solution with it though, I planned to use the charge trough the controller feature on the nucular with a 48v psu.

I planned to make a new box over the hv connections and front bracket for the seat, but now I think that I will use the part of the tank that is under the seat:

gUcaRko.jpg


There are a lot more work to do before it is finished, but the seat is already very stable. I will probably cut it in front of the seat, or just before the seat ends and make a new front part.

I think another placement of the motor would be difficult:

nu0tl3e.jpg


Even if it would be possible to fit it on or under the swing, the chain passes over and under. It would probably be a matter of more or less build a new swing.

Dui, I think you talk about to keep the motor about where it is now, but attached to the swing instead of the frame?
It would take extra room for the motor to move, and to make brackets from the swing.

I think any of those solutions would be more interesting if you were converting from a hub motor, or on a scratch built bike. I think the chain should not be a big problem here, the front sprocket should be close to where it was with the ice engine.
 
That looks very nice j bjork. Thanks for showing us the swingarm position. I know the shock is in the way to place the motor above and possibly below there is not enough room near the frame.

I like the design QS use for their own swingarm so I agree probably making a new swingarm would be best. But the KTM is a good candidate because it doesn't have linkage, just mounts to the swingarm. Another good layout but not for off-road is the Kawasaki ER bikes with a side mounted shock, should have plenty space.

Sorry to derail your thread, this is a very smart build and I like your battery choice too. Can you tell me how the modules were arranged in the main battery or what size they are before you cut them? Thanks

Cheers
Tyler

 
Each module is 12s 1p, 2 modules are glued and bolted to a cooling plate with water cooling. That is what you see in the beginning before I cut off one module from each of the cooling plates.
In the battery there are 4 of these double modules with the cooling plate between. They are connected in series to 96s 1p.

My front packs still has the cooling plate mounted to them.
 
As usual I have not got as much as planned done, but here is a little:

QlAVsKr.jpg


The start for what the cover in front of the seat should look like.

mknjB3Q.jpg


The picture was not very good, but this is what it looks like when I first made it square. Then sanded all the edges at an angle.

BJOPsBF.jpg


Another bad picture when I have rounded all the edges.

UOl69sL.jpg


Well, you can get an idea of what it will look like on the bike..

DjbGNev.jpg


Time to make a mold :wink:
 
Finished mold:

OAnQSes.jpg


And I welded the frame and started sand blasting it:

mQeMn6A.jpg


ziM7L0j.jpg


But then I decided that I should strip it of all paint to get a good result when I paint it.
It would have been a good idea to get someone with the right tools to do it, but I am stubborn and I hate to wait..
I had already started, so how much longer can it take, right?

Maybe 15 hours of sand blasting in my cabinet later:

OGB0qGN.jpg


To get it powder coated would also be a good idea I think, but I have already bought expensive paint so..
 
Strait out of the mold:

lXTtb0G.jpg


I have got some painting done:

BOMuK3k.jpg


I would like to have flipped it around, for easier access to all difficult places and to get a better view of what I am doing.
But it seemed difficult, I think I did an ok job anyway.

AKQC9lW.jpg


ufHBHhY.jpg


Not very good pictures of the battery covers..

mtaFGvi.jpg


And finally foot pegs.
 
That looks really nice! Repainting the frame will finish it off well in the end, nice work.

Cheers
Tyler

 
Thanks
Well, I should have made an effort to flip the frame around..
There are some "dry spray" or what it may be called in English:

A0MNWW1.jpg


It looks good on the underside though..
It is not to bad, most of it will be covered. But I think at least 2 places will be visible.
Well, I don't think I will redo it. It is a dirtbike after all, and will soon have scratches both here and there.

The forks were in desperate need of a rebuild:

0ZwsX8M.jpg


PH3wmeQ.jpg


n6xoOCk.jpg


LaxgN8A.jpg


9NEDAC4.jpg


I had never done it before, but it was not too difficult.
I found the most critical steps on youtube, but they didn't go to deep.
They just replaced the seals basically. But how to take the rest apart, clean and change o-rings and bushings was not too difficult.
I had to turn down one bushing in the lathe to be able to get it out though, but that was not very necessary to change actually.

A revisit to the rear shock:

DrVpUKQ.jpg


This is a bit trickier. To the fork you can just buy a rebuild kit. To the shock most videos says leave it to professionals.
I asked a professional, he could sell me the piston rings and the seals for the piston. That was about it.
I rebuilt it earlier, but then I noticed the rebound setting didn't work. I didn't take that apart back then.

ZtGkkmp.jpg


Here it is without the rebound adjuster. The problem is that this rod don't come down when it is pushed up.

Put1FqW.jpg


Eventually I was able to get this rod out.
There is nothing really pushing it down, except the pressure in the shock.
I cleaned it up with scotch brite, and fixed the cone in the lathe.
I hope it works now..

Fill it with oil:

0D93vE3.jpg


I can test it with air pressure, and later fill it with nitrogen.

This is the problem now:

JhjzSzG.jpg


I have cleaned a lot of parts, and ordered new bearings for the steering.
They were supposed to get here between Wednesday and Monday. I then hoped I would get them before the weekend, but no :(
 
Hi, it was a long time since I updated. I have kept working on the bike, but it has been a lot of details.

But I have some pictures I can show I guess :wink:

UzEaIfP.jpg


cHQUebj.jpg


26zPXZt.jpg


lbdxmjn.jpg


I prepared the battery modules with some balancing wires.
I decided to put connectors on the modules, and worry about the rest of the wires later.
I also ordered an ant bms, I hope I get it sometime soon..

9SetwtQ.jpg


I could use the busbars I made earlier, I just had to change them a little. (I changed the position or the rear battery backs)

MngzdZz.jpg


I made some adapters to change the position of the chain guide to fit the bigger rear sprocket better.

MP3l63L.jpg


cMNKVRH.jpg


FQX4zuB.jpg


I covered the bord for my pre charge in conformal and glued it to the front cover.

5BzzWZ4.jpg


A little wiring..

q7G4e2D.jpg


I also spent hours making that little plate on the frame that fits under the cover :roll:
So it will not be water proof, but at least water-protected.
 
Your bike is looking very good! I look forward to seeing your first ride.

Cheers
Tyler

 
Thanks, I had a testride today :wink:

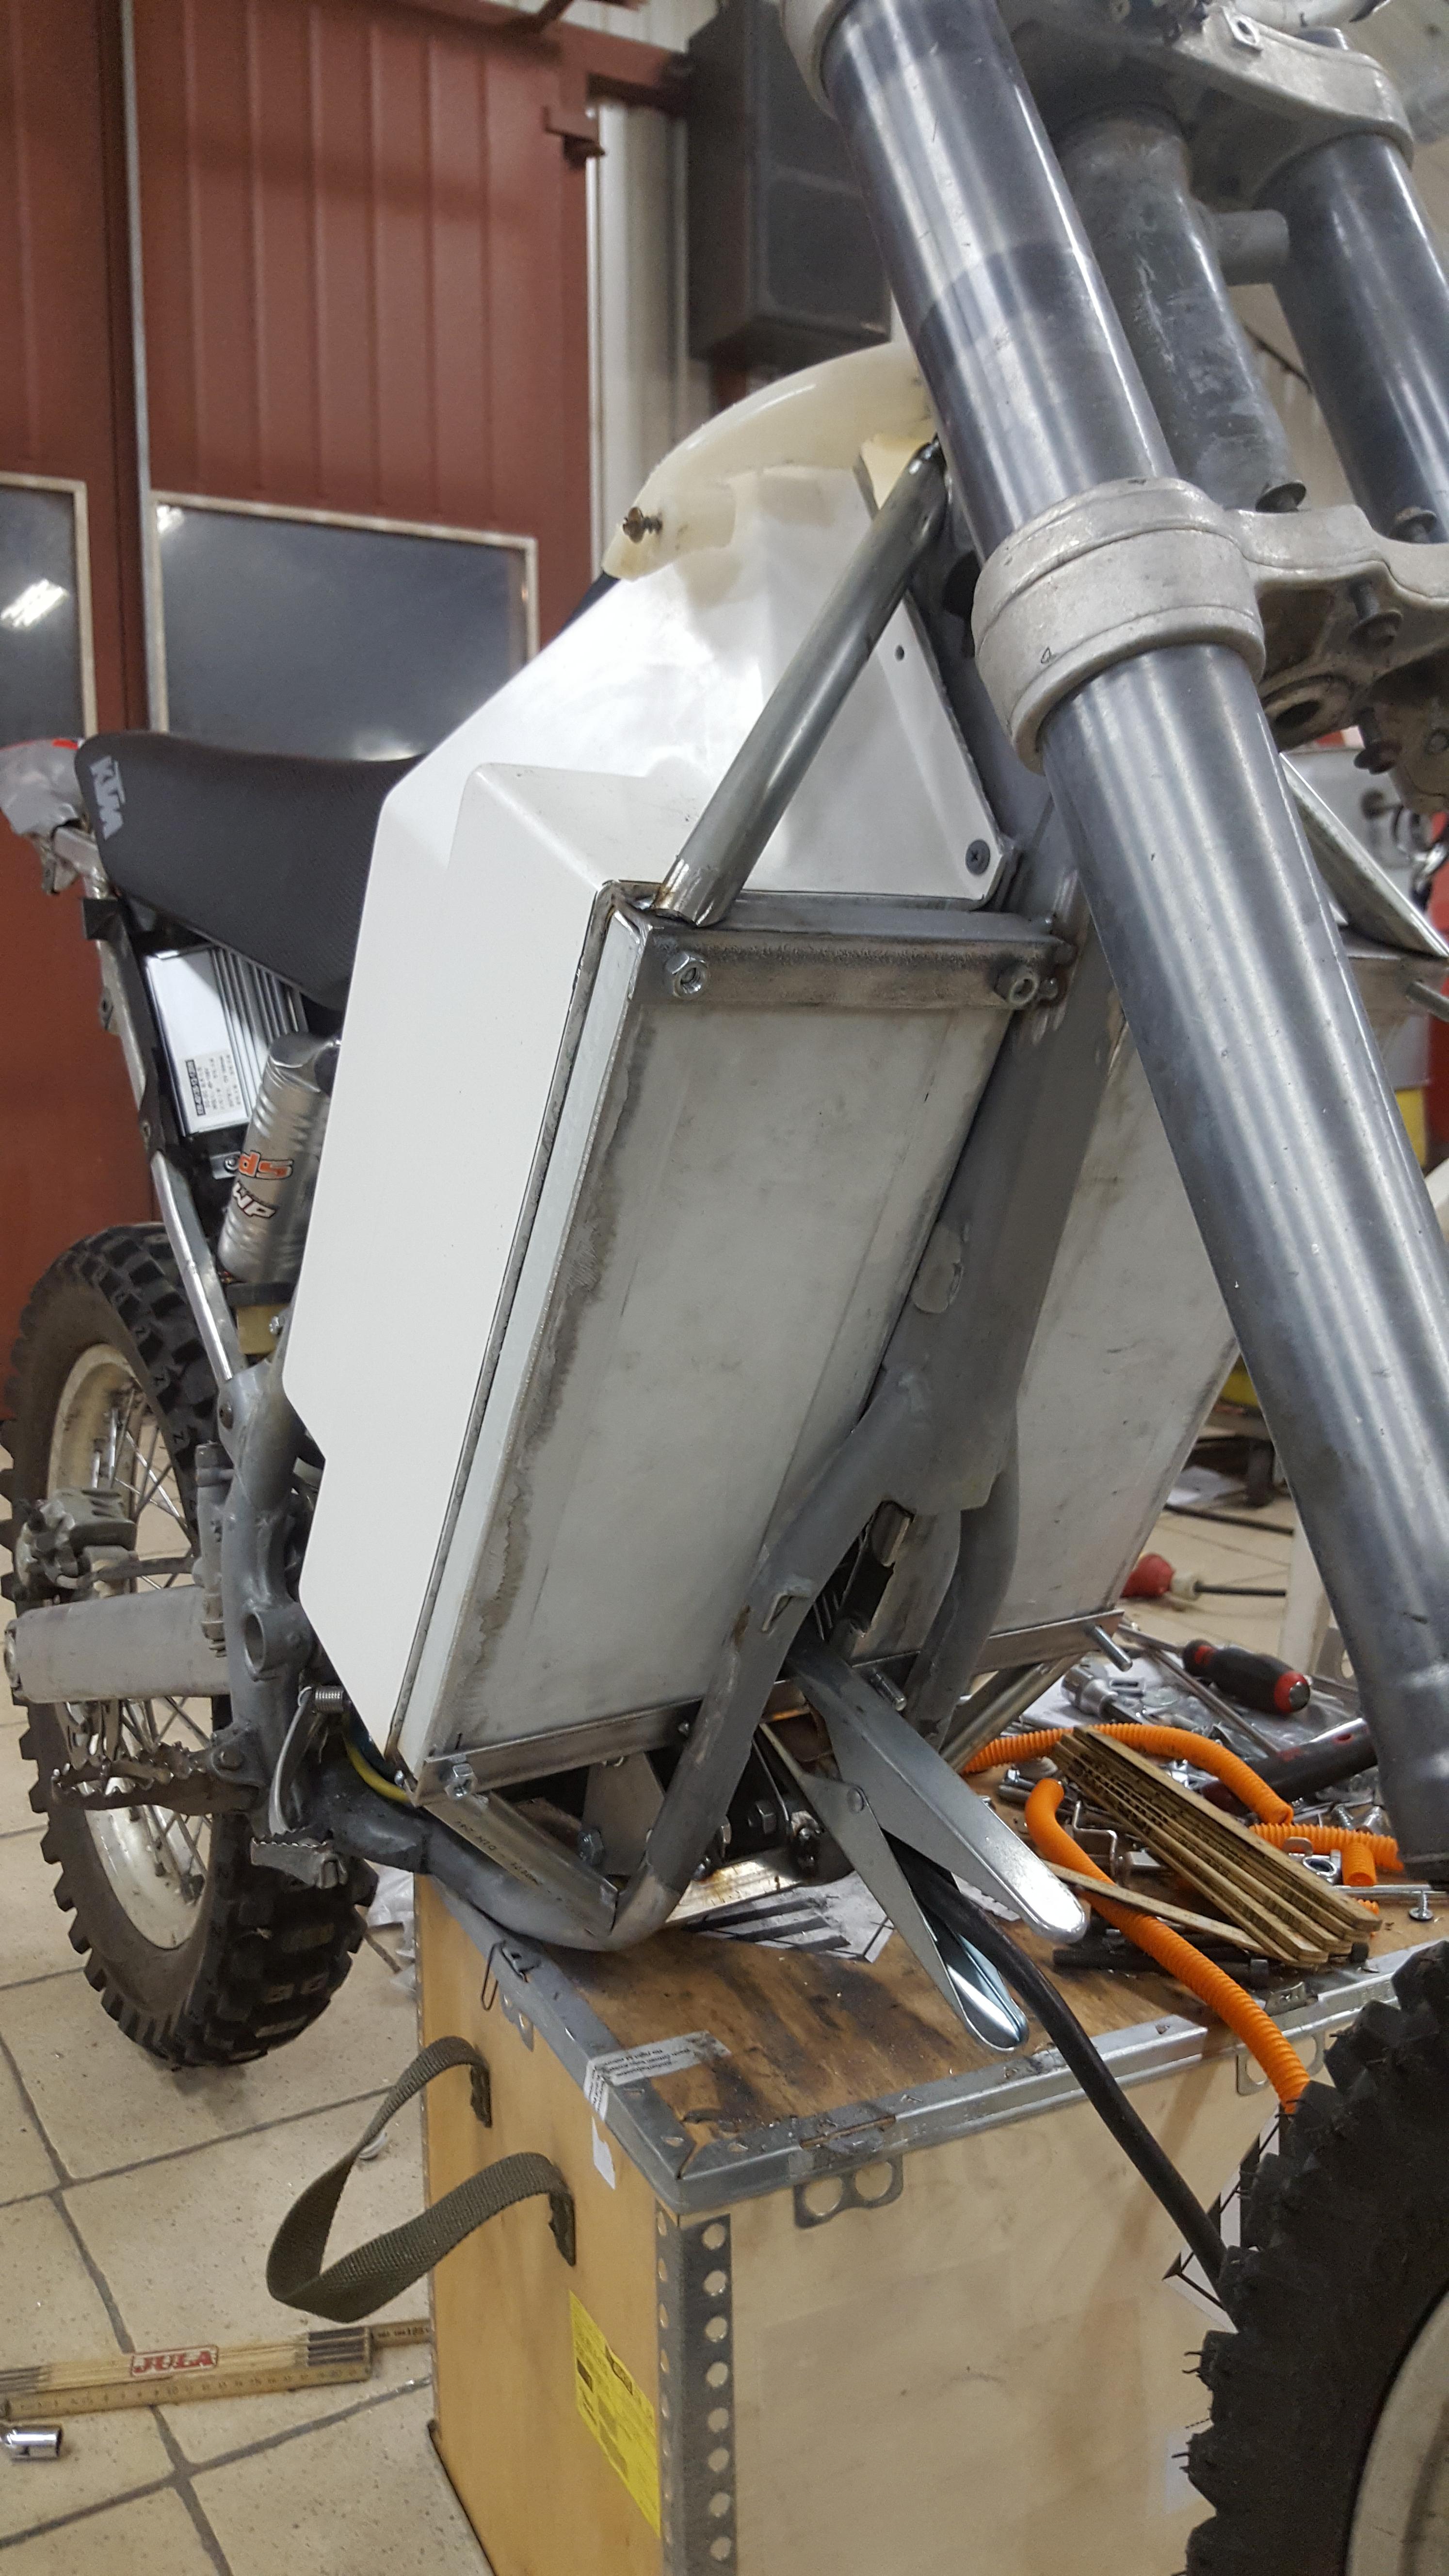
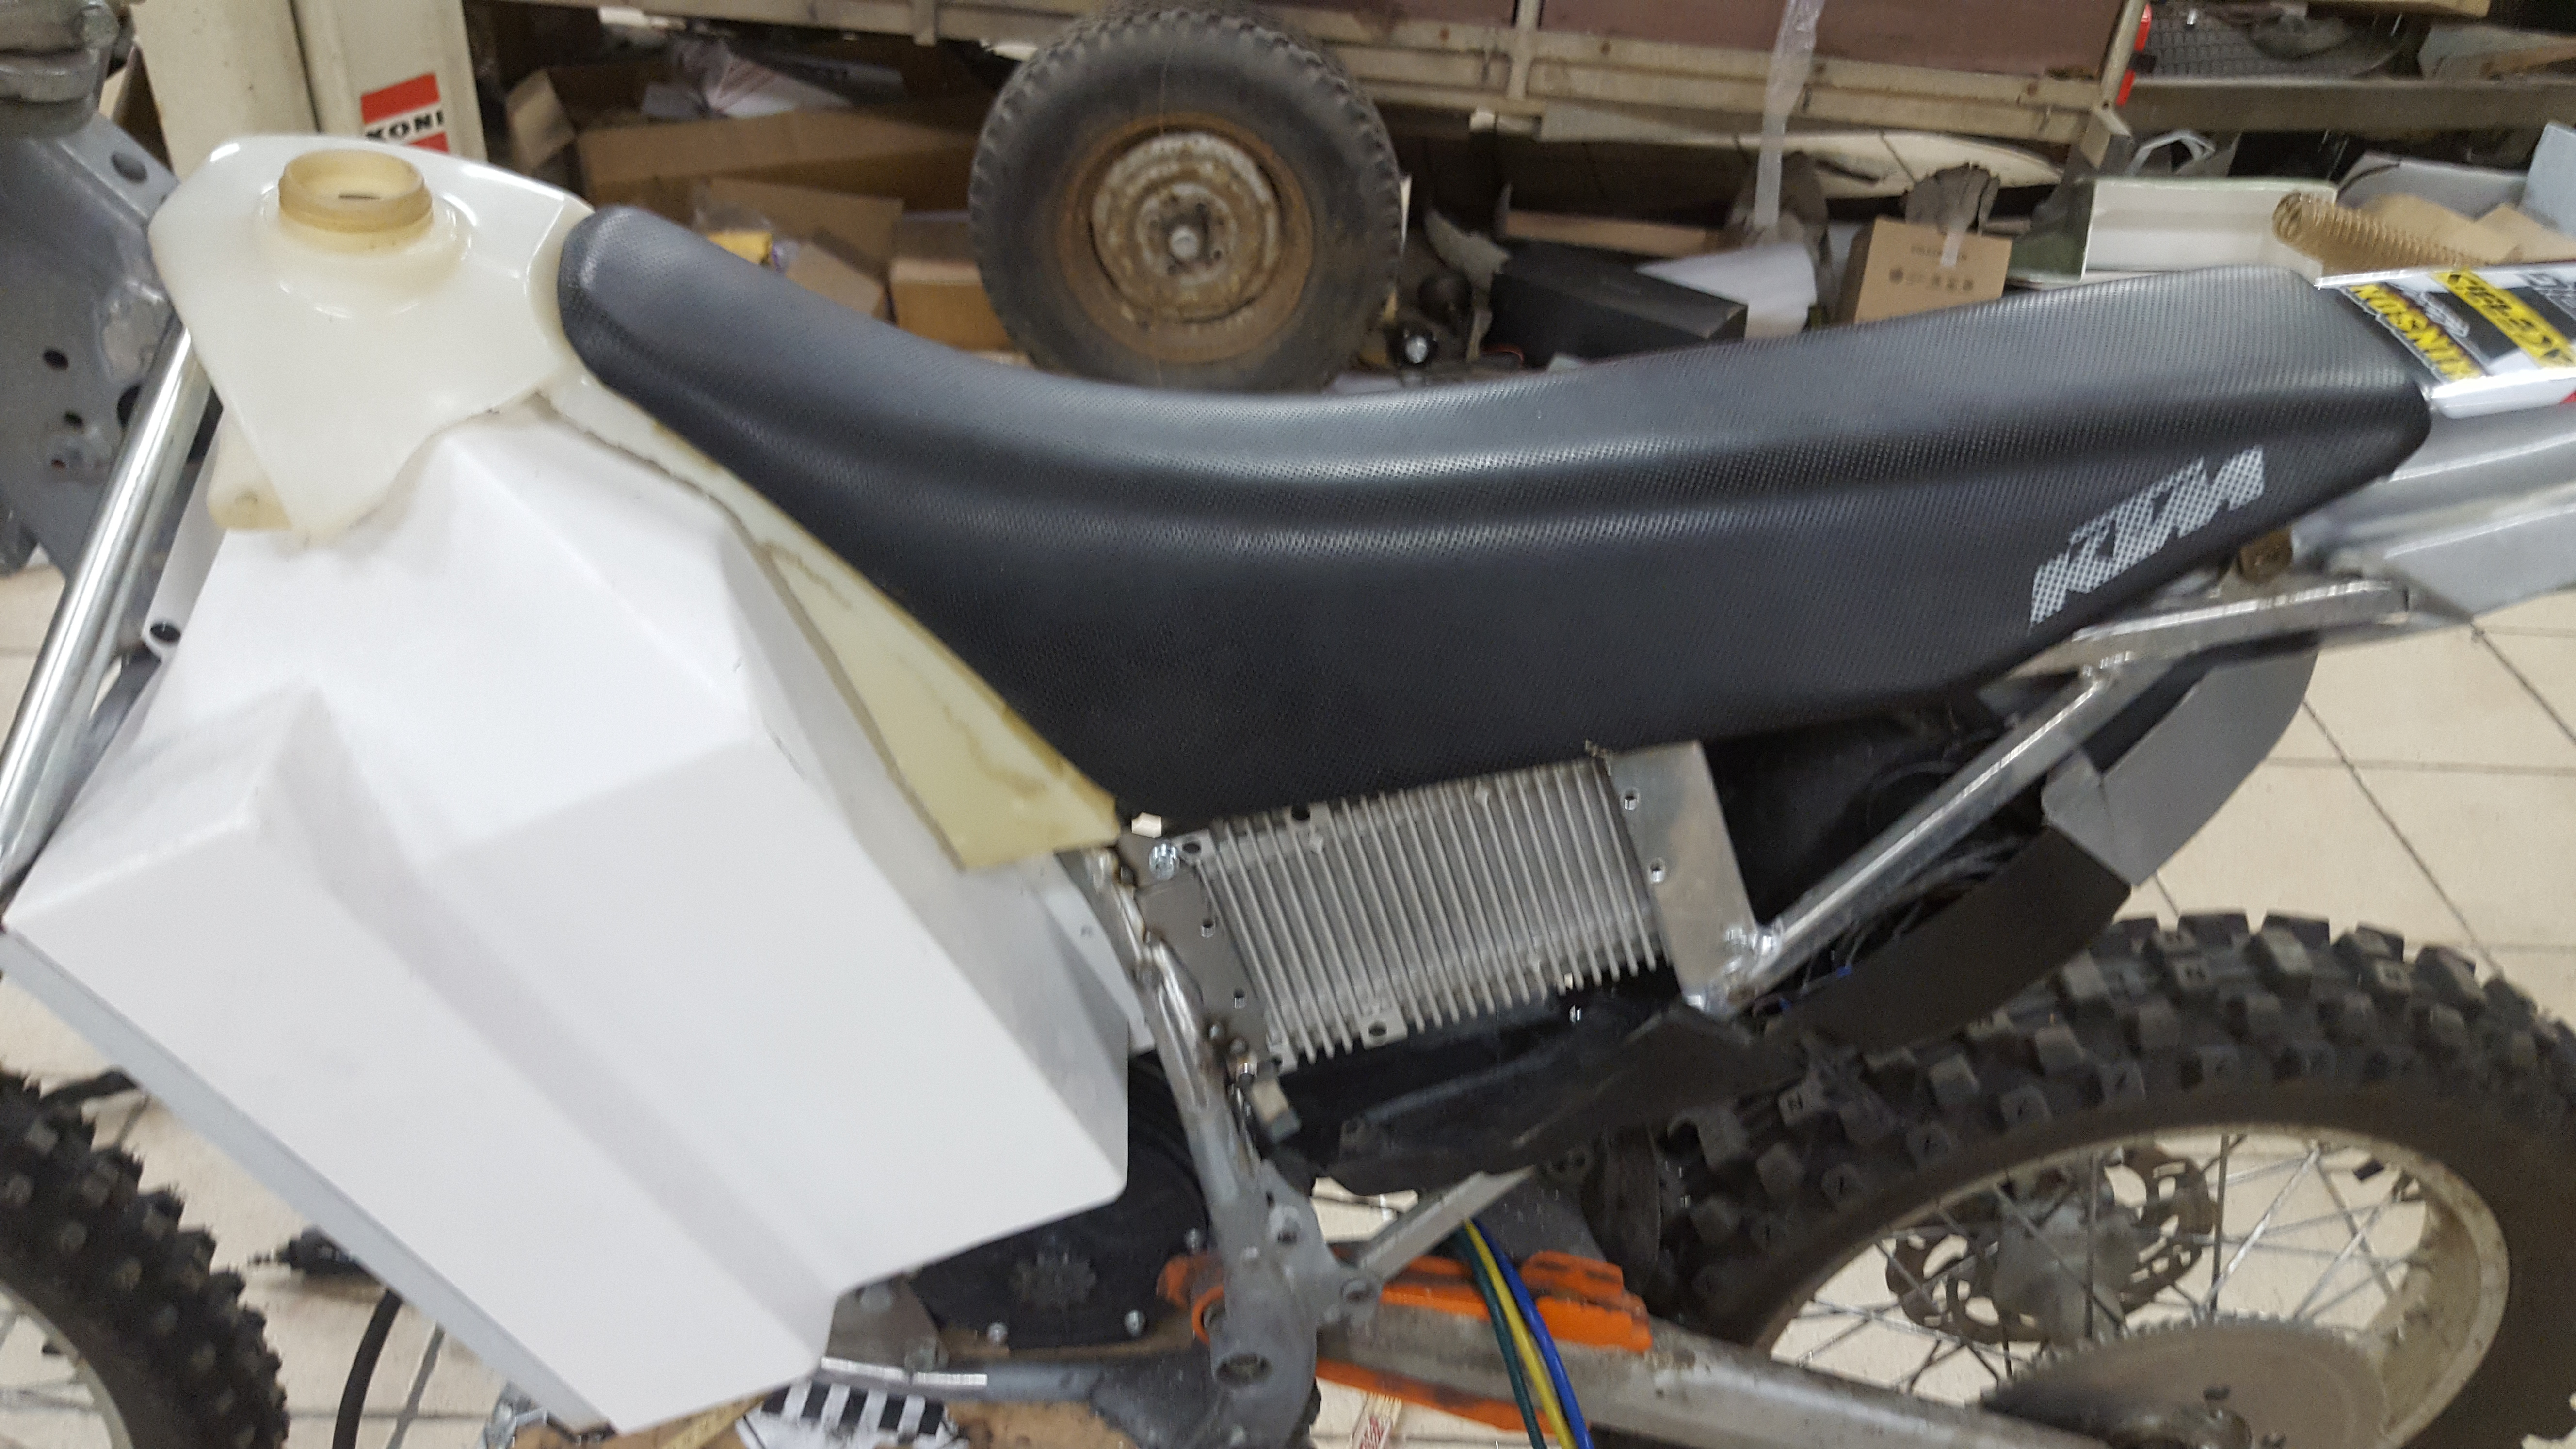
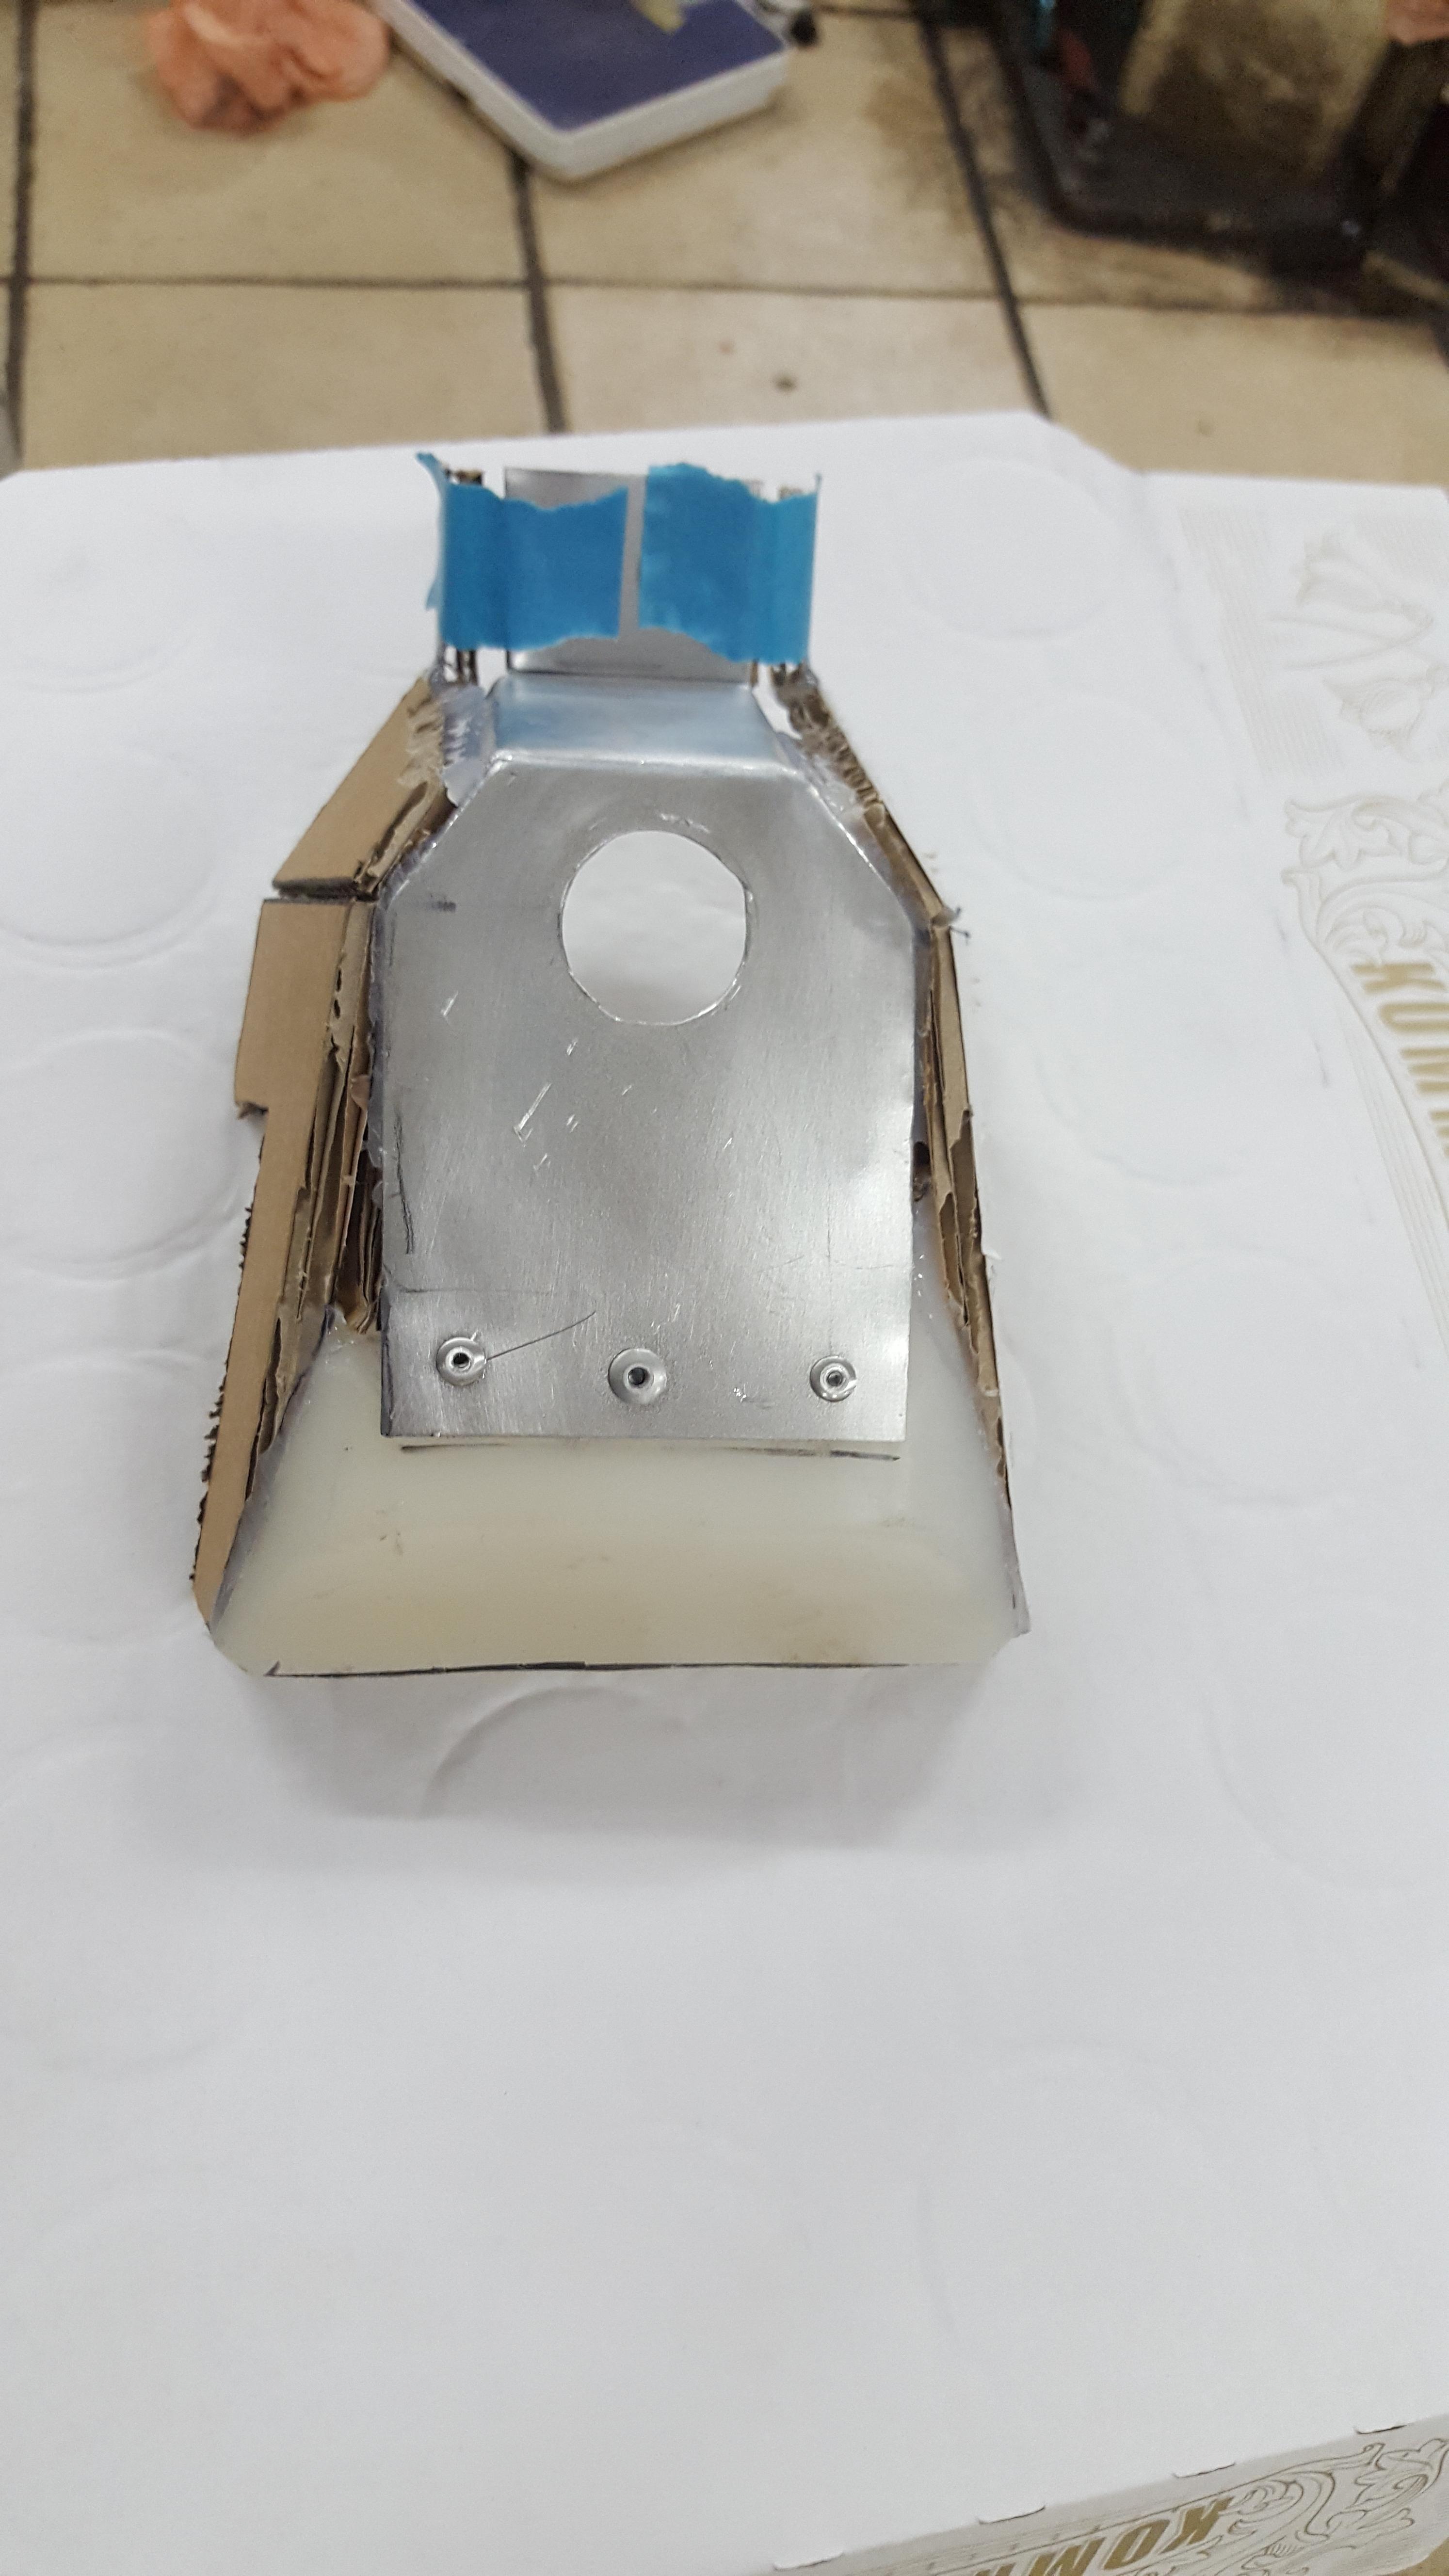
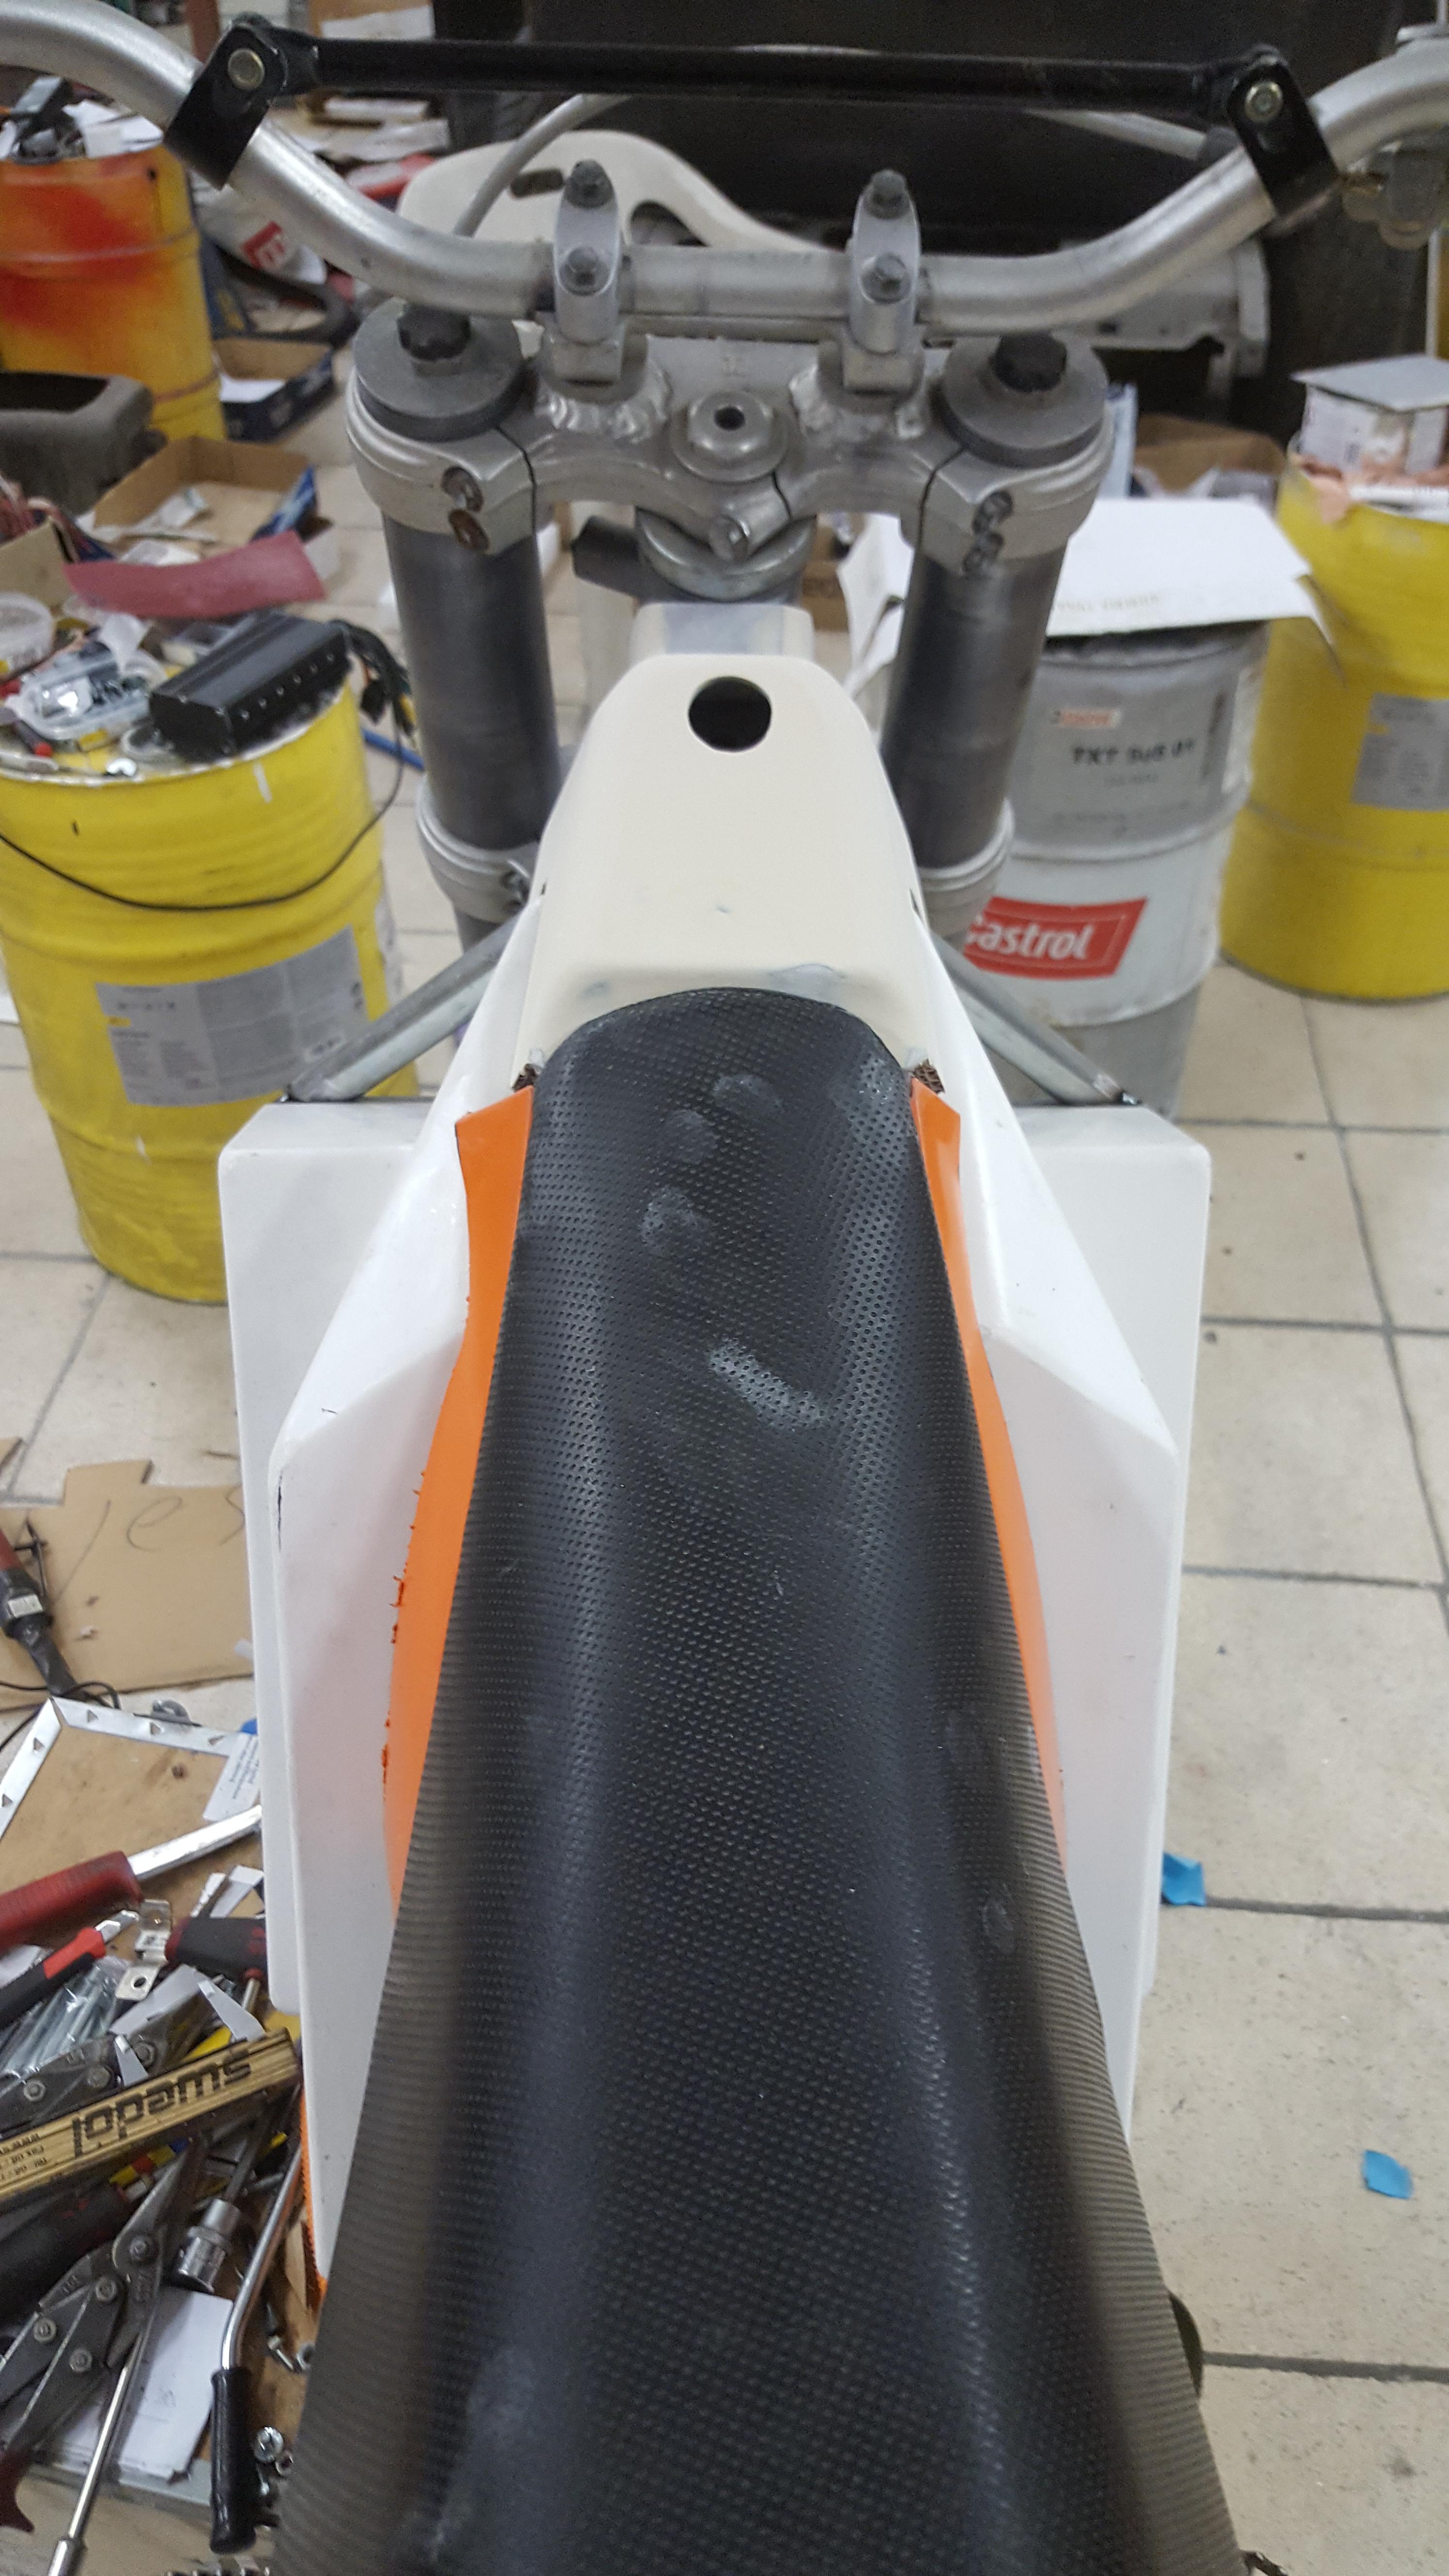
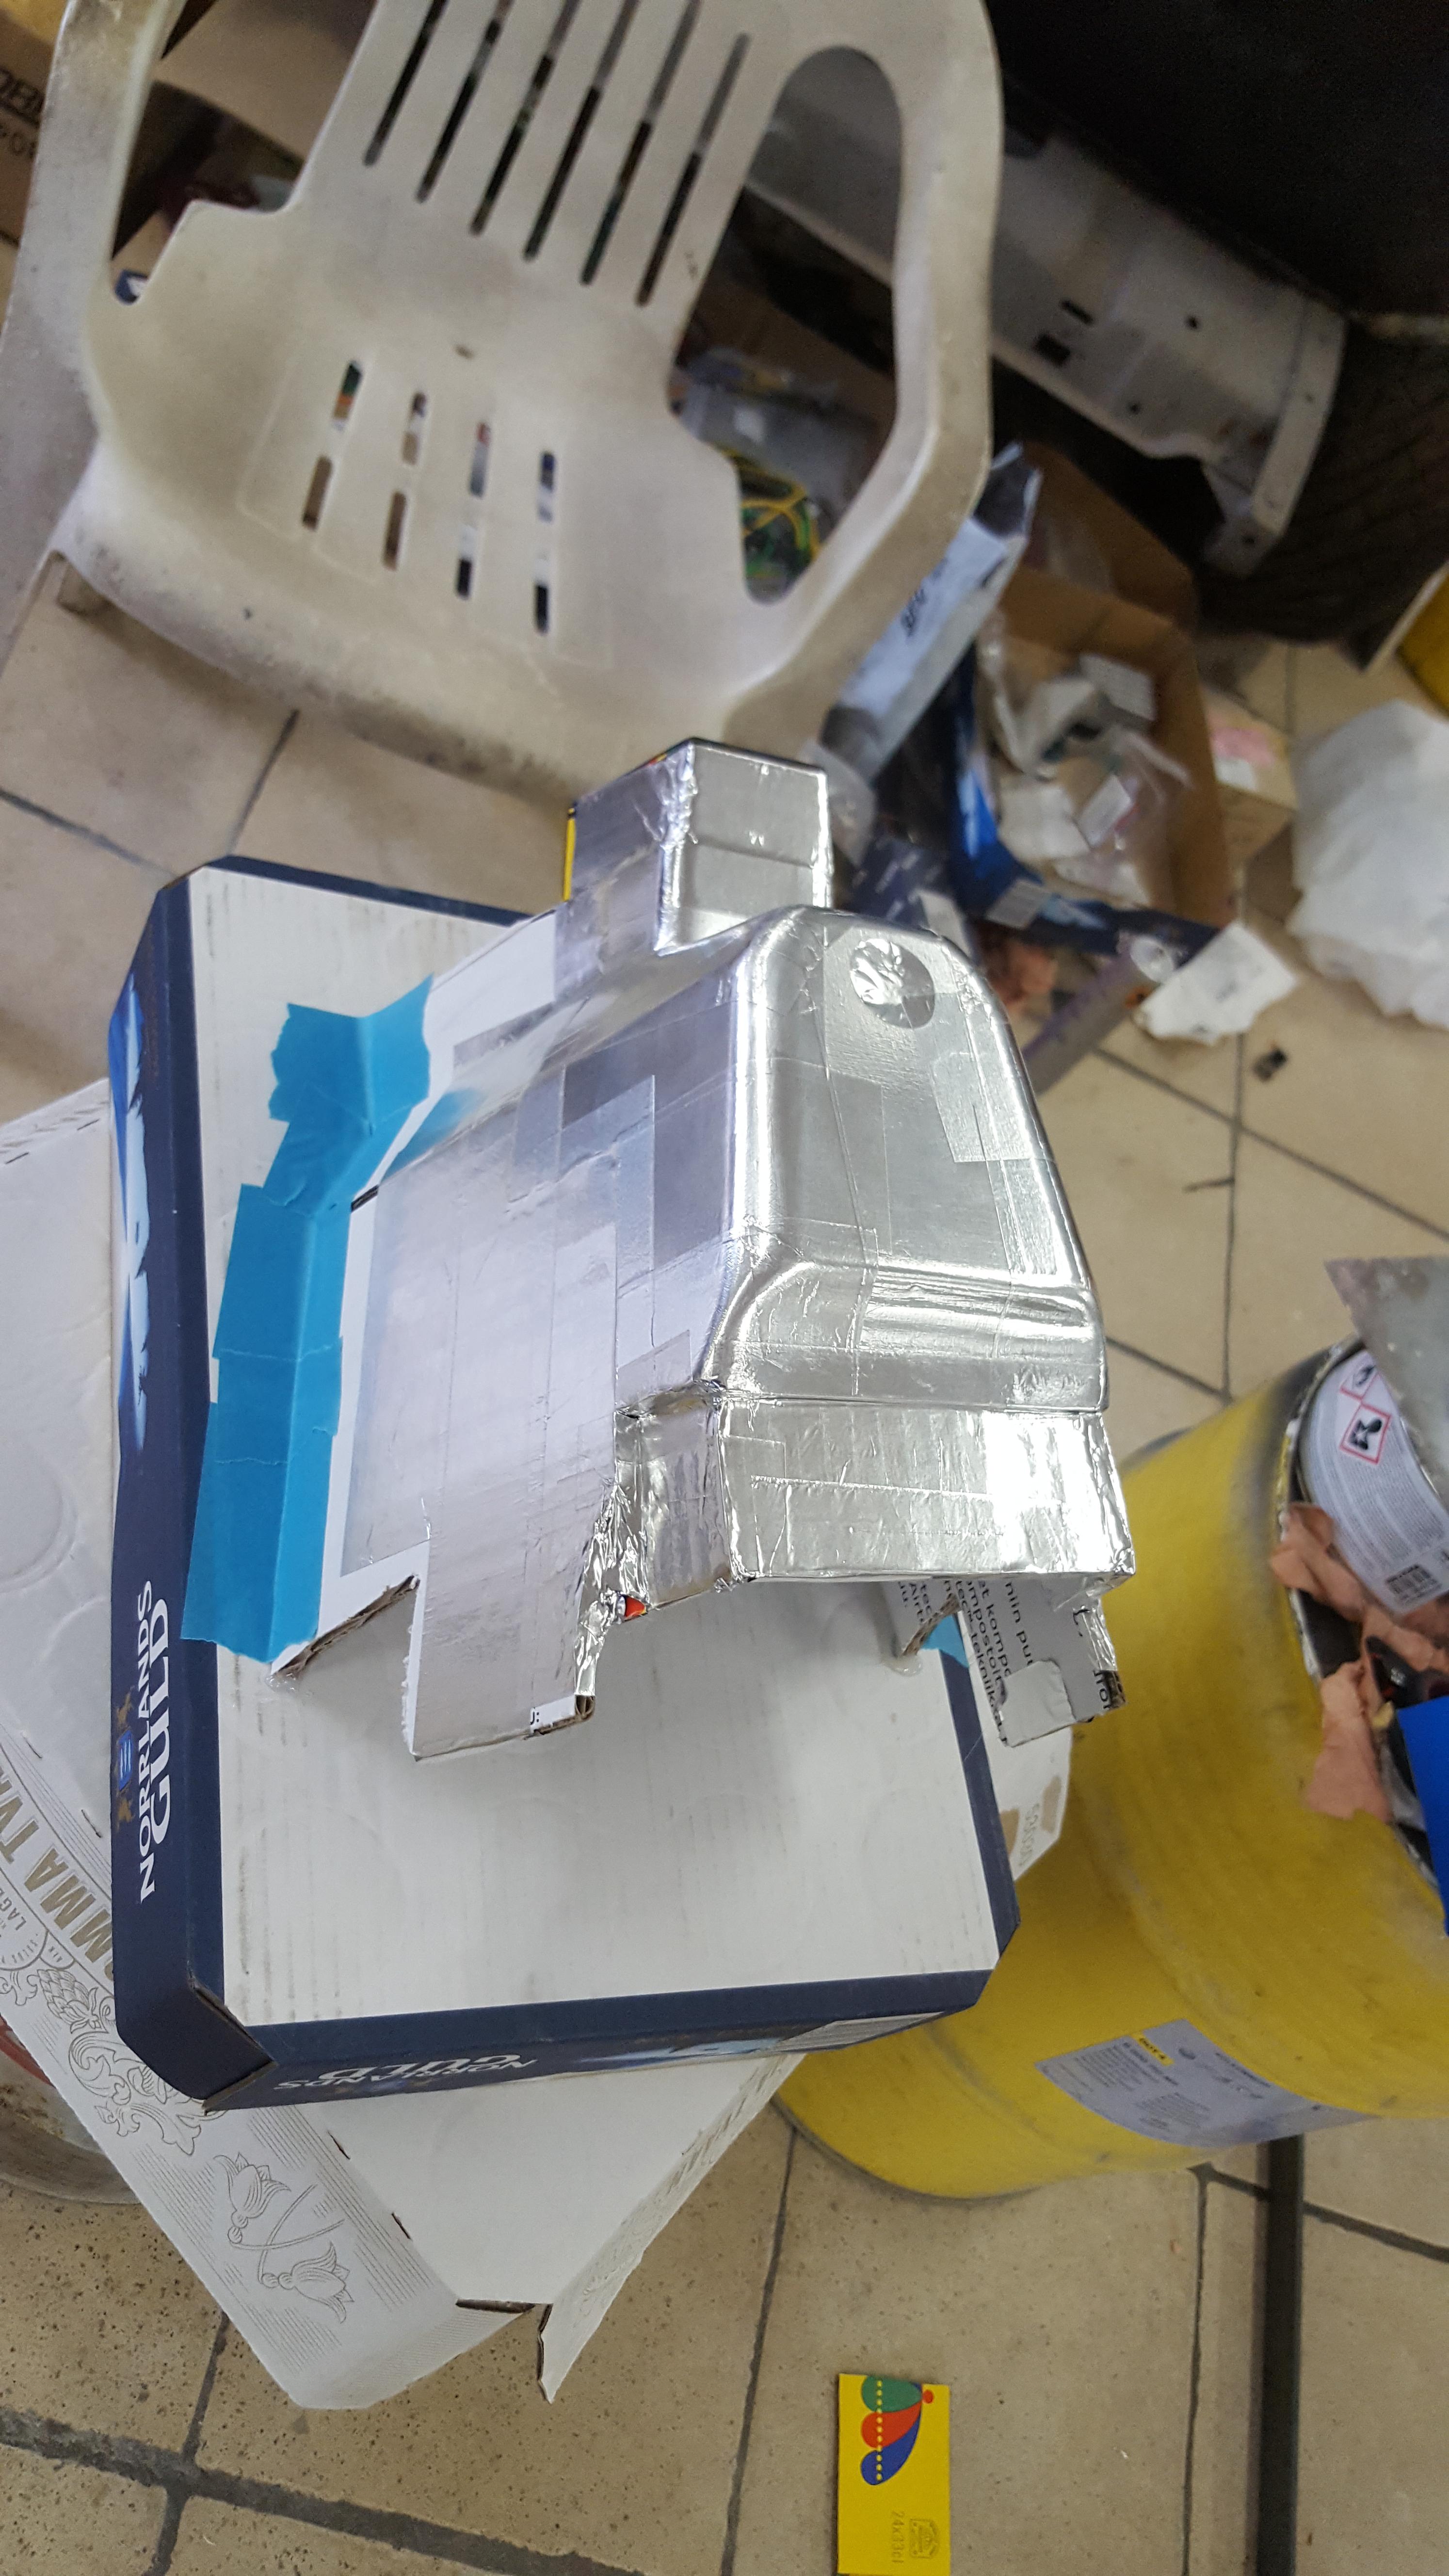
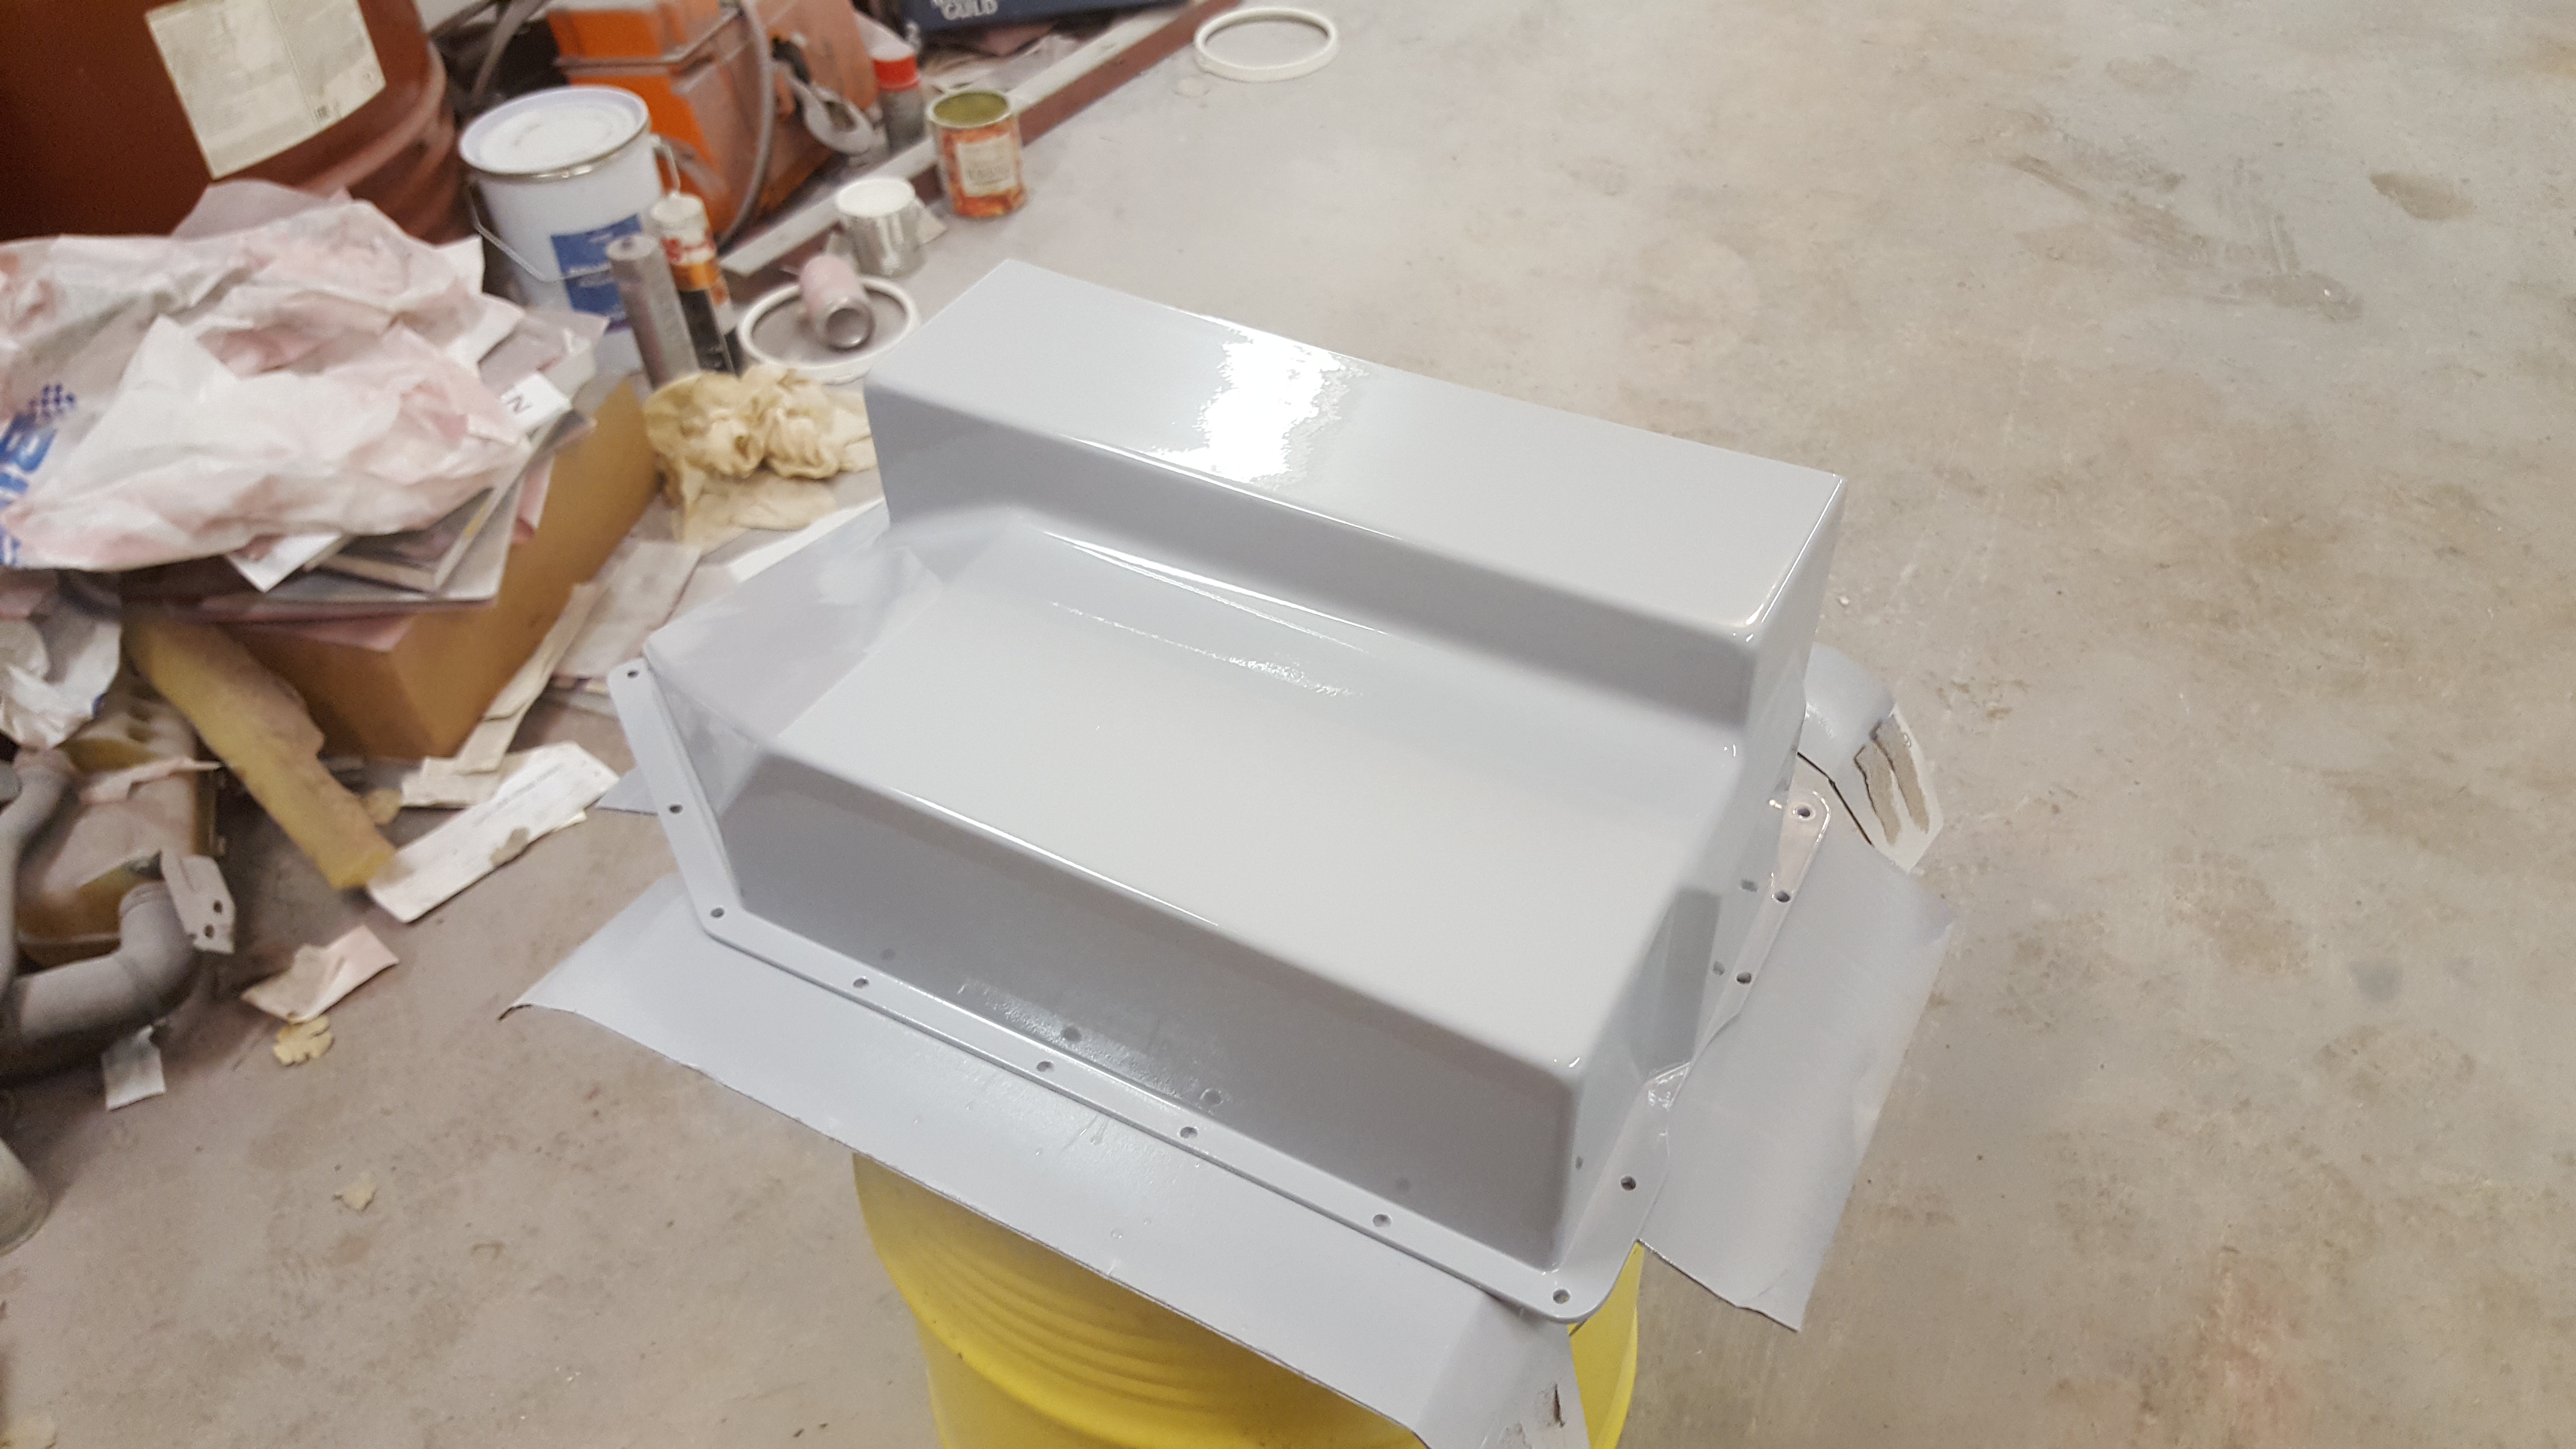
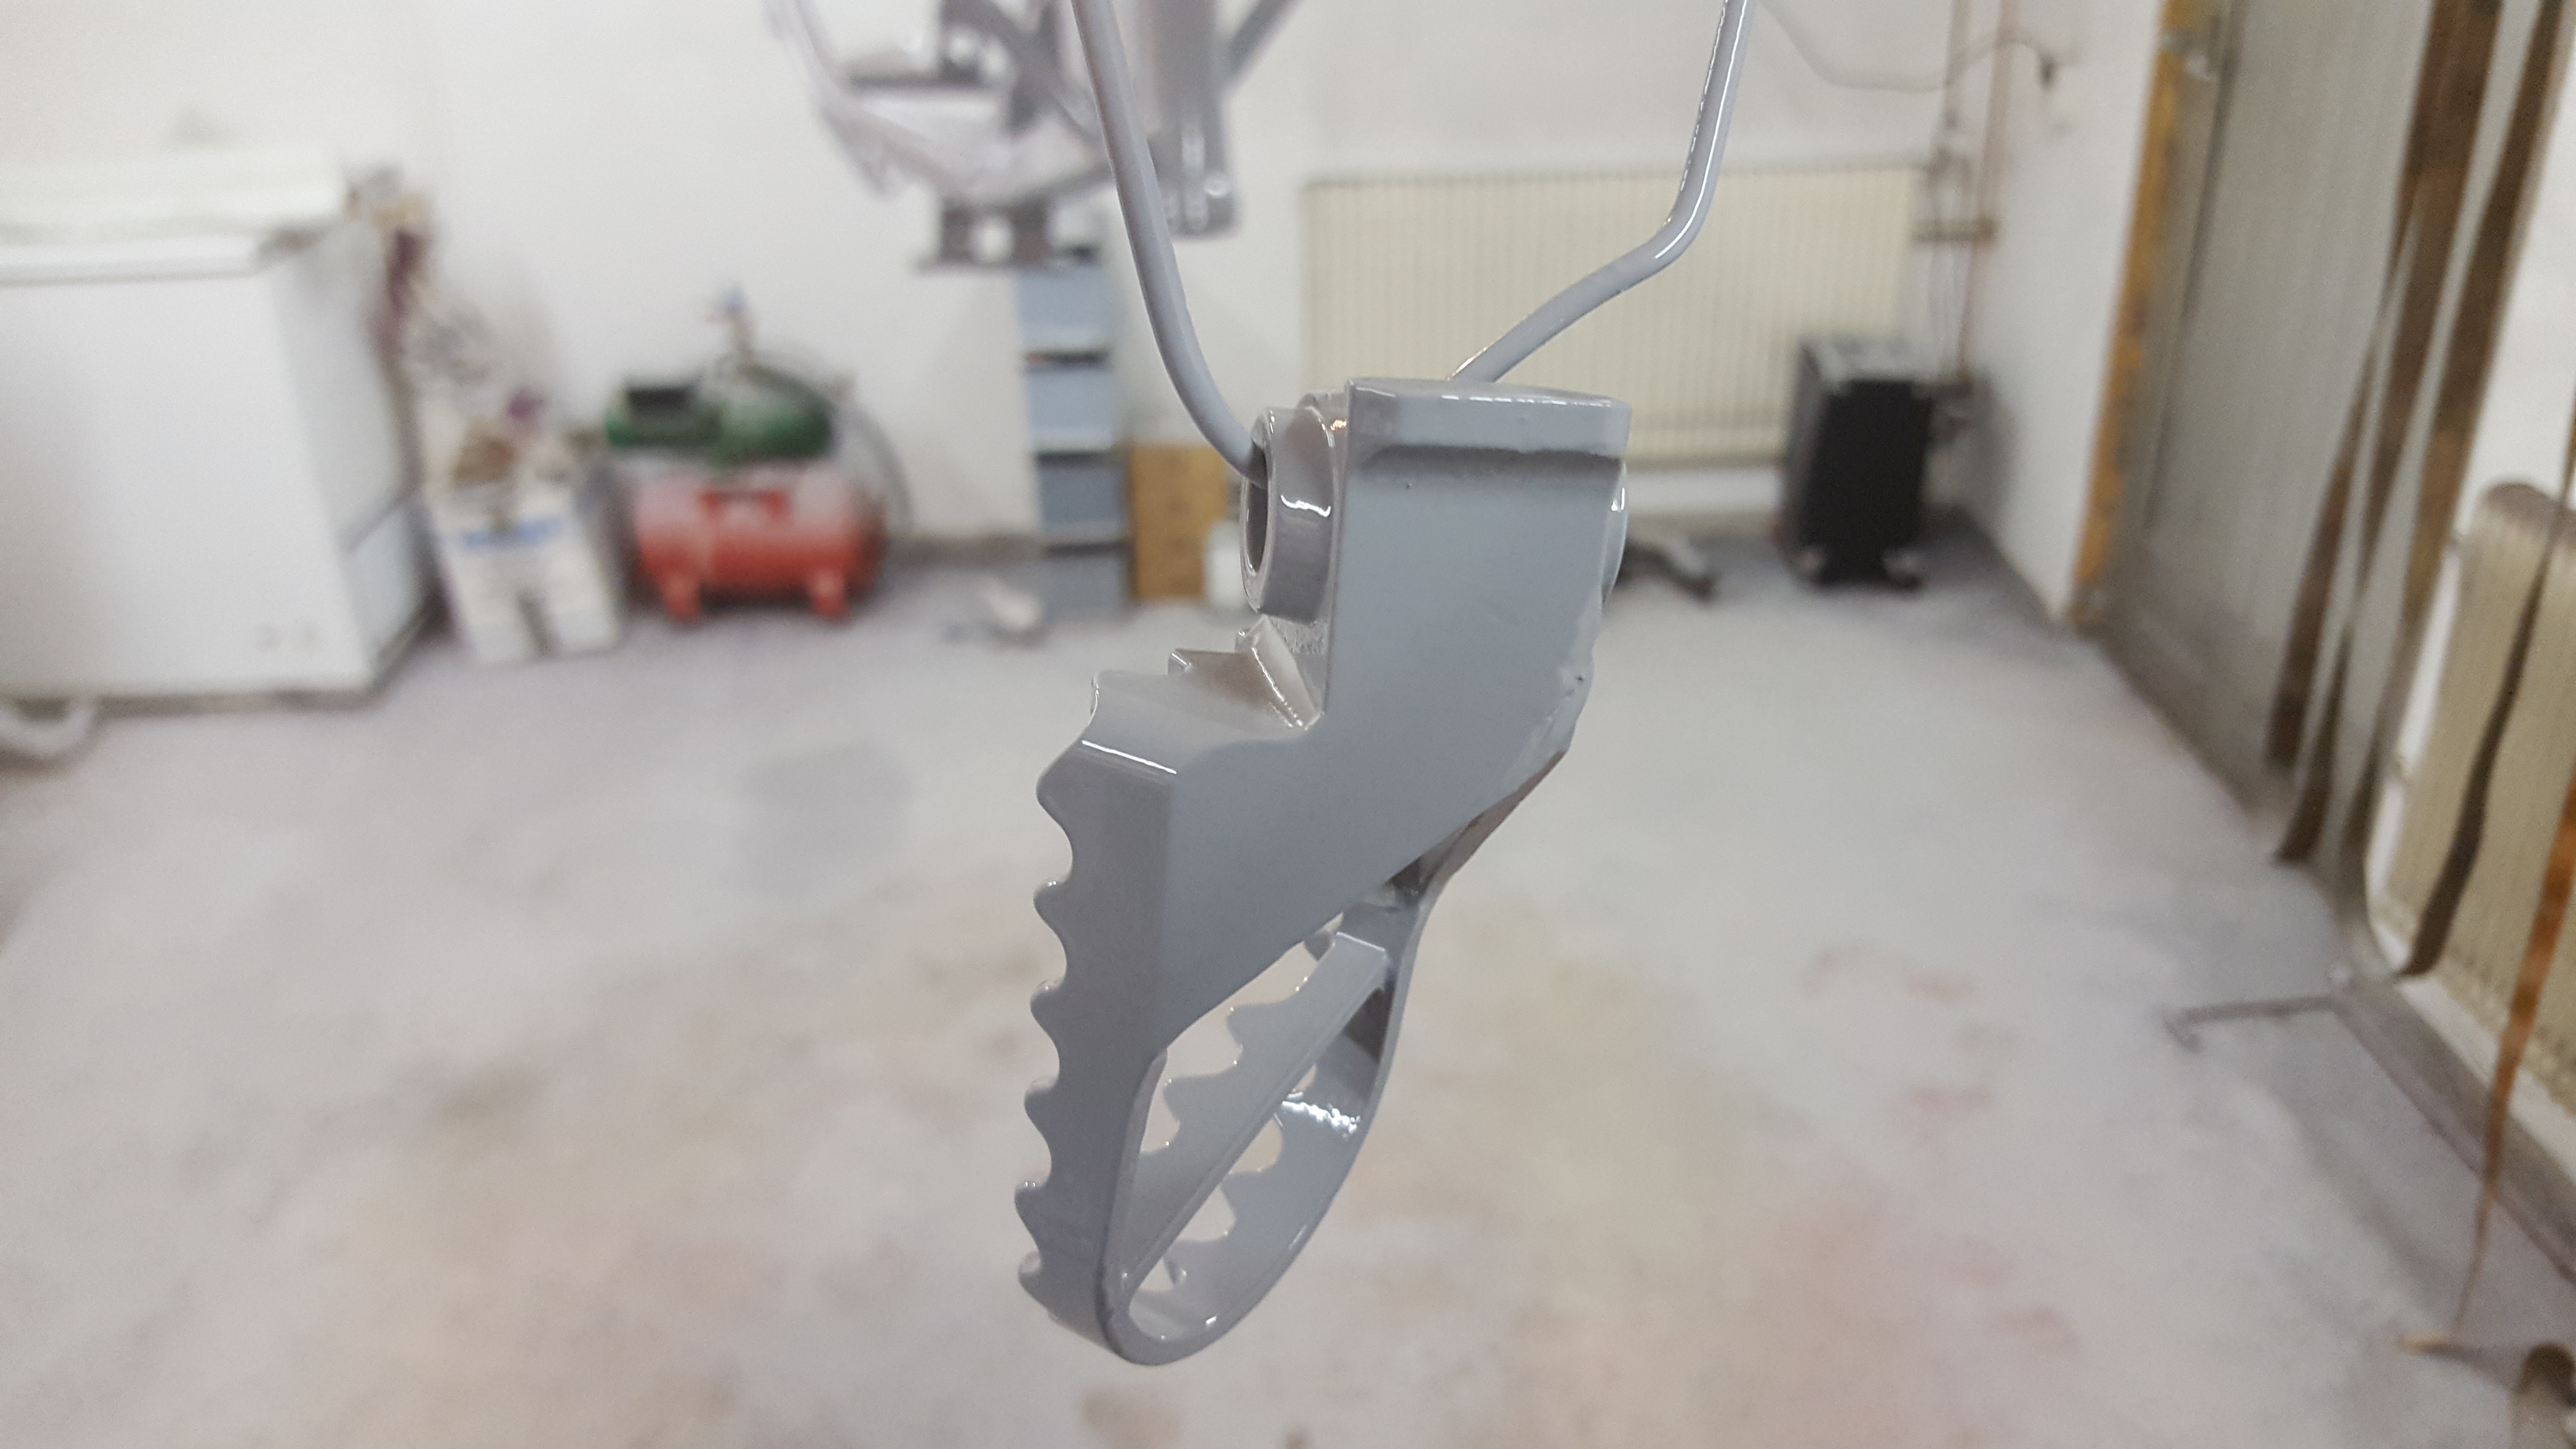
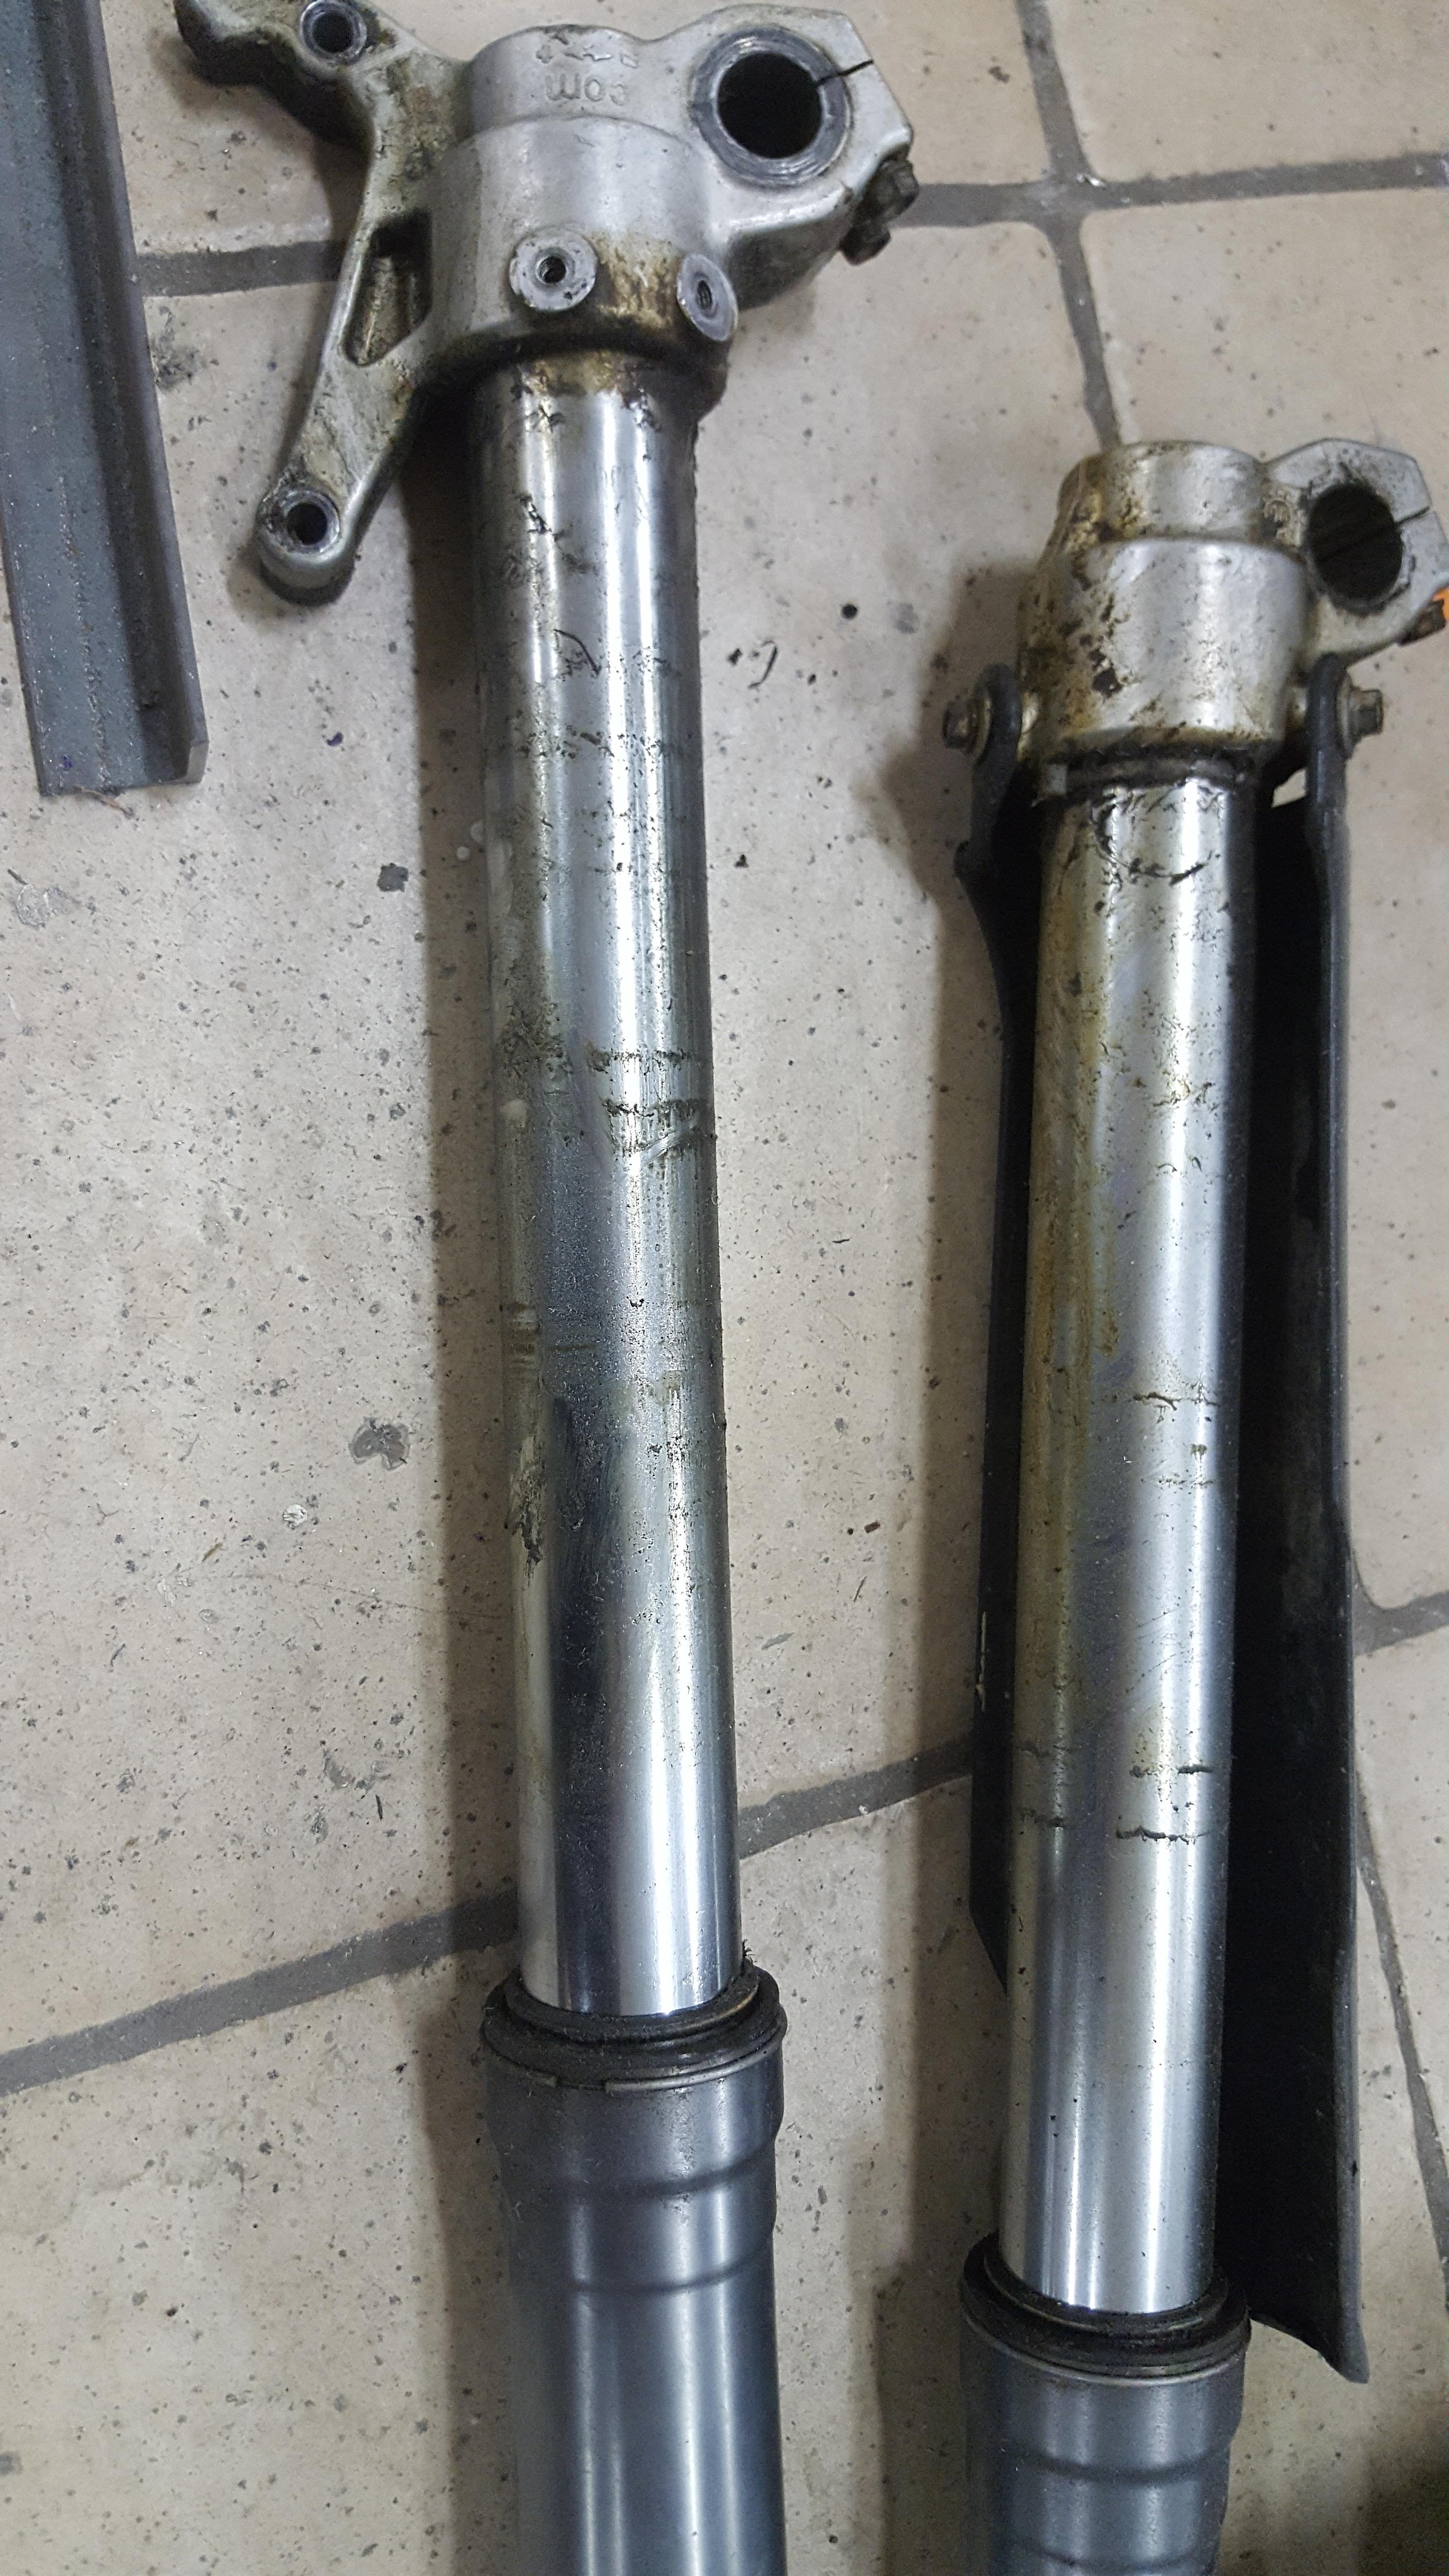
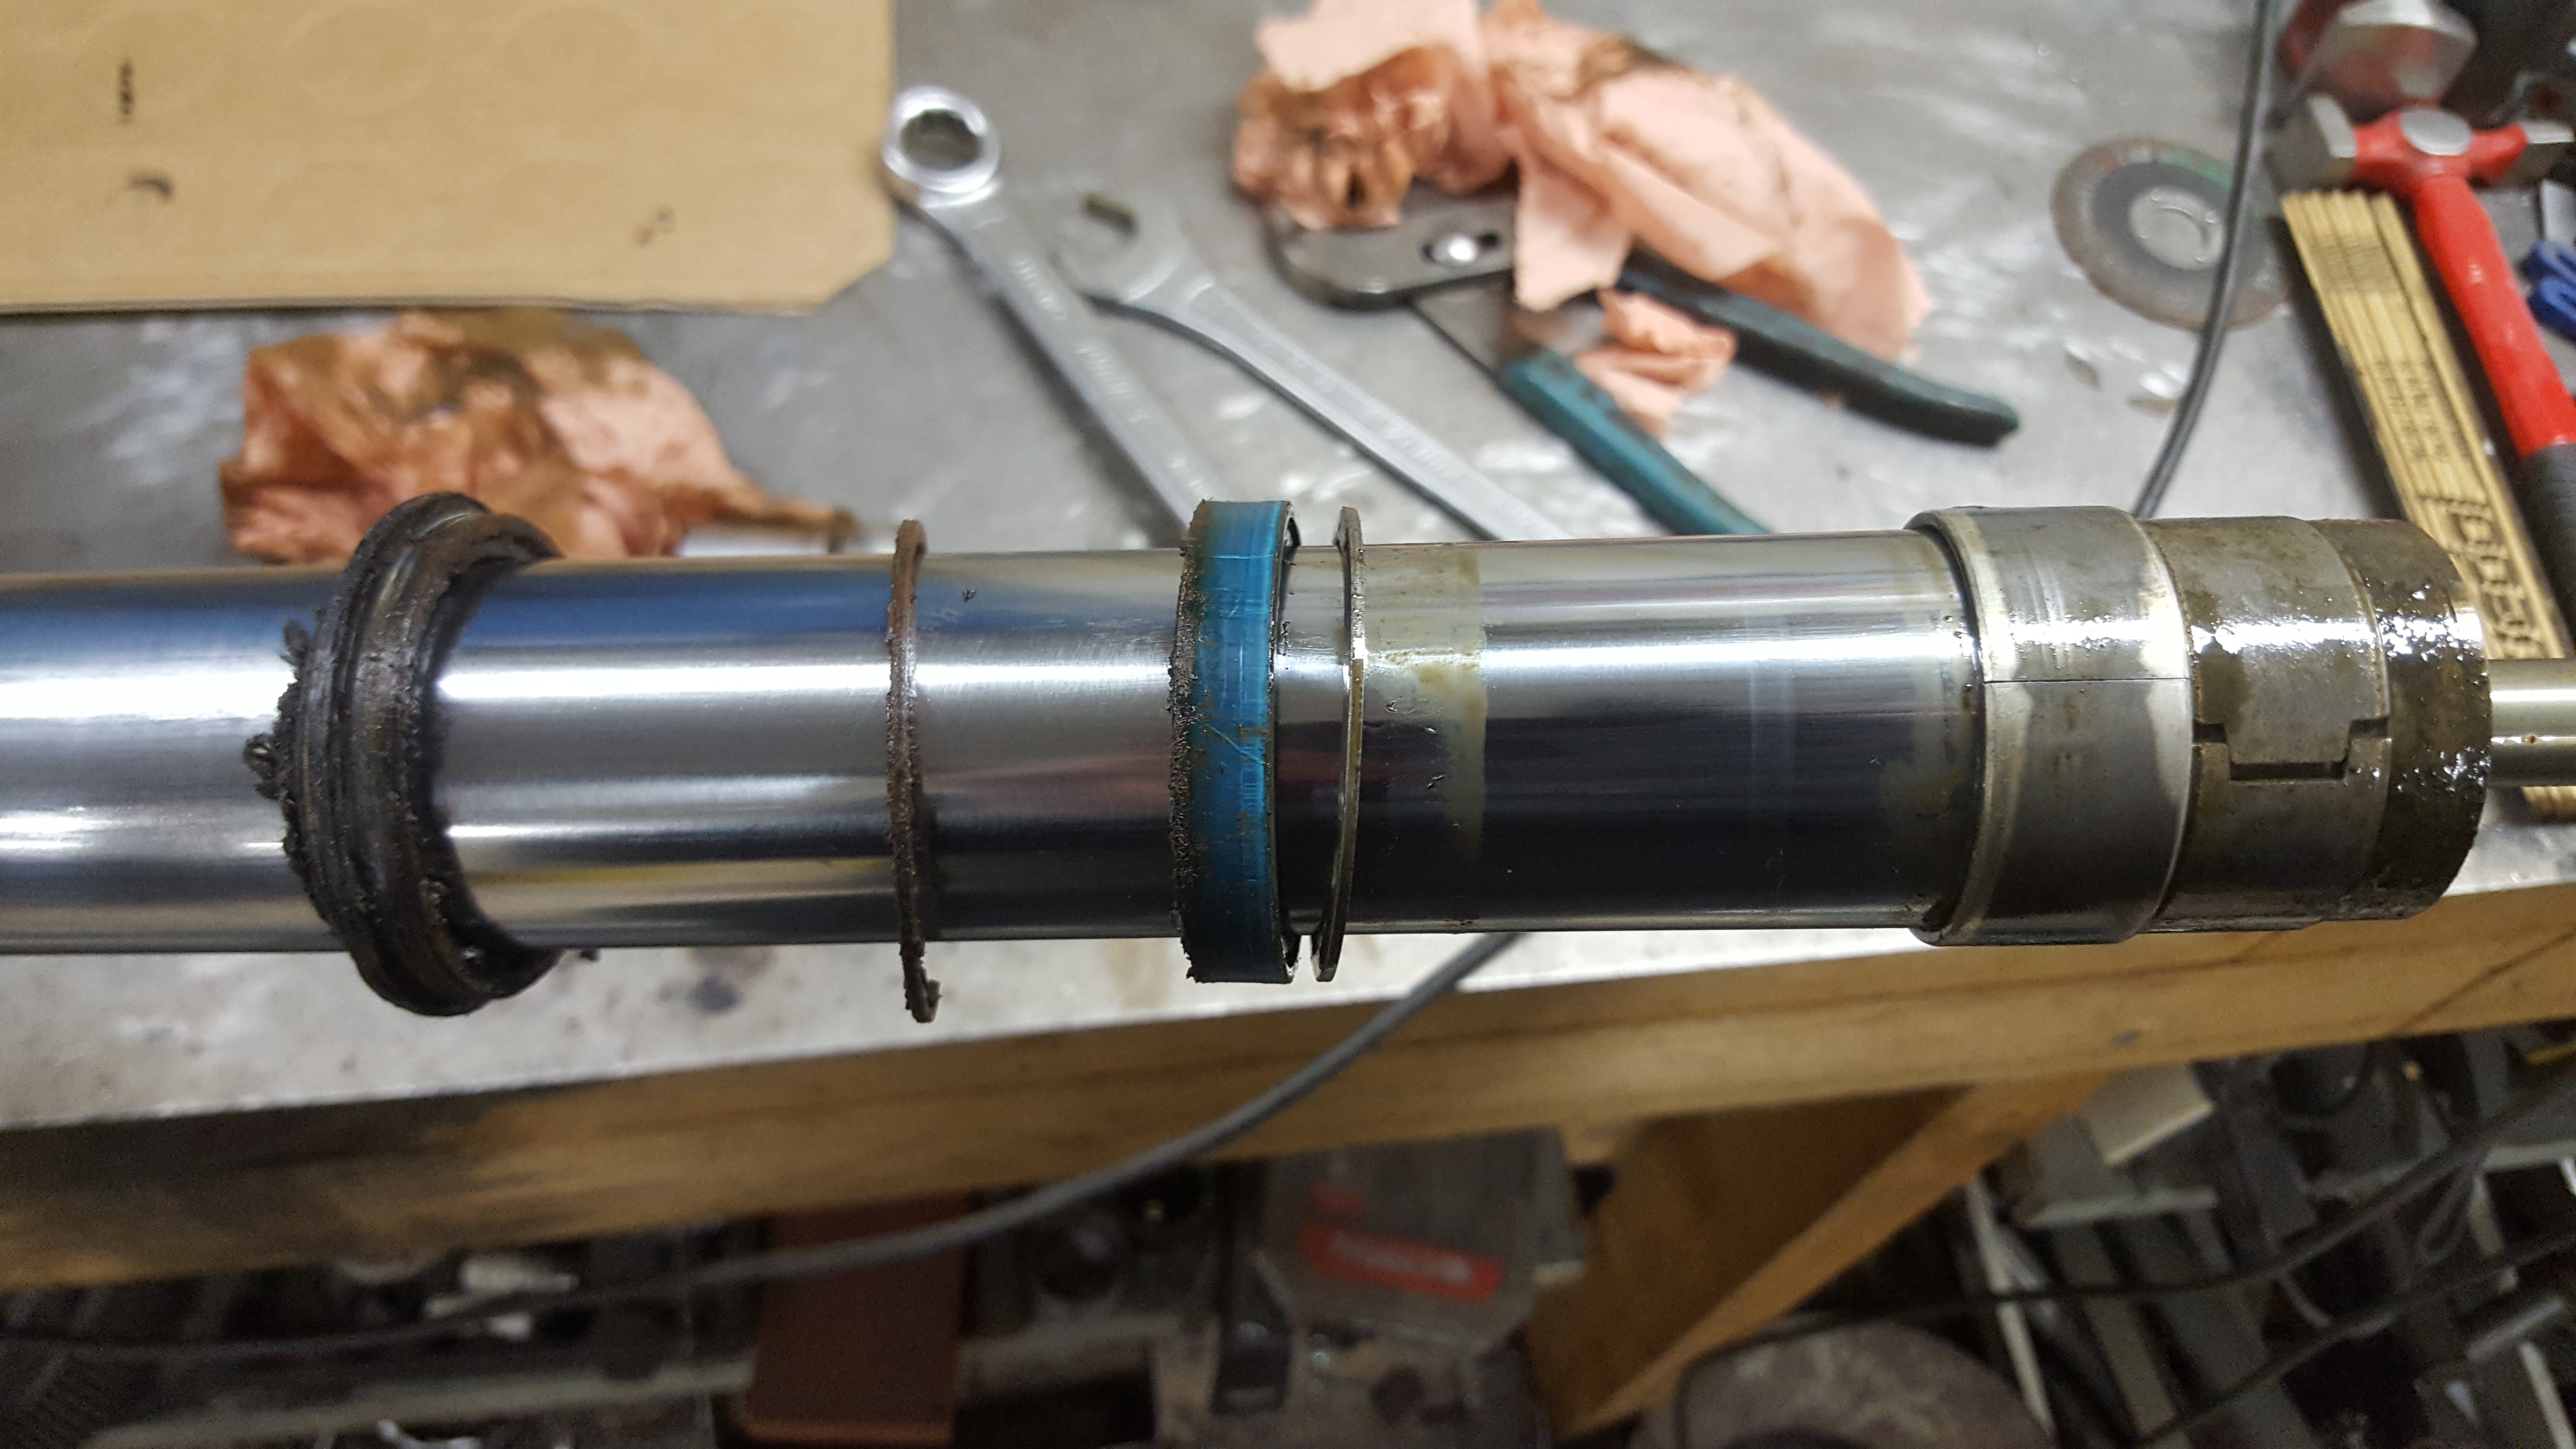
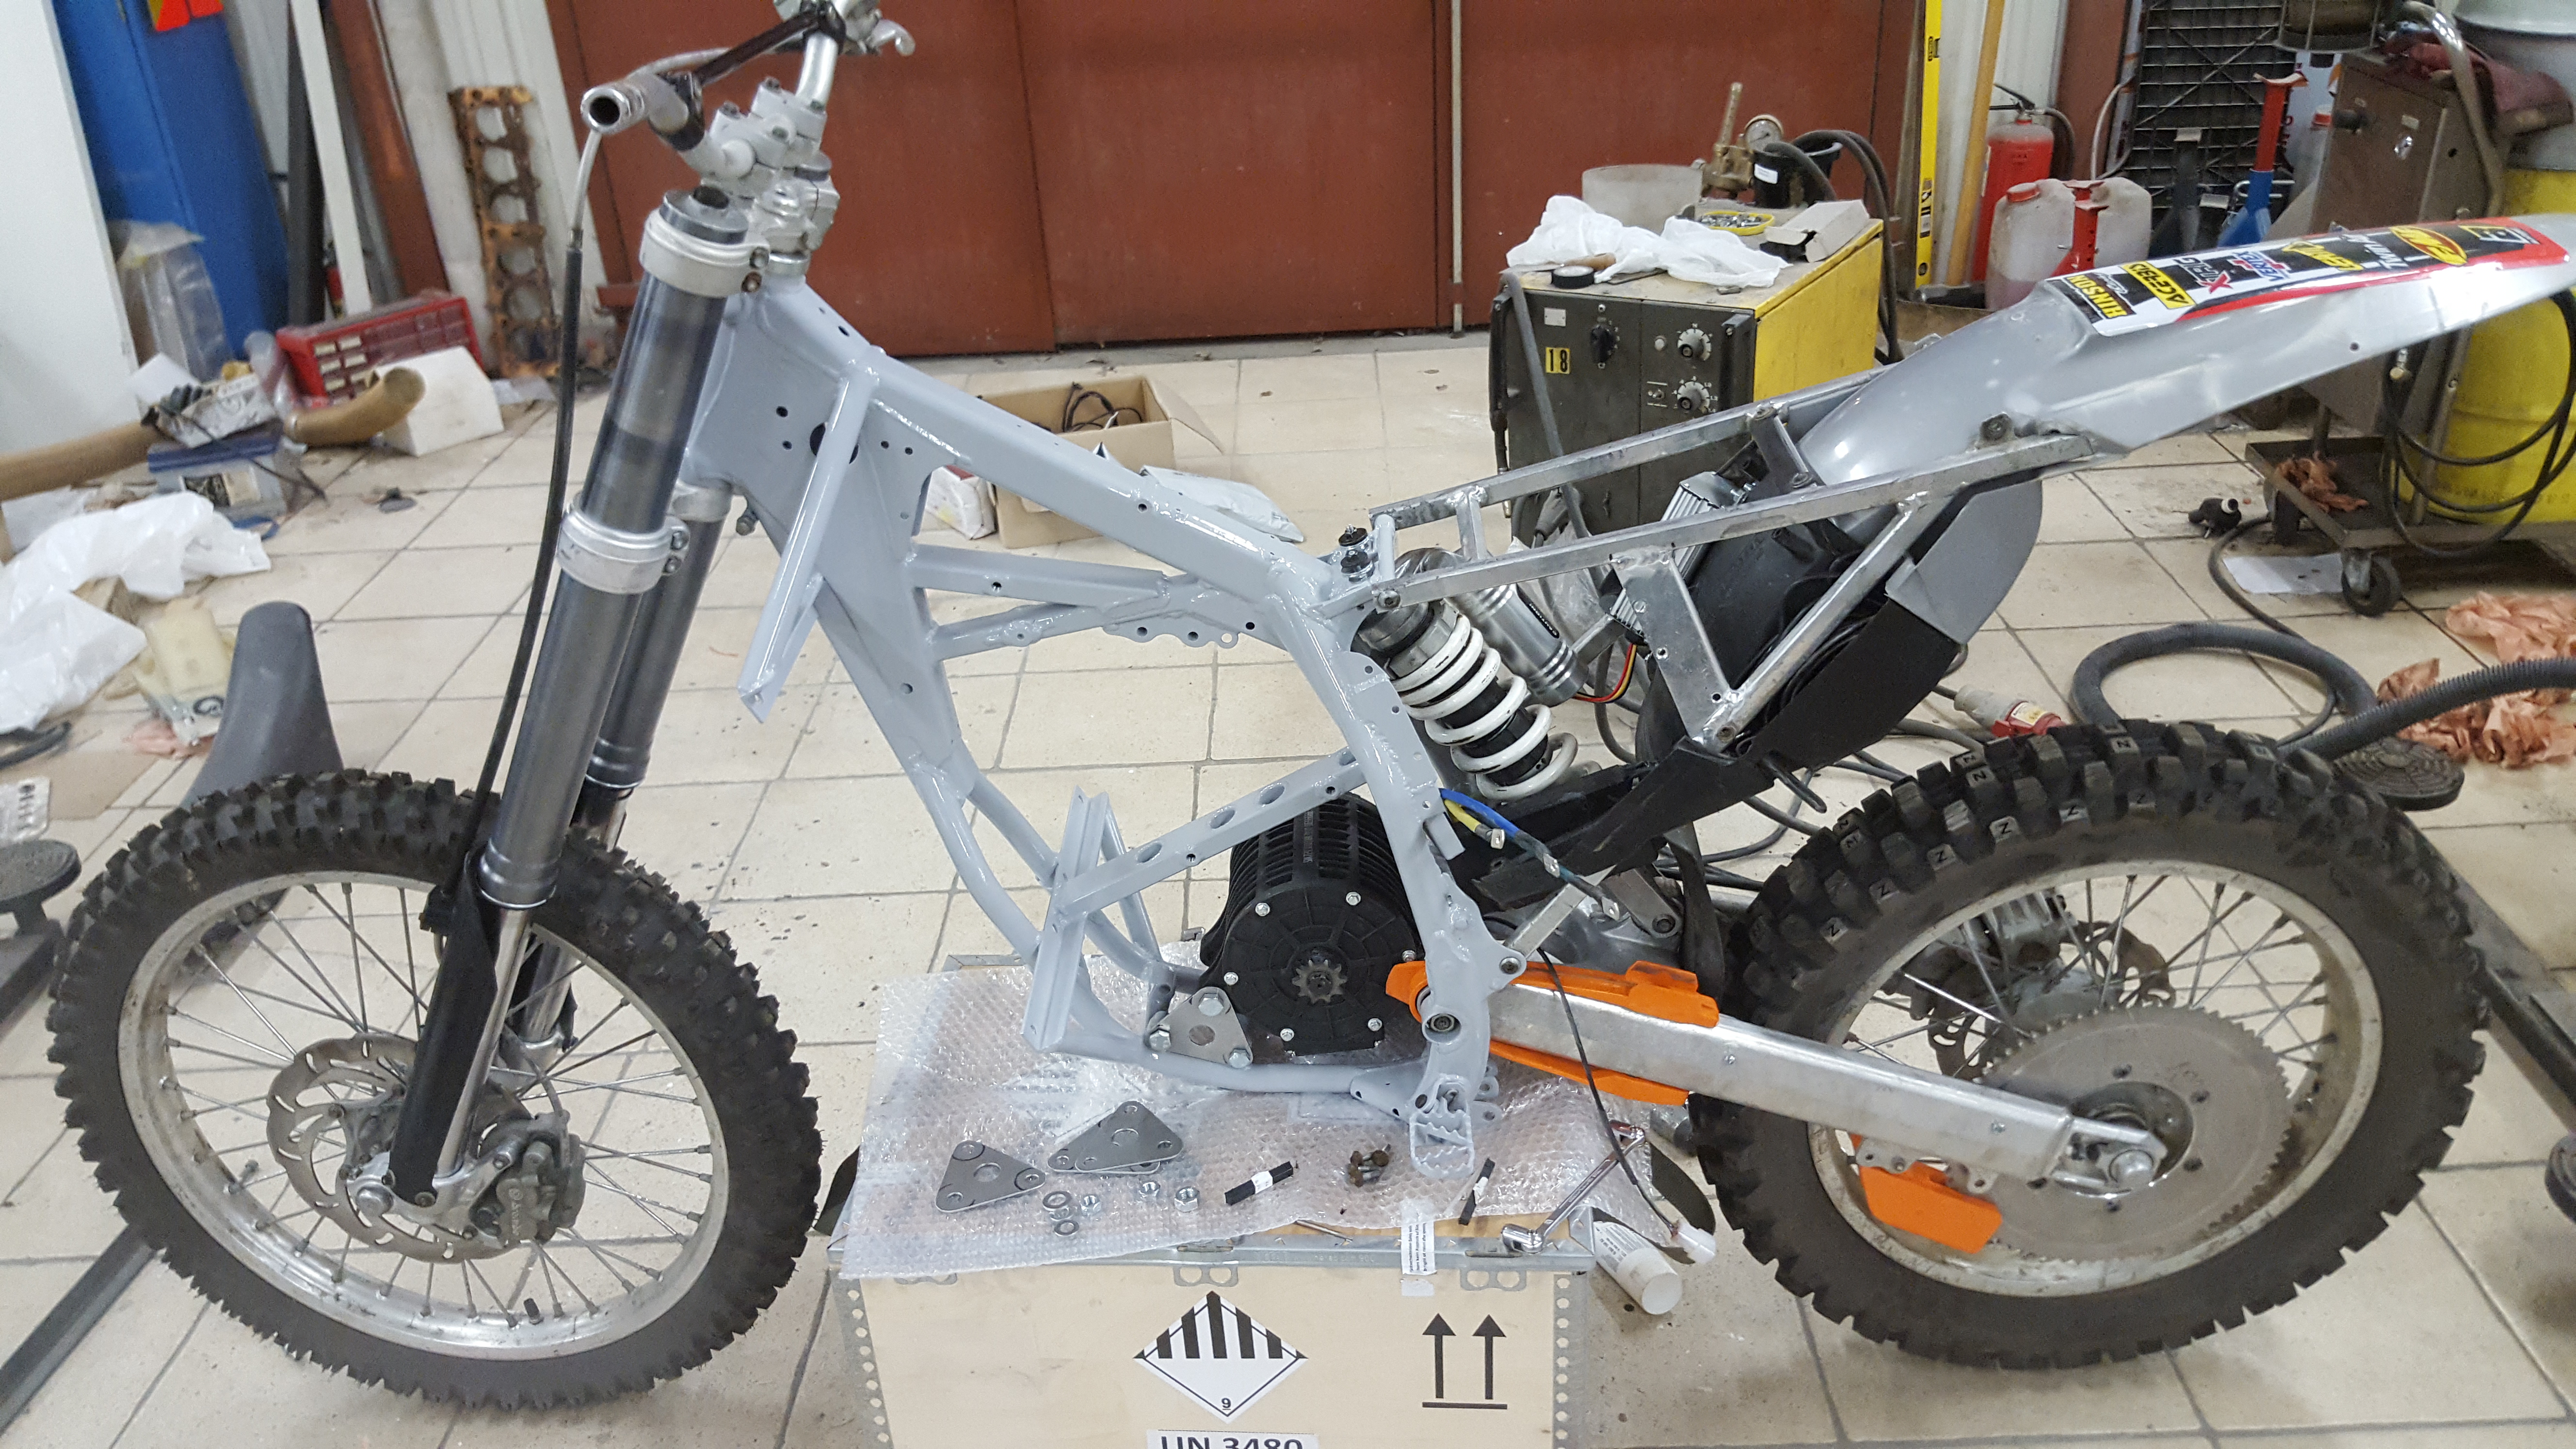
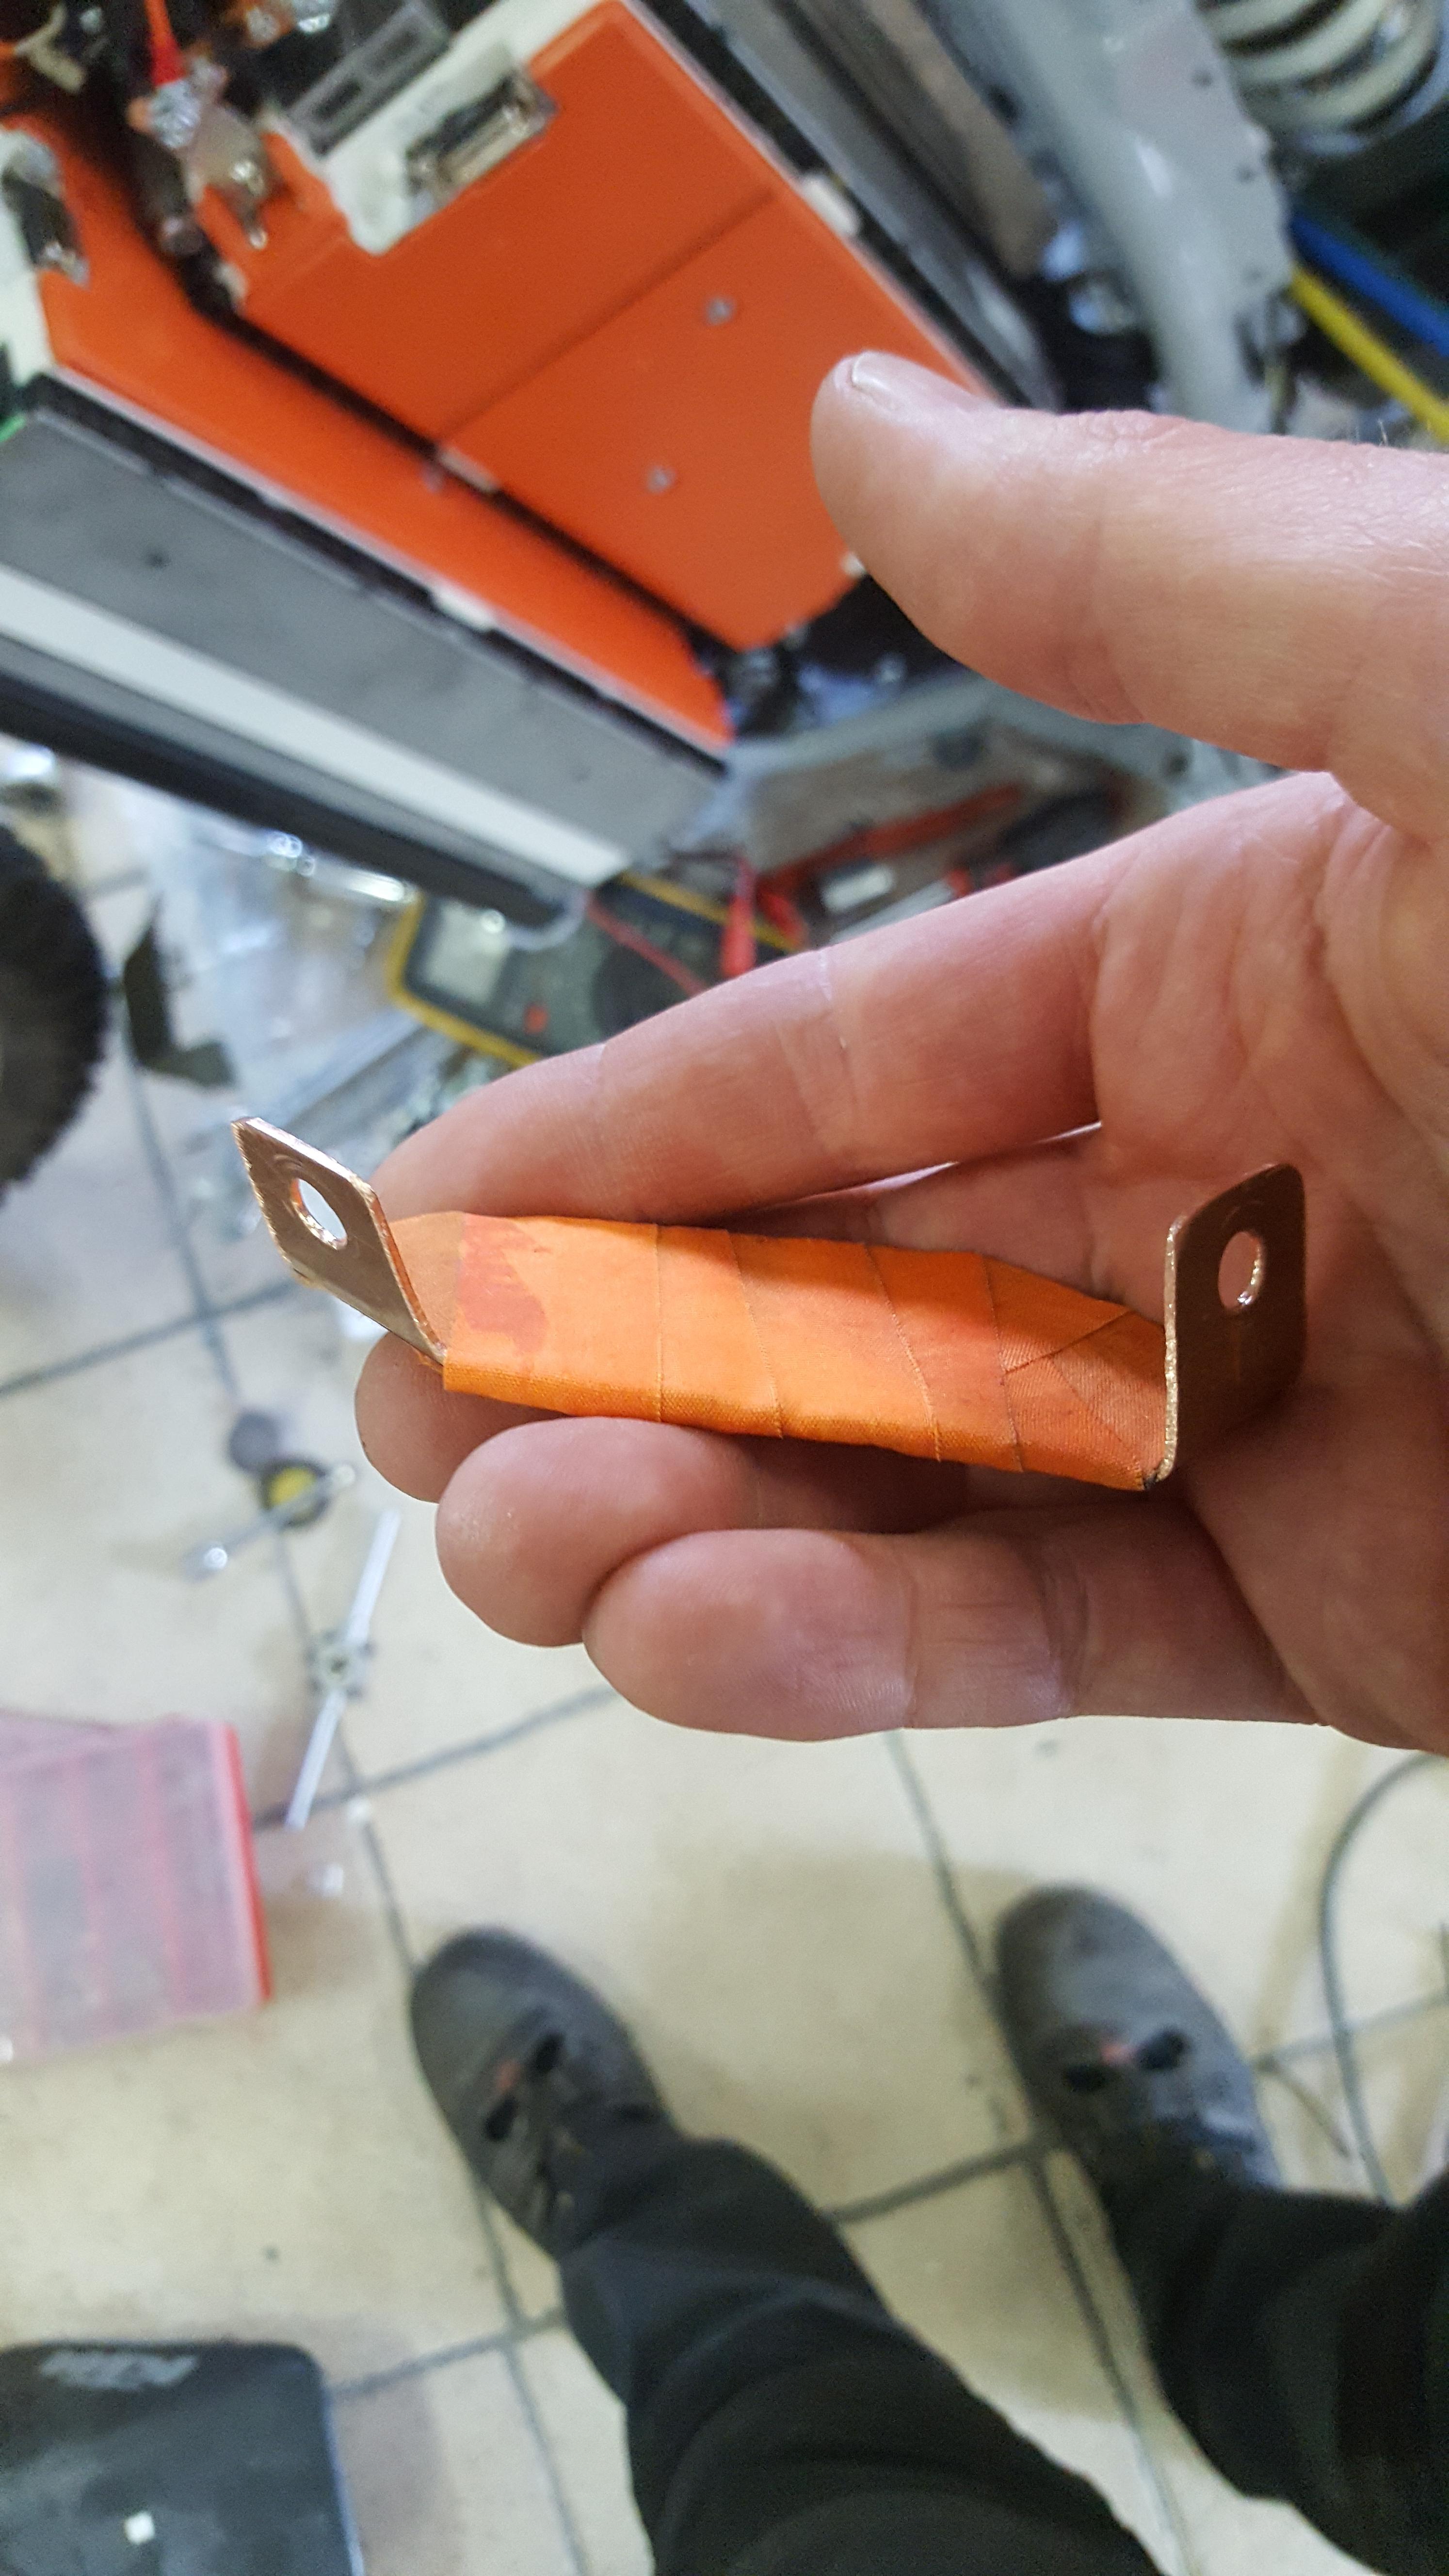
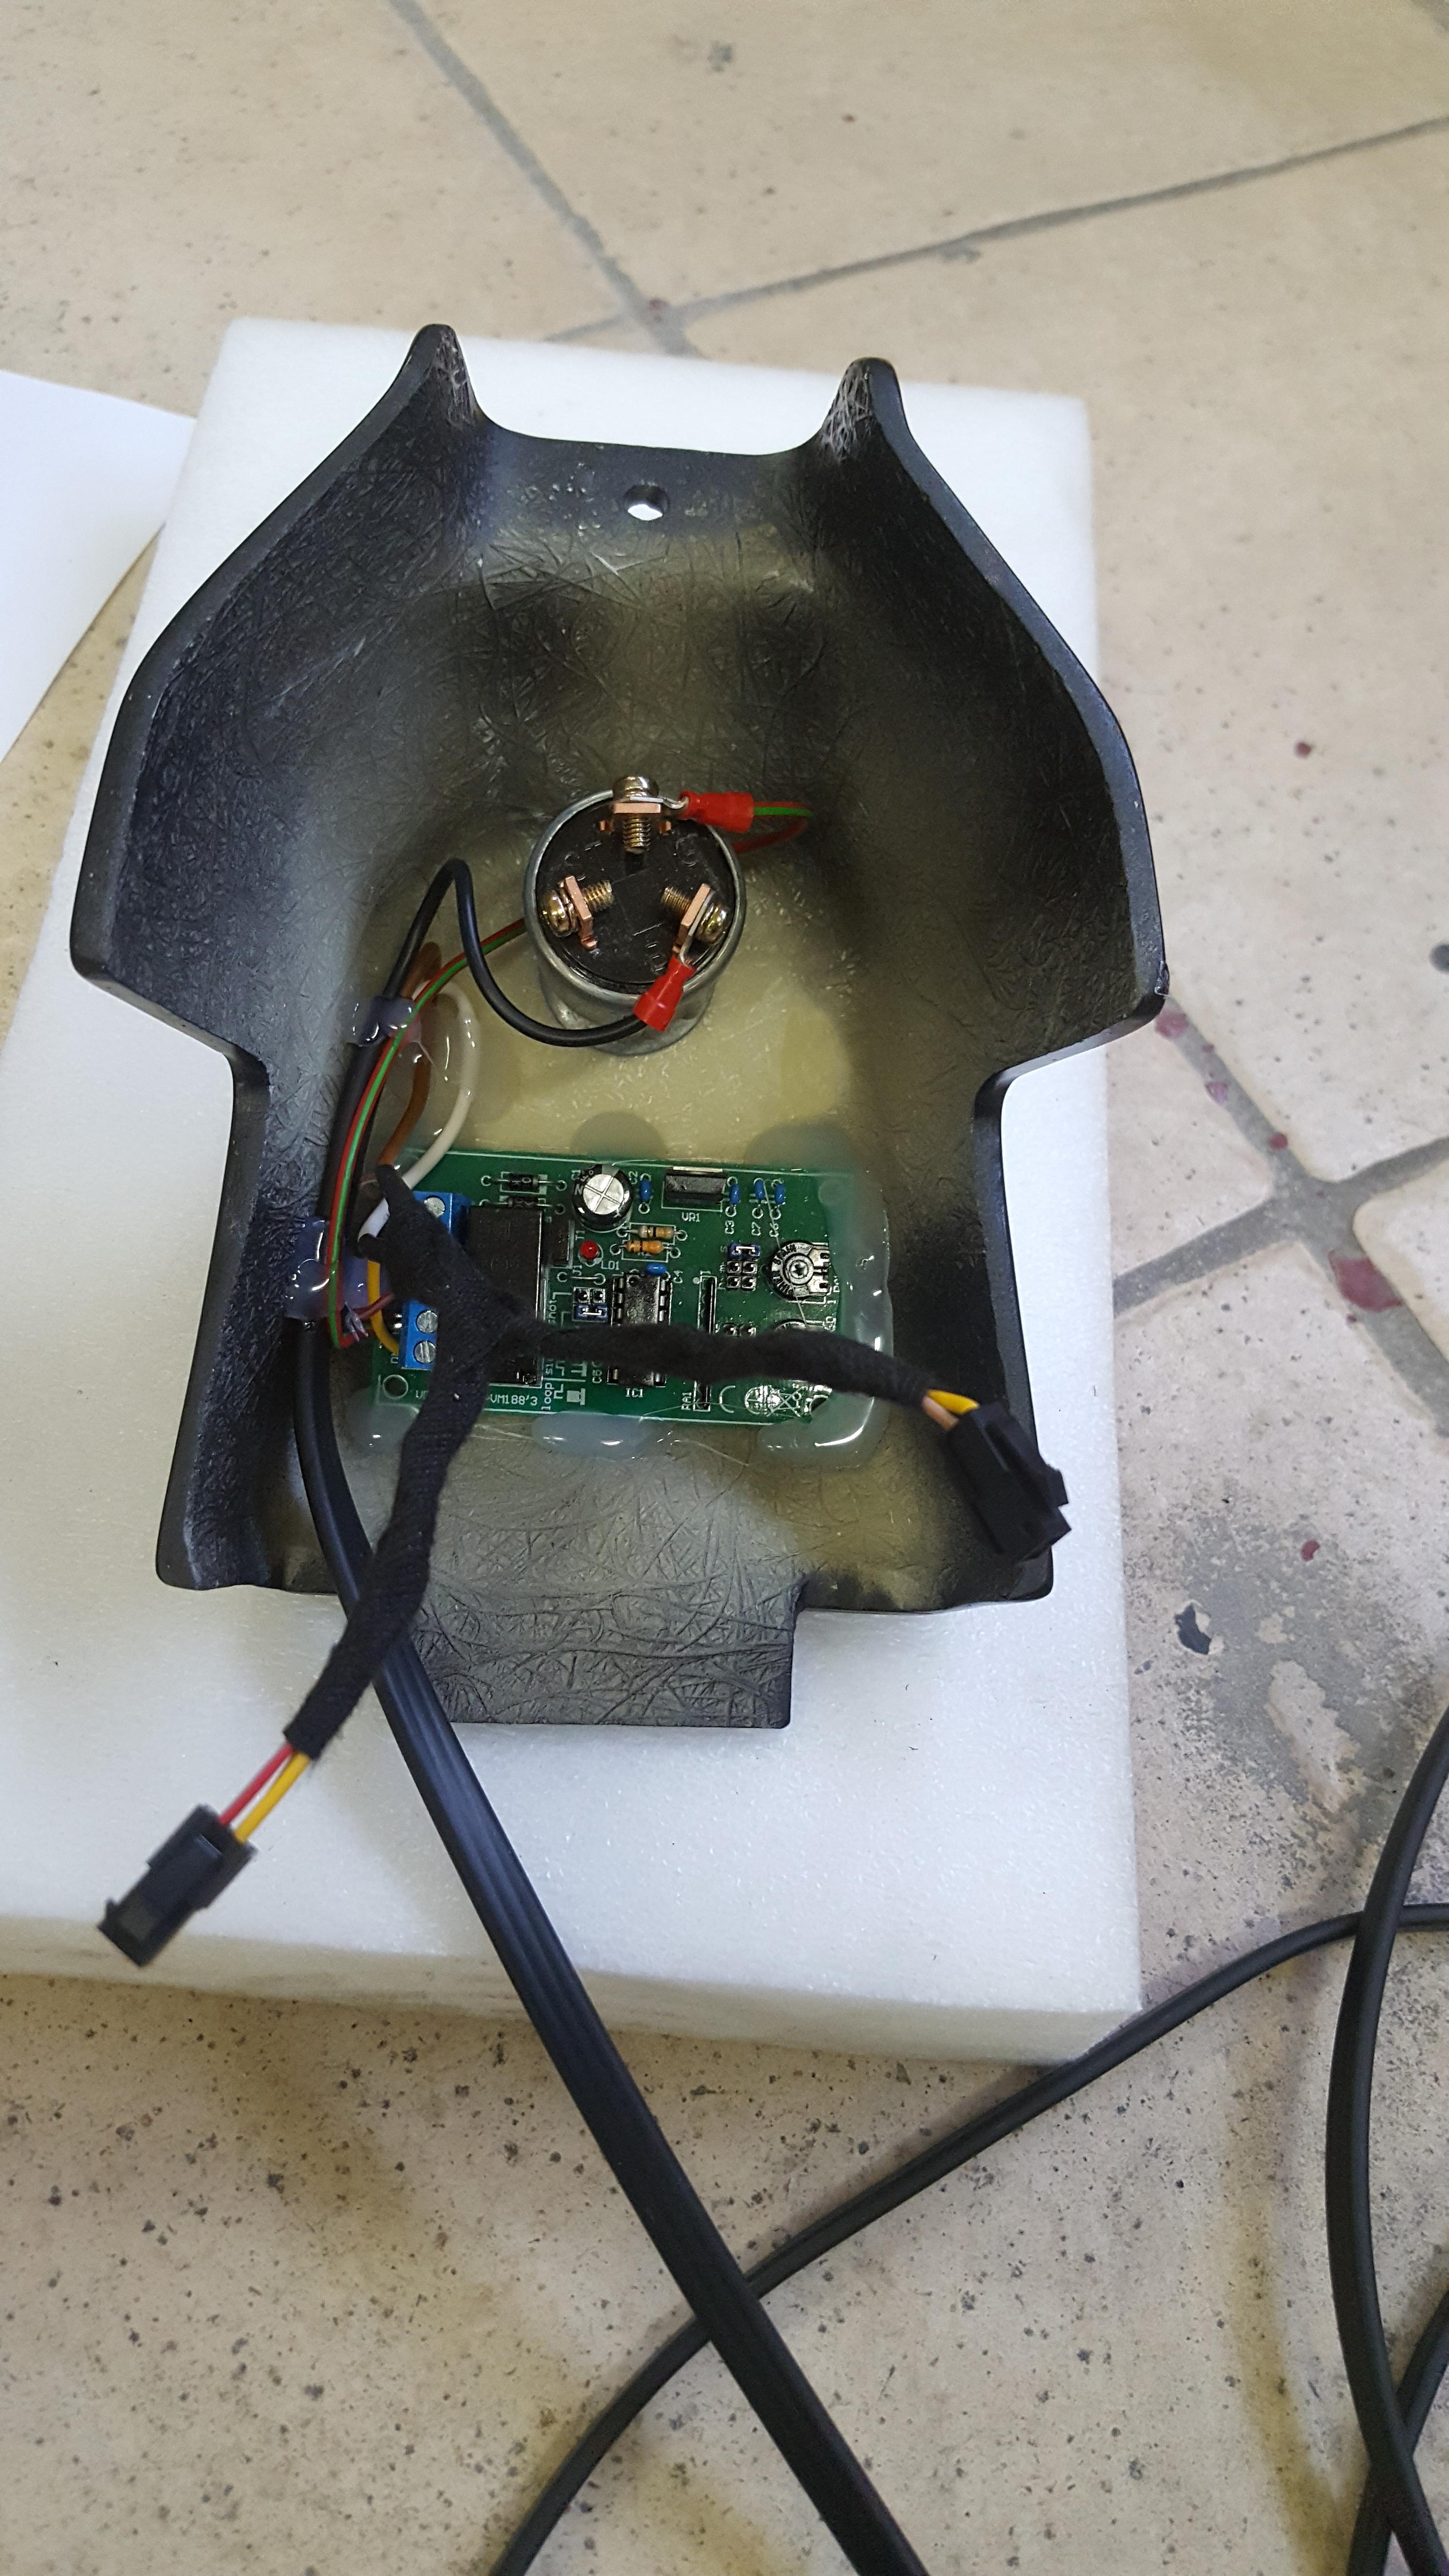
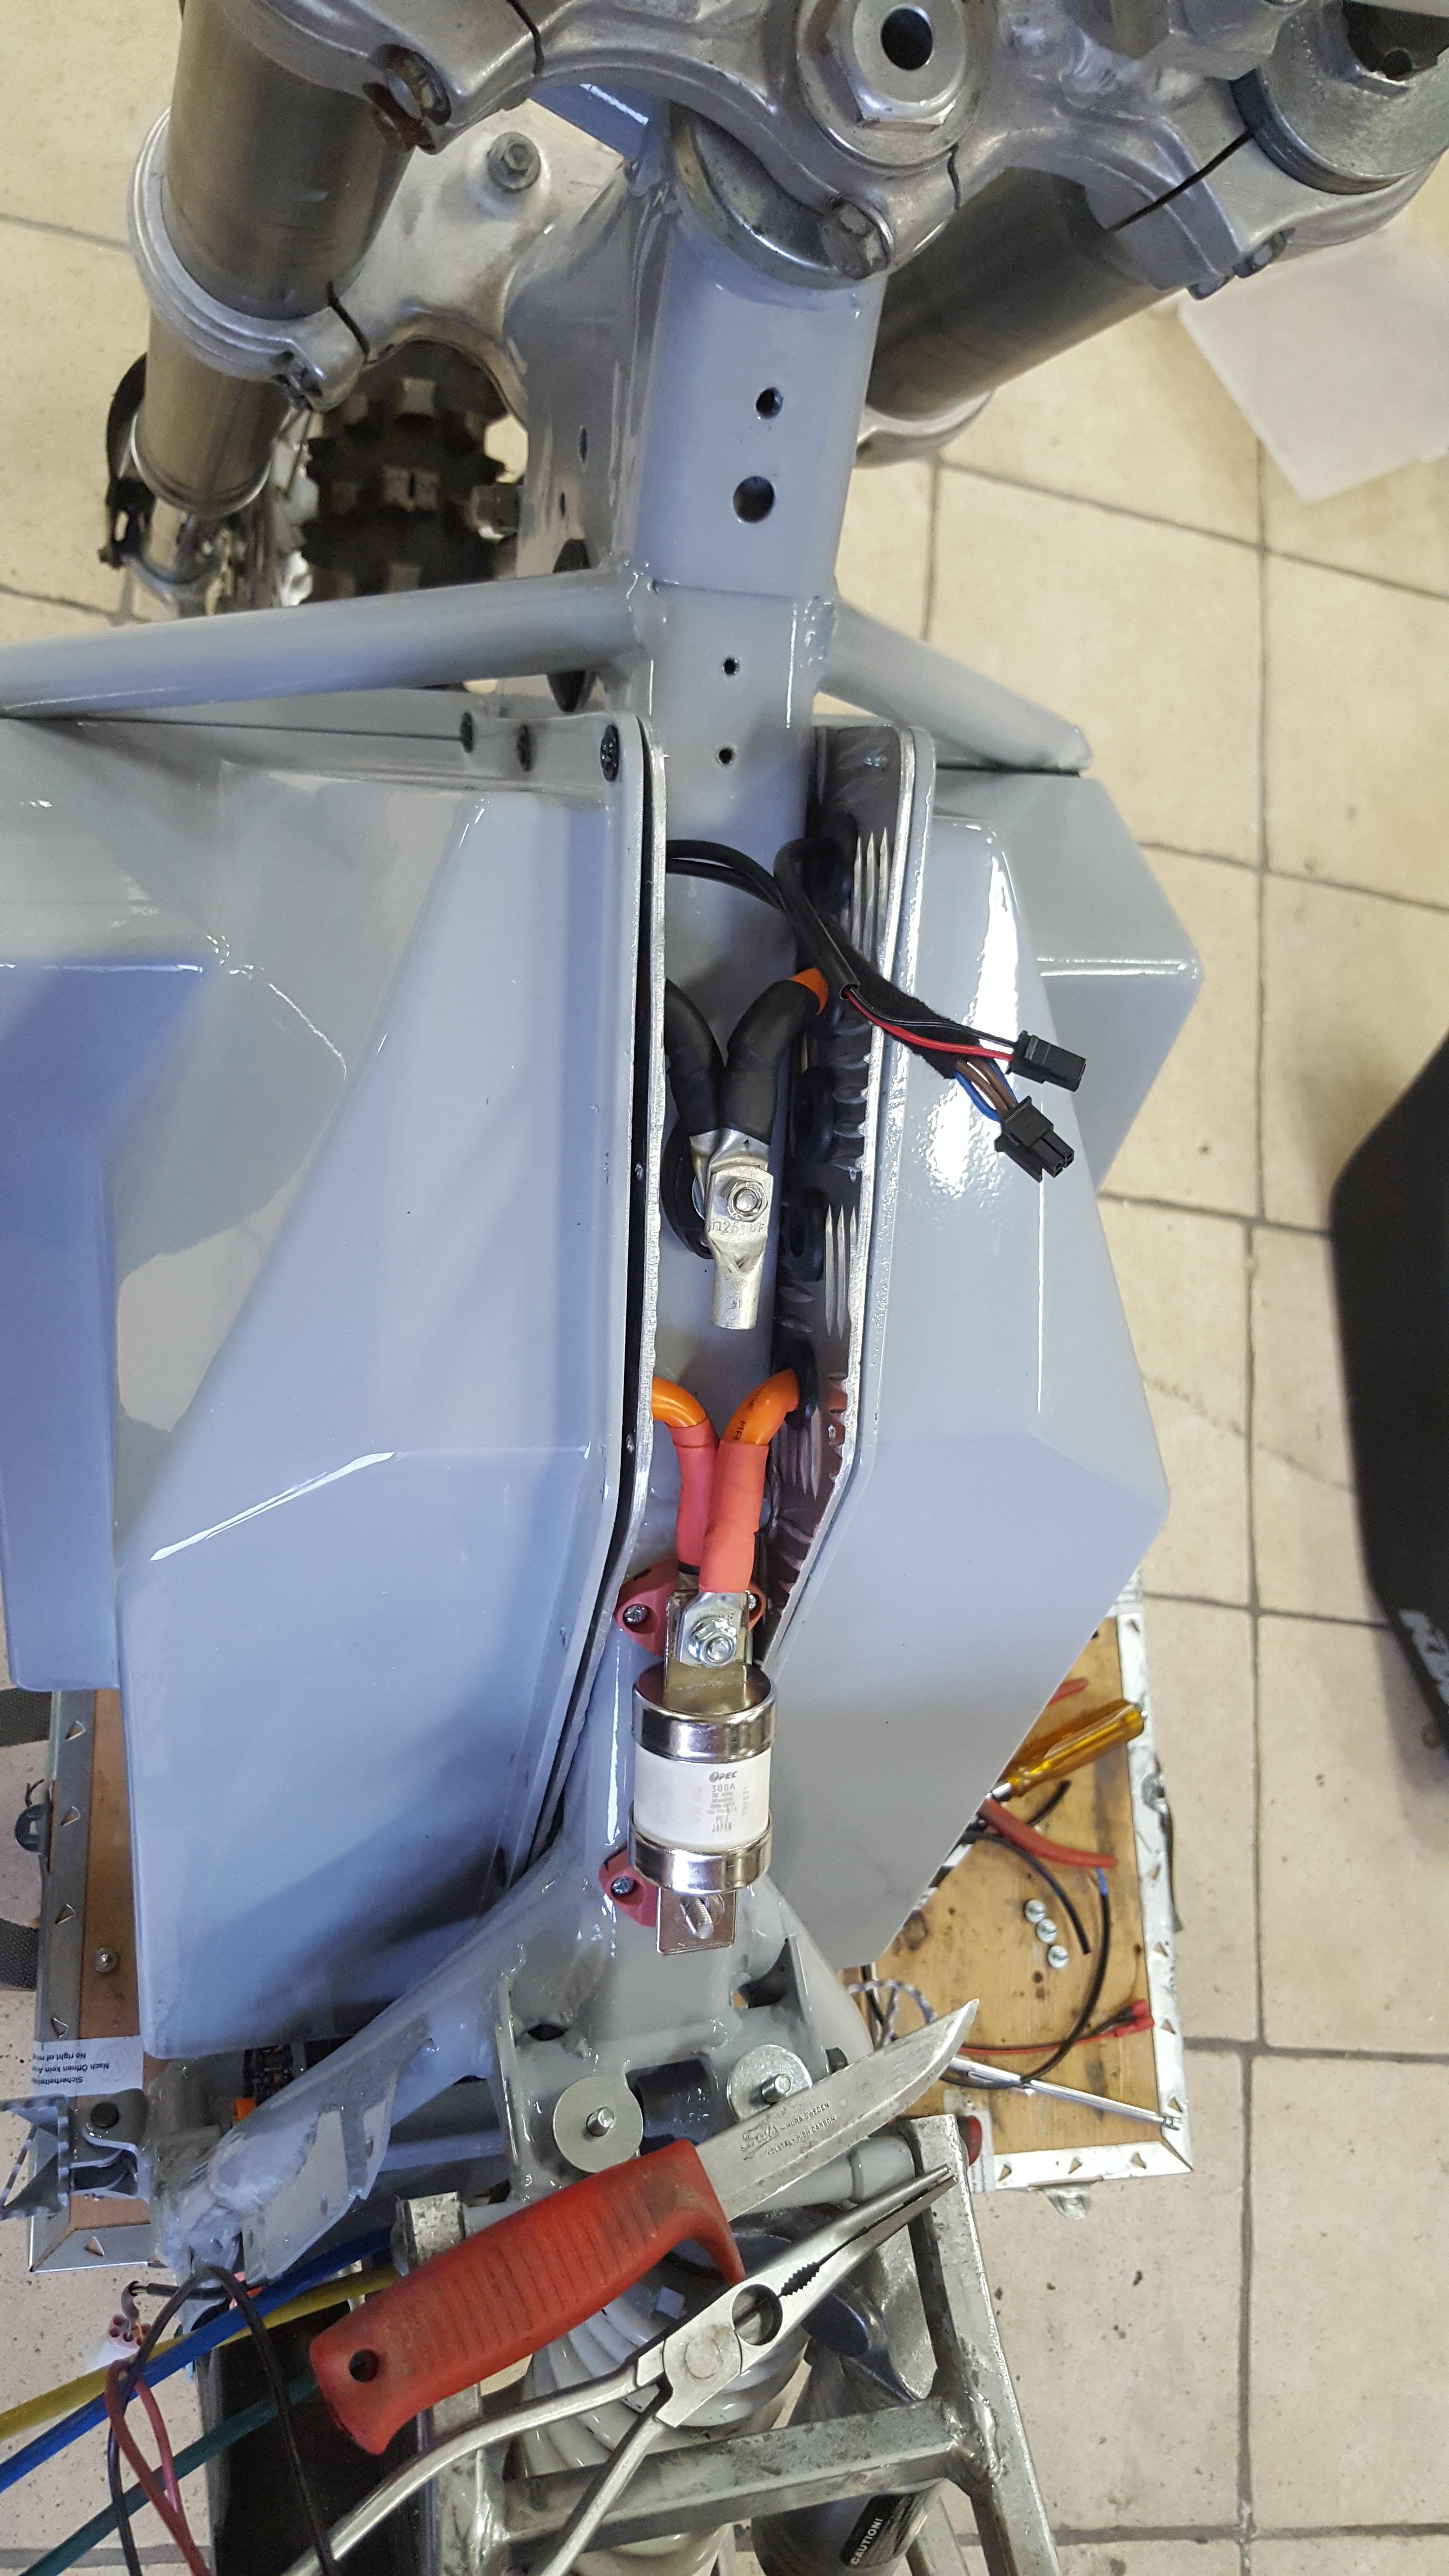
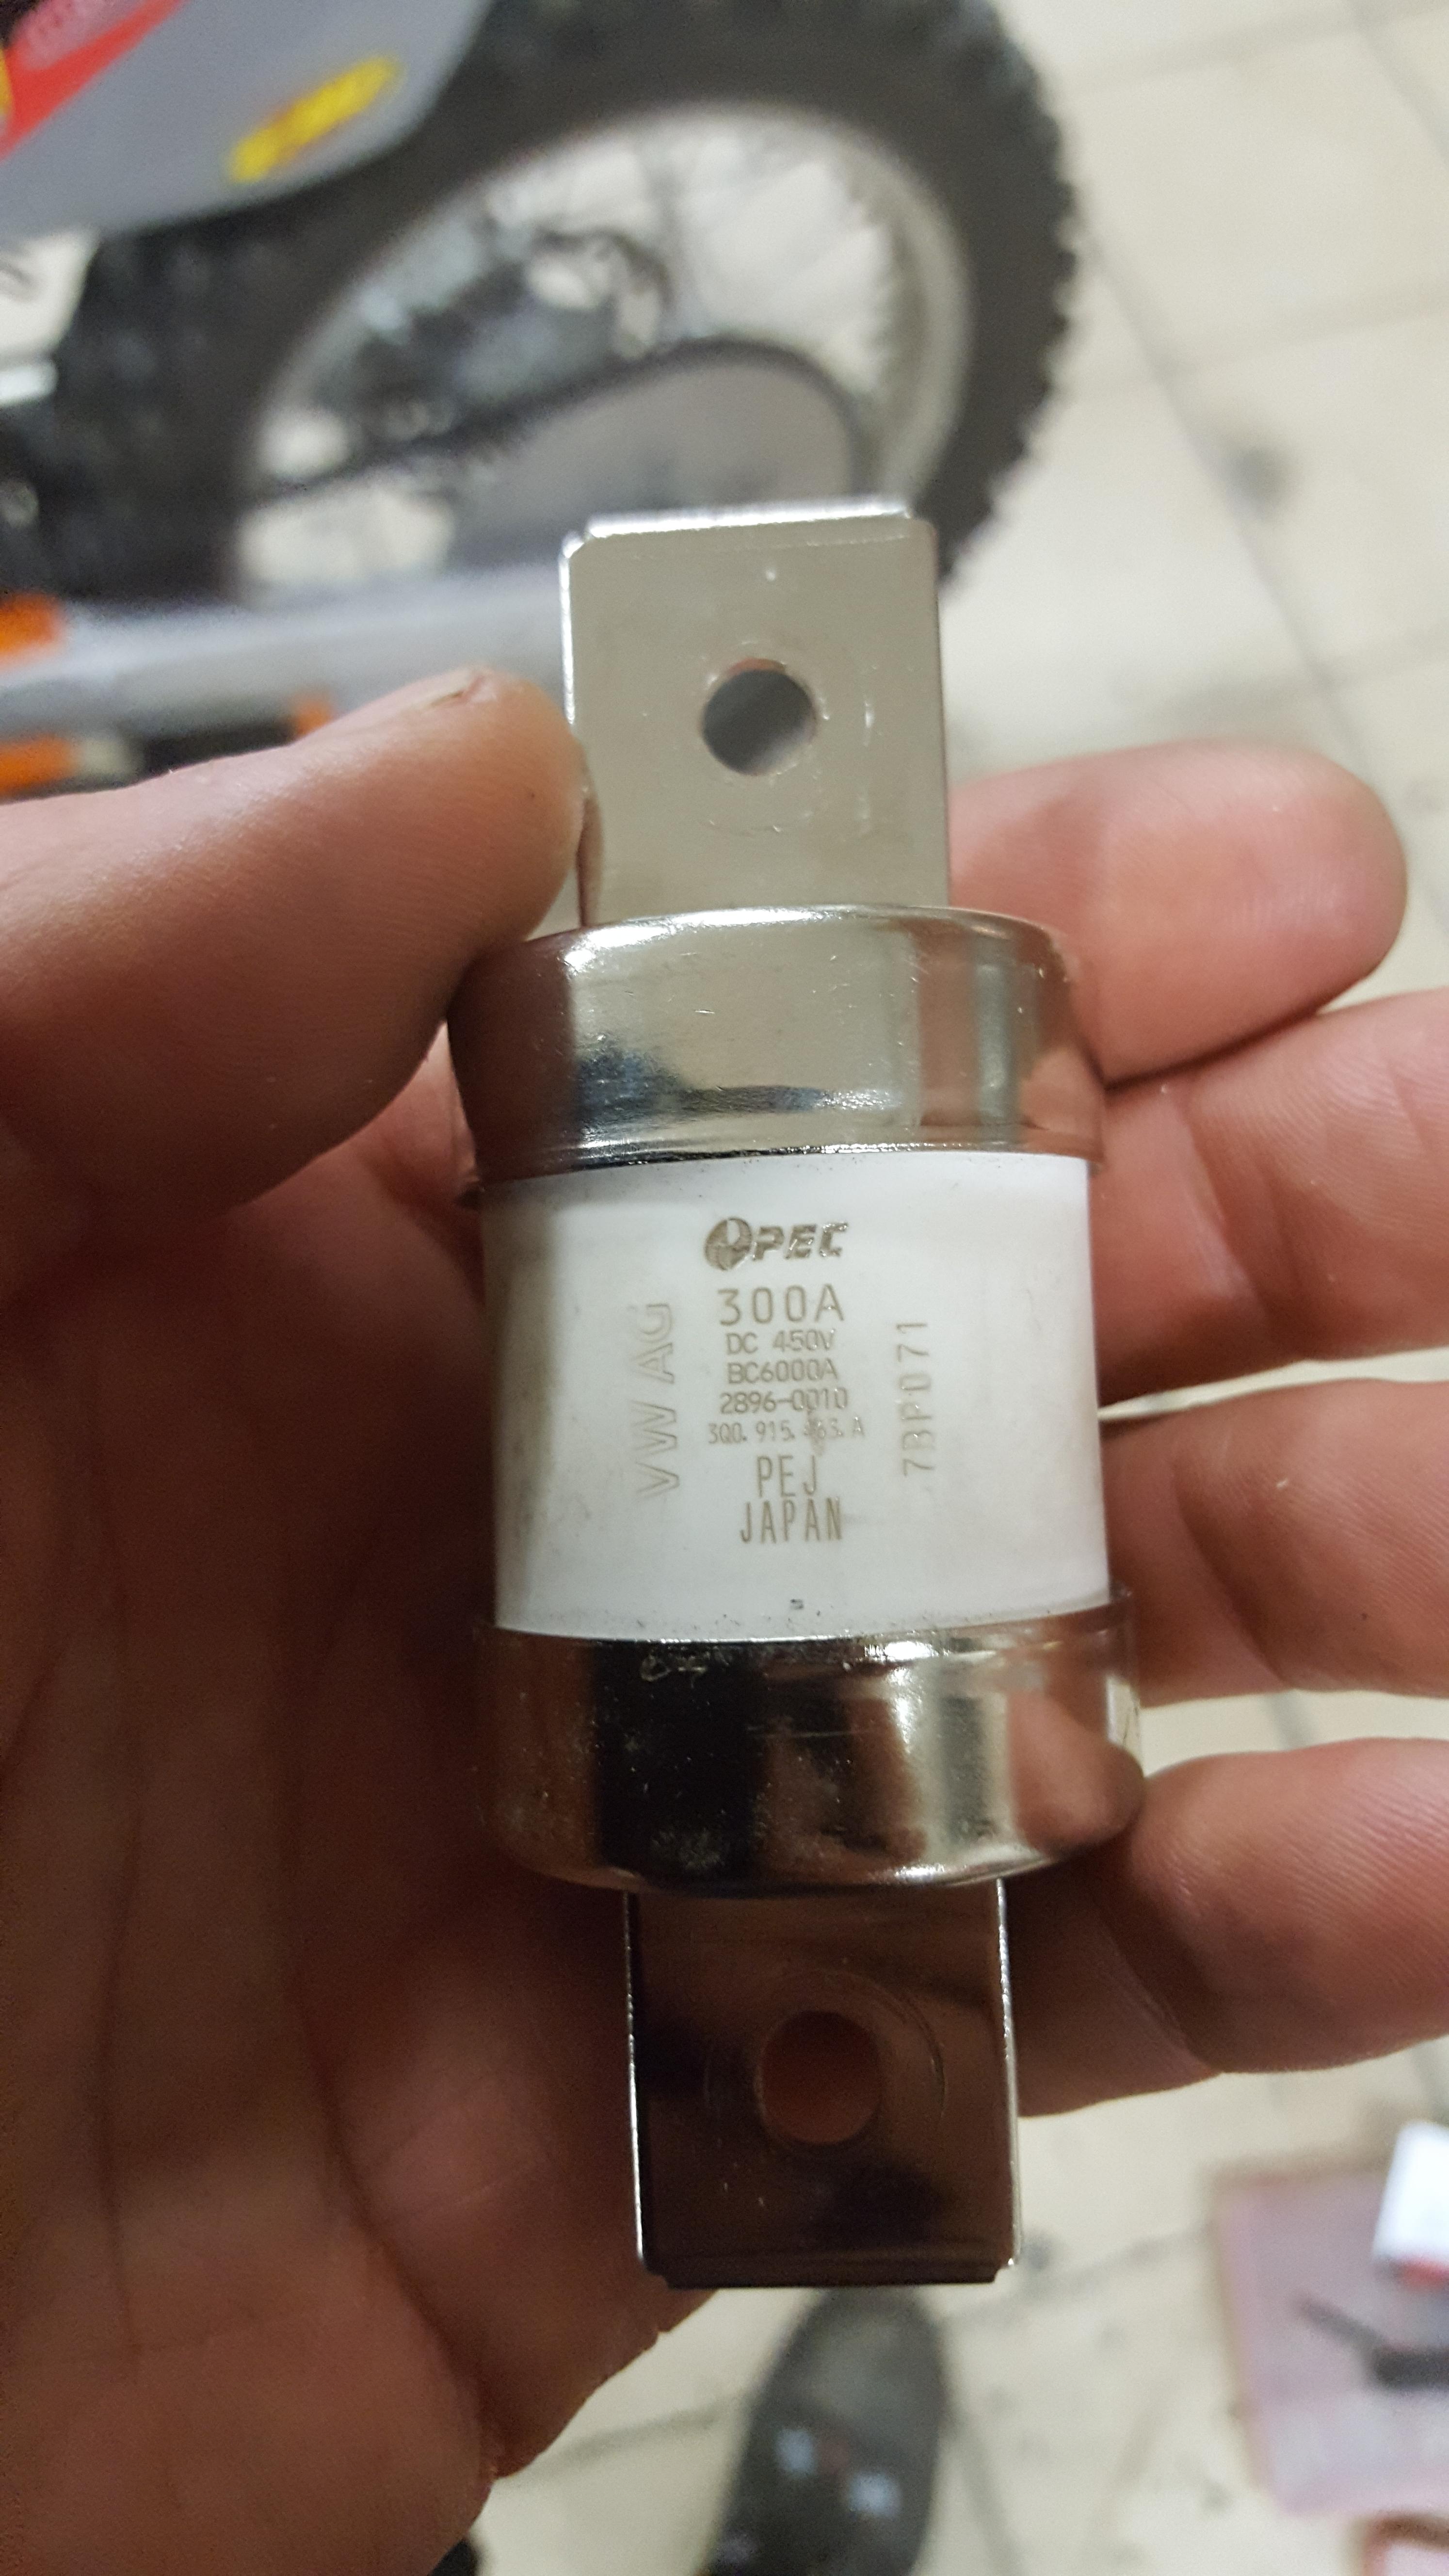
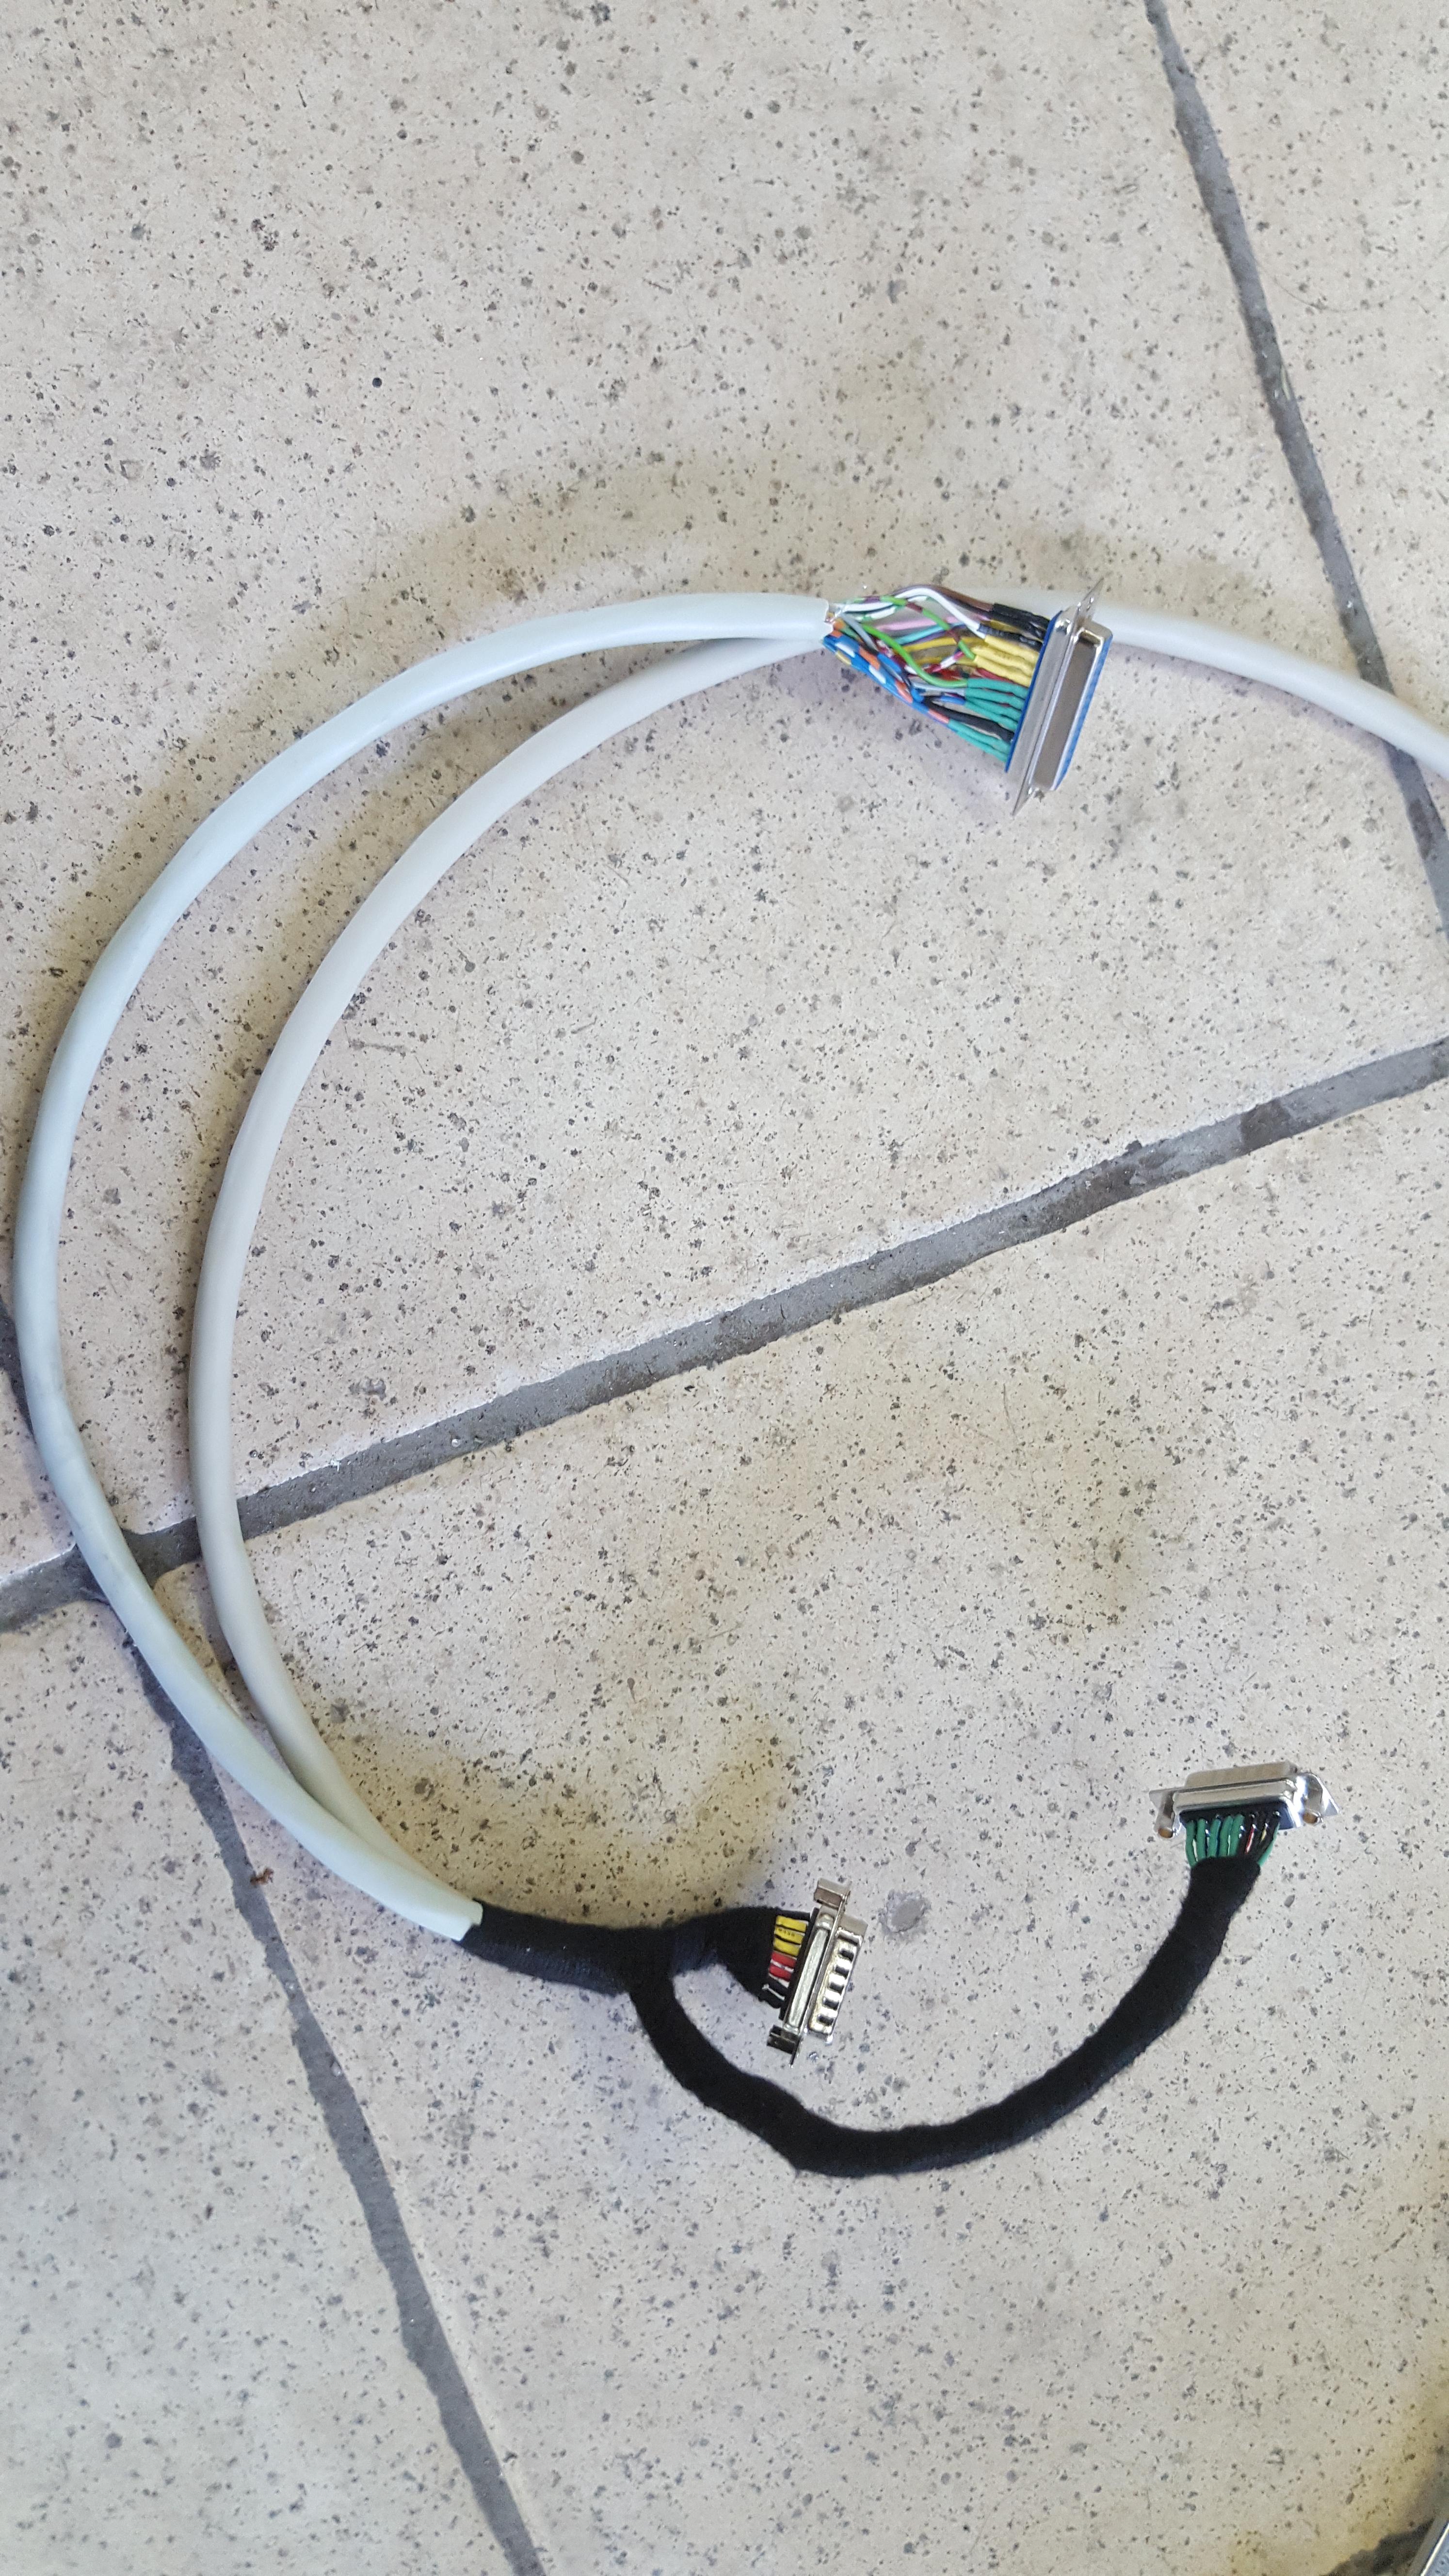
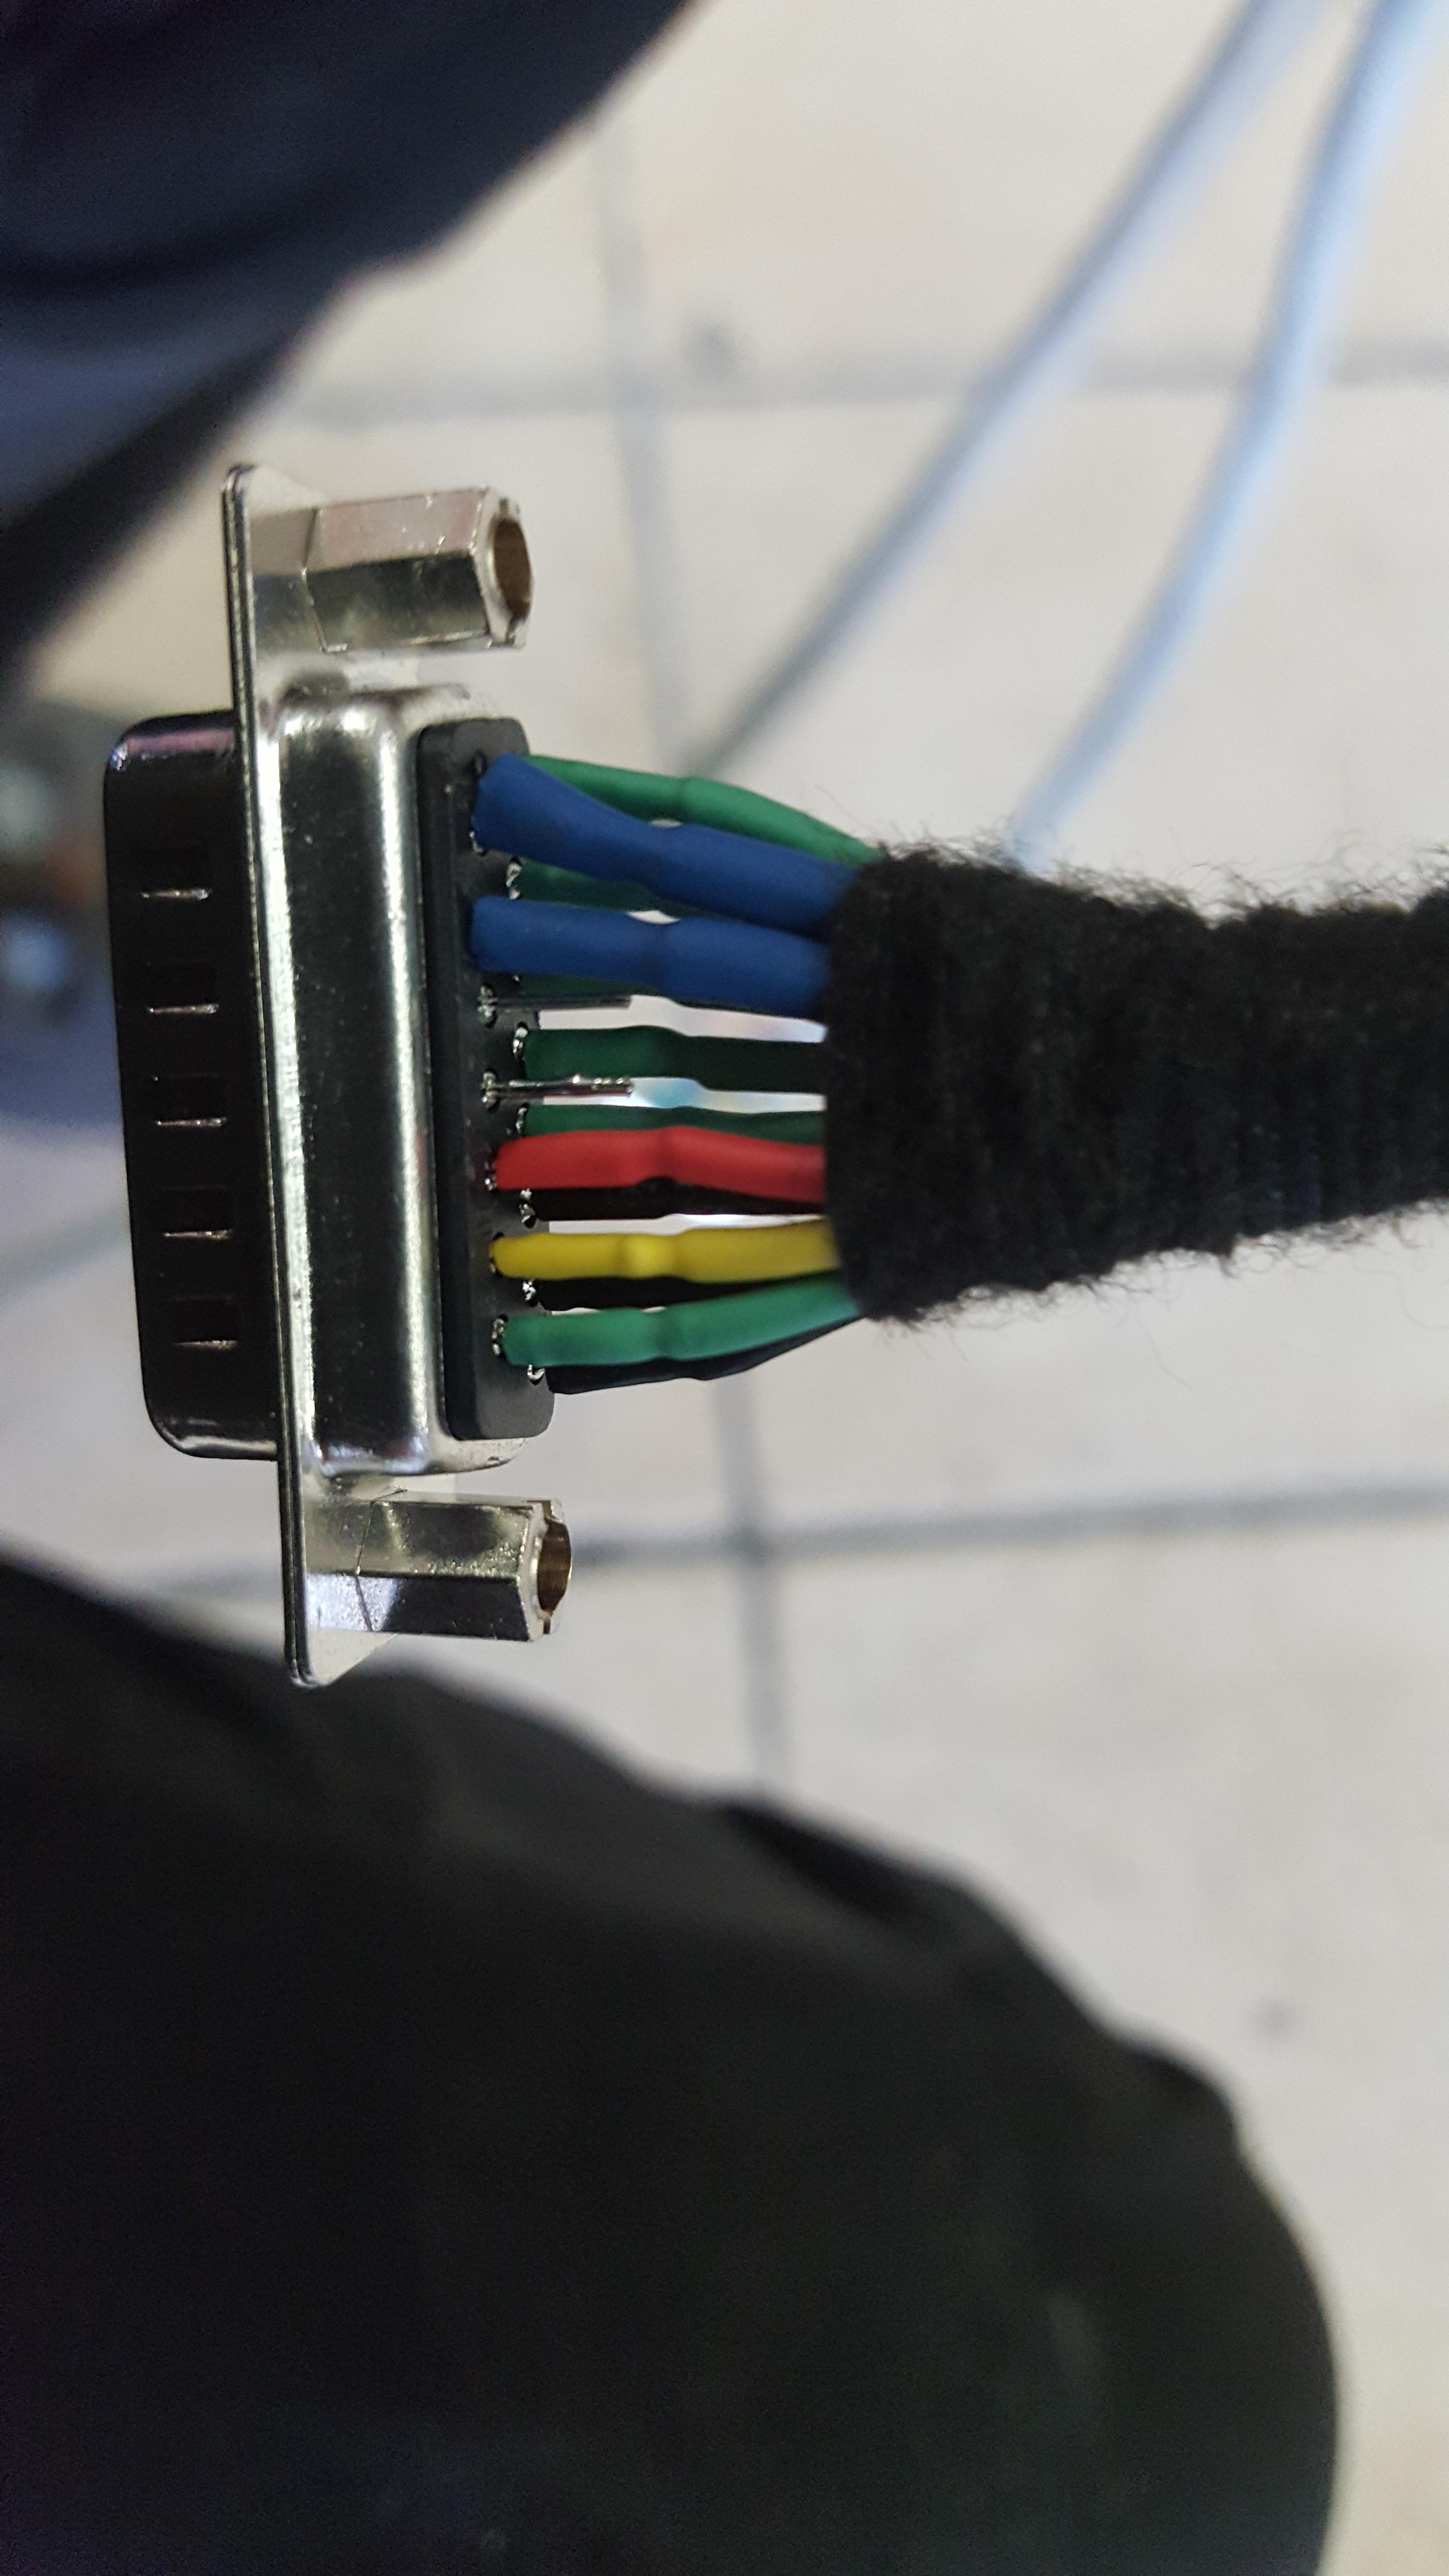
But first things first, a little extra protection over the hv stuff:

ripG4dj.jpg


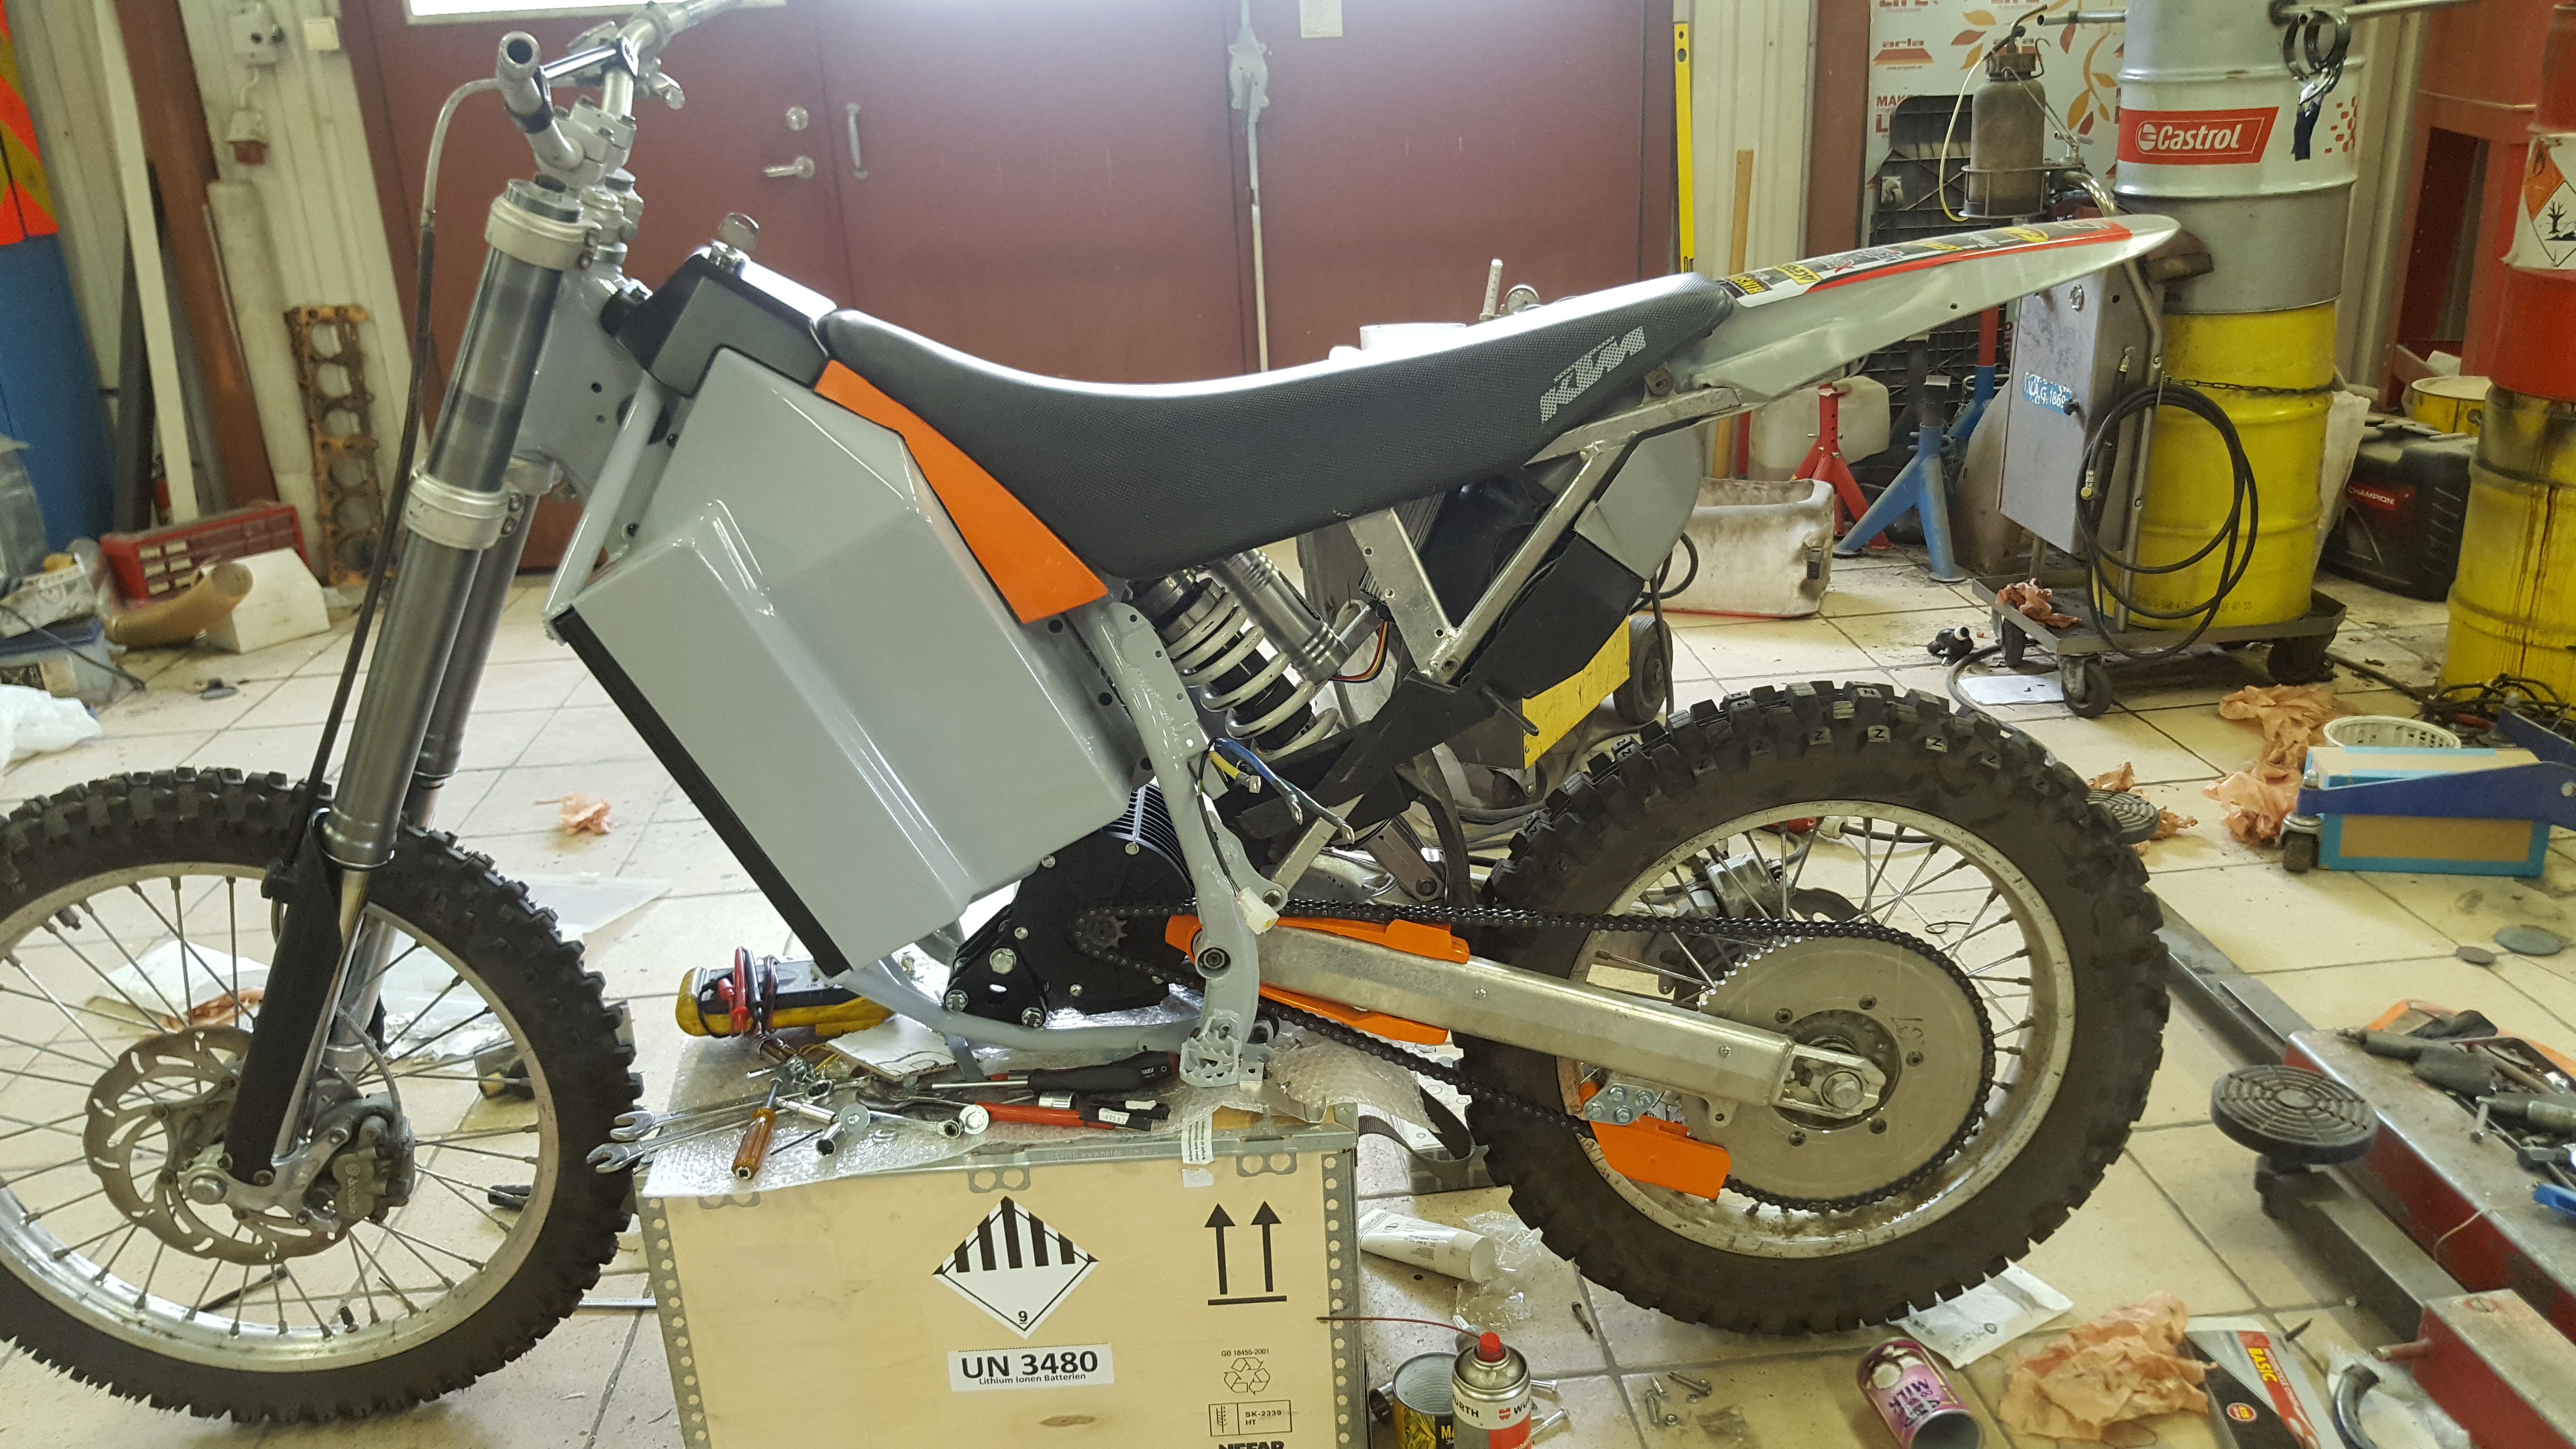
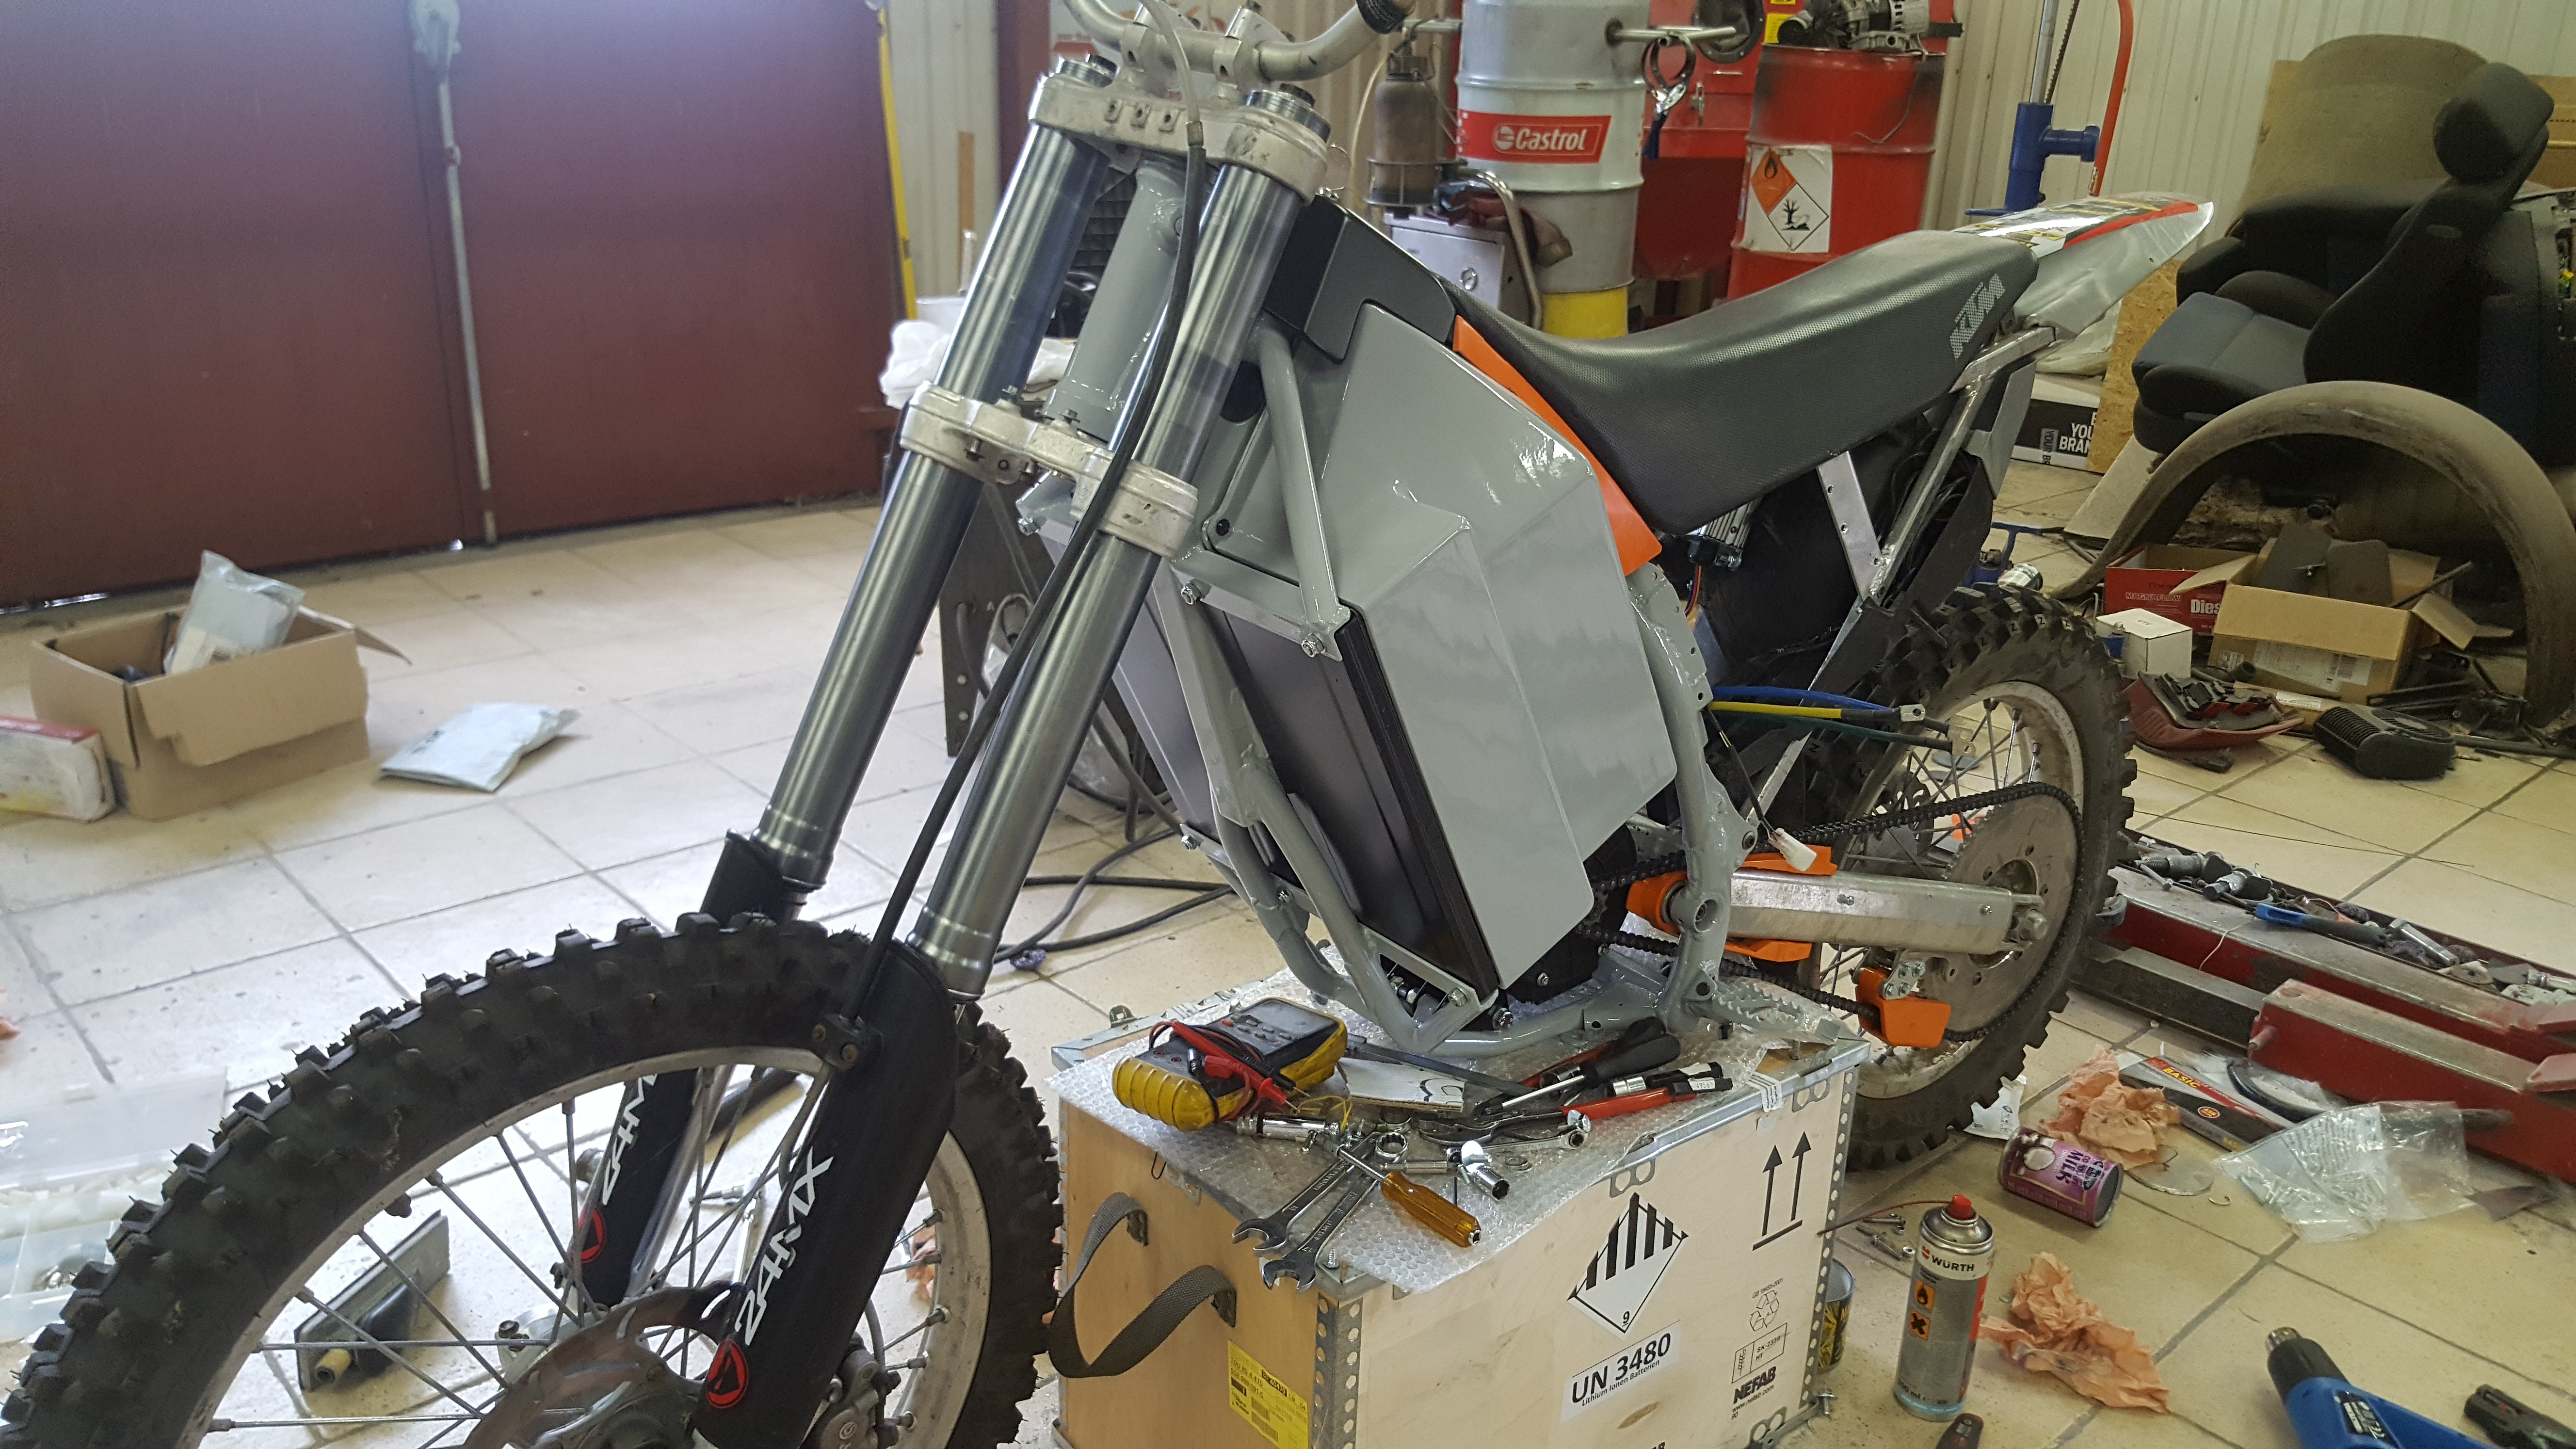
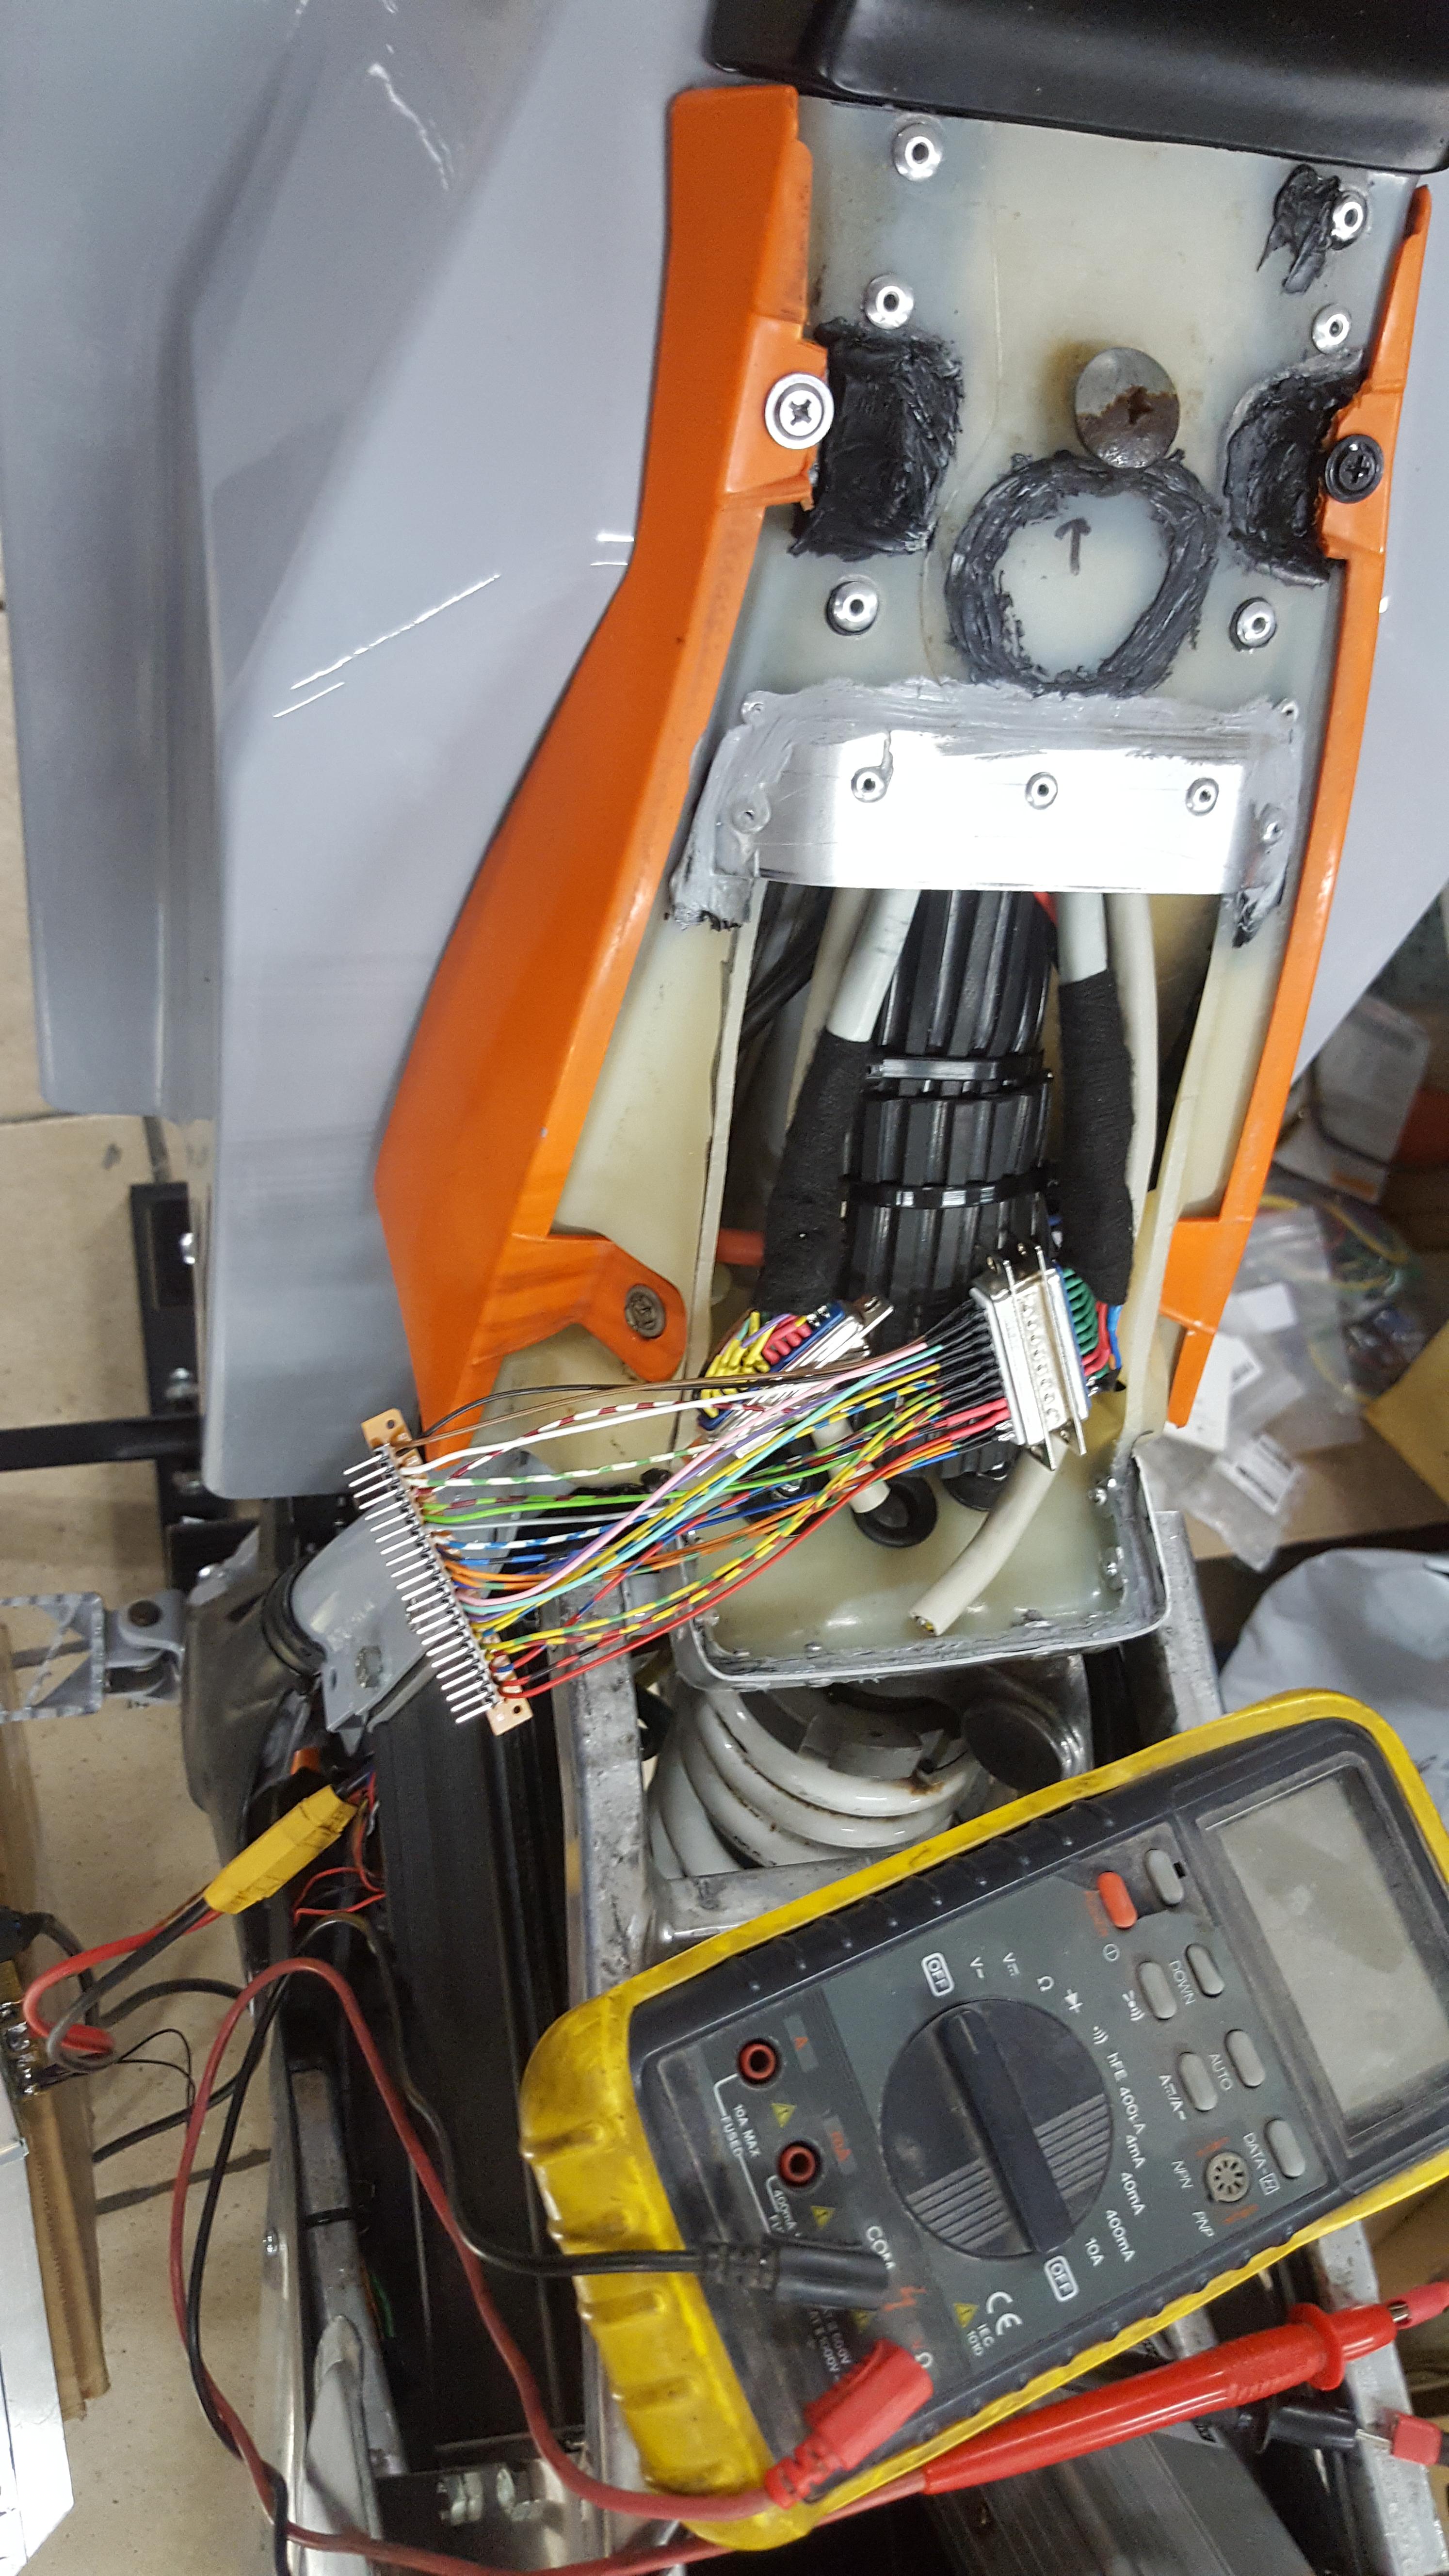
Mounted everything, I "borrowed" the nucular 24fet from my EEB "stealth bomber" and turned on the ignition. I could hear relays switching, and then nothing.
The controller wont turn on. Measured voltage, nothing.
Unplugged solenoids, they sure turn on and off. Measured before the fuse, voltage.
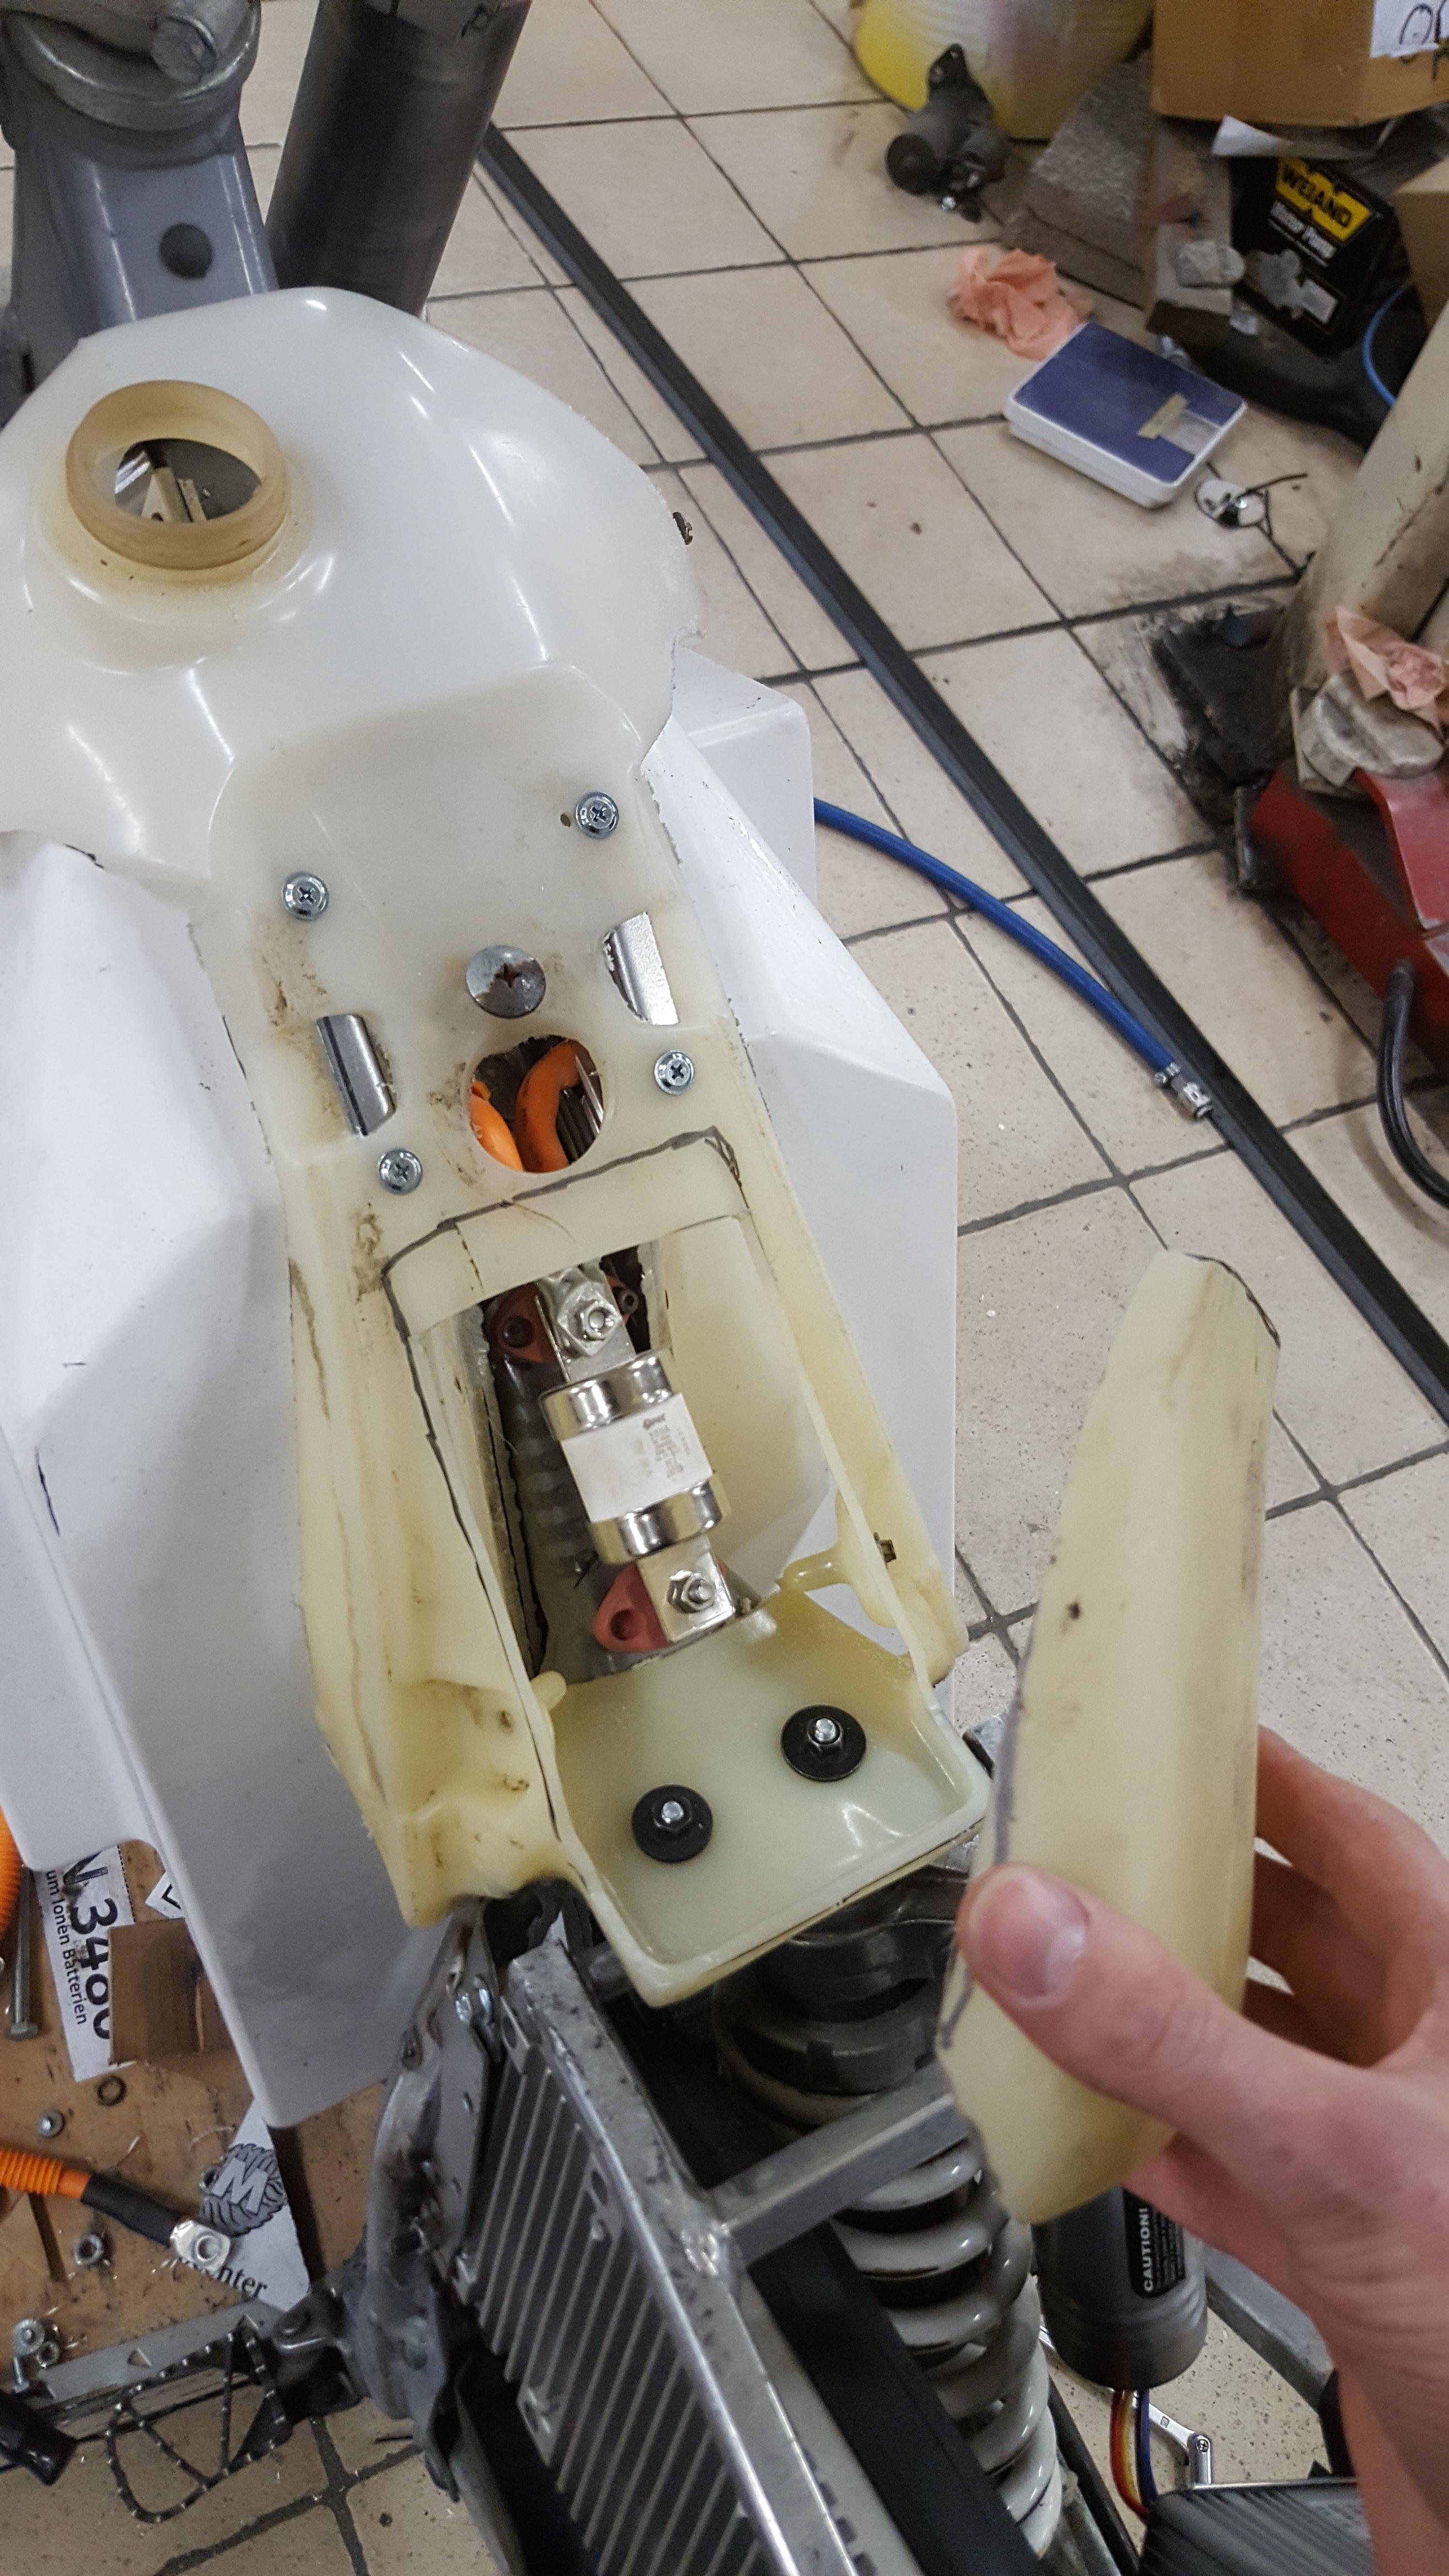
My "little" fuse was blown :shock:

rLiS1FF.jpg


I had another one, switched and things worked. Did an auto setup, and the motor only turned in one direction.
From what I remembered it should turn in both directions a few times, but I am not sure.
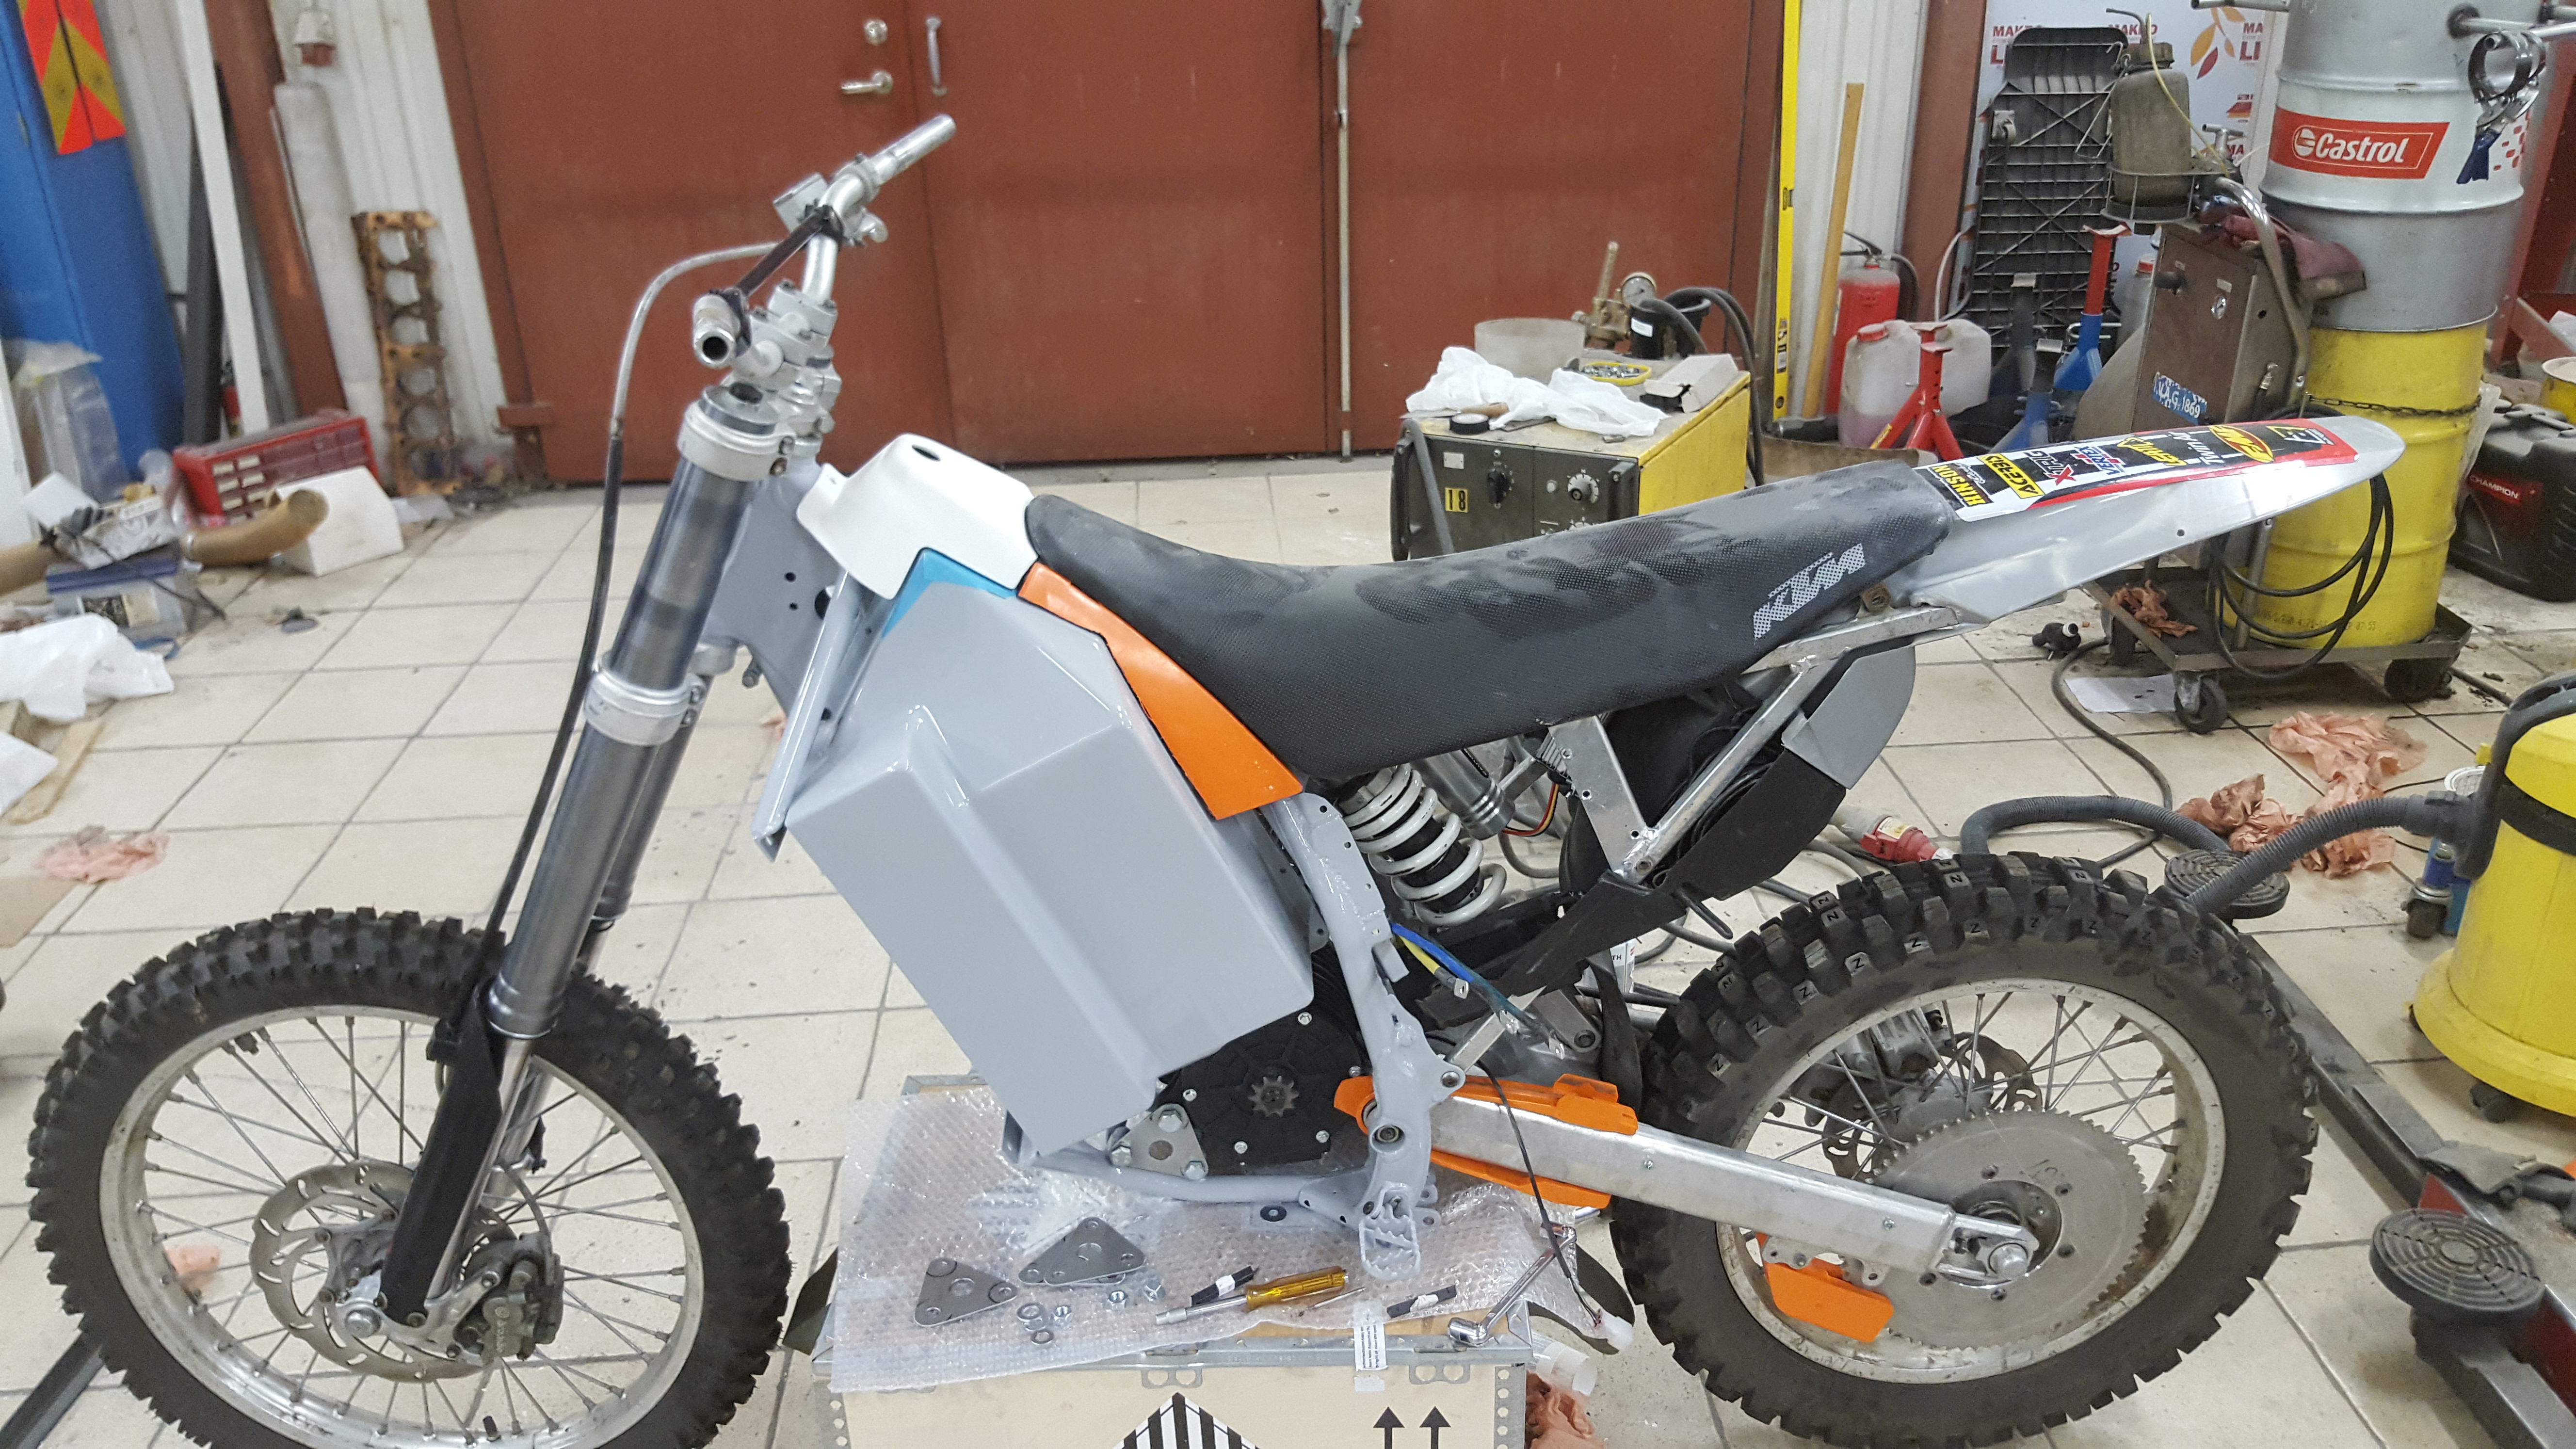
Anyway, the chain drive was noisy as hell! I made a video clip, but I don't seem to be able to upload it.
I was thinking I wont be able to drive it like this..

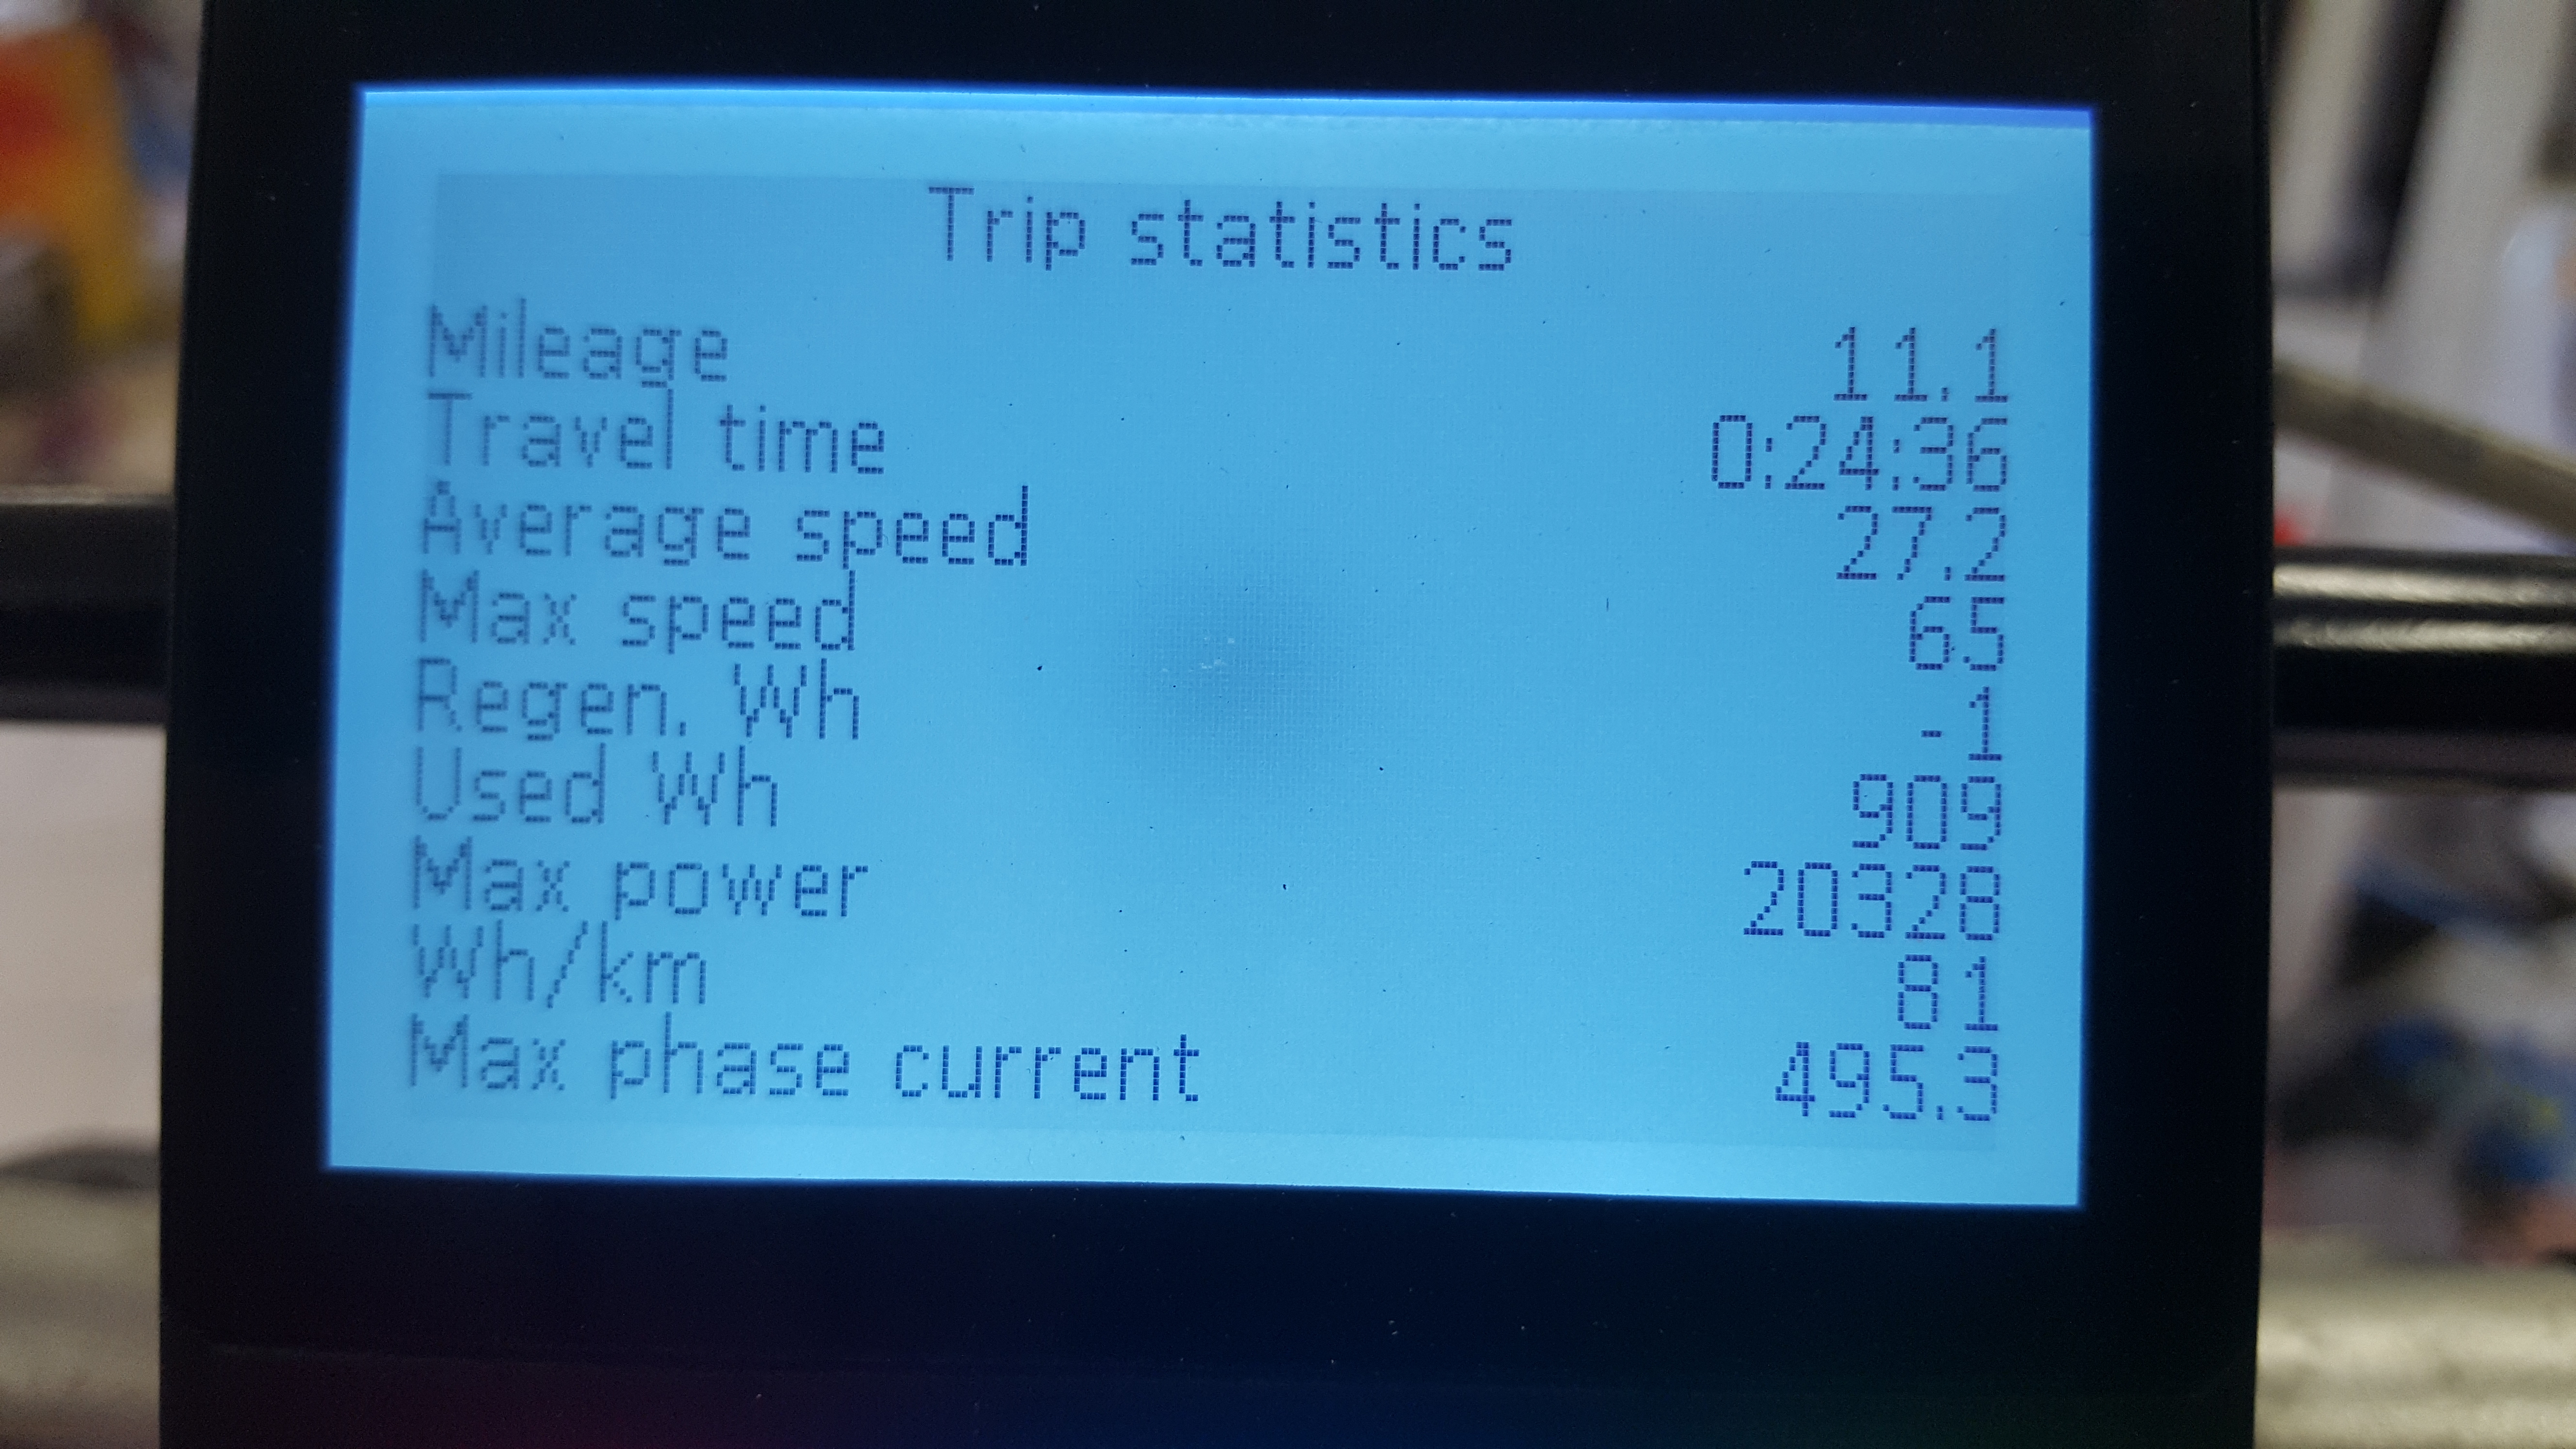
I went for a testdrive, first at half power settings. But it was so sluggish that I went for full settings almost right away.
At full power it was ok, but not very powerful compared to my EEB "stealth bomber" bike. On that it is hard to keep the front wheel down at full throttle. It wheelies or spins, and is basically a beast when fed over 20kw :mrgreen: The extra weight sure seem to make a difference. But the battery was only charged to storage voltage, 3,7V/cell.
The chain drive noise was not as bad when driving.

But I also got a power cut, I don't know why. It has never happened on the EEB.
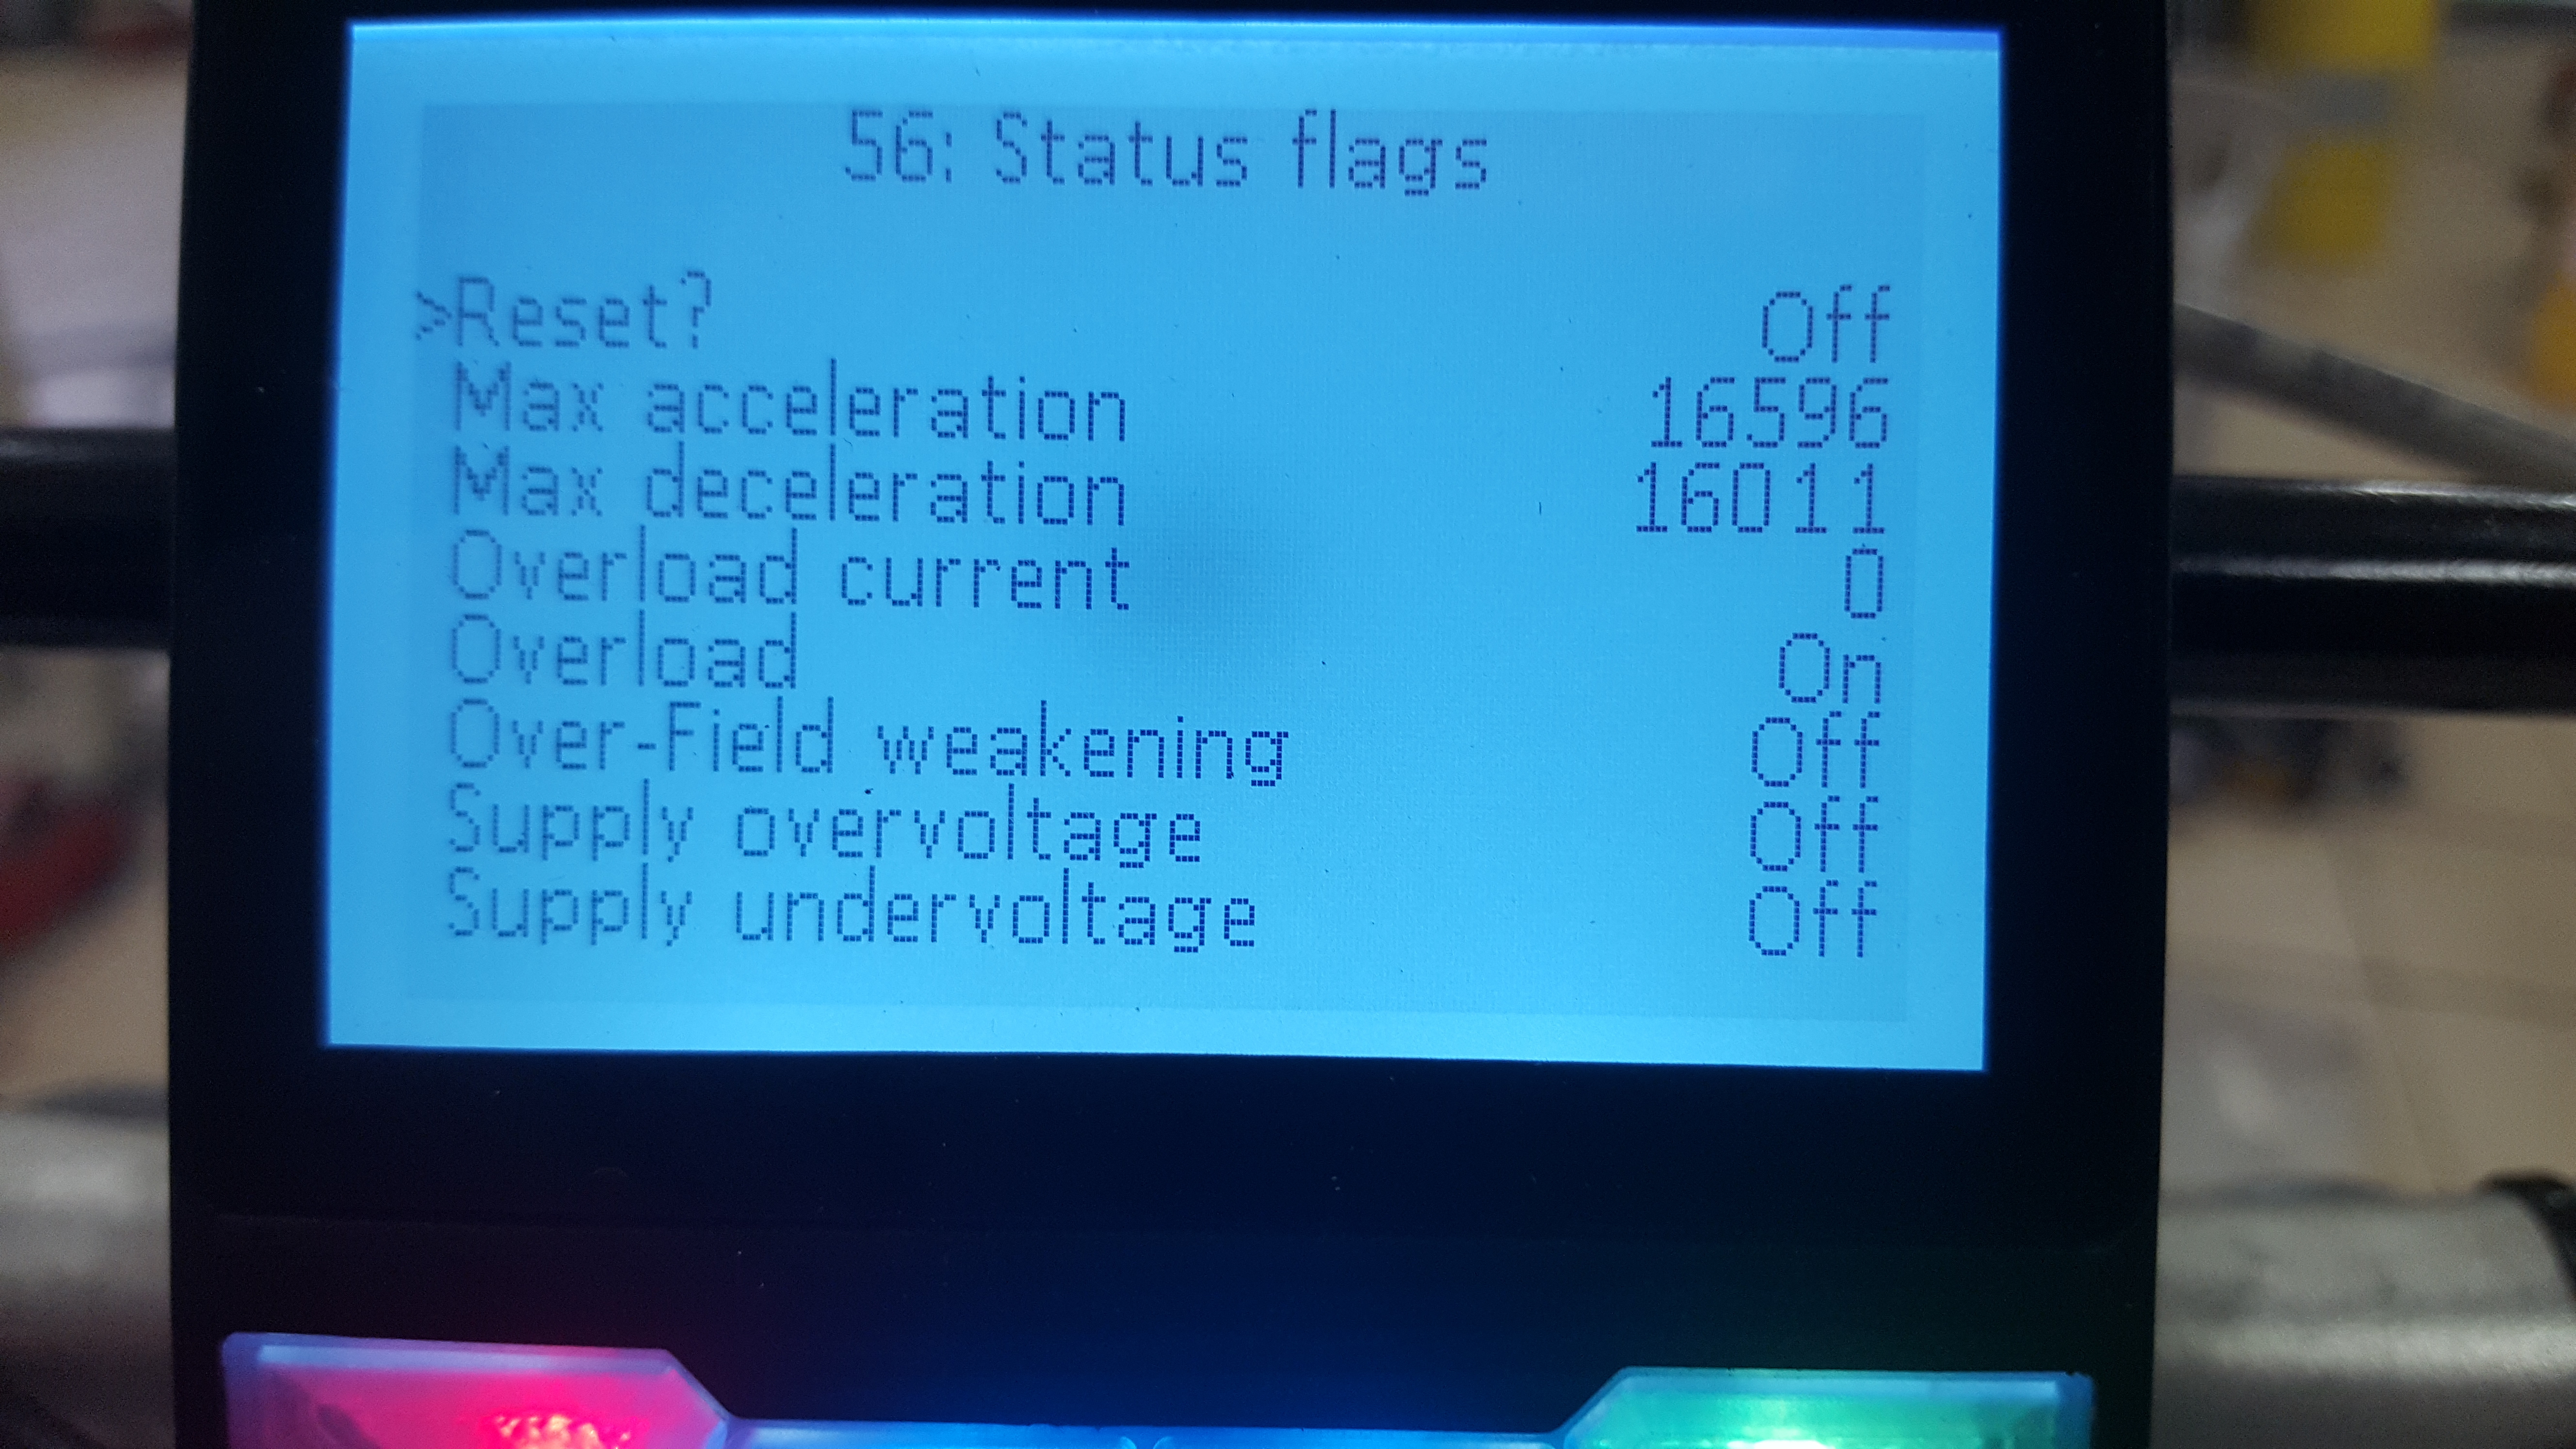
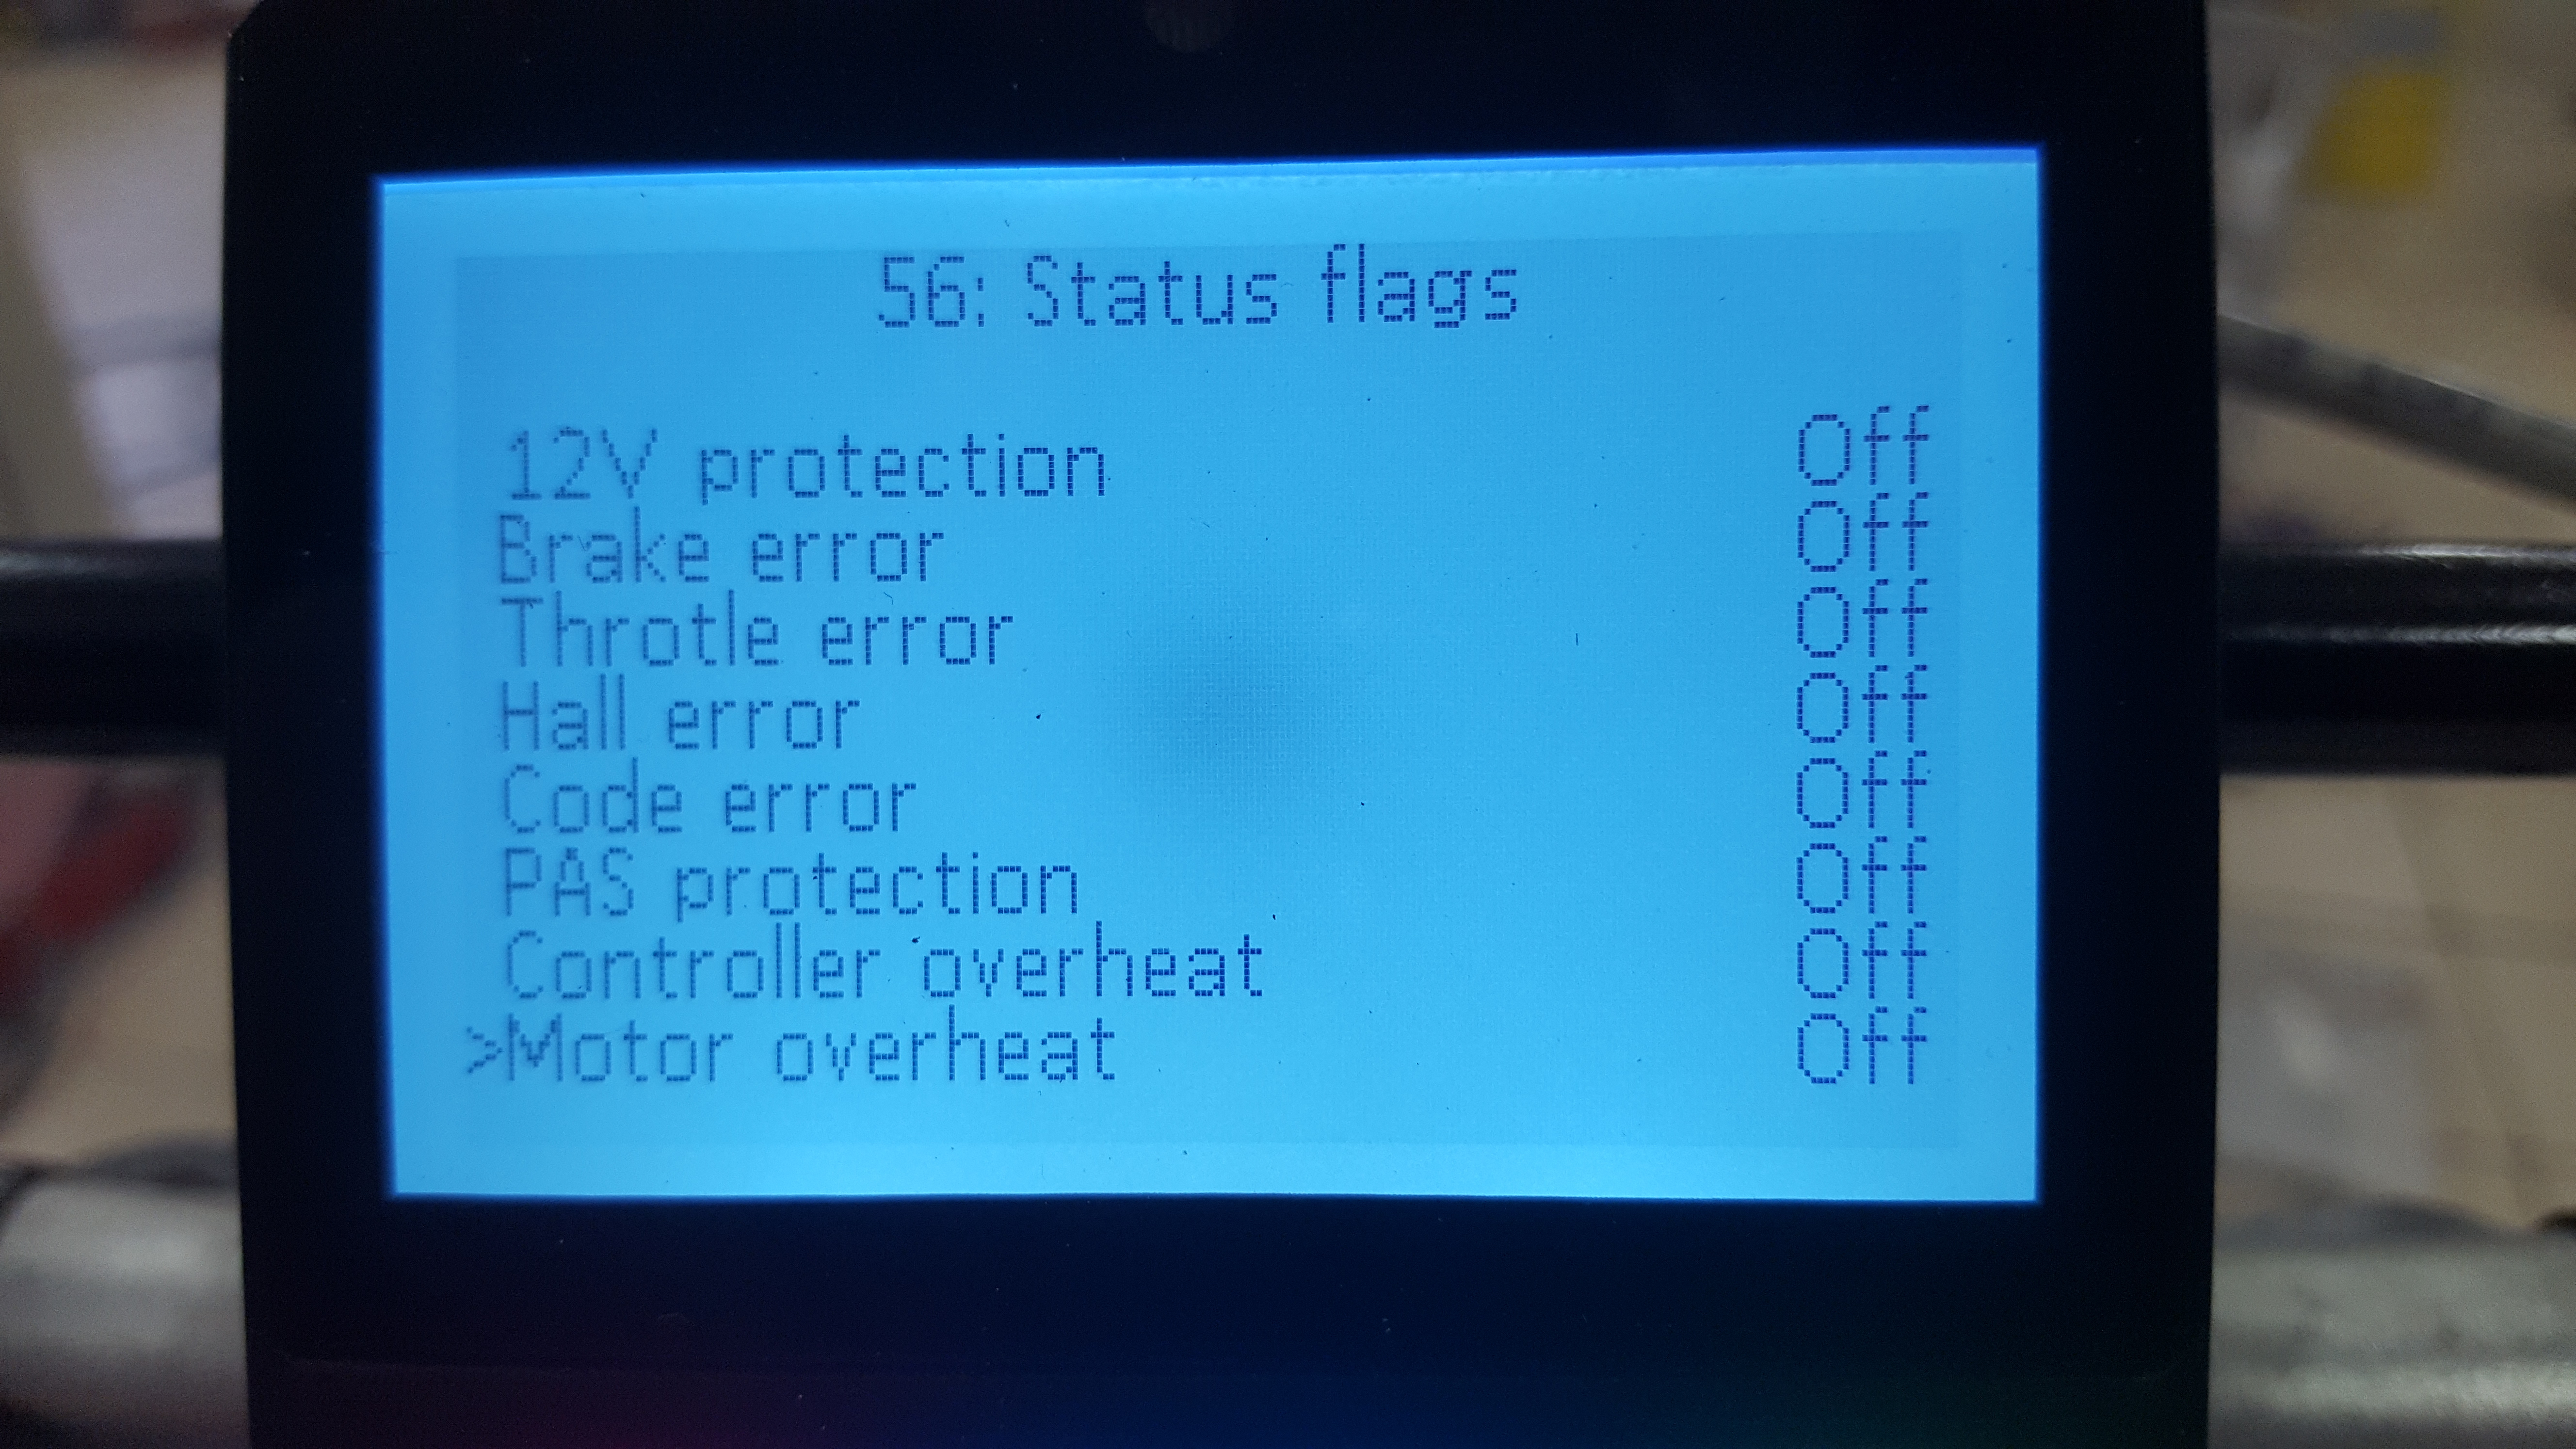
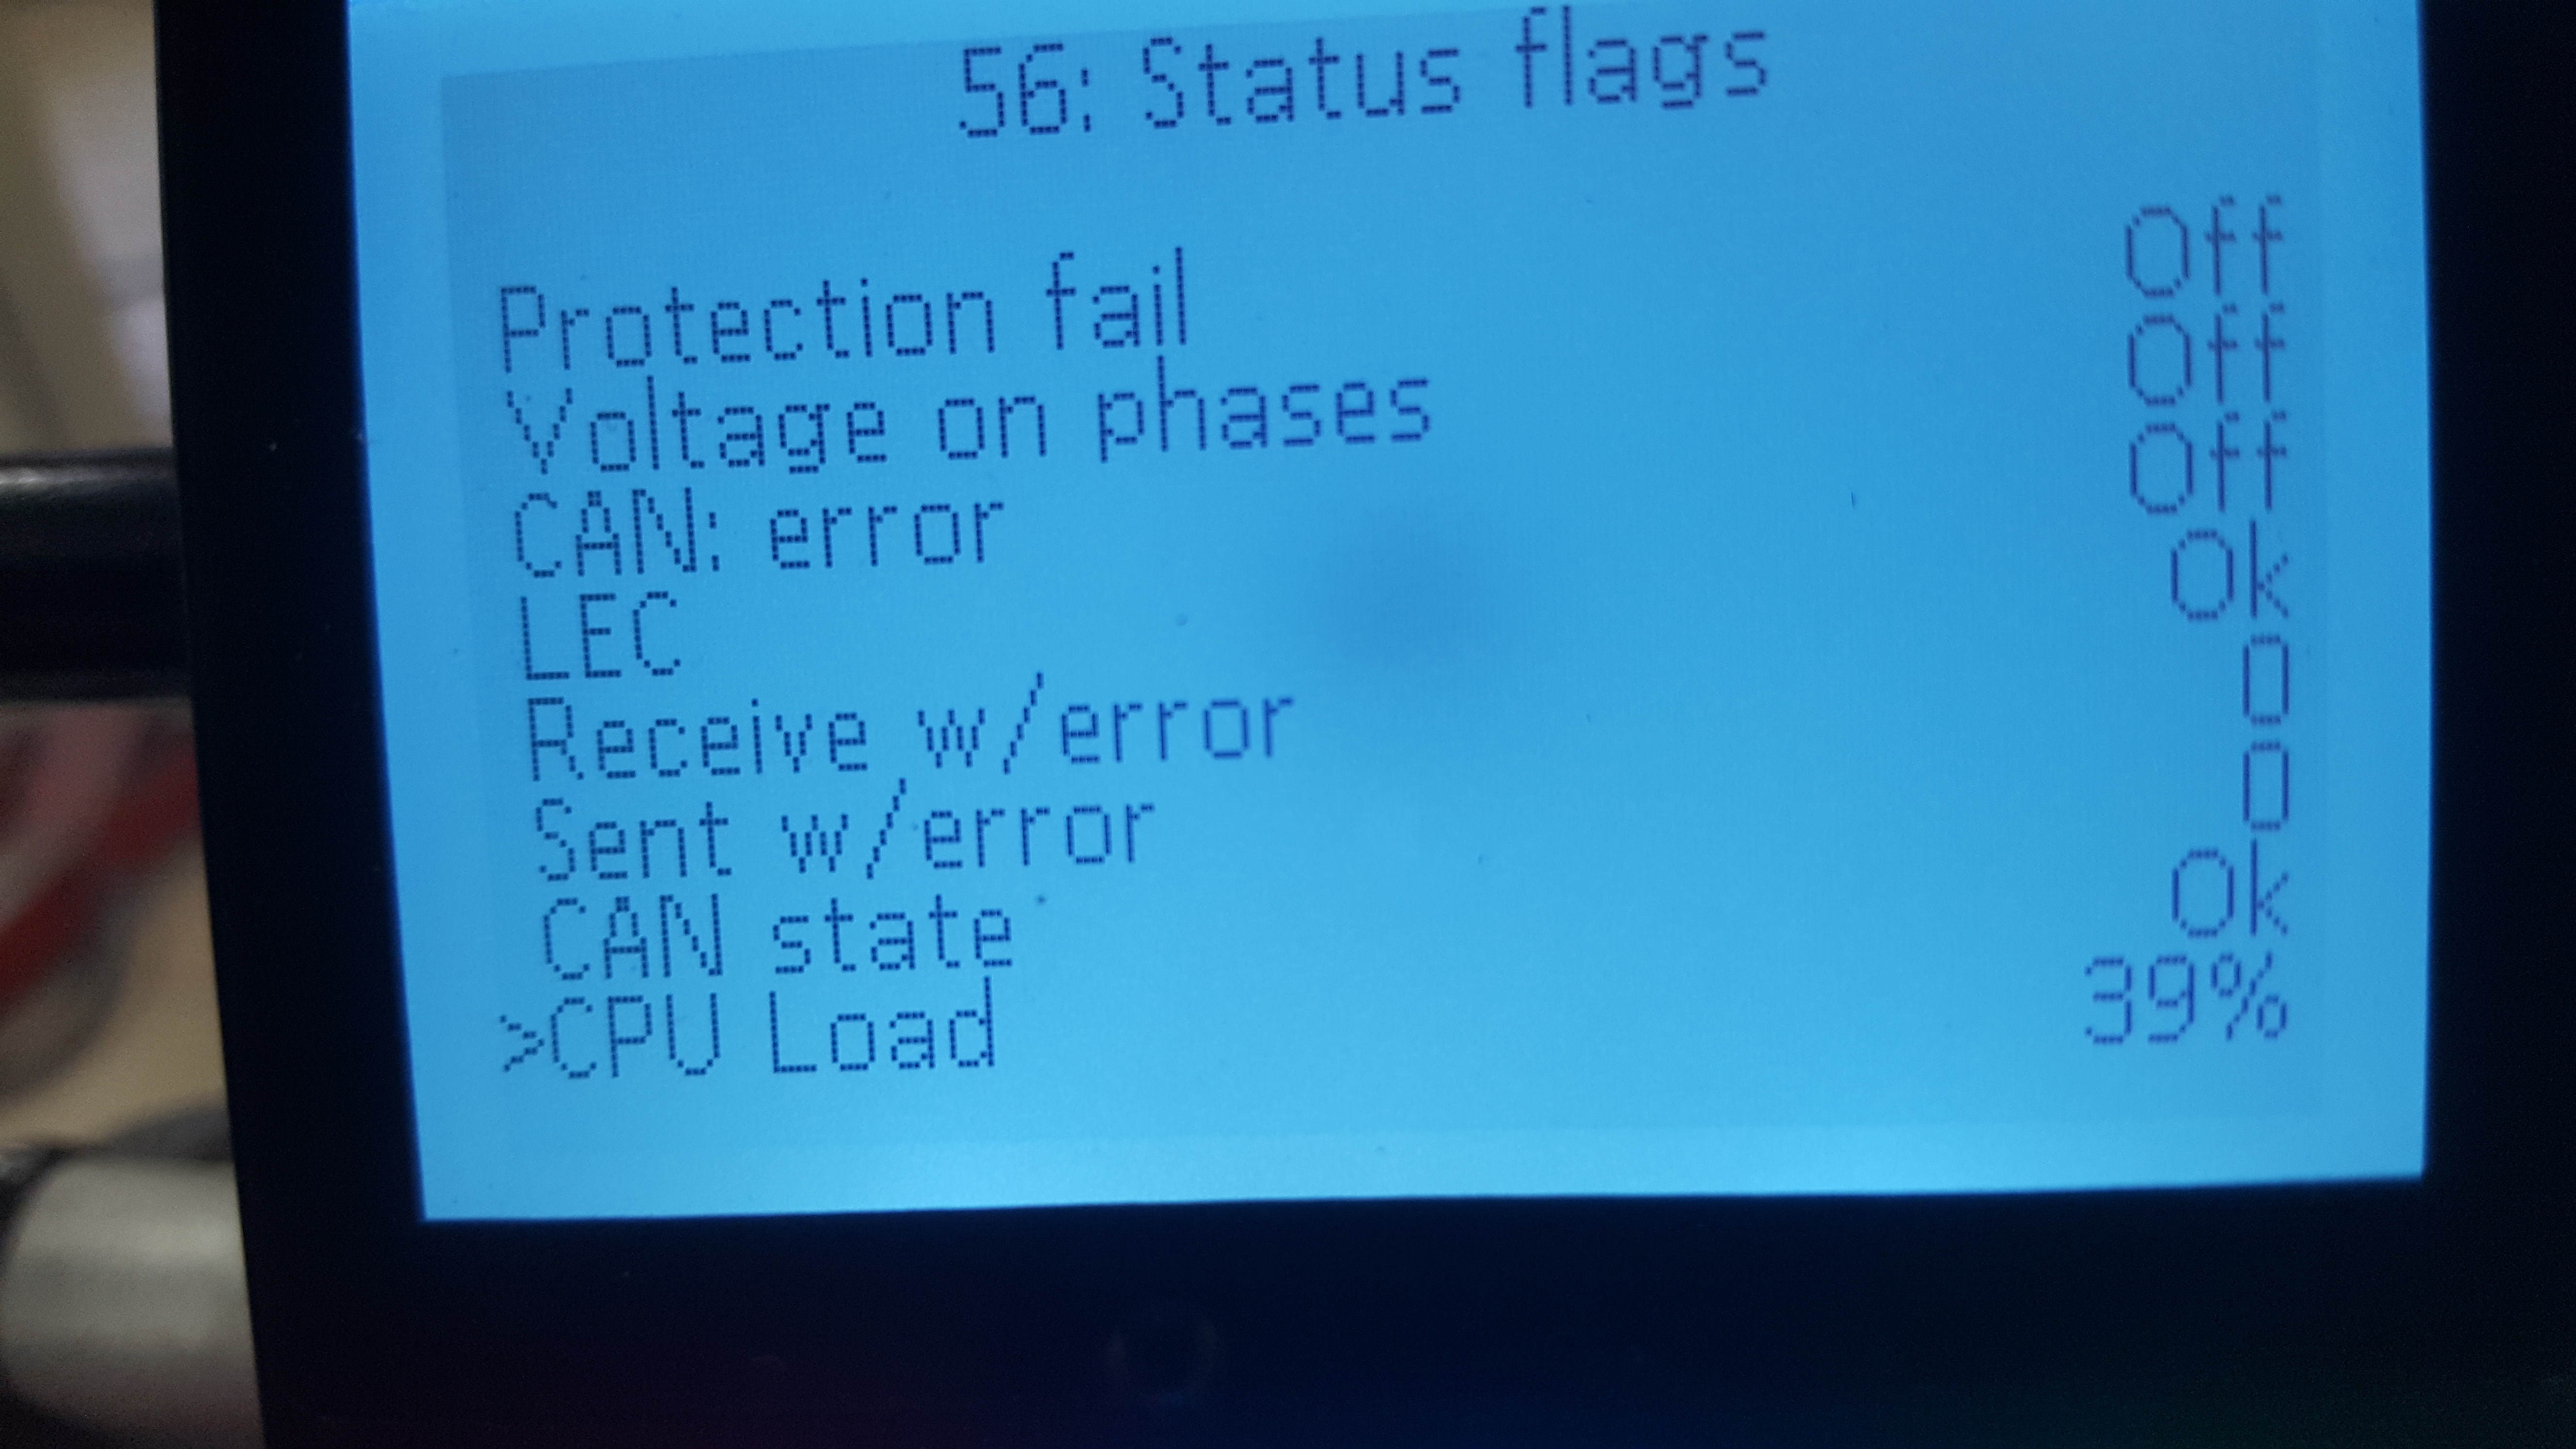
I thought I would be able to see something on the status flags, so I checked when I got back.
But as far as I can tell they doesn't show anything wrong?

I have never had this kind of regen on the eeb ither, it just locks the wheel when I go hard on the brake and stops. Here it took a while, the weight really shows here too.

XuIcM0j.jpg


O3smXv6.jpg


yvYC6d3.jpg


Maybe I should have checked when it happened, but I thought it was saved.

For the first time I have tried the charge through the controller feature:

ZtIqPJf.jpg


It is the only way for me to charge at the moment.
I charged at 20A, that was about 30A at 54.4v from the psu. It seemed alright, but the normal 240v plug got rather warm..
The controller got about 56 degrees C, and the motor got rather warm too. I don't think this way to charge is the best if you want to drive when it is done, because of the heat.
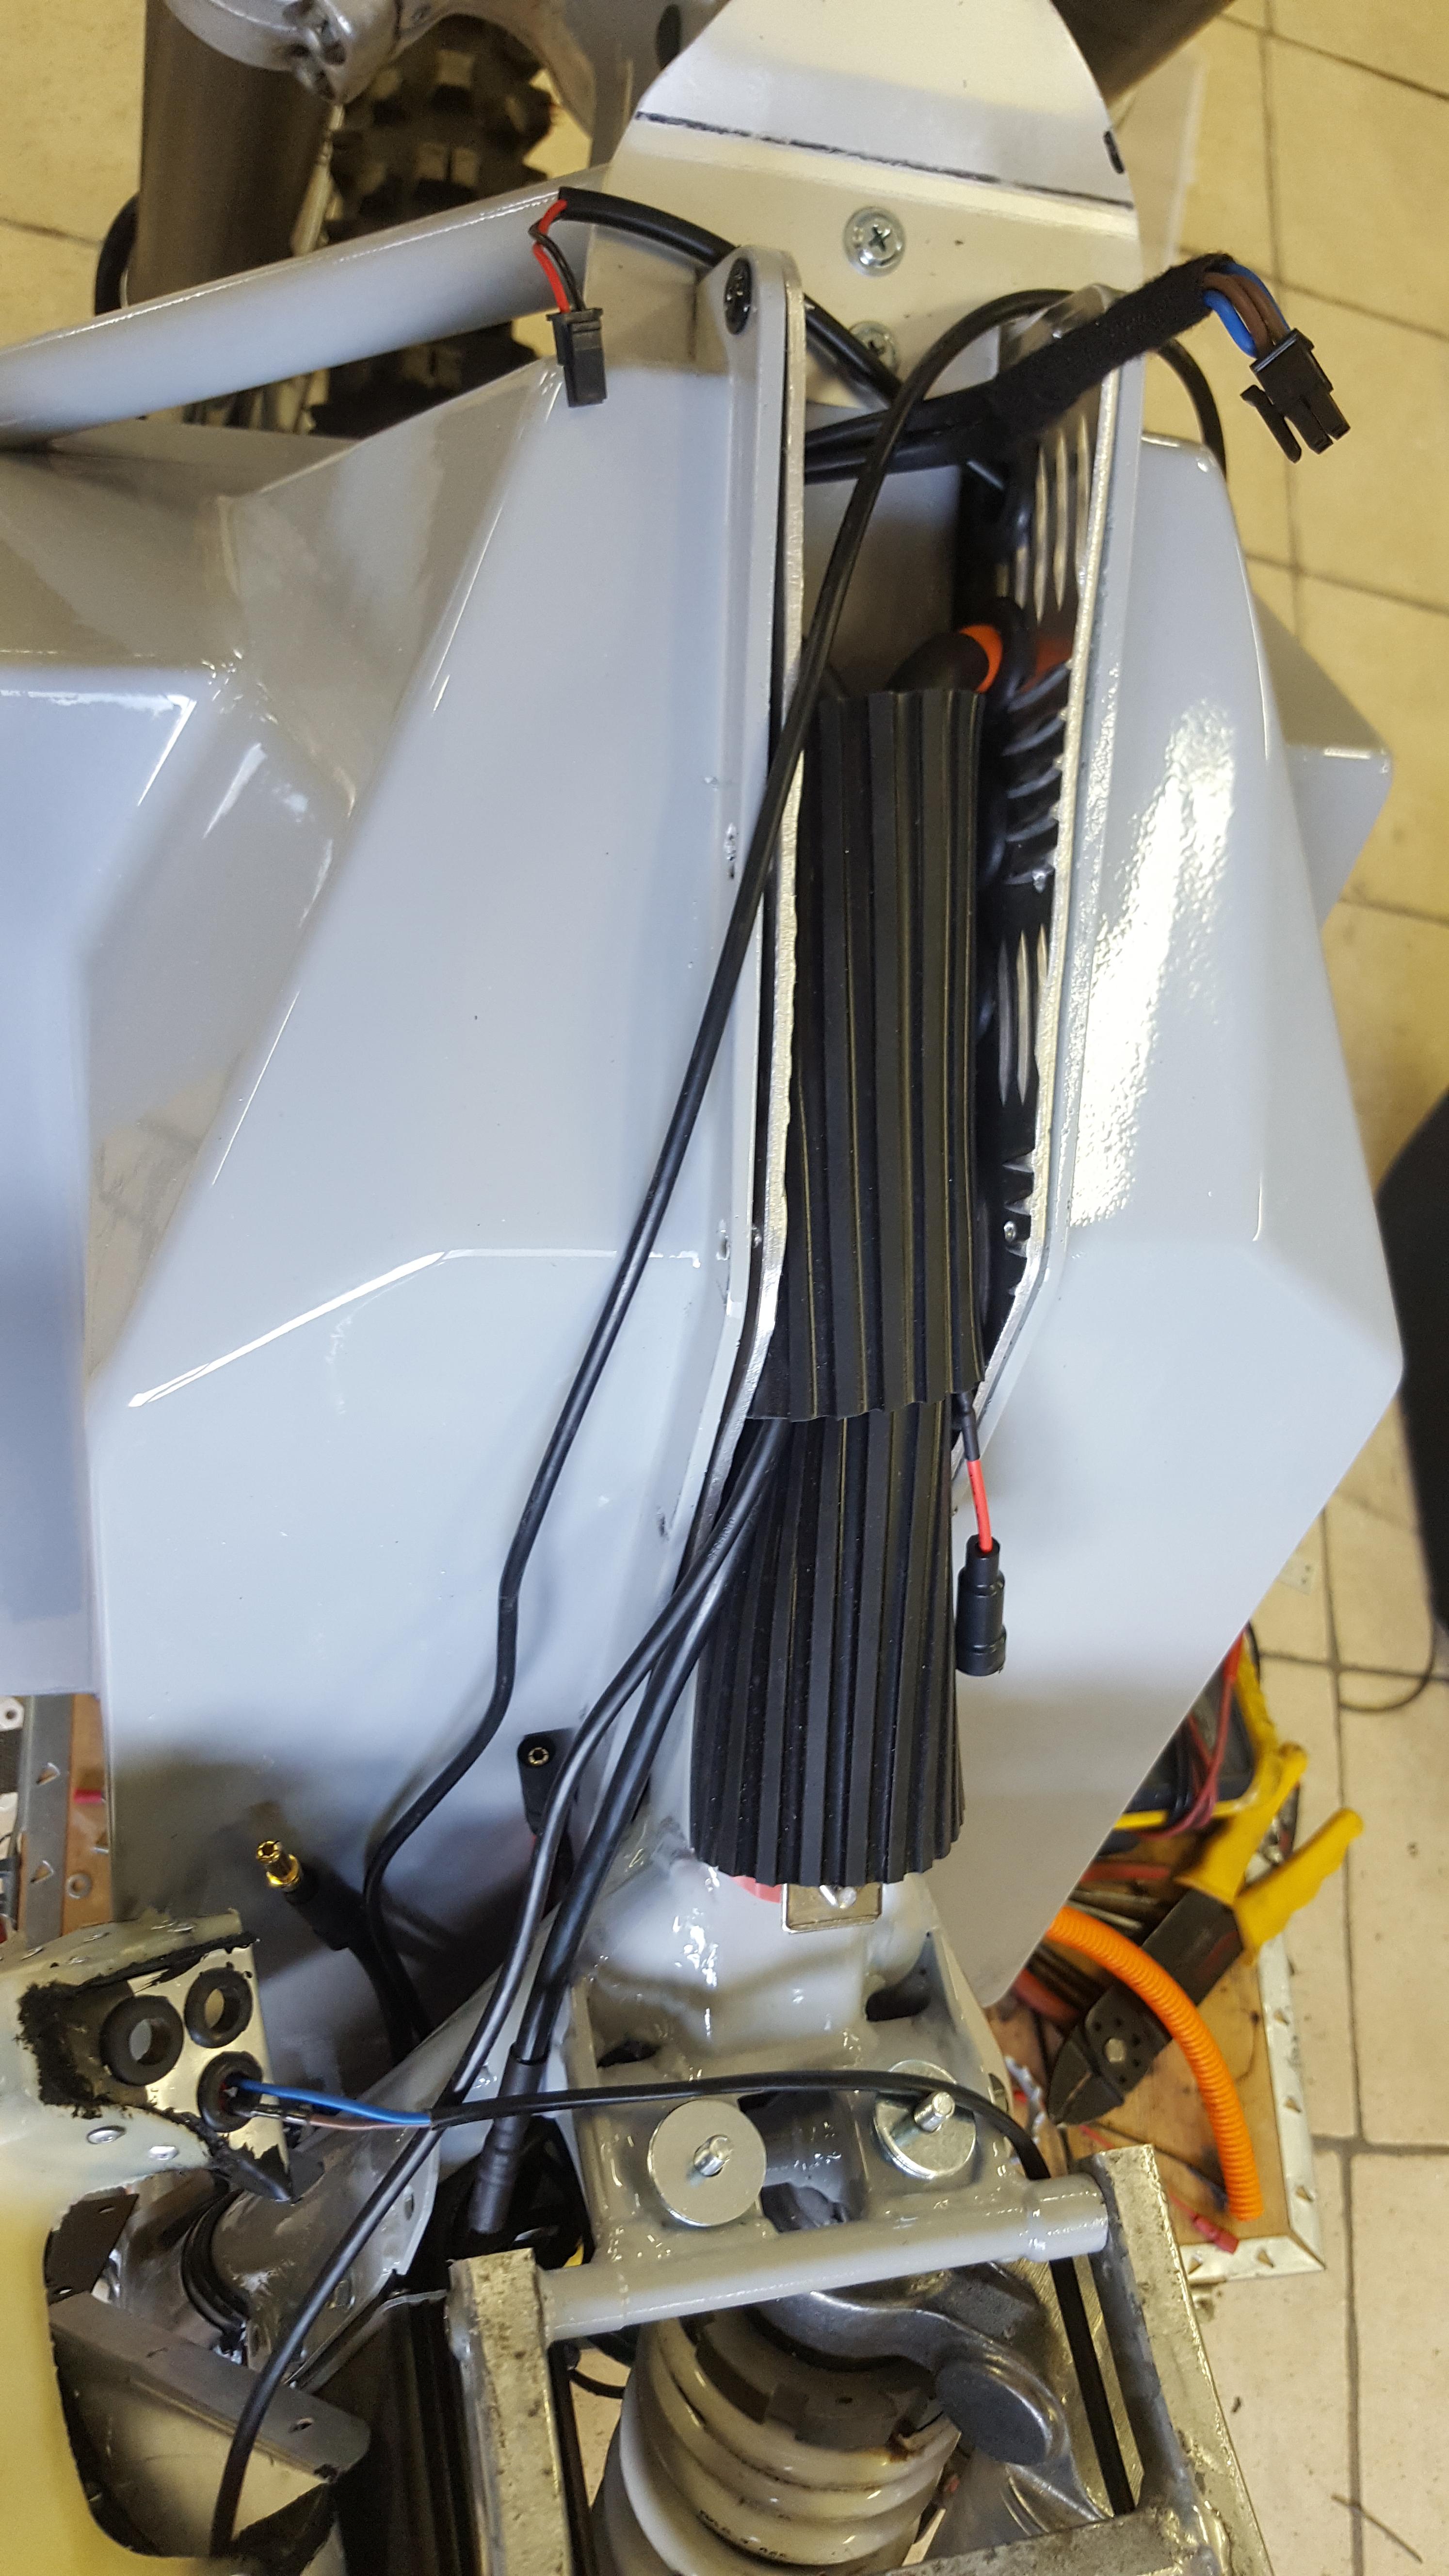
The controller got a bit warm on the testdrive too, I believe it was over 30 degrees C at least. On the EEB it is in the airflow behind the front wheel, and has stayed really cool on my rides in rather cold weather.

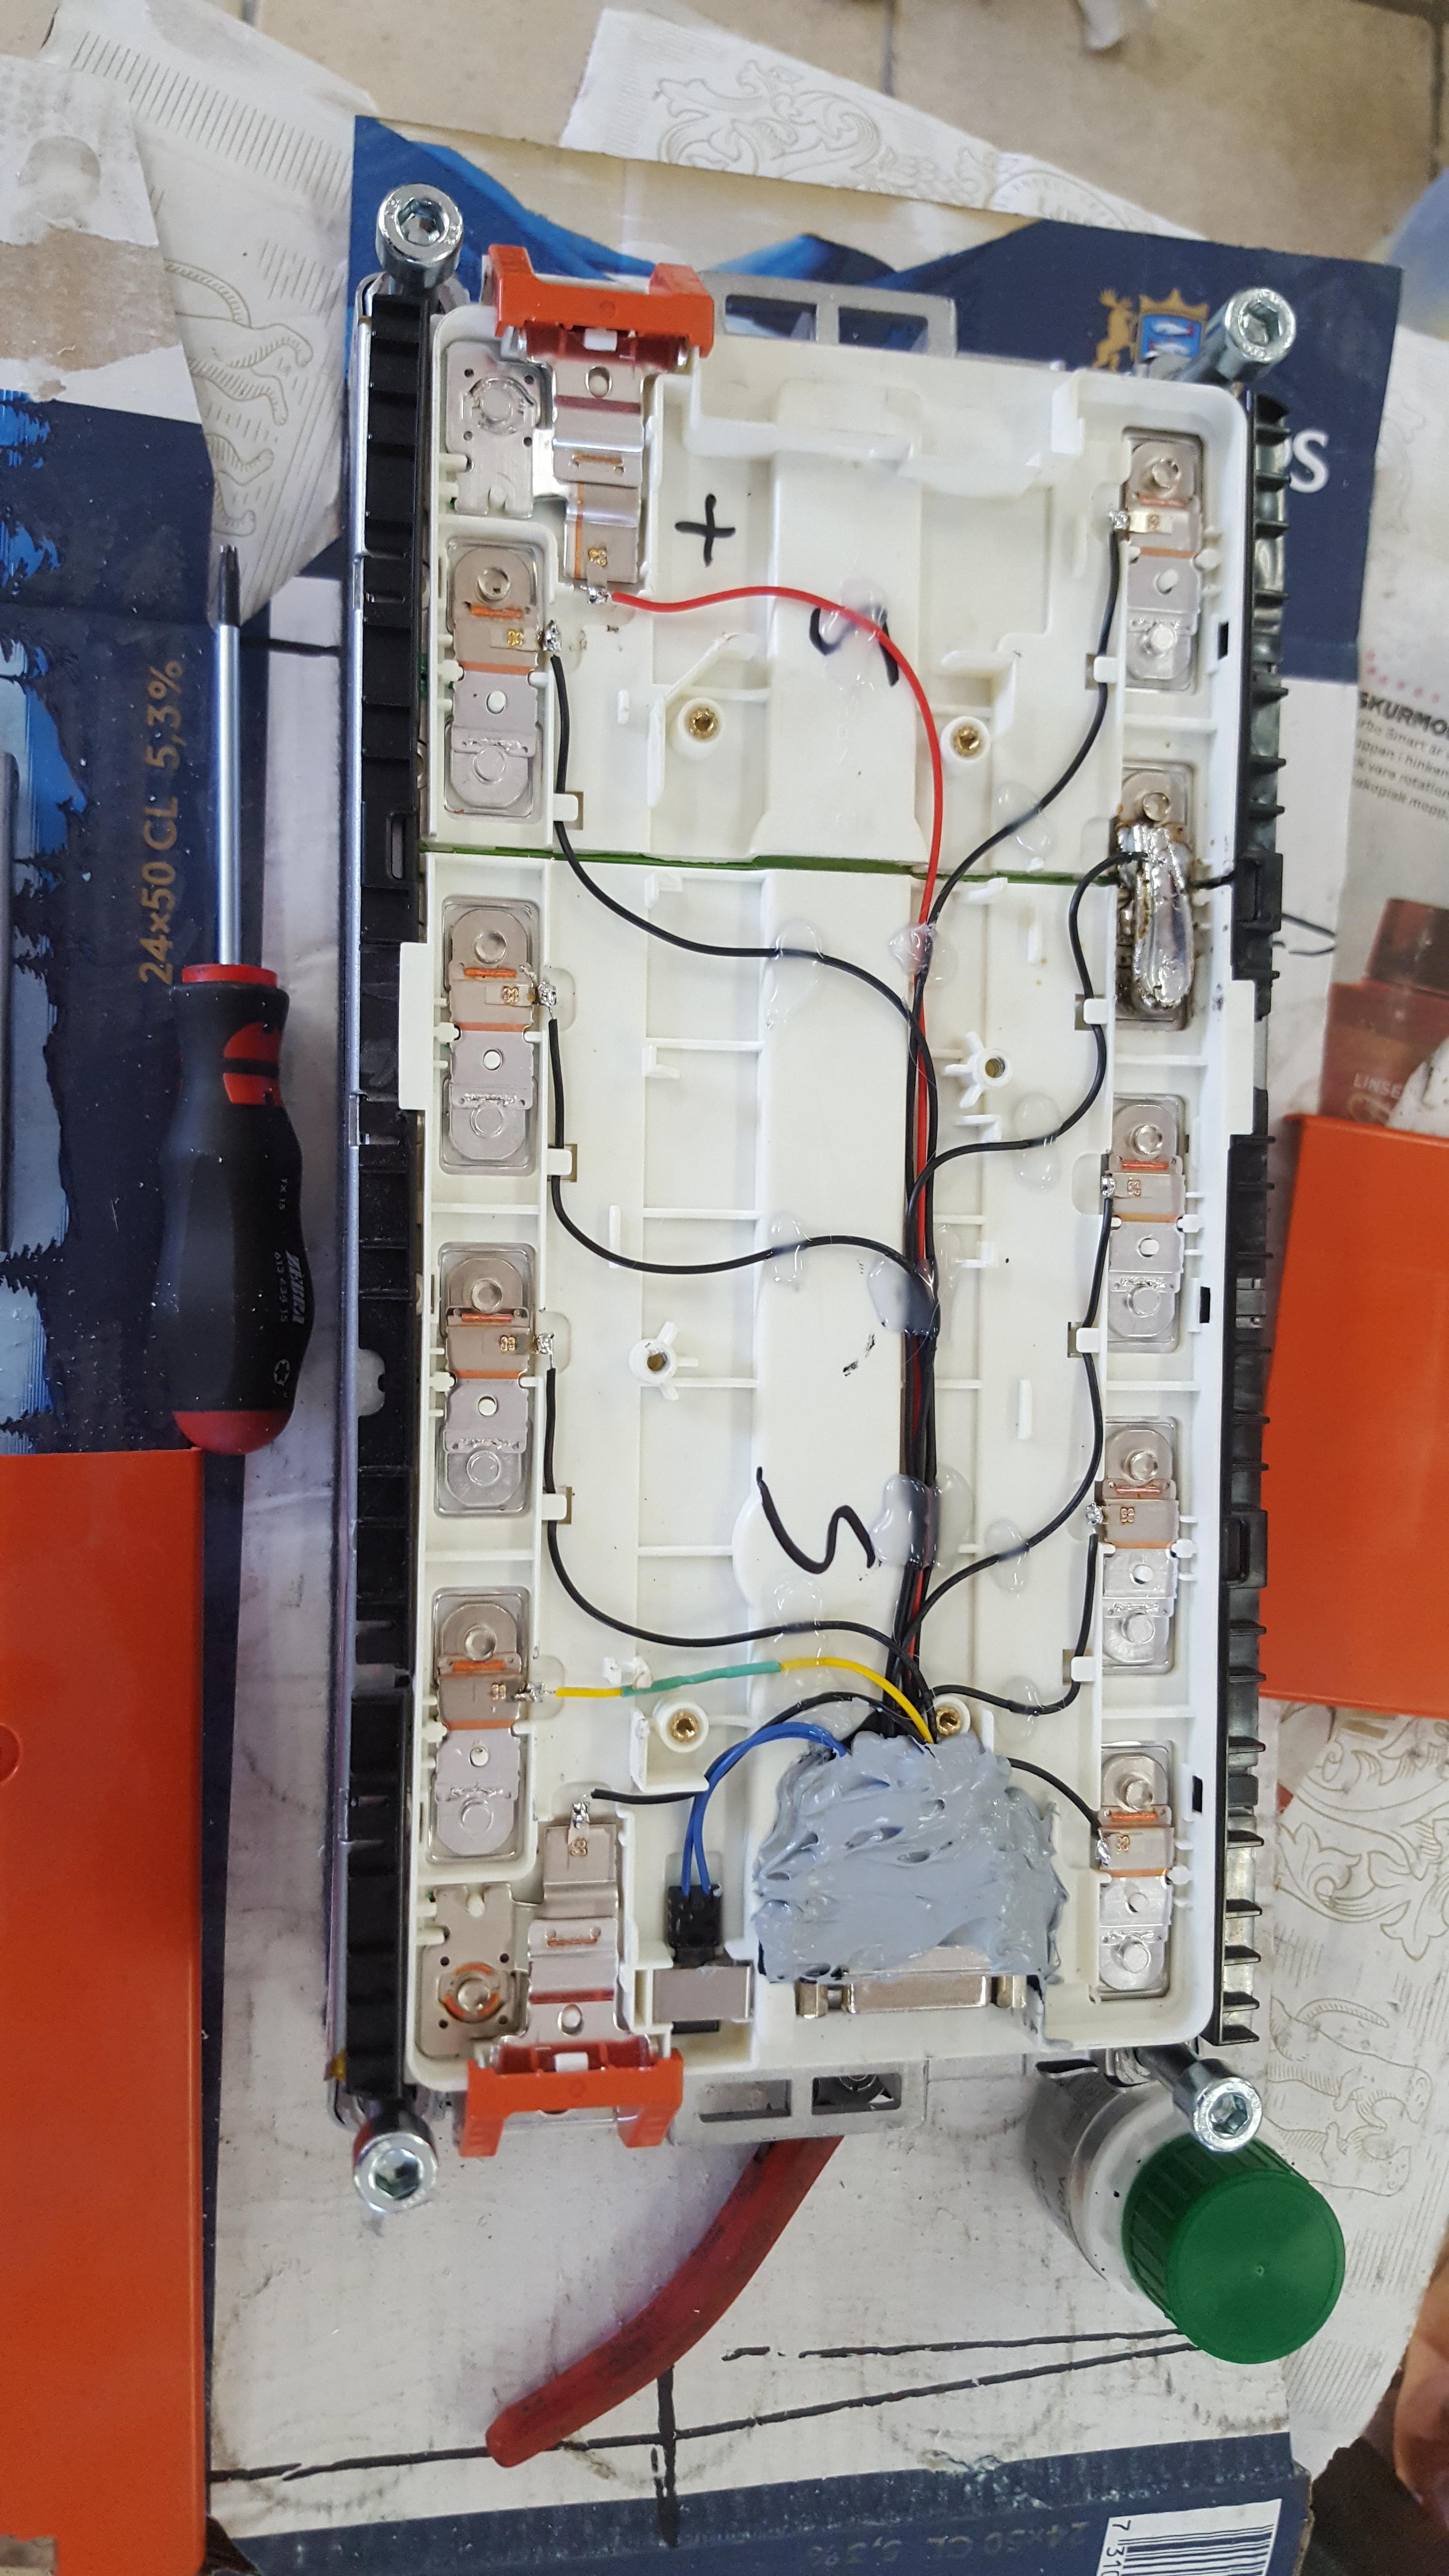
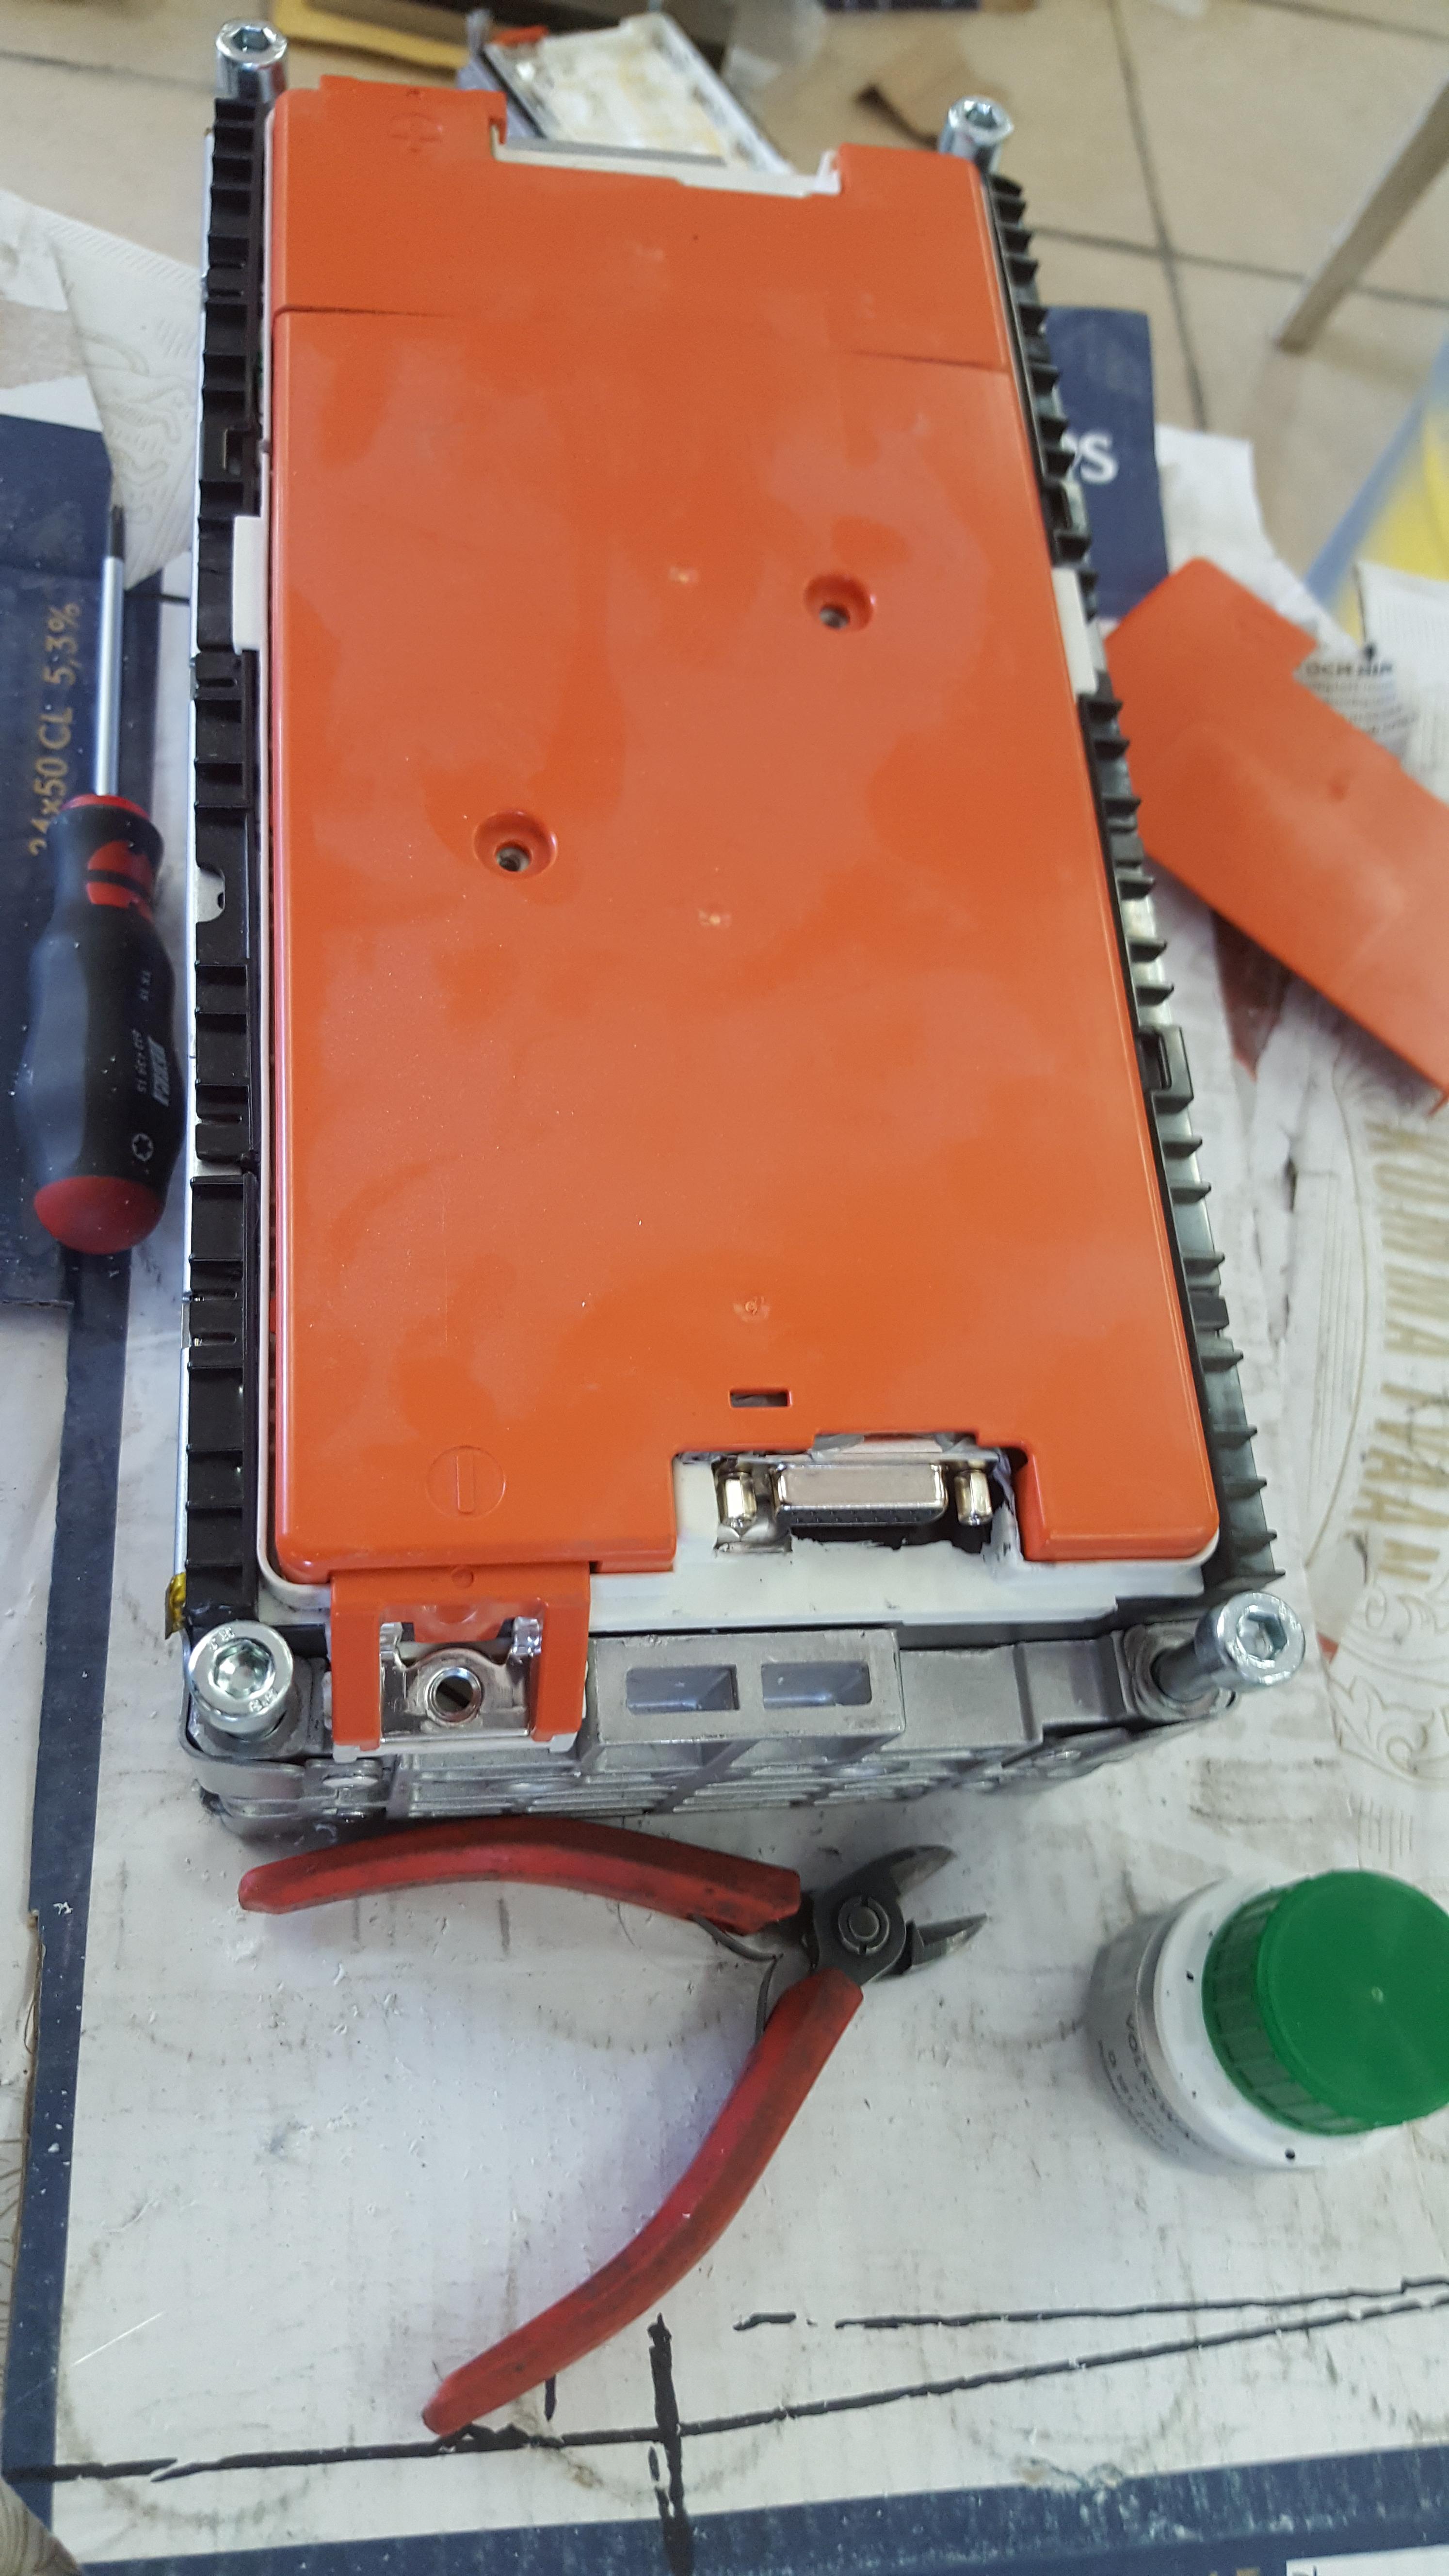
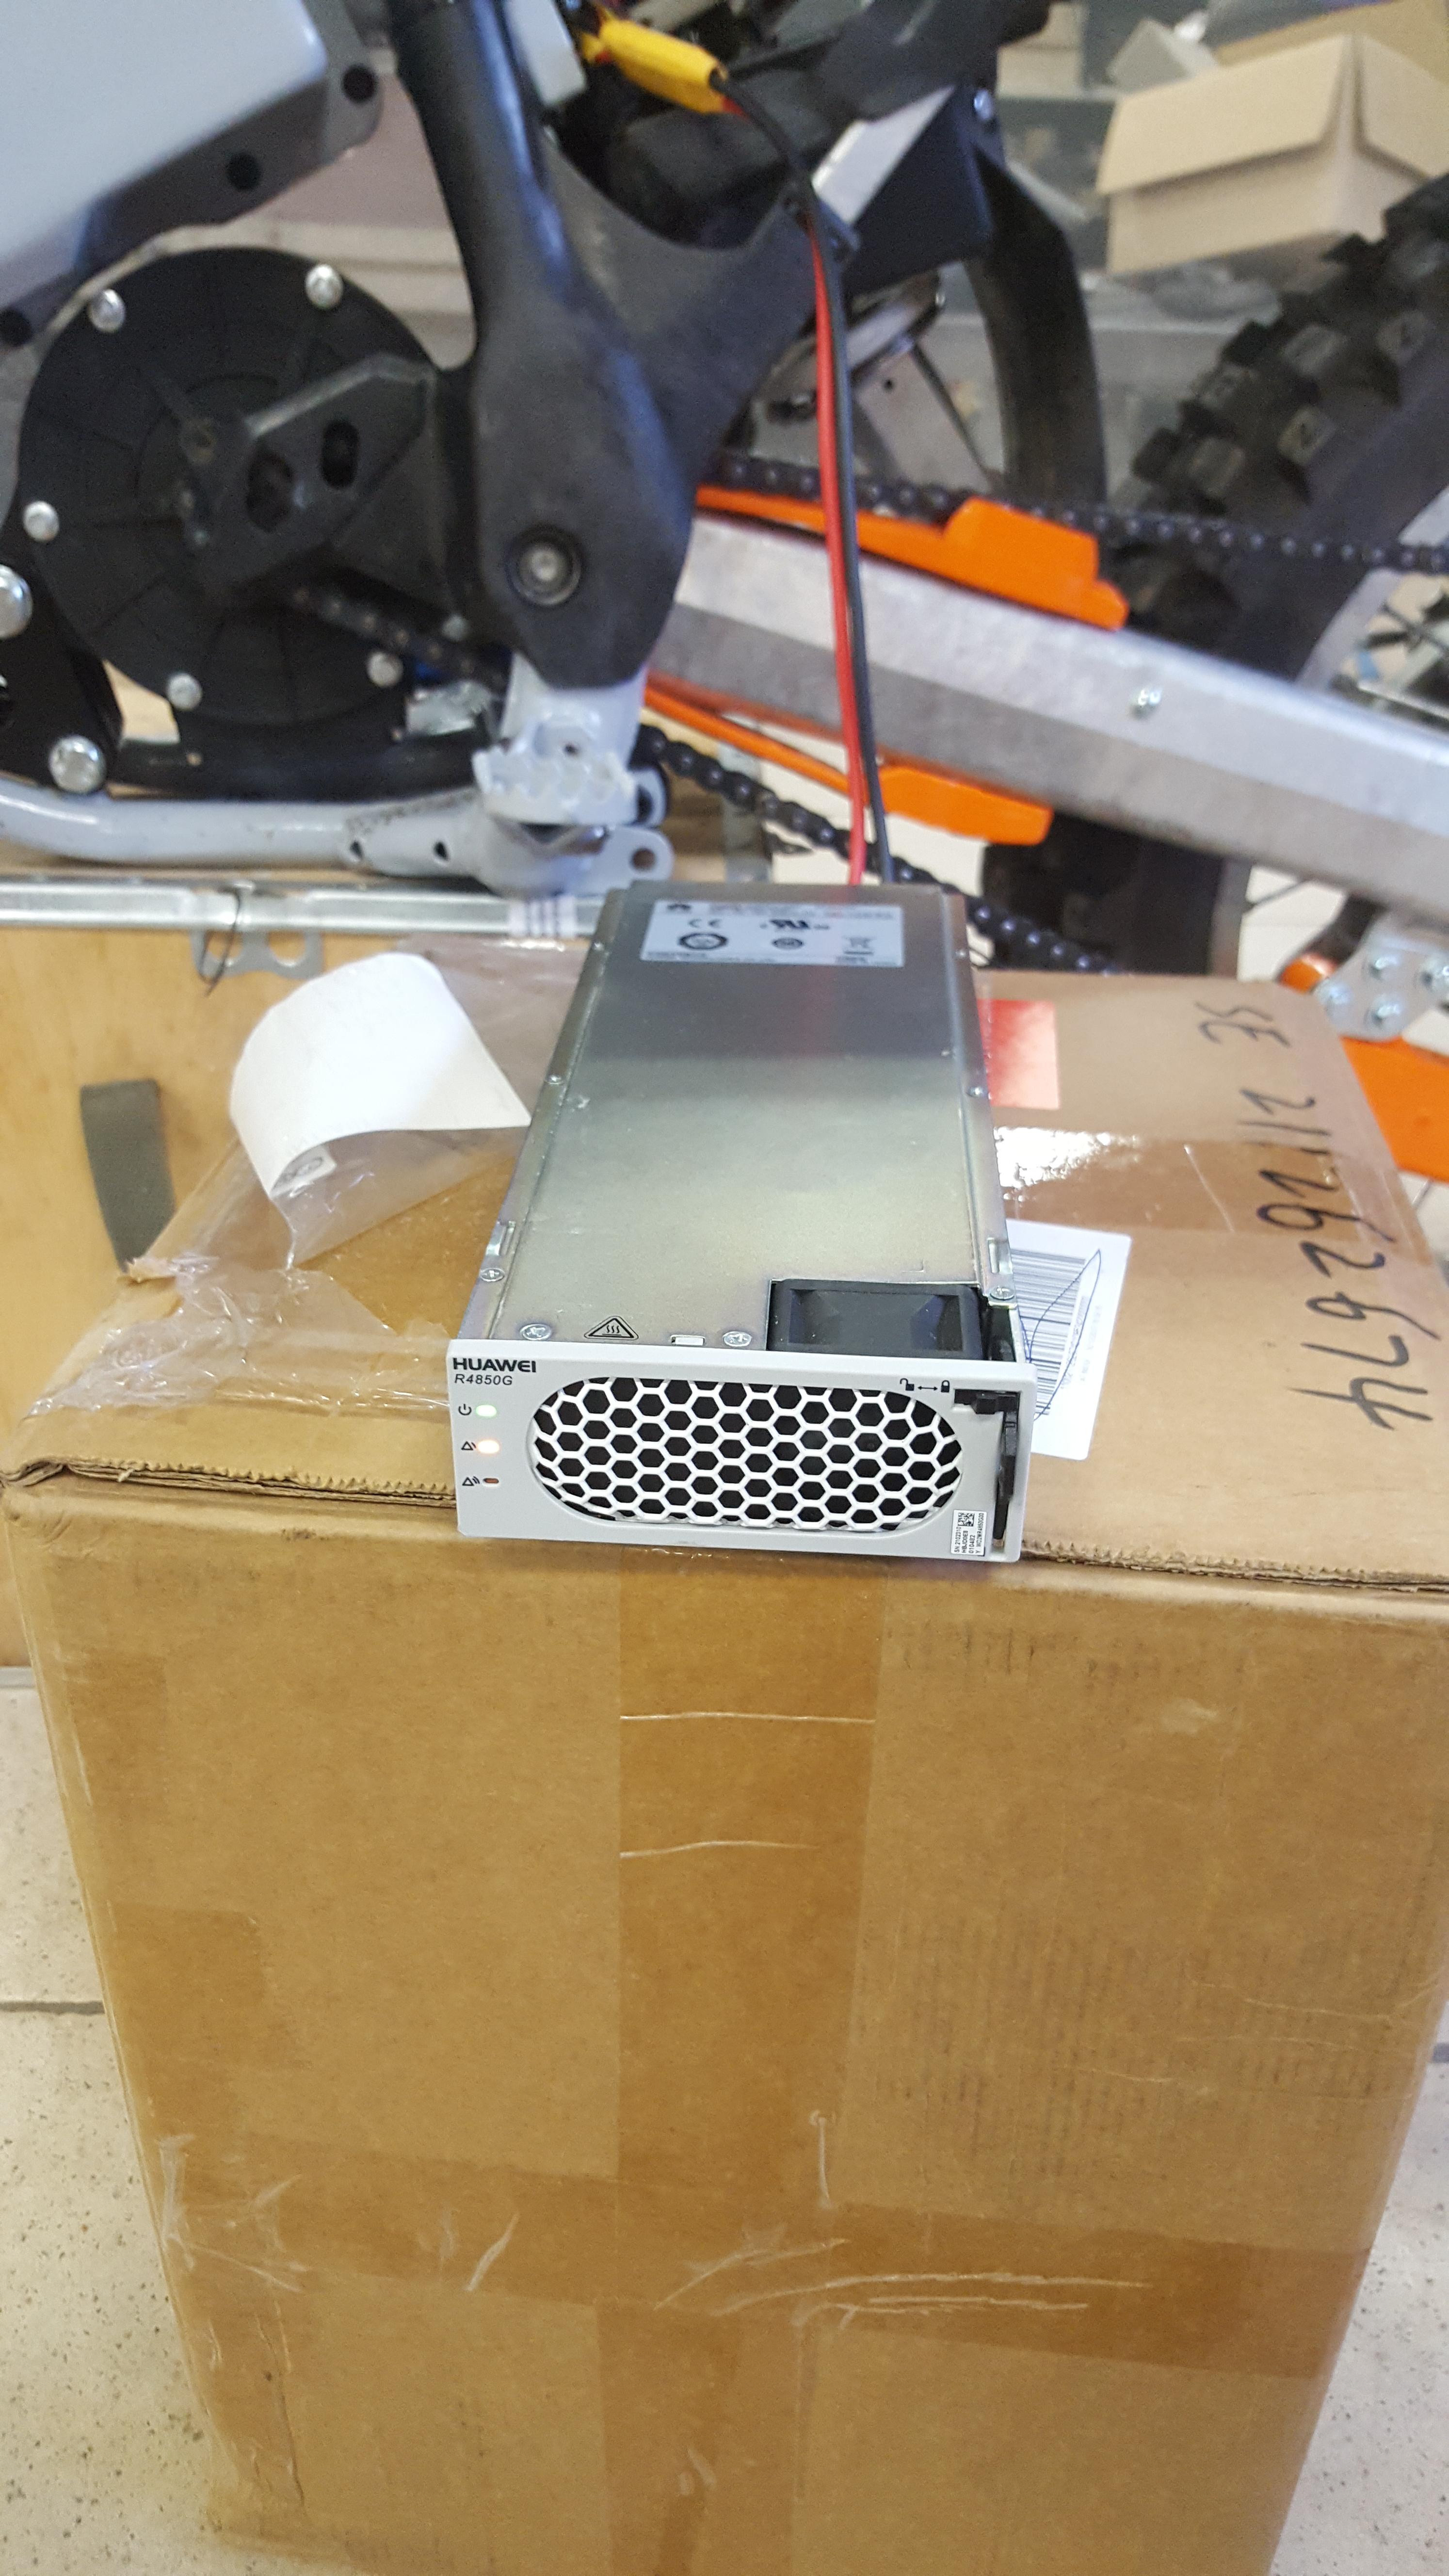
I have 2 of these huawei R4850G2 psu:s , that I planned to series connect and adjust to charge to 88-90v.
They are adjustable trough can bus, and I have ordered control boards with potentiometers to be able to set both voltage and amperage. But where they are seems unknown :?
I did get a picture of them anyway, I guess that is something.

144255z1.jpg

I have charged now, but only to 88v. I plan to use 90v later, but now I don't have a way to check cell voltages. So I want to be careful.
 
I was out calibrating the speedo, but ended up in the woods :lol:

It was really nice to ride, just point the wheel in a direction and hit the throttle. No path needed.
The power was not bad, but I wouldn't mind a little more..

However, there sure was a problem with cutouts. This time when I checked something showed on the status flags:

hoV8lse.jpg


I thought that meant battery current, and lowered from 400 to 350 and 300. It didn't seem to make much difference, so I lowered phase A from 500 to 450. That seemed to help, I only got a few cutouts after that. But I also lost power in low to mid range.

There are another setting that I have changed too, that I need to check.
It is "boost current" under motor settings. I think it was 25A to begin with. I changed to 100A (max). When there was a problem with cutouts I changed to 0A.
I first thought it would boost battery amps, but it doesn't make sense to have that in the motor setup.
I have set it back to 25A now, so I can see if it makes a difference on the a little sluggish response in the low to mid range.

0fskfTh.jpg


I think it is a bit strange that on the EEB I have slightly more phase amps and more power on lower voltage. (Usually around 22kw on 82v, top in the stats almost 24kw)
I don't think it is the higher voltage that is the main problem either, on yesterdays test-ride I only had about 82v but got a cut out anyway.
It may be the weight, I can use high power longer.
 
With some help from Bartosh the cut out problem seems solved :)
At least with 500 phaseA and 300 batteryA, I haven't tried to go higher yet. (350bA, 400 for short burst should be possible)

I was getting worried that I had no control over the cell voltages, I planned to make the balance wiring when I got the bms. But it has not mowed in the tracking for over 2 weeks :(

I decided to make wiring with an extra split in the room in the old gas tank, that way I can also split the packs to make sure all cells are ok.

KsKTptS.jpg


The other wire is for the temp sensors.

wa8AEsC.jpg


I ordered connectors, but it seems like I ordered the wrong polarity. I didn't want to wait, so I used others that I already had an modified a little. Those were for soldering to pcb, not wires. The extra height proved to be a little problematic when mounting on the left pack "1"

Lrqg8Ya.jpg


Here it is ok.

omVZzFz.jpg


Here it was harder to make it fit under the cover. I should have made a little more room in that area..

goc3tLQ.jpg


And this is were they goes. I also made a little adapter wiring, so I can easily measure cell voltages when charging or under rest.
It is pretty easy to take of the seat and the small cover to get to them.

rgoeMVH.jpg


And this weekend it was hard tested on a very sandy endurance track with big climbs and everything.
I thought it would overheat, or not have enough power or something.
But no, it just performed :D

I forgot to get pictures of the track though, but it was difficult to take the phone with me.
 
Bjork that looks brilliant! So do you know what power you are putting into your motor and controller?

Cheers
Tyler

 
Back
Top