Not exactly the first time.Jaybee258 said:...... I like the heat sinks that you made. That's the first time I've seen that done. ....
I think andrea_104kg was the first experimenting with a sort of heatsinks.
QuirkyOrk and Owskov also placed heatsinks on the housing.
That should be working too. Heat resistant glue could also be an optionSwannking said:.... I would like to add the heat sink also. Looks like u screwed then onto the housing. I think using JB weld should work also and more simple.
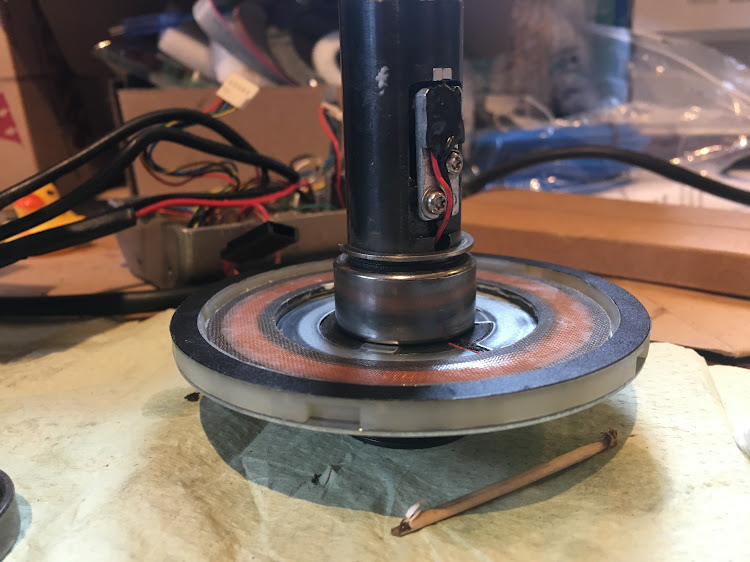
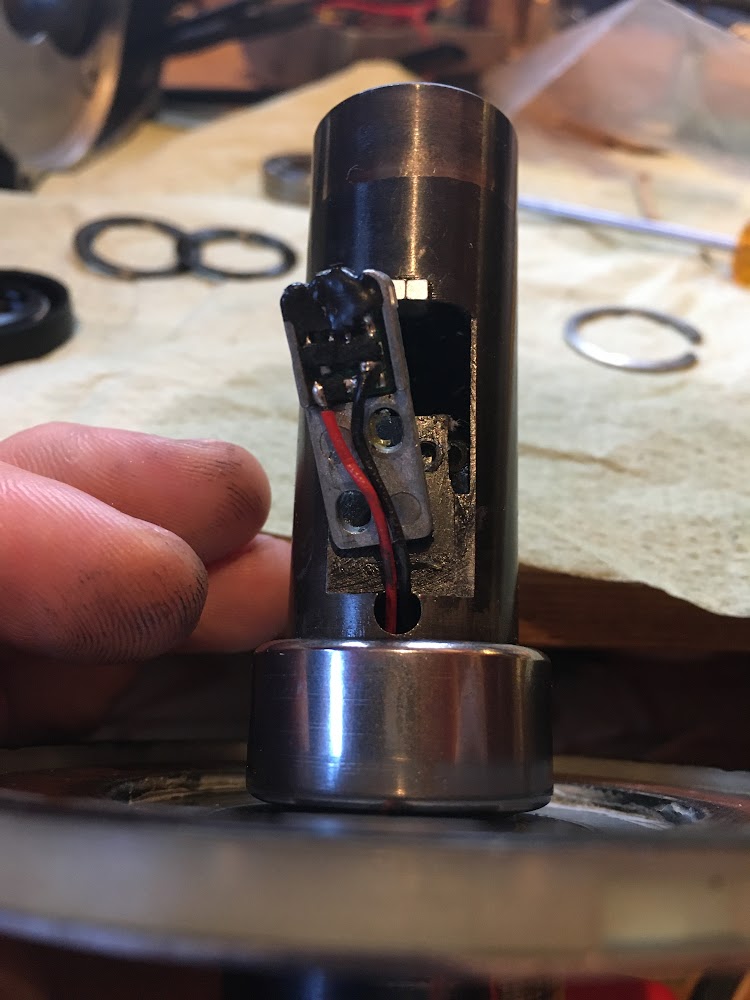
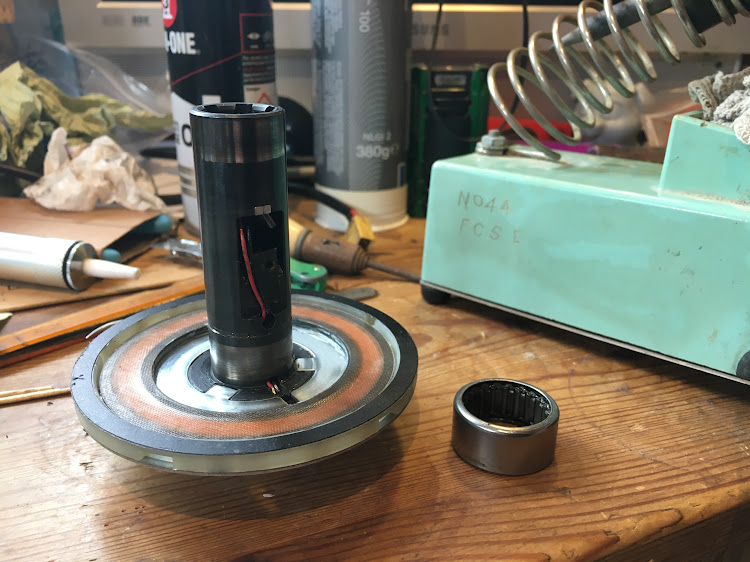
Besides heatsinks there are more options to control the temperature of the Tsdz2.
Most of them are mentioned in this topic.