Surly Instigator: Steel frame HT + Bafang BBS02 Mid-drive

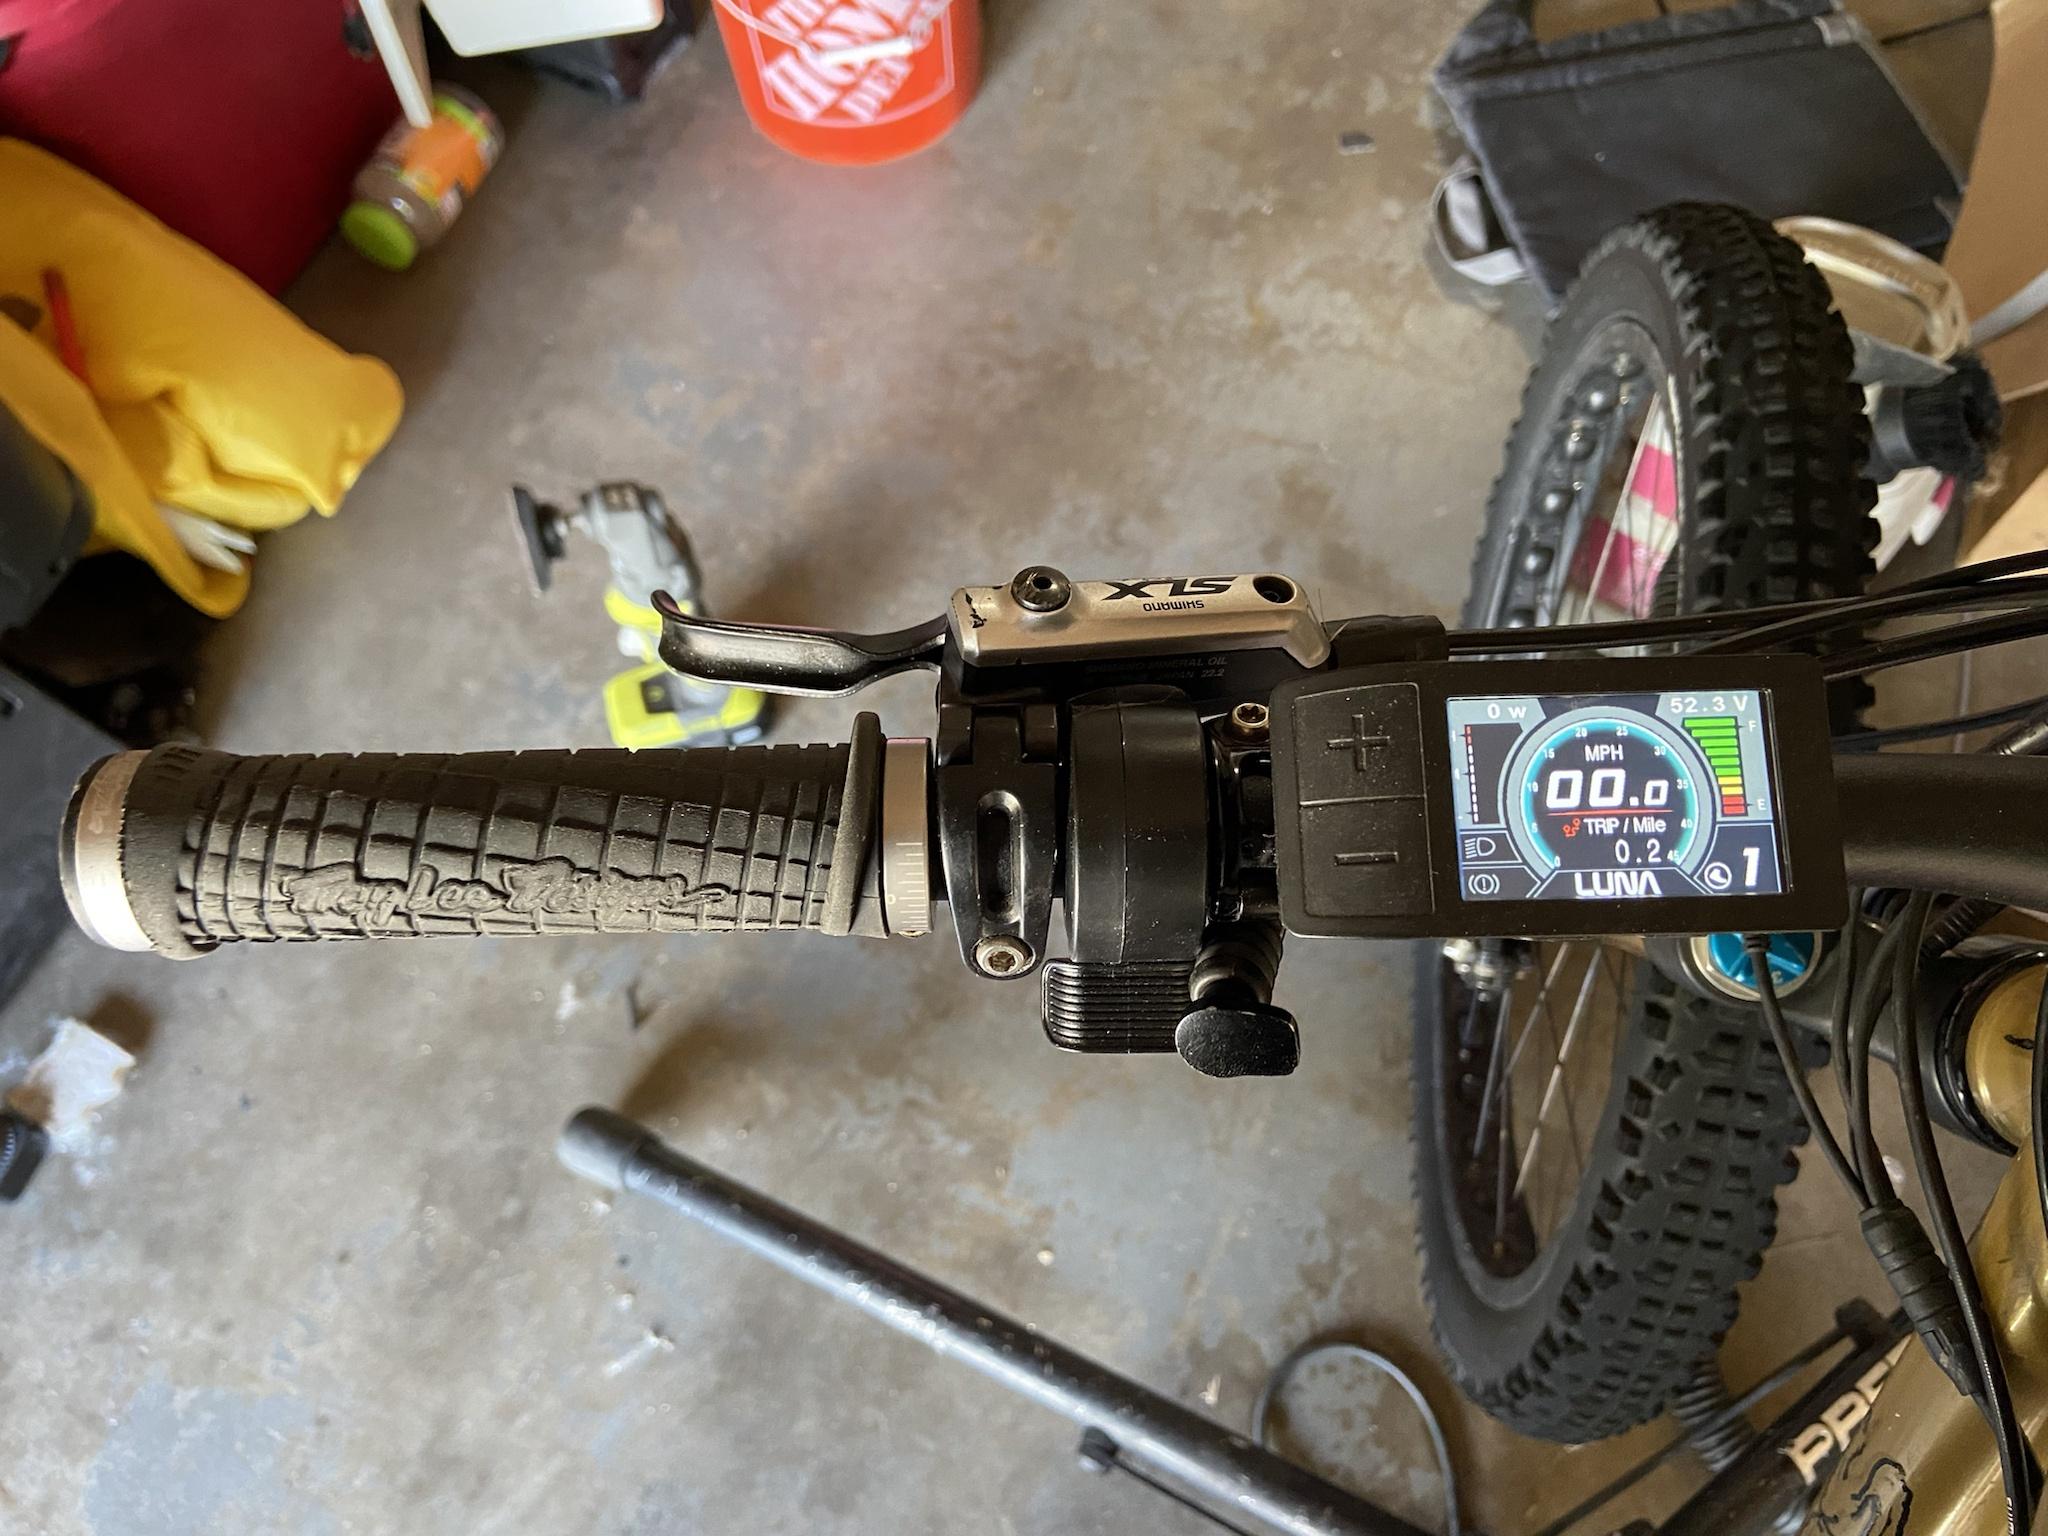
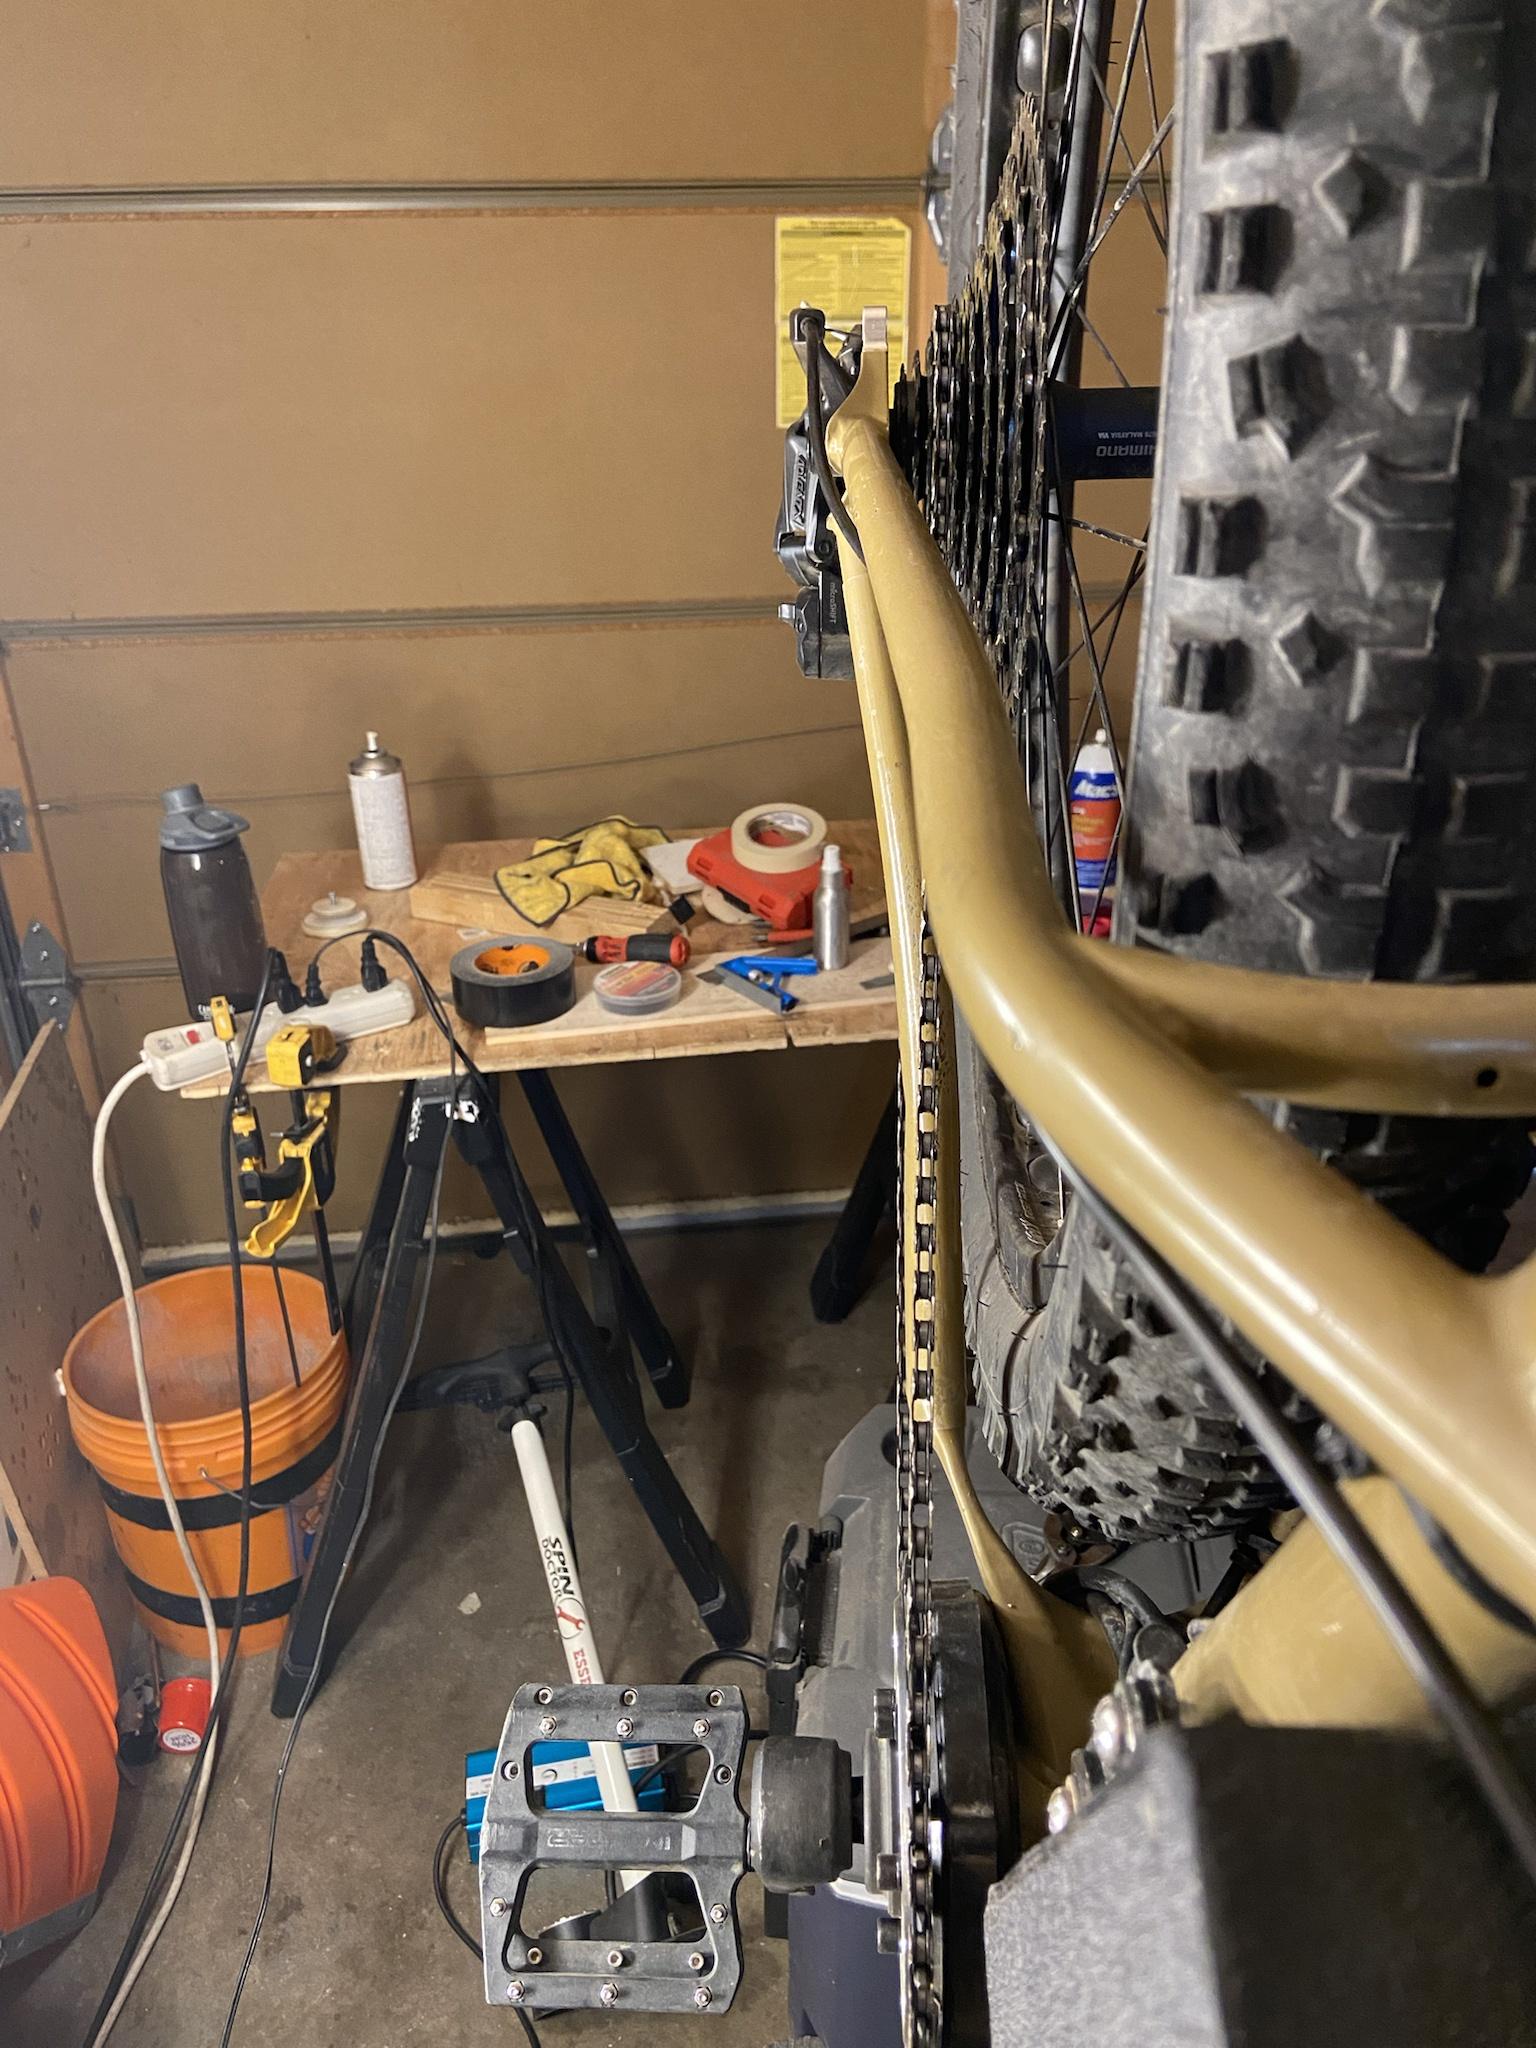
I bled both brakes and added new pads to the rear. Made a huge difference in brake performance and I should not have neglected this as long as I did.

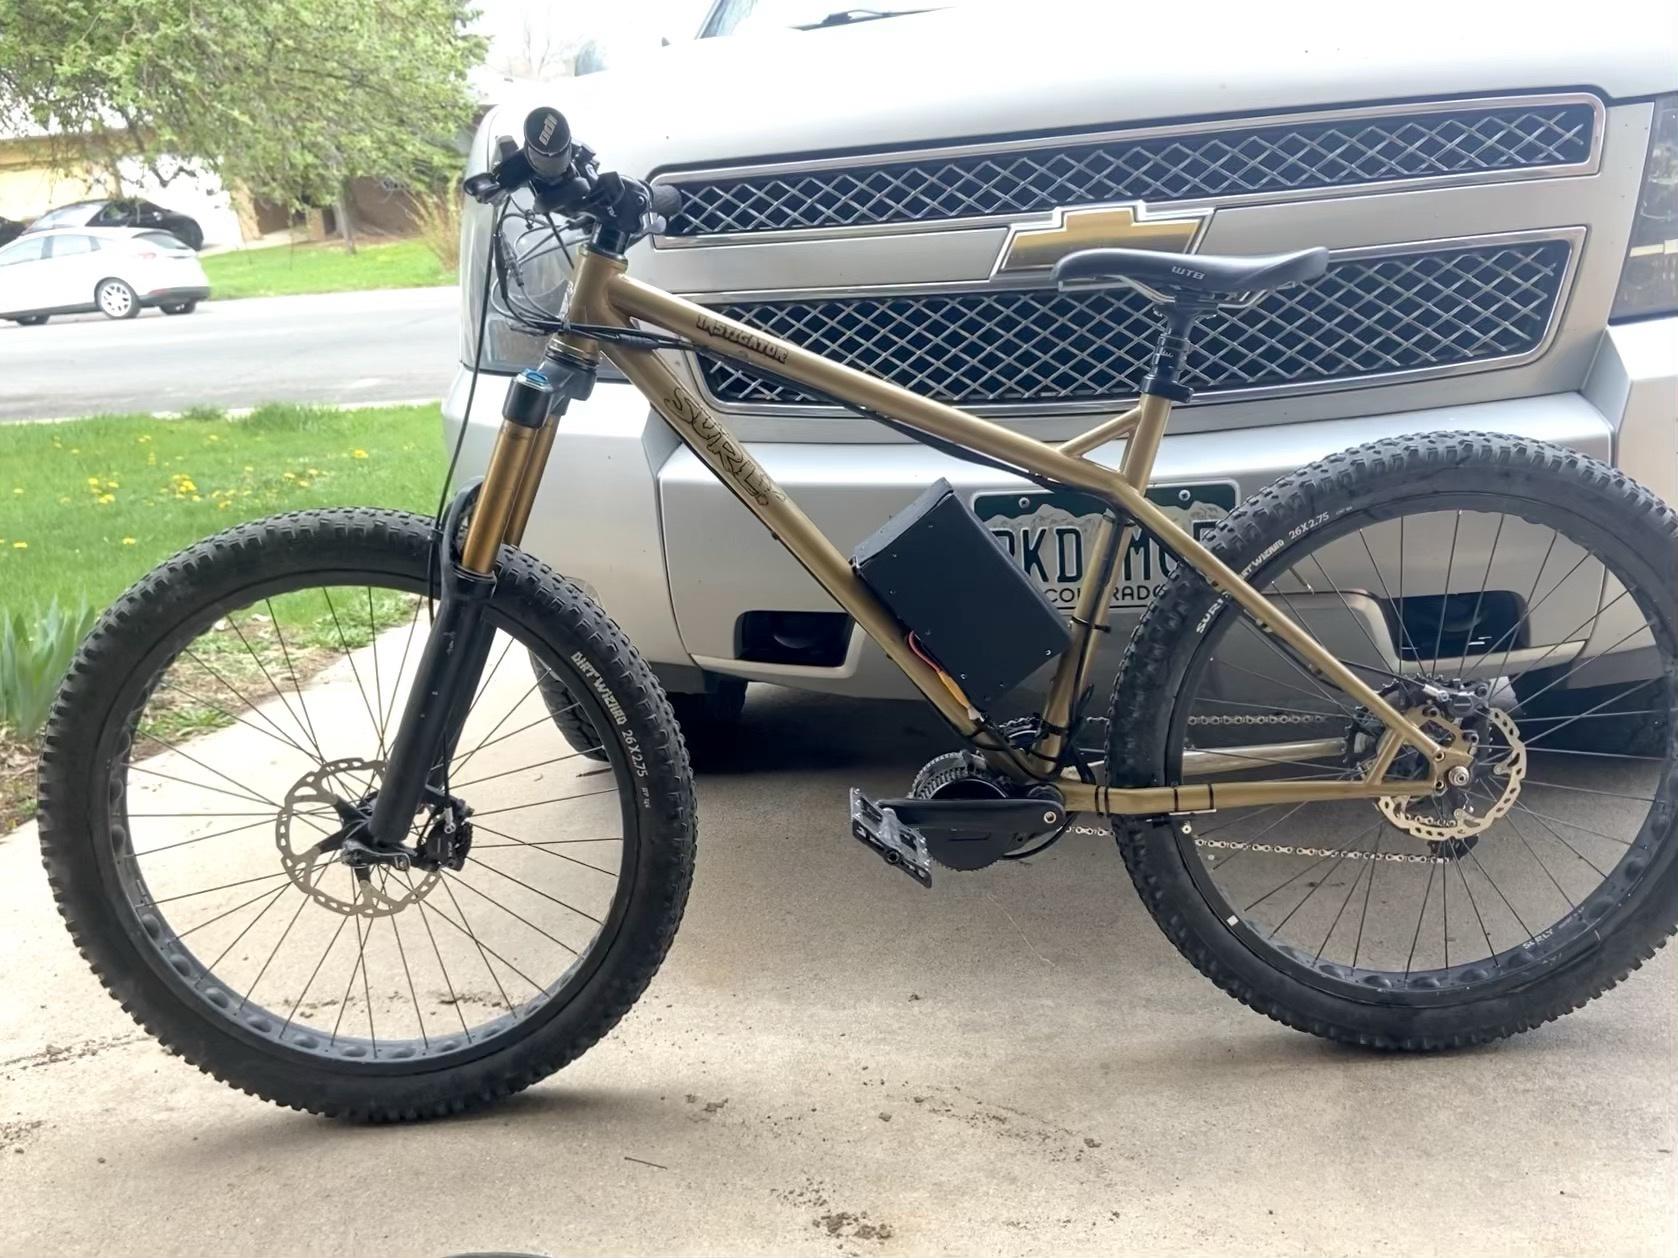
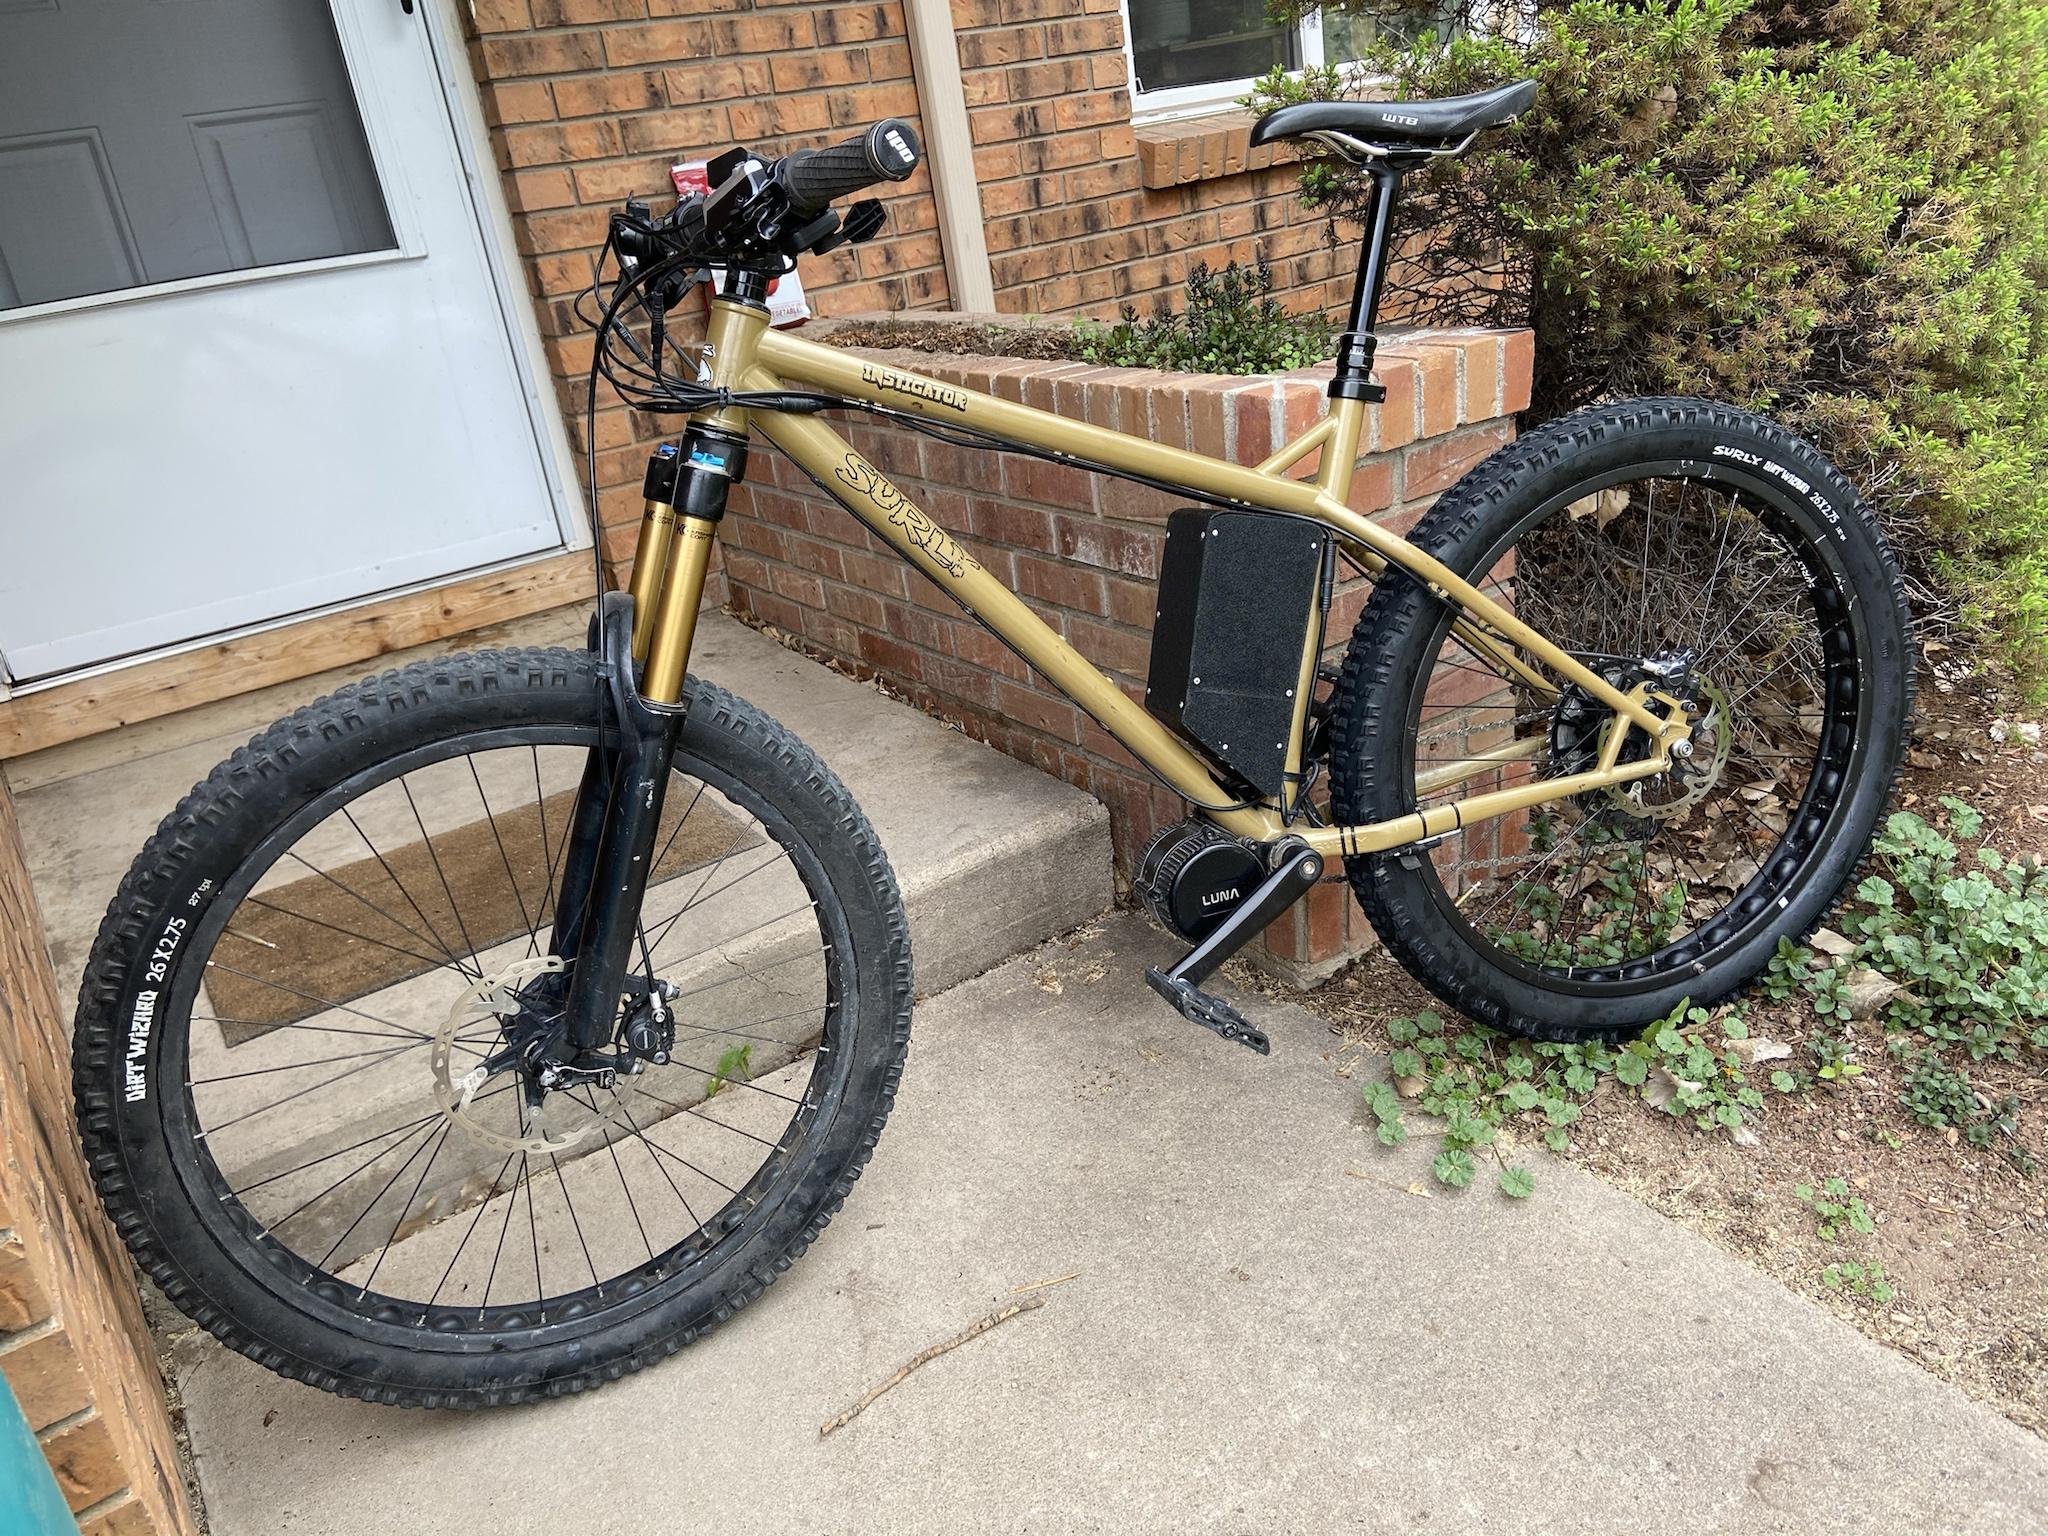
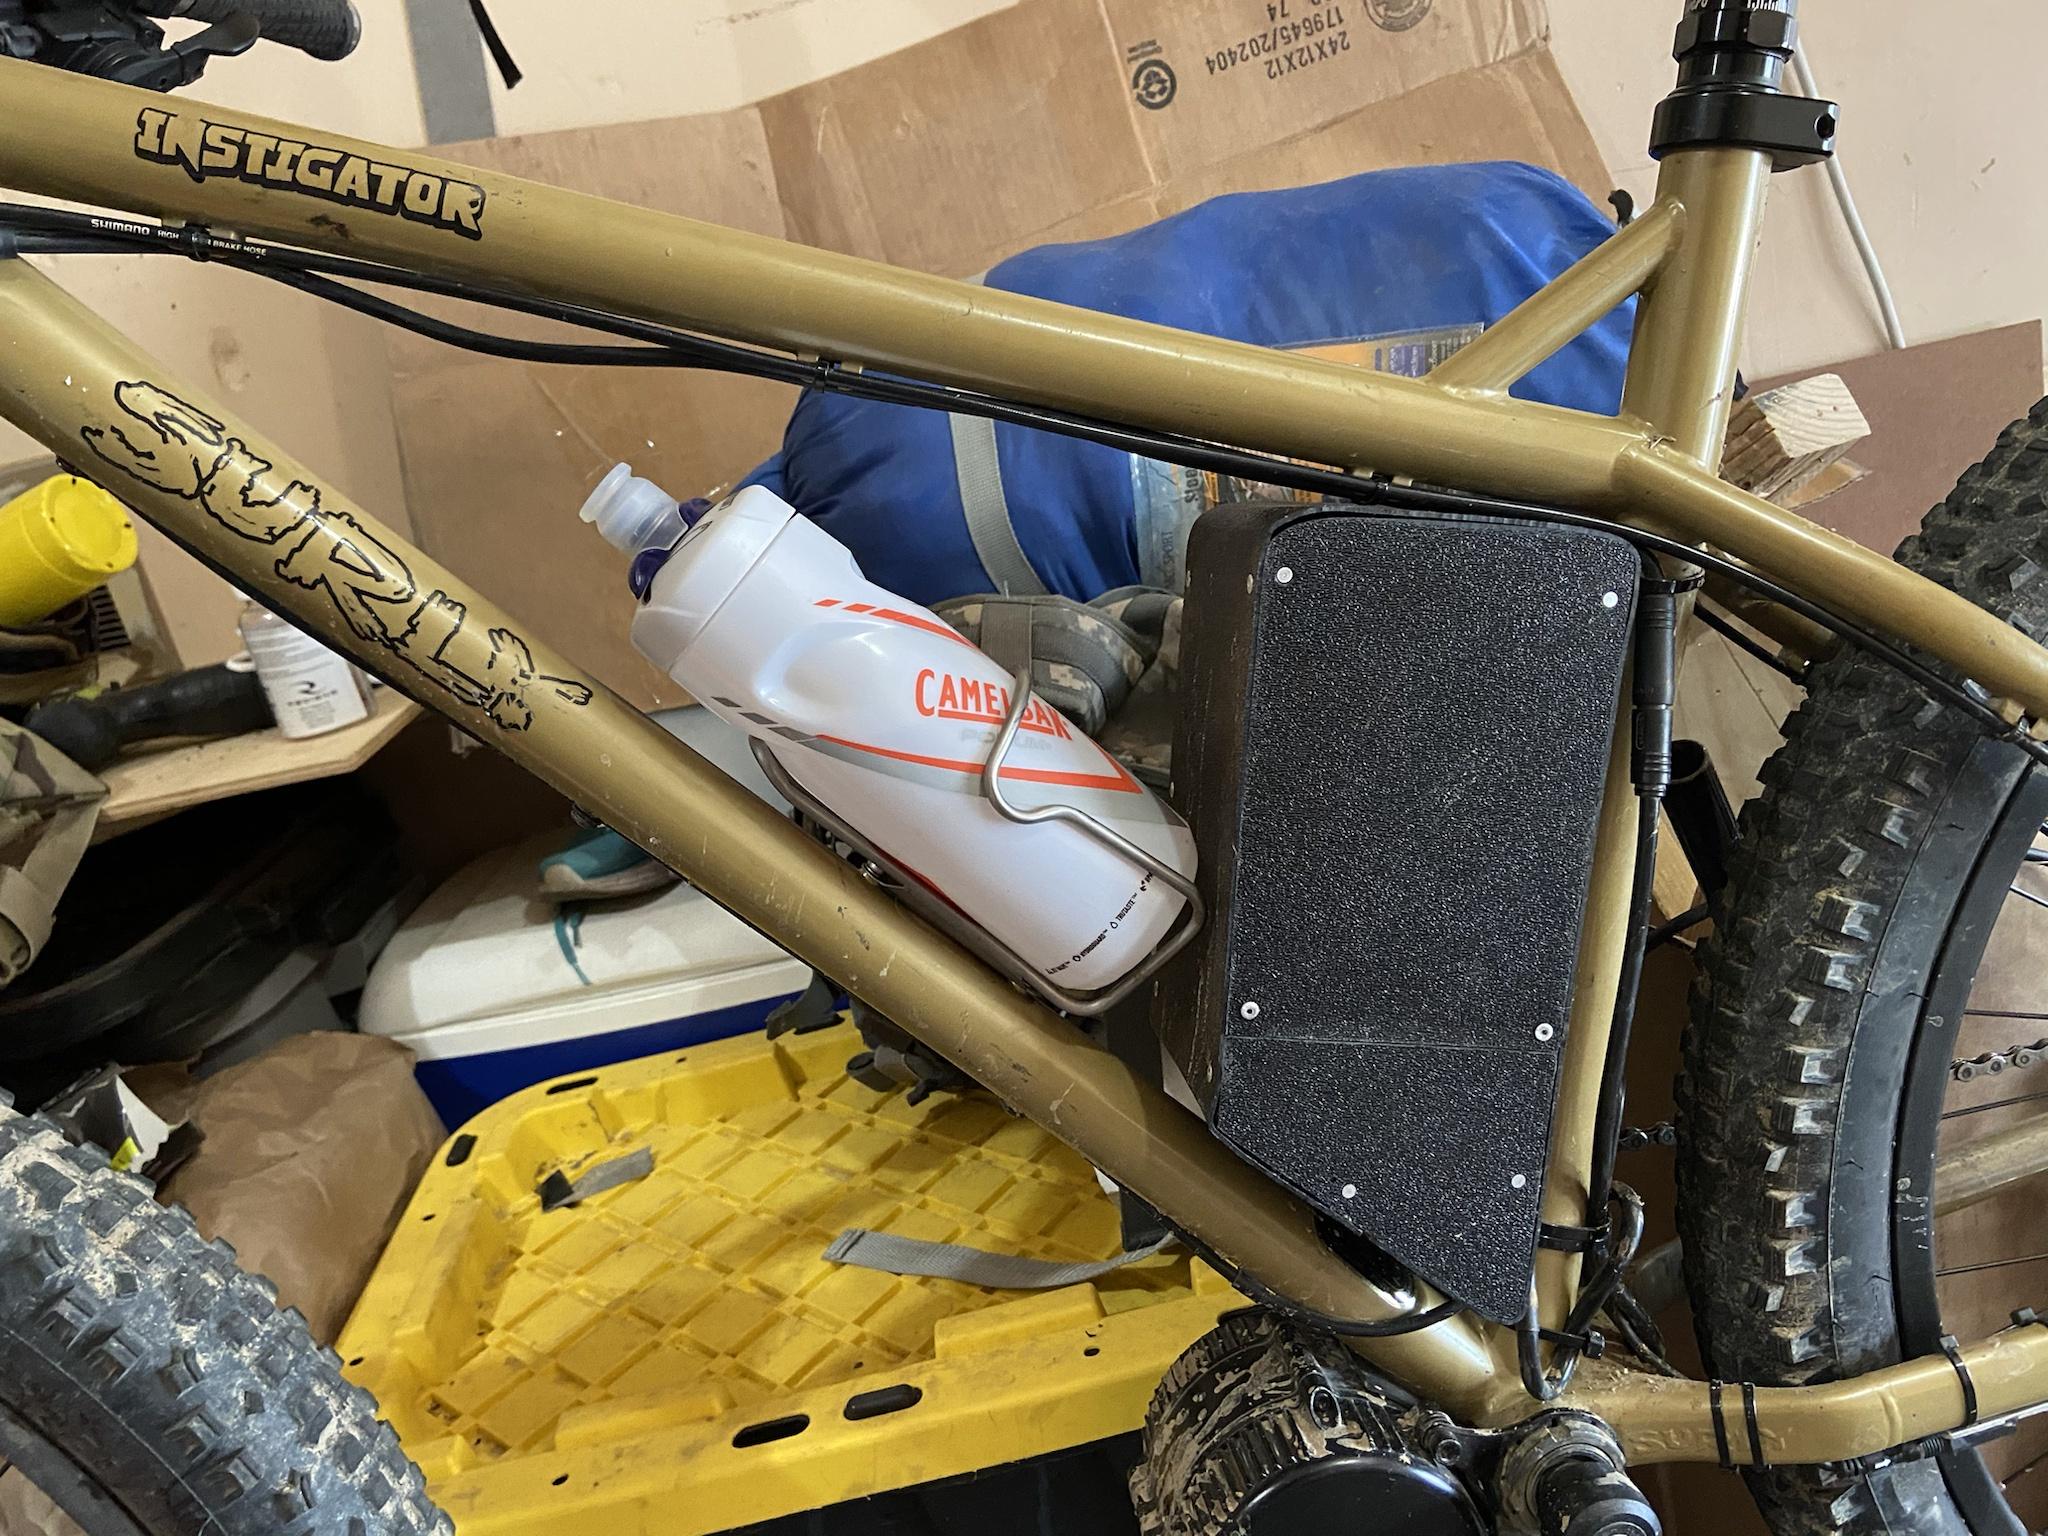
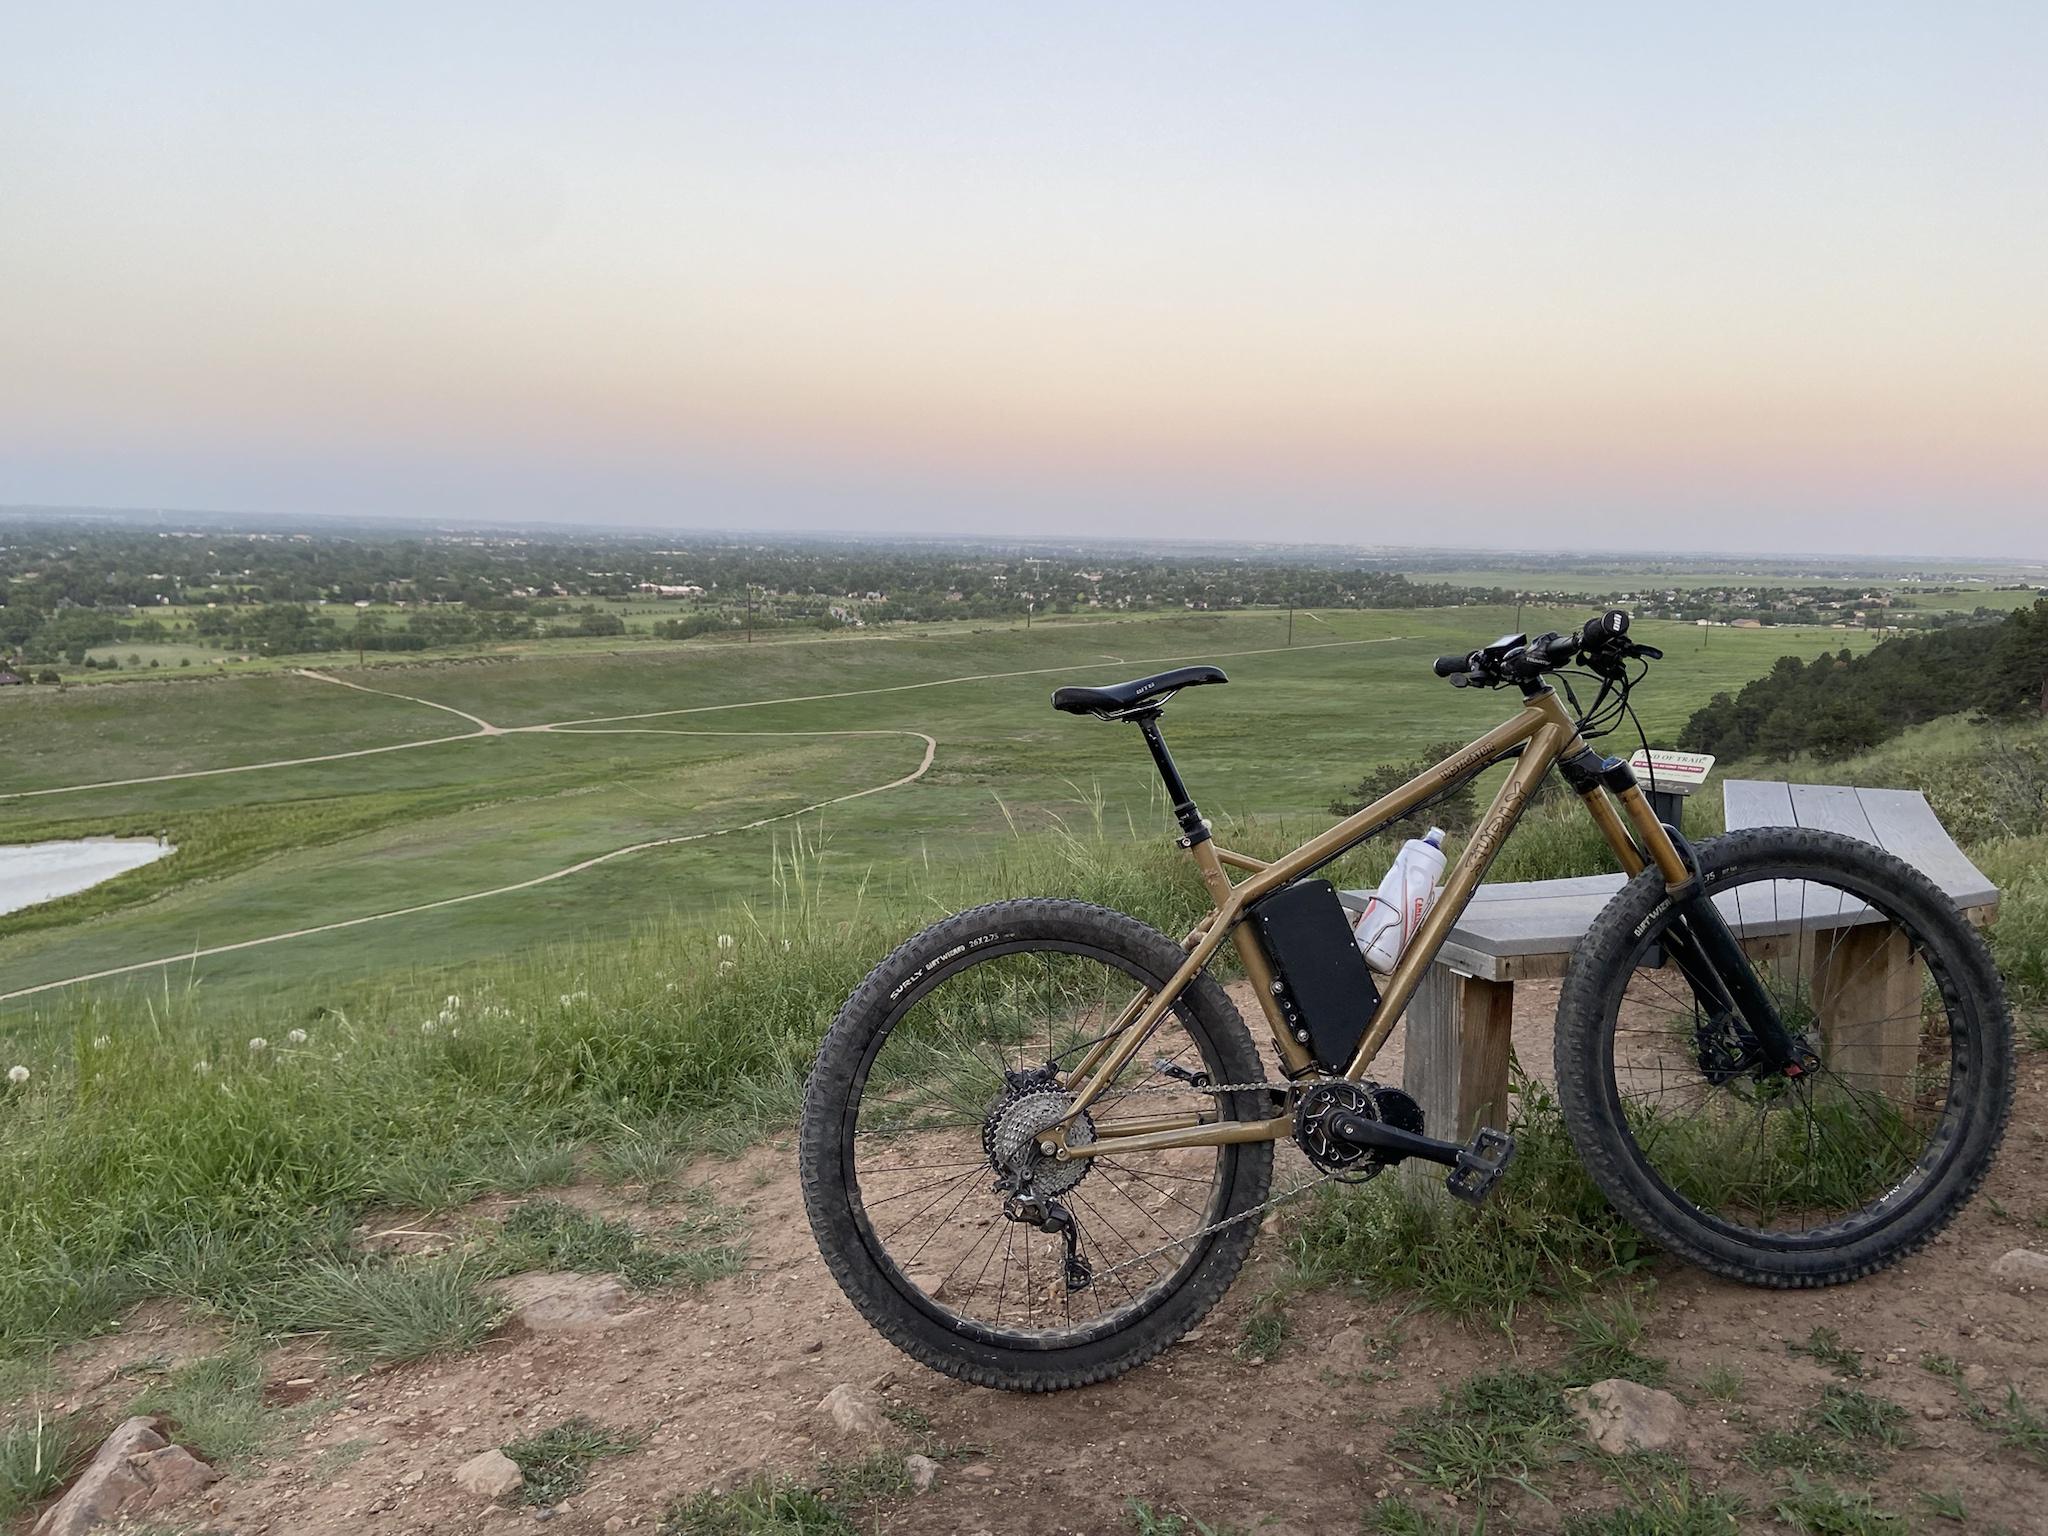
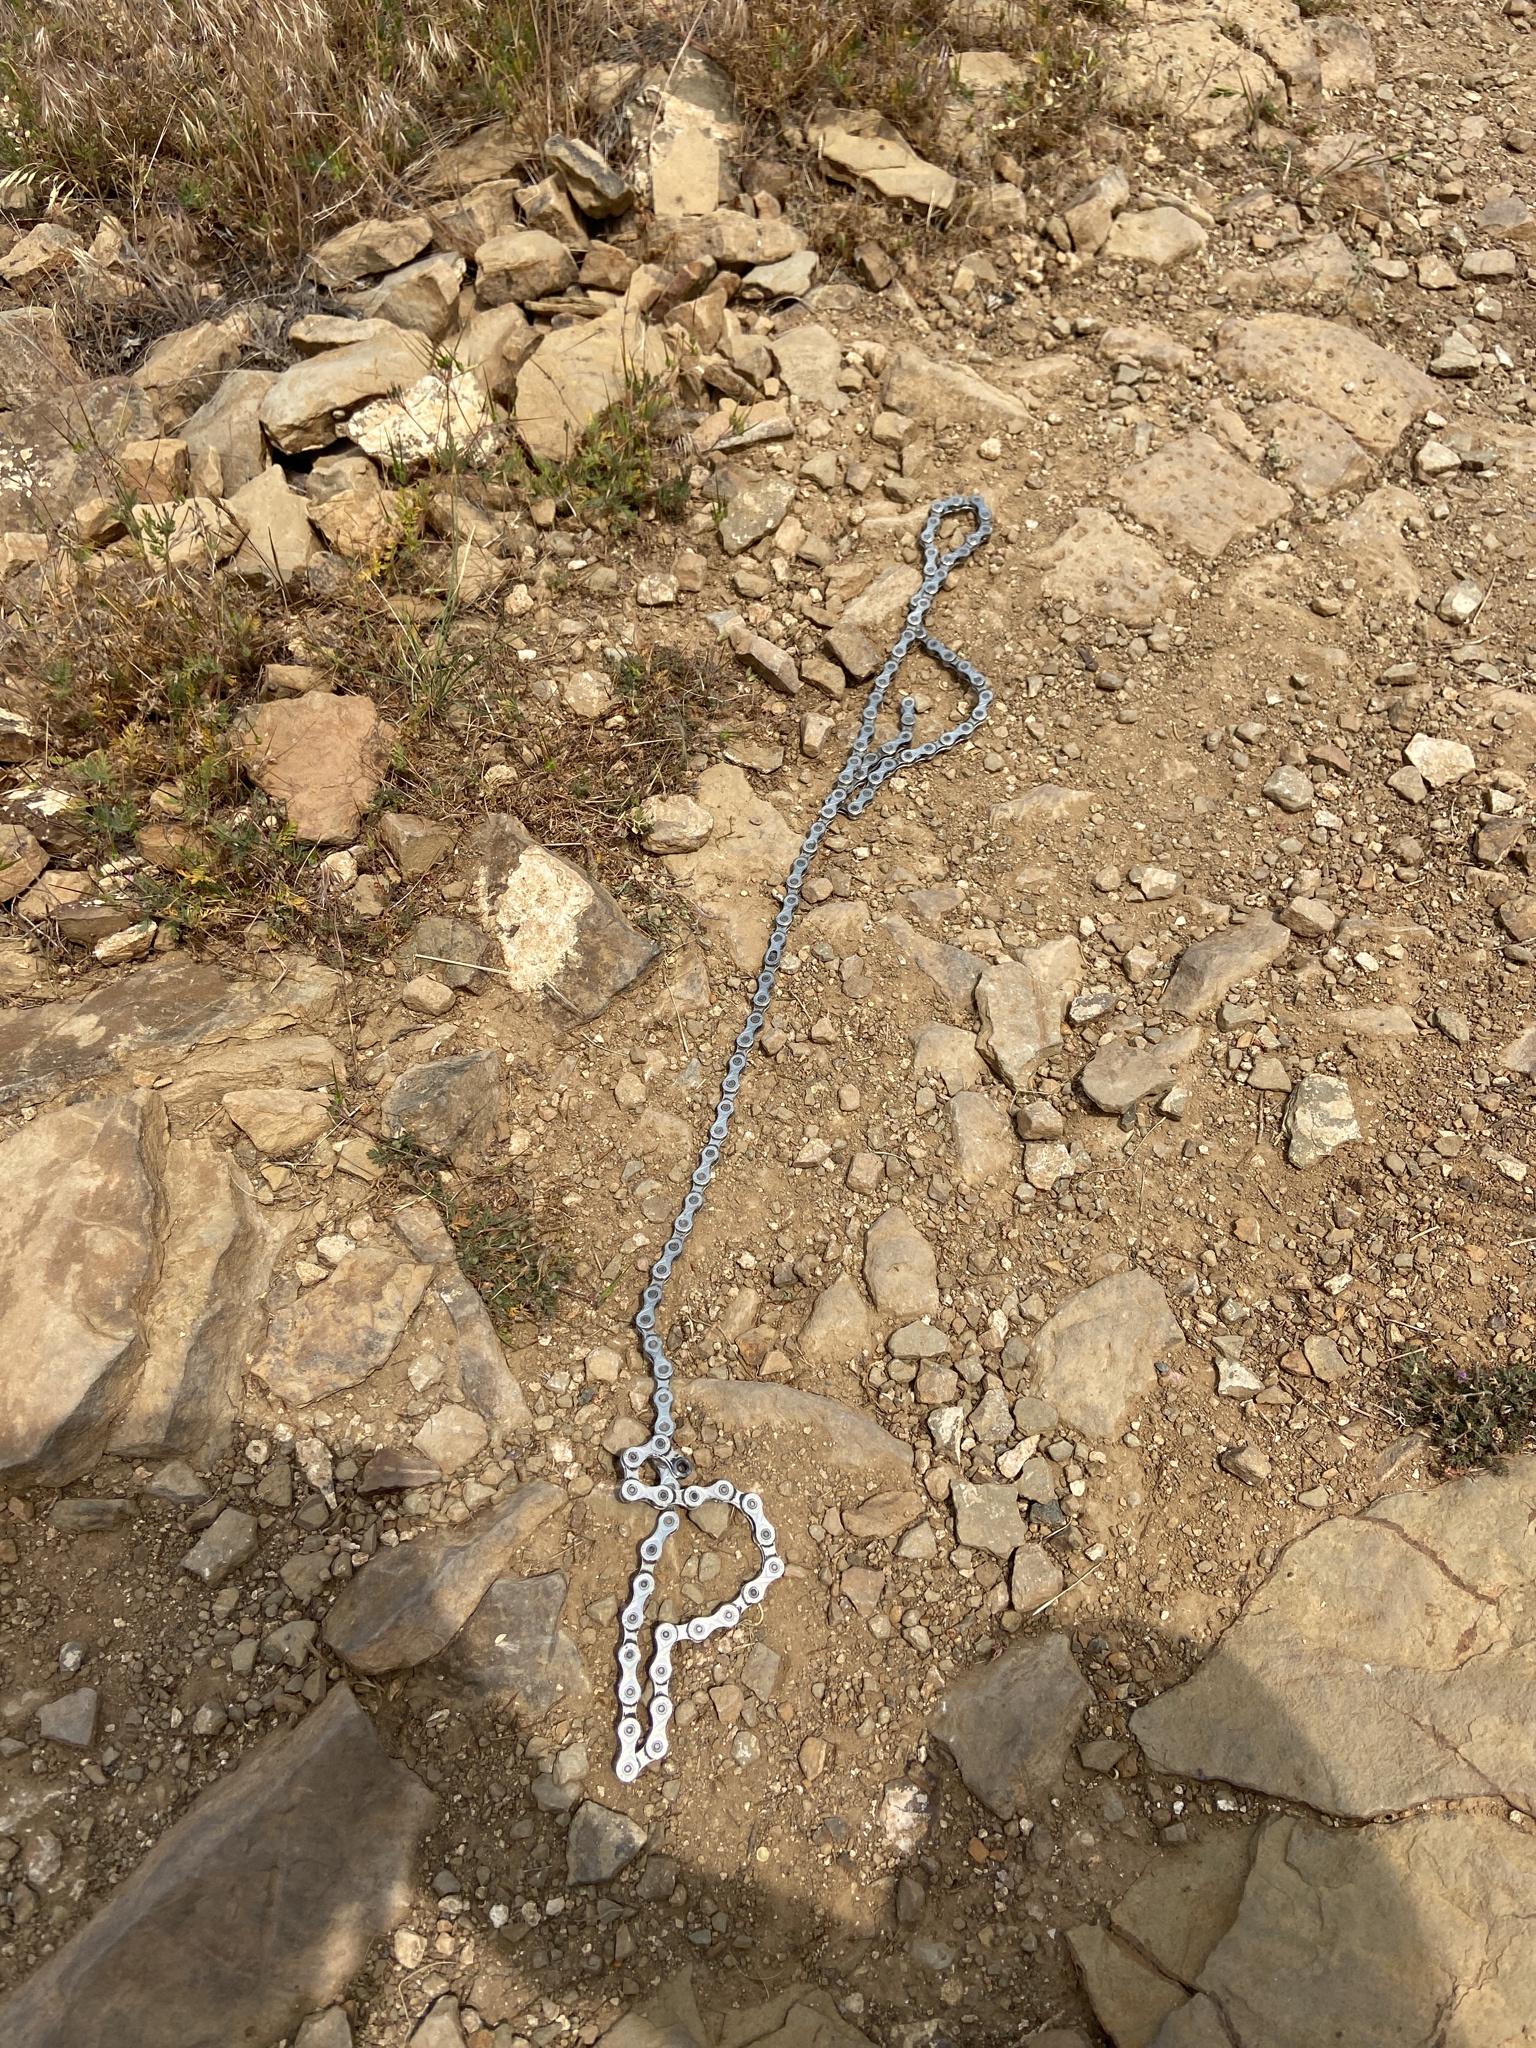
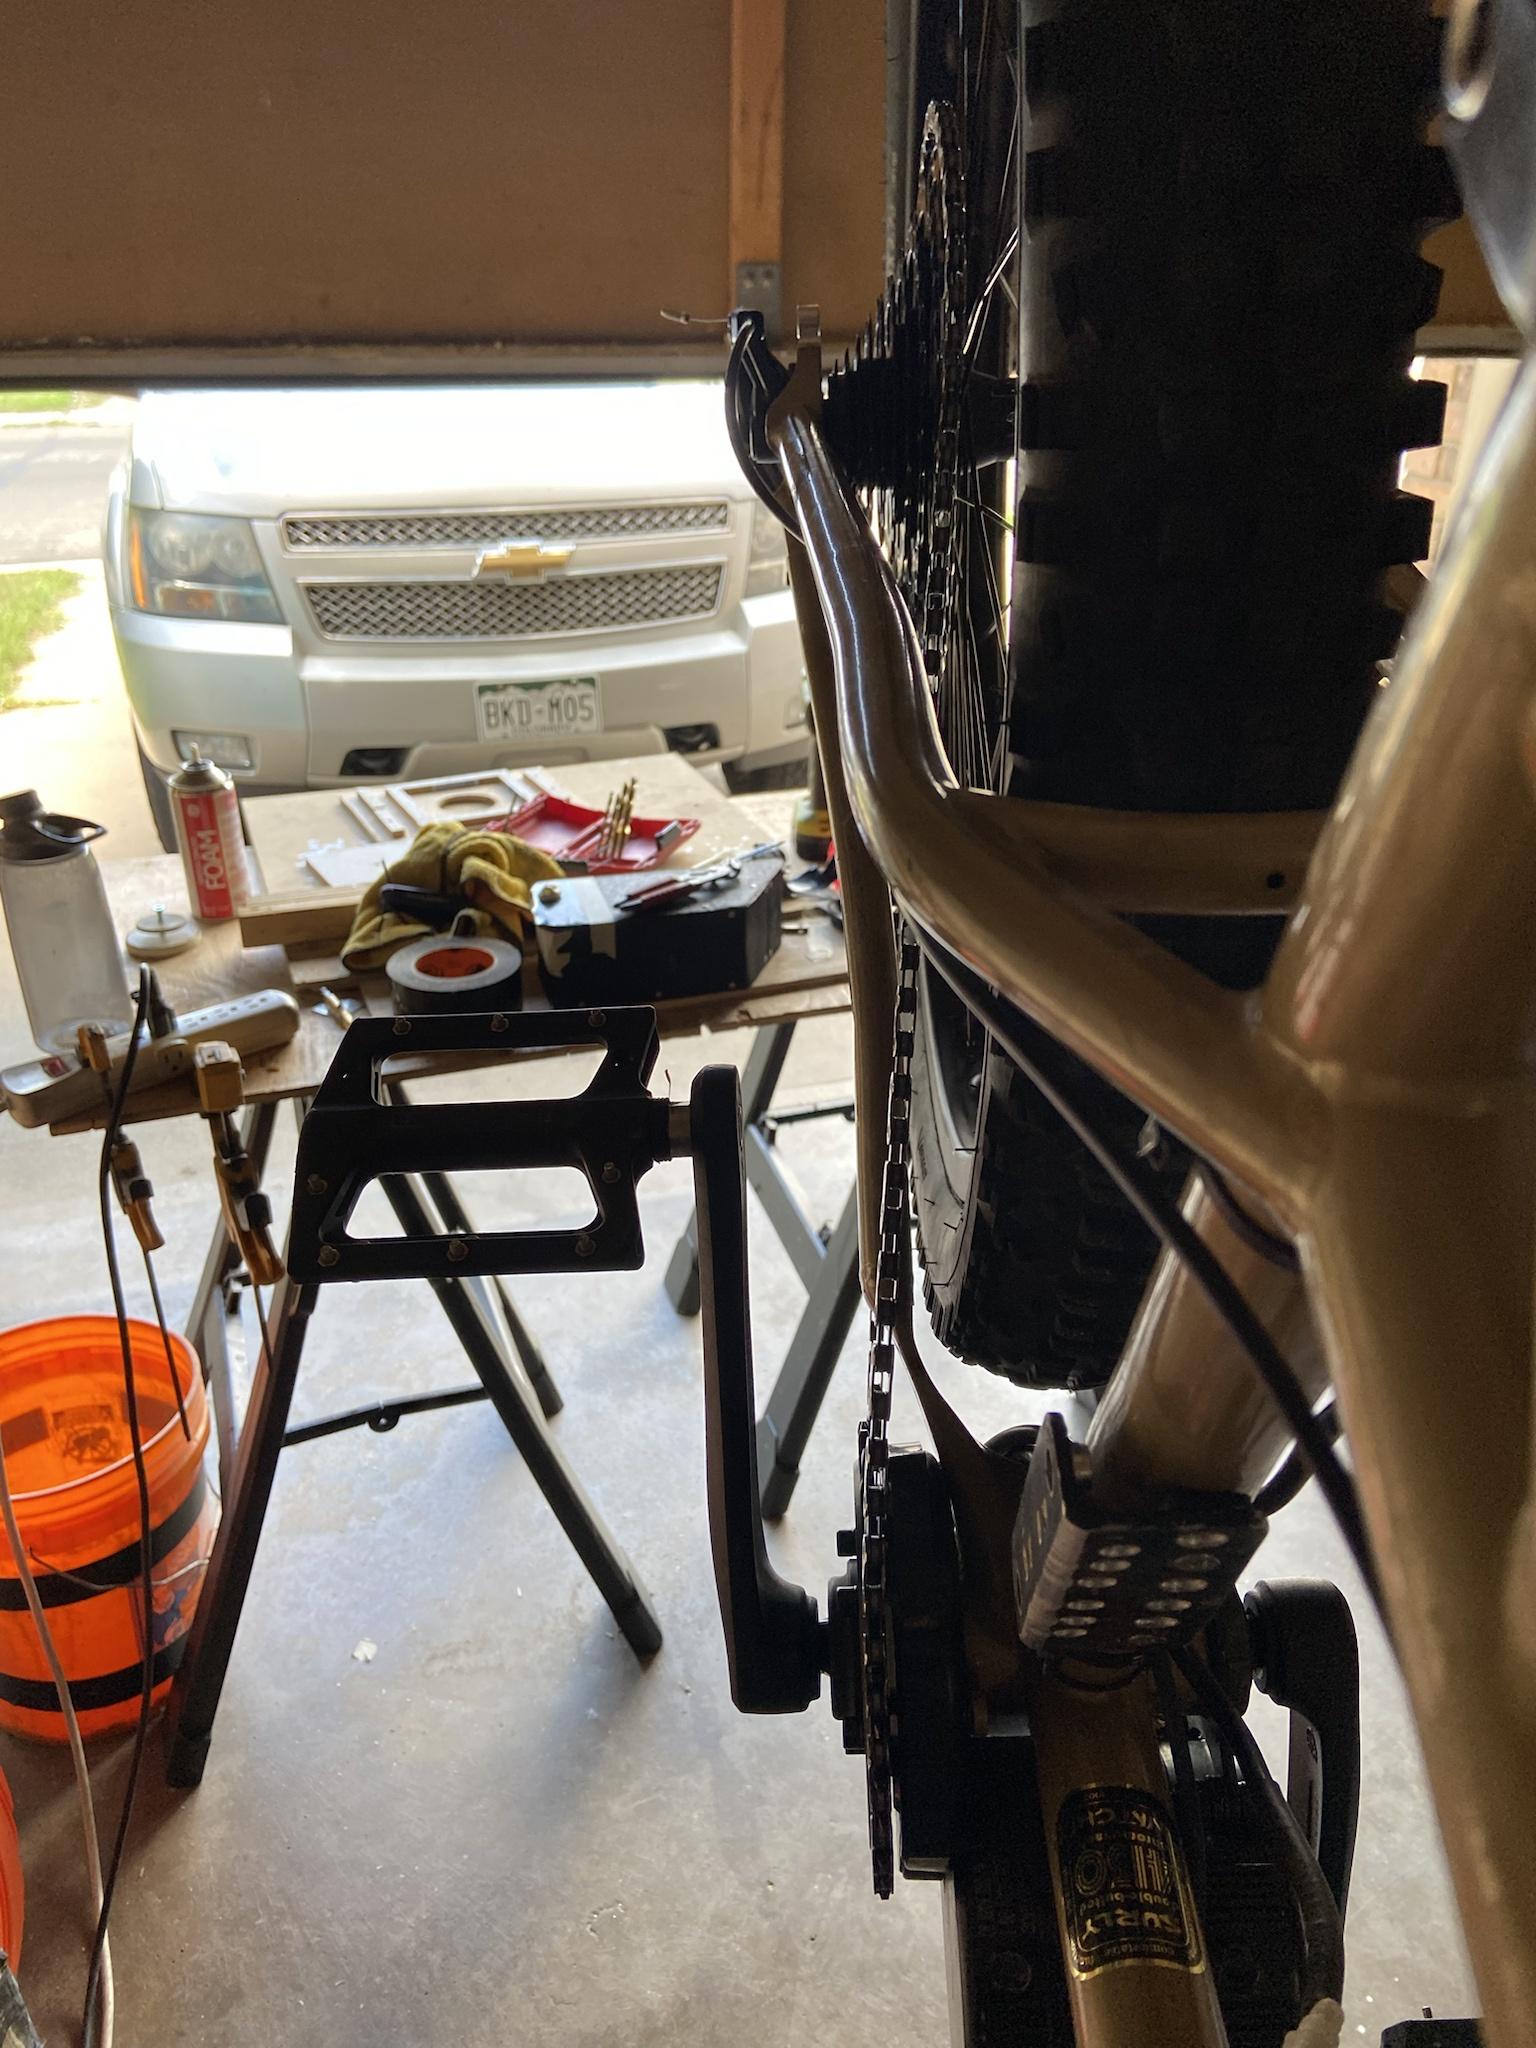
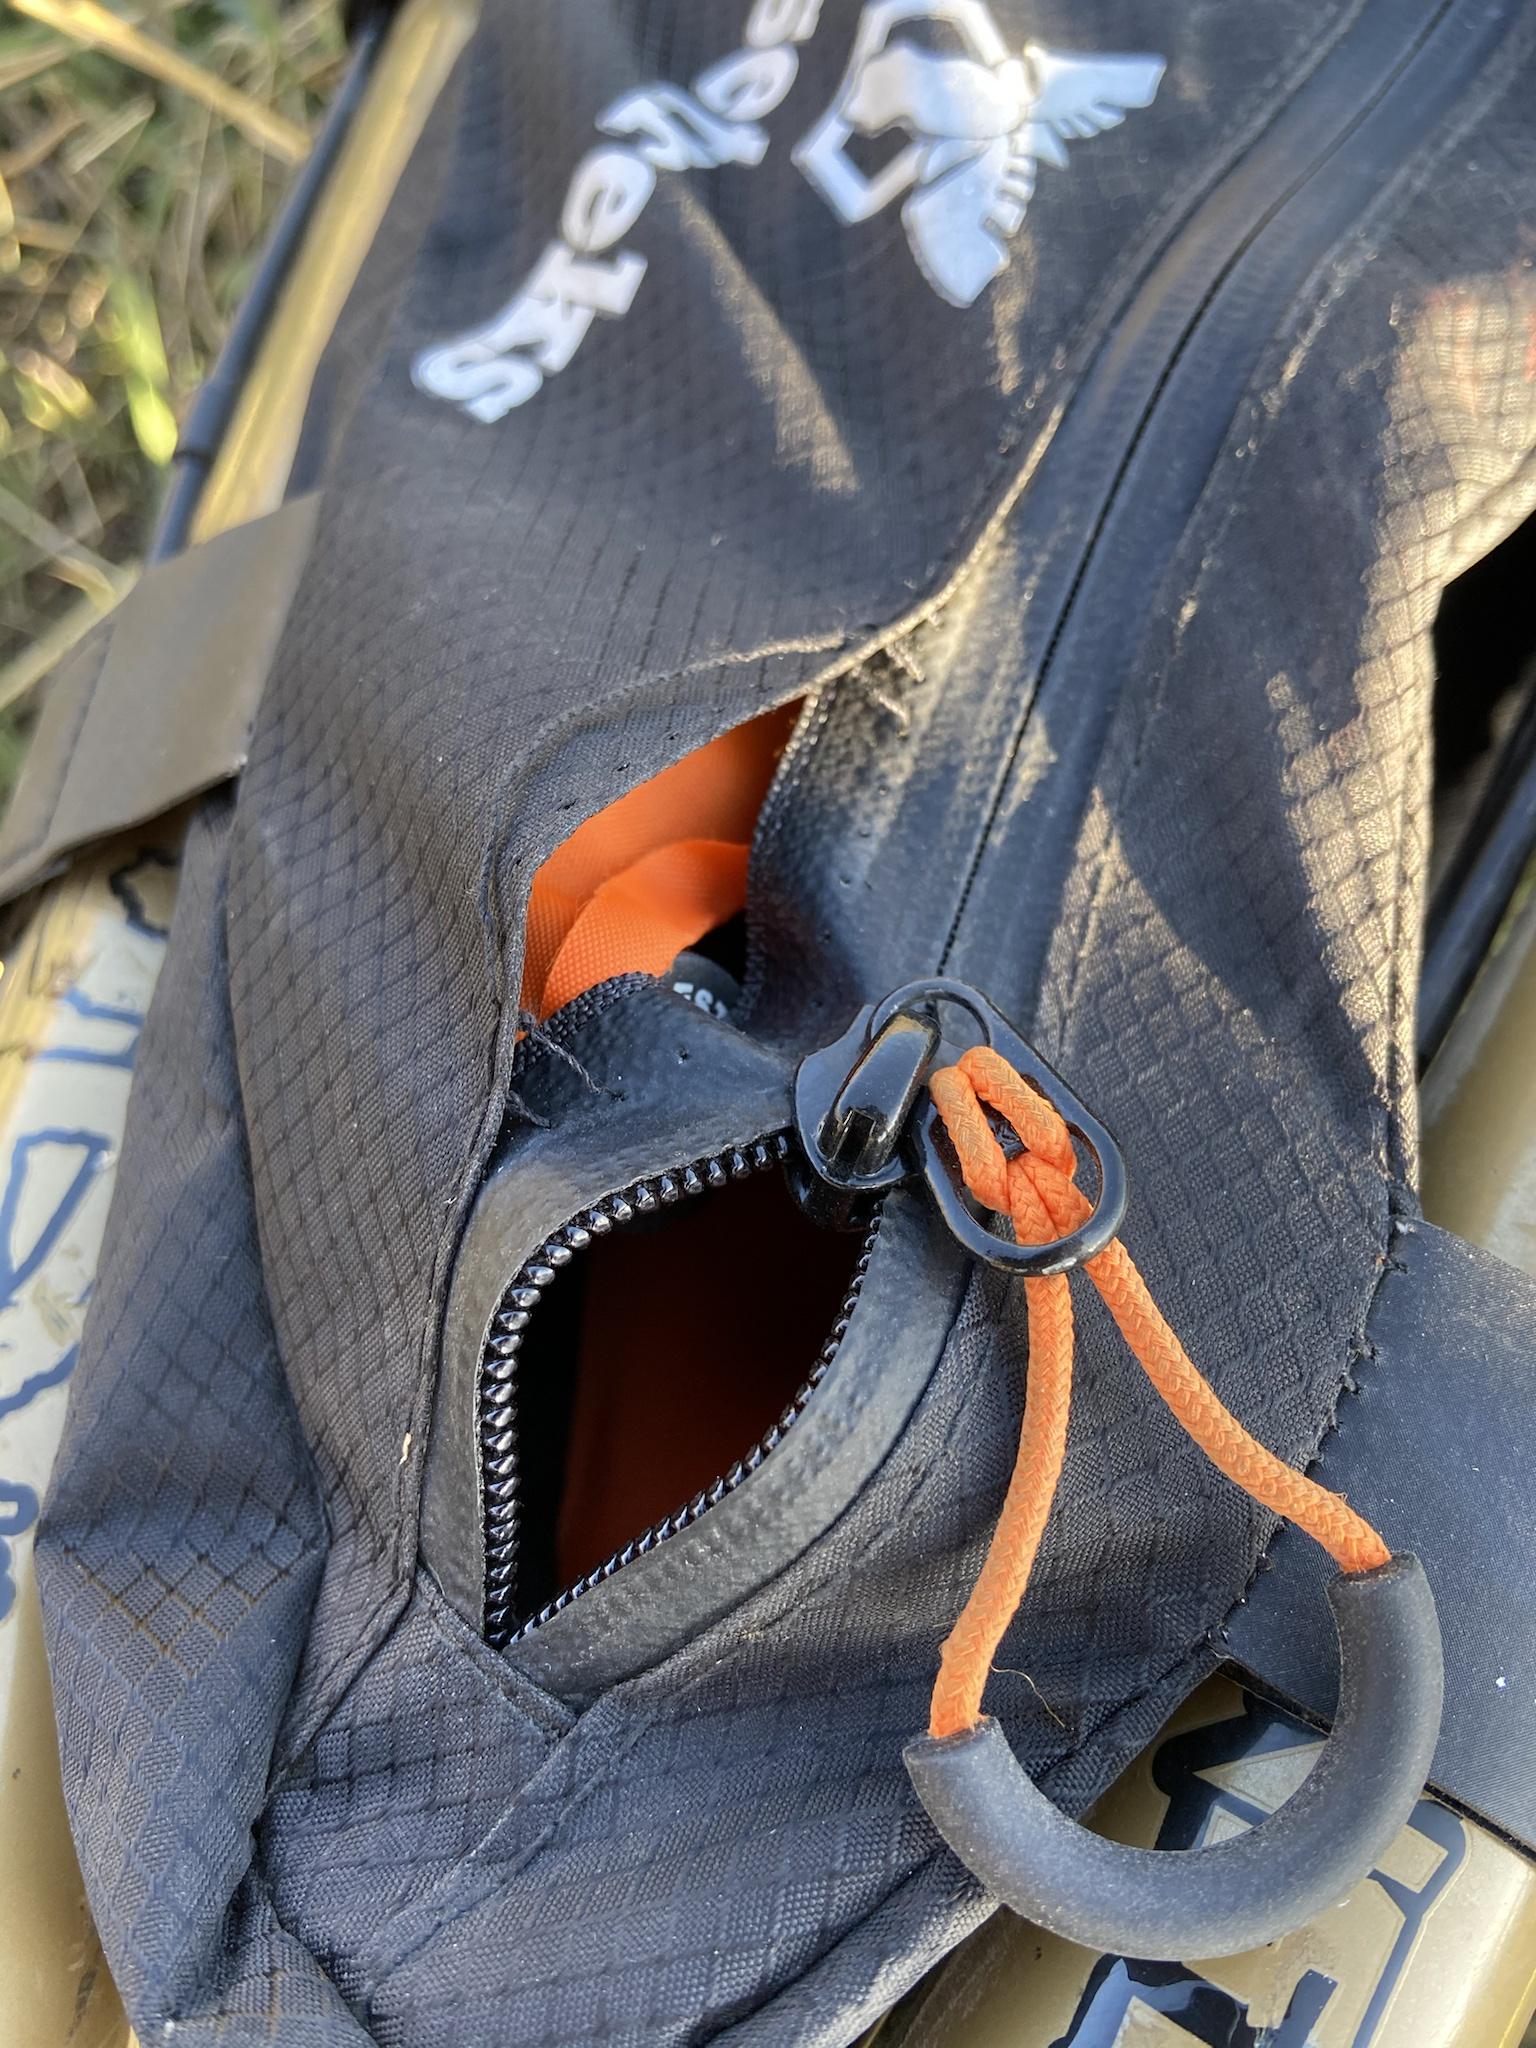
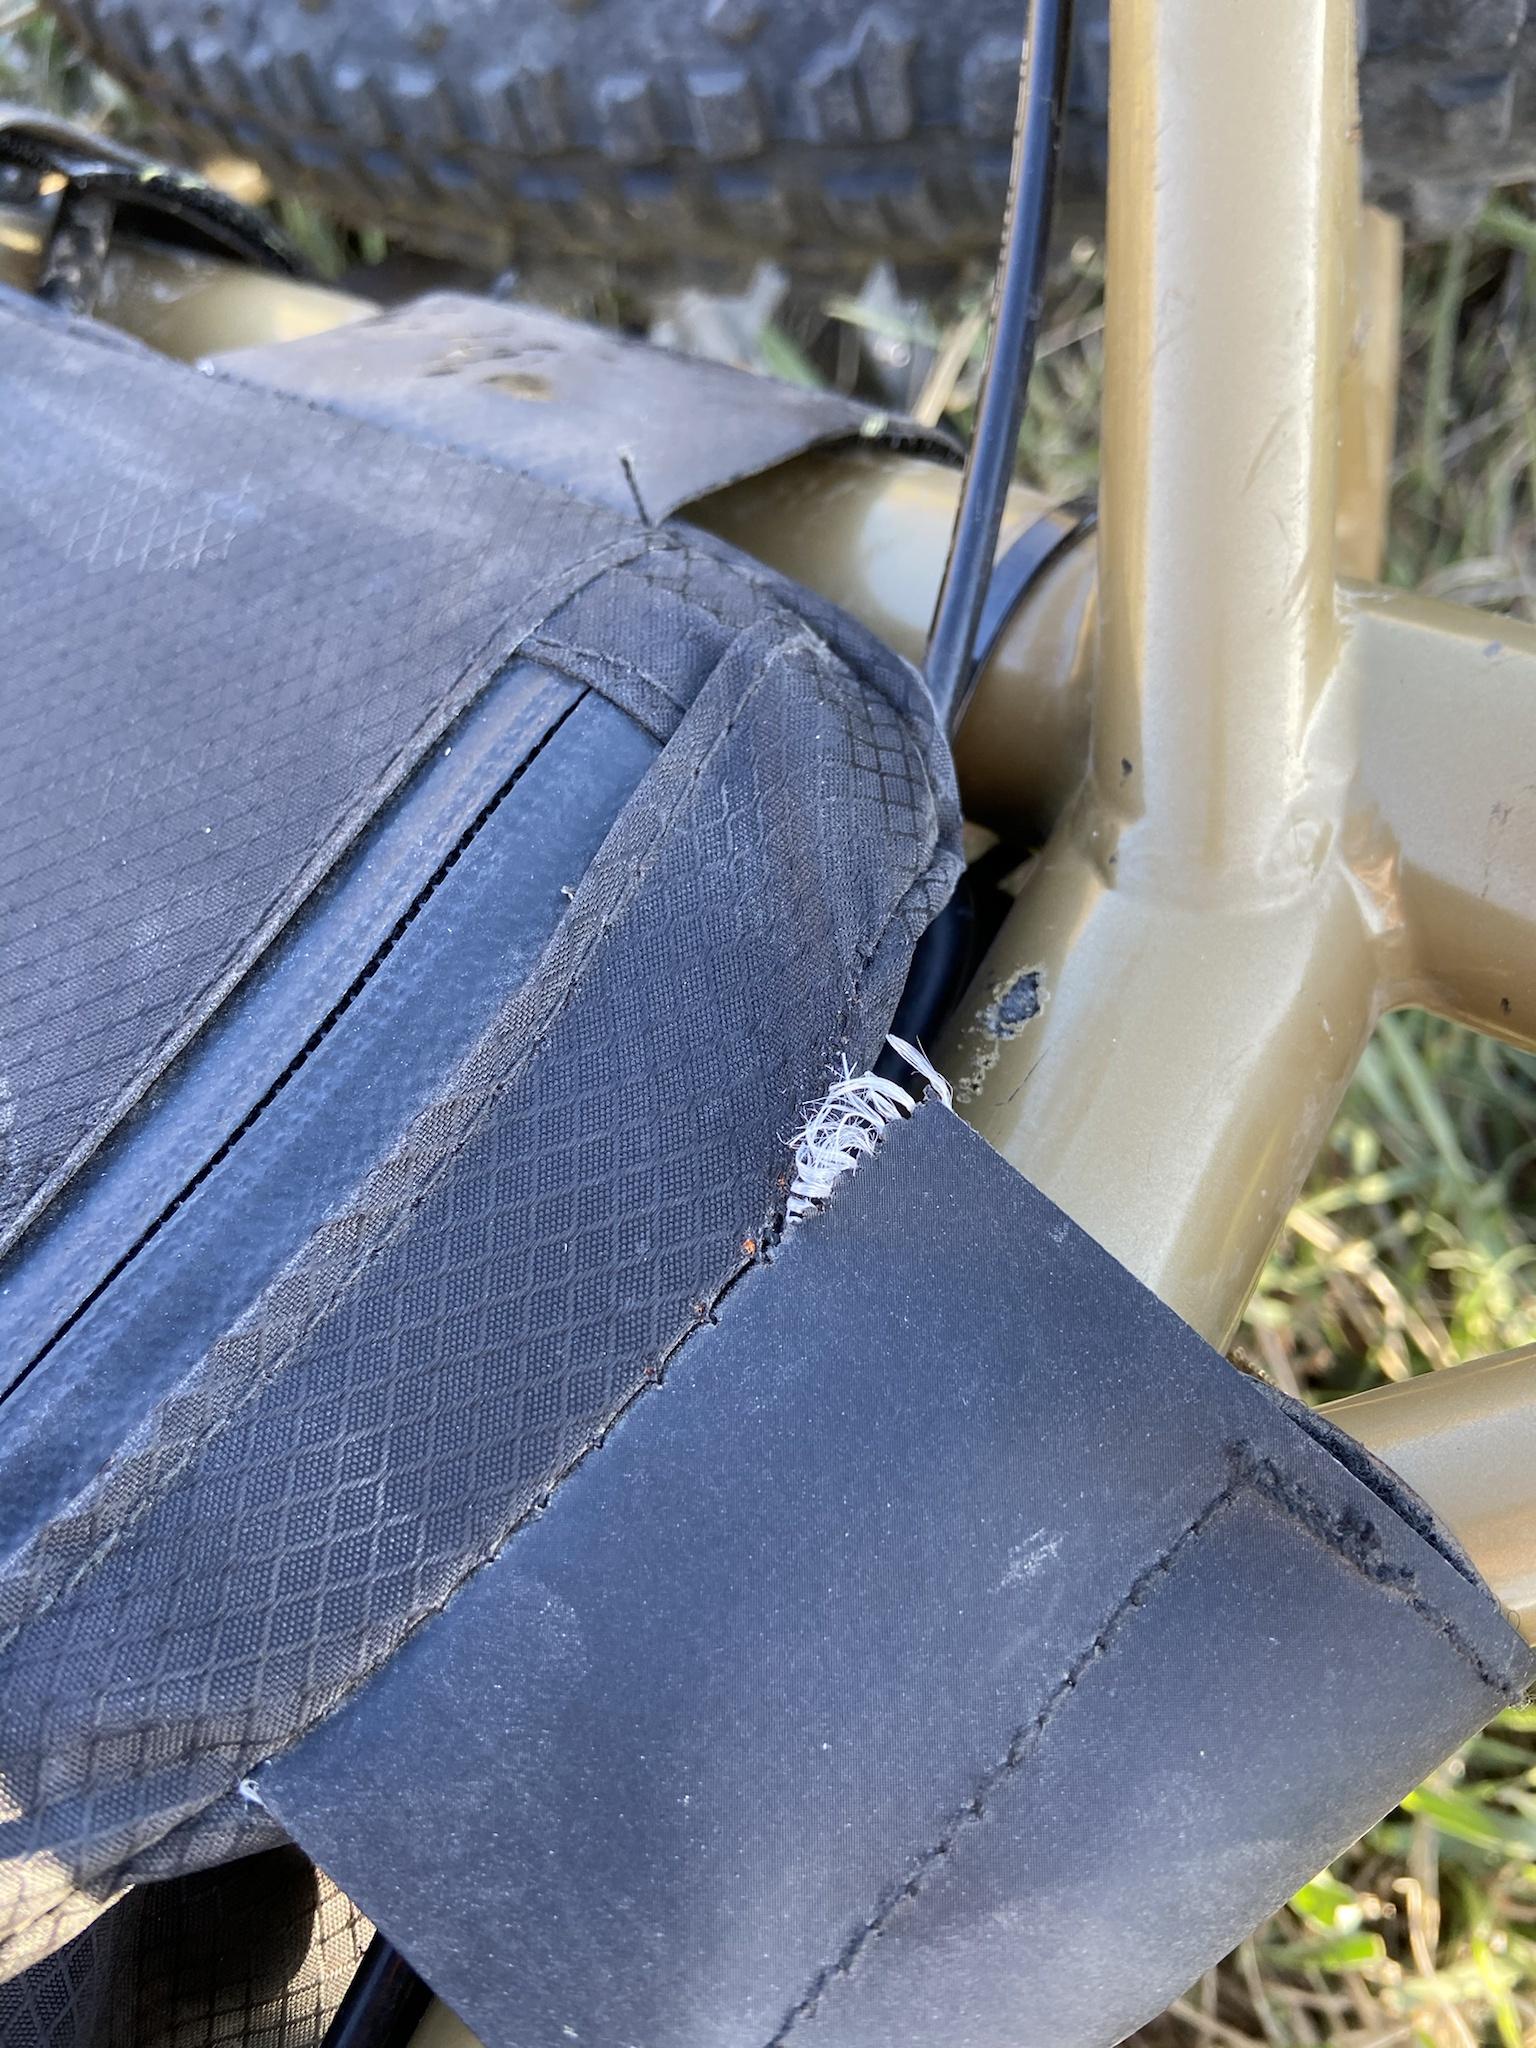
The trails have dried up here and the weather is nice so I've been riding a lot more. I took the Surly twice in the last week to a trail MTB project calls a black; a lot of it is somewhat smooth, flowy, and fun while the last 2 miles are basically a continuous rock garden. Not very enjoyable on a hardtail and I think the bike agrees...the Moostreks bag is already torn out. I also got a flat in the rear (largely my fault) - I had aired down in an attempt to smooth out the last part of the trail and promptly got a puncture on a sharp rock that was too large for the tubeless sealant to patch.

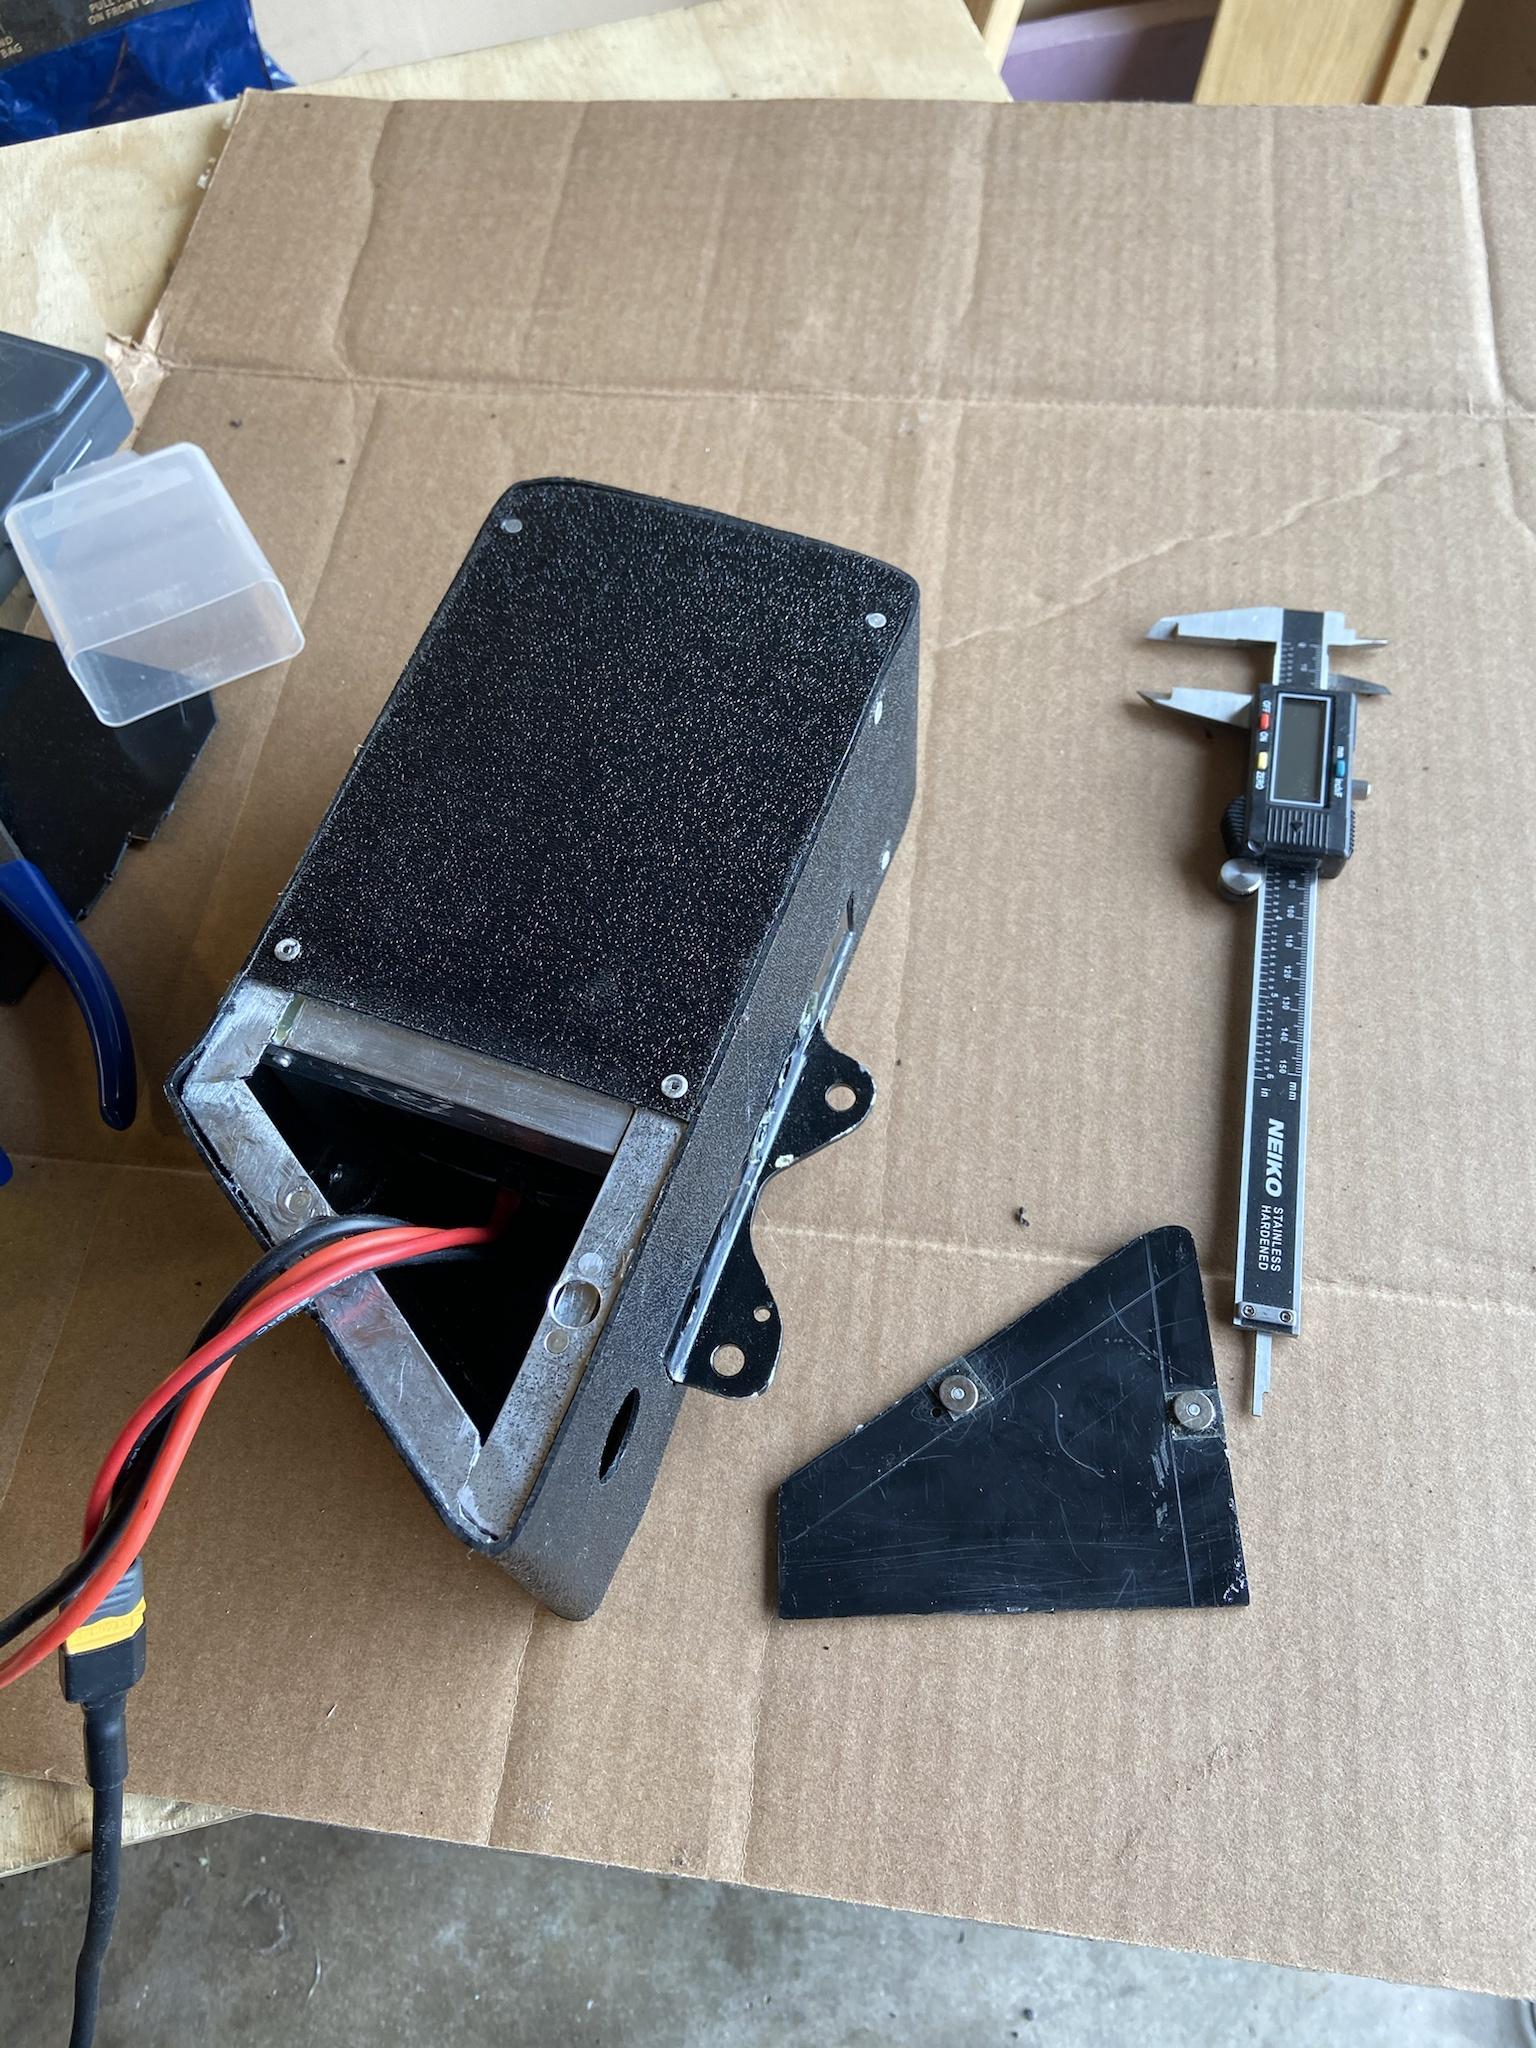
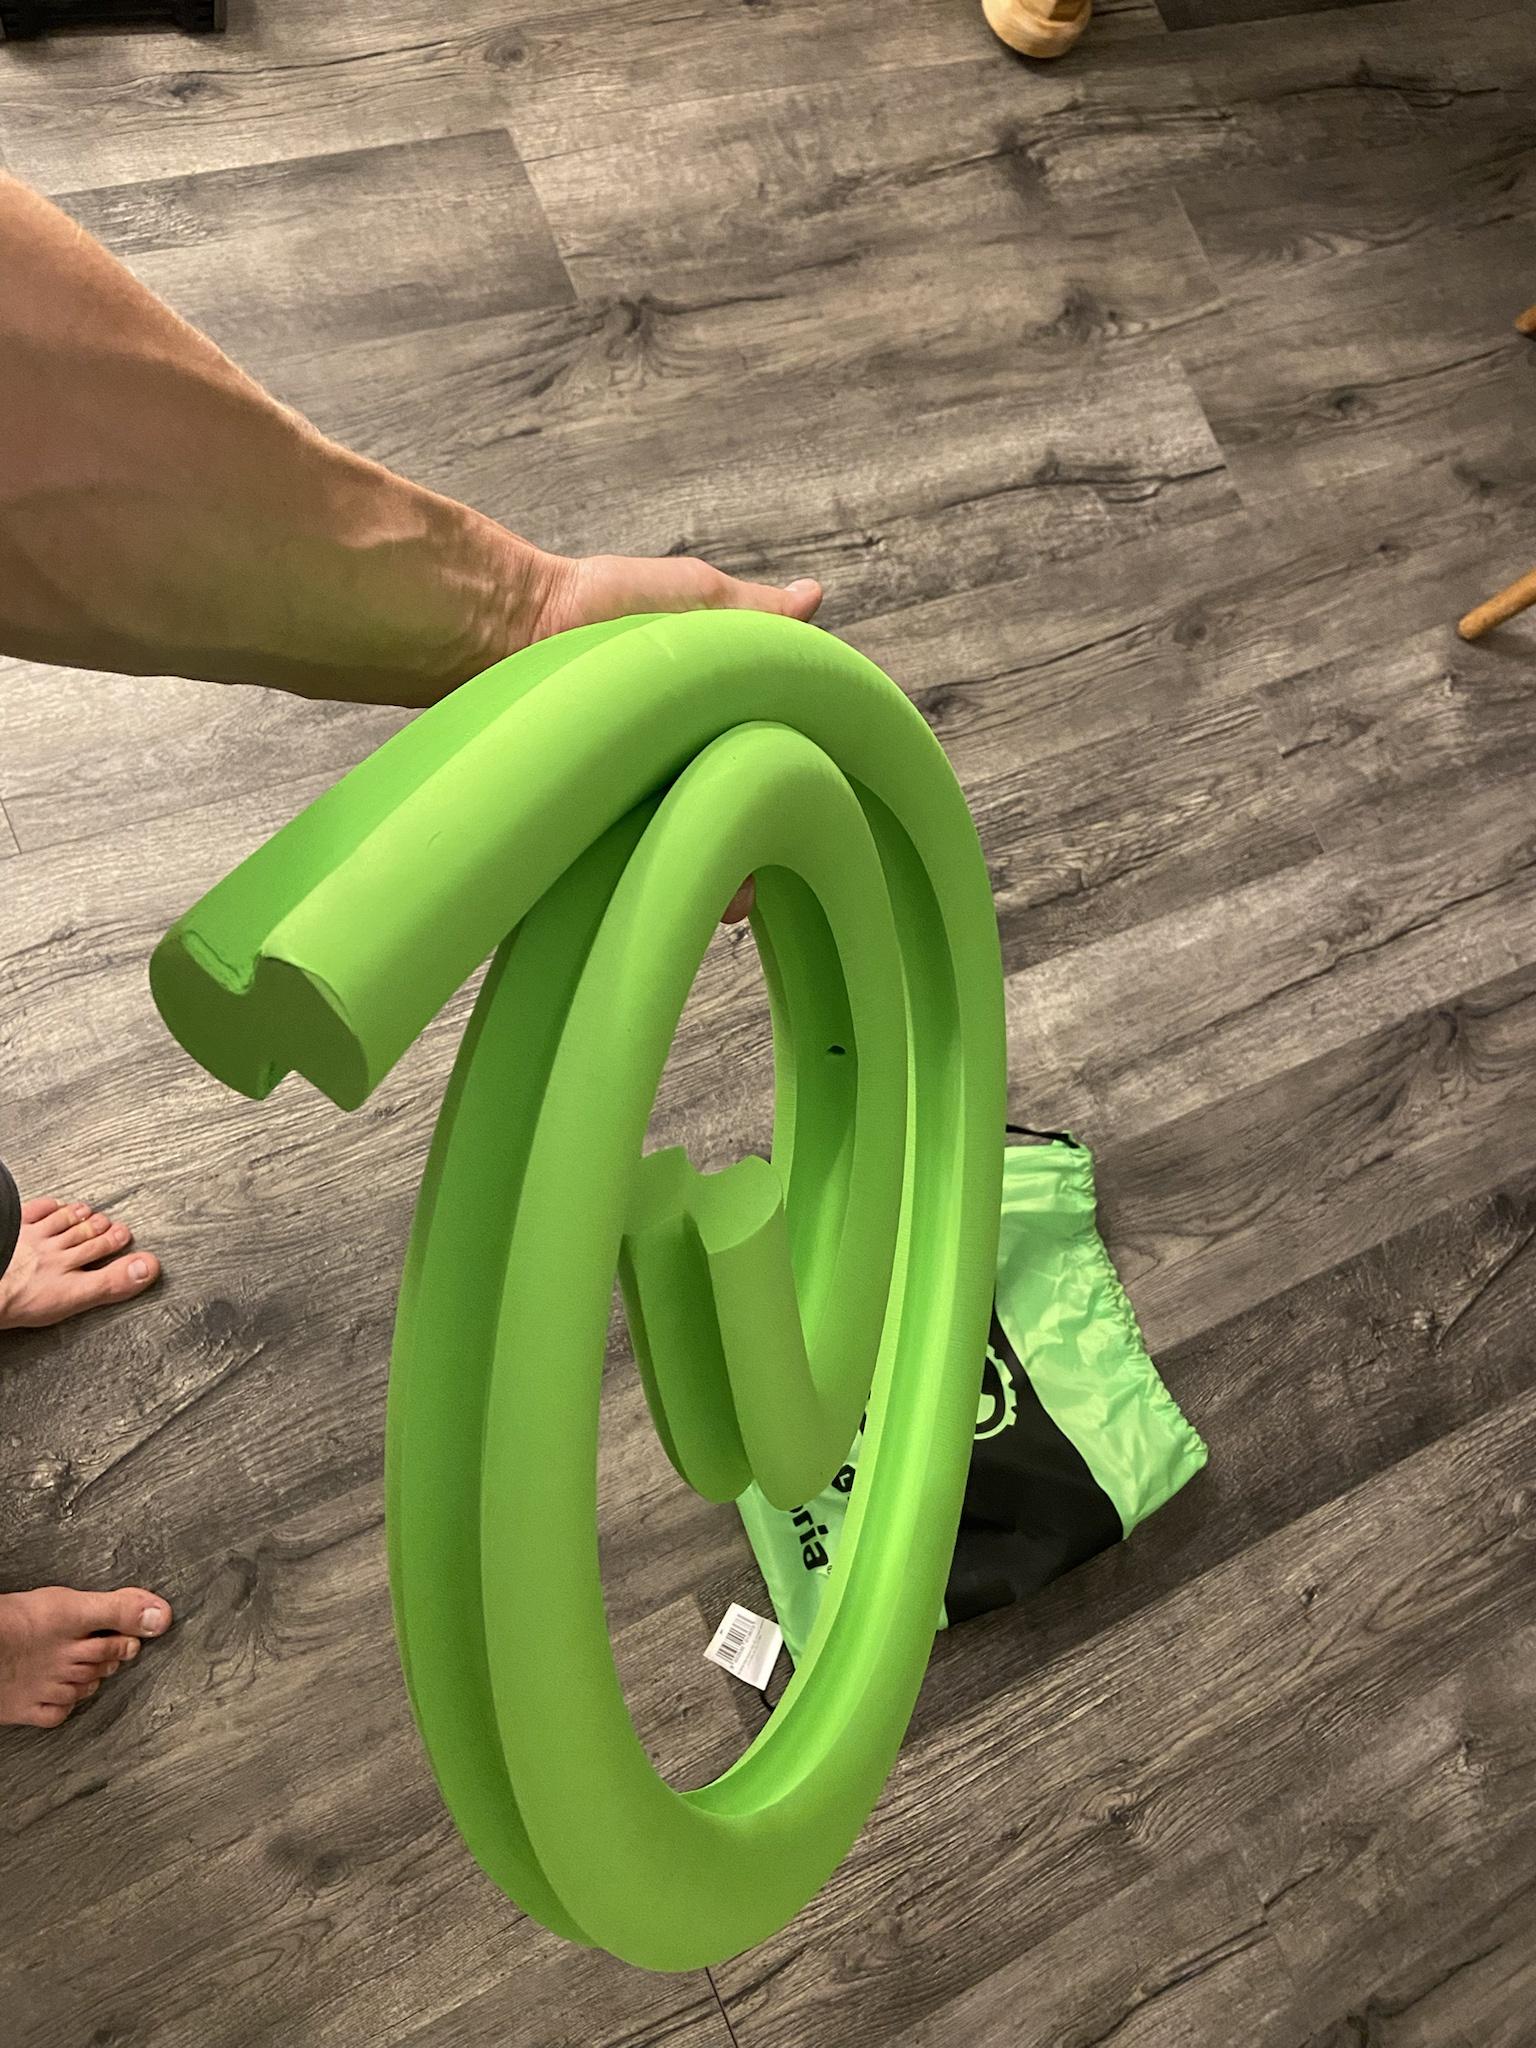
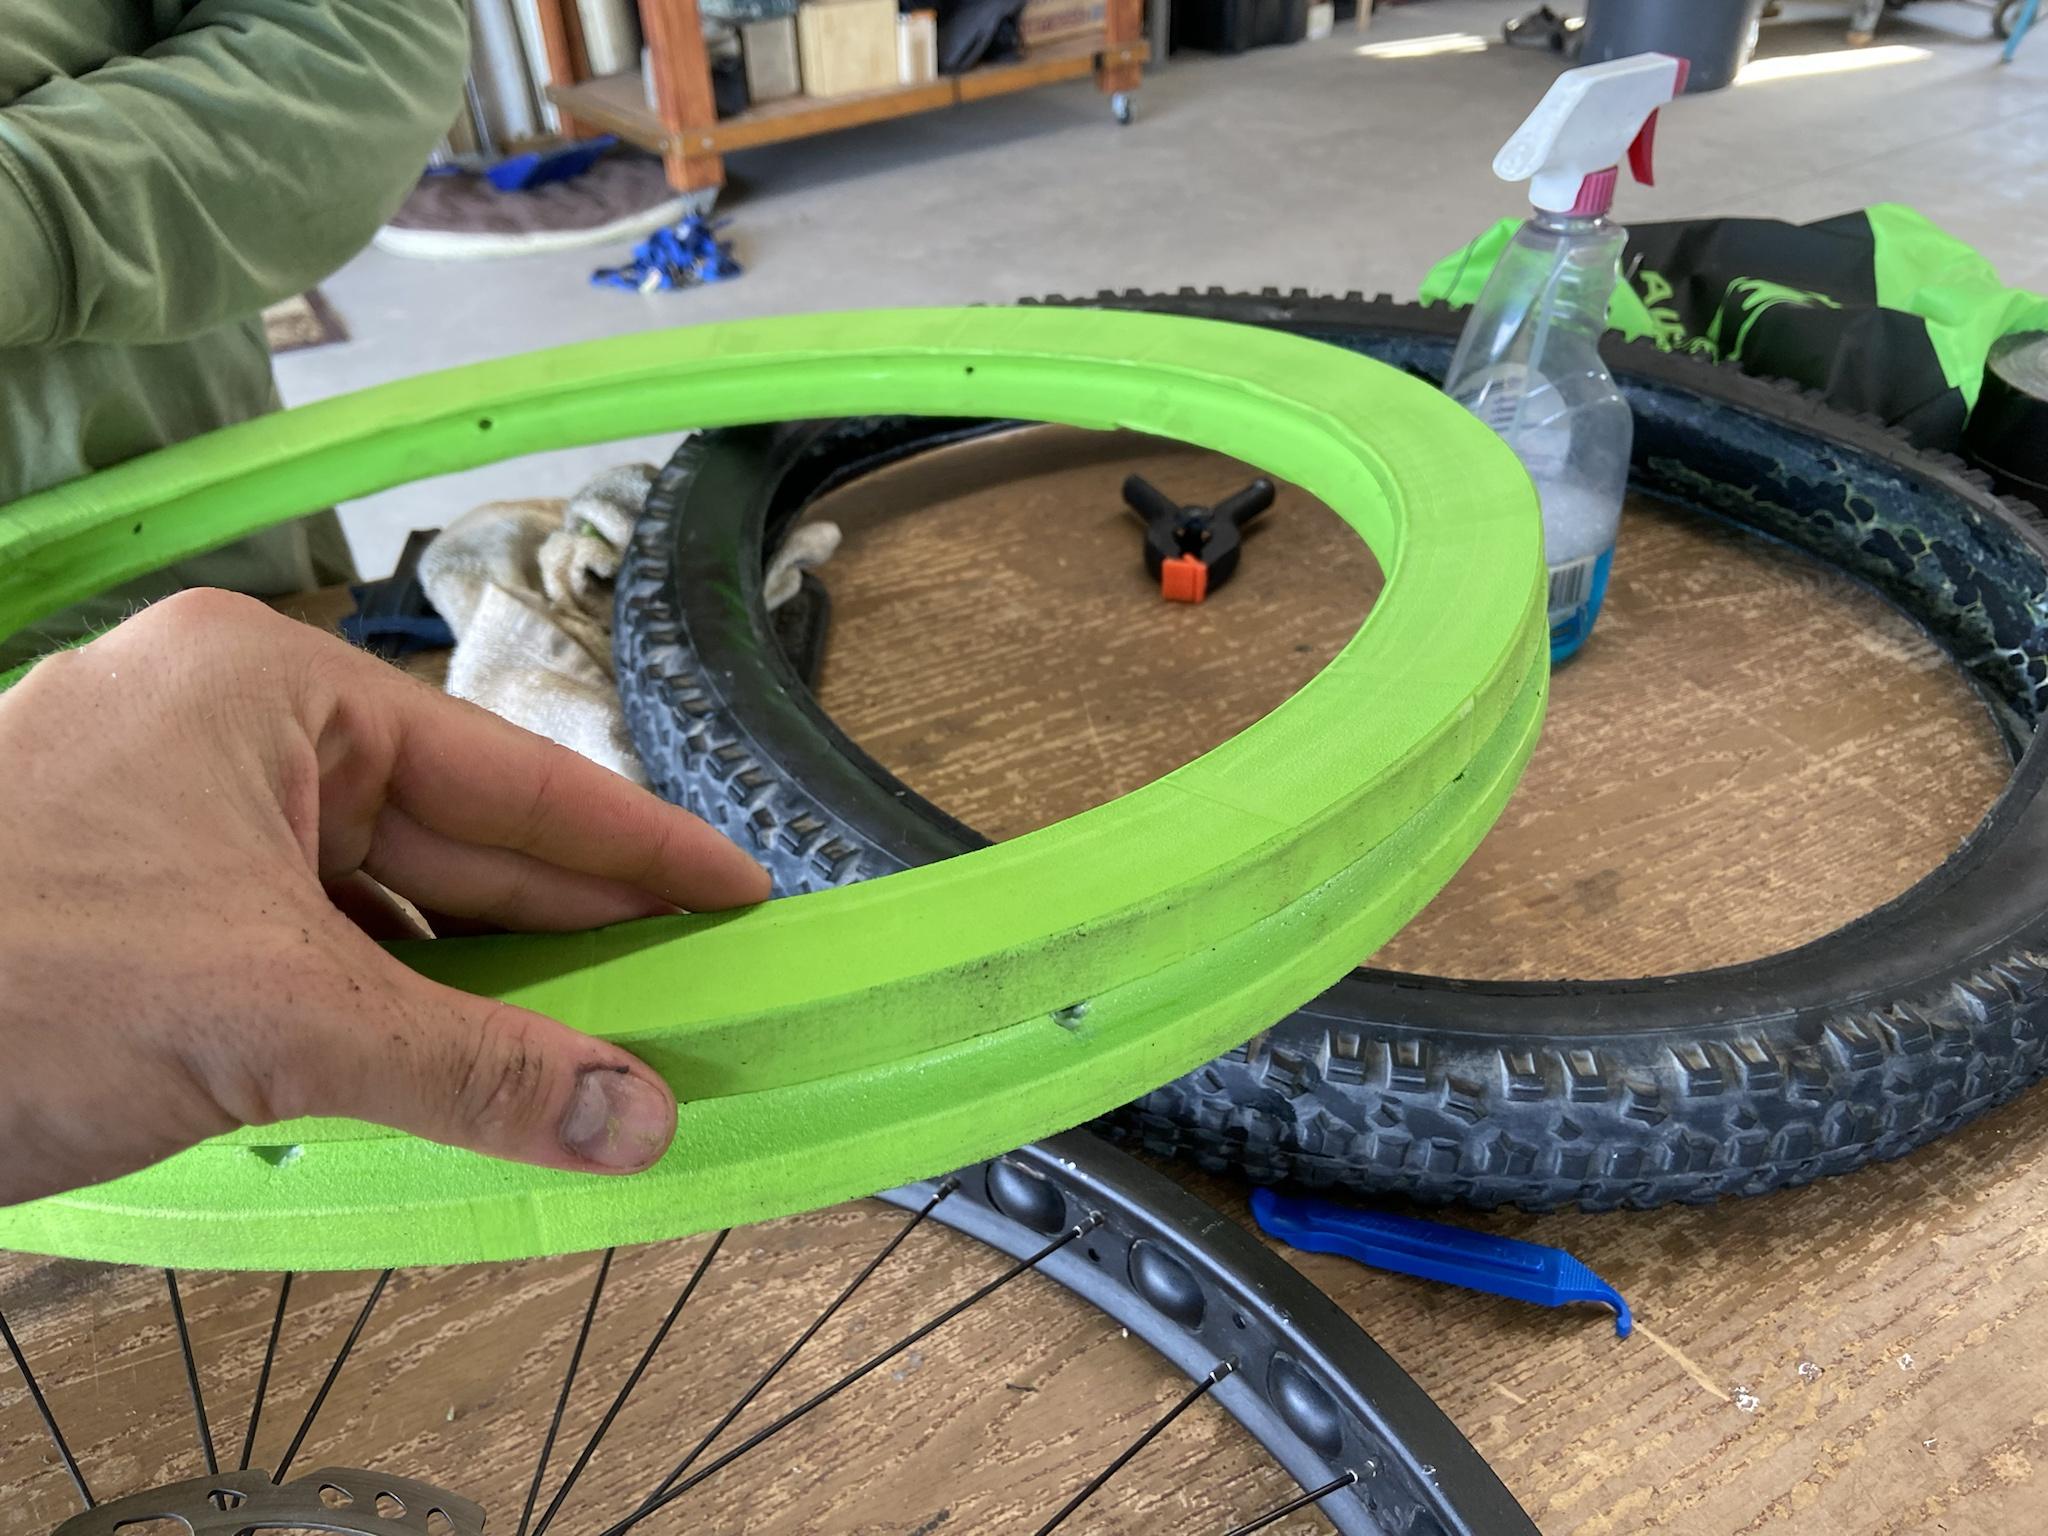
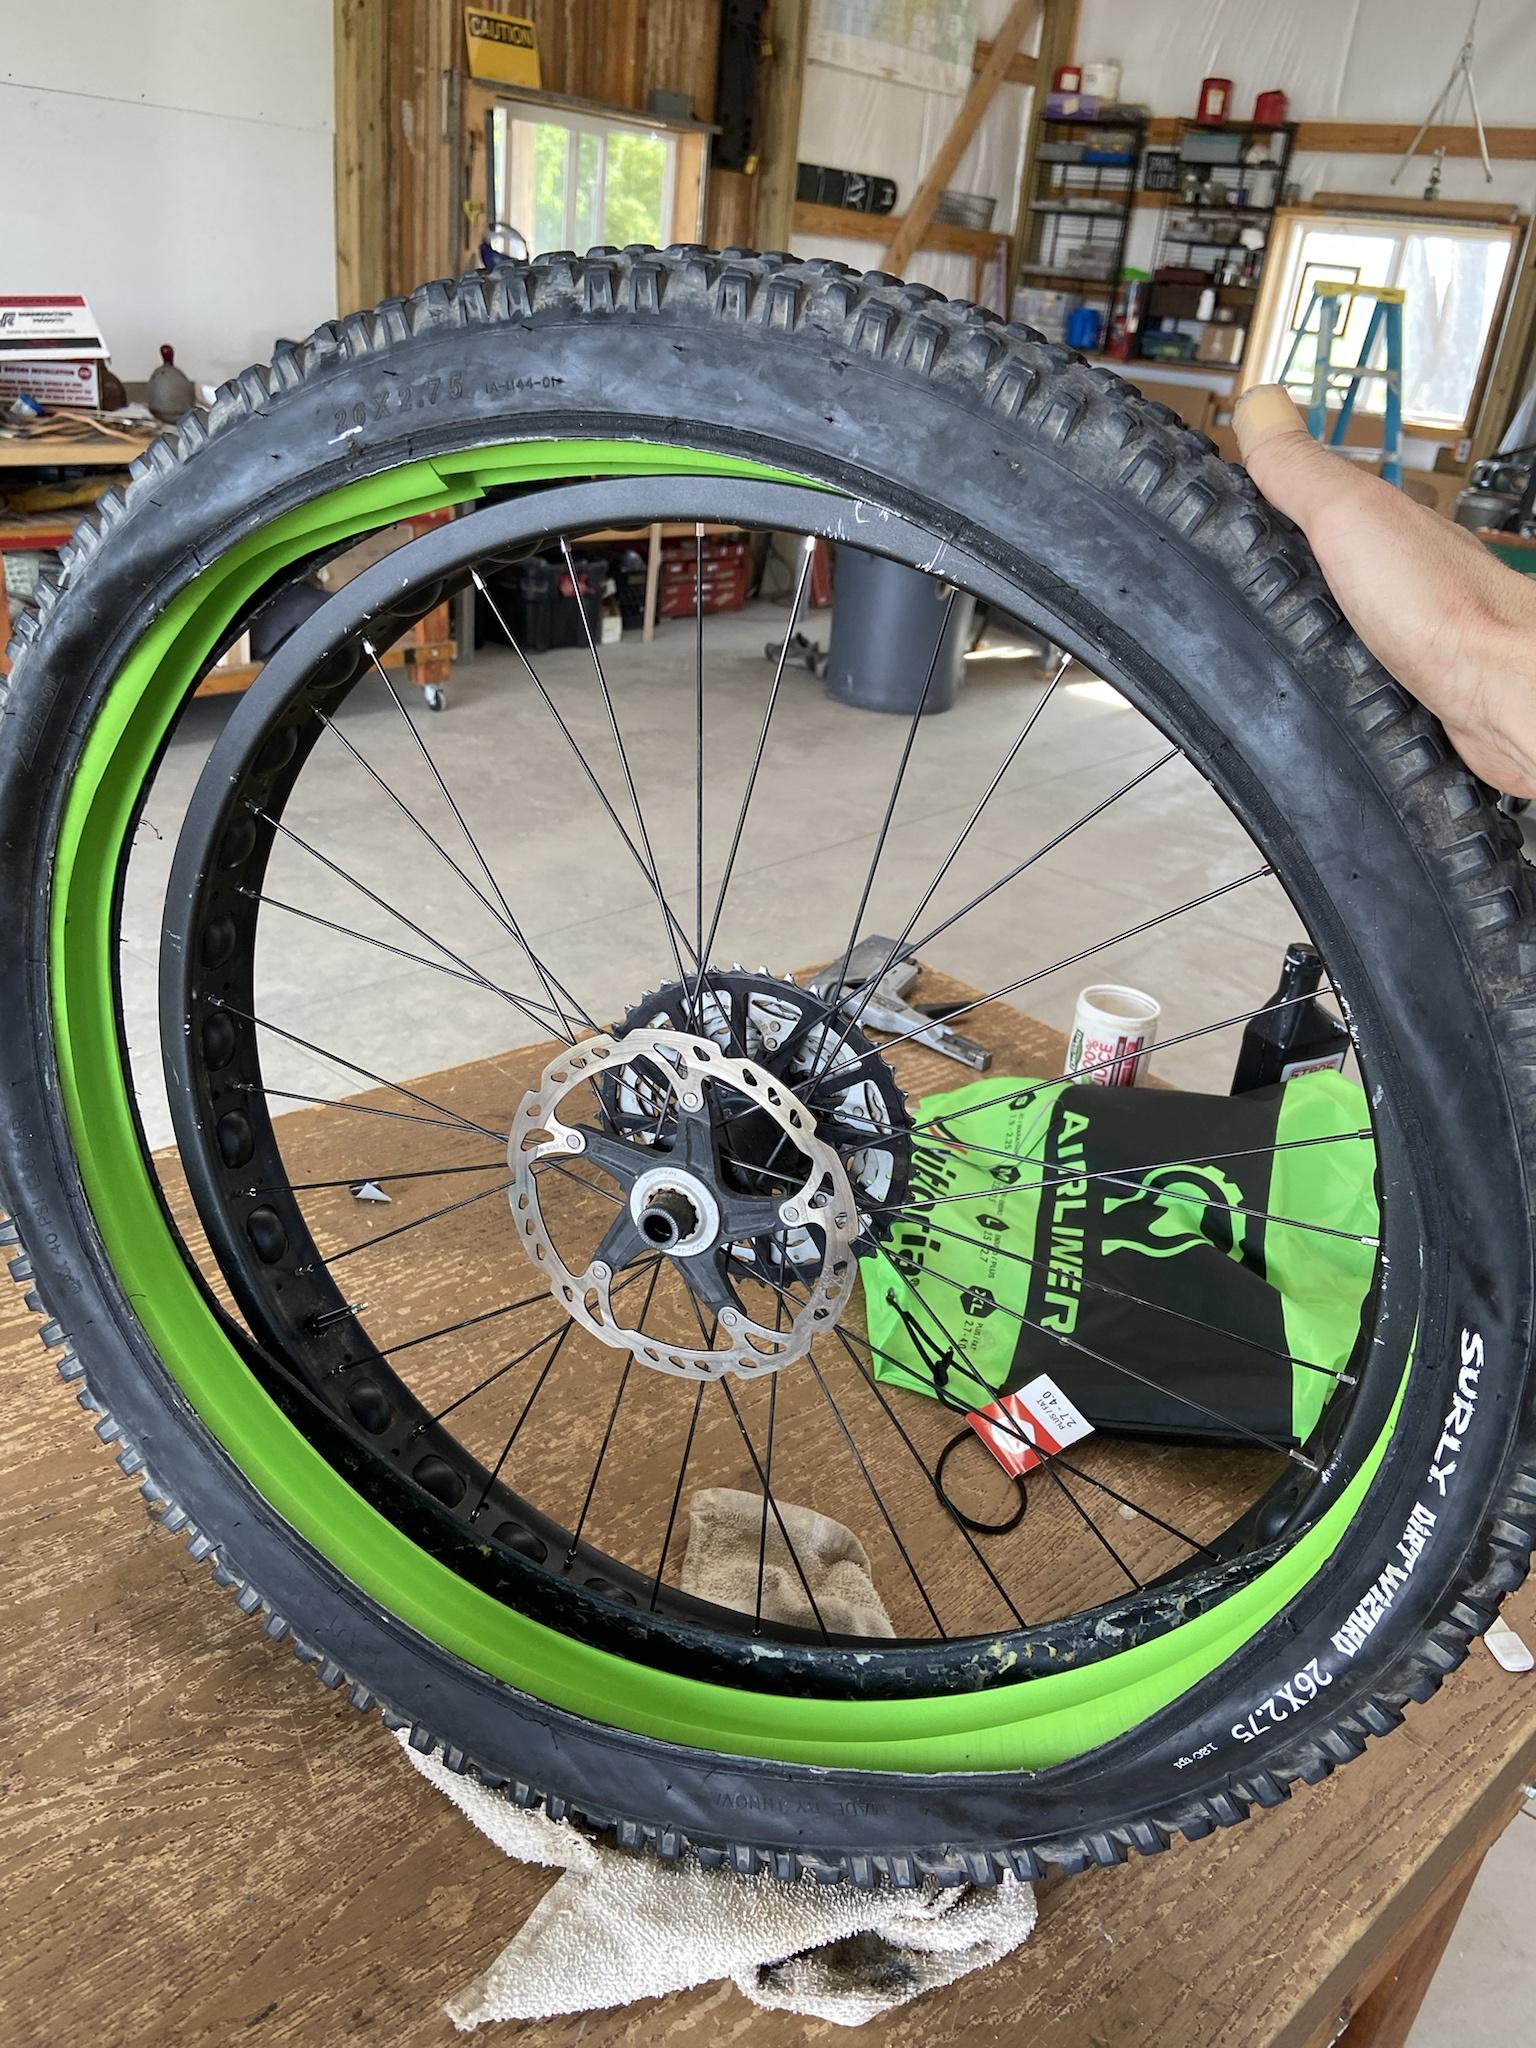
I had good first impressions of this product but that quickly faded and I definitely would not recommend it unless it's intended for light duty only.

uJ6rwZq.jpg


cE3qlnF.jpg
 
Shame. That bag sure looked like it was high quality. The strap on the TT at the ST look like it's starting to rip because of the angle of the frame gusset to the ST, problematical fit, as discussed earlier.

I would probably (before throwing it out) hit all the seams with Shoe-Goo to reinforce them, see if that helps. Would take some patience, to make it look nice and not a spider webby mess of overworked plastic cement.
 
99t4 said:
Shame. That bag sure looked like it was high quality. The strap on the TT at the ST look like it's starting to rip because of the angle of the frame gusset to the ST, problematical fit, as discussed earlier.

I would probably (before throwing it out) hit all the seams with Shoe-Goo to reinforce them, see if that helps. Would take some patience, to make it look nice and not a spider webby mess of overworked plastic cement.

I thought of that as soon as I saw the tear out on the strap. Fortunately I'm still in the ebay return window and the seller will accept it, so it's going back. Now I'll need to figure out a mounting solution for the 3rd time :roll:

I figured I'd save a few pounds by getting this battery but in retrospect it was a mistake not just getting a shark park. Not only are they easy to mount and presumably hold up on rough trails, but they're much easier to remove for cleaning the bike and maintenance.
 
I've abandoned the frame bag idea and decided to fabricate a battery box. The material of choice is 3/4" aluminum angle. I gave myself about a 1cm margin on either side of the battery and then cut the pieces down to size on a miter saw.

I had wanted to braze everything together with those low temp "welding" rods but soon realized that wasn't a great idea given my lack of welding experience. You have to braze the entire joint together at once and it was a pain even trying to square the 3 edges. You need 2 clamps which then makes the actual brazing very awkward.

So I ended up brazing the 2 wide rectangles corner by corner, then forming the box by attaching the short side with a combination of JB weld and pop rivets. The completed frame is pretty strong - I'm 160 lbs and can stand on it with no noticeable deflection.

The battery doesn't actually fit inside yet - the angle overlaps ~1/8" on the each of the long sides so I need to trim some material off.

Next steps are to figure out how to mount it to the bike (I want something that is somewhat easy to remove) and then wrap it with the 1/16" ABS sheet I had ordered a while ago.

qGlmWy0.jpg
 
After procrastinating this for a while, I've mostly completed the battery box. I didn't have high expectations for the ABS sheet finish but I'm not very happy with the result. It's sturdy but pretty misshapen. It was a mistake to mold the ABS directly onto the frame. Given the overlapping pieces and empty space in the middle it's obvious why that approach didn't work well.

The plan is to seal the seams with some silicone then make a removable cover for the plugs. Down the line I might redo the ABS but that probably won't be anytime soon.

GpxKk6V.jpg


3kIoAzO.jpg


TPDK4Iy.jpg
 
Not sure why I thought a square box would look even somewhat adequate. Probably because It was easier to build. Once I saw how ghetto it looked mounted, I scrapped it and built a new battery holder. Also, based on my reading, it was unnecessary to add the foam padding so I was able to cut about .5" off the width and 1.5" off the top (although more than that was added back as a triangular space on the bottom).

V1:
FFGXIUW.jpg


V2:
EX45WBv.jpg


LVGyrQu.jpg


Still not great aesthetically but I'd say it's at least acceptable. The cables fit neatly on the bottom and the cover is held in place with magnets for easy charging. Not sure if I trust it on rough trails yet as the box itself has a bit of flex, as does the mount to the water bottle holder.
 
I've since sealed [most] of the seams with an ABS and acetone slurry. Once I find a cap that will fit in the cable hole on the back (need something like a bar end cap, but larger diameter), it should be somewhat waterproof.

Yesterday I took the bike on the roughest trail it's been on yet. The weight with the battery on the seat tube is definitely more manageable than before. The motor performed admirably going up, but going down the magnets fell off the wheel somewhere and I burped most of the air out of the tubeless tire, and punctured it in a few places. At least it wasn't a full flat, but I was down to maybe 5 PSI. That's way too low to ride without rim damage, but once I got down to a smoother section, I could put 90% of my weight on the handlebars and just use the throttle. So that saved a 3 mile walk of shame home.

Tire is probably toast now and these 26+ are not cheap nor easy to find. I'll definitely be putting in some foam tire inserts.

mpi7o5x.jpg
 
Tire insert arrived today. The foam is a lot denser than I was expecting for a product that's called "air liner". It's definitely light, but I'm worried I'm not going to like the damping characteristics. Based on the firmness of the foam it seems like it might make for a rougher ride. It had good reviews on pinkbike, but I'll find out soon. Anyways I bought this to avoid pinch flats and it will definitely do that job. It's large enough that once my tires are seated I'm pretty sure I could ride with them at 0 psi.

TGxFwwG.jpg
 
Installed the insert today on the rear wheel. I'm not going to bother with one in the front tire as [knock on wood] I never get flats there. I'd say this was probably my longest and most frustrating tire related bike repair I've ever done - close to 2 hours (including re-taping and adding a new valve stem). Part of this was my fault for ordering too large of an insert, and part of it is on Vittoria for suggesting the XL insert is appropriate for a 2.7" tire. Rim width (rather than tire width) would probably be a better sizing criteria. The stated tire size range for the XL was 2.7-4.0".

I was 2nd guessing my size choice initially as that's a huge range for 1 product to cover, and turns out my intuition was correct. The "XL" insert was way too big for a 2.75" tire and 50mm rim. It took 3 attempts to fit the insert, and the last 2 I used a bandsaw to trim off progressively more material. I spent way too long trying to wrestle the final 10% of the bead on before resorting to my "hackjob"; even with tire levers it wouldn't budge. Once I trimmed enough from the insert though, the tire mounted as easily as any MTB tire.

I'll have to check pressures with my presta gauge, but I'm pretty sure I can easily run 15 psi or less. I'm planning to give it a shakedown on a rough trail tomorrow, but from my ride around the block, I'm very happy with the result. Ride quality is great, traction and sidewall support is great, and there is some serious run flat capability. I'd say this improves comfort (and traction) considerably as you can run low pressures with far less tire squirm and risk of rim damage.

65CZYhl.jpg


LFn5QGB.jpg
 
I found a snake on the trail today. It wasn't venomous but it did kill my ride.

I was going up a moderate incline in either the 2nd or 3rd lowest gear when it snapped (assist level 5, 30% current). It bent one link and pulled the pin out from the other side. Fortunately I was near the top of my climb and only had to walk a couple hundred yards + a few blocks after riding down with the chain in my pocket.

7rSW13n.jpg
 
Yeah I think it might. I need a portable chain tool as well. The battery compartment is a good option If I don't get a seat bag. I was at Sierra trading post the other day and was thinking about one but I'm too cheap to pull the trigger on the $30 bags they had in stock. Kinda overpriced for a discount retailer...
 
I replaced the chain, shifter housing and cable, then spent a few hours adjusting everything. I wasn't thrilled with the shifting performance (and this bike has never shifted super well in my ownership), so I pulled the trigger on a brand new drive train. Got a 10 speed AdventX 11-48 cassette, derailleur, and shifter for 150 bucks + tax. I hadn't actually heard of Microshift before @TNC mentioned them in another thread recently, but the AdventX stuff seems to be well received. First impressions are good - it seems well built, only minor complaint is the shifter action isn't the crispest and it's thumb only for everything.

G69nqsz.jpg


1it2keE.jpg
 
Since the bike is out of commission until I get my new dropouts in (adventx not compatible with direct mount), I decided to mill some material off the chainring to pull it inboard a bit. I wouldn't do this on a normal chainring but the luna 30t has an extremely thick (probably unnecessarily so) body.

It took a bit of work to make sure the ring was perfectly centered on my jig but I'm pleased with the end result. A router and a wood bit had no issues cutting through aluminum. This is one of a number of projects I've done that made me wish for a CNC machine.

BxEiXXk.jpg


thbmnFW.jpg


KUdUIjM.jpg


I may go further and match the profile of the motor by creating another step but need to make sure that won't create any interference with the chain and gear case.
 
Dropouts came in today and I finally installed the AdventX. Very easy install with the right hanger. Earlier I said shifts weren't that crisp - that was based on just playing around with the shifter unloaded. While actually riding the bike the shifting feels pretty nice. As good or better than the SRAM SX eagle (1x12) on my other bike.

The chainline on the biggest gear is still pretty crooked even after milling the chainring down. There's room to move it in a few more mm so I might take some more material off the chainring when I get a chance. The good news is this cassette has a bigger range than what it replaced, so even if I never use the lowest gear I'll still have the same effective range as before.

K8xQ7WO.jpg


I replaced the paddle style throttle with the standard, universal thumb one. This tightened up the cockpit quite a bit. I also changed the throttle setting to use level 9 at all times - I think that's definitely the way to go for trail riding but will likely result in worse economy (i.e. I'll be lazier because it's more accessible).

cJ66cC1.jpg
 
COAR said:
The chainline on the biggest gear is still pretty crooked even after milling the chainring down. There's room to move it in a few more mm so I might take some more material off the chainring when I get a chance. The good news is this cassette has a bigger range than what it replaced, so even if I never use the lowest gear I'll still have the same effective range as before.

In what gear is the chainline straight? It looks like even the second (40T) cog may still be pretty far out of alignment too.
 
E-HP said:
In what gear is the chainline straight? It looks like even the second (40T) cog may still be pretty far out of alignment too.

It's not straight until 7th gear, aka the 4th smallest.

C7itI2b.jpg
 
COAR said:
It's not straight until 7th gear, aka the 4th smallest.

If you want the lower gears to have access to the full range, you might consider restacking the cassette and eliminate some of the in between gears, and use them as spacers, or get one of those spacer clamps. Seems like a common mod. I noticed on a lot of videos, people shift gears two at a time anyway. I think alignment on the larger cogs is important to avoid a potential failure.

img_20170222_104449995-e1495461021719.jpg
 
E-HP said:
If you want the lower gears to have access to the full range, you might consider restacking the cassette and eliminate some of the in between gears, and use them as spacers, or get one of those spacer clamps. Seems like a common mod. I noticed on a lot of videos, people shift gears two at a time anyway. I think alignment on the larger cogs is important to avoid a potential failure.

I played around with that idea the other week, trying to mix and match sprockets from 8 and 10 speed cassettes, along with some spacers cut from 1.25" PVC (fun fact: that fits perfectly around a Shimano freehub) to make a 8 speed cassette with 10 speed spacing. It didn't work. I don't know if that was from mixing sprockets with 2 different thicknesses, my spacing was a little off, or the jump between sprockets was too big.
 
COAR said:
I played around with that idea the other week, trying to mix and match sprockets from 8 and 10 speed cassettes, along with some spacers cut from 1.25" PVC (fun fact: that fits perfectly around a Shimano freehub) to make a 8 speed cassette with 10 speed spacing. It didn't work. I don't know if that was from mixing sprockets with 2 different thicknesses, my spacing was a little off, or the jump between sprockets was too big.

I don't think it's advisable to mix and match between cassettes. Just drop a couple of gears from your new cassette. I know if it were me, it would kill me to have that granny gear and not be able to use it. :x

You could use one of these (some place carry singles), then take out a couple of gears. When you get it working, make sure to use a little blue loctite on the set screw.
https://www.modernbike.com/gearclamp-single-speed-kit-shimano-sram

https://www.youtube.com/watch?v=1WBMpZv-pqE&t=575s
 
E-HP said:
I don't think it's advisable to mix and match between cassettes. Just drop a couple of gears from your new cassette. I know if it were me, it would kill me to have that granny gear and not be able to use it. :x

Yeah it definitely isn't recommended. The cog thickness difference was less than .2mm which might've been out of the shifter's tolerance range.

My only concern with removing sprockets is I'm going to have at least 1 shift with a 40% minimum jump in ratio and I'm not sure how that will affect shift performance.

Fyce0jw.png


One of these bottom 2 would be preferred as that would maintain more high speed range.

muwfH15.png


j7kQ2En.png
 
Unfortunately the Adventx cassette design isn't well suited to regearing - the pins will have to be drilled out. I don't really want to destroy a brand new part but I probably will.

T85fmVx.jpg
 
Back
Top