Yamaha YZ250F

j bjork said:
I dont see any em 260 on their website?

I was looking at the em 300, but it is a little on the small side for this motor I think.
And the same thing there, qs didn't recommend it because of reliability issues..

This is also strange as the QS have their motor 8000 watts under the counter and don't show on their website. The same Votol was talking about the em-260, which is not displayed anywhere.

I see that Sevcon has a high current, but does it have control of magnetic flux as Votol does?
 
I saw you asked how long I waited, I think it was about 4 months..
But that was because it was not in production.
And I guess that is why it is not on the website, it is not really in production (yet?)

Yes, sevcon has salient settings for ipm motors.
But I dont know how it works. It seems like sevcon has settings for almost anything.. but it may not be easy to understand it :lol:
I dont expect it to just be a value to turn up and down, like the votol.
So the results can probably be better, if you get it right.
 
If you look on one of the many qs website the latest one shows it but no price or link yet i assume its on a direct basis only at the moment as the numbers increase alibaba will soon be flooded with them i guess its in the £600 mark unposted no import tax.
 
j bjork said:
I saw you asked how long I waited, I think it was about 4 months..
But that was because it was not in production.
And I guess that is why it is not on the website, it is not really in production (yet?)

Yes, sevcon has salient settings for ipm motors.
But I dont know how it works. It seems like sevcon has settings for almost anything.. but it may not be easy to understand it :lol:
I dont expect it to just be a value to turn up and down, like the votol.
So the results can probably be better, if you get it right.

Yeah, seems like it is still not in mass production, as I will have to ping them at the beginning of next month to check if they can start it.

They noticed: 'this is not our main product for sale'

For controller very interesting with all those tunings. And it should be a challenge to make all the configurations, isn't it?

And if it not a secret what was the cost of this controller and exact model?

As for me would be a challenge to match by battery (96 volts, 50Ah, 280A nominal, and 450A peak) the QS8000 with proper controller for sure
 
The controller part nr is 634A85101
It is a gen4 size6 for AB/UVW (not sin/cos)

The controller was € 927 with taxes.
Total with ixxat, dvtc program and connector was just below € 1500.
So it for sure is not the cheapest option..

I dont know much about how it is to program yet, I have only looked at a file offline.
But most people seem to think it is difficult, so it probably is :wink:

I have a few manuals, at least one of them is over 100 pages. And still not very clear about everything..
 
j bjork said:
The controller part nr is 634A85101
It is a gen4 size6 for AB/UVW (not sin/cos)

The controller was € 927 with taxes.
Total with ixxat, dvtc program and connector was just below € 1500.
So it for sure is not the cheapest option..

I dont know much about how it is to program yet, I have only looked at a file offline.
But most people seem to think it is difficult, so it probably is :wink:

I have a few manuals, at least one of them is over 100 pages. And still not very clear about everything..

That is a task for somebody who doesn't seek for simple life... :lol: :lol:
.... and I am one of those people))

Thank you for sharing with me all the details.

I am keen on seeing the results of your work and to see the driving test. Do you know the launch date?)
 
Launch date? I dont know, it will be a while :wink:
Later this year I hope.

Now I am designing sprockets and the jackshaft:

KJuBuH5.jpg


83qLEyQ.jpg


At the moment I am trying to find someone to make the shaft.

Then making the batterybox will sure take a while.
 
Getting somewhere with the model for the bottom part of the battery box:

cEp8Gaa.jpg


doQjcxL.jpg


I am pretty sure I will curse the day I found hot glue when I get to the finishing touches, trying to get everything flat and a nice surface :wink:
It will be a tricky mold anyway, deep pockets and sharp edges.

But before that I will have to make room for connectors, and I havent really figured out that part yet.
 
Hello, I ordered a sprocket for the rear wheel of my Yamaha 78T 428 but I still haven't received anything for several weeks. Do you have a good address to order this kind of made-to-measure parts? I made a quote at All bikes and at Moto24h but I have no answers. Thanks for your help.
 
Not really, I think the best way is to make your own cad drawings and try the local water cut places.
That is what I do. But I get my parts raw, so I have to do the finishing work myself:

1SmVPqd.jpg


But I guess it is mostly a question about how much work they have, and how much you are prepared to pay.
Often these places have other machines as well, and can do the finishing machine work too.

But then the time is ticking. If you have the drawings, and can wait until they cut other things in the same material and thickness as your parts it dosent take them much extra time :wink:

And it is always useful if you know a guy that knows a guy, or/and you can offer an exchange of services or something that interest them more than money. These guys often have more money than time in my experience.
 
Hmm... that seems to be the best solution (making sprockets yourself resp. have them custom made).
After my first spinning tests, I am afraid that neither my sprockets from QS nor those bought from AliExpress are really useable...

But my measures are different from yours.
Does QS put different drive shafts in each of their motors ???
 
Elektrosherpa said:
Hmm... that seems to be the best solution (making sprockets yourself resp. have them custom made).
After my first spinning tests, I am afraid that neither my sprockets from QS nor those bought from AliExpress are really useable...

But my measures are different from yours.
Does QS put different drive shafts in each of their motors ???
Actually they're extremely difficult to get right, the simple shape isn't easy to machine without CNC and will be very noisy if just done to the mechanically correct shape, there needs to be a lead on curve of the teeth at the very least and to work it out correctly you'd need to take much more into account (stretch under load at the angle between teeth for example). They'll certainly work and will bed in themselves with use but will make a lot of noise, waste quite a lot of power and wear chains out more quickly in the meantime.

No prizes for guessing how I found that lot out ;) It could be worth using a fairly worn out chain for the first few hours use and only put on a new one when they've been broken in a bit.
 
Paint and more sanding:

Eztkxoq.jpg


I thought I got some sort of bubbles in the paint, and tried to sand it off:

QYwIGAa.jpg


It was not the paint, it was the wood :?
I guess I could grind off some material and start over with putty and sanding, but wtf this it will just have to do as it is now.
I was wet sanding, not the best idea on a wood model I suppose.
But the dry 400 papers just clog up in notime..

OjThnrZ.jpg


It looks pretty decent after paint anyway.
And there will probably be some defects in the mold after all.
 
The plan is to not have to paint the battery box, so I am trying to get as good mold as possible.

It will be difficult, because I have to make a split mold to be able to take them apart.
Trying to make a seamless split:

XEVdaWM.jpg


No tape on the part I am making first to not get that in the mold.

I am not in a hurry, so I laid 2 layers of gelcoat. One yesterday and one today.

klsPoRi.jpg


I have to wait for the black gelcoat anyway, I couldn't find any locally.
 
dwM1eY2.jpg


I soo want to try if I can brake it off the model, but it would be very stupid to do so before the mold is finished.

I only waxed the model a lot of times, I usually put on "release film" too(it probably isn't the right term in English) To make sure I can get the mold off. Either film or wax should be enough, but I have had problems before.
The film frocks up the finish, it looks like brush painted afterwords.
I have seen people use only film, and not paint the model at all.
I really hope this will work :)
 
It cures fast in the hot weather..

UuD2vxL.jpg


I actually had problems that the polyester cured in the roller, so I had to change it.

It wasn't easy to get the mold of the model, the model is not the same anymore..

rDDZFMA.jpg


I shouldn't need it anymore either (I hope), so it is okay.

There is a little problem in the mold:

Vr3Zjtb.jpg


It is a classic one, a low spot. When the gelcoat cures the gas gets stuck on top and dissolves it.
I laid it on the side after a while, but it was too late.
Anyway, not a big problem.
I will put a little putty on it, and a thin plastic tape over. It should be a minimal mark, and it is over the rear shock.

FwVZukN.jpg
 
Great job :thumb:

Originally, I had the idea for my build to make a copy of the old fuel tank in this way,
in order to provide more space for the electric components.

But seeing how much work this is,
I think I am too lazy for that and will just leave the fuel tank...
(anyway looks like I dont really need more space)

Maybe I can clean the fuel tank and fill it with some beverage :lol:
 
I dont think a gas tank is a good first thing to make, but at least you have something to make a mold on.
The problem is that you will have to make a split mold, that is harder. (something like mine here)
Then you will have to work on the inside of the mold when making the new "gas tank", that is also hard.
(the same thing as I had to do here on the front part where most of the batteries will be)

Flat or a little rounded is easy, sharp bends are hard.

Side covers could be a good start in fiberglass :wink:

Anyway, I got my black gelcoat and made the bottom of the battery box:

ocVCUT4.jpg


I thought that the putty I put in the mold got really slippy after a lot of waxing, and tried it without tape over.
Bad Idea:

ip5kgzm.jpg


Now I dont have any putty in the mold, but I have it on the battery box..
Should not a big problem I hope.

CCuzrBB.jpg


That the battery doesn't fit inside might be a problem.
I had to make it very tight, and I planned fit the fiberglass very careful to get minimal overlap.
But it cured so fast, I didnt have time to fiddle with details
So it is back to sanding :roll:
 
Indeed :)

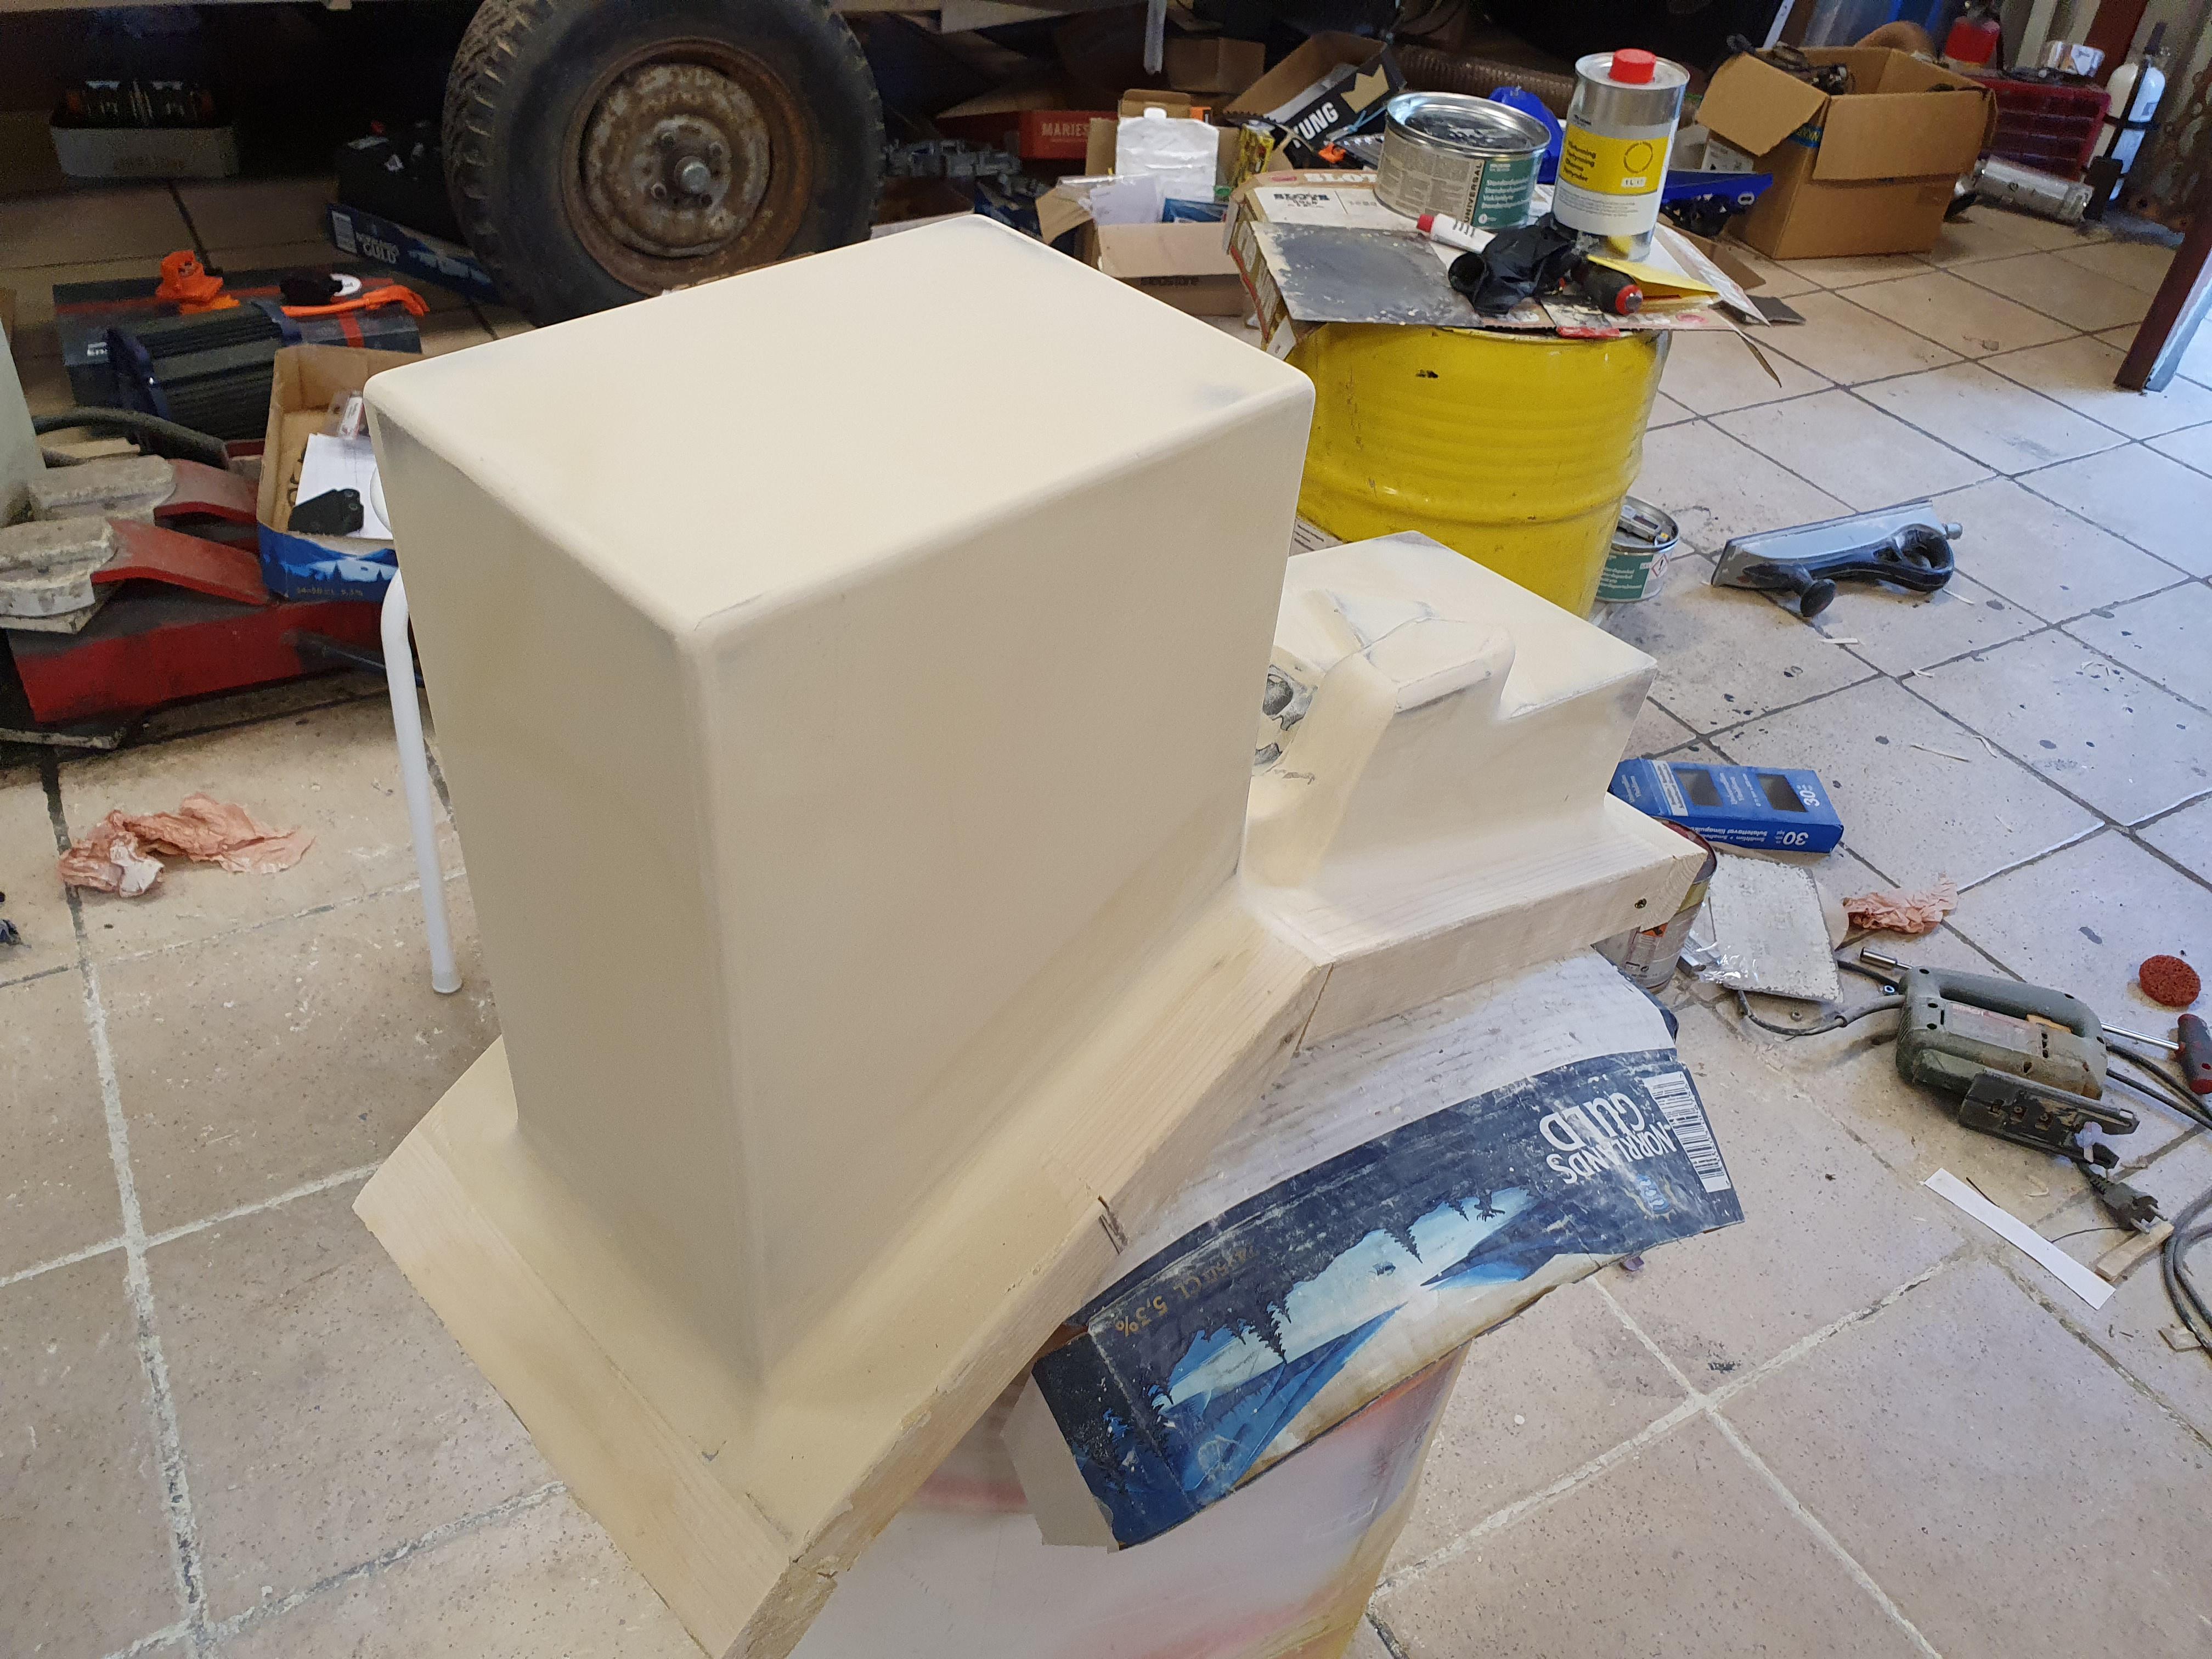
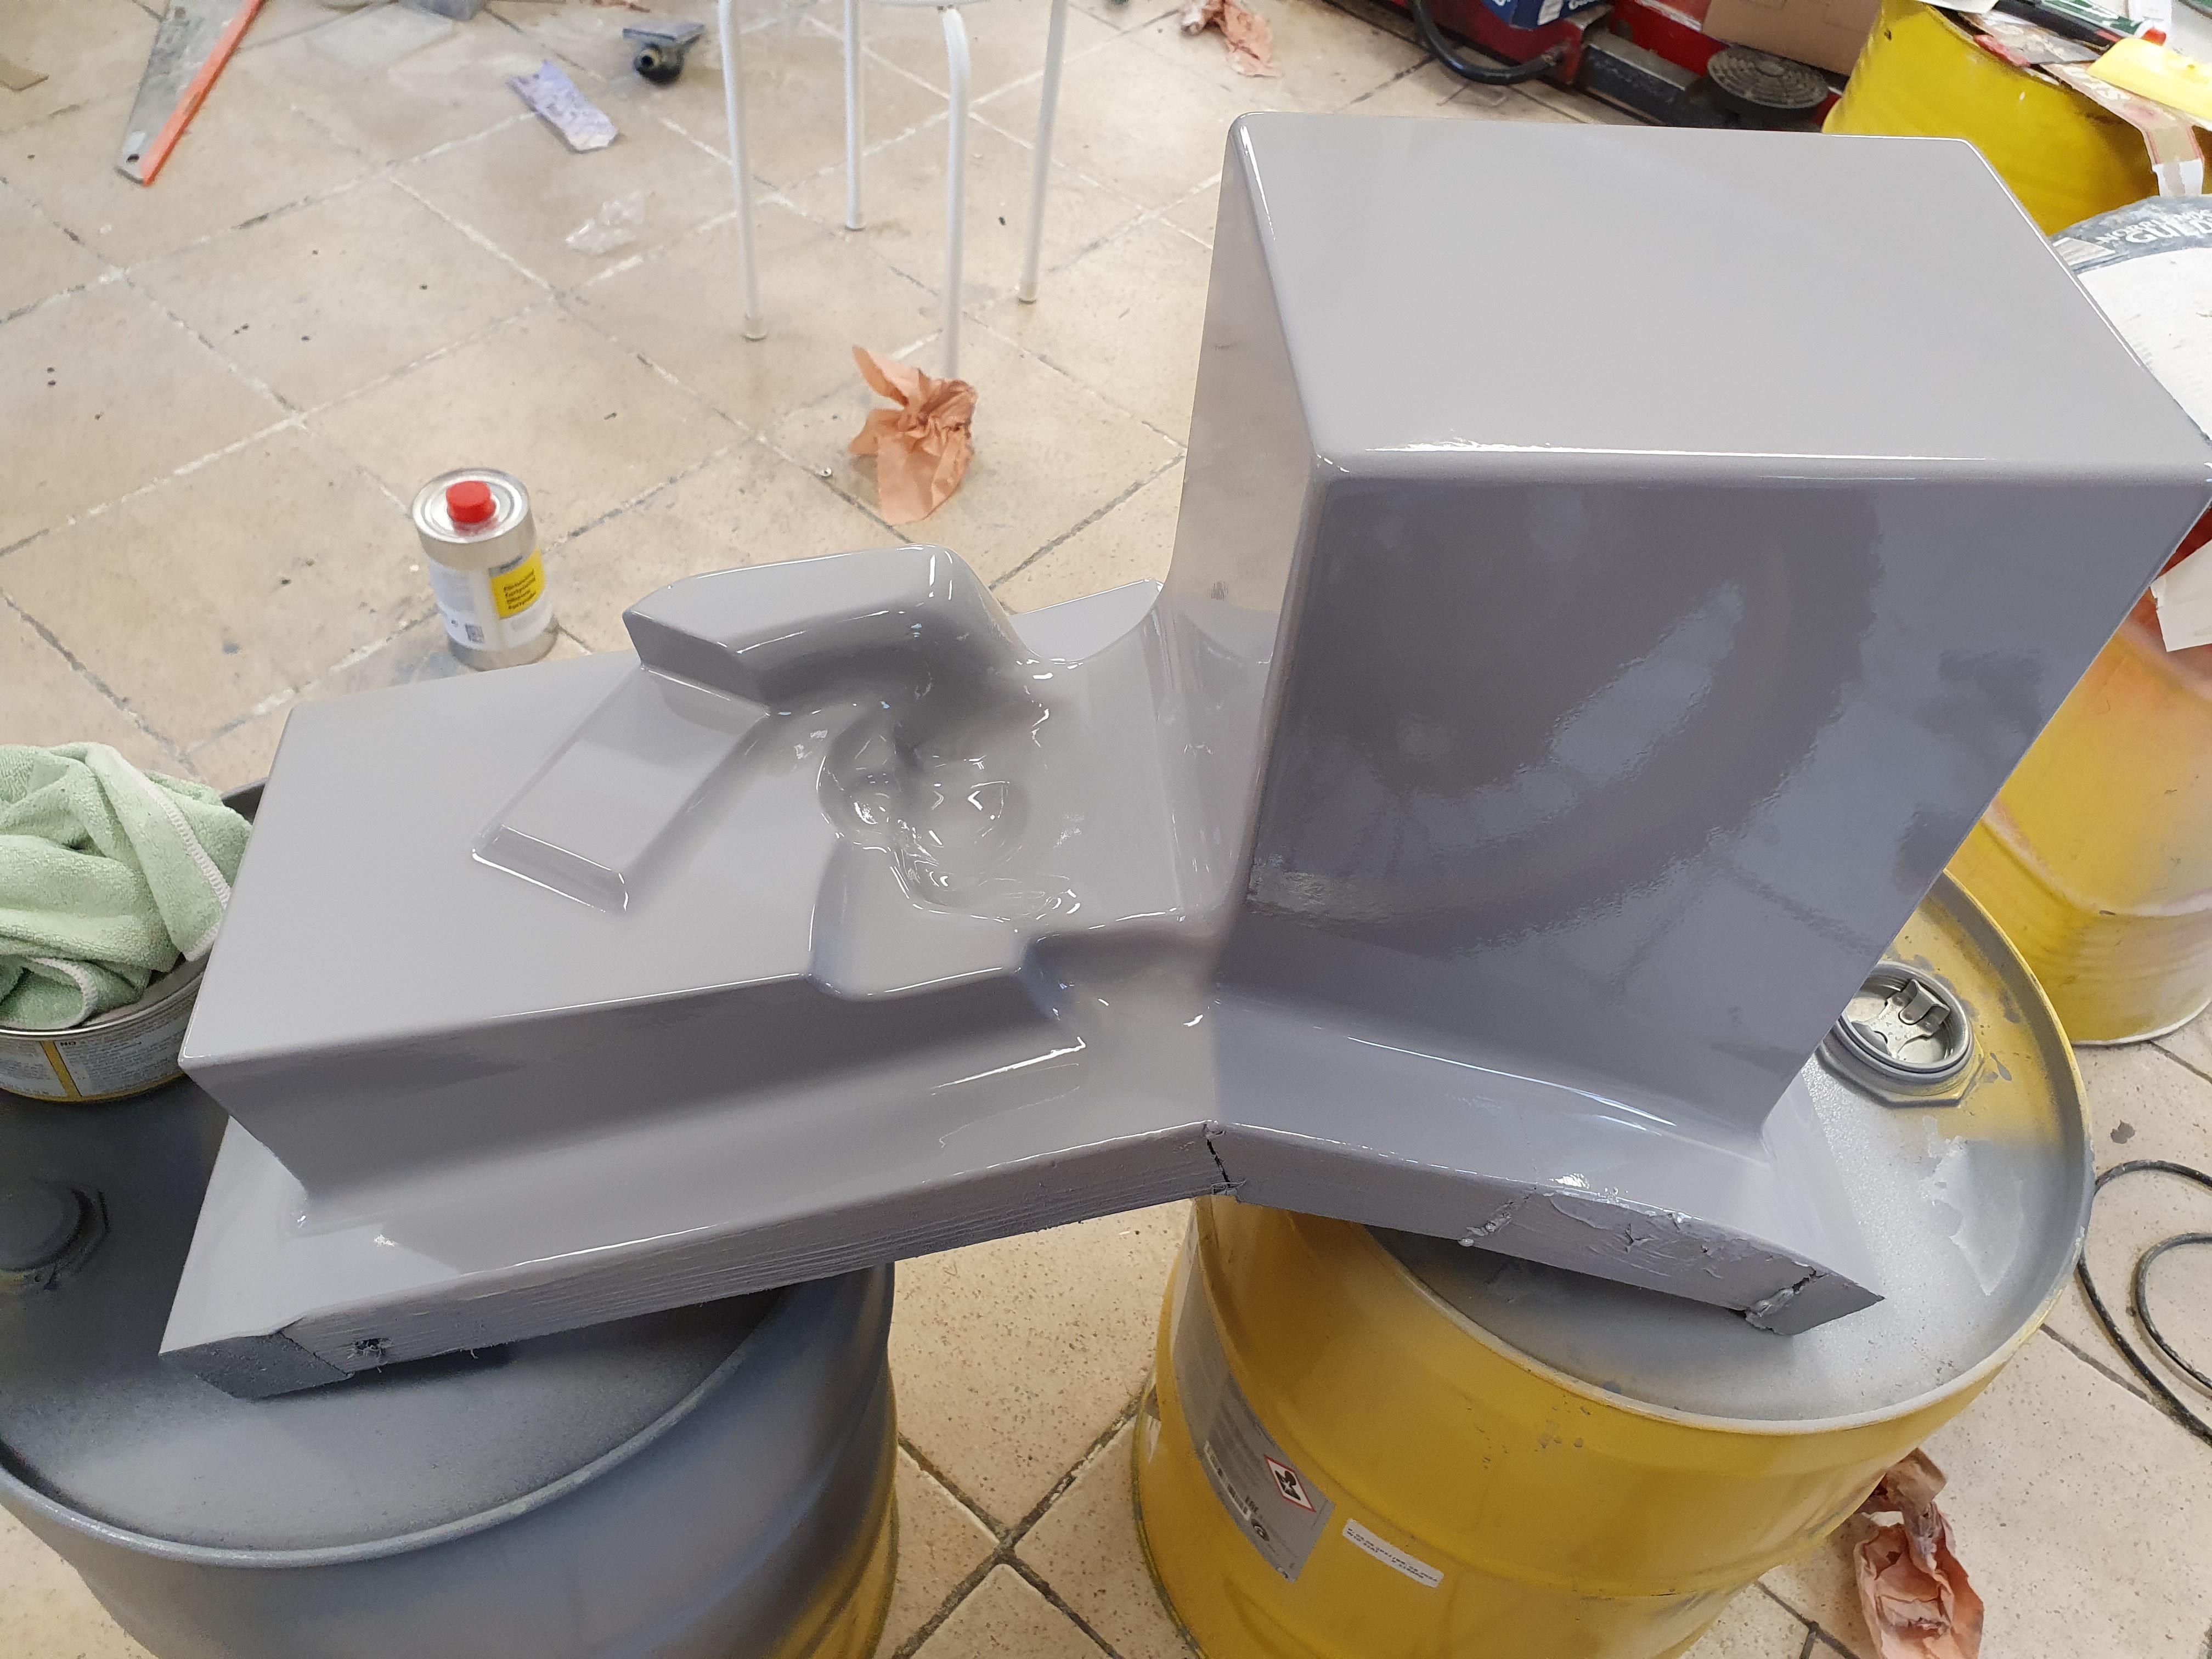
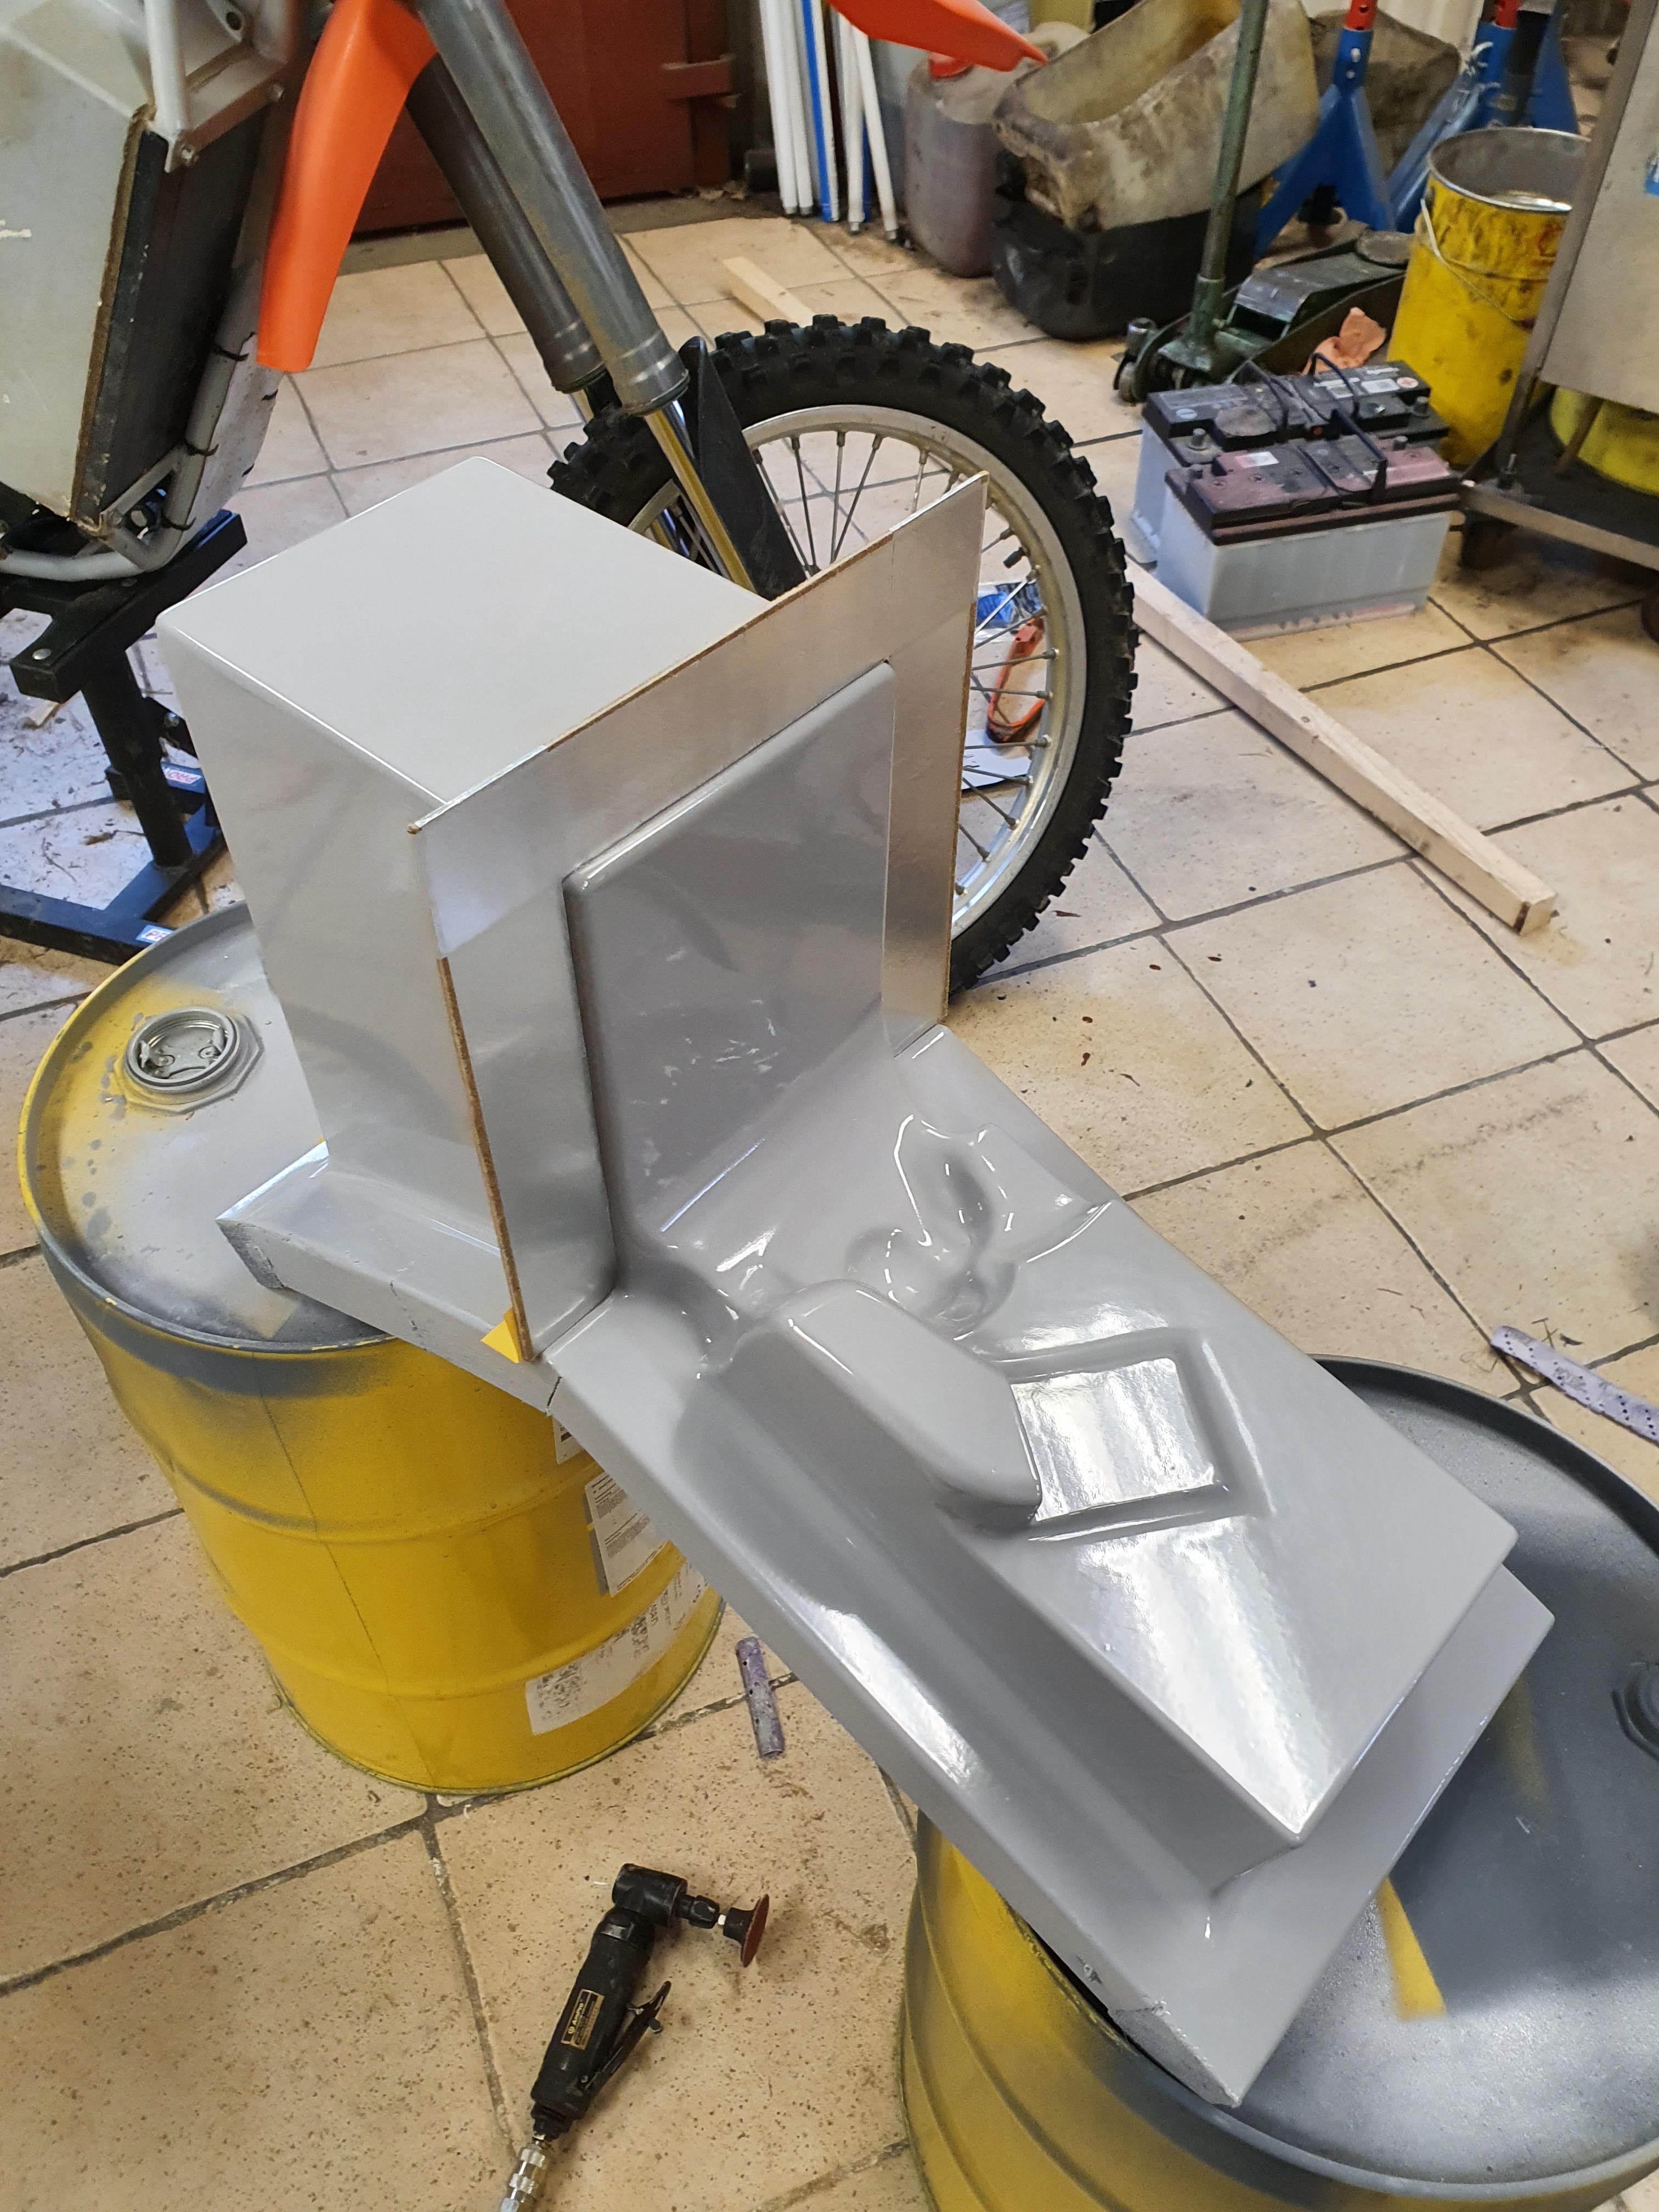
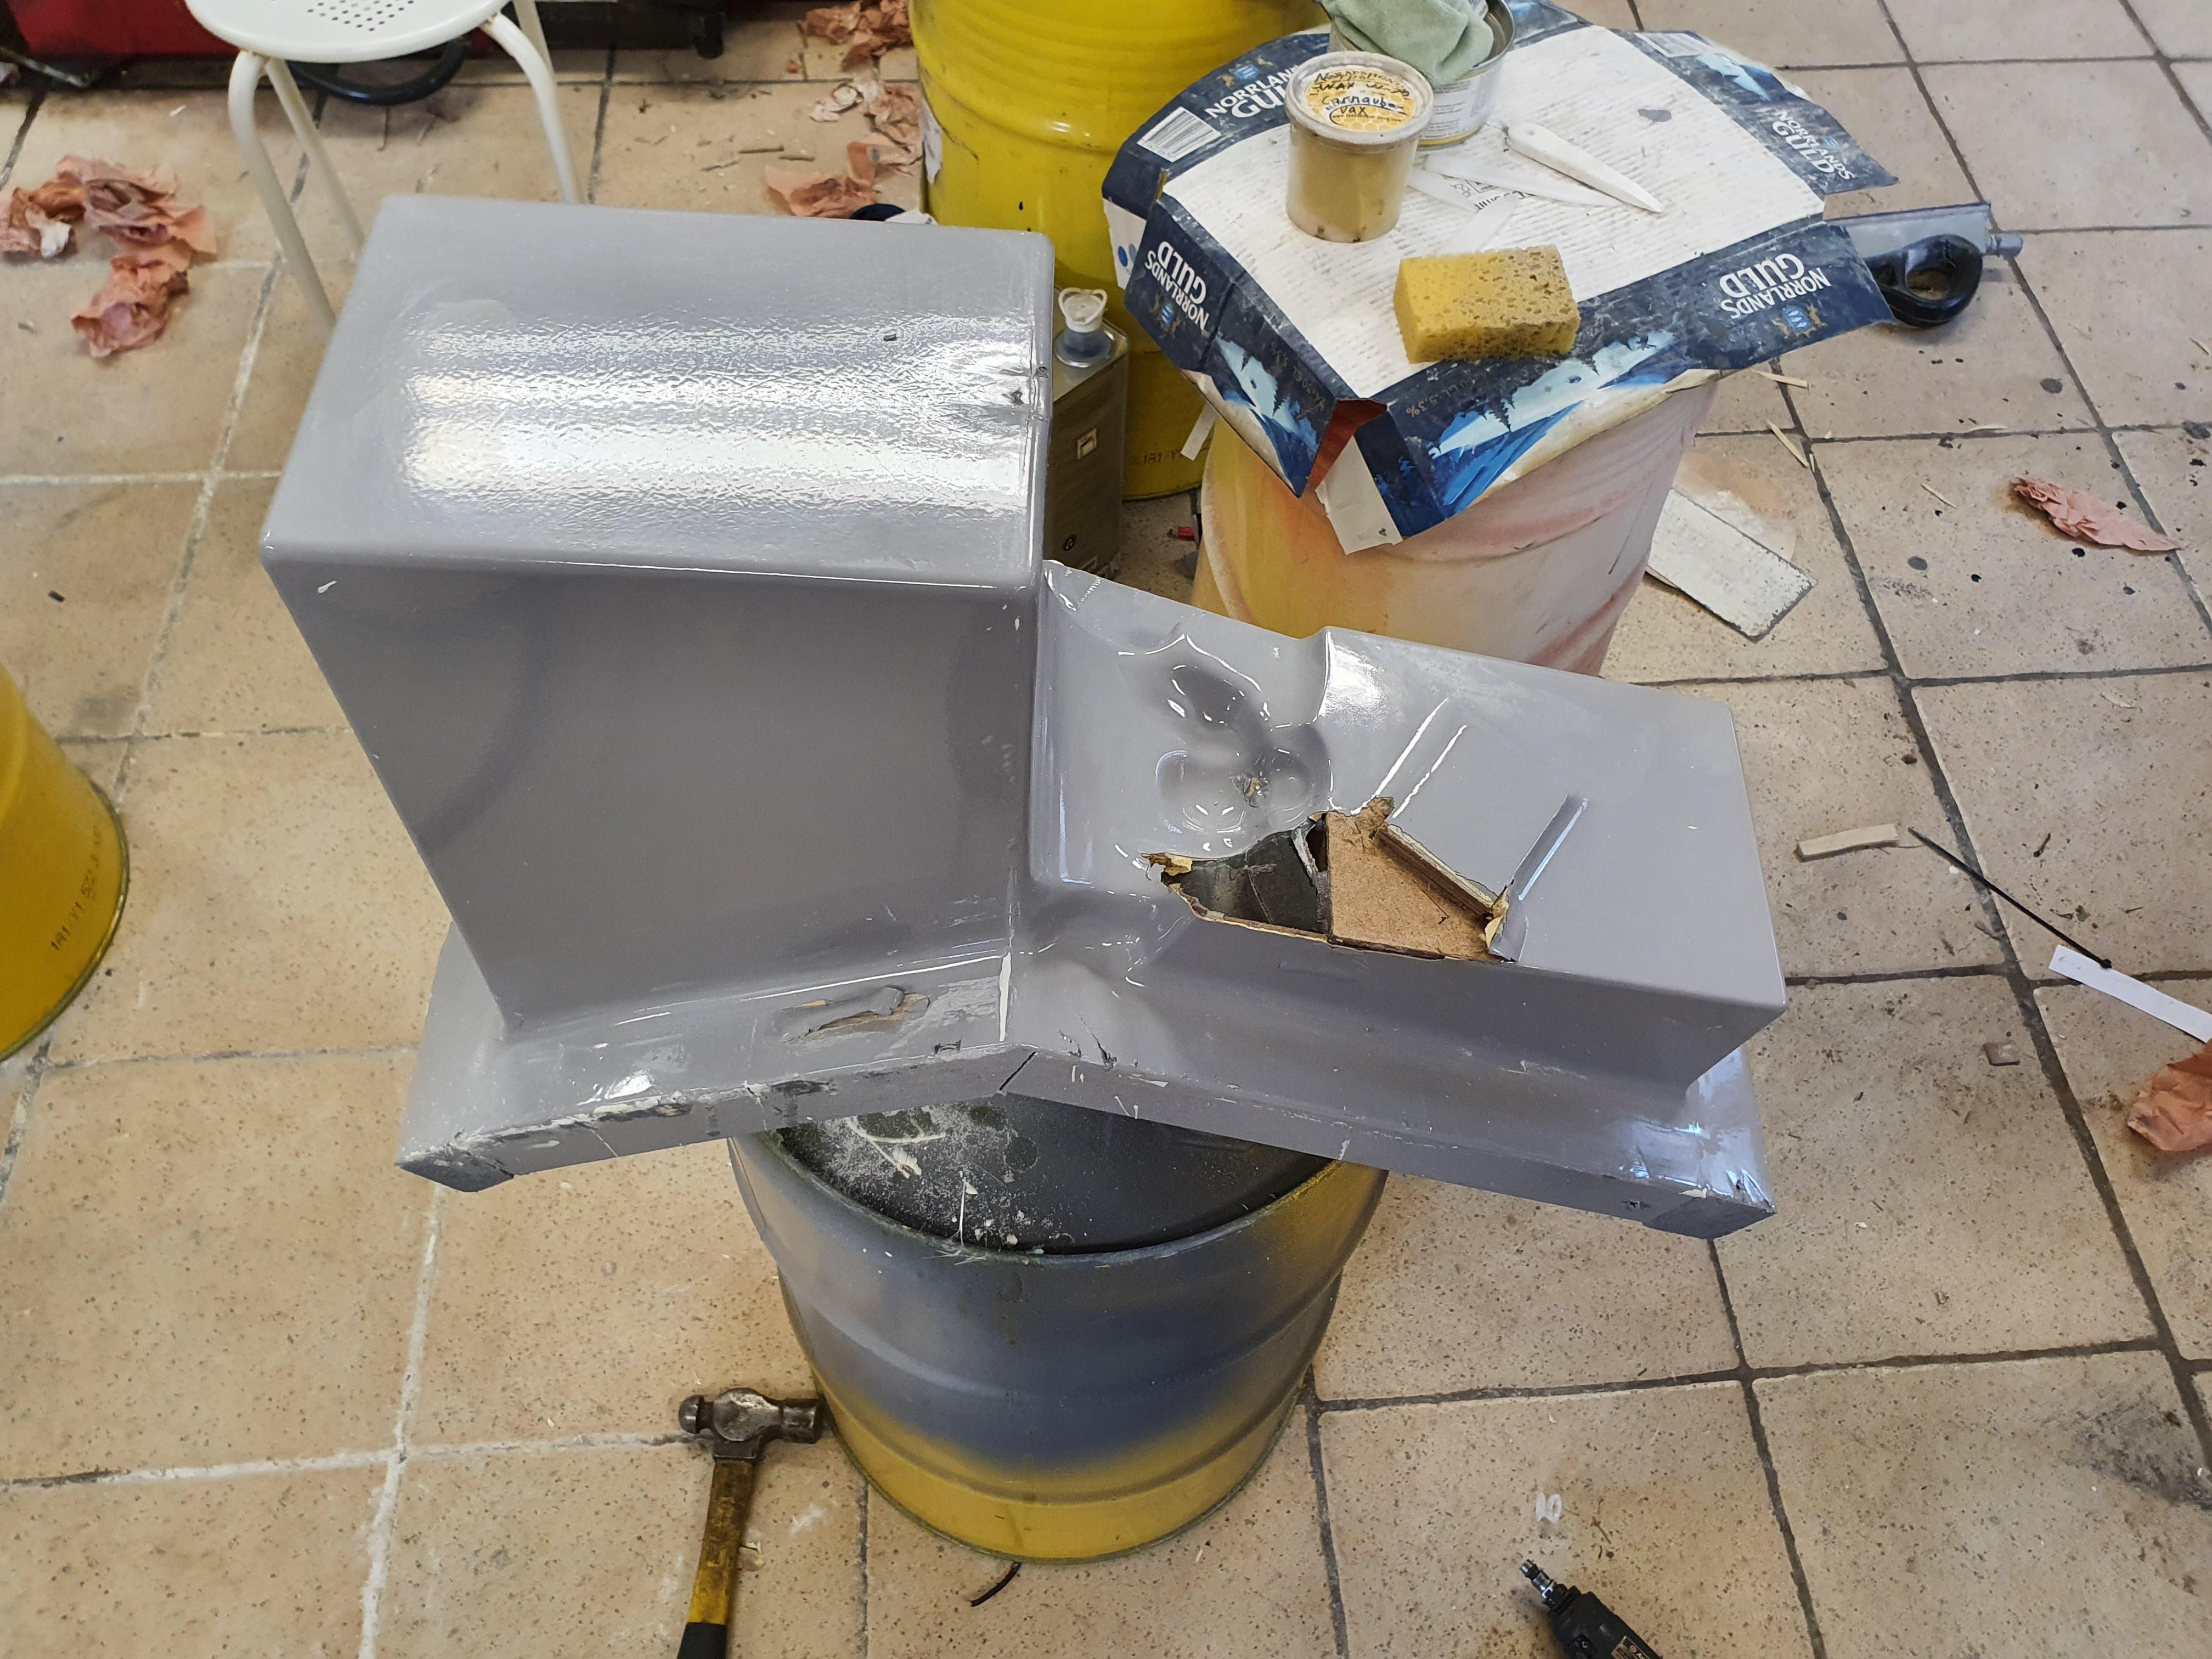
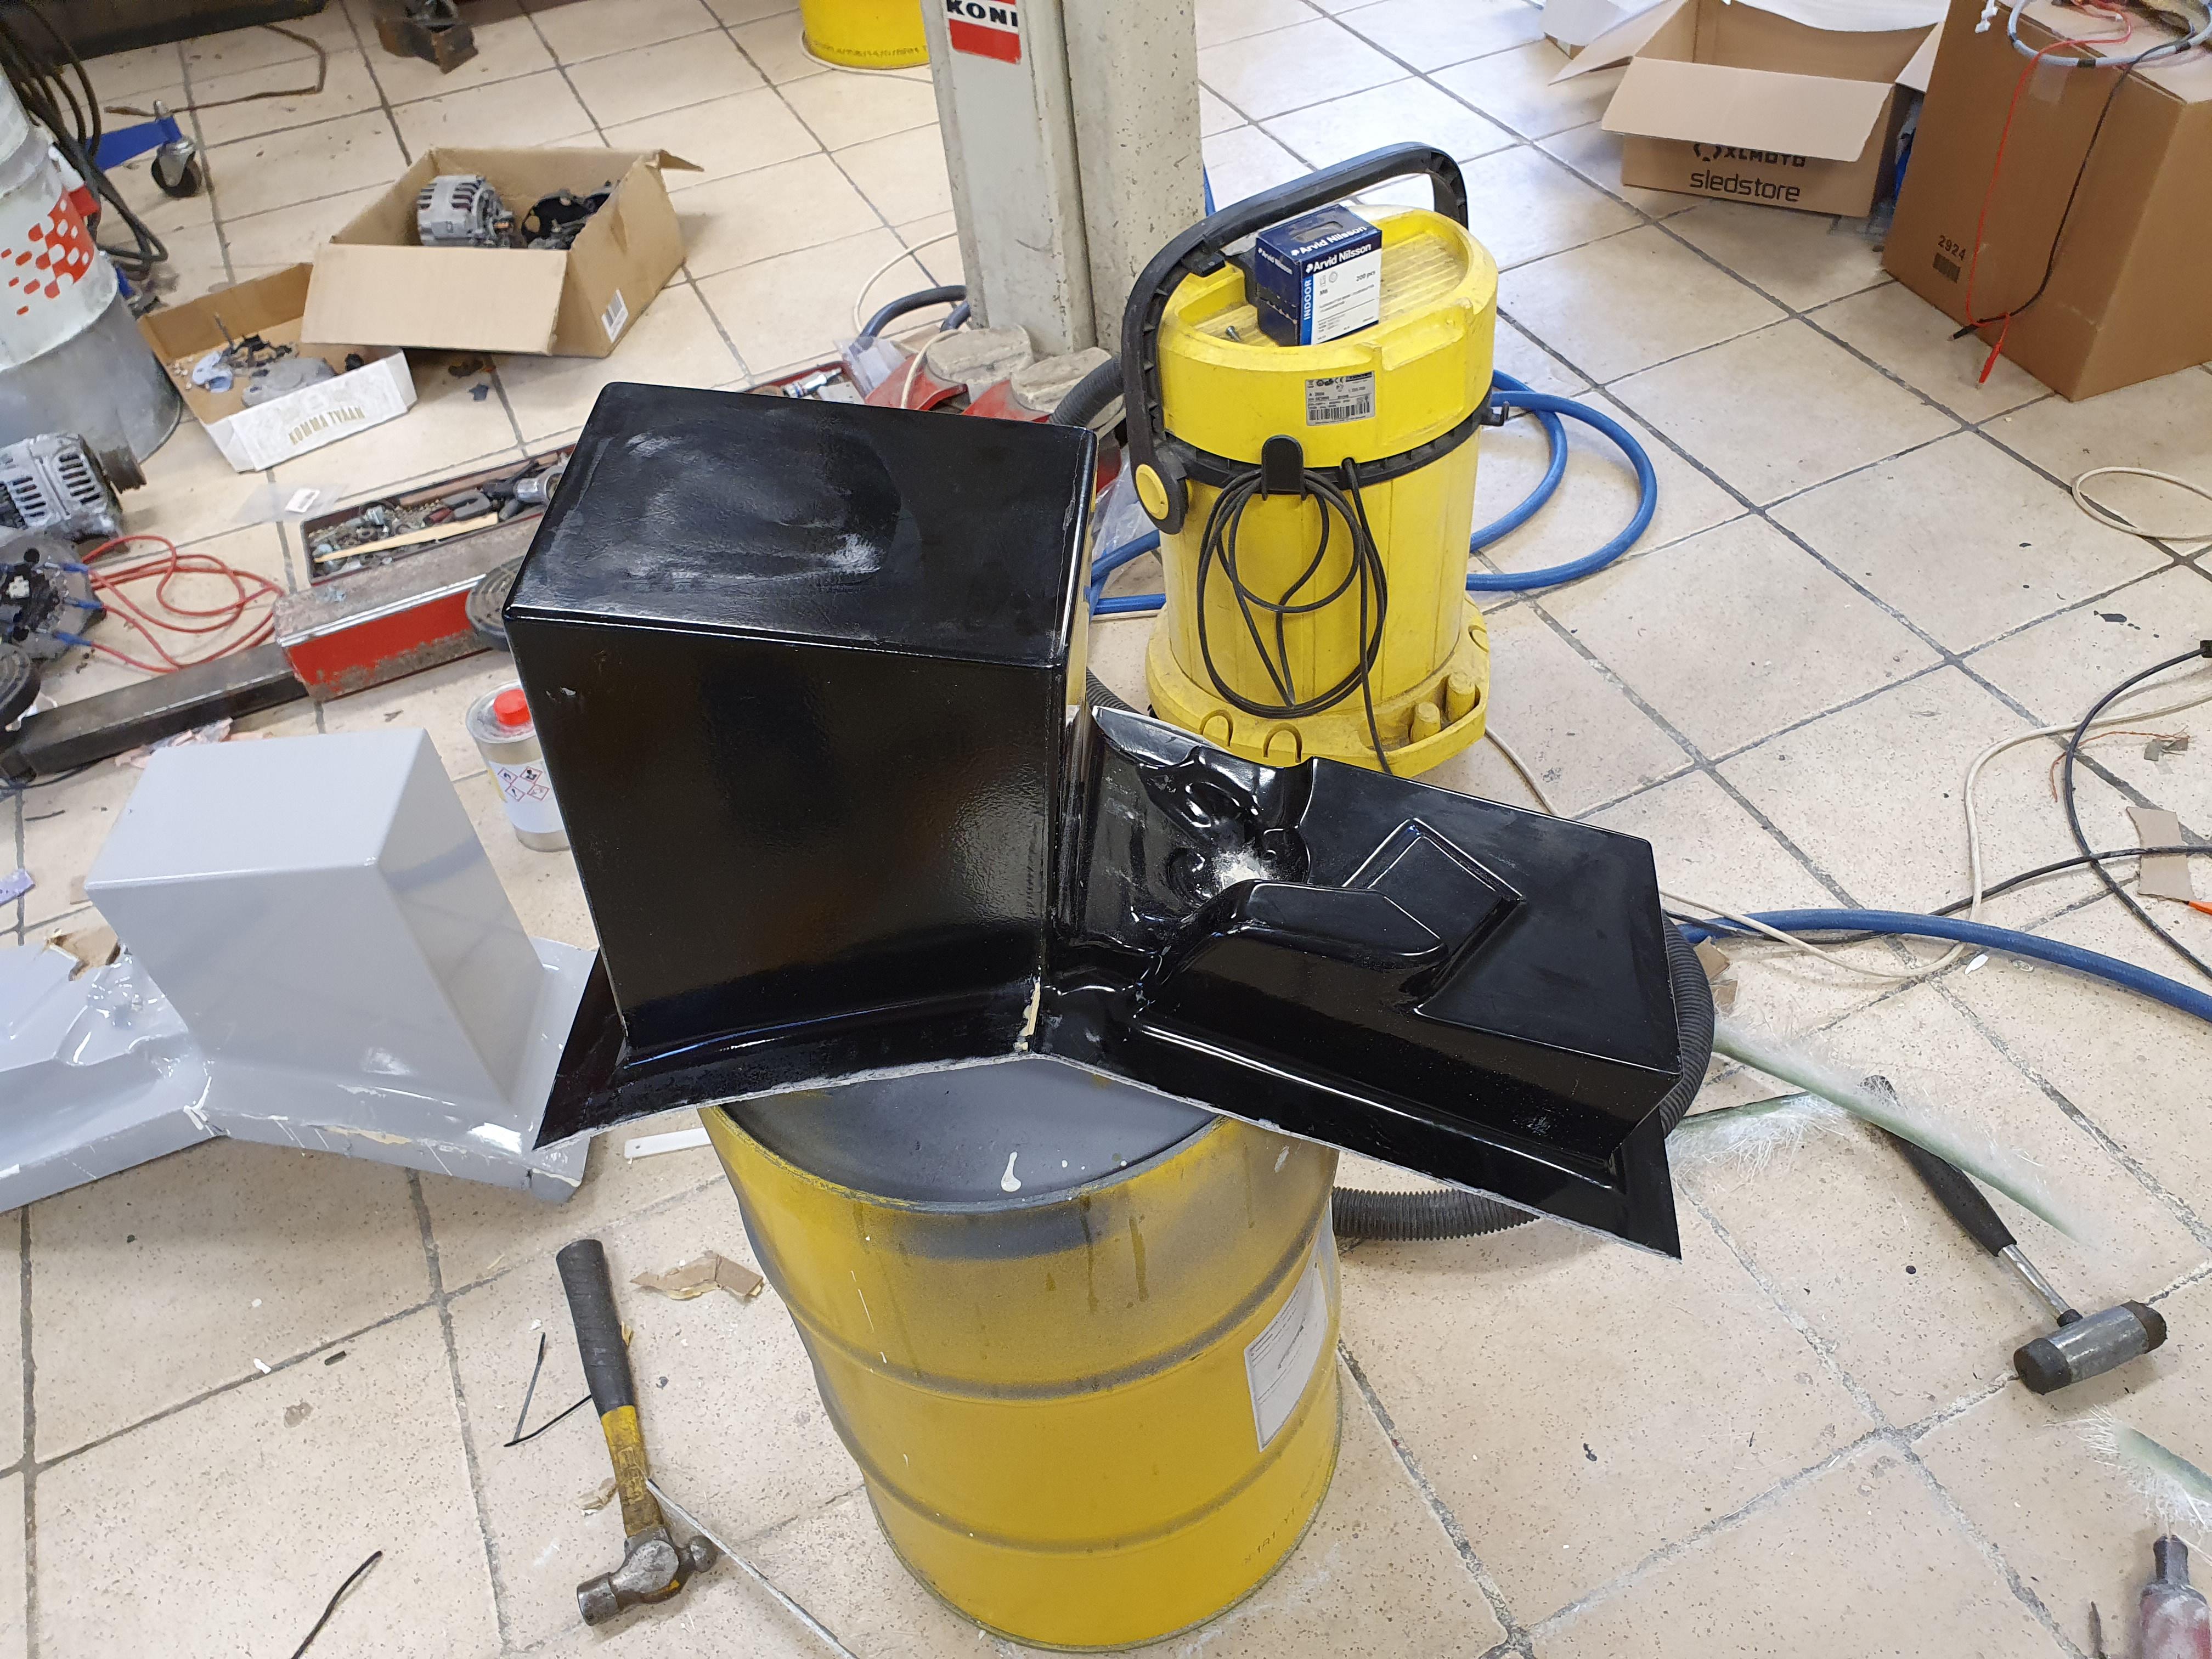
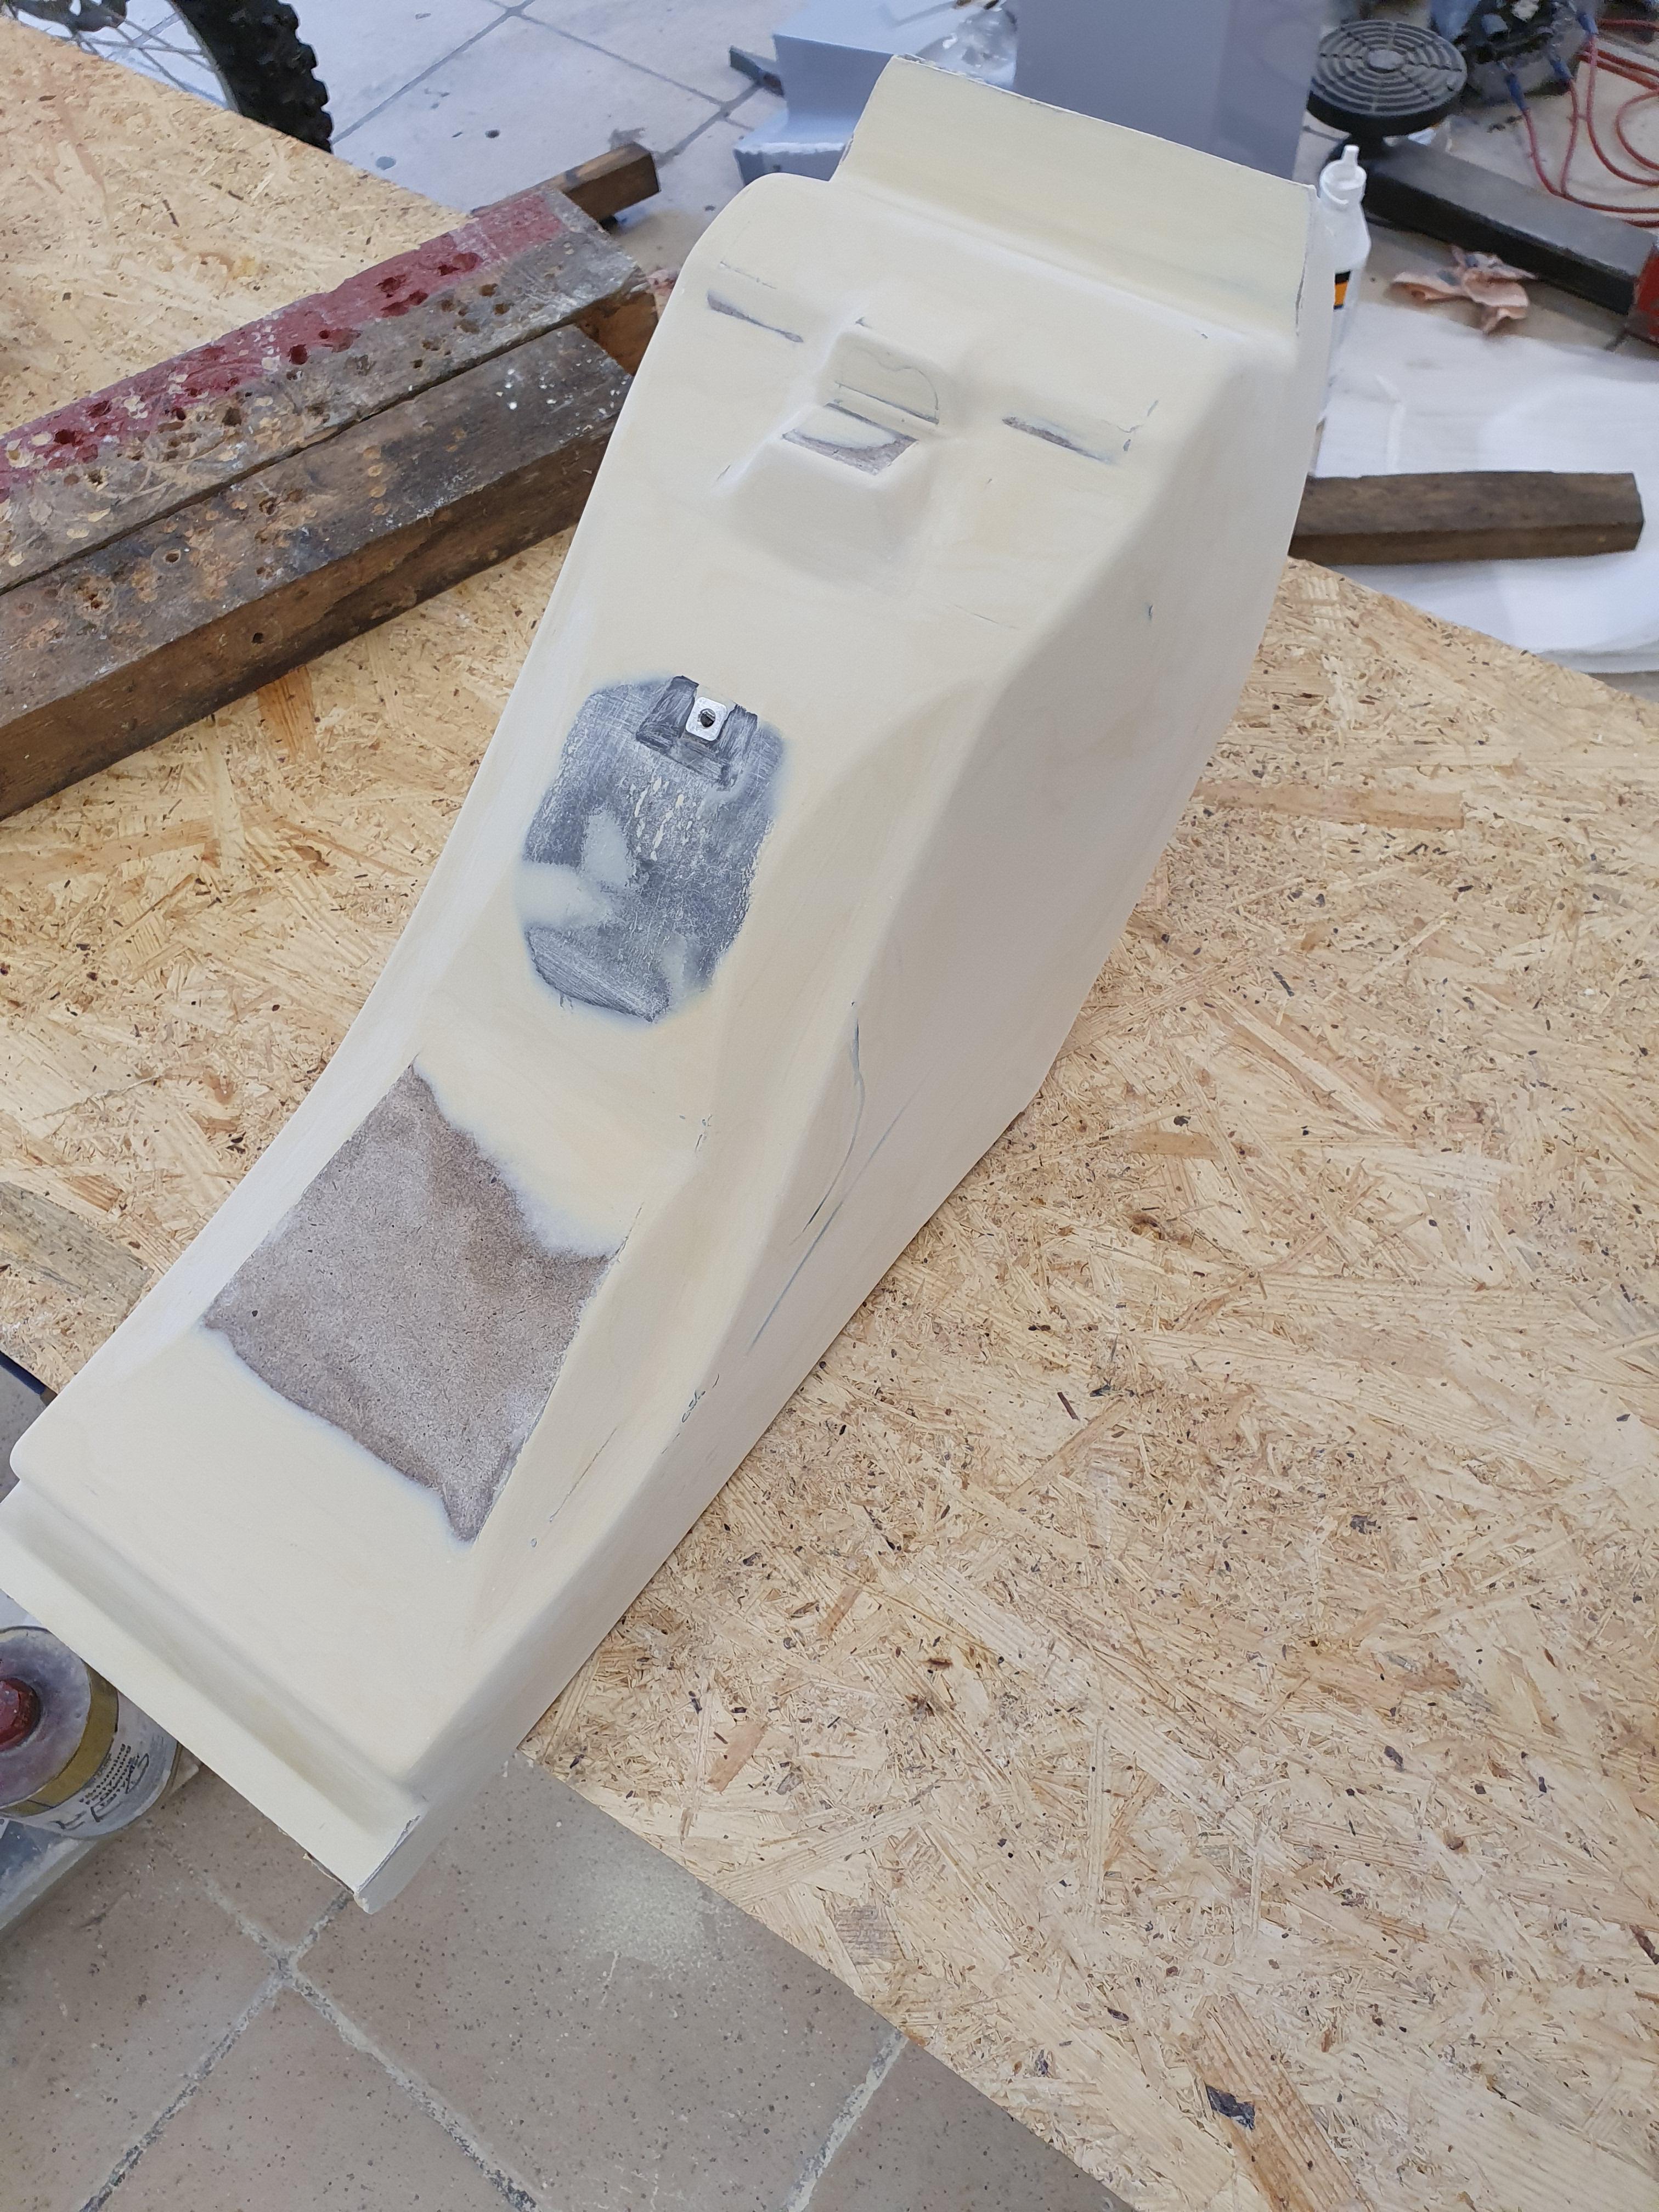
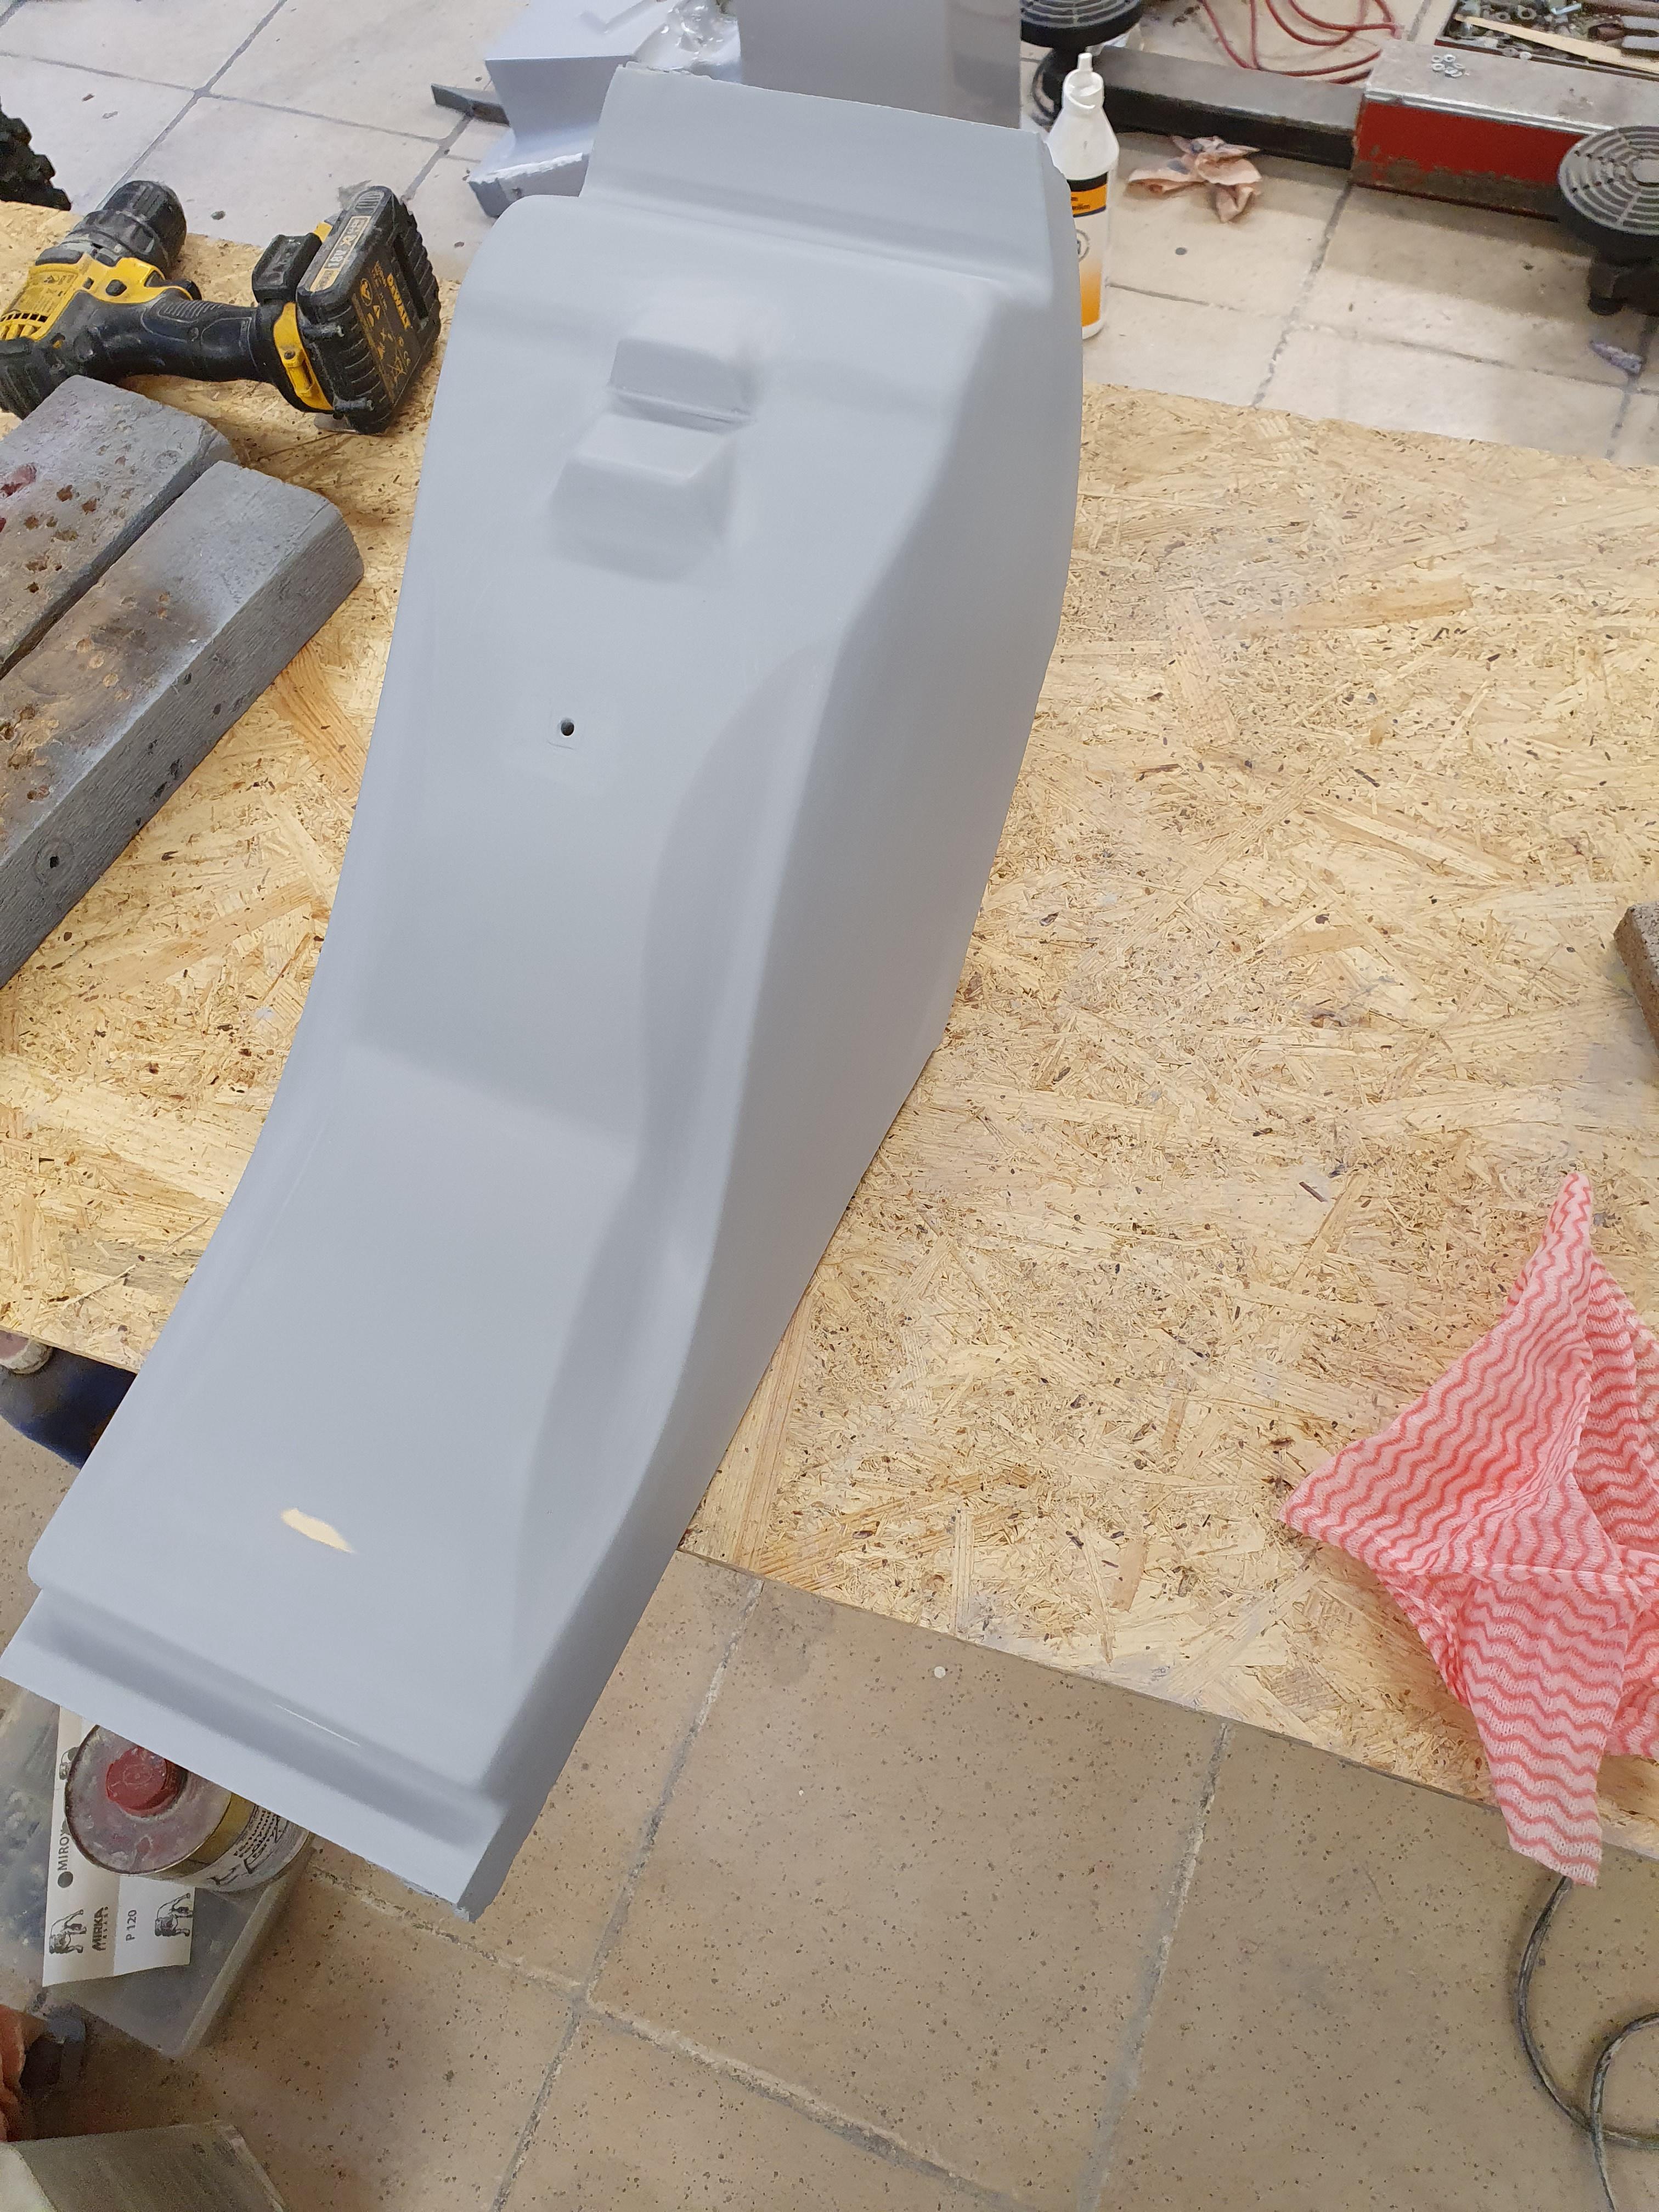
Primed and sanded, turned out really nice.

obcSrmf.jpg


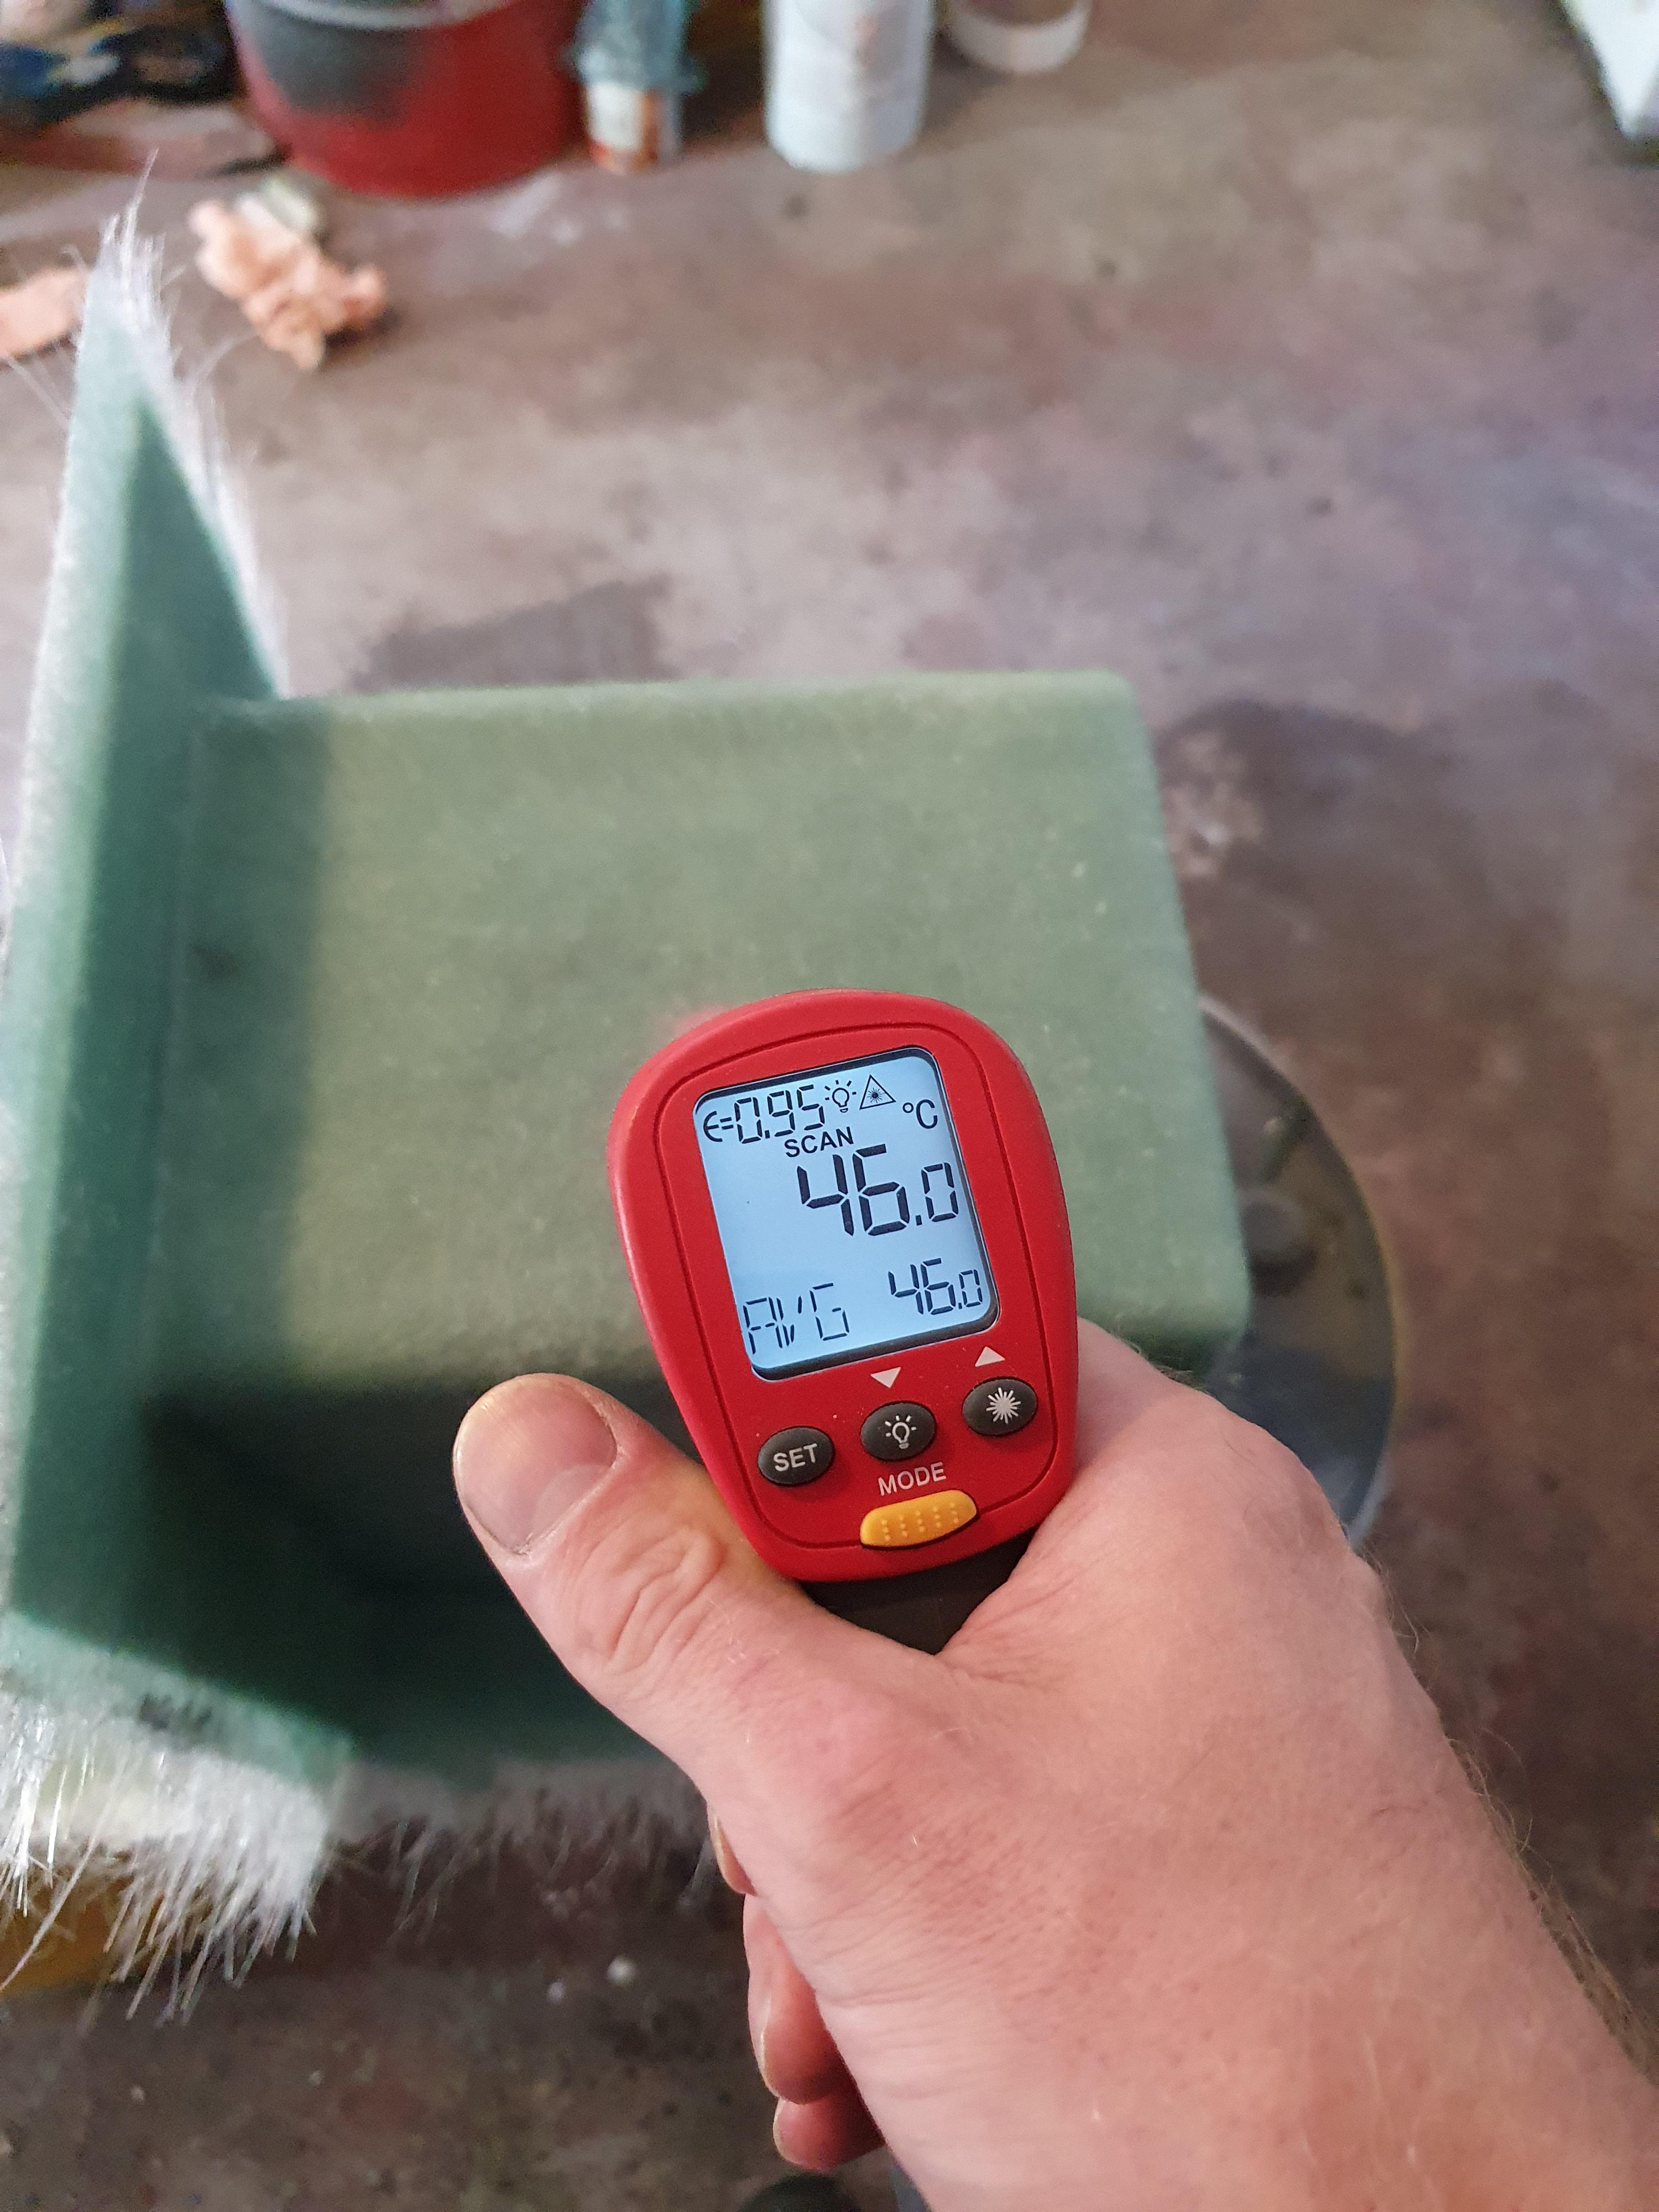
I realized I was in too much hurry to start sanding, it seems you have to wait 16 hours if you dont have an oven.
I was tempted to try to get 60 degrees C in the kitchen oven and see if it would fit :lol:
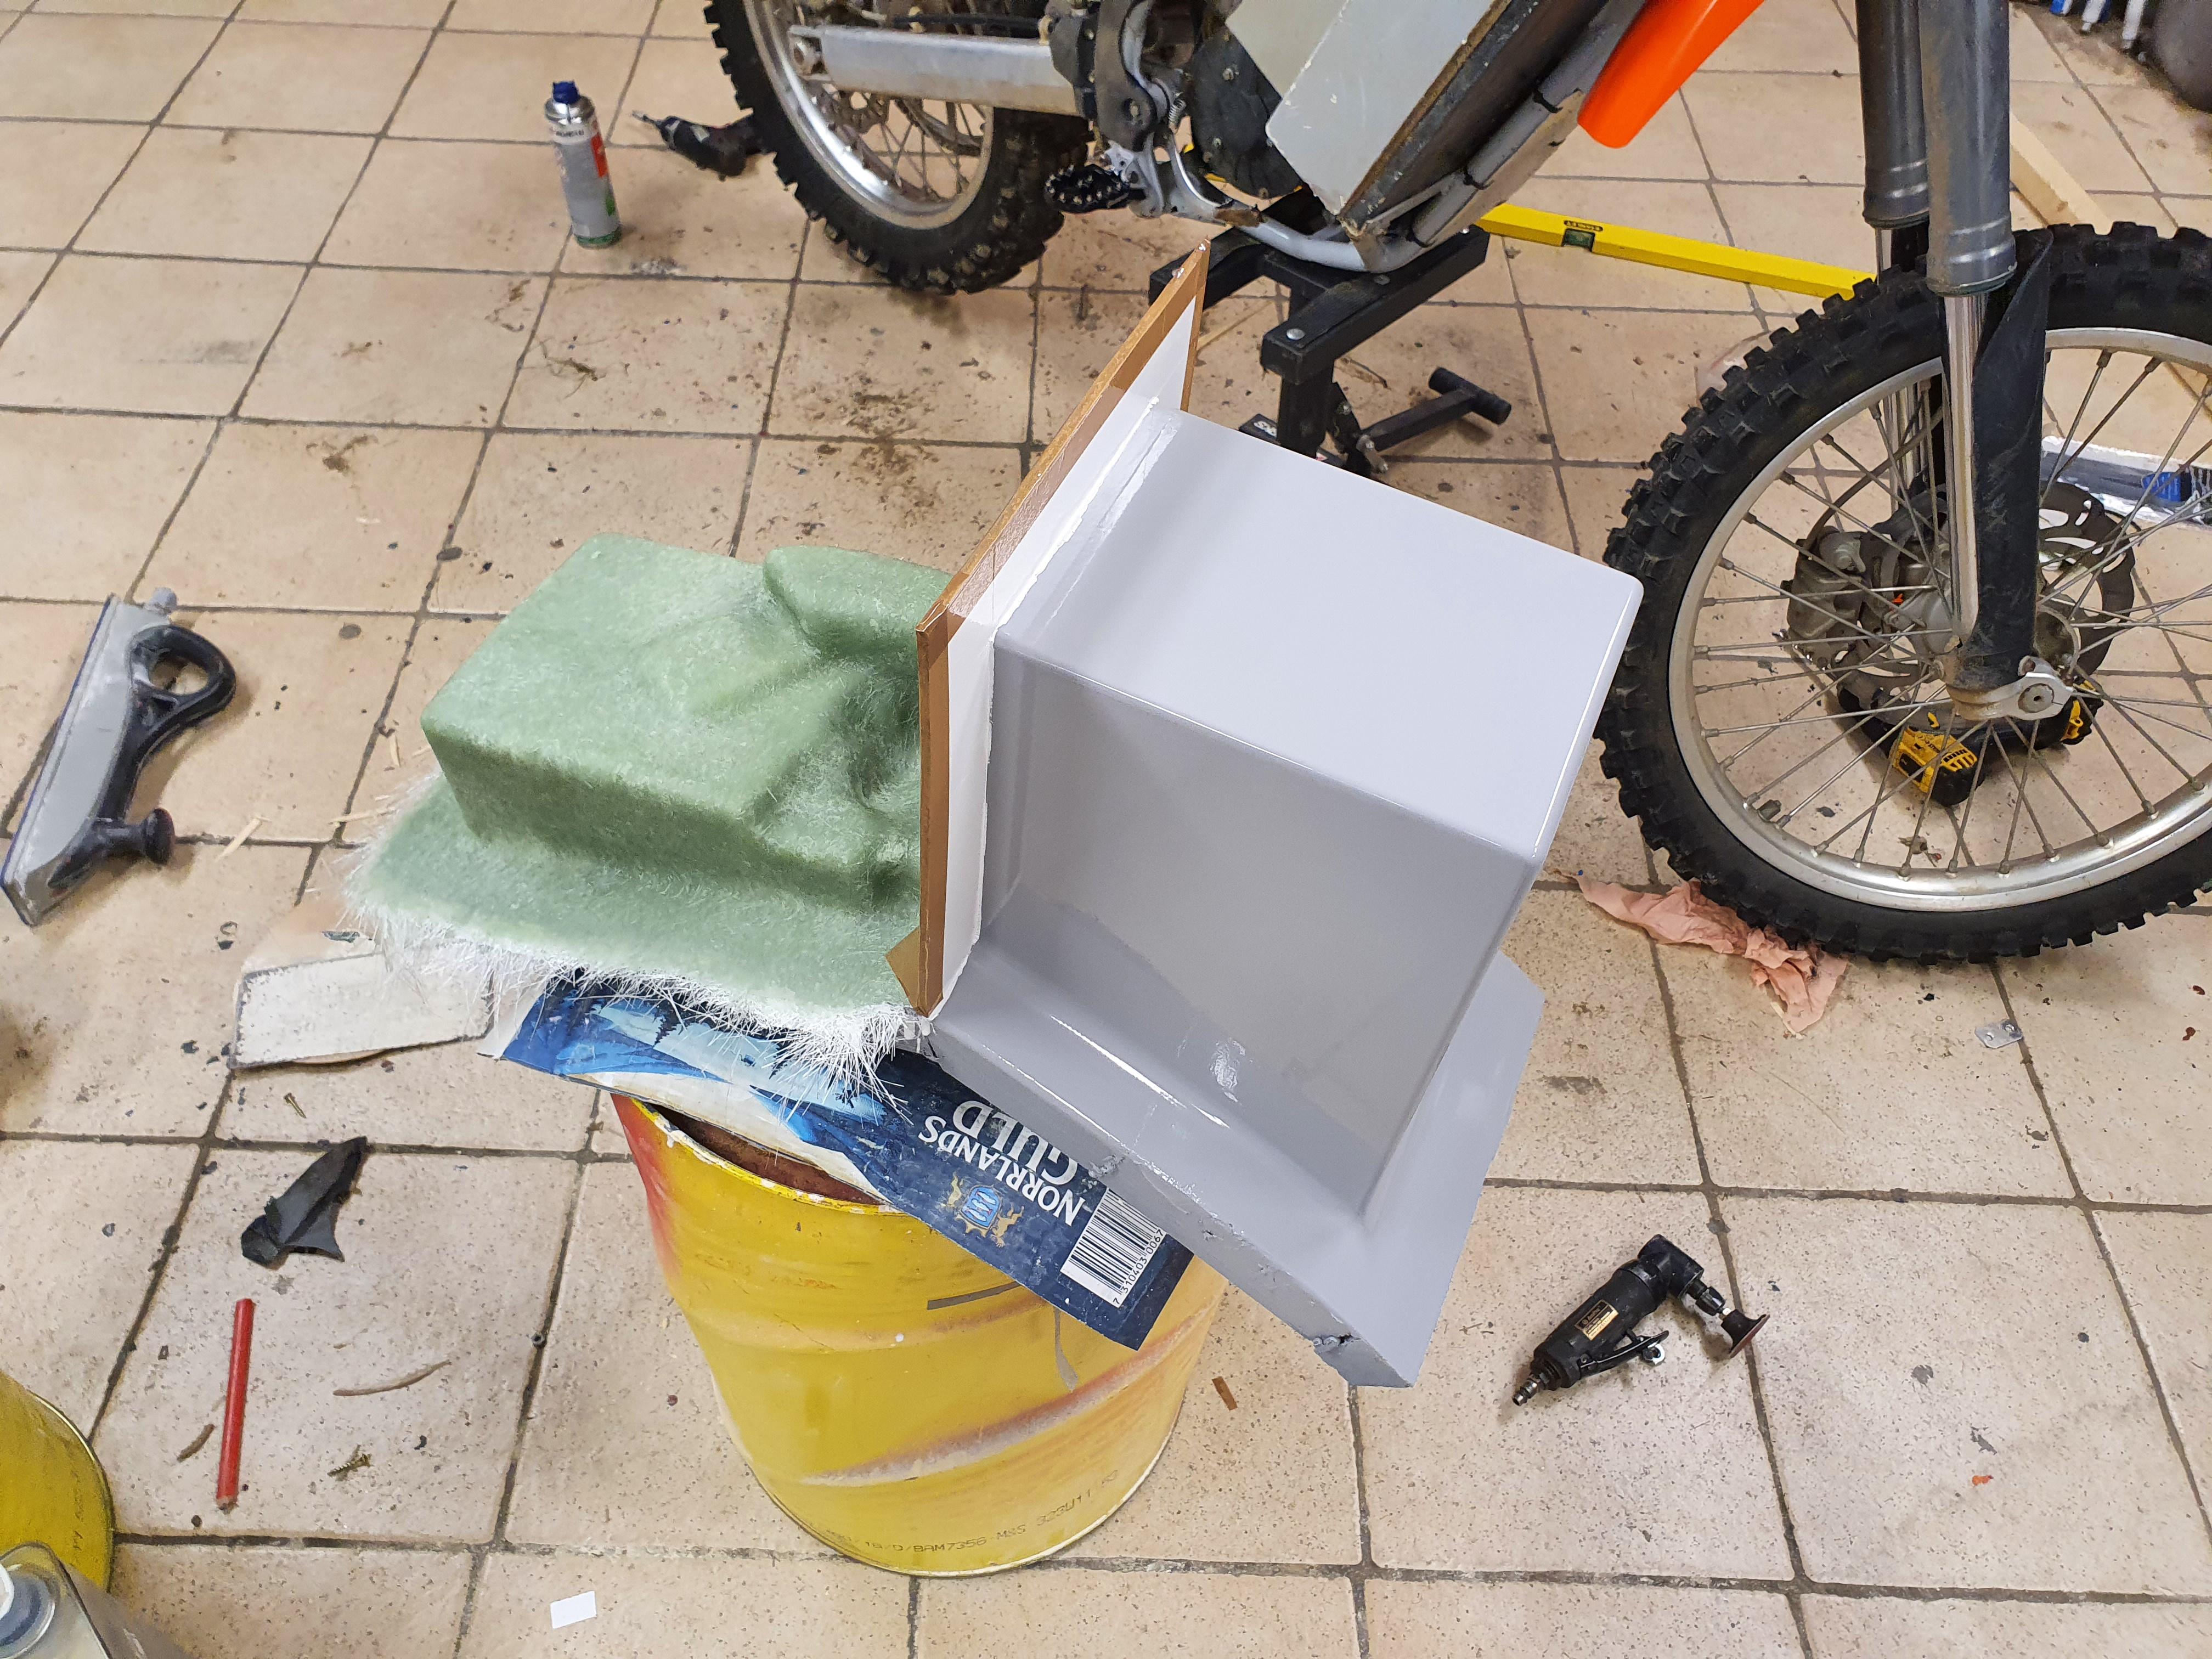
But it would be too bad if the model couldent take it, I probably have 50 hours or something in that thing.
And it is build with a lot of hot glue..

But there was another problem, I didnt have any hardener for the top coat.
Tried to buy, but the store was closed for the summer.
Opens next week, but who can wait several days :roll:

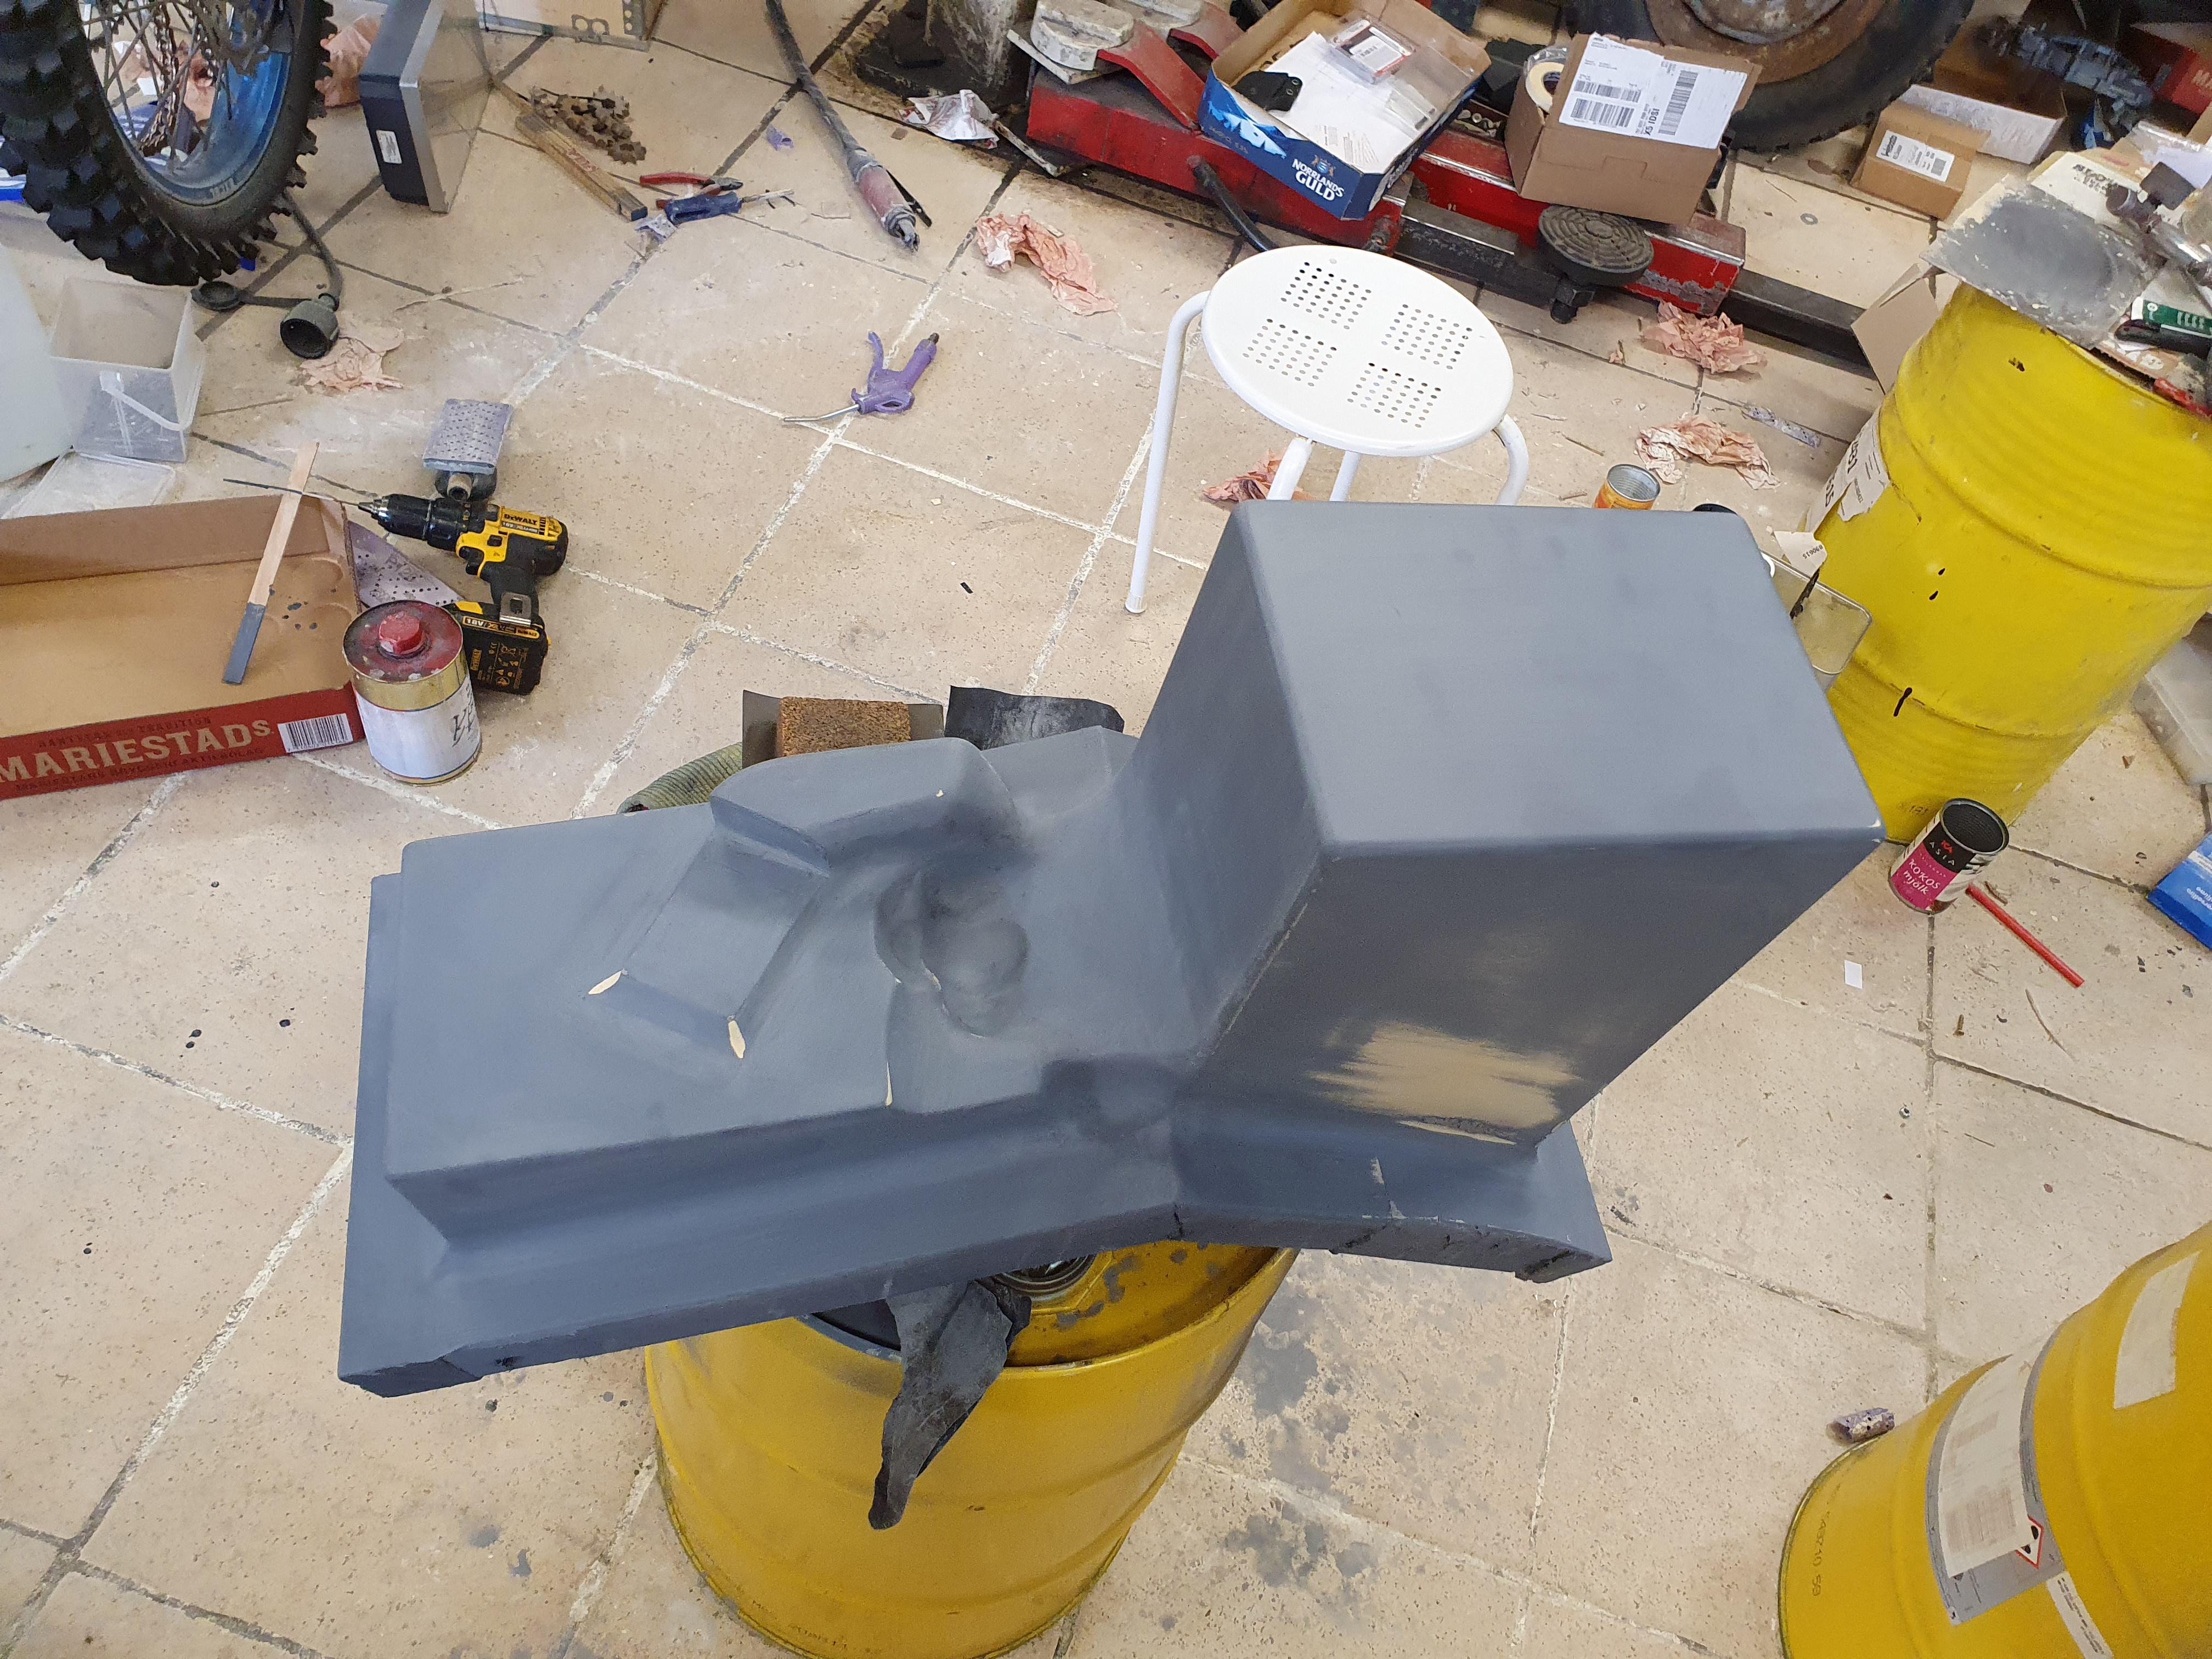
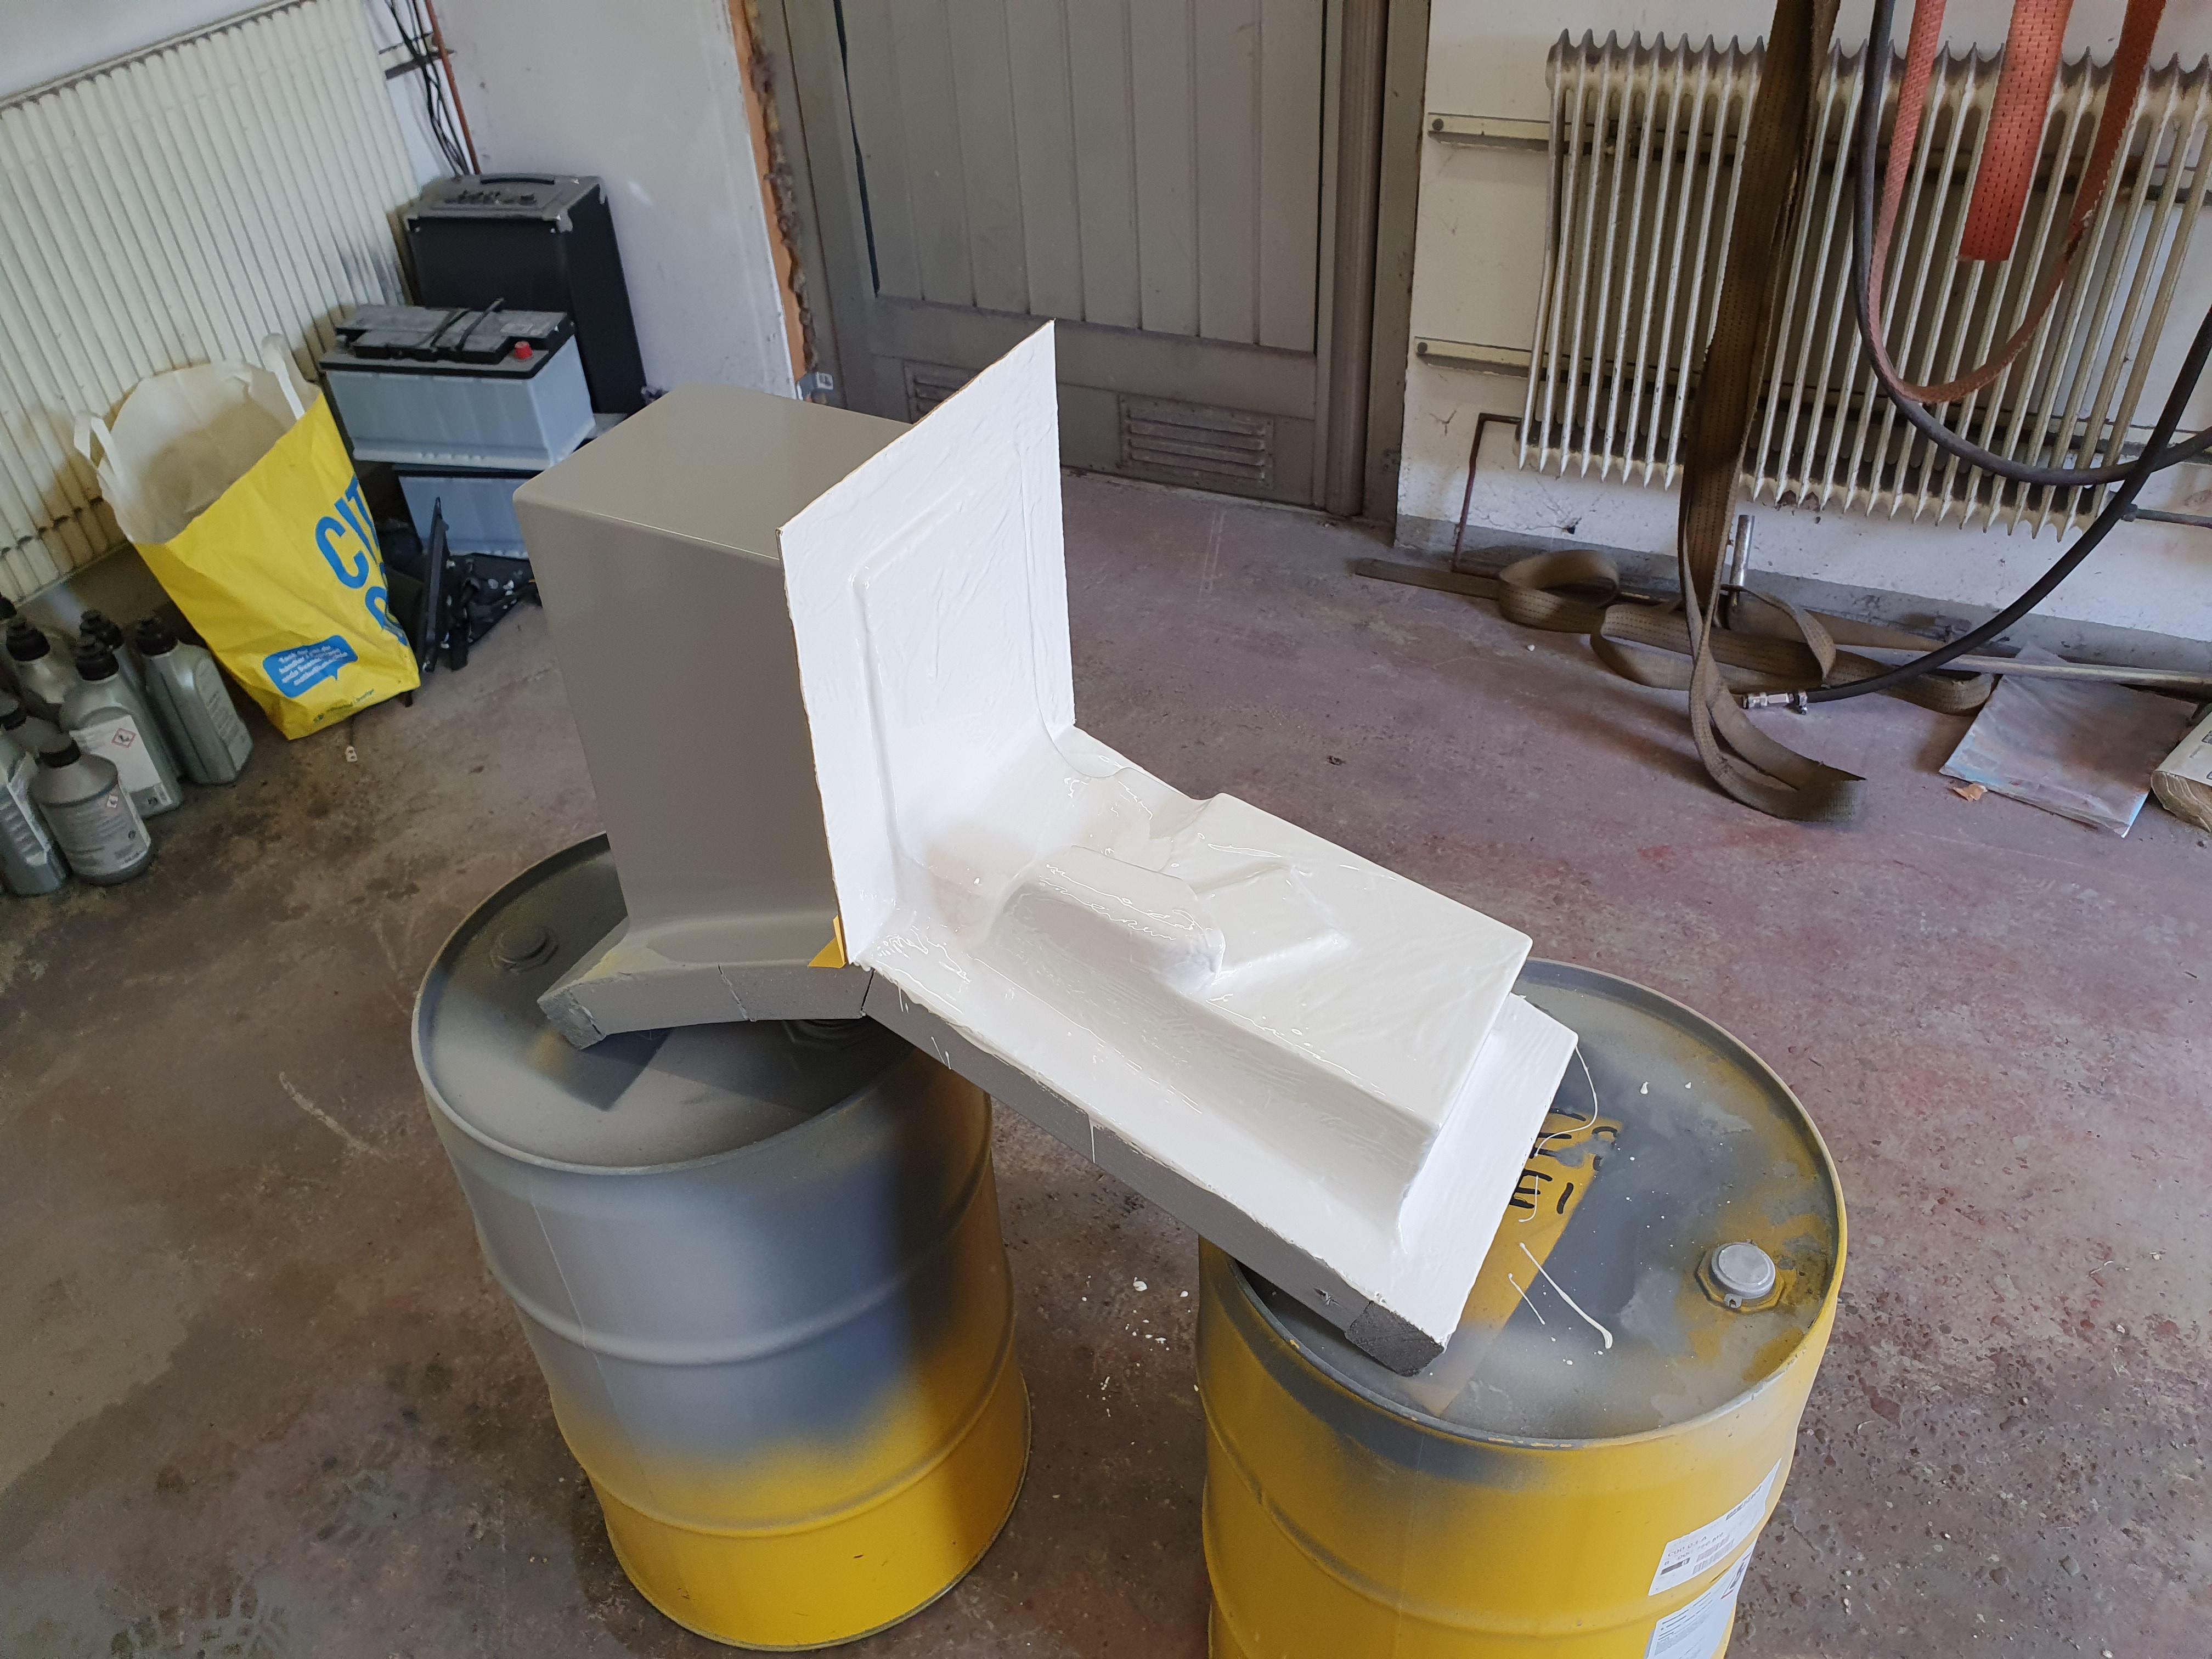
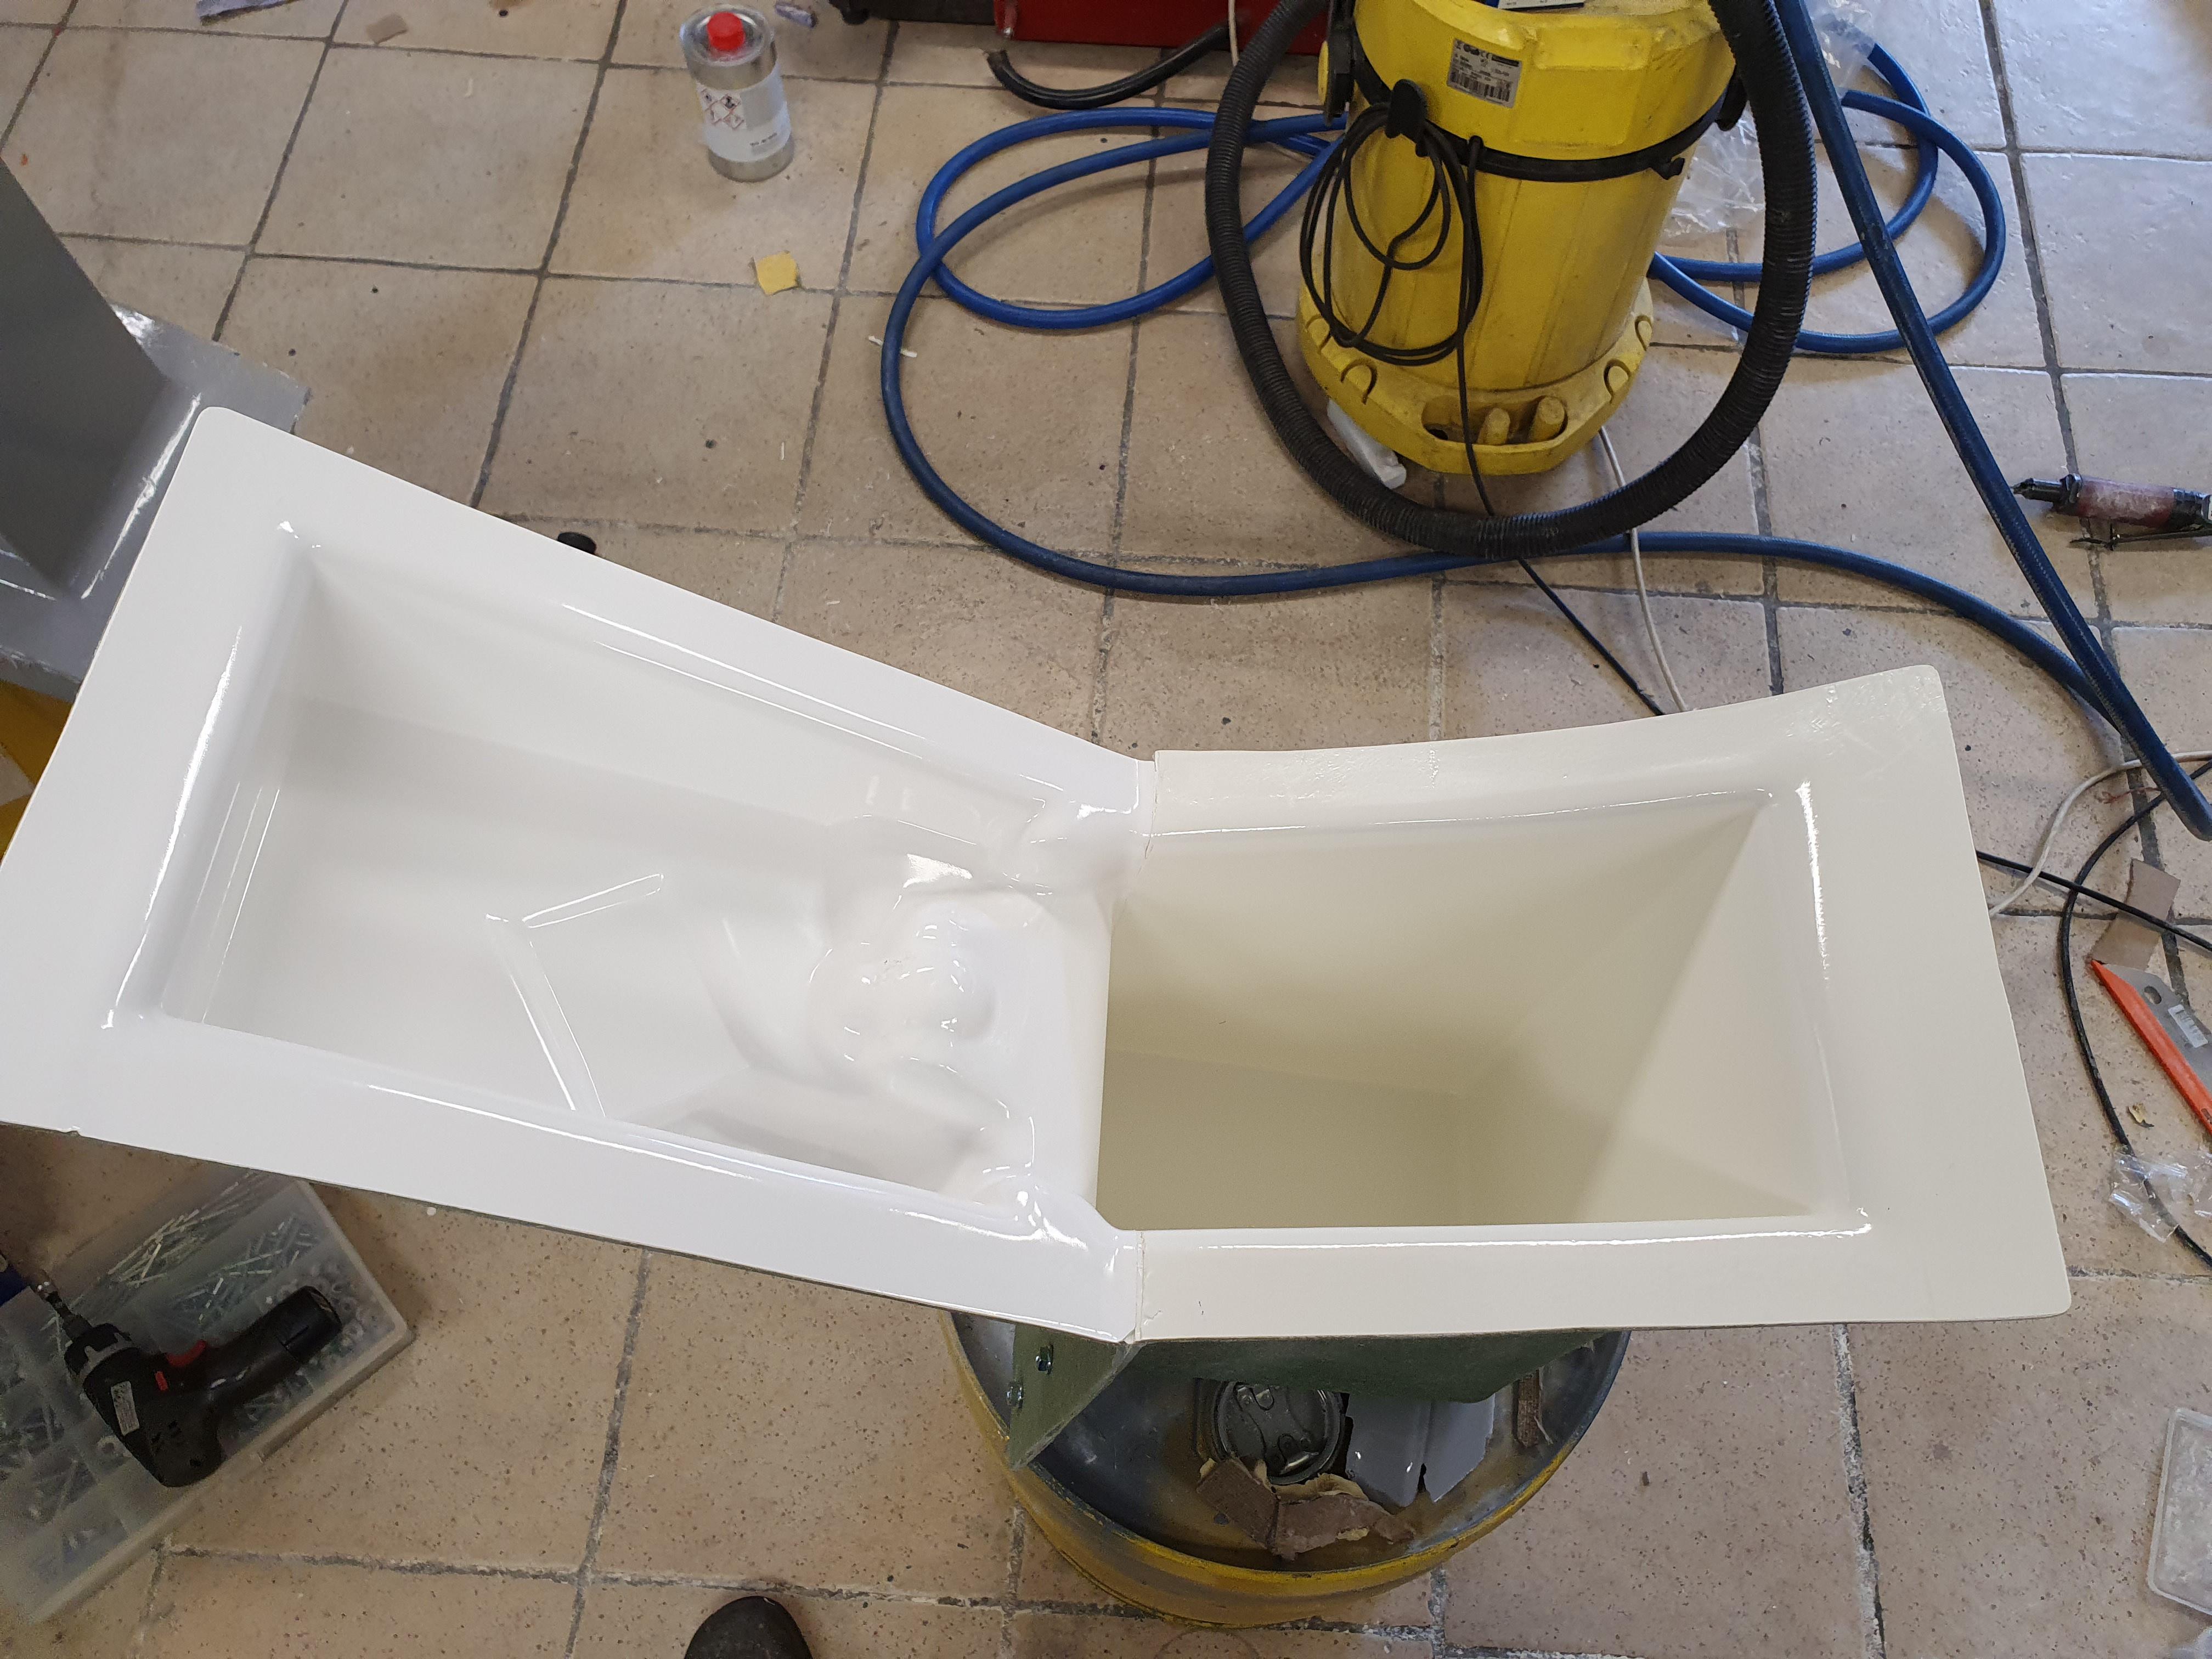
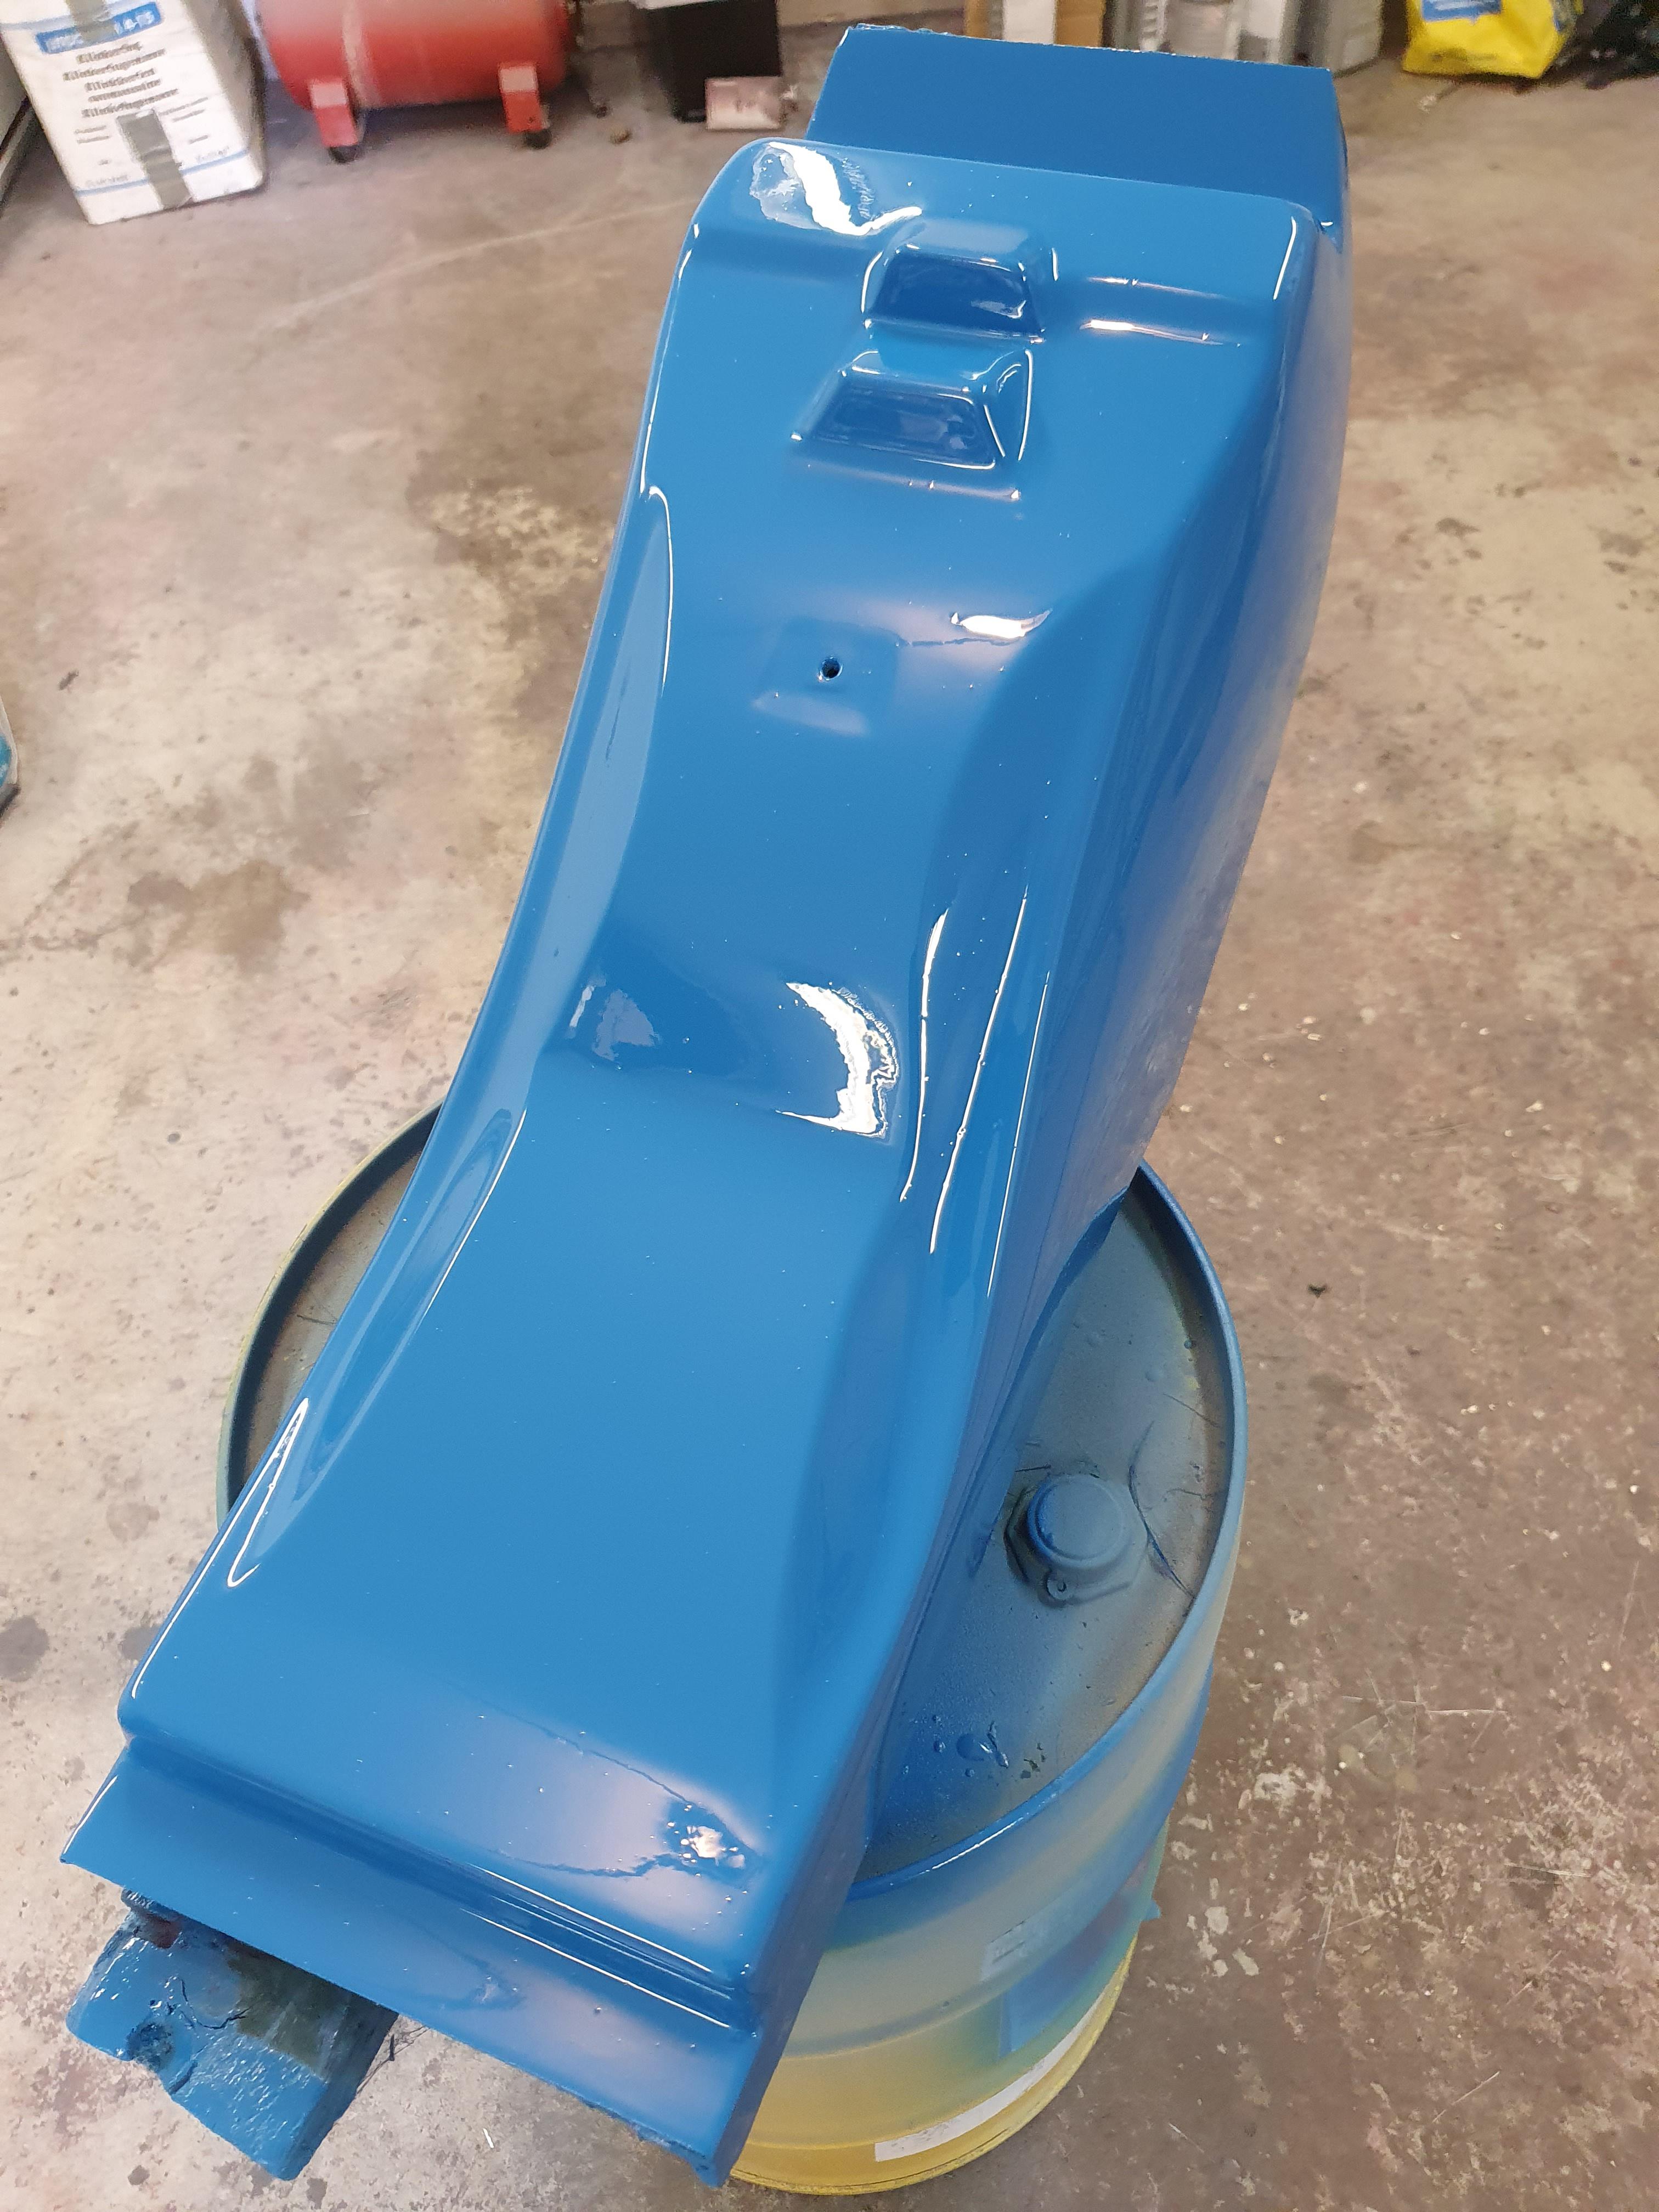
Well, I have some cheap 1 comp. paint.
I hope that works, what I am most worried about is if the gelcoat can dissolve it.

hJcfohT.jpg


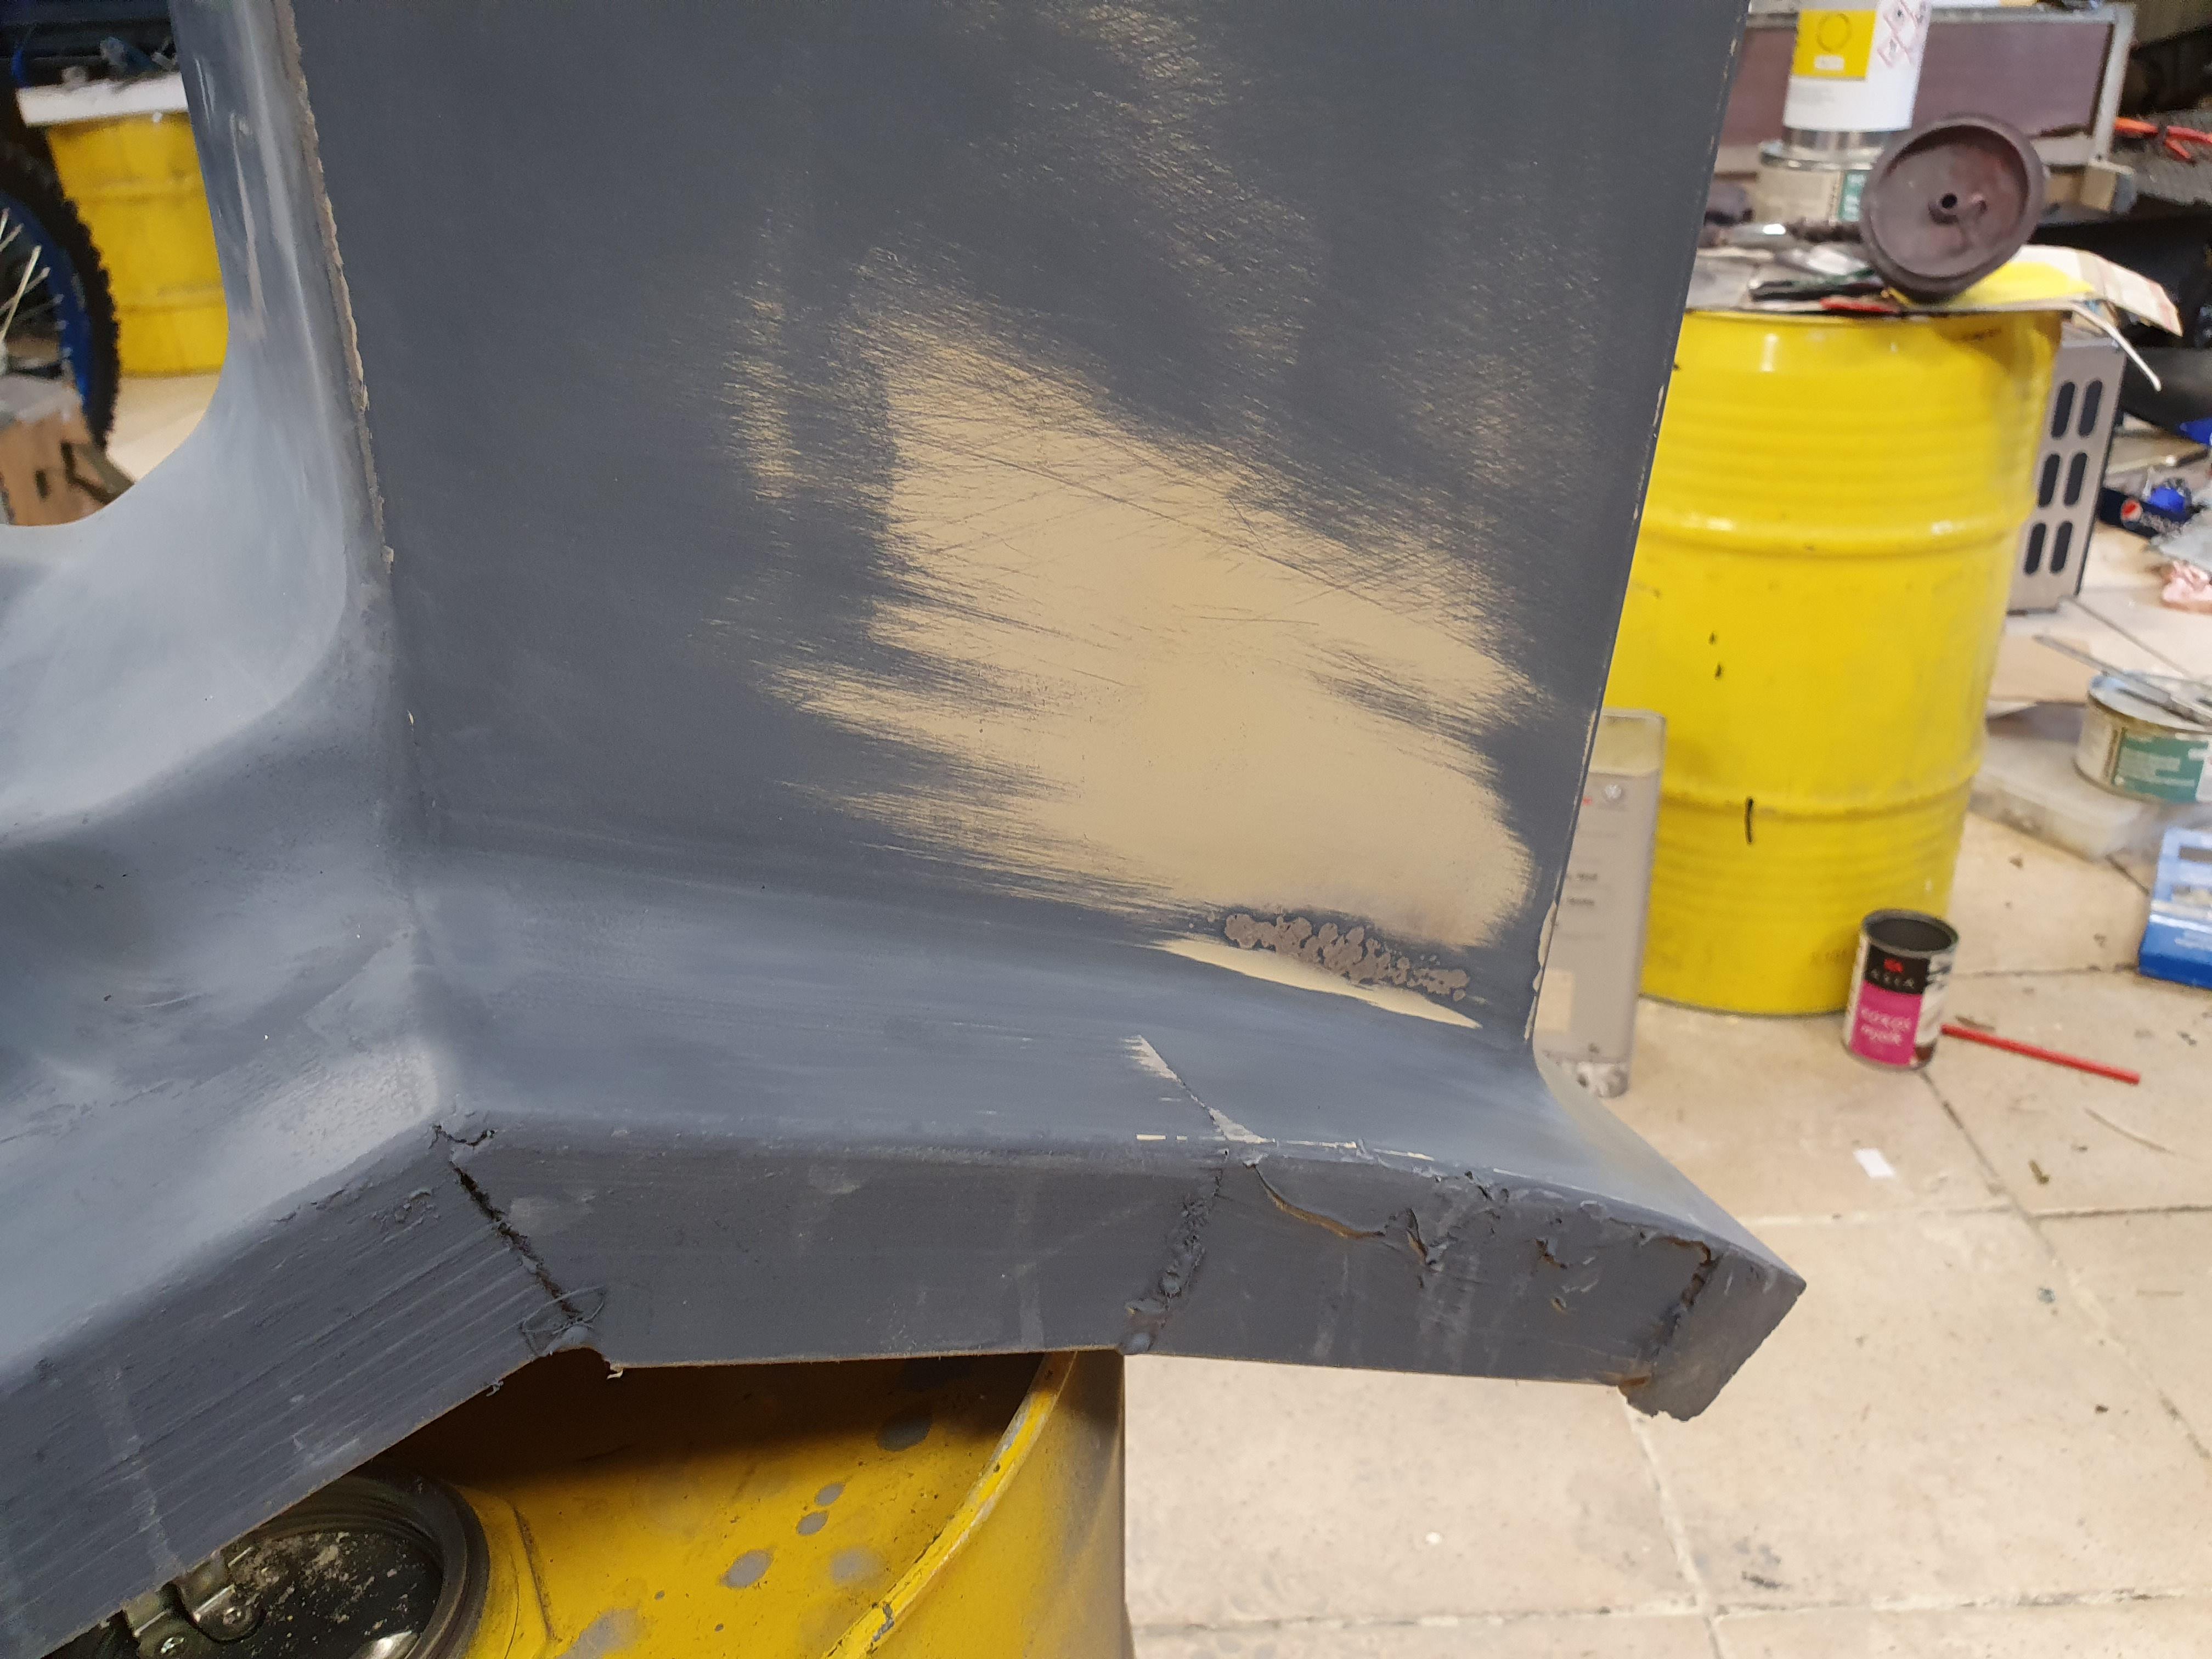
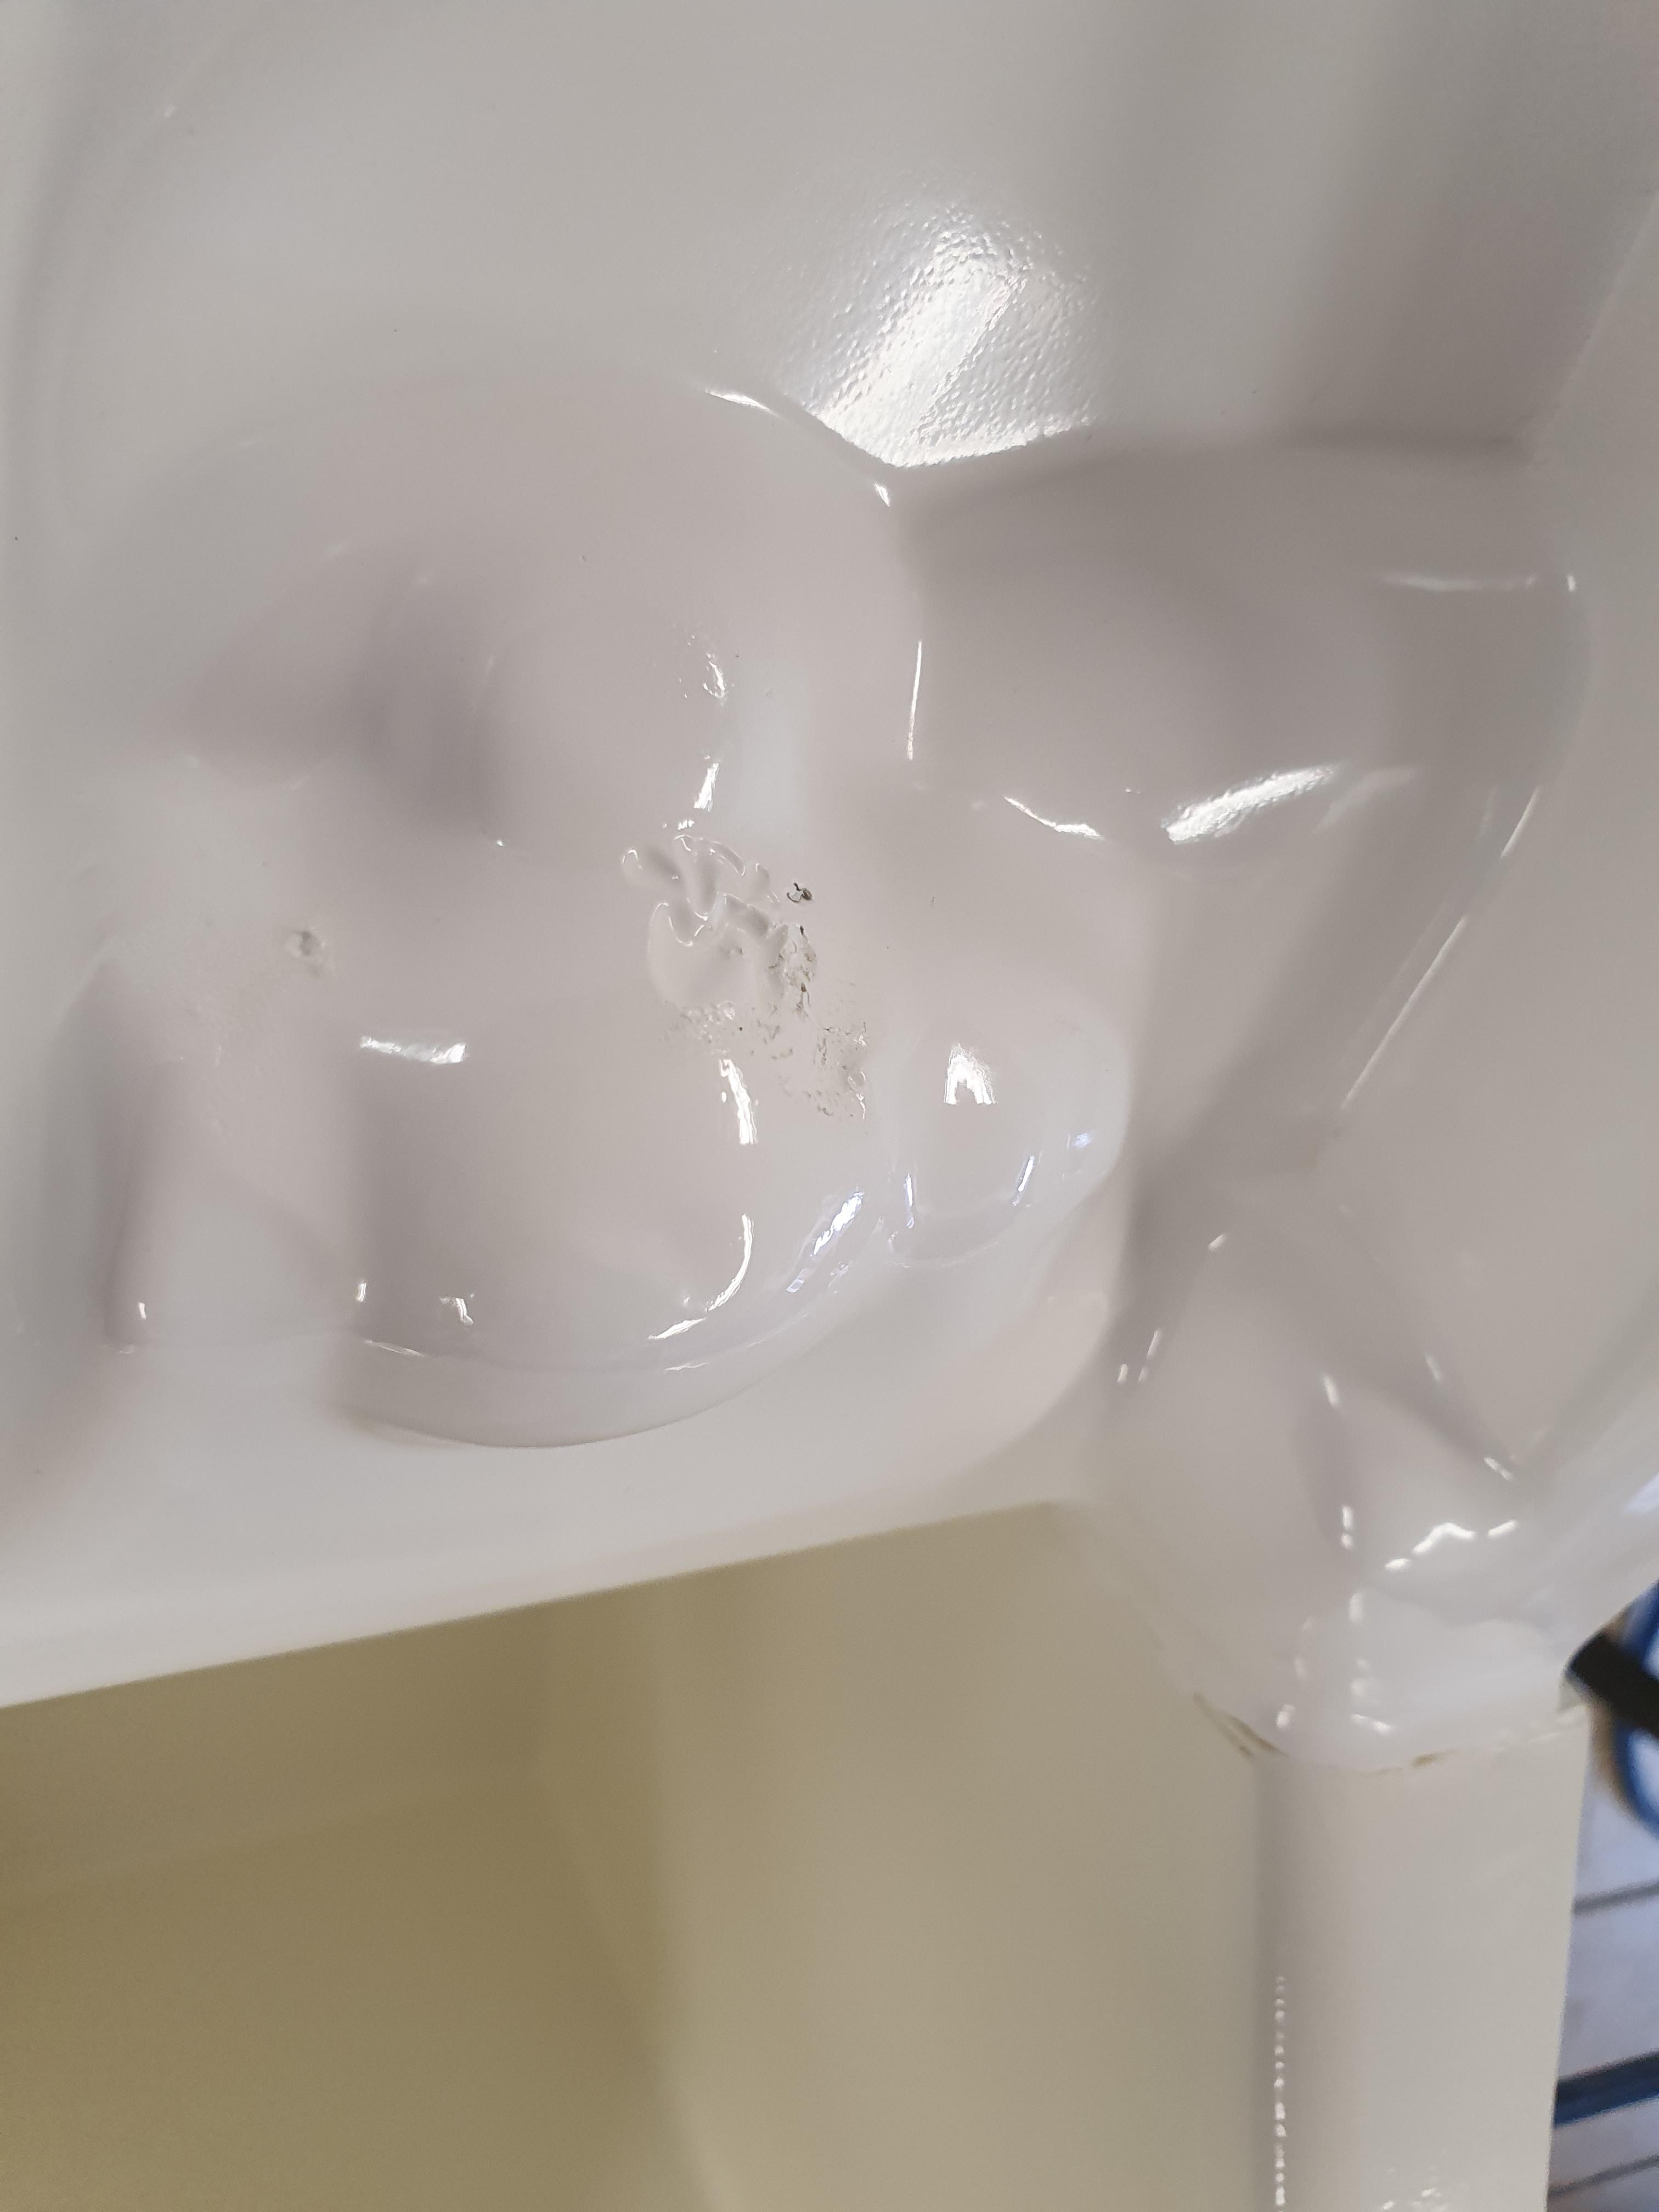
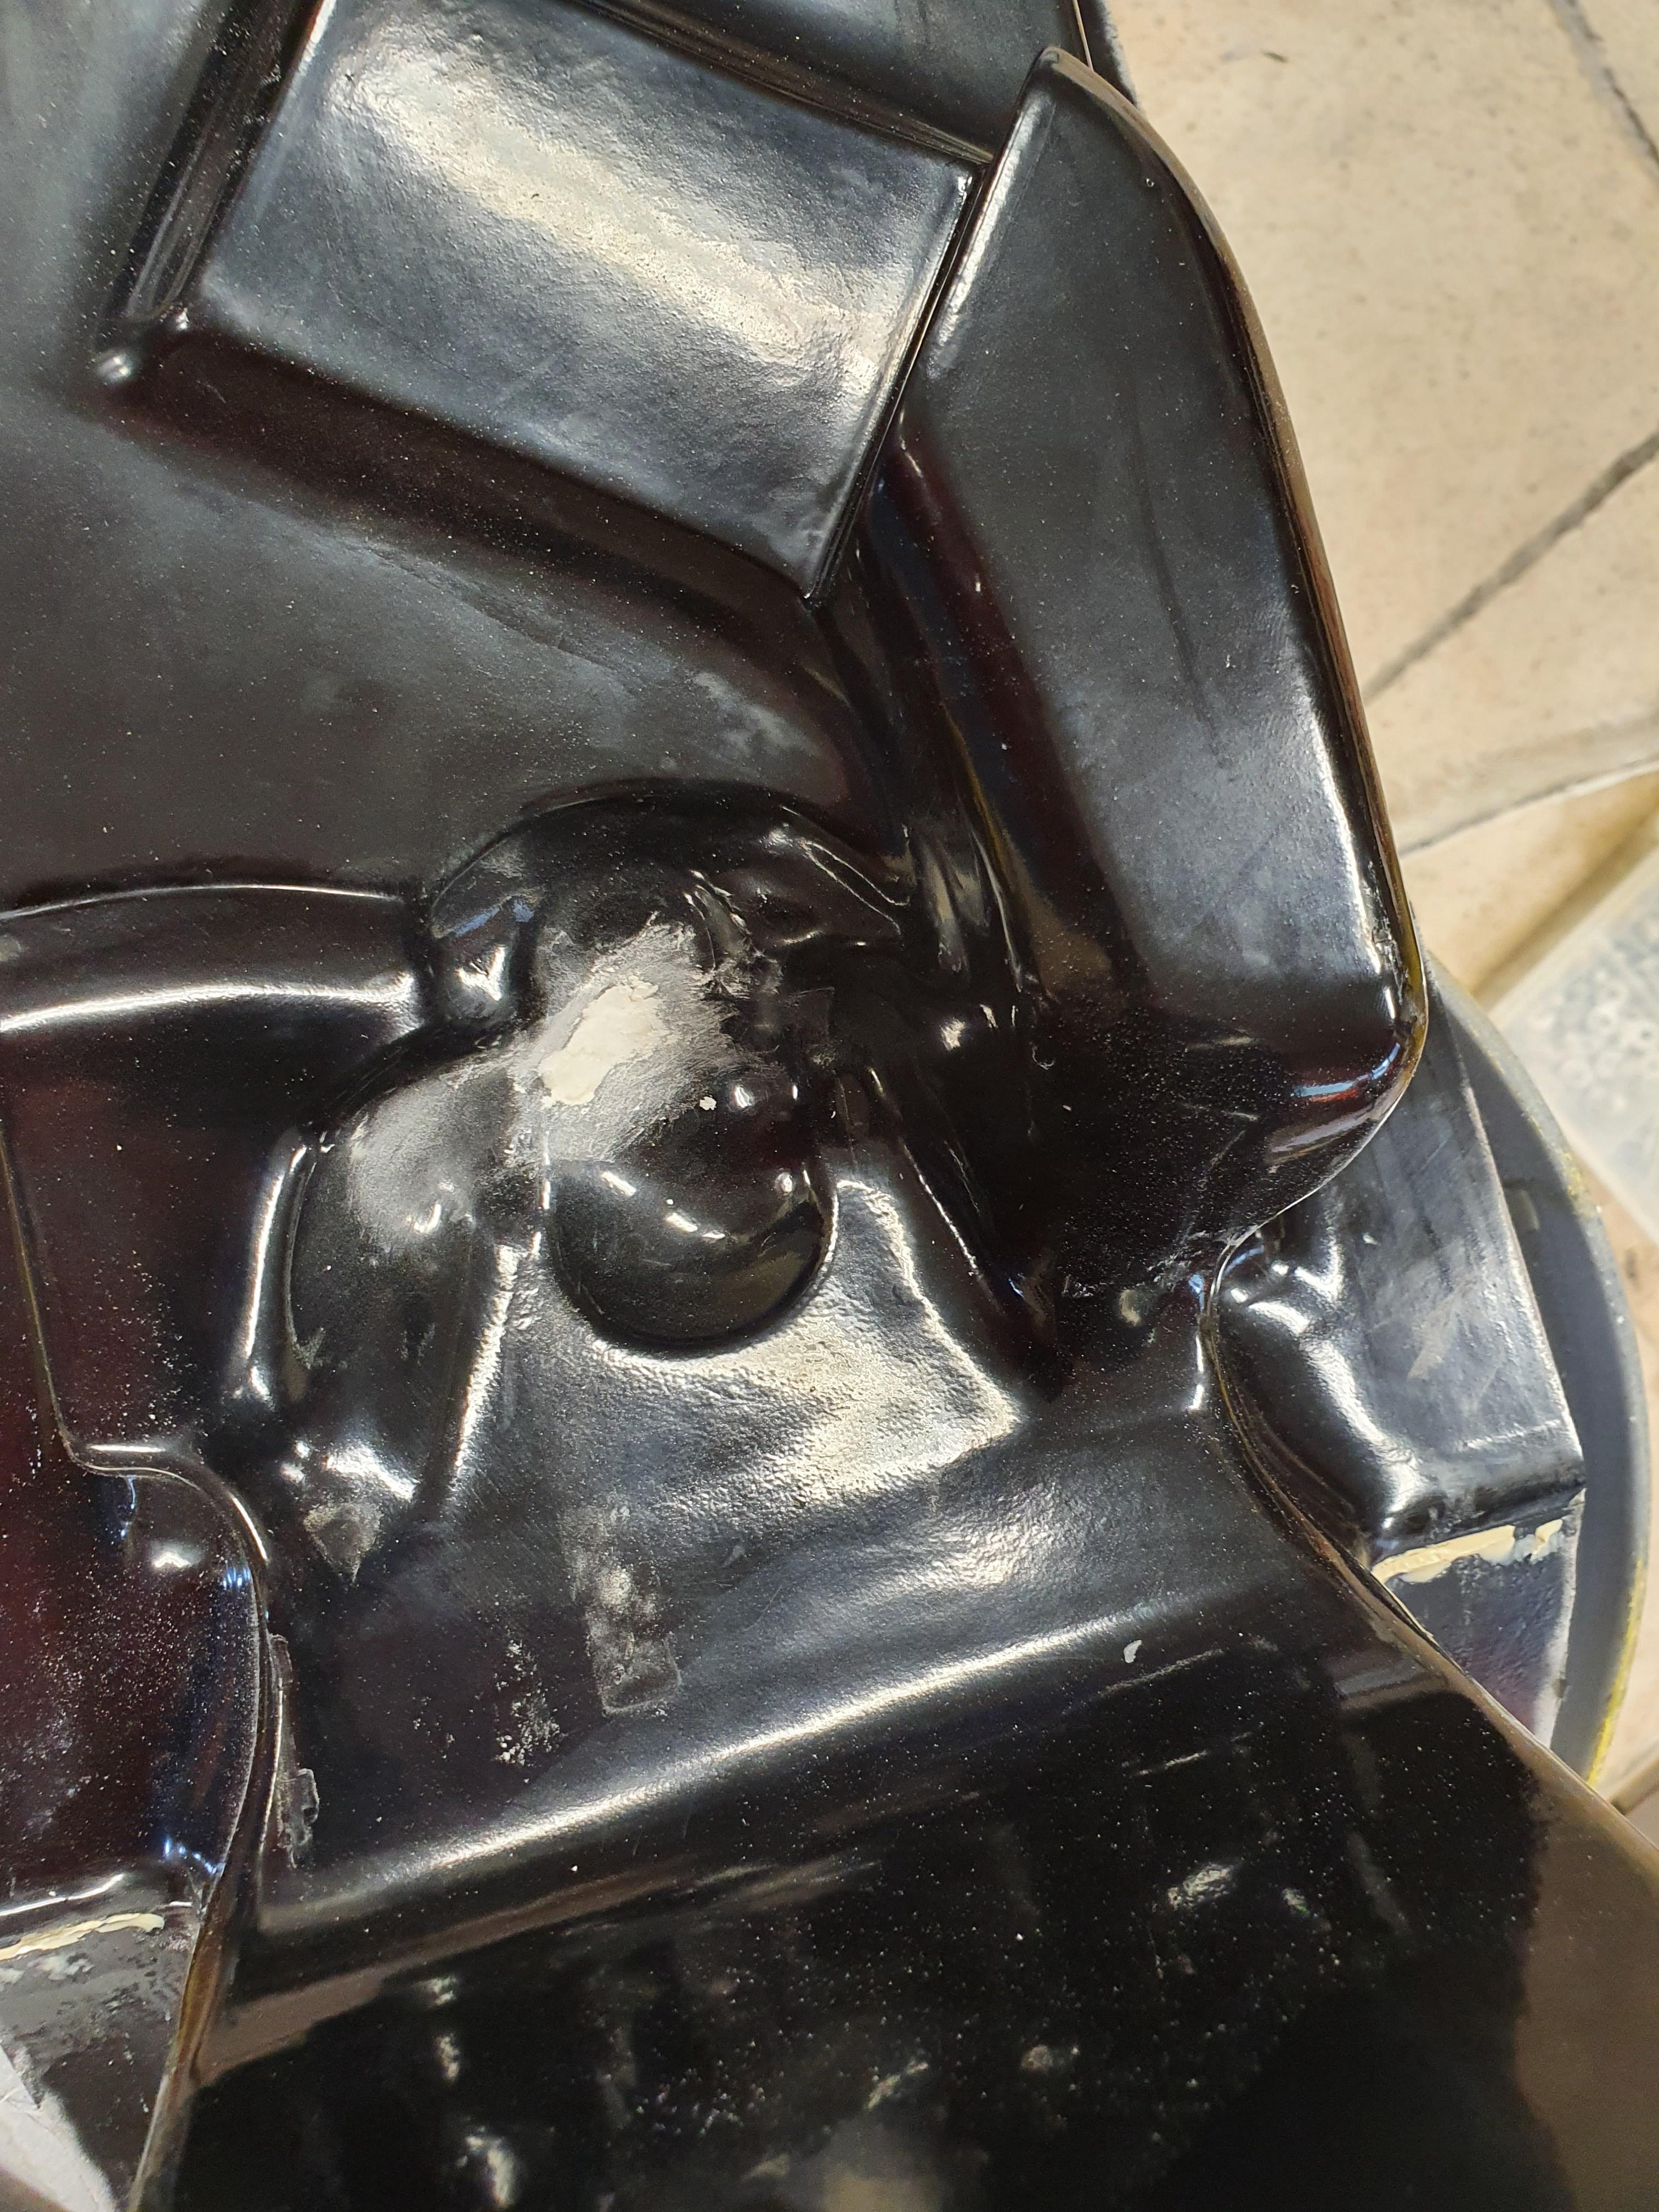
As you can see, there is a lot of dirt.
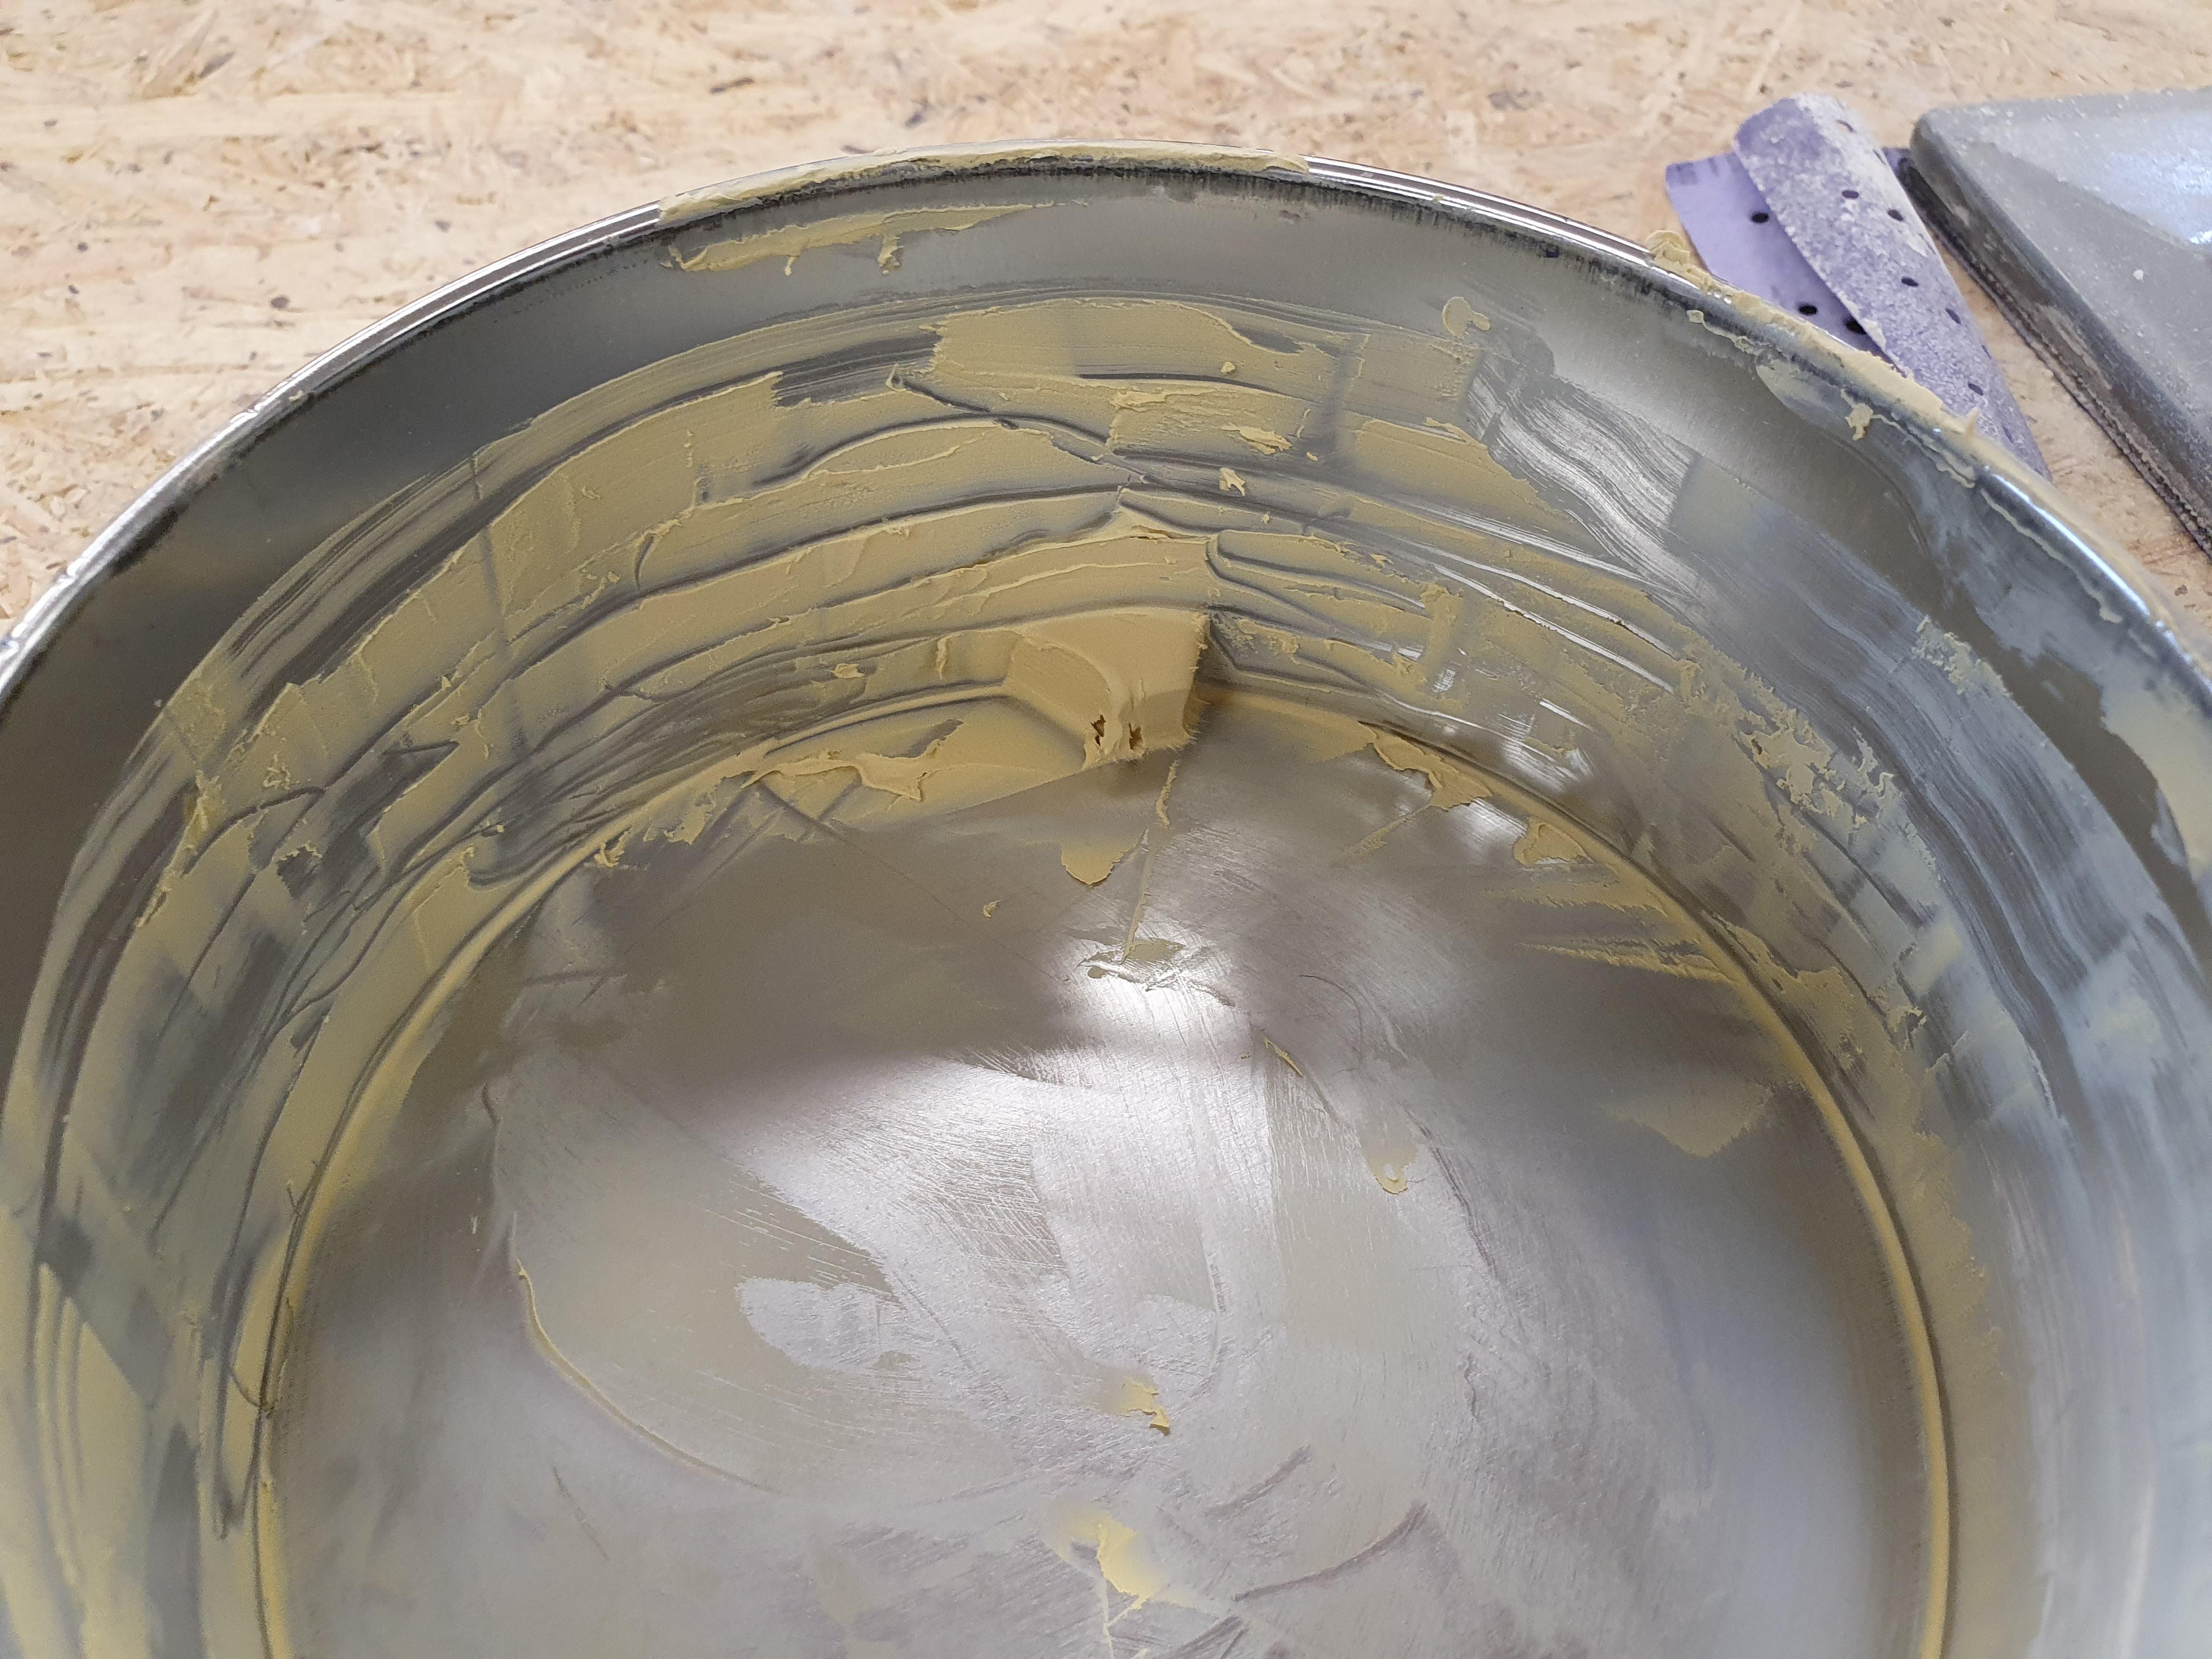
I wondered why first, but my suspicion was confirmed when I tried to spray the second layer.
Almost no paint got out of the spray gun, the filter was clogged.
It seems I should have filtered the paint first..
 
Back
Top