lifepo4ever said:
it still important to use bigger wire and bigger connector to avoid heat but why people using bigger speaker wire when they want a better sound quality ? and why we using
6gauge wire to boosting car instead of 12 gauge because you don't have the good amount of current to start the car i still don't understand the theory of luke ''Fortunately, the "current efficiency" of every connector is 100%. , one day i will be more intelligent

I can assure you it is not your intelligence that is being poked at, it is your command of Henglish. Quality audio of 0-20Khz is a totally different problem than DC jump starting a car, which is different again from low R at a connector. Don't confuse the I^2R of a connector with that of 12 feet of wire.
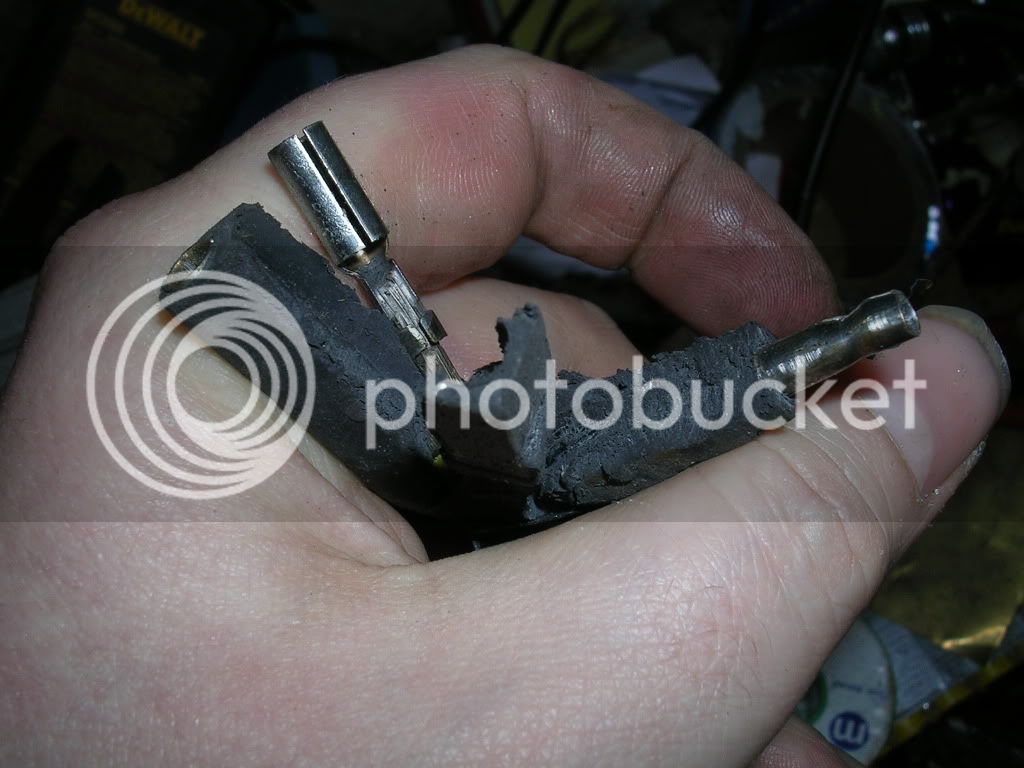
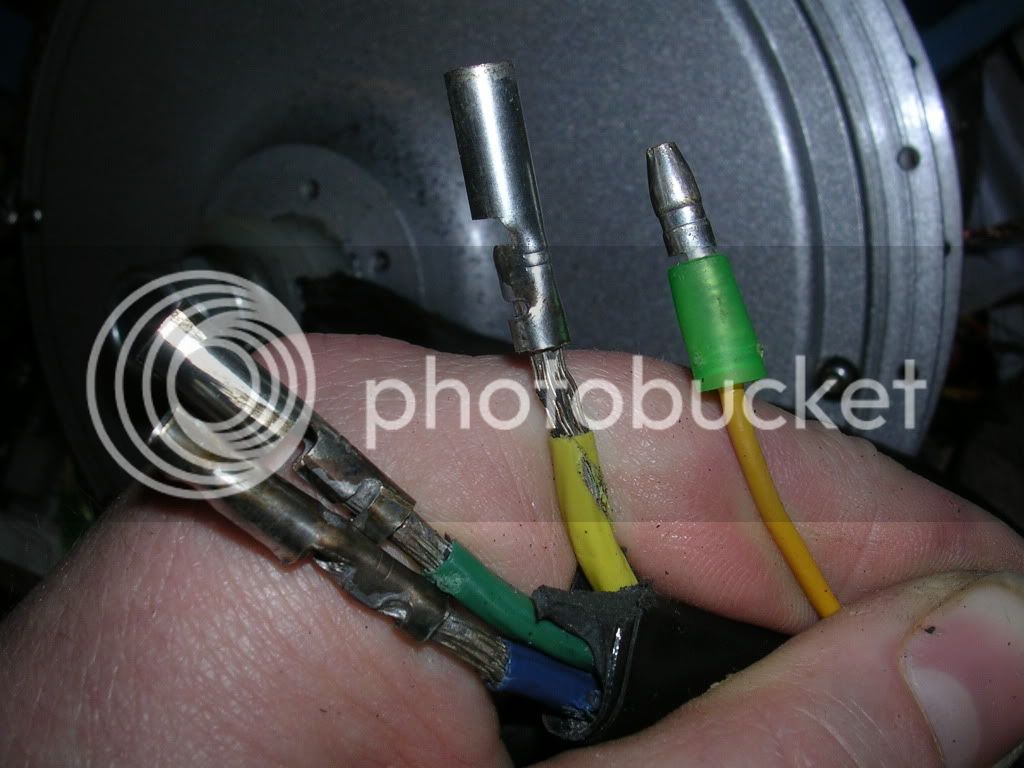
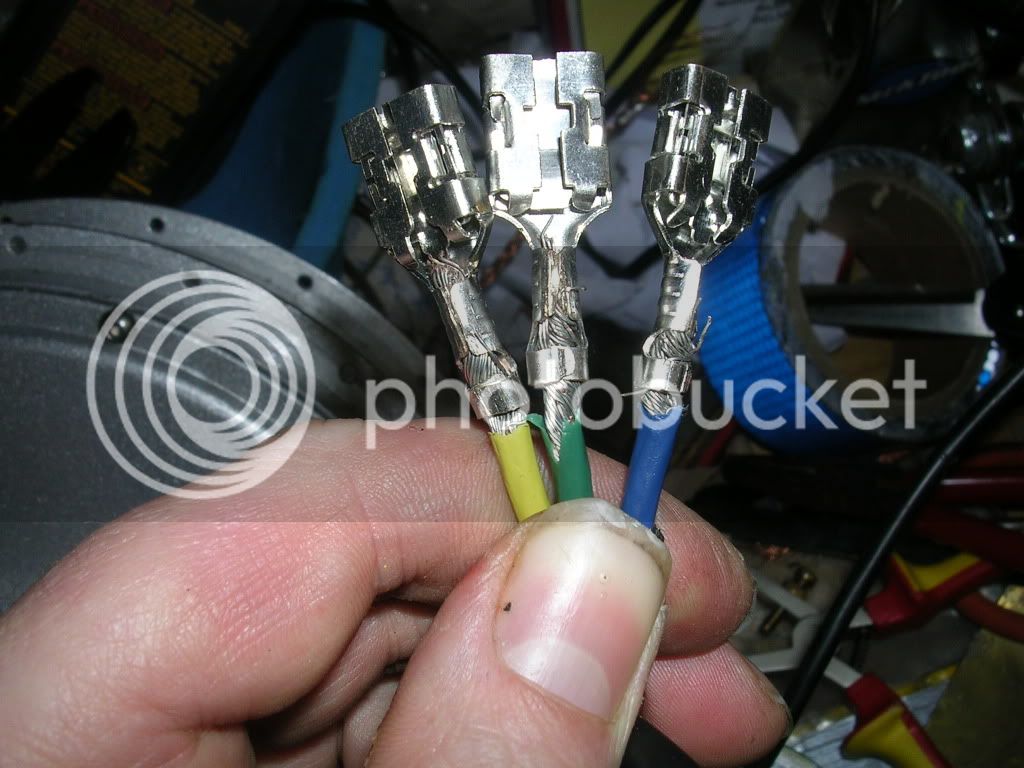
And by the way, car booster cable losses are most often right at the crimp to the clamps or because of the shitty plating on steel clamps.

Your picture of the babe on the beach speaks volumes. TOO much thinking with the little head? :lol:
Not that LFP doesn't have the same problem.