
MattyCiii
100 kW
Amazing work, as always Adam. An inspiration!

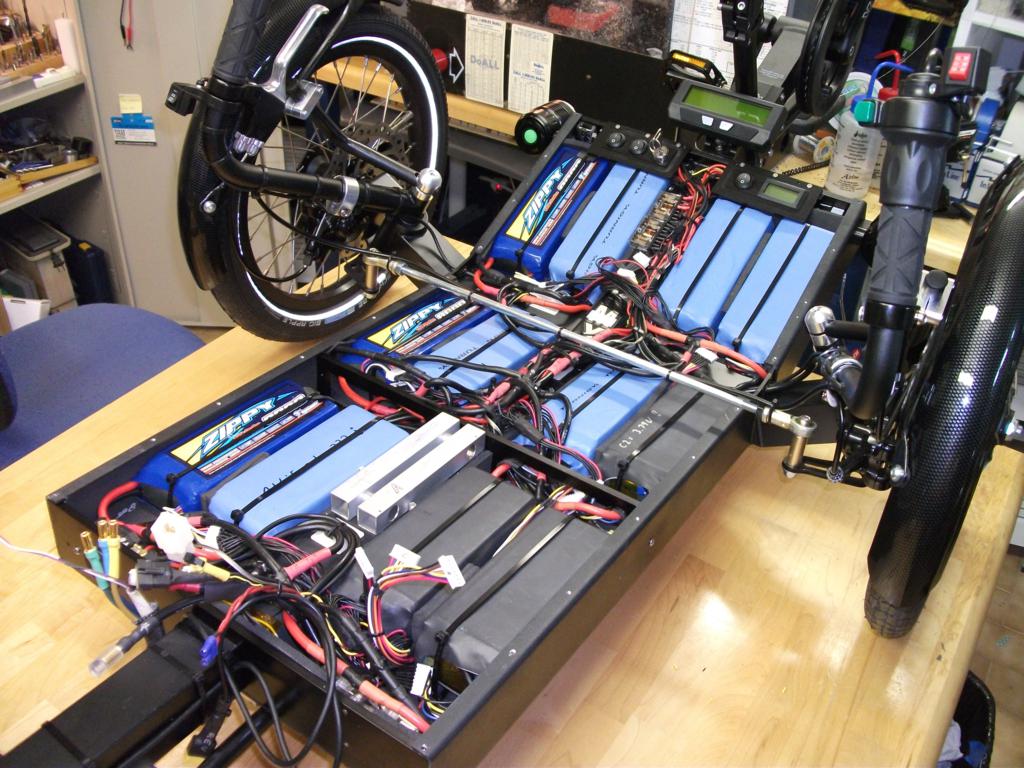
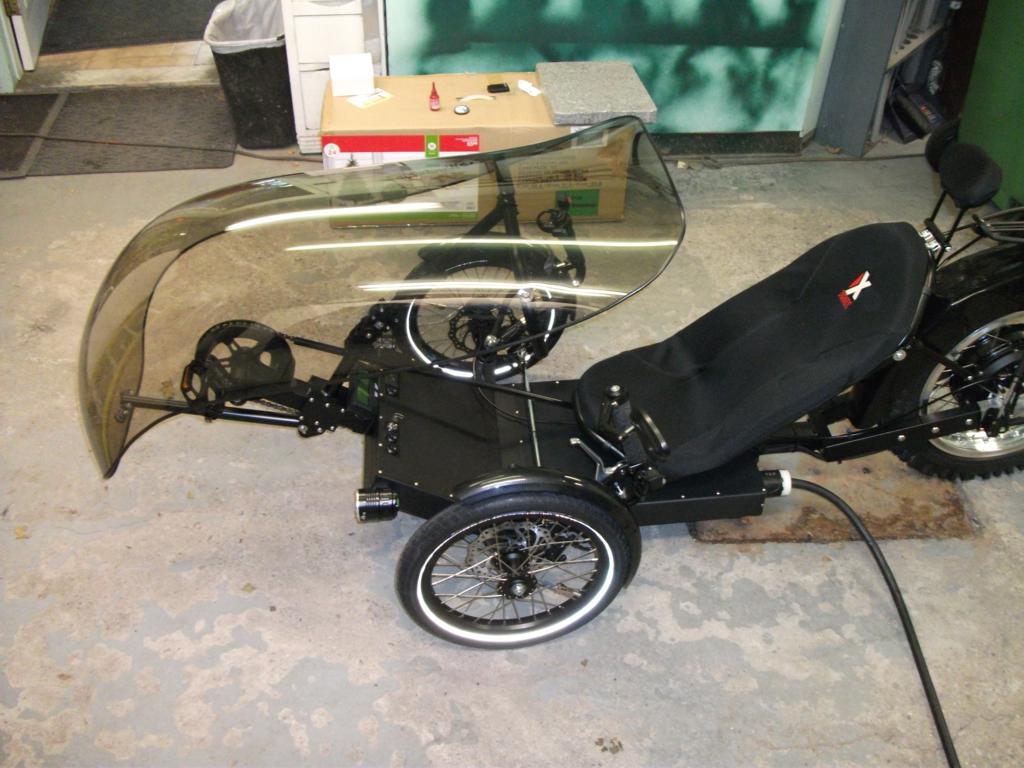
wojtek said:Holy Moly! that is indeed a piece of art combined with perfect battery placement!
what battery solution are you going to go for? chemistry / v / ah ?
clark said:awesome work adam, absolutely professional.
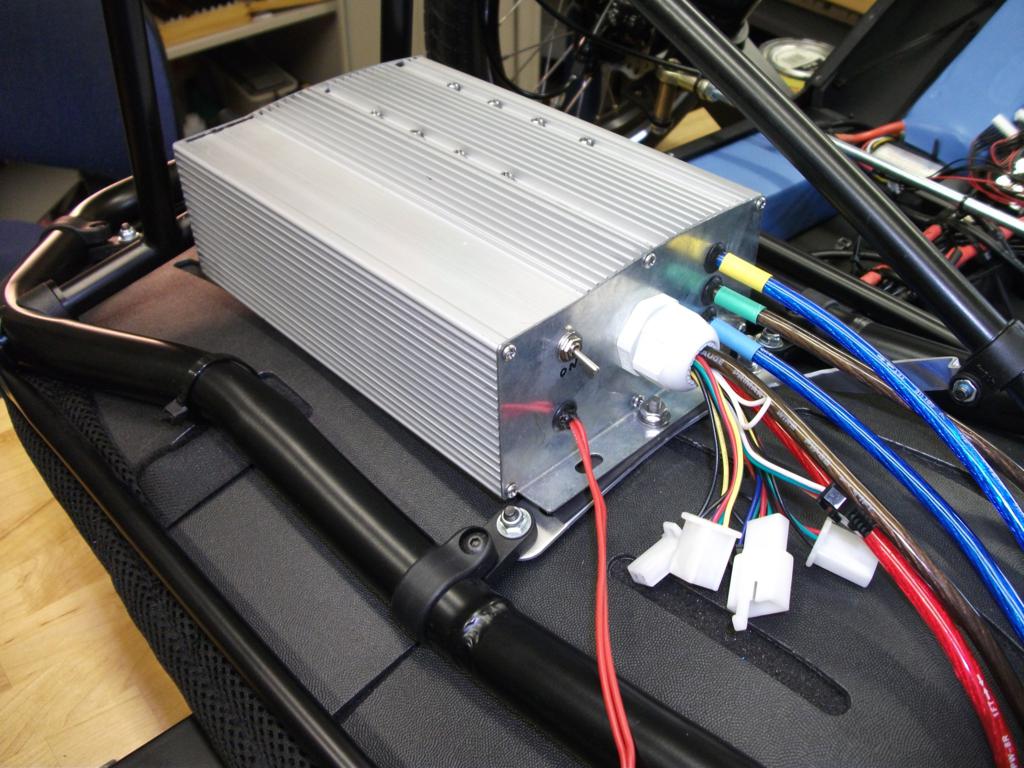
would love to know your sources/info for battery box, specific wiring#, and connections/plug/switches.
would be a great writeup post of its own, great for serious newbies like me. i've been trying to find it on ES but haven't stumbled upon it yet. i'm probably not looking in right places.
a-line awesome as well.
clark said:Cheers adam for info on battery plug and wiring. Sorry i looked at digikey and hobbyking, but couldn't find info about the 5 pin power outlet, fuse holder & which level power fuse do you use? Thanks again and in advance


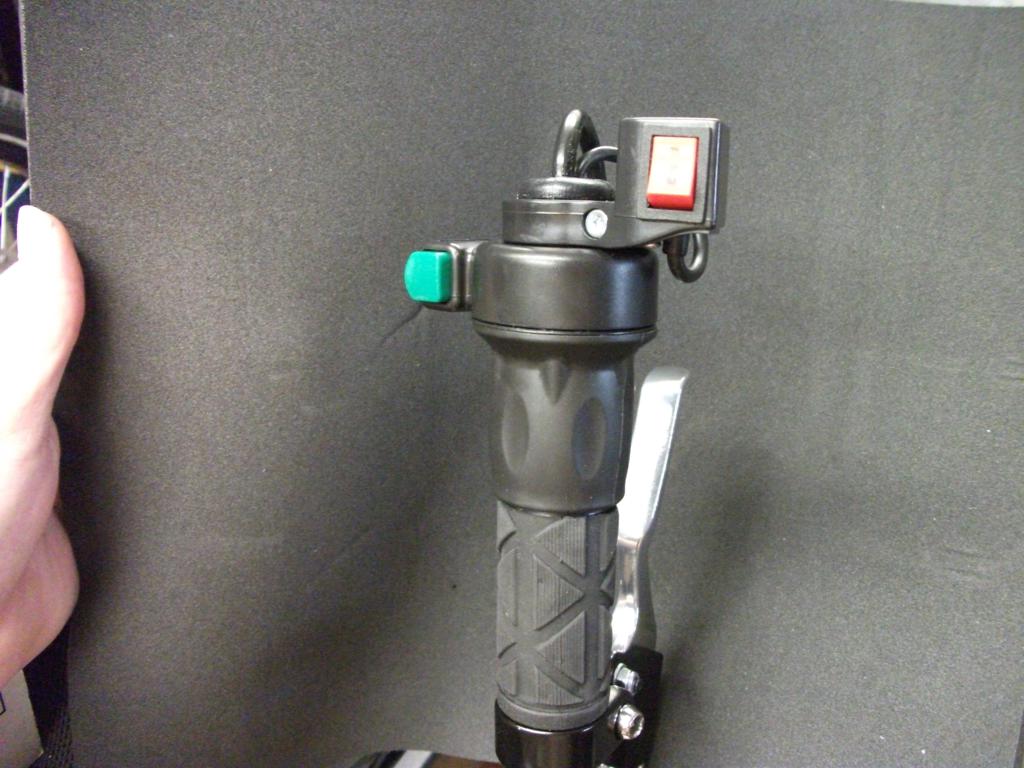

agniusm said:Better get red/blue for sure everyone will slowdown
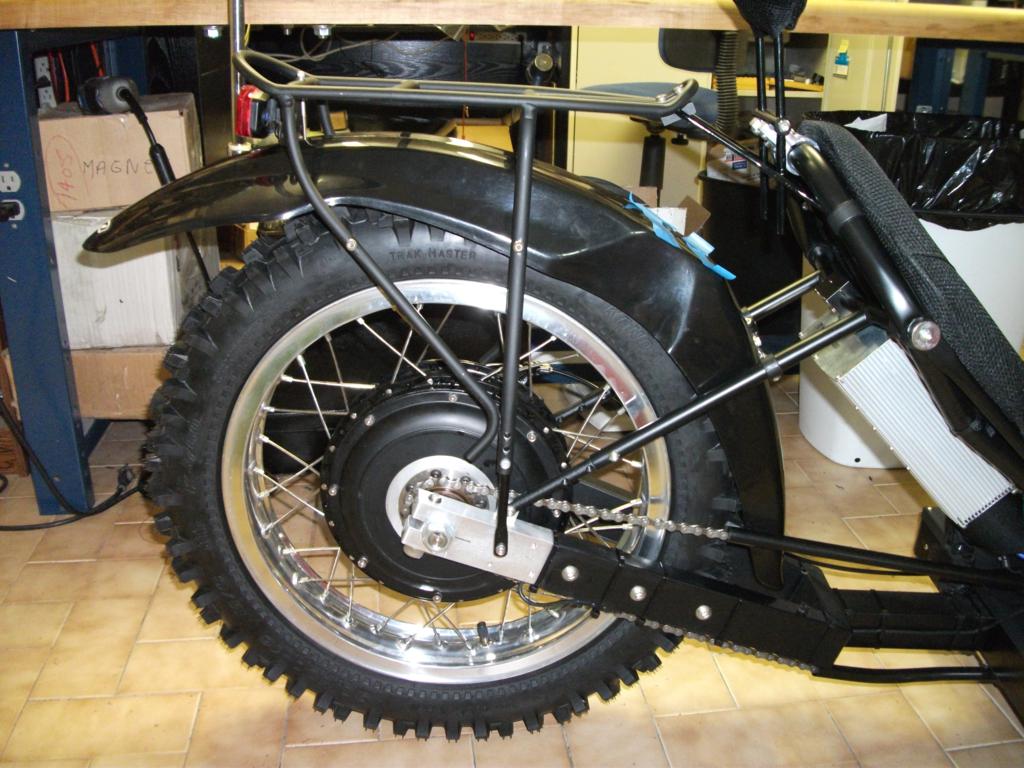
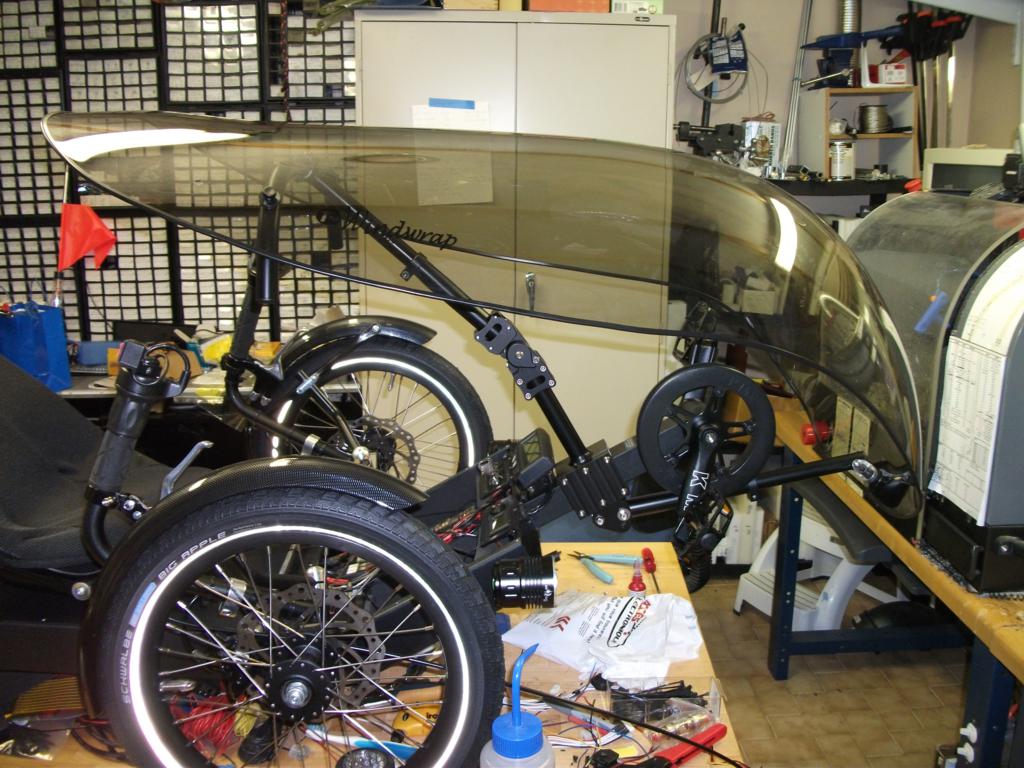
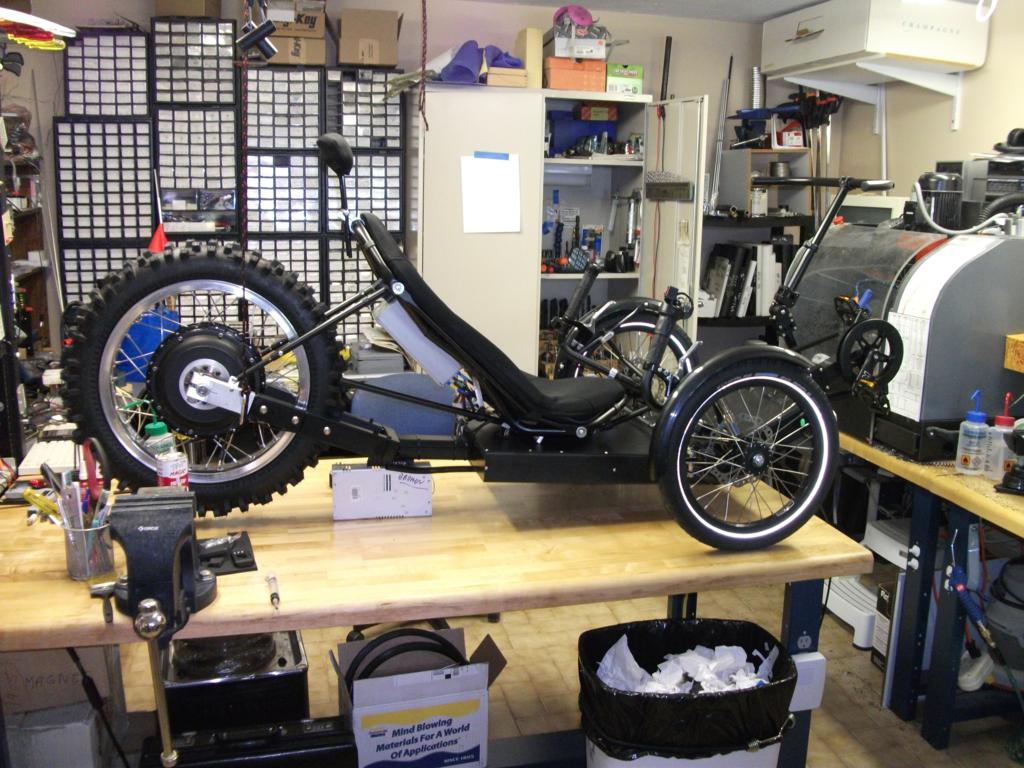
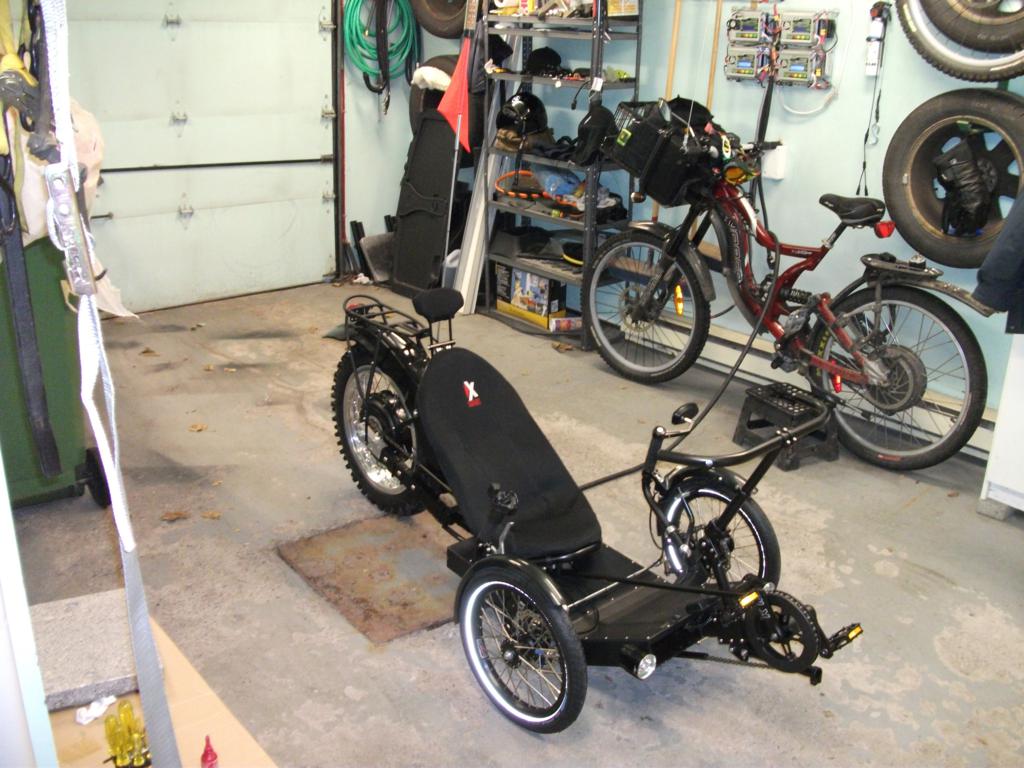
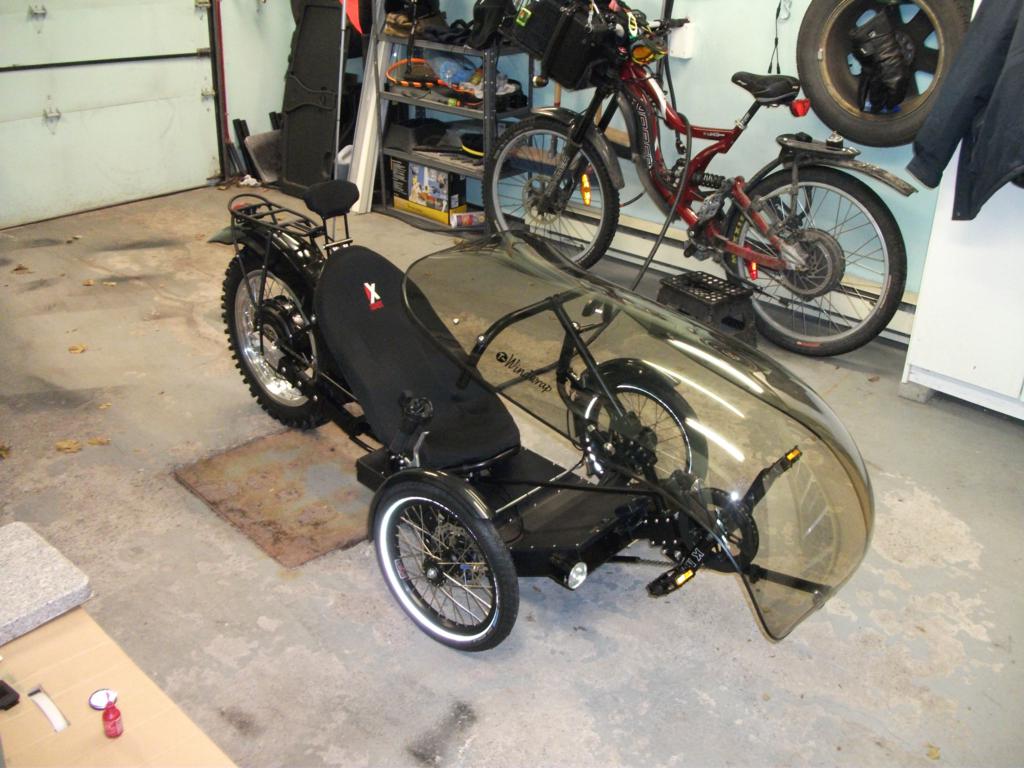
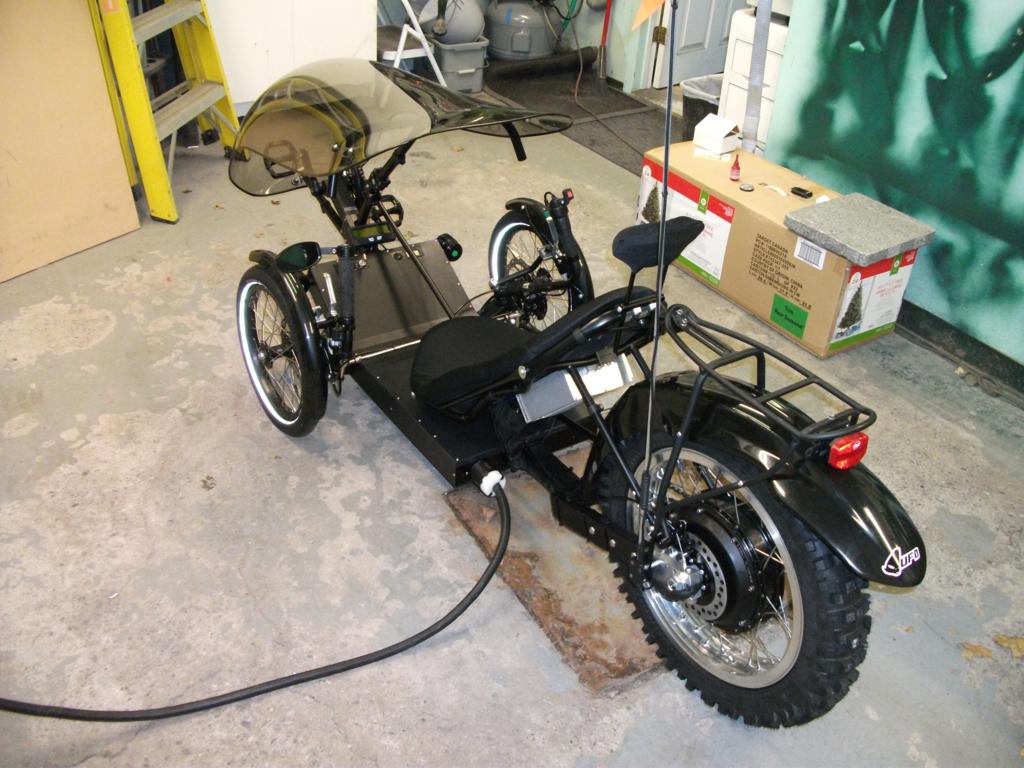
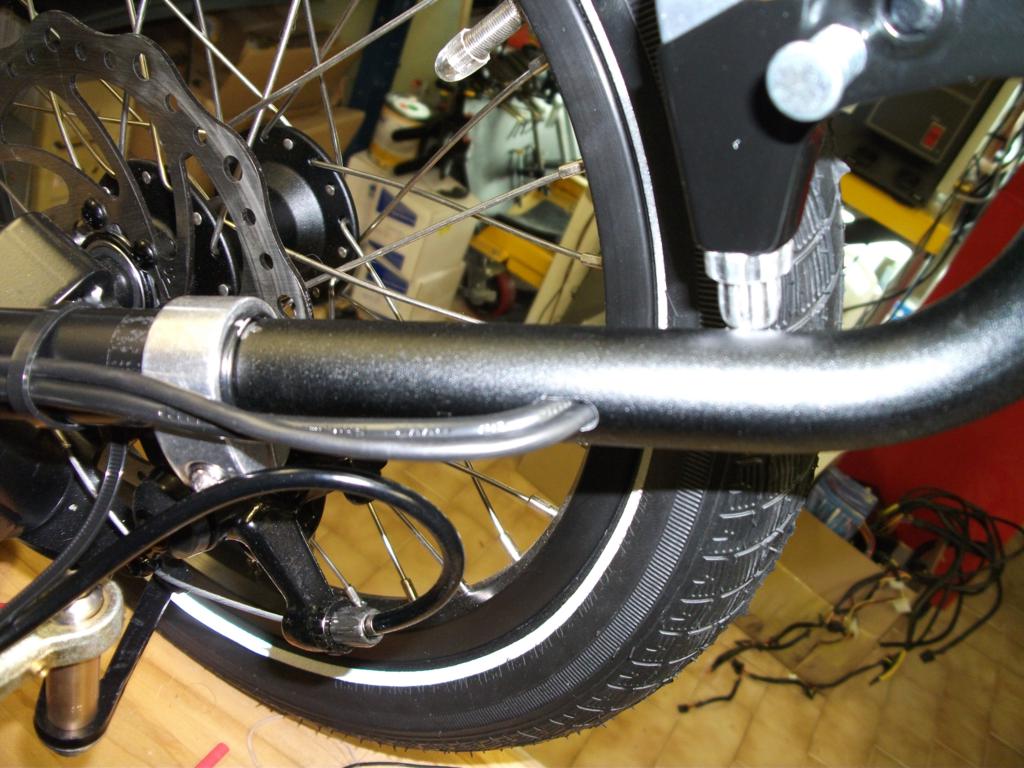
madin88 said:this trike looks like a beast with this big tire
how does the battery warmer work (main battery?) and do you know how many watt hours it take to warm the battery from lets say 0 to 20 degree?
At my home we also have winter now and the battery sags a lot more than in summer. Less volts, capacity and so less usable watt hours.
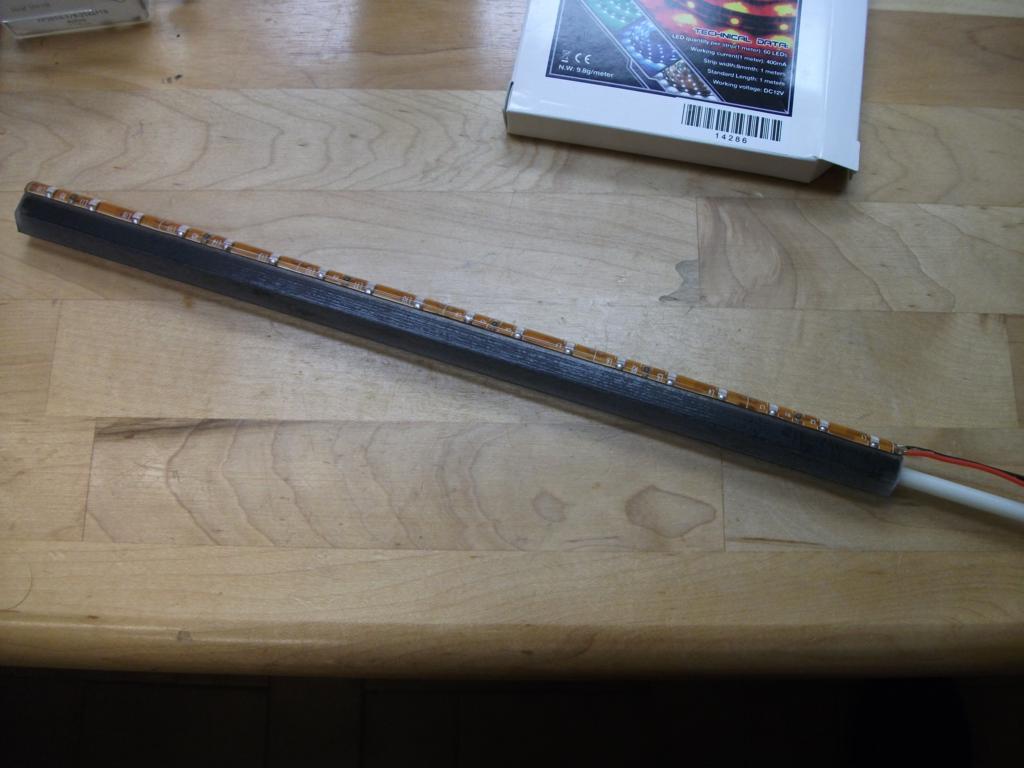
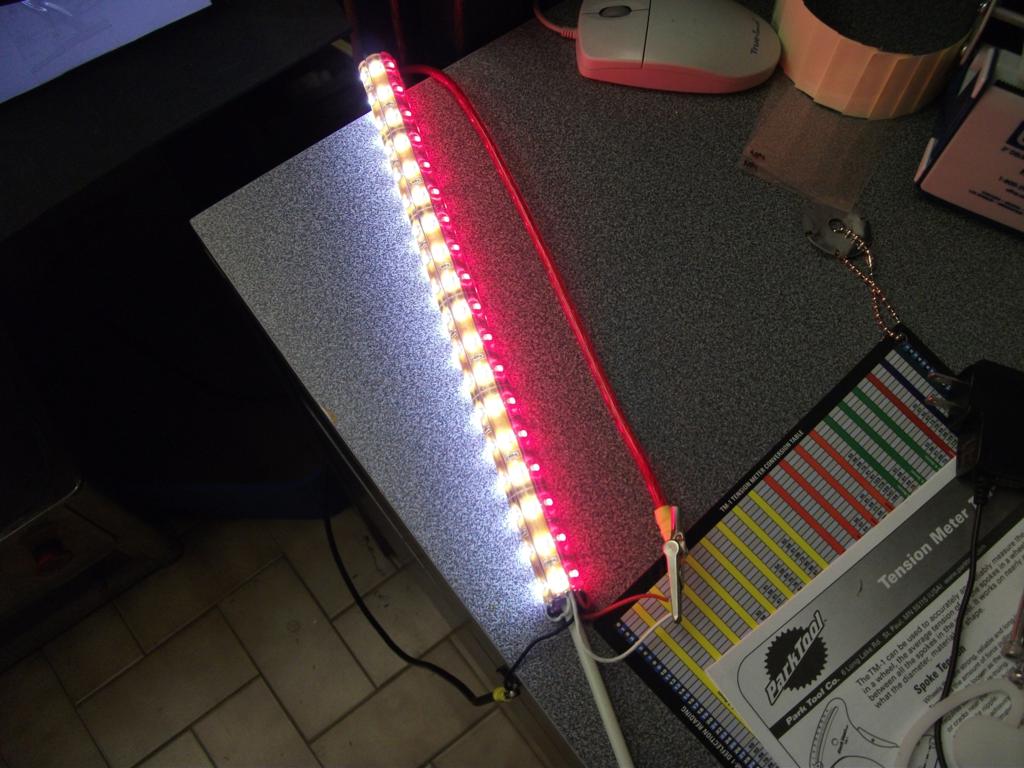
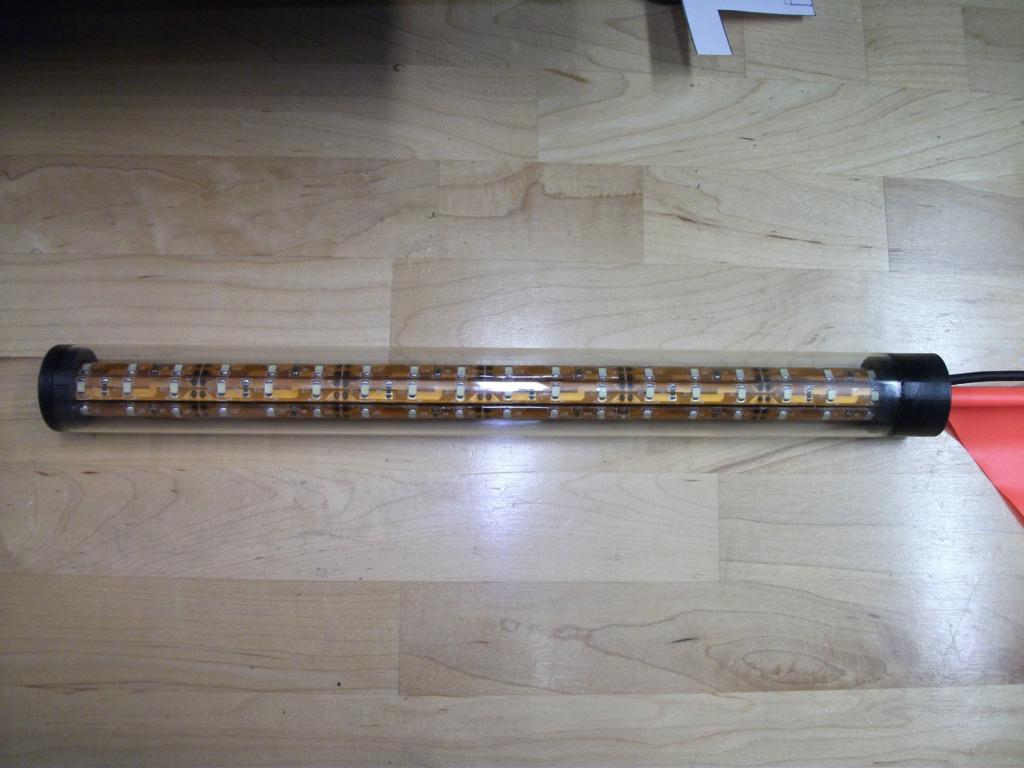
jateureka said:Nice vid, love the flashing light pole - makes it look like a police vehicle! Do people move over to let you past?