oatnet
1 MW
<------- CORNER
People should go back one page and see your latest pictures.
8) Your battery box, side panels, and mounting are slick and elegant solutions, and I really like that the project does not require an extensive toolset so it is accessible to almost anyone - though few will execute it as cleanly as you did. I expect many will follow where your imagination has led!
-JD
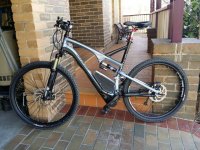
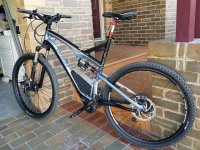
Kepler said:Some shots of the bike with the new battery case fitted.
People should go back one page and see your latest pictures.
8) Your battery box, side panels, and mounting are slick and elegant solutions, and I really like that the project does not require an extensive toolset so it is accessible to almost anyone - though few will execute it as cleanly as you did.
I expect many will follow where your imagination has led!-JD