dnmun said:
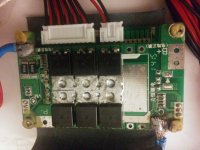
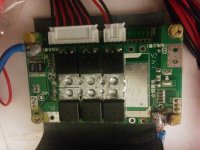
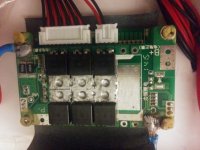
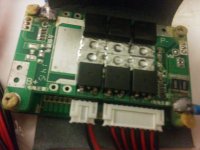
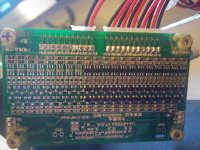
ok, those pins carry the voltage to turn on the transistors used to charge and discharge. i suspect that one of them is not properly soldered or the traces has broken so go look closely and see what is moving that should not be and take close up pictures so we can read those labels and follow the traces.
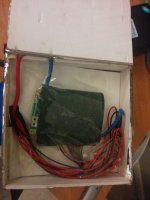
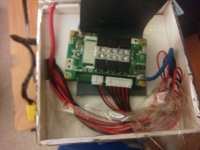
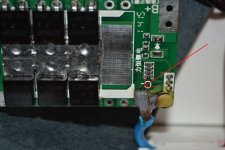
CHECK THIS OUT

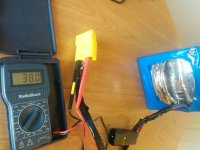
so there was one part this part when I touched that was triggering the charger to go on, turned out the blue wire soldered on to the board had too much soldering and a tiny bit spilled onto one of the little channel lines, I scrapped off a tiny hairline using a magnifying glass and box cutter. The battery is now charging happily ever after!!! A few minutes and its already at 39.3V.
THANKS dnmun, YOU THA MAN