ZeroEm said:You ride like me don't like to change my peddle assist for the odd hill just hit the throttle and zip up. depends on how much I ride but 75-150w was all that was needed unless was tired and heading home and used the throttle a lot.
I've been riding pretty slow lately, just cruising around seeing stuff I never noticed before. I'll set my cruise control to around 10 mph, pedal as much as I feel like and just ride around all over. I start out at 83V and by the time I'm about 20-25 miles from home, I'll be around 81V. And, by that time I've gotten as much exercise as I want, so I can pedal, not pedal, or ride the bike as easy or hard as I want for the rest of my riding and usually have used around 8.5Ah when I pull back into the garage.
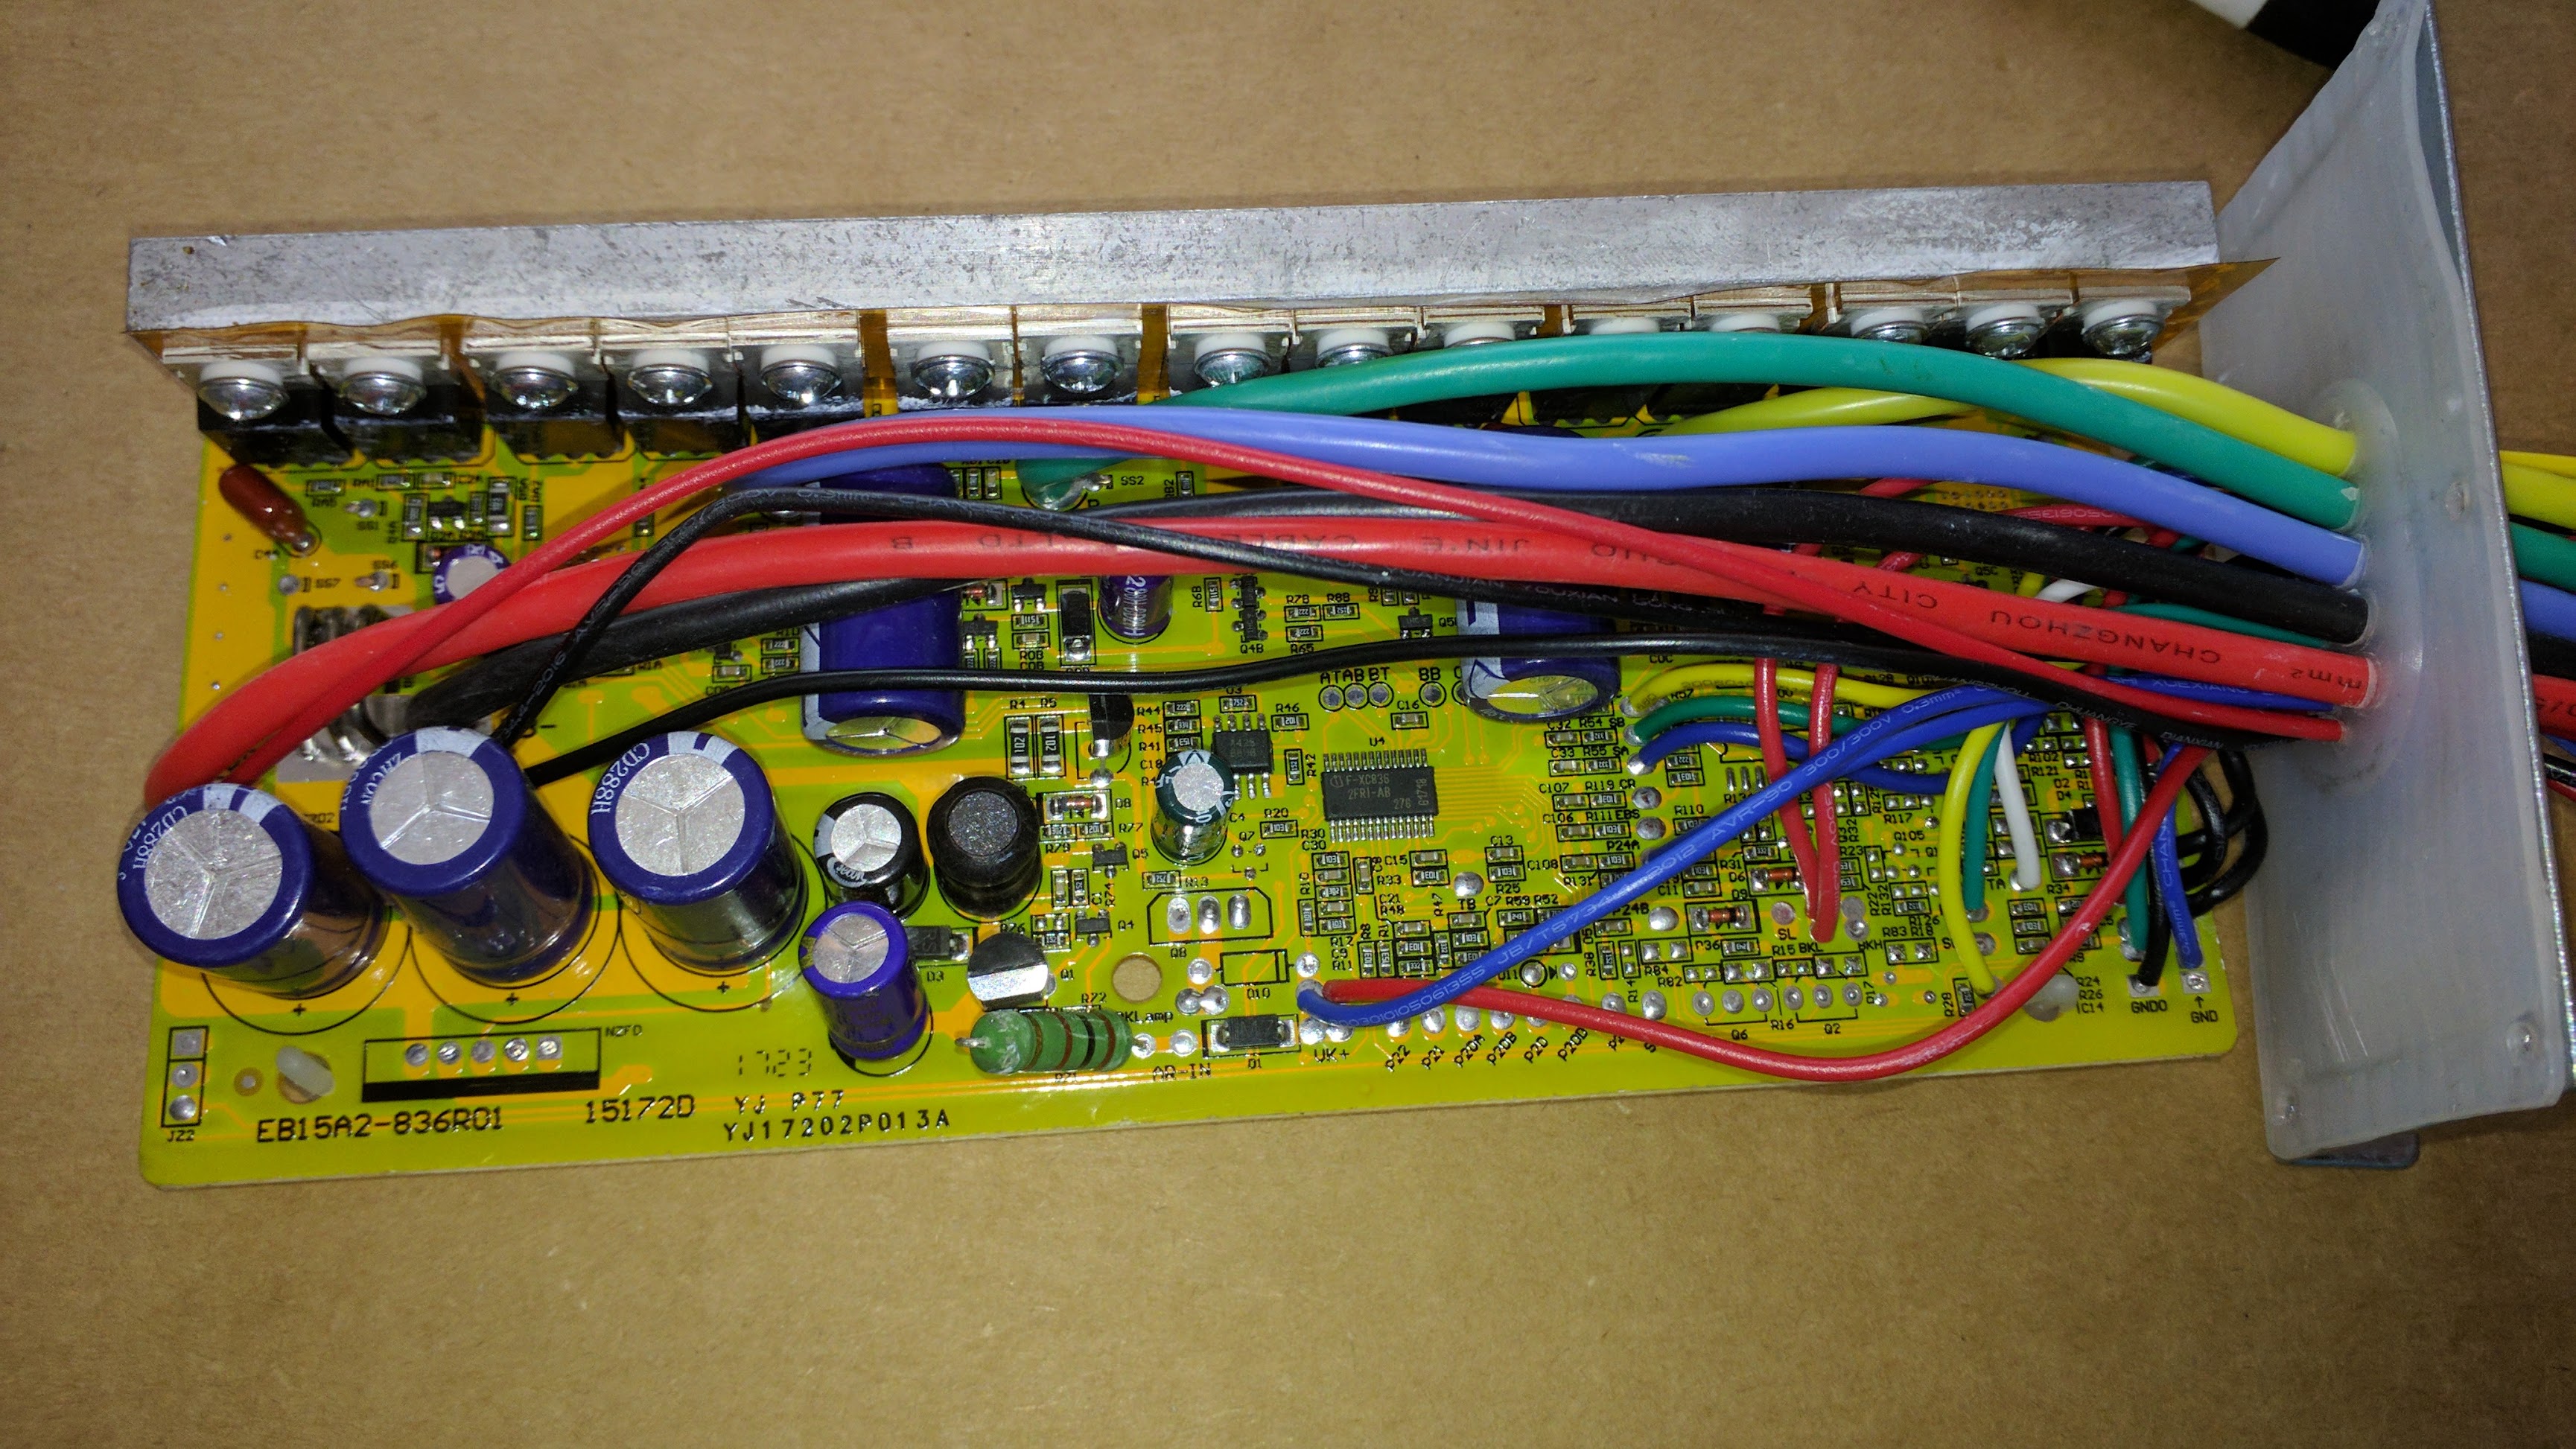
The charger for my 52V pack only provides 5A, and I charge my 6S lipos at 14A, so I usually start charging the 52V pack first, then after an hour or two, I plug in the lipo charger which will fully charge them in less than an hour, at which point I leave for my ride. Not too bad of a routine, but now that I ordered the adjustable 72V (84V) charger, I can bulk charge at 10A or so and be within the recommended charge rate for the 35E cells in the pack. That way I can bulk charge the lithium ion pack, in series with the lipos, in about an hour. This will make things a lot easier. I think this should work, based on my observations of how the lipos and lithium ion packs discharge, which stay very close at the cell level in the range that I use them in. Meaning the 28Ah 52V pack will have a very similar voltage as the 24Ah of 6S lipos, at the cell level, with the amount of discharge of a typical day of riding. I'm hoping to see something similar when bulk charging them, but of course I'll be monitoring the voltage independently when charging.
I decided that I'm done with temperature testing the Leaf motor. Climbing the same hill (800 ft elevation gain) several times a 20 mph yielded similar results or around 90C, with a starting temp under 40C. Using the Grin simulator, 20 mph seemed to be a good speed, relative to the time to meltdown for other motors. Higher speeds have a shorter time to meltdown. That made today's ride up the hill enlightening. I decided to just climb the same hill at 40mph, just to see the temps at the top. The surprise is that at the top, my motor temp was only 78C!! So even though the motor is heating up faster, getting up the hill in half the time, made the final temps lower. At this point, I think I have enough data to add the heat sinks and be able to detect an improvement, although I may do one more test up the steeper hill that I hit 114C on, and see if climbing faster can keep it under 100C.
I think my next series of tests will be to compare the power consumption of climbing the same hill at 20 mph vs 40 mph. I might do some regen testing concurrently while I'm at it.
The temp sensor is really a game changer when it comes to being able to climb a hill, with confidence that I won't melt the motor. I haven't even gotten to the point where the CA scales back power, since I stopped to let it rest, but have comfort knowing the automatic protection is there. I'm convinced the Leaf literally can climb any hill, up to where the tires lose traction, but the temp sensor and CA provide the buffer before anything gets damaged. I think my case for building a mid drive will have a very narrow application at this point, limited to very slow steep climbing, but it might still happen.
On that note, I saw a Santa Cruz Blur, full suspension conversion on Craigslist the other day. I thought about it for a while, but decided to pass, but the bike looked in very good shape, and the claim was the whole setup was "lightly used". It was very clean in the pics. Anyway, asking around $980; Luna Wolf Pack, BBS02 and the bike. Claimed the conversion cost $1500, which made me think BBSHD at first, but looking at the close ups, looked like BBS02 due to the size and the cooling fins. I'd say around here, $650 for that bike alone, used, or maybe $$450-$500 for a quick sale. So whether the lightly used BBS02 and Luna pack are worth $330, I'm leaning more toward likely than unlikely. Didn't take long for someone to snag it. I would have probably jumped on it if it were the BBSHD.