OK, here is the breakdown. Warning: long post!
Assembly
I laced the Grin Hub into my 27.5 rim. After the initial mistake mentioned earlier, lacing was relatively easy, using 2.0mm black spokes with black nipples. Then I put a nice big DH tube and a Nobby Nick tire on it. In addition, I put a 203mm Formula brake rotor on the left hand side, and the torque arm on the right hand side.
As mentioned elsewhere, I put the bike upside down, then lowered the wheel into the fork. Note that my normal front wheel also had a 203 mm rotor on it, so the only thing I had to do was loosen the screws of the brake caliper.
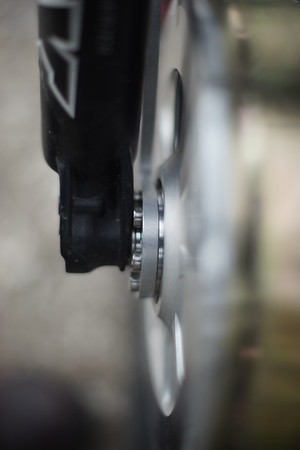
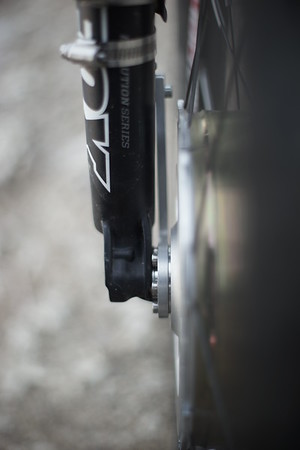
However, then I found the first „issue“. The fork is a Fox 34 with a 15mm through axle. As described earlier, I had ordered spacers for both 20mm and 15mm through axles. Obviously, I had put the 15mm spacers on. However, these spacers are not a perfect fit with the grooves in the fork that usually would guide the axle of the hub into the correct space. Instead, the Grin spacers have a bevel which is slightly larger than the fork groove, resulting in spreading of the fork legs with 2mm on each side, to allow for the Grin hub + spacers to fit within the legs, sitting on the edges of the groove. It also results in the fixation screws of the torque arm to be in direct contact with the right fork leg.
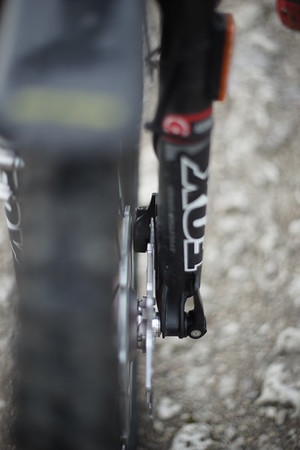
This is not a major issue, because the torque arm must be fixated to that right leg anyway. However, it is not neat, and needs some refinement. On the other side, the brake caliper (Formula R0) has about a millimeter space. That’s more than sufficient.
In addition, I used a Grin rear torque arm fixator, using metal fixators to keep the torque arm in place. Then I guided the phase/hall/temp wires over this, wrapped in some (unshrunken, else replacing the tire is a lot of hassle) shrink wrap and some tie wraps.
In the end, with the 4mm widening of the legs, but with the 15mm through axle firmly fixating the wheel inside the legs, I find no real issue with the suspension capabilities of my fork. Then again, with my first test ride I was very careful and did not push the system very hard. More on that later.
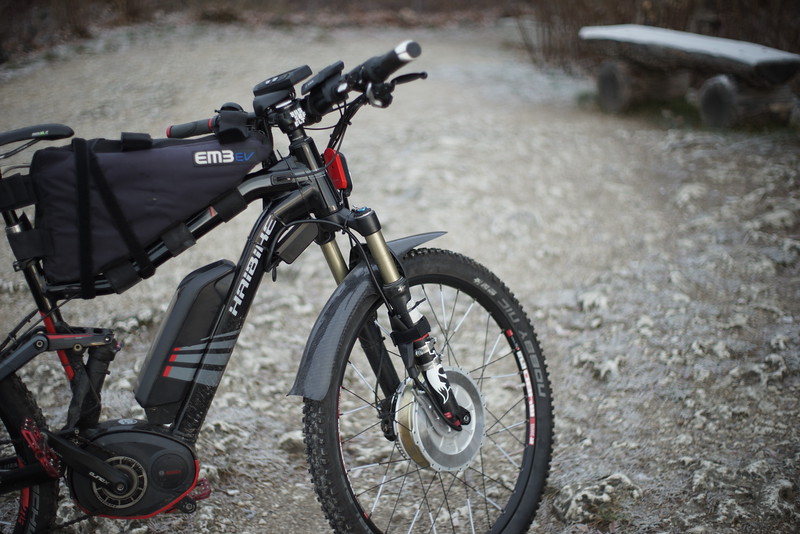
Once the Grin hub was in, I put the bike upright again and fixated the extra battery. As you can see, the standard battery is already within the triangle, leaving no room for the additional battery within the triangle. As I do not want the second system to interfere in any way with the first system, I put my EM3EV battery in its default battery housing (bag) on top of the triangle. The EM3EV bag comes with some great lengthy fixators, allowing for a firm fixation of the bag on top of the triangle. In addition, the bag is a bit bigger than the battery, so I can hide some of the wires inside.
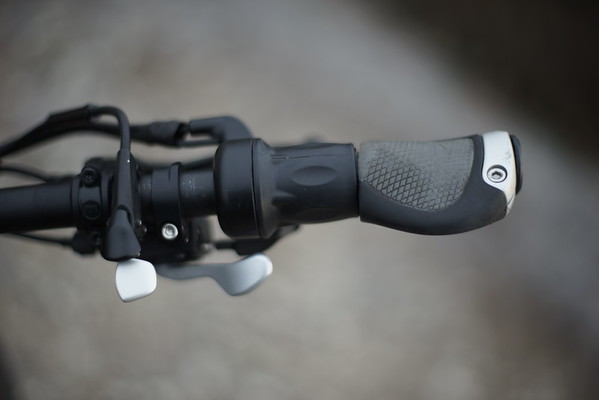
Once the battery was added, I fixated the Cav3 on the steering bar using the default fixator, added the throttle on the right side of the bar, and put the PhaseRunner just under the triangle right behind the fork, using a couple of tie wraps. Then I put some shrink wrap over the visible wires (without shrinking them) and tied everything tight, again using tie wraps.
The CAv3 is configured for torque throttle limited at 50A 2500W. So this morning it was time for a test ride.
Test ride
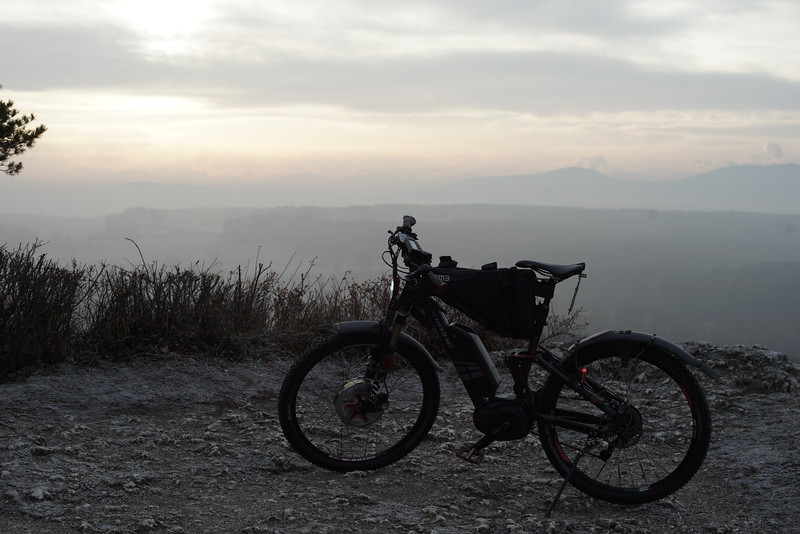
Summary: so now we have a fully MTB, with a midmotor, a heavy front motor, and with two batteries, one of which is riding quite high. Estimated total weight (excluding rider) is in the 45kg or so. Not surprising, this is actually NOT a nice MTB to go downhill with. Going up, however, is a completely different matter!
So behind my house, there is this nice hill. From my house (around 370m altitude) to the top of the hill (around 780m) are various forest roads. I started by riding one to the top. What I found is that I had to be really careful to keep traction on the front wheel. Essentially, on a forest road with leaves and stones and a 10-15% inclination, 1kW on the front with 350W on the rear is already a recipe for loss of traction. 500W on the front is the maximum for me, with a total speed around 15-20km/h. However, that is already a huge improvement over my previous state (RWD only), because with the 350W on the RW only, I got around 8-10km/h. In other words, going uphill is really nice! And what is even better, it is near soundless! With my previous 8kW Cromotor configuration, all the animals could hear me coming. With the current configuration, I came up to 5m of a marsh harrier, before it sighted my front light, and decided to go airborne. A deer saw me from 20m away, and then fled. It is really really nice!
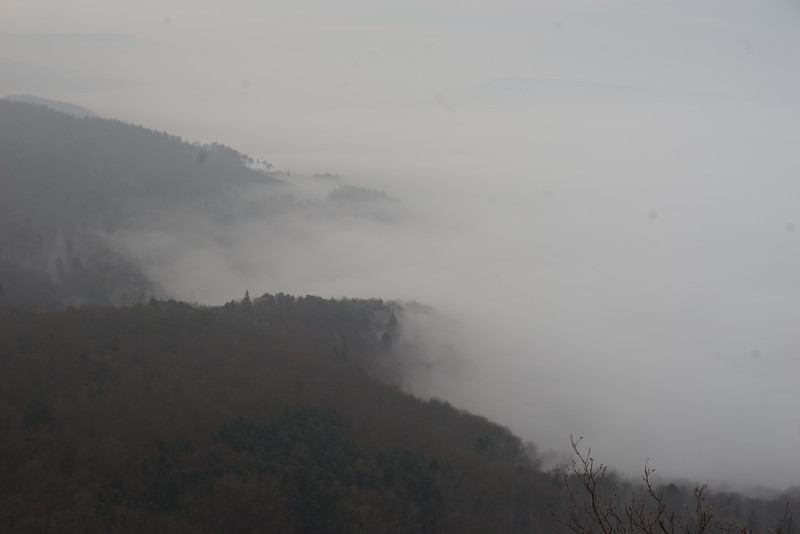
And on top, it was even nicer!
OK, now the bad part. Going downhill with such a heavy bike and such a big lump on the front axis is not nice. I will not try to do any small jumps, because I won’t be able to keep my balance correctly, whereas with the original 31kg Haibike middrive configuration this is quite feasible. There are some tarmac roads that I went down where regen would have worked, but when going down a forest road, using regen is not enough modulation to prevent dangerous loss of traction up front. No go for me.
So, will this work for a mountain bike? Only if you drastically change your expectations of MTB-ing. See it as being able to go offroad with a luxury SUV, that most of the time is used for commuting. Nice enough.
If it is exercise you want, skip the whole electronic motor thing. I have another MTB (without motor) just for that.
But then where does this combo (Mid drive + Front Grin hub) excel? On tarmac, as a commuter. I love it. I love the acceleration up to my comfortable cruise speed (45km/h). I love the possibility to temporarily lighten my work load by just moving the throttle. And I love that I can take this bike to work and home again every single day, preventing me to burn gas with my car or getting diseases in public transport. So it is fully worth it!