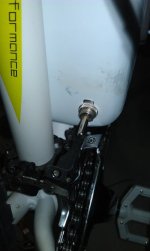
Some time ago I found this forum and i was very pleased with the stuff other people built.
I used to go to work by train or by motorcycle but both means of transport are more or less shitty...
The trains are always full, connections are bad...sometimes I miss a connecting train because an idiot is blocking the door. It really pisses me off sometimes
If i go by motorcycle...I get usually stuck in traffic and I'm only 15mins faster and it costs me about a hundred franks (approx 100USD) a month... not really cheap .
.
But whining about everything doesn't solve anything . So I got to do something about this... Self do, self have.
I bought a a new mountain bike... but riding 25km with a 2km 15% hill climb is pretty hard.. a motor would perfecly fill my needs. This is my first build, my first time working with fibre glass and epoxy. Had some issues but nothing not solvable.
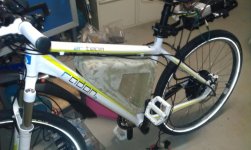
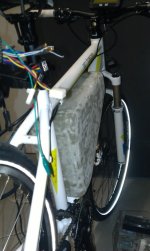
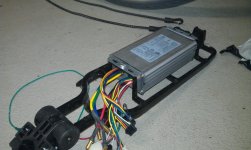
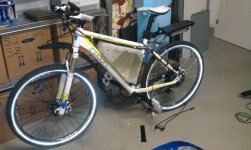
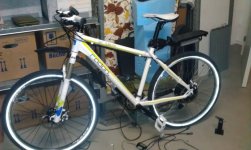
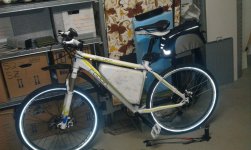
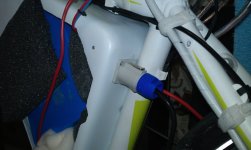
Here's the bike with just the controller attached as a test..

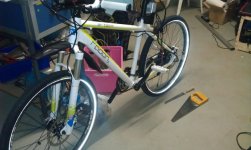
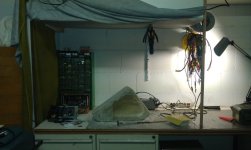
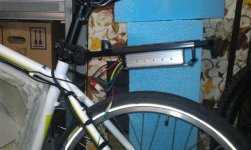
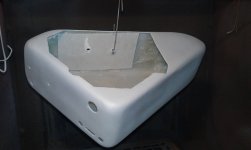
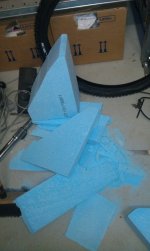
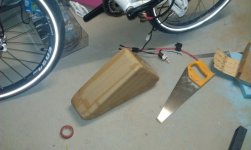
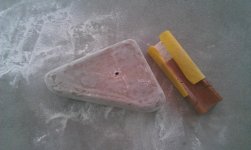
So i have to build a battery box. Started with the blue stuff
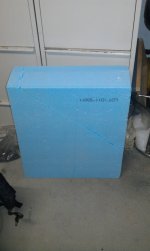

View attachment 10
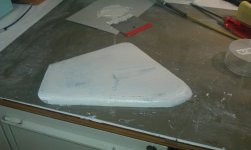
Some sanding.. works pretty well.

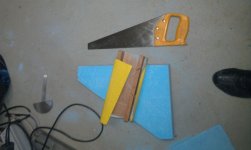
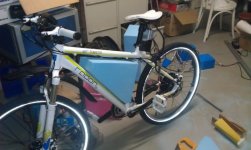
Does it fti? Yes, it does!

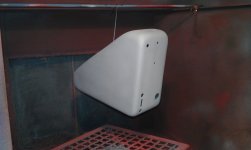
Almost finished sanding...

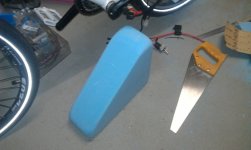
Still fits in

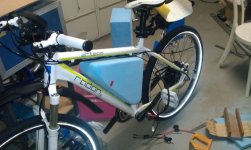
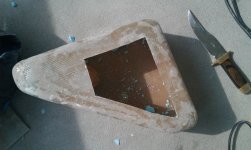
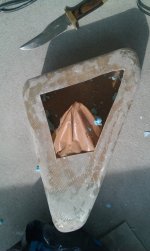
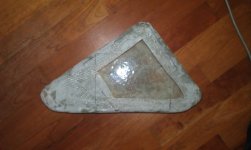
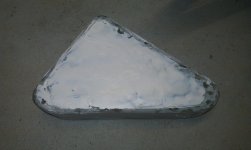
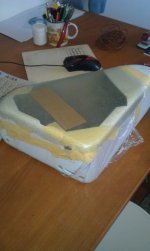
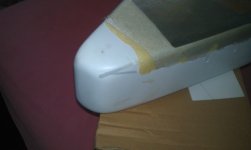
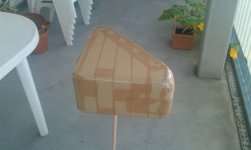
So..what yre you going to do if you haven't got any seperating agent? Bron plastic tape works very well (only for epoxy) don't use it with anything containing solvents. Brown tape has some significant advantages..(we'll come to that). The brown tape gives a very smooth surface... too bad it is inside after putting the laminates.

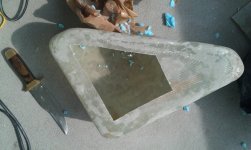
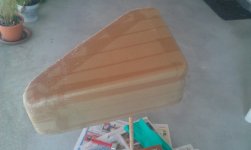
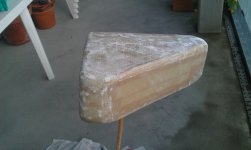
Now the first layer glass fibre.. (took me 3 days for all layers..its about 7 layers thick)




I used to go to work by train or by motorcycle but both means of transport are more or less shitty...
The trains are always full, connections are bad...sometimes I miss a connecting train because an idiot is blocking the door. It really pisses me off sometimes
If i go by motorcycle...I get usually stuck in traffic and I'm only 15mins faster and it costs me about a hundred franks (approx 100USD) a month... not really cheap
But whining about everything doesn't solve anything
I bought a a new mountain bike... but riding 25km with a 2km 15% hill climb is pretty hard.. a motor would perfecly fill my needs. This is my first build, my first time working with fibre glass and epoxy. Had some issues but nothing not solvable.
Here's the bike with just the controller attached as a test..

So i have to build a battery box. Started with the blue stuff

View attachment 10
Some sanding.. works pretty well.


Does it fti? Yes, it does!

Almost finished sanding...

Still fits in

So..what yre you going to do if you haven't got any seperating agent? Bron plastic tape works very well (only for epoxy) don't use it with anything containing solvents. Brown tape has some significant advantages..(we'll come to that). The brown tape gives a very smooth surface... too bad it is inside after putting the laminates.

Now the first layer glass fibre.. (took me 3 days for all layers..its about 7 layers thick)


