byebyepetrol
100 W
Dillenger 250w 36v 10Ah kit
Dillenger Bikes Australia
http://dillenger.com.au/
Commuter Worker Bee
Allow me to introduce myself, I'm a bike commuter going on 10yrs firstly on a Principia alloy then to a carbon roadie. Off-road is taken care of using a 2007 Sintesi Alloy MTB and a top-spec Chinese carbon hardtail MTB.
Most of my time on a bike is spent commuting but love touring and look forward to more international touring adventures in the future.
With my work office shifting 10km further away I'd been looking around for a conversion kit for about 3 months to soften the blow of the extra distance and I was drawn to this conversion kit mostly because of its "plug n' play" nature.

First Impressions
Email communication with Dillenger is excellent; quick and easy to understand.
Packaging is top-notch. All parts cushioned in EPP foam and lots of bags to separate components.
The instructions are dire. Hardly worth the paper / pixels. If you're new to bicycle mechanics you'll find it frustrating. I assembled the bike simply by instinct and had to back-track a few times. Thankfully all wiring is colour coded and keyed to prevent misalignment and bent pins.
There's no "helicopter view" of the process and no introduction. There's no instructions on how to use the display or the mode selector switch. There's no instruction on insertion / removal of the battery, no explanation of the behaviour of the blue power led (if you push it to turn it off it takes a couple of minutes to fade out so I discovered). I have to assume the written instructions are incomplete and simply translated from Chinese with little editing for comprehension. There's few "hints" in the instructions. I'd like to have seen advice on how to rout the wiring for stealth, how to mount the front wheel (the keyed lug-spacers can only go in one way). The instructions feature sweeping statements about checking the wiring and making sure the nuts are done up without any truly useful info.
The FAQ on the website answered half my questions. The other half I answered myself through discovery. Nowhere is battery regen mentioned. I have to assume it's not a feature of this kit. I've heard it's not that effective so I'm not fussed.
Installation
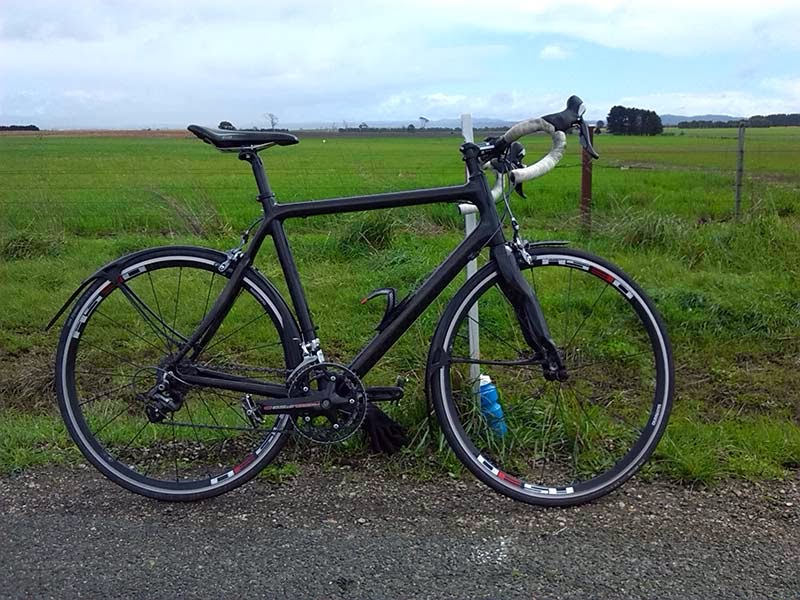
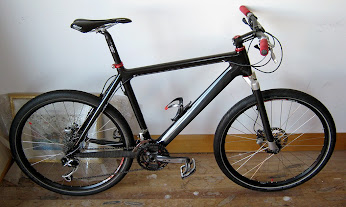
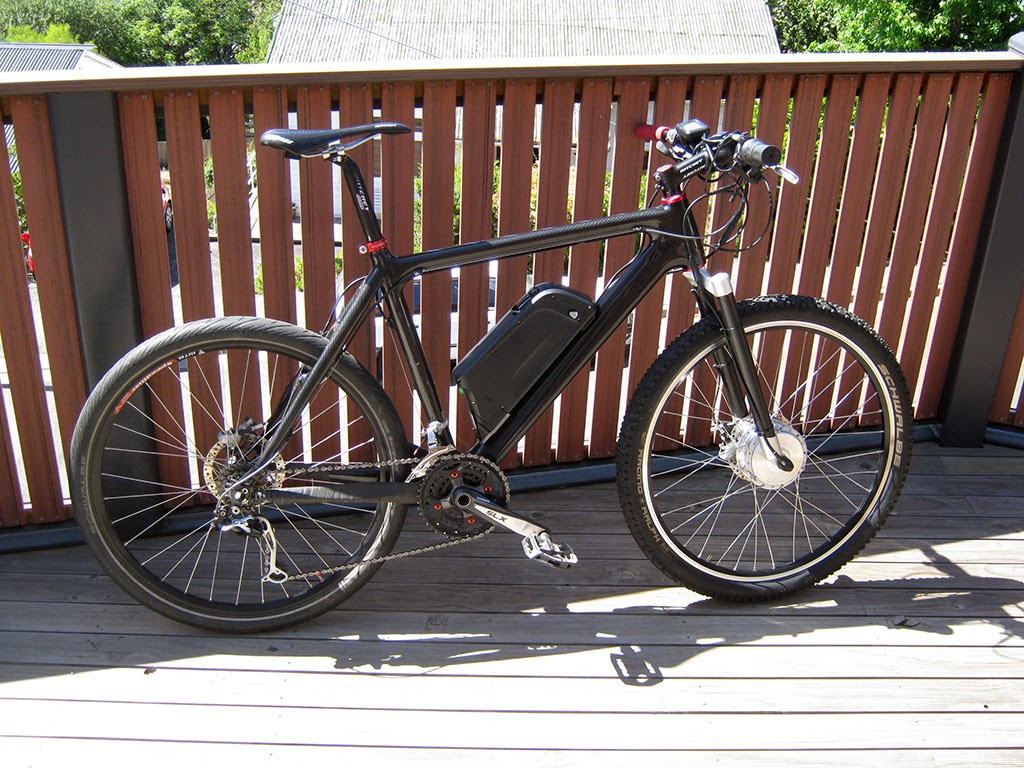
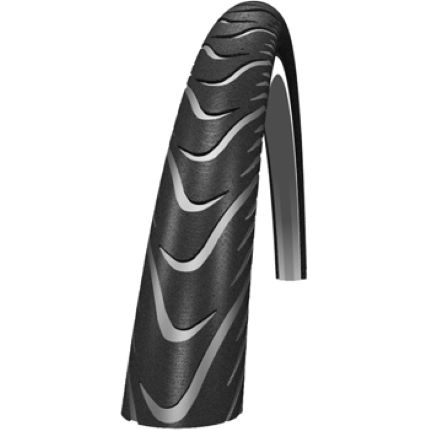
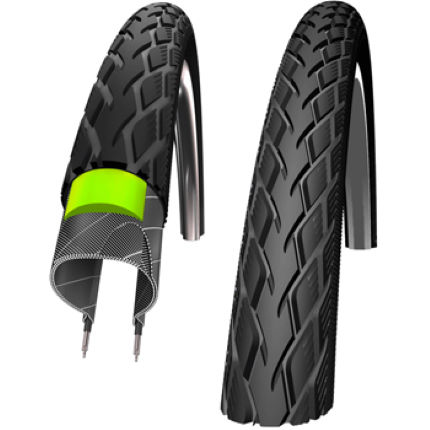
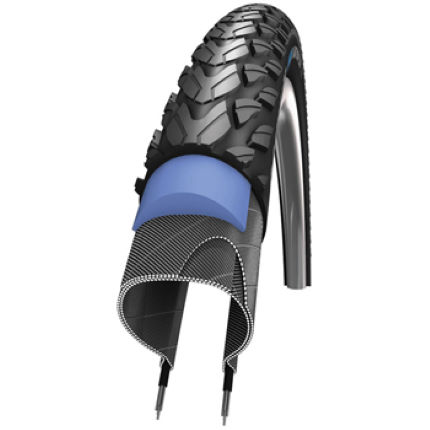
This kit was going on my 26" carbon hardtail. I Mounted a Schwalbe Racing Ralph (knobbly tread) on the Dillenger wheel and left the Schwalbe Marathon Supreme (slick tread) on the back for low rolling resistance there.
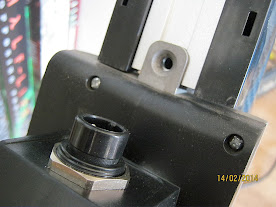
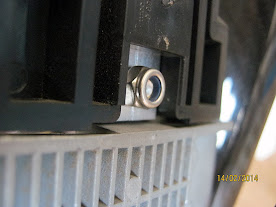
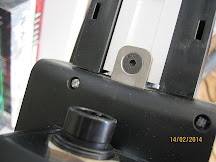
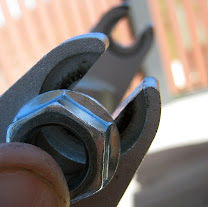
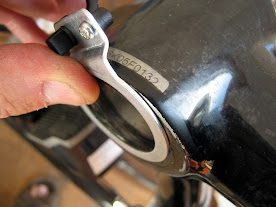
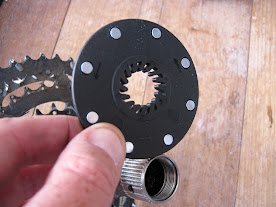
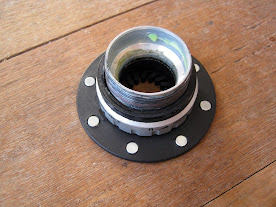
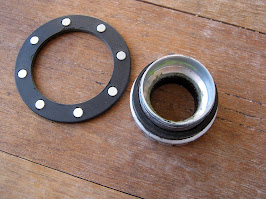
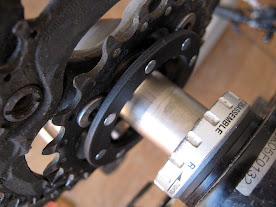
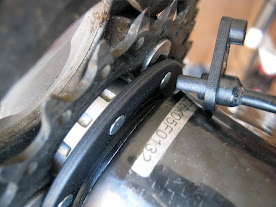
The flanged wheel nut and washer (see photo below) wouldn't fit the On-One forks at first so I had to replace those with nuts with no flange and had to remove 1.5mm from the washer's radius and had to remove material from the fork lugs. 4" angle grinder to the rescue and bastard file to finish.
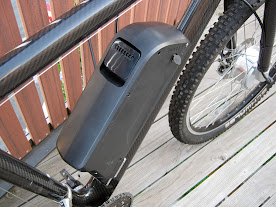
Battery mount worked well with clearances all around to prevent possible scratches on the frame. Supplied cable ties are frail. Replace those with ones that don't break if you breathe on them. Three keys are supplied for the battery lock. The insertion / removal process is fiddly and needs practice to get right.
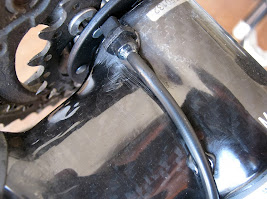
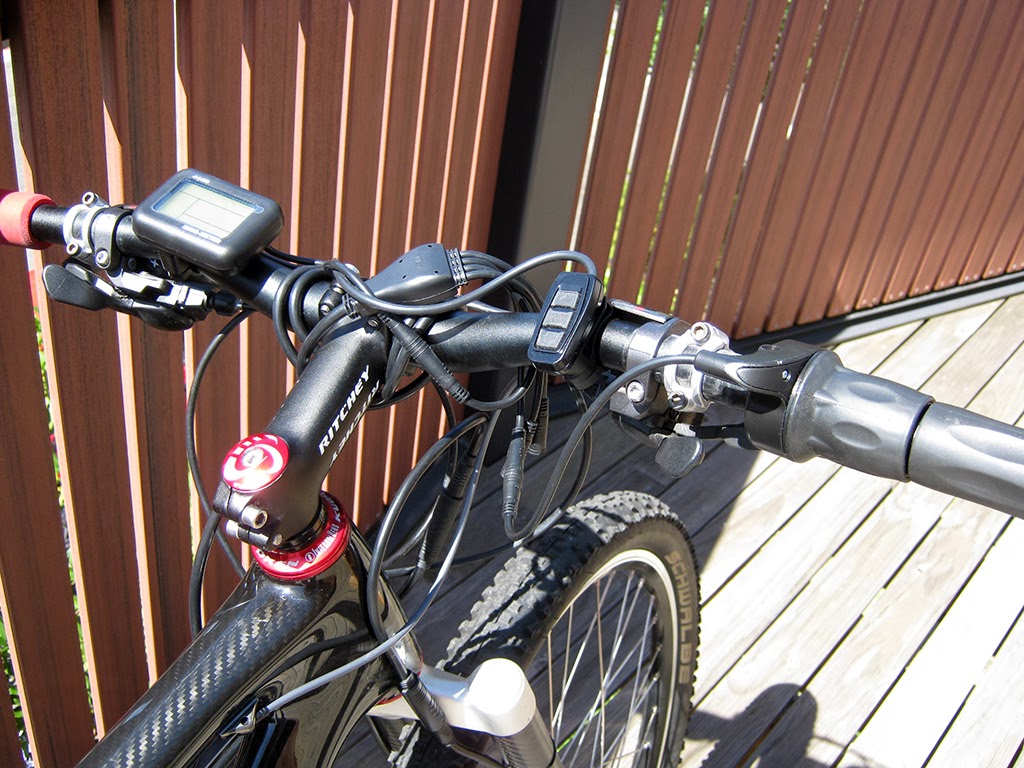
Twist throttle, LCD panel and 3-switch panel (mode button and up/down assistance level buttons) was easy to mount and locate. Wiring leads were flexible and easy to manage.
Road Test
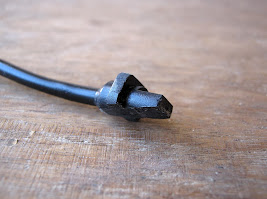
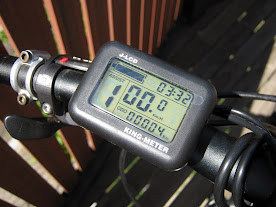
The crank sensor will be installed asap but I couldn't wait thanks to fading light I took it for a spin (it works without the sensor). Turn battery on (depress push button on side of pack...it should light up with a blueish hue to indicate "live") then hold mode button down on the 3 -switch panel to power-up the LCD which should now indicate power levels, speed, odo, assistance level and time.
Under load It's quiet. It's actually drowned-out by the rear cluster (which is surprisingly LOUD).
Conclusion
Conclusion is inconclusive so until I fit the pedal sensor and stealth the wiring a little better this is just a dress-rehearsal.
Stay tuned for more on this conversion kit.

Chris Adams
Dillenger Bikes Australia
http://dillenger.com.au/
Commuter Worker Bee
Allow me to introduce myself, I'm a bike commuter going on 10yrs firstly on a Principia alloy then to a carbon roadie. Off-road is taken care of using a 2007 Sintesi Alloy MTB and a top-spec Chinese carbon hardtail MTB.
Most of my time on a bike is spent commuting but love touring and look forward to more international touring adventures in the future.
With my work office shifting 10km further away I'd been looking around for a conversion kit for about 3 months to soften the blow of the extra distance and I was drawn to this conversion kit mostly because of its "plug n' play" nature.
First Impressions
Email communication with Dillenger is excellent; quick and easy to understand.
Packaging is top-notch. All parts cushioned in EPP foam and lots of bags to separate components.
The instructions are dire. Hardly worth the paper / pixels. If you're new to bicycle mechanics you'll find it frustrating. I assembled the bike simply by instinct and had to back-track a few times. Thankfully all wiring is colour coded and keyed to prevent misalignment and bent pins.
There's no "helicopter view" of the process and no introduction. There's no instructions on how to use the display or the mode selector switch. There's no instruction on insertion / removal of the battery, no explanation of the behaviour of the blue power led (if you push it to turn it off it takes a couple of minutes to fade out so I discovered). I have to assume the written instructions are incomplete and simply translated from Chinese with little editing for comprehension. There's few "hints" in the instructions. I'd like to have seen advice on how to rout the wiring for stealth, how to mount the front wheel (the keyed lug-spacers can only go in one way). The instructions feature sweeping statements about checking the wiring and making sure the nuts are done up without any truly useful info.
The FAQ on the website answered half my questions. The other half I answered myself through discovery. Nowhere is battery regen mentioned. I have to assume it's not a feature of this kit. I've heard it's not that effective so I'm not fussed.
Installation
This kit was going on my 26" carbon hardtail. I Mounted a Schwalbe Racing Ralph (knobbly tread) on the Dillenger wheel and left the Schwalbe Marathon Supreme (slick tread) on the back for low rolling resistance there.
The flanged wheel nut and washer (see photo below) wouldn't fit the On-One forks at first so I had to replace those with nuts with no flange and had to remove 1.5mm from the washer's radius and had to remove material from the fork lugs. 4" angle grinder to the rescue and bastard file to finish.
Battery mount worked well with clearances all around to prevent possible scratches on the frame. Supplied cable ties are frail. Replace those with ones that don't break if you breathe on them. Three keys are supplied for the battery lock. The insertion / removal process is fiddly and needs practice to get right.
Twist throttle, LCD panel and 3-switch panel (mode button and up/down assistance level buttons) was easy to mount and locate. Wiring leads were flexible and easy to manage.
Road Test
The crank sensor will be installed asap but I couldn't wait thanks to fading light I took it for a spin (it works without the sensor). Turn battery on (depress push button on side of pack...it should light up with a blueish hue to indicate "live") then hold mode button down on the 3 -switch panel to power-up the LCD which should now indicate power levels, speed, odo, assistance level and time.
Under load It's quiet. It's actually drowned-out by the rear cluster (which is surprisingly LOUD).
Conclusion
Conclusion is inconclusive so until I fit the pedal sensor and stealth the wiring a little better this is just a dress-rehearsal.
Stay tuned for more on this conversion kit.
Chris Adams
")