spinningmagnets said:
Thanks for documenting how this is done. What a great technique for garage builders...
It's been a lot of work but so far no problems. Tonight's step is the key. The basement is cool, like 63*f, and the epoxy won't cure below 60*f, so I'm on the edge. The gel coat took 3 hours to setup enough to put on the first reinforcement layer. Hopefully within an hour that layer will be ready for a second reinforcement, at which point I'll let it cure for about a week (I'm inherently impatient; but my days are booked for a while so might as well let it cure good!)
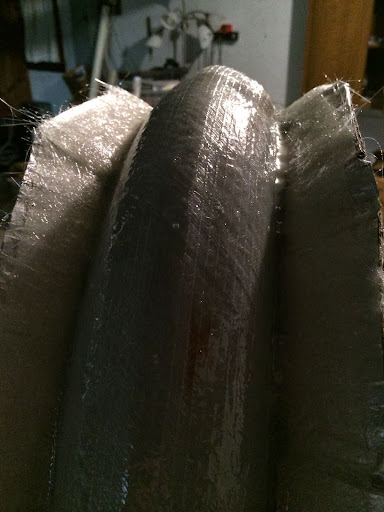
Here are some images of the first reinforcement layer. I started out using fiberglass mat - pretty heavy weight stuff, too. It does not conform well to the compound curve of this plug. So, right away I started cutting it into small rectangles and even triangles, wetting them out and overlapping them. You can see the results here:
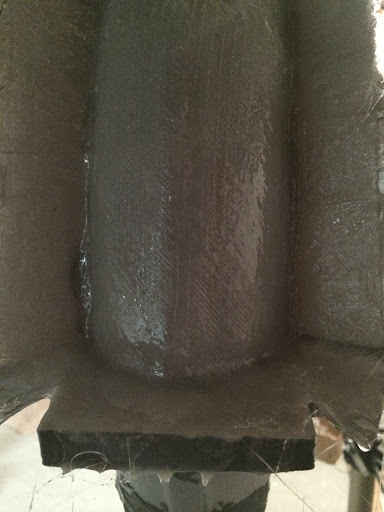
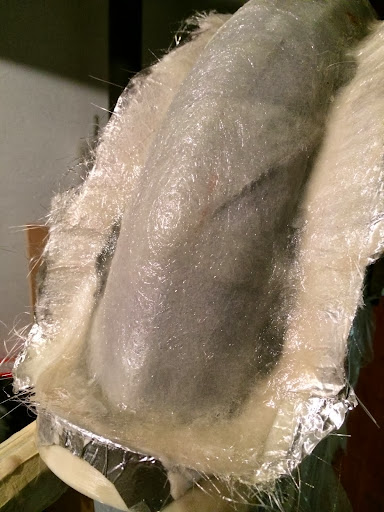
This approach felt like a recipe for disaster. It was taking a long time to make progress, and I was not confident the results would be bubble free and strong. I have some 6" wide double bias weave fiberglass on the shelf (intended for use in the finished fender). I figured "what the heck - better try the bias weave or I might not have a decent mold to use". The bias weave worked great - it conformed to the plug very well, overlapping onto the flanges about 1/2" on each side. I reinforced/extended the flange overlap with strips of the fiberglass mat. Here are a couple pictures of the result:
If I were to do it over again, I'd start with the bias weave tape and do it right from the beginning. I hope my layup of the mat is good enough to make an adequate mold, because doing this over will be a real ball buster. We'll see in a week when I take the mold off the plug. For now, I'm going to wait till the first reinforcement layer sets, then layup a second - this time it will be the bias weave tape from end to end.


")
