liveforphysics
100 TW
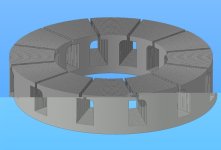
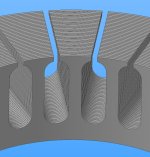
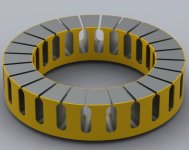
Miles said:You're very kind. I was thinking to use 0.25mm thickness material, though - that's 50 different shapes.....There would still be a limit set by the tool radius.
0.25mm material should cut like butter with a little carbide end mill. With each sheet holding a hundred+ lams, all the work would just be in creating the program. On my side, it would just be sticking down a sheet to something flat in the machine, loading the program, and leaving for work.
") Might take a few days to cut them all, but I would be glad to help if I can. The last thing I want to have happen would be to NOT get some wear on this machine.
Might take a few days to cut them all, but I would be glad to help if I can. The last thing I want to have happen would be to NOT get some wear on this machine.