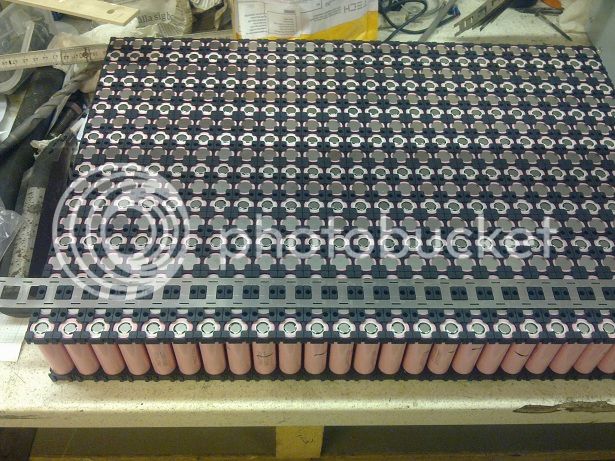
Cargobike project. Very long john from chromo tubing

Wheazel

10 kW
Joined
Nov 2, 2010
Messages
970
Location
Sundsvall, Sweden
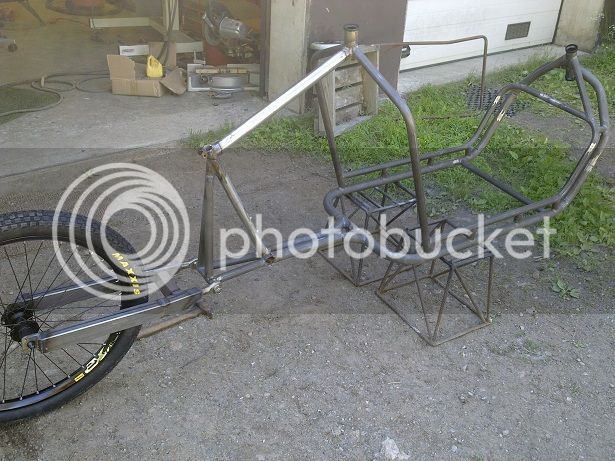
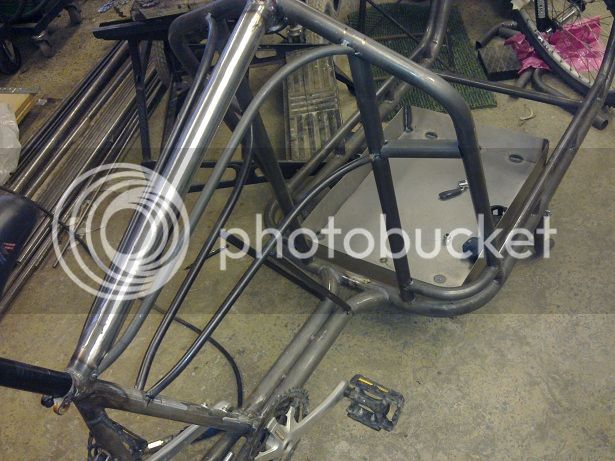
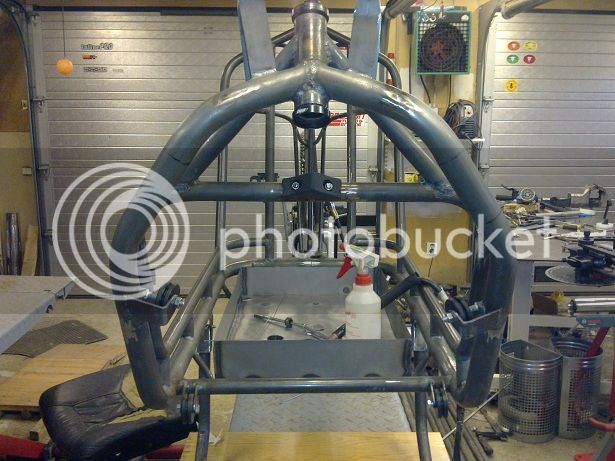
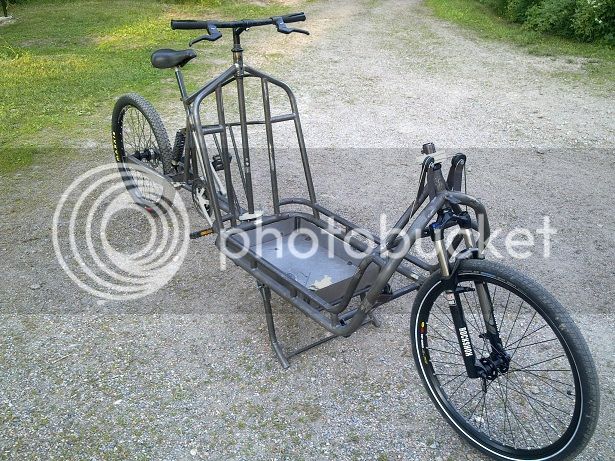
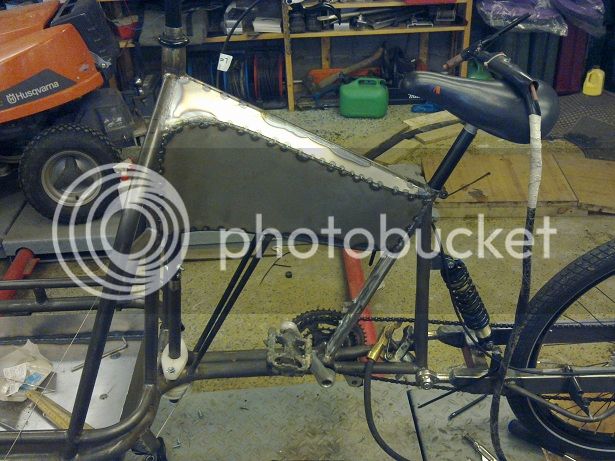
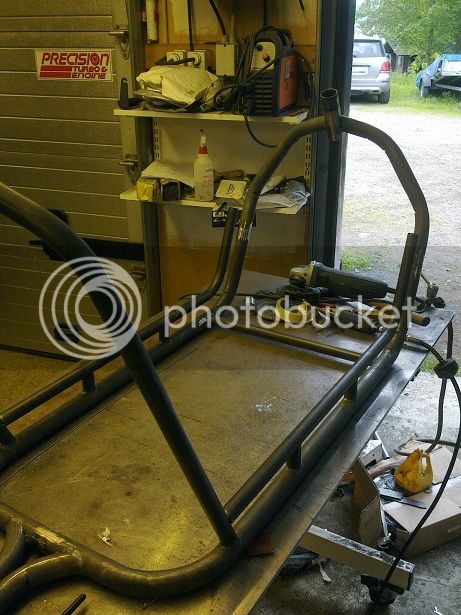
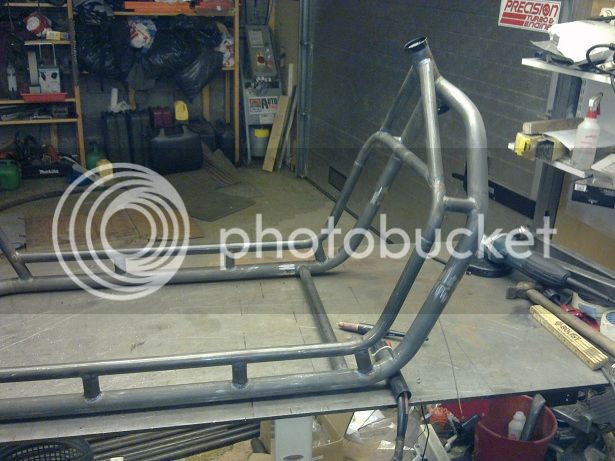
First of all welcome to this buildthread. The purpose of this project is to create a long john style cargobike that I can use for a larger variety of needs and replace the car more.
It is going to very long, pretty dead on 3meters. This is quite abit longer than standard cargobikes.

The main reasons for this length are:
A 26" suspensionfork in the front to be able to use the best spiketyres incase i end up using it during wintertime. (also for ride comfort reasons)
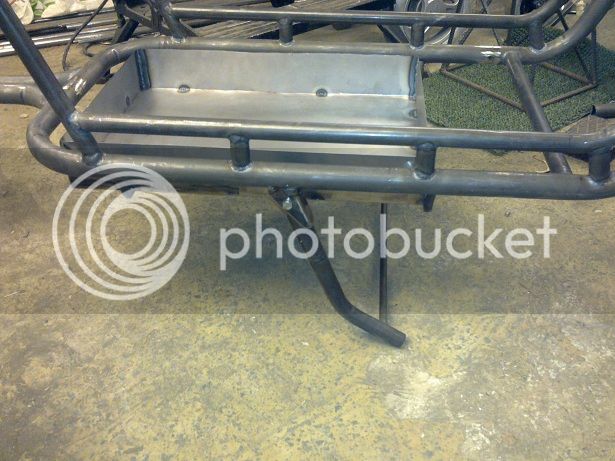
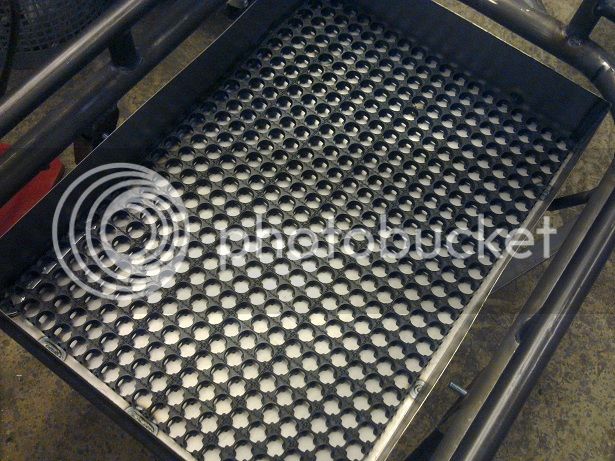
The same "cargobay" length as other long john bikes. I glanced at the bullit.
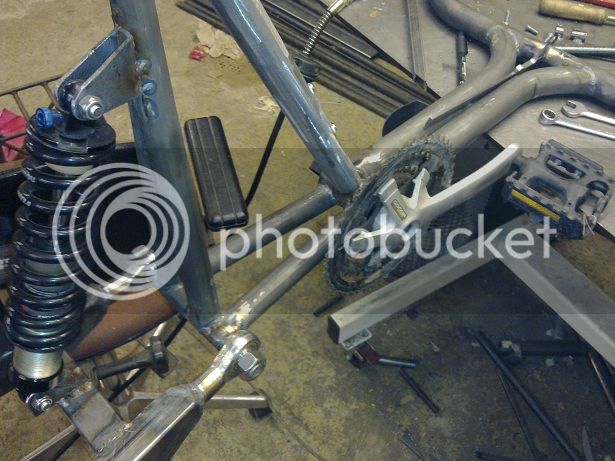
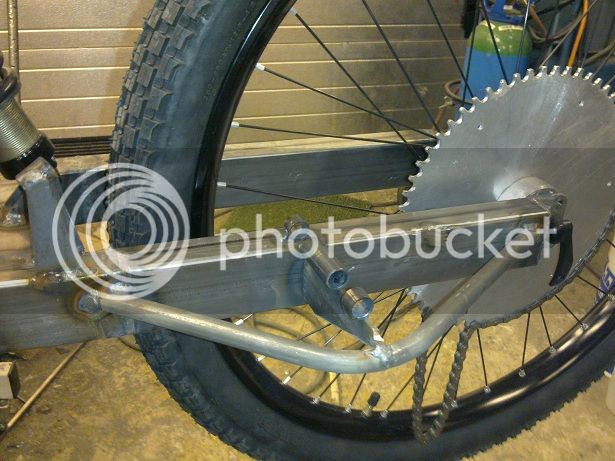
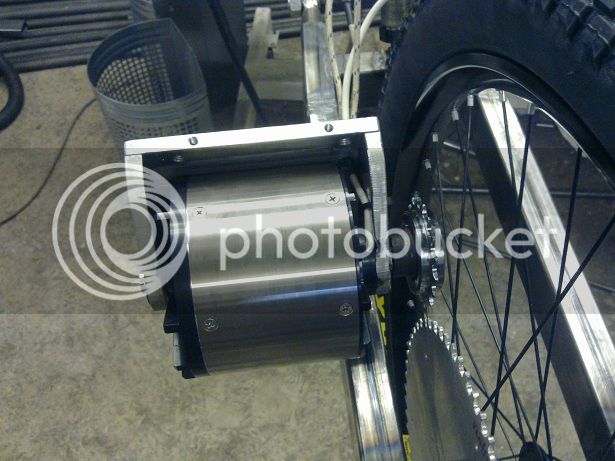
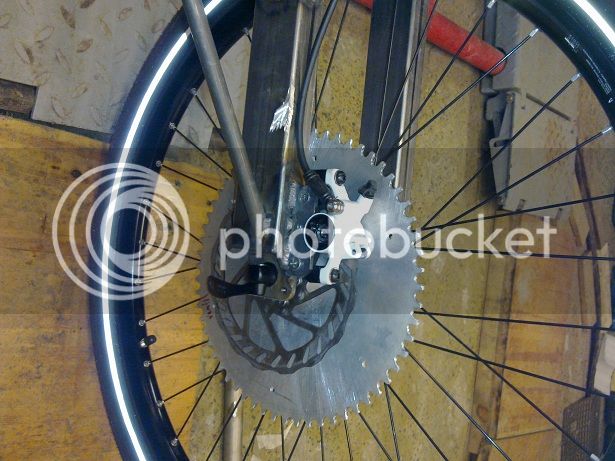
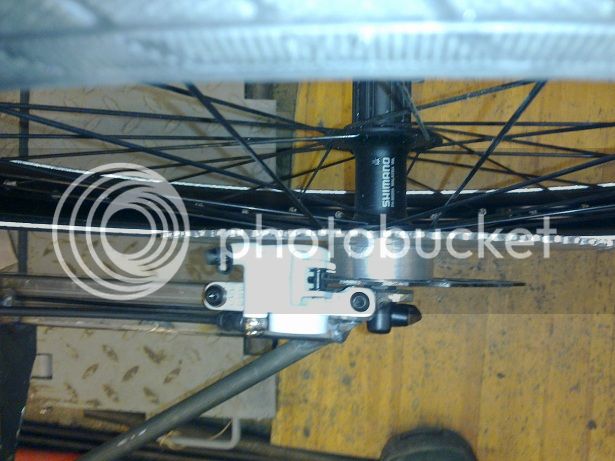
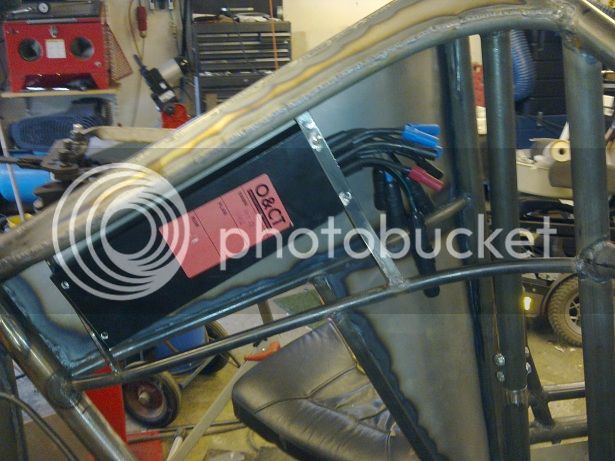
A Revolt 120pro instead of a hubmotor makes the bike longer backwards since I am using bottombracket and cranks from an old donor mtb. (could have gone wider cranks and reduced some length)

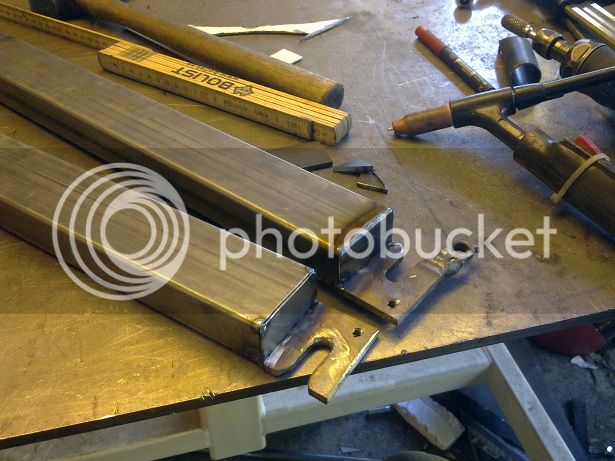
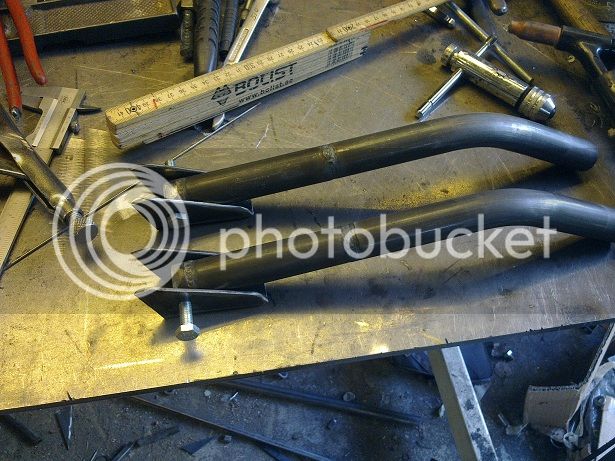
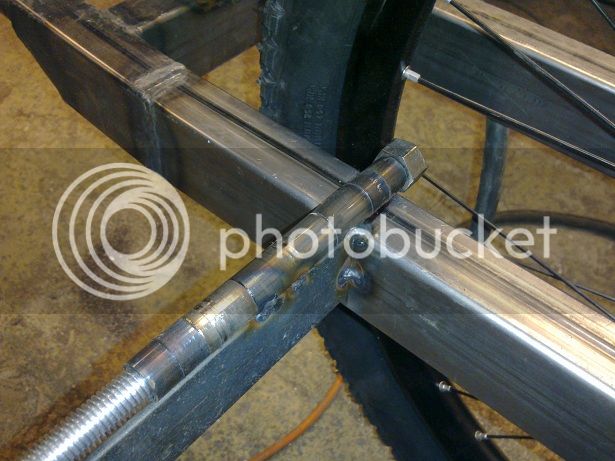
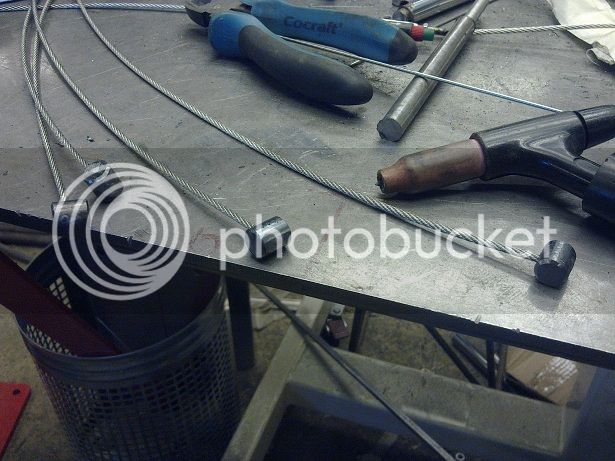
The 35x1,24mm chromotubing showed to be hard to bend well, and I could not get the tube bent without waves on the inner radius.
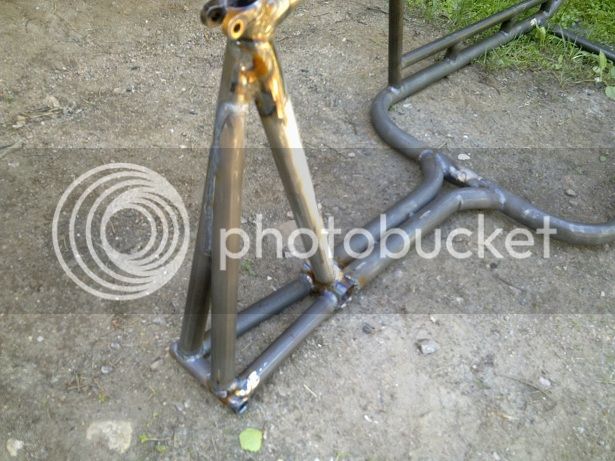
This is no biggie for this application tho, as the tubes are superstrong anyway, and the frame feels extremely rigid.
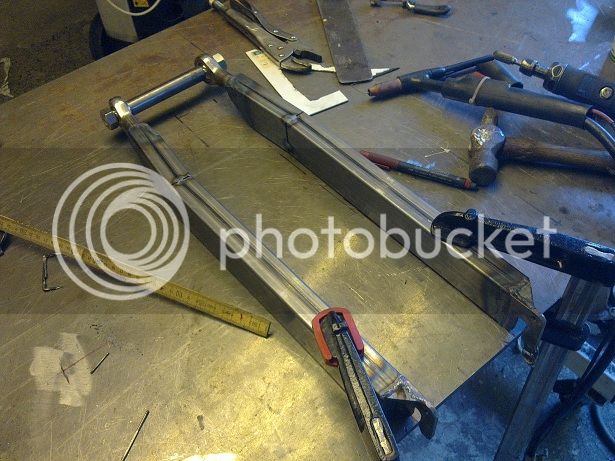
The 25x1,24mm tubing is far easier to bend.

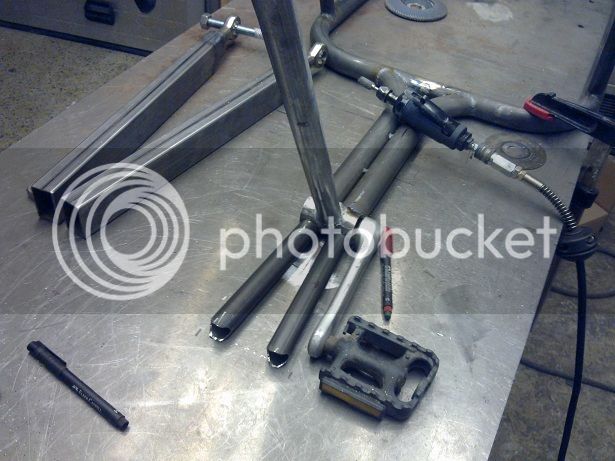
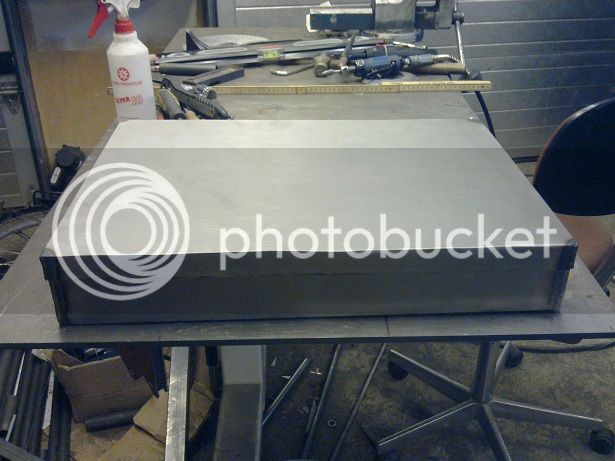
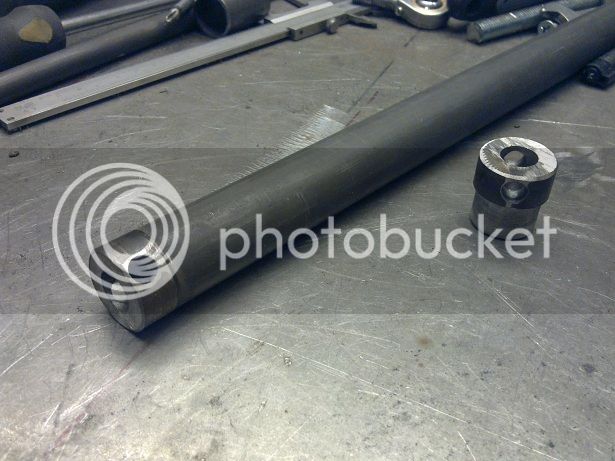
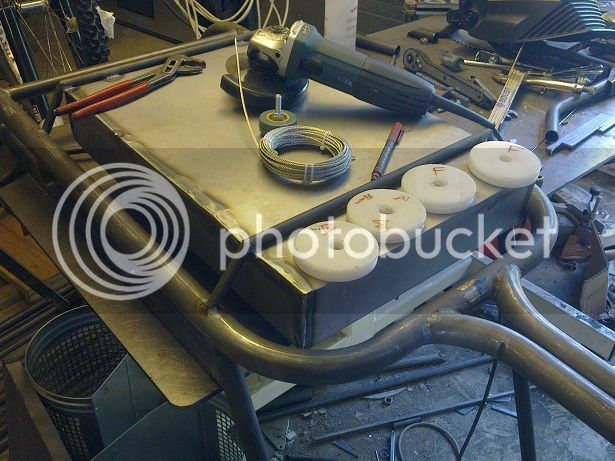
Some pics to start this thread, more to come.
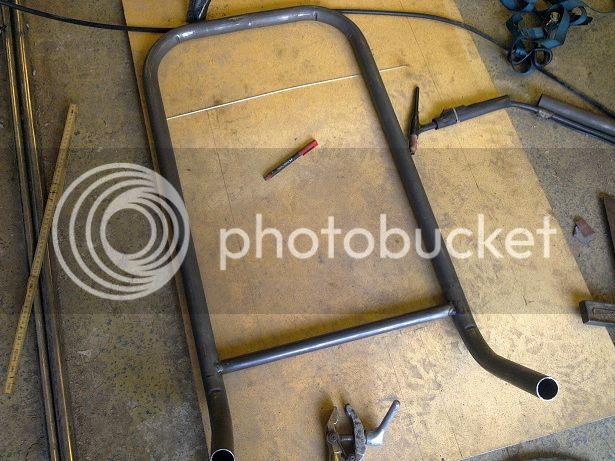
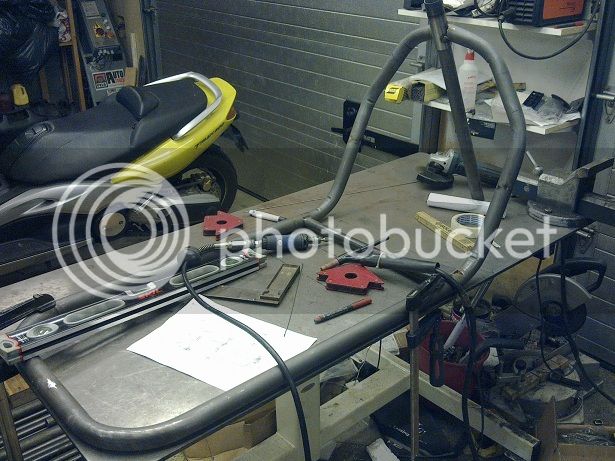
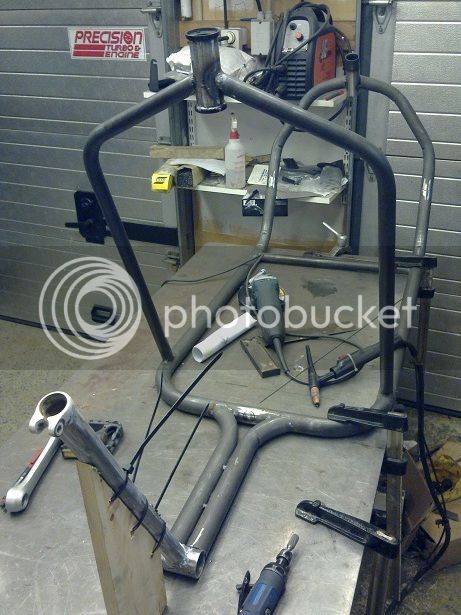
VLJ1_zpshlpse0wc.jpg

VLJ2_zps3n3kbl0s.jpg

VLJ4_zpshtw0kbww.jpg

VLJ5_zpsdyycsp9t.jpg

VLJ6_zpskqvbagmk.jpg

VLJ7_zpstvve4vpy.jpg
 
Are you using a dedicated tubing bender with appropriately sized dies? Just curious.
 
goodgnus said:
Are you using a dedicated tubing bender with appropriately sized dies? Just curious.

Yes dies of correct size and a pulling bender. Also tried sandfill in combination with the bender which improved the bends slightly, but didnt make them perfect.
I think the radius of the 35mm die I have in combination with the wall thickness of the 35mm pipe and material properties just makes a hard relationship.
 
Looks like the Bullitt is about 28" on the base of the cargo area?

It's not really small, I suppose, just I guess I'm spoiled. :lol:

I guess that's around what my CrazyBike2 could do across teh top of the cargo pods behind the seat (but then there is also the area within the pods, which is on the lefthand pod about 16" high x 17" long x 9.5" wide. The righthand pod is the same, minus the 1" styrofoam insulation against our heat, making it only 14" x 15" x 7.5". (but if I have icepacks in there on the way to the store and while shopping, to pre-chill it, icecream and other frozen stuff stays that way even on a hot day on a 30+ minute trip back home).

Anyway, sorry about the OT, I was just wondering cuz I keep looking at builds like yours and..was it 1KW? thinking I really ought to try actually building what had been called Loooooooongbike, and got renamed Barkfiet, but is still just ideas in it's thread and my head, cuz I don't know that I could actually use it unless I make it a narrow leanign trike frontend. (especially with the dog(s) riding on the platform).
 
Amother update. This time around I have wasted about 15 hours on failed steering mechanism attempts. I think the current solution will be rigid enough. At least the first tests indicate that.
Spent alot of time making an arrangement for a push-pull wire commonly used with boat outboard motors. Ended up having too much slack, and was scrapped.

VLJ30_zpsmaaejvbo.jpg

VLJ31_zpsyncmwagp.jpg

VLJ32_zpszwrt6rfo.jpg

VLJ33_zpsggtjtndi.jpg
 
FWIW, on my never-completed ReCycle, my first custom bike, I went thru a bunch of remote steering ideas, from pull cables to chain, etc...and none would actually work right (some close, but no cigar). I tried variations on some of them for my next bike, CrazyBike2, and ended up with a simple two-pivot/bearing pushrod on one side, which has evolved a little over time, but is still my preferred method. For redundancy I'd like to have one on each side, and then I could make them smaller, but it works like it is.

The present one is simply made from rod-end bearings screwed directly onto threaded rod, with double nuts and washers holding them in the right place once adjusted for length and straightness of steering. Then bolts directly run thru the bearing tubes into the 1/4" plate-steel mounts (one made from teh back of a desk chair, one from a car alternator mounting bracket), which are themselves welded to their respective ends of the steering mechanism. One is on the bottom end of the handlebar steerer pivot, and the other on a steel clamp-on stem on the fork's steerer.

There's a teensy amount of slop in it because teh bolts do not *completely* fill the bearing holes, but there's not enough slop to get any material I hve here in as shims. Close enough to not notice it while riding (especially compared to my previous version made from welded-closed eyebolts and rollerskate bearings and washers, scrwed into nuts welded to the ends of a hollow rod that used to be a weedeater handle).
 
Ty for your insights Amberwolf, it is getting clear to me why a solid pushrod is so commonly used.
My main concern is that I have to compromise so much when using that solution.
26" wheel and suspensionfork makes the low-mount unconvenient, and my design doesnt support it well in its current state. (Would have to rebuild)
The high mount to the steertube interferes with the cargoarea.

I will give this wire steering a real testride when the time comes, and the solid rod will have to be the last resort solution.
I have beefed up some of the guidingpoints for the wire, and plan to use more tension for the real testride.
 
Wheazel said:
Ty for your insights Amberwolf, it is getting clear to me why a solid pushrod is so commonly used.
I didn't want to use one either, for a few reasons, but it was all I coudl get to work, and it's worked so well I stuck with it on CB2.

I know it's not the only way to do it, and I knwo cable steering and chain link steering can work, too, but as you're finding, the slop in the system has to be taken out and it's harder to do than in a solid rod.

One way is with a threaded cable adjuster, I forget exactly what they are called, but it has a threaded eyebolt in each end, with the cables tied to the eyebolts, and the adjuster when twisted one way brings the eyes together, tightening the cable, and the other way pushes them apart, loosening the cable.

I could not build tensioners like that or wheel-type tensioners (kinda like derailers) at the time, but if you can build adjustable tensioners you can secure after adjustment, like pressure rollers against the cable, you could take out any extra slack in the cable.


The high mount to the steertube interferes with the cargoarea.
There's an alternate, by bending strong tubing into a kind of L or long S shape, so that it runs along the bottom of the bike under the cargo area, until it gets to the front, past the cargo bay, then goes up to meet the steerer mount point up on the fork.

Another way is to go "around" the back of the tire, bending it outward instead of upward, and then reaching a pivot point that sticks out from the side of the fork somewhere.

I've seen both of those methods on pics of various bakfiets.


I hope you can make the cable steering work, because whatever you do for that I'd like to try out myself, when I eventually replace the tiller steering on the SB Cruiser trike. (which was meant to be temporary until I could build or get parts for the remote steering).
 
One way is with a threaded cable adjuster, I forget exactly what they are called, but it has a threaded eyebolt in each end, with the cables tied to the eyebolts, and the adjuster when twisted one way brings the eyes together, tightening the cable, and the other way pushes them apart, loosening the cable.

AW, you're thinking of a turnbuckle. Turnbuckles allow for proper cable tensioning, and in a well-designed system you can achieve zero play with them. Cable control systems have been used as aircraft primary flight control systems since the very beginning of aviation because they are lightweight, reliable, and extraordinarily strong. In fact, even flight controls that have very large aerodynamic forces acting on them are normally only made with 1/8" (3.175mm) aircraft cable.

Wheazel, that heavy-duty cable that you're using is probably too heavy and stiff to be optimal. Some links below might give you some ideas based on cable control systems that are used in aircraft.

http://www.daerospace.com/MechanicalSystems/CableSystemDesc.php

http://avstop.com/ac/apgeneral/controlcables.html

http://luscombe.org/technicaldocs/controlcables.pdf
 
Hey, thanks for the inputs! I am actually using turnbuckles for the steering already, but will improve the way I bind the wire to the turnbuckles.
(Right now I have it welded directly to the turnbuckle) This makes me abit hesitant to tense the wire anymore, even if the guidsystem would handle it.
I am getting new turnbuckles tomorrow and will incorporate them with some proper wirelocks.
The reason for the 3mm wire, is to be able to increase tension without damaging the plastic guidewheels.

I will probably try a dyneema line if the 3mm wire solution is hard to get perfect. A dymeema line will be much more agile and direct, would probably lose slack at a lower tension than the wire.
However it is harder to fasten in the endwheels, would probably have to do some mods. It can be tied to forked turnbuckles, so that point is no problem.

Have also been thinking some about the flight controls in aircraft.
One main difference is that flight control surfaces are designed to be self stabilizing, most often the entire controlarea is behind the hinge axle. This makes the system more forgiving to slack.
I have built several model airplanes through the years and one I built was severely flawed on this point. The entire stabilizer was hinged, and had slightly more area infront of the rotationpoint than behind.
This ended up stripping the servos gears during a high speed pass and the plane crashed.

A front fork like this at the angle I have choosen, is not self centering at low speed. It wants to tip to the sides, and there is a small force required to steer from one side to the other and pass the straight position,
since you are basically lifting the front end of the bike slightly.

Anyways, ill report back about the results of the next mods. Got the rear brake temporarily installed, so I will just throw a casette and a chain on to try some basic biking around.
Will give a better picture than just rolling from small hills.
 
So I made the mods to the wiresteering and it seems to work well now. Very direct and no bad behaviour. Have been doing some biking around both on and off road. Some bumpy riding and some smooth riding. A huge plus is the completely linear relation between handlebar turningangle and front wheel turningangle. (just like a regular bike) Turn radius is awesome for such a long bike as the front wheel can be turned somewhere around 70-80degrees in both directions before it bumps into the steeringstop. The tension on the wire is quite stiff, can almost be played like a guitar. I am hopeful for more tests at higher speeds etc, the bike feels very stable in general.

VLJ34_zpscwebgv9x.jpg

VLJ35_zpsalgivwwg.jpg

VLJ36_zpsl1fnobfz.jpg

VLJ37_zpse5kzy87b.jpg

VLJ38_zps1vmuvd4j.jpg

VLJ39_zpsljvd63go.jpg
 
Back
Top