j bjork
1 MW
I am really a car guy, and I have built cars before. But not elevtric ones. I have thought about bulding an electric bicicle for some time, but I don´t really think I will have much use for one. But now I have a girlfrend without a drivers licence, and I thougt maby she could use it sometimes, so I don´t have to drive her everywhere all the time..
And I like electricity :lol:
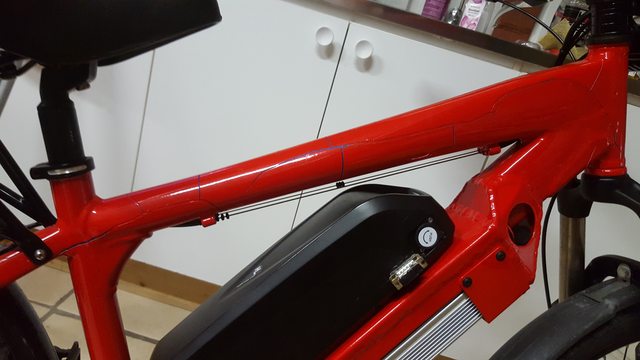
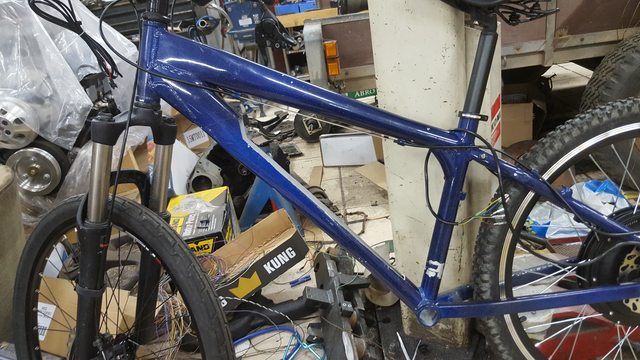
I bougt some cheap bikes, first one with aluminum frame and front suspention. But the frame was so small, I could´nt fit the battery I planed to use. So I got some other bikes, and started on another frame. But I changed my mind and started with the first one instead..
I didn´t plan on doing a build thread, so I didn´t get very good pictures of everything. But I hope I can get something interesting put together anyway.
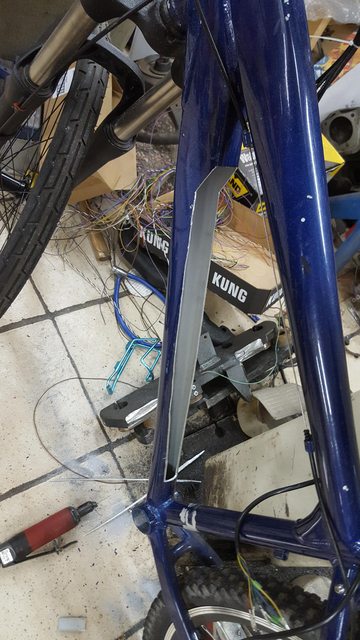
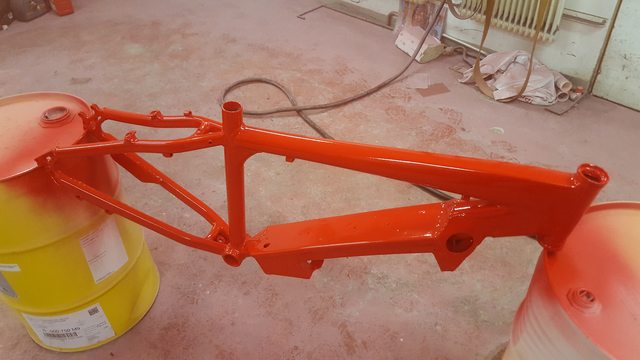
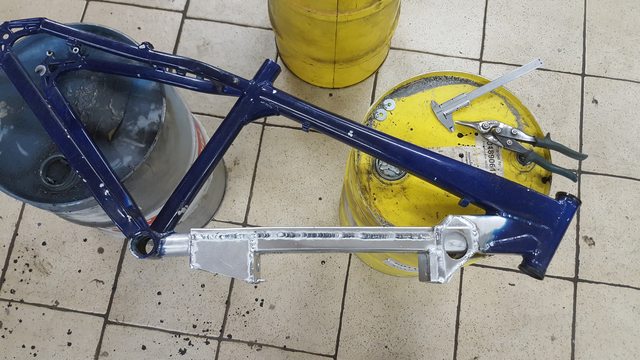
Sometime in the beginning, I cut a part of the frame to get some room for the battery.
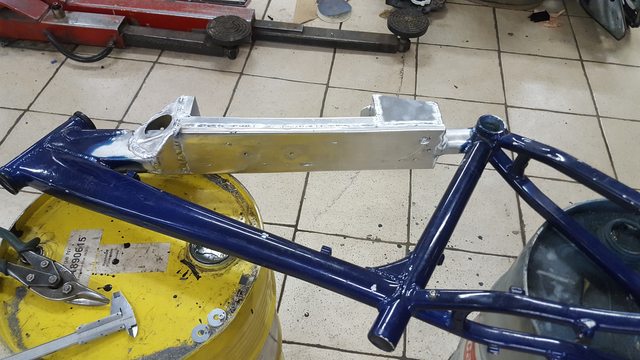
Made a bracket for the battery, and part for the frame.
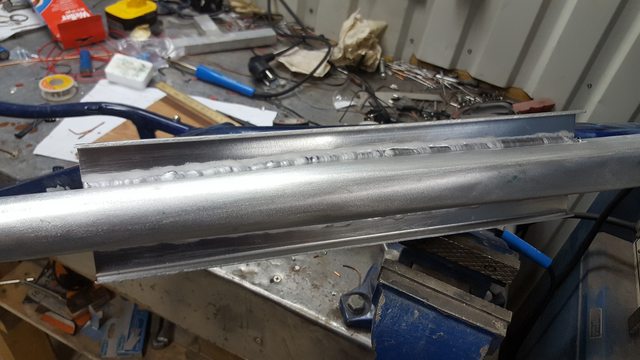
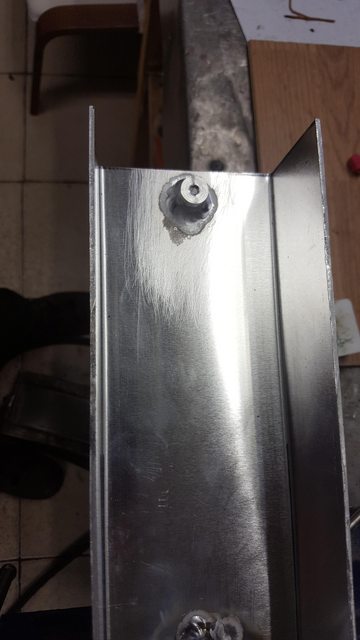
Some welding..

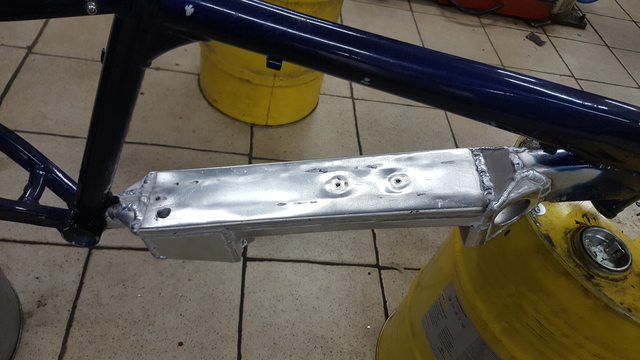
More parts and welding.
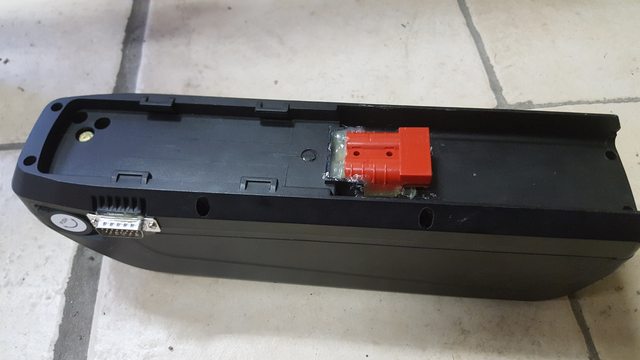
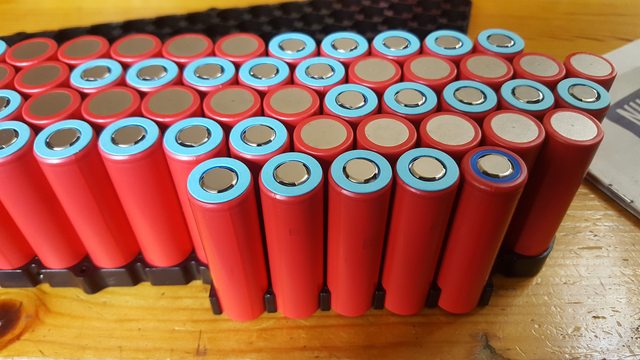
Somewhere around there I started with the battery, I bought a case for 65 18650:s.
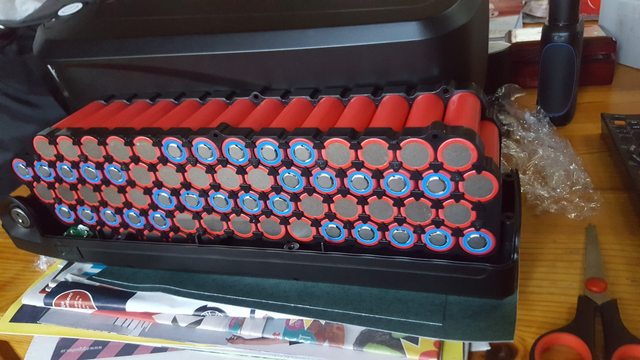
I tried to weld nickel strips with a simple welder with a car battery and a solenid, but I was not happy with the resault.
So I ended up soldering.
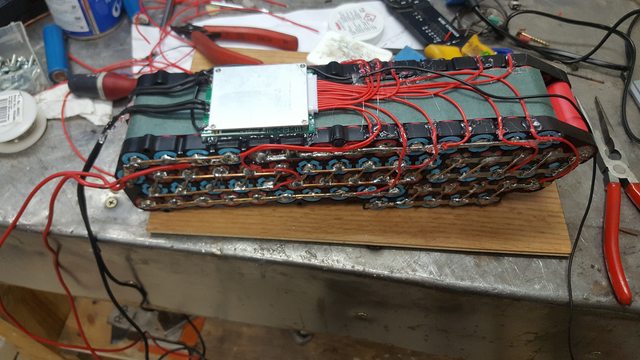
That bms was a disapointment as well, It drained de first group on the negative side and tried to kill my battery. After I removed it and balanced manuelly it was fine. The battery hardly seems to need any balancing now, so far it has kept in perfect balance.
Moving on, I wanted torque plates.
I found some left over steel from a 4-link kit:
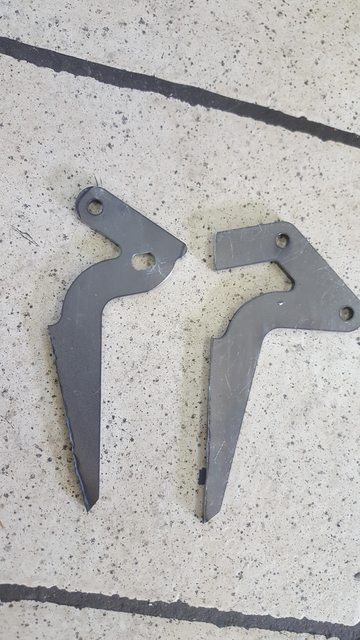
6mm, probably very much overkill for this build..
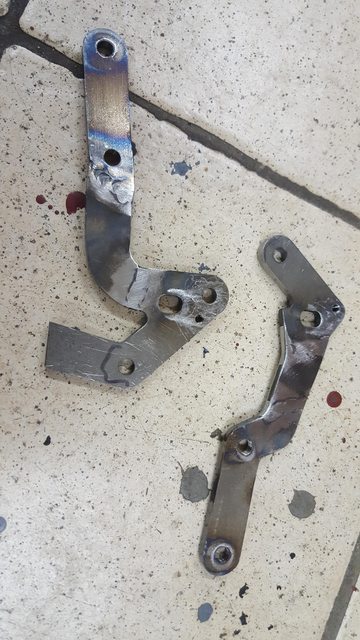
This is (almost) how they ended up, a very tight fit on the chain side..
But that was to change later on.
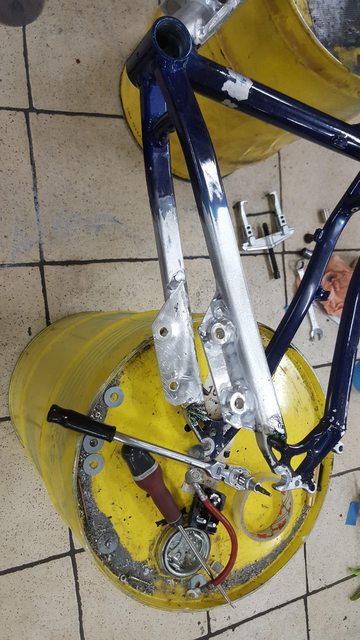
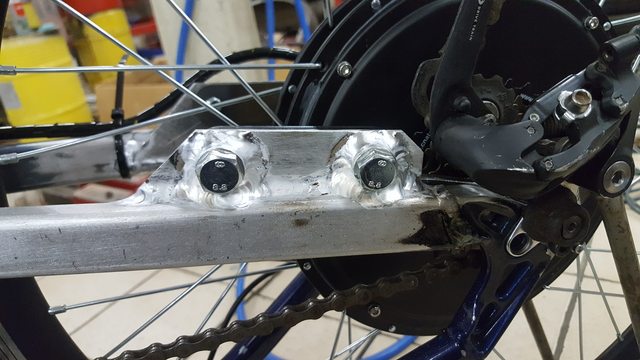
And somewere to bolt it to the frame :wink:
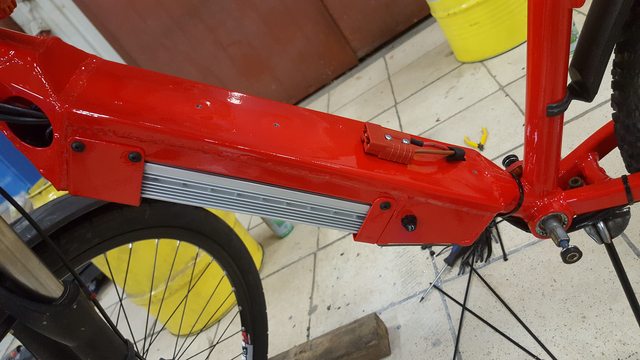
This is just how it looked at the beginning, I smoothed everything later.
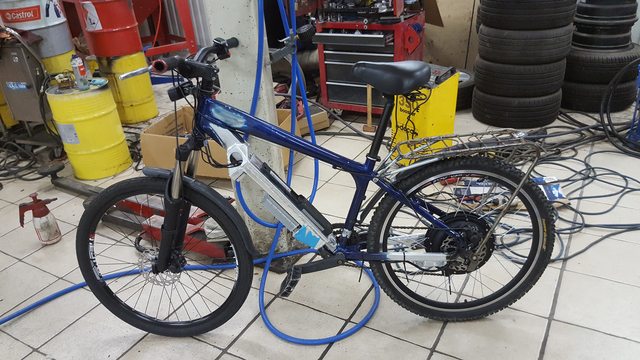
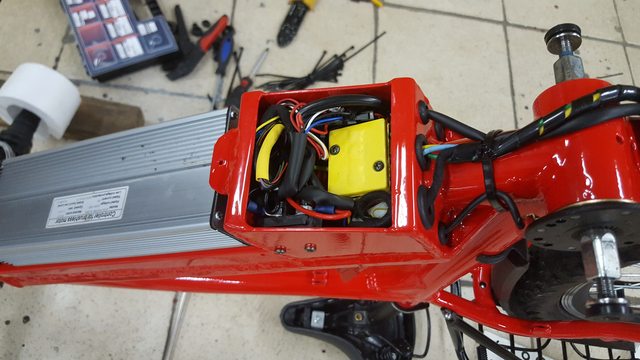
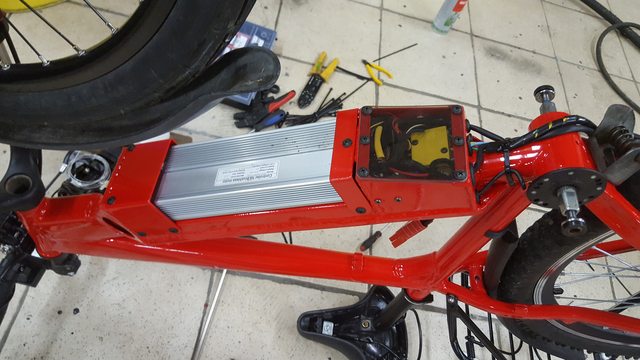
Putting stuff together and see how it works:

I think I will leave it there for the first post, and see if there are any interest.
And I like electricity :lol:
I bougt some cheap bikes, first one with aluminum frame and front suspention. But the frame was so small, I could´nt fit the battery I planed to use. So I got some other bikes, and started on another frame. But I changed my mind and started with the first one instead..
I didn´t plan on doing a build thread, so I didn´t get very good pictures of everything. But I hope I can get something interesting put together anyway.
Sometime in the beginning, I cut a part of the frame to get some room for the battery.
Made a bracket for the battery, and part for the frame.
Some welding..
More parts and welding.
Somewhere around there I started with the battery, I bought a case for 65 18650:s.
I tried to weld nickel strips with a simple welder with a car battery and a solenid, but I was not happy with the resault.
So I ended up soldering.
That bms was a disapointment as well, It drained de first group on the negative side and tried to kill my battery. After I removed it and balanced manuelly it was fine. The battery hardly seems to need any balancing now, so far it has kept in perfect balance.
Moving on, I wanted torque plates.
I found some left over steel from a 4-link kit:
6mm, probably very much overkill for this build..
This is (almost) how they ended up, a very tight fit on the chain side..
But that was to change later on.
And somewere to bolt it to the frame :wink:
This is just how it looked at the beginning, I smoothed everything later.
Putting stuff together and see how it works:
I think I will leave it there for the first post, and see if there are any interest.
")