Kingfish
100 MW
Pictures to date:
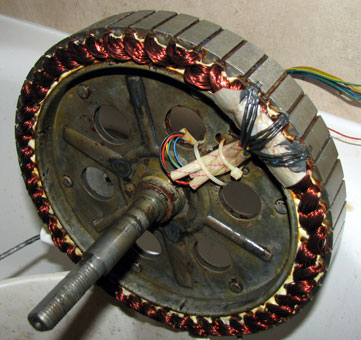
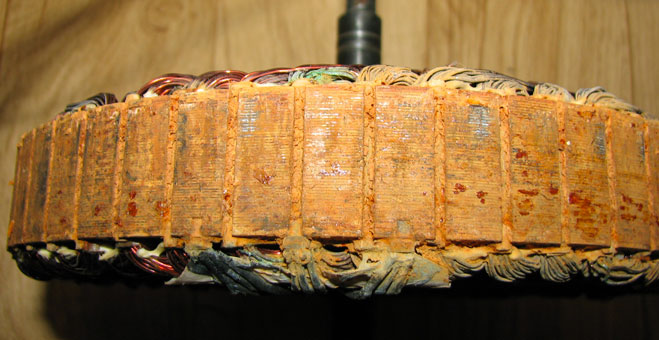
Front Hub after cleaning. This was absolutely bright and spiffy after the acid bath, however it oxidized during the drying cycle. Still - the patina is very thin and I might just run with it; these items continue rust right in front of you and I've never seen anything like it! Note that I can now read the HE part numbers!
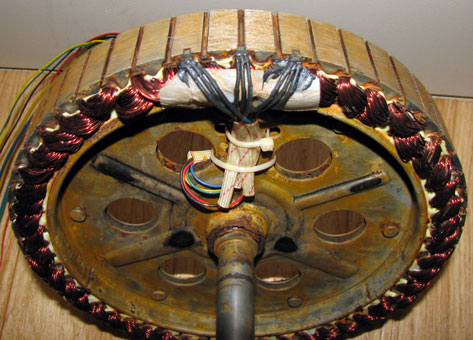
Another view of the same stator. I suppose if I dunked it into a gallon of Isopropyl alcohol after the acid wash/water rinse - and then stick it in the oven - well, that would make a nice explosion I suppose... but it would be dry! Hmmm, scratch that idea :lol:
BEFORE shot of the same hub for reference.
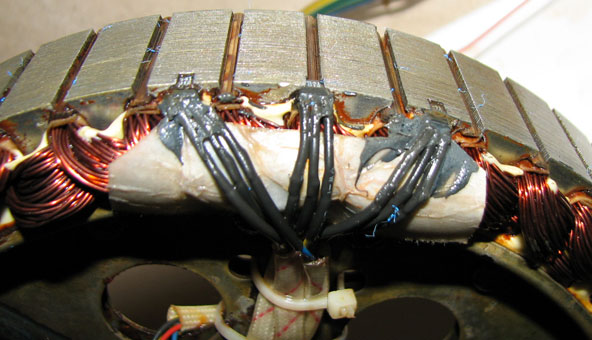
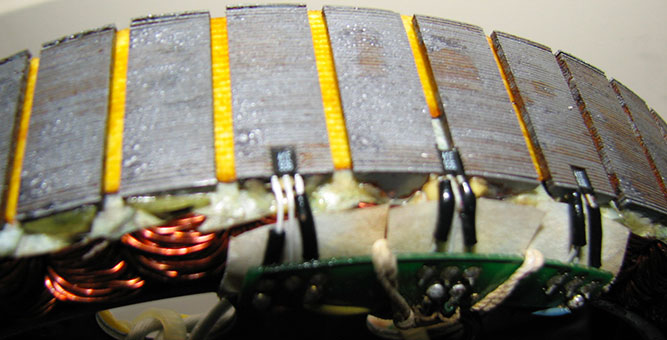
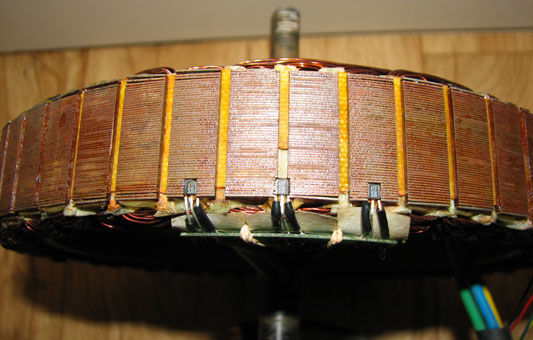
Here's the Rear Hub stator again. Presently I have it soaking in the acid wash, but this shot was taken right before that. Notice the green oxidation on the windings...
...right next to the axle at the top.
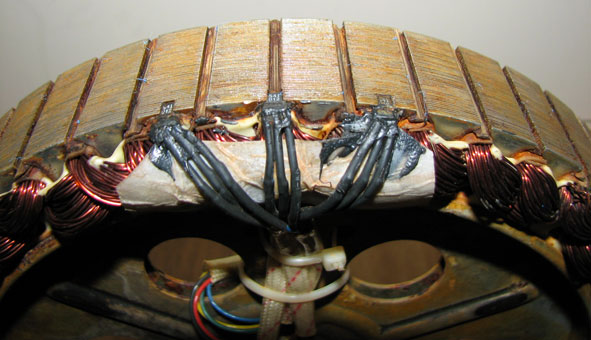
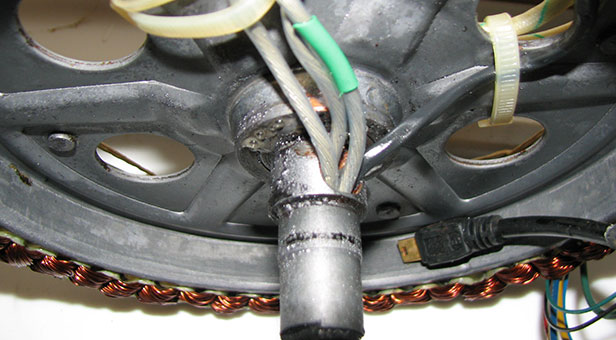
Harder to see it in this photo, though in real life, it shows up better. Just wait till I get this one cleaned too!
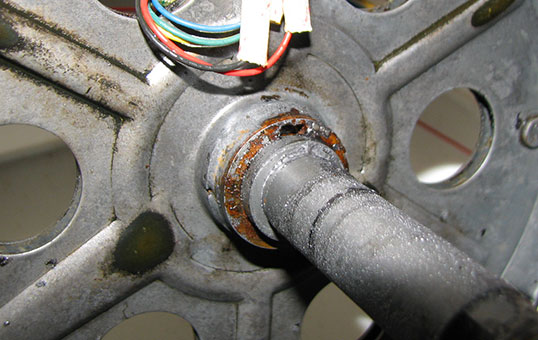
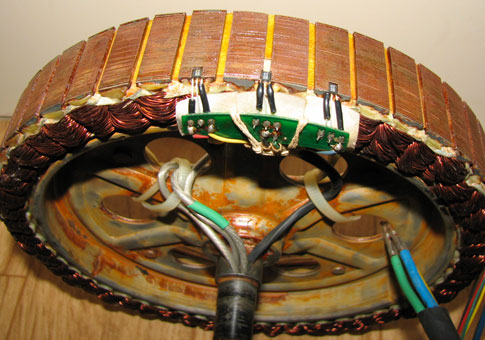
Closeup of the corrosion. Why is it that these hubs do not come with any sort of varnish coating again? I'm confused. :x
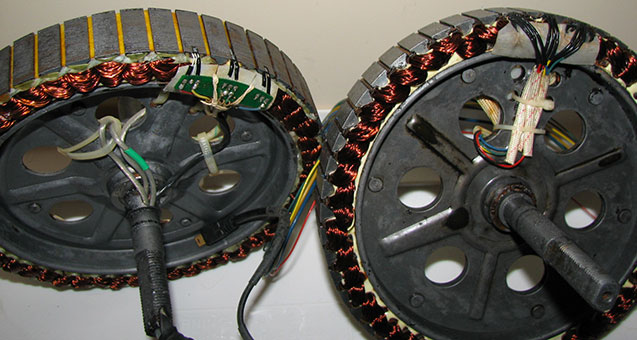
The Rear rotor cleaned up OK; I am not entirely happy about that but it's the best that I could do. I used the heat gun to drive off the moisture.

Closeup of the same rotor. Lovely little rusty pits all nicely dug out of the cheap magnet plating.
BEFORE shot for reference. Well, considering where it started a lot of rust was removed.
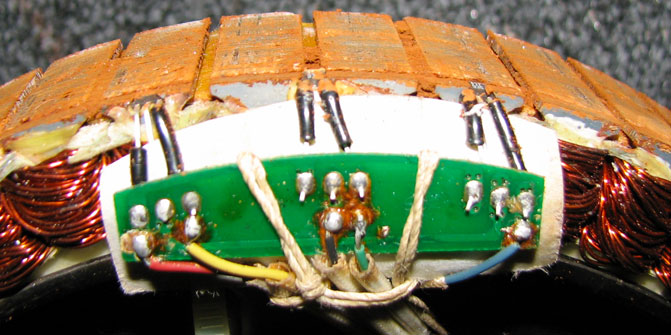
As I said, the Rear hub stator is now soaking in the acid wash of 5% vinegar, and it's doing a bangup job at it! Doesn't hurt my hands either, though it's kinda smelly and dank in that room like, like... like a rusty nail! :lol:
Onward through the thrill of fixing someone else's manufacturing problem.
~KF
Front Hub after cleaning. This was absolutely bright and spiffy after the acid bath, however it oxidized during the drying cycle. Still - the patina is very thin and I might just run with it; these items continue rust right in front of you and I've never seen anything like it! Note that I can now read the HE part numbers!
Another view of the same stator. I suppose if I dunked it into a gallon of Isopropyl alcohol after the acid wash/water rinse - and then stick it in the oven - well, that would make a nice explosion I suppose... but it would be dry! Hmmm, scratch that idea :lol:
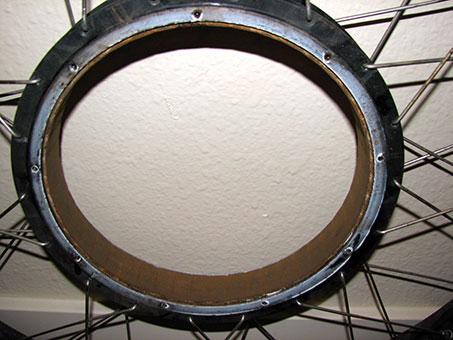
BEFORE shot of the same hub for reference.
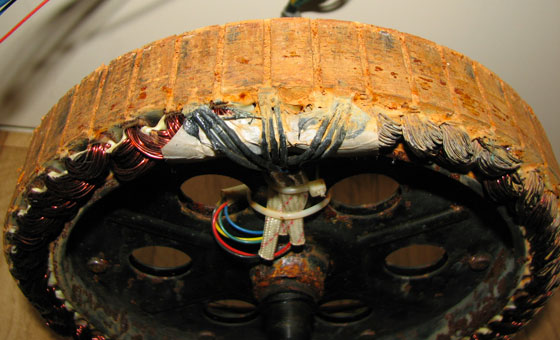
Here's the Rear Hub stator again. Presently I have it soaking in the acid wash, but this shot was taken right before that. Notice the green oxidation on the windings...
...right next to the axle at the top.
Harder to see it in this photo, though in real life, it shows up better. Just wait till I get this one cleaned too!
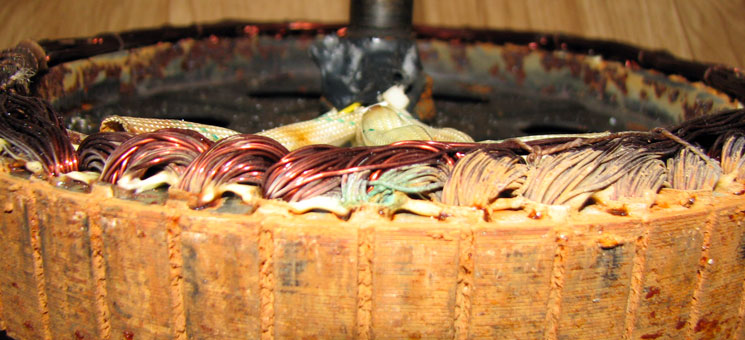
Closeup of the corrosion. Why is it that these hubs do not come with any sort of varnish coating again? I'm confused. :x
The Rear rotor cleaned up OK; I am not entirely happy about that but it's the best that I could do. I used the heat gun to drive off the moisture.
Closeup of the same rotor. Lovely little rusty pits all nicely dug out of the cheap magnet plating.
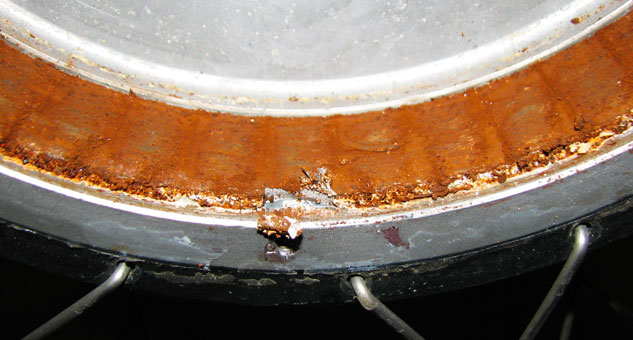
BEFORE shot for reference. Well, considering where it started a lot of rust was removed.
As I said, the Rear hub stator is now soaking in the acid wash of 5% vinegar, and it's doing a bangup job at it! Doesn't hurt my hands either, though it's kinda smelly and dank in that room like, like... like a rusty nail! :lol:
Onward through the thrill of fixing someone else's manufacturing problem.
~KF
")