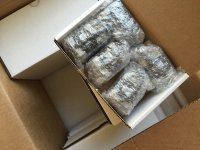
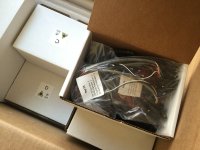
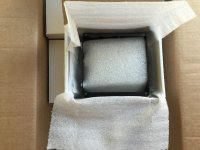
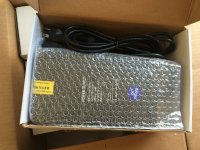
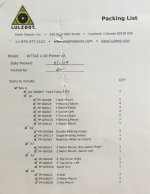
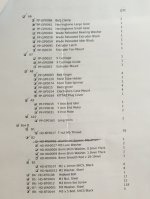
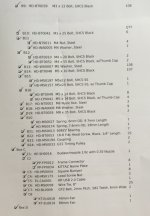
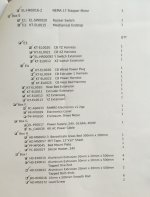
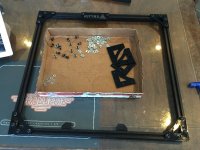
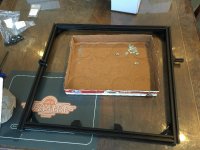
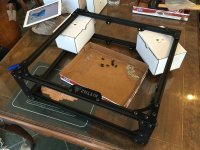
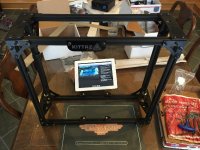
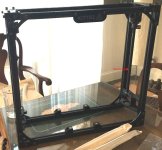
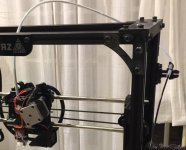
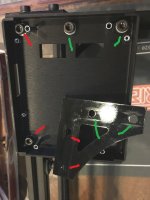
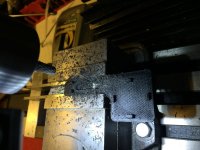
Unboxing thread - KITTAZ-4 3d Printer Kit

oatnet

1 MW
Joined
Apr 26, 2007
Messages
2,360
Location
SoCal, USA
I have wanted a 3D printer for years, but the technology has been advancing so fast, that whatever I'd buy would be obsolete in weeks. I've been drooling over the ebike parts and cases that people here have been building, but I just couldn't pull the trigger.

However, the kit version of the TAZ 4 printer I saw mentioned on nechaus's 3D printer thread (thanks!)
convinced me to buy in. It is open source and modular, so I can upgrade components to keep up with advancements. The heated bed and large print area lets me make big parts, and the printer will use a large variety of materials - not only the standard ABS and PLA, but a range of plastics, stone and wood. It does not come with an enclosure to keep temperatures even for printing large parts, but I can build one.

I saved $400 buying the "kit" version of the printer, $1,600 plus $200 in "upgrade" parts vs $2,200. The factory built TAZ would probably be more precise because it is assembled on jigs, and I could be printing with it much sooner, but building it is a valuable education. I know where/why every nut and bolt goes because I put it there, so I am better prepared to troubleshoot it in the future, and I don't have any fear of dissecting an assembly that I can't get back together. I probably would have taken the factory-built one apart anyhow just to see how everything works, so I am saving tear-down time too.

The kit version comes with a 30 day warrantee, the factory version had one year; the parts are cheap, so I don't mind taking my chances. It also isn't "pre-wired for the dual-extruder nozzle"; that means there is only one extruder cable/plug comes with the kit, but the electronics box has a hole for the plug and a spot on the motherboard for it, so that is a simple cable purchase and 5 minutes of installation. It does not come with the LCD Screen/Enclosure/ cable, but I purchased it separately, which is why the kit only saved $400 instead of $600.

All that aside, I was looking forward to the "puzzle" of assembly. On my Dune Buggy project, an afternoon of final assembly would only happen after weeks or months engineering and trial and error. With this kit, I didn't have to do the engineering, just follow the instructions and have the instant gratification of finished modules.

I planned to post a whole build thread, but
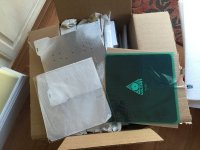
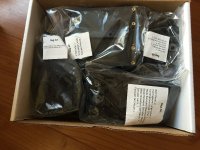
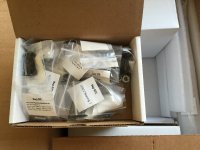
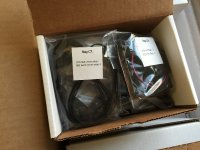
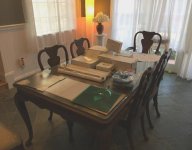
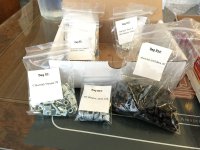
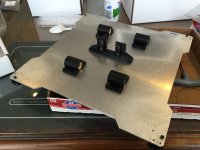
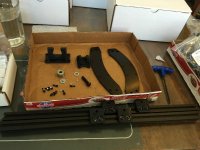
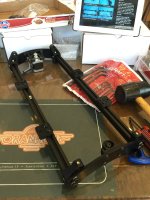
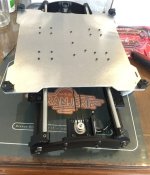
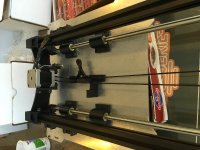
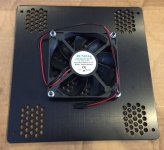
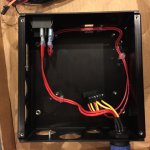
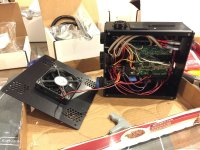
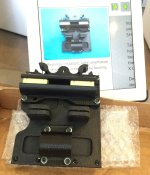
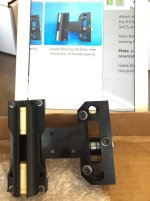
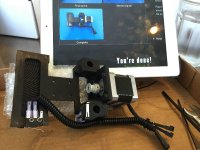
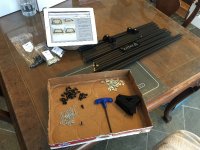
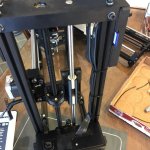
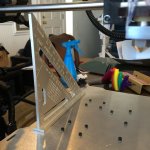
the instruction manual covers it pretty well (click here), so instead I am going to post unboxing pics and some of the milestones along the way.
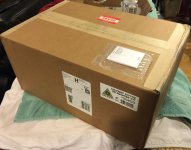
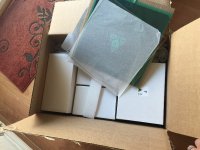
00IMG_5644.JPG

01IMG_5646.JPG

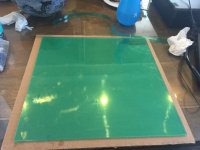
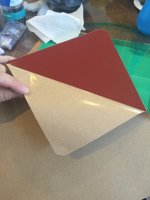
02IMG_5657 plate_glass_heater_pla.JPG

03IMG_5647 box A.JPG

04IMG_5652 Box B.JPG

06IMG_5650 Box C.JPG

07IMG_5649 Box D motors.JPG

08IMG_5648 Box E.JPG

09IMG_5653 Box F - enclosure and motherboard.JPG

10IMG_5654 Box G - 24v Power supply.JPG

View attachment 6
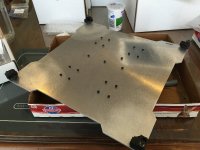
14IMG_5658.JPG

15IMG_5659.JPG

16IMG_5660.JPG

17IMG_5661.JPG

18IMG_5670_on table.JPG
 
View attachment 12

20IMG_5692 hundreds of parts.JPG

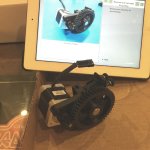
21IMG_5677 extruder.JPG

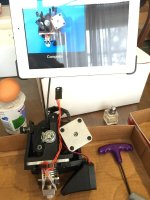
22IMG_5693 print head.JPG

23IMG_5694 Y plate bottom.JPG

24IMG_5695 Y plate top.JPG

25IMG_5696 y axis parts.JPG
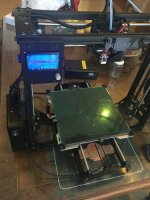
26IMG_5698 Y axis.JPG

27IMG_5700.JPG

28IMG_5699 whups.JPG

29IMG_5701 cover.JPG

30IMG_5703 box hot glued.JPG

31IMG_5704 box_wired.JPG

So that is as far as I have gotten, I am looking forward to working on instruction parts 8 through 12, but weekdays are so tight so I may not find time until the weekend.

-JD
 
Ypedal said:
Sweeet !!... watching with interest and very likely to repeat your efforts if all goes well... been wanting one of these....

Yeah, me too; MattyCii, nechaus, and many others have been cranking out great stuff for a long time, hope I can do as well as they have.  

nicobie said:
Can't wait until I see how this turns out.

It can extrude wood and stone? Amazing!

Yep, who knew?  from their website:

MANY FILAMENTS TO CHOOSE FROM.
What can you print with? LulzBot users have many filaments options beyond common plastics like PLA, ABS, and HIPS. Exotic filament options include nylon, wood- (Laywood), stone- (Laybrick), and rubber-like (NinjaFlex) materials, to name a few. For optimal performance, we suggest printing with LulzBot filament available here on LulzBot.com.

This is the "other" selction from their filament catalog, which also has Polycarbonate, PVA, T-glase, etc that I hope to try one day.

https://www.lulzbot.com/catalog/other

-JD
 
it's looking great :)

you wont regret getting the kit one bit, In another year you will probably start changing/modifying it.
You will be able to service every inch of it, not that it will need it really, just cleaning ...
I love these printers.

-When buying cheap filament, Try and stay clear of the black. I have read reports of people buying $25 filament that was black and it had all kinds of junk in it which was a bit annoying to clean the print head, So if you do get ultra cheap stuff try and stick with the transparent stuff, ( some guy found tiny ball bearings in his black filament) would of made me pretty cranky if it happened to me.

Should think about what stable table you want to put this on, I used a cheap wooden cabinet once and it vibrated heaps and made it quite noisy, I am sure yours will be smooth as, but if you want to try and decrease the volume of it, anti-vibration feet work like a treat!
 
had to laugh when JD mentioned how he would take it apart anyway to see how it was made. we should start a poll on that. put me down for 100% .

these machines are the culmination of research started back in the early 80's by an IBM researcher.

he would spin a layer of resist on the wafer, and he had already digitized each layer of the 3D image he wanted to create, and would pattern the resist with a laser writing the image for that layer in the resist.

he did that for layer after layer. spin on a new layer, pattern the next level. spin on the next layer of resist, pattern that layer from the digitized files, kept doing that and built up to about 20mm thick before he would develop the resist and the parts of the resist that had not been exposed to the laser would dissolve and he was left with the 3D structure he had patterned. but it was just resist, and was created in a totally different method, but that was kinda how it got started so long ago.

so long ago now.
 
Something you should do,

take pics of your first prints,
and take pics of any crazy muck ups.
some of it can look quite awesome actually, would probably look good in a cabinet


I tossed out an awesome Nylon de-lamination print, spewing i did not take pictures,
It was a print of a head, called zombie hunter on thingiverse( big print)... The nylon did not warp at the base, Instead split down the center of the head which looked like he was hit with a sharp sword.

It was an overnight print, woke up in the morning all tired, went to the printer room and my natural reaction to a ruined print to bin it, which is what i did, now i wish i had it. lol


thinking about it now, its quite amazing how it happened, the print was able to finish, and because there much of been so much stress within the print, cooling pushed it over the edge.

can learn lots from these type of prints to
 
oatnet said:
Yeah, me too; MattyCii, nechaus, and many others have been cranking out great stuff for a long time, hope I can do as well as they have.  

I still battle with my 'bot regularly. Needed some replacement parts for my "MK 6" extruder, but none available. Took a leap of faith and bought a "MK 8" (for like $60 from flabby, way cheaper than my last extruder). Lots of undocumented guesses to get the printer is back up and running. Soooooo many variables! After printing for about 4 years now (not frequently in that time) I still have about 2 failures for every 1 successful print.

That said being able to design and fab just about any shape into a decently tough object is a pretty wonderful thing.
 
MattyCiii said:
oatnet said:
Yeah, me too; MattyCii, nechaus, and many others have been cranking out great stuff for a long time, hope I can do as well as they have.  

I still battle with my 'bot regularly. Needed some replacement parts for my "MK 6" extruder, but none available. Took a leap of faith and bought a "MK 8" (for like $60 from flabby, way cheaper than my last extruder). Lots of undocumented guesses to get the printer is back up and running. Soooooo many variables! After printing for about 4 years now (not frequently in that time) I still have about 2 failures for every 1 successful print.

That said being able to design and fab just about any shape into a decently tough object is a pretty wonderful thing.


I am getting really good result with the budaschnozzle, I find I print about 3 kg of plastic give or take, Then i need to take off the nozzle, give it a quick tidy up and she is ready to go, I take of the nozzle, and extrude it while hot, Then I heat up the nozzle with an open flame and clean it as best i can, seems to get a build up of carbonised crap sometimes


I paid $70 from memory, and have probably pushed over 20kg through it.


Side note.

HOBBYKING is now selling ABS and PLA for only $11 AUD per 500grams :D
 
Dnmun, I'd agree, given the nature of our hobby, a bet most of us can't help but tear things apart to see how they work. I think we are all a little whacky in the same sort of way.

Nechaus, I know what you mean. I still have my mistakes from my welding classes sitting around. :lol:

Mattycii, with practice I hope I can get to your 1-in-3 success rate. :oops: I expect a steep learning curve and many mistakes. :D But that is part of the fun. :mrgreen:

Anyhow, onto more of the build:

01IMG_5762.JPG

02IMG_5763.JPG

03IMG_5782.JPG

05IMG_5783.JPG

06IMG_5786.JPG

07IMG_5787.JPG

08IMG_5788.JPG

09IMG_5790.JPG

10IMG_5793.JPG

View attachment 12

16IMG_5836.JPG

20IMG_5794.JPG

21IMG_5826.JPG

View attachment 8

View attachment 7

24IMG_5855.JPG

file.php

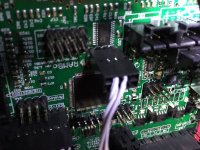
This shows the complete cable path from the LCD to the control box. I marked each wire so I can tell which one goes into each side of the LCD, and marked the LCD box in a similar fashion.
.


View attachment 4

30IMG_5833.JPG

31IMG_5838.JPG

32IMG_5843.JPG

So all told, things went pretty well. My kit had all the parts but (2) of the control box mounting tabs, and two of the thumb wheel screws; their staff was freindly and sent the missing parts immediately. The parts were well organized and easy to locate. The build guide was fairly complete, sometimes I needed to sit there with the parts in my hand for a minute to understand what was going on. I think it took me about 20 hours overall, but now that I know what's what I know I could do it a lot quicker. More importantly, now I know where every nut and bolt goes.

So, next weekend I am on to loading the firmware, mounting the glass bed, and trying to figure out my first print (the trademark octopus) - and loving every minute. :mrgreen:

-JD
.
.
.
.
.
.
.
Please ignore this duplicate picture:
 

Attachments

  • 25IMG_5830.JPG
    25IMG_5830.JPG
    127 KB · Views: 3,560
that is a sexy machine! :shock:
Your going to be able to print some quality monster parts.

This is a good calibration print

http://www.thingiverse.com/thing:342198


Noticed on the pic, I find bushings on the Z axis to be the way to go.
 
06IMG_5962.JPG

07IMG_5964.JPG

10IMG_5966.JPG

View attachment 8

15IMG_6258.JPG

16IMG_6260.JPG

17IMG_6265.JPG

VIDEO!! VIDEO!!! VIDEO!!!!
.
[youtube]Mc908NTINFQ[/youtube]
.
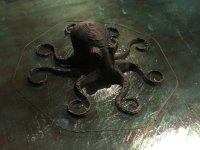
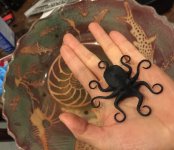
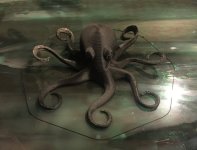
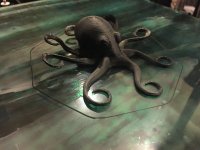
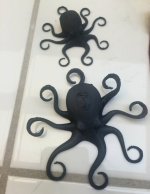
Lulzbot prints the small version of their trademark octopus on factory-built Taz 4's and throws it in the box to prove that it works, so printing one of my own was a milestone for me. I put some ABS slurry down on a hot bed and it worked great. I then printed a second, larger version of the same model. It shows better detail, but I put the abs slurry down on a cold bed, so the legs lifted.

.


18IMG_6290.JPG

19.JPG

21IMG_6520.JPG

22IMG_6522.JPG

23IMG_6524.JPG

Printing these trinkets helped me learn how to get a print job through the printer, and a great educational experience. I've moved onto the next step - printing a trinket that I designed myself in google sketchup - so I will have everything I need to get a design out of my head and into plastic. The rest is mastering the high art of engineering the print so it comes out the way one wants, a long and interesting journey.
 
Looking good!

When i Apply kepton tape,
I get some soapy water, just very light soapyness...

put it on the print bed, apply kepton tape, its very easy to slide around.. once you have it in place and have removed as many bubbles as you can, you then proceed with like a ruller or something and wipe it down with the ruler forcing the soapy water under the tape out along with any air bubbles..

This will ensure you are bubble free and will give you a professional finish..

Should work with that pet tape too
 
Hi Nechaus,

I used a water mist to lower the plastic sheet per lulzbot's instructions, and really thought I had gotten everything out, but did not. I think I can do better next time. I was planning on going to kapton in the 12" squares eventually, but I tore a hole in the plastic getting my 3rd print job off so it will be sooner than later, and I will definitely use soapy water next time. Having seen people use adhesives, I am glad to see that the floating plastic method will stick the kapton too.


[youtube]mhgRBADSU7s[/youtube]
After learning how to print someone else's object, it was time to learn how to design my own objects for printing, and the video above documents that journey. As someone who has always felt like a square peg in a round hole, the layout of this model/sculpture has been in my head for a long time, so it is really cool to see it produced in physical form. Originally it was 12" across but I realized that was just too much for only my 3rd print job, so this one is 6" across and took 14 hours to print. I am really pleased by the quality of the print job! :mrgreen:

Now I have all the skills I need to start making parts, so on to it...


file.php

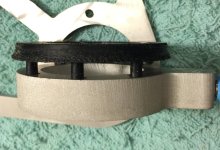
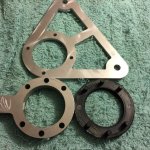
My 4th print is a test for an actual part. The triangle on top is the part I designed to mount the encoder (lower left) onto my dune buggy's motor to get rpm's for the tachomoter. Unfortunately, the waterjet was too flawed to use. It occurred to me that I could make a new one from ABS, so the black printed part (lower right) is a test of the part the encoder will mount to.


IMG_6870.JPG


Please ignore this duplicate picture:
 

Attachments

  • IMG_6868.JPG
    IMG_6868.JPG
    135.1 KB · Views: 3,315
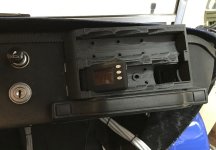
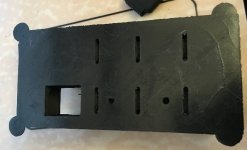
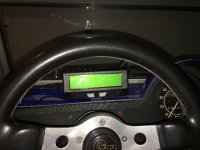
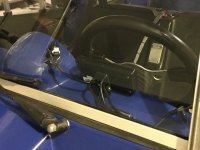
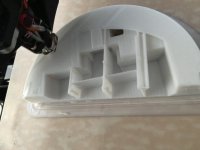
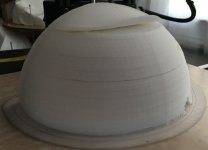
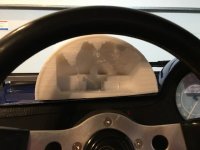
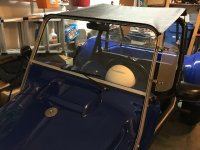
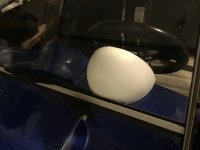
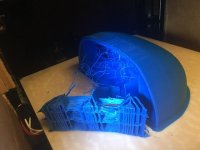
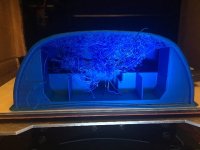
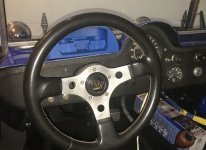
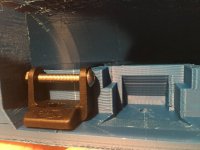
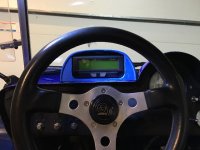
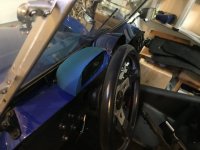
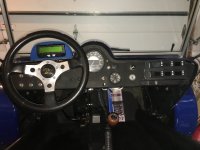
In November, I burned out on my Dune Buggy project for the second time. While I couldn't bear to work on the Buggy itself, I was able to have fun with a few 3D print projects for it. The buggy is running now with these 3d parts installed, CLICK HERE for post with videos


file.php

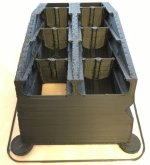
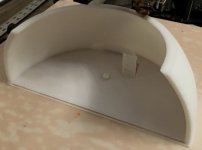
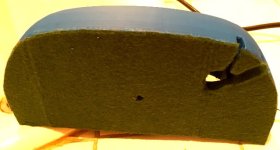
First, I needed something to hold (6) cellogs so I would have a dash display to monitor the pack. This was my working design, but it was too long to fit in the part of the dash where I wanted it.

00 IMG_3038.JPG

01 IMG_3236.JPG

02 IMG_3238.JPG

View attachment 26

04 IMG_2865.JPG

05 IMG_2871.JPG

06 IMG_3575.JPG

View attachment 22

08 IMG_3601.JPG

09 IMG_3620.JPG

10 IMG_3621.JPG

11 IMG_3783.JPG

12 IMG_3801.JPG

View attachment 16

View attachment 15

15 IMG_4784.JPG

16 IMG_4764.JPG

17 IMG_4792.JPG

18 IMG_4793.JPG

19 IMG_4835.JPG

20 IMG_4845.JPG

21 IMG_4856.JPG

View attachment 7

23 IMG_4868.JPG

24 IMG_4899.JPG

25 IMG_4902.JPG

26 IMG_4908.JPG

27 IMG_4995.JPG

View attachment 1

29 IMG_5013.JPG
 
Back
Top