
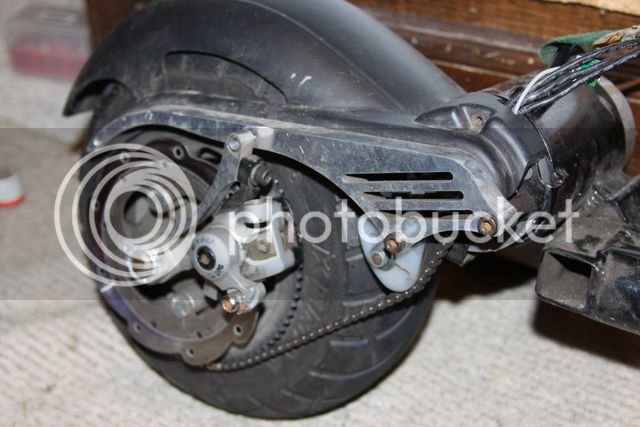
Actually the silver motor has a much higher max revolution so it is different. I ran with a 15/80 with the silver and when I got home the motor was smoking and that was faster much faster then the 15/76 I have on the black case. The black case is lower rpm and much more torque. Not sure how fast exactly but on a 40mph street running along with cars it must be in the higher 20's. Maybe it is higher then 15, not sure and I have all my parts buried right now. I know the engine was too hot to touch if I did a full drain on a 20ah pack.
You are using an out of date browser. It may not display this or other websites correctly.
You should upgrade or use an alternative browser.
You should upgrade or use an alternative browser.
10S 20ah Sensored Brushless Goped Hoverboard Build
- Thread starter silviasol
- Start date
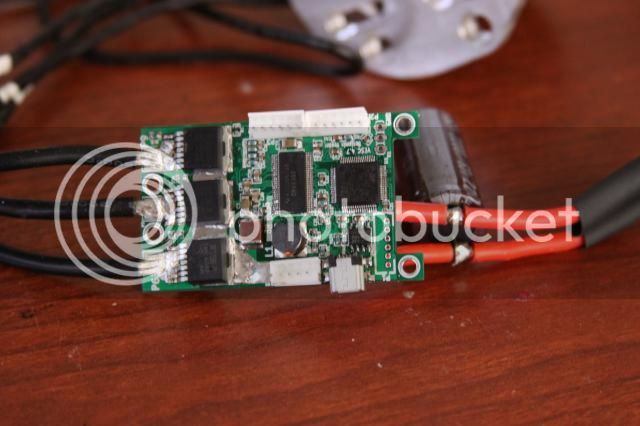
Finished the controller! This is vedders custom BLDC controller, his thread is linked below, that has a ton of features, allows up to 12s and 240amps max and does not require sensors to get good low rpm's. It is so small I can mount two on the scooter and never worry about getting stranded if it goes out(very unlikely but just in case  ). I also will have the entire battery pan open for batteries, up to 12s 60ah if I use good 18650's! Later I will make a case made of copper to keep it cool.
http://endless-sphere.com/forums/viewtopic.php?f=35&t=63540
). I also will have the entire battery pan open for batteries, up to 12s 60ah if I use good 18650's! Later I will make a case made of copper to keep it cool.http://endless-sphere.com/forums/viewtopic.php?f=35&t=63540
torqueboards
1 MW
2 red discharge wires. That's confusing
kwoolf1
100 mW
Congrats on finishing your VESC. Very impressive!
torqueboards
1 MW
kwoolf1 said:Congrats on finishing your VESC. Very impressive!
Yeah looks great. Looks exactly like my test ESC
from Ben.torqueboards said:kwoolf1 said:Congrats on finishing your VESC. Very impressive!
Yeah looks great. Looks exactly like my test ESC
Thank you!
MrDude_1
100 kW
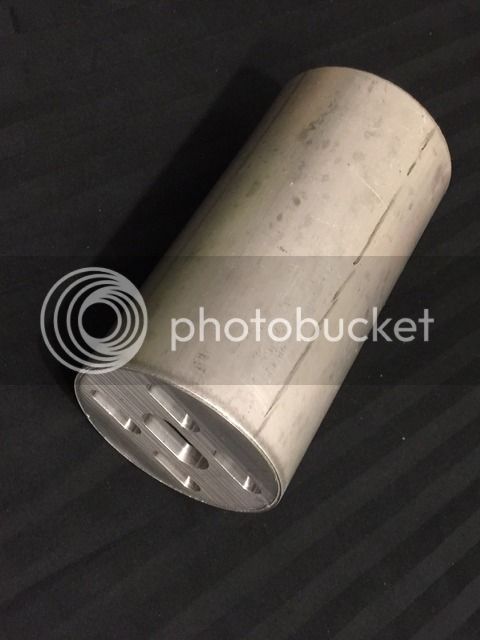
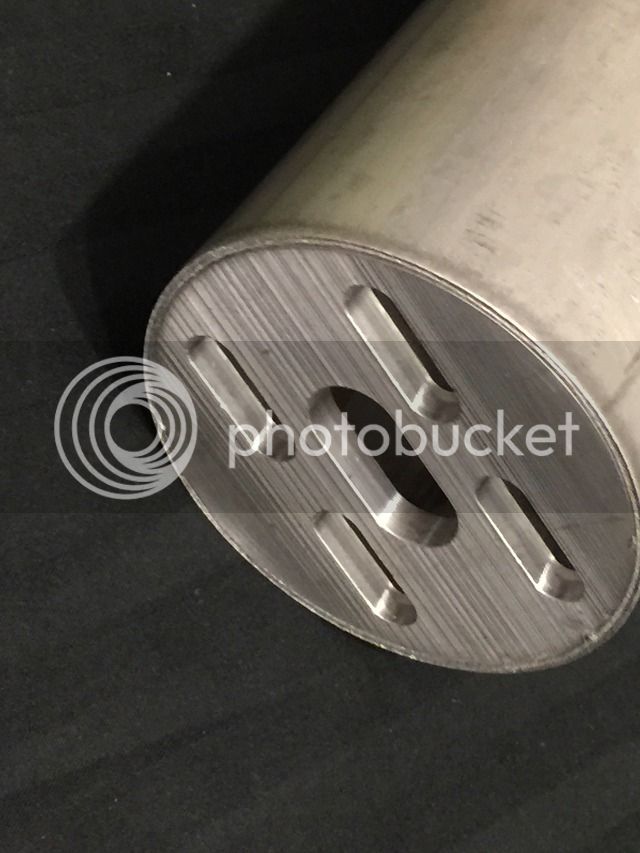
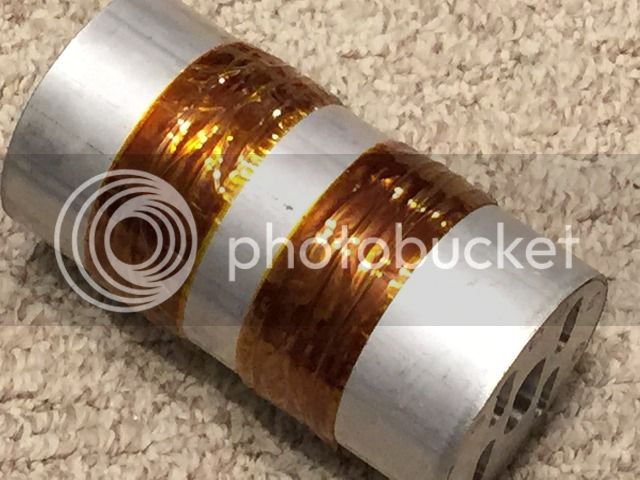
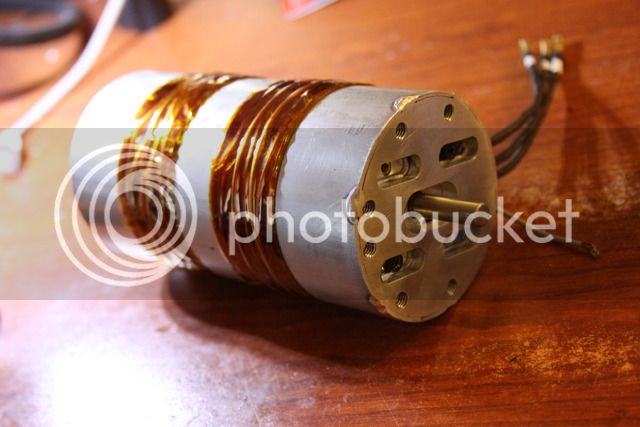
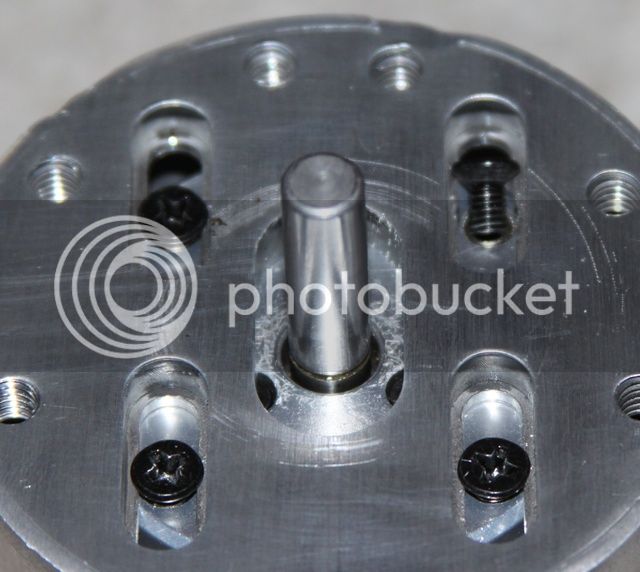
thats pretty cool.. how much clearance does the motor-can have when its in there?
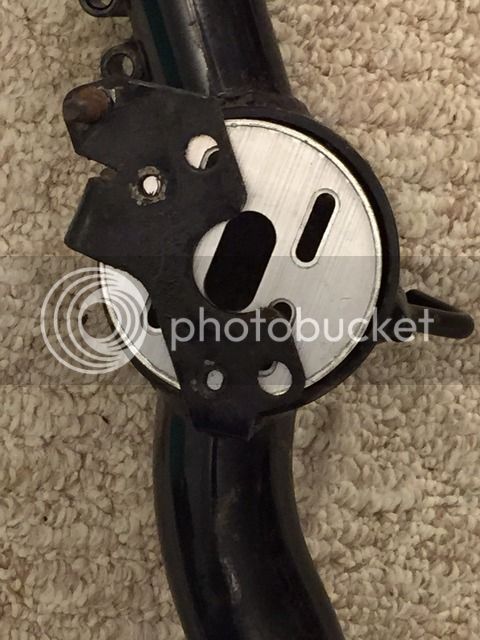
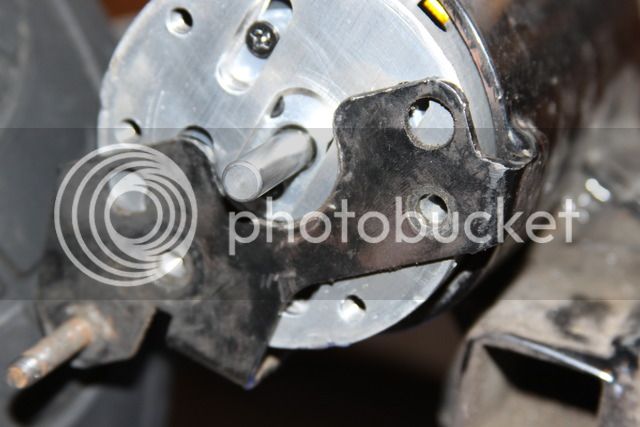
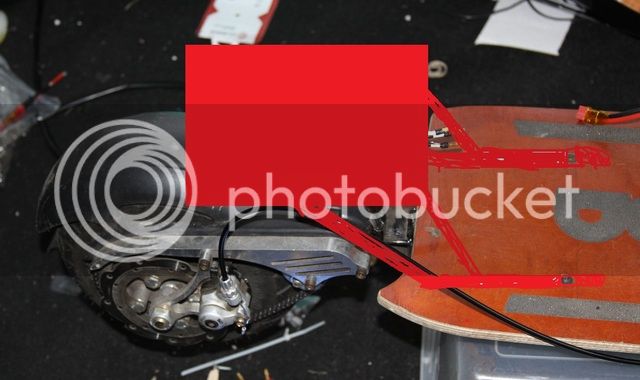
There is a bit of play but I will be using some kapton tape rolled around it until it makes a perfect fit then bolt it to the cylinder of the frame. I also need to cut holes for the wiring and maybe a few for air flow.
If you mean the motor inside the aluminum cylinder there is about a half inch of space around the motor.
If you mean the motor inside the aluminum cylinder there is about a half inch of space around the motor.
MrDude_1
100 kW
silviasol said:There is a bit of play but I will be using some kapton tape rolled around it until it makes a perfect fit then bolt it to the cylinder of the frame. I also need to cut holes for the wiring and maybe a few for air flow.
If you mean the motor inside the aluminum cylinder there is about a half inch of space around the motor.
on the original black case motors, they used a piece of thick plastic tape... it compressed a bit as the motor was pushed in, and held everything in solid.
You may want to do something similar, putting tape in only one area so that the bare aluminum touches the rest for heat transfer. probably overkill though.. looks like alot of thermal mass.
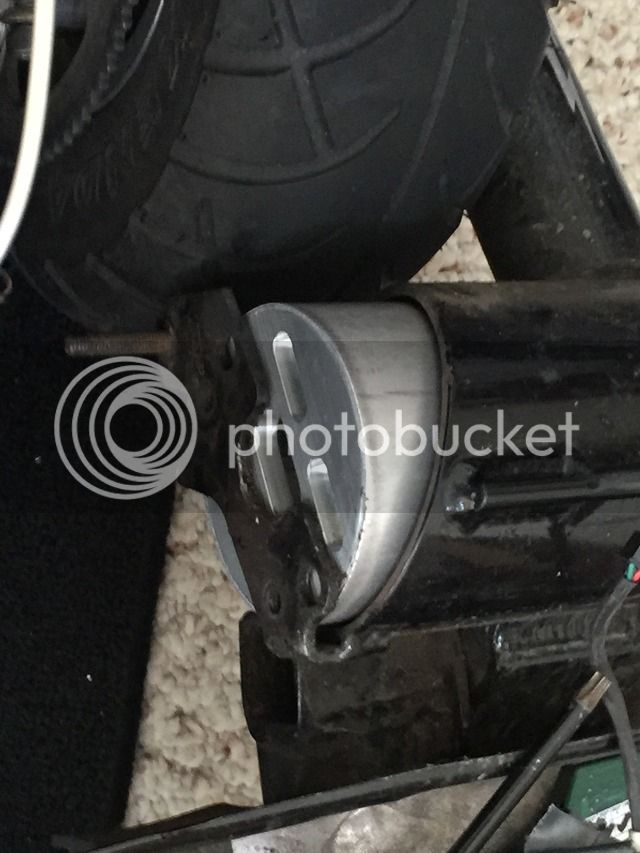
I wrapped a bunch of kapton tape around it. It slides it flush with the frame now. If heat gets to be a problem I will put a fan on the back of the motor. Or maybe some kind of thick thermal paste between the tape. I am sending the mount and frame back to him to make threaded holes where the chain tensioned and rear brake bolt in. I am down about $120 for it but I think it will be worth it.
Doing some stress testing this weekend with the vesc controller. First without then with sensors. Everything went well with the motor mount other then I may have made the screw slots a bit too big. Oh and vesc coding for the wired throttle is working 100%, vedder is so awesome he was kind enough to make the coding for me!
Well I put it all together and am ready to test and then realize I forgot that the rear brake cable is completely frozen so can't test until I get the new one I just ordered. This is pretty much it though other then adding epoxy to the hall sensors. Just another days work and I will be riding.
Done a few test rides with the vesc. Completely awesome esc! I go about 20mph on my test 6s pack, I would only assume 35-40 with 12s 8) Acceleration is a bit slow but fast enough for what I do. Not going to cut it for off roading unless I lower the gear ratio or get a stronger motor. At these speeds the motor and vesc is not more then luke warm even after 5 miles! I stress test the piss out of the vesc once or twice a day drawing a good 50-75 amps with my rear brake, good solid power! I feel very confident with it.
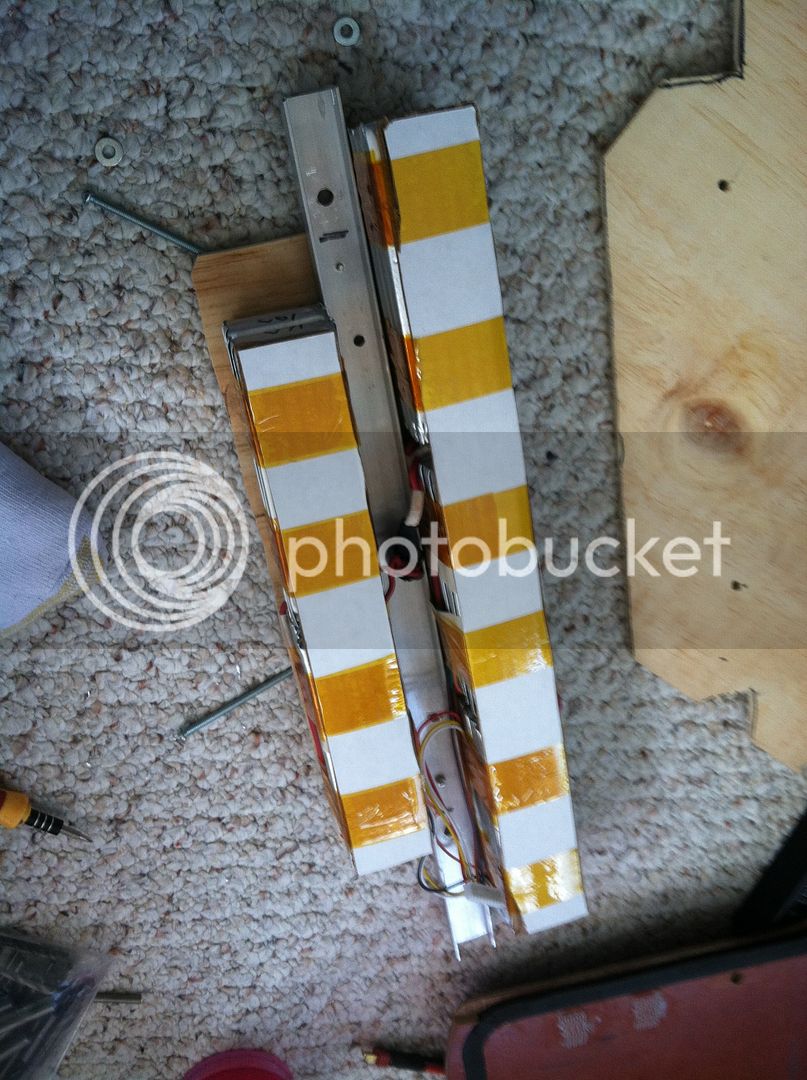
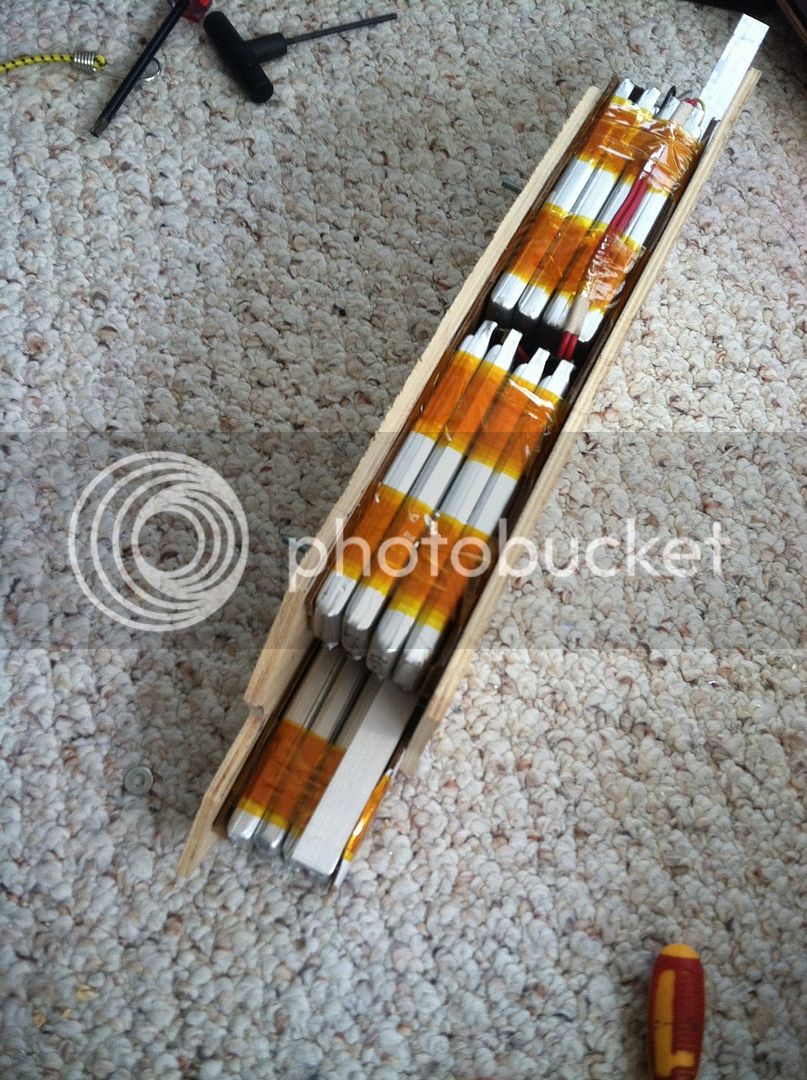
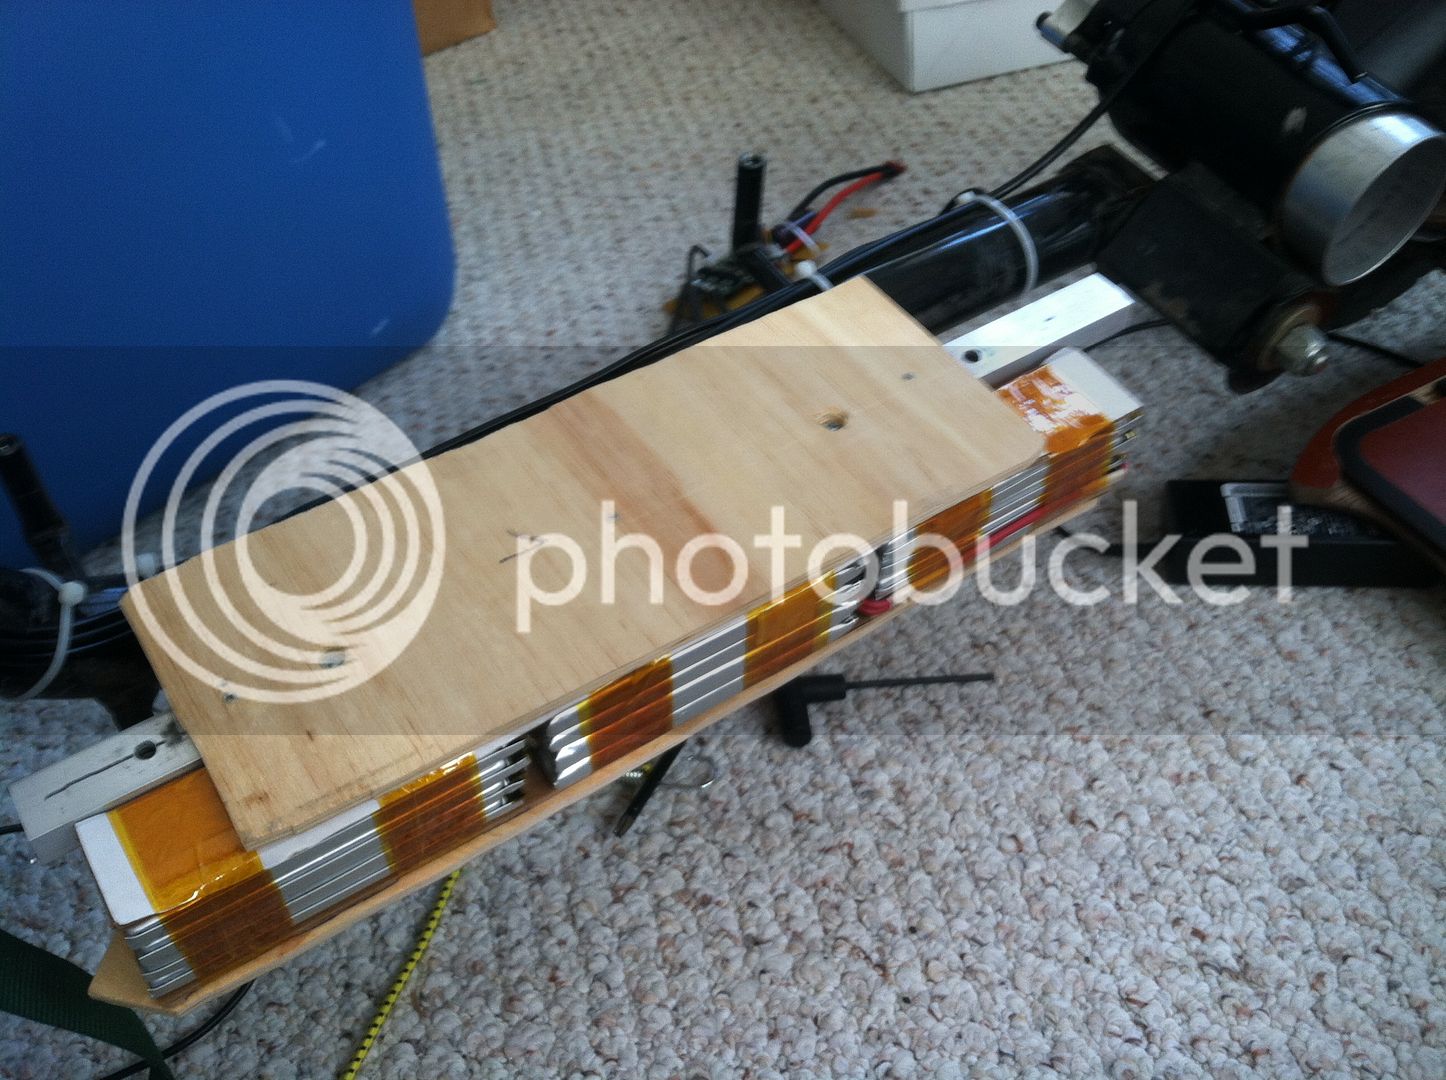
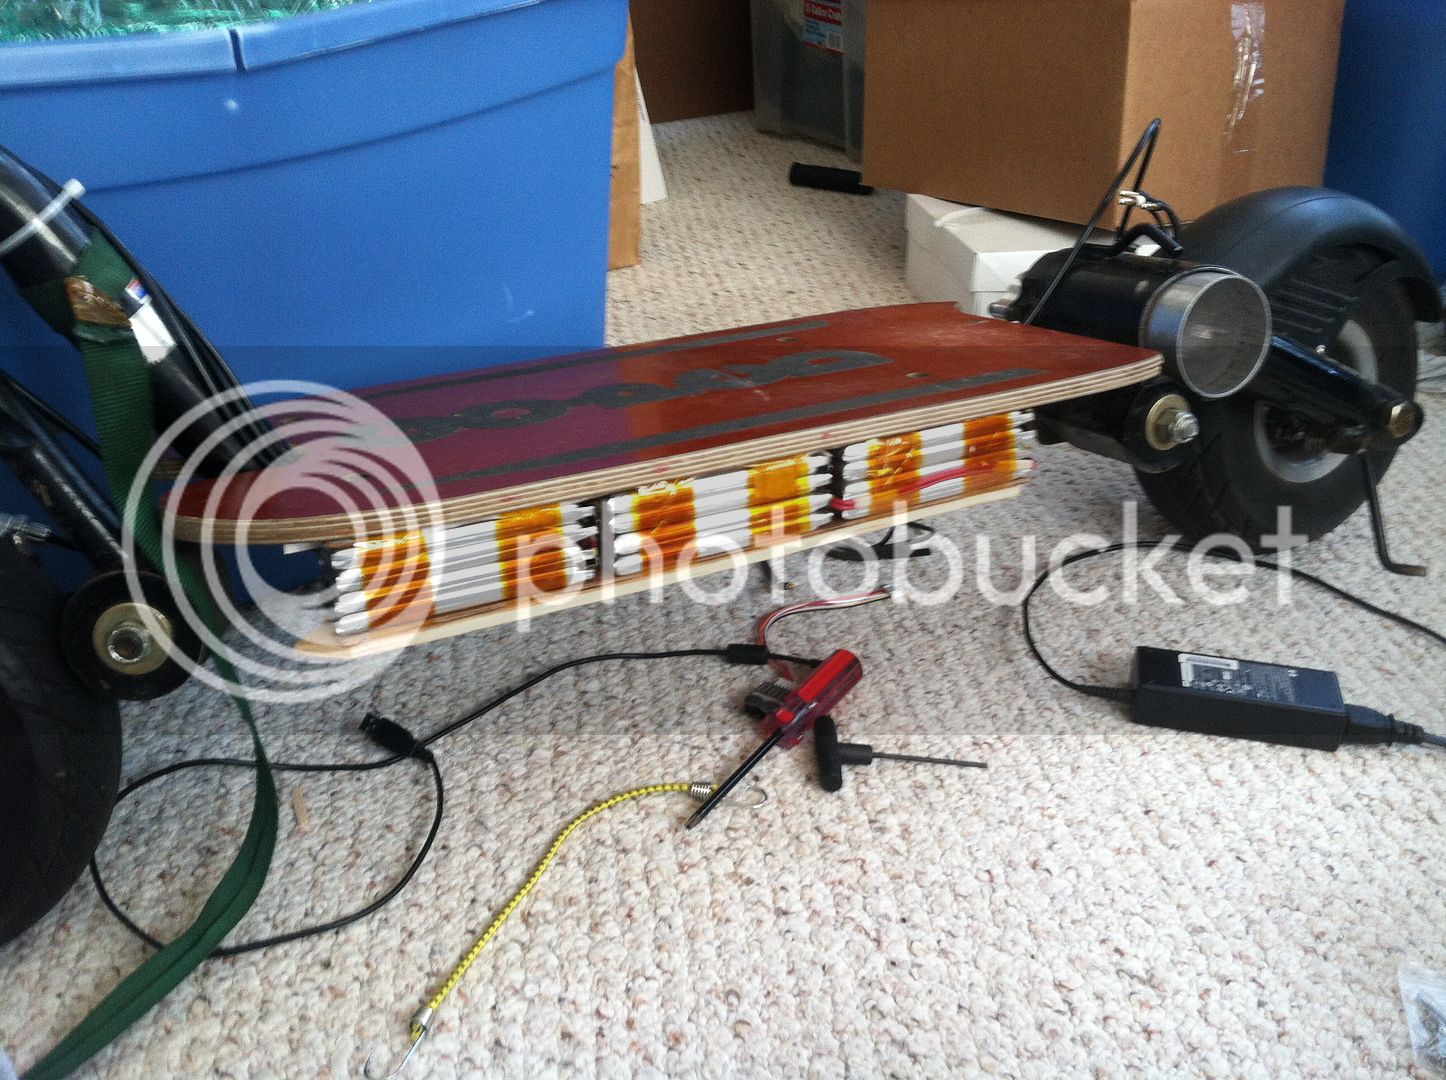
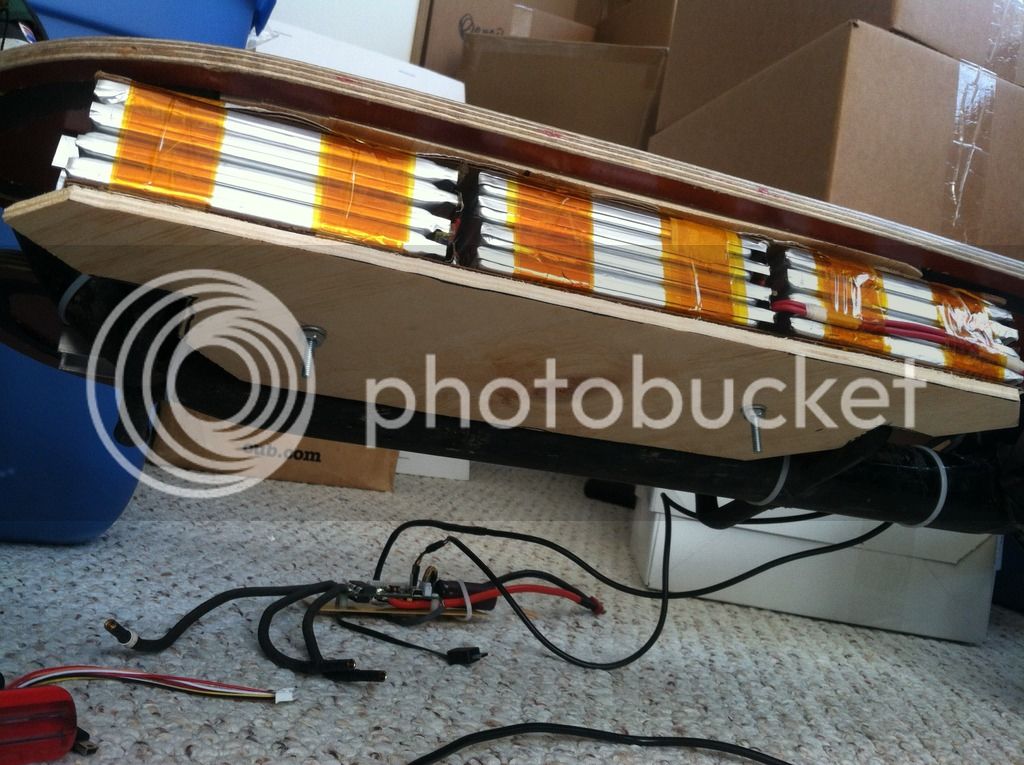
Now working on the battery pack again. Completely scrapped the old idea and not even going to use the pan. The crude picture at the bottom shows my idea, I want to make a metal table like think that will mount to the screws just like the goped seats do, shouldn't cost more then $50 at my local weld shop. For charging I have made a board to balance charge 6s each with two b6ac chargers, this way I can charge it up to storage voltage then top it off before I ride. There will be four 5ah 12s cells stacked on top of eachother for 20ah 12s total for the extended pack that will go on the metal table "thing". Below the deck I will reinforce the board with aluminum U bars and add 12s 10ah of turnigy 4s hard cases, should look fairly cool this way and protected enough by the plastic cases and metal bars of the frame, kind of like electric skateboard style battery pack
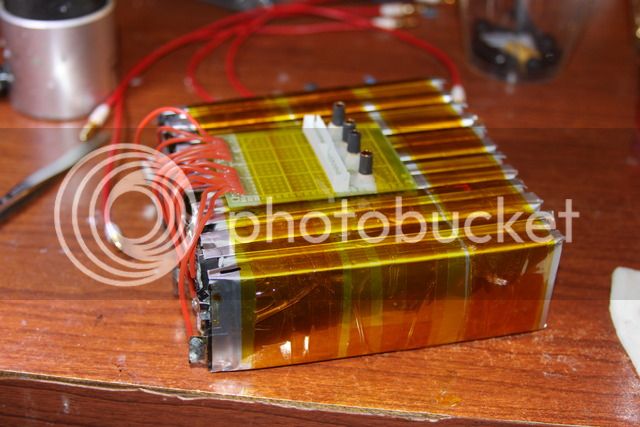
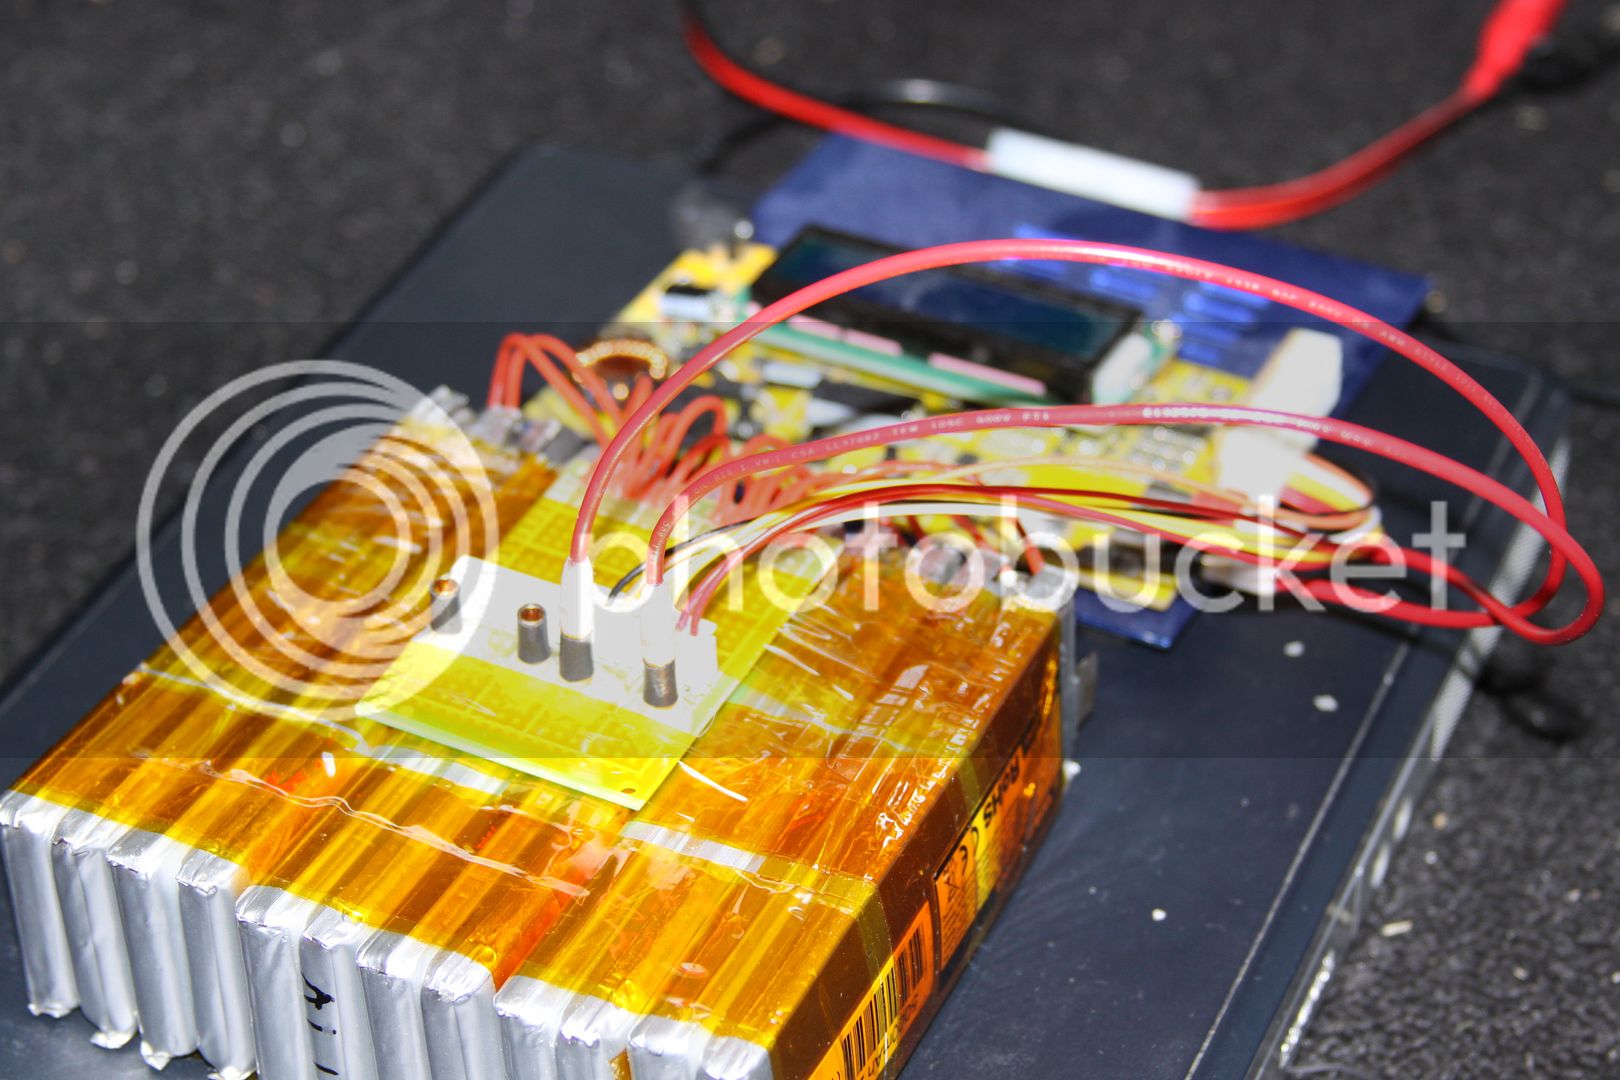
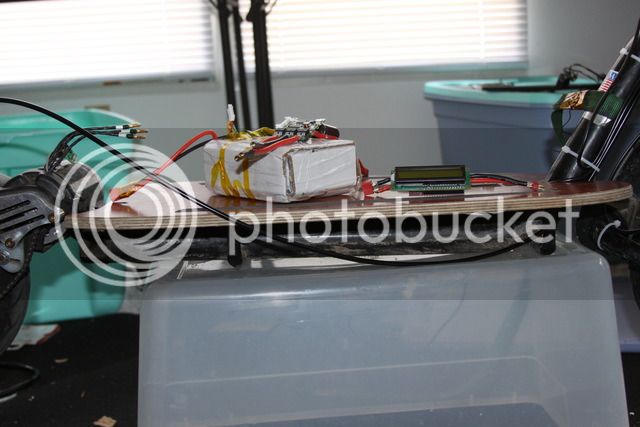
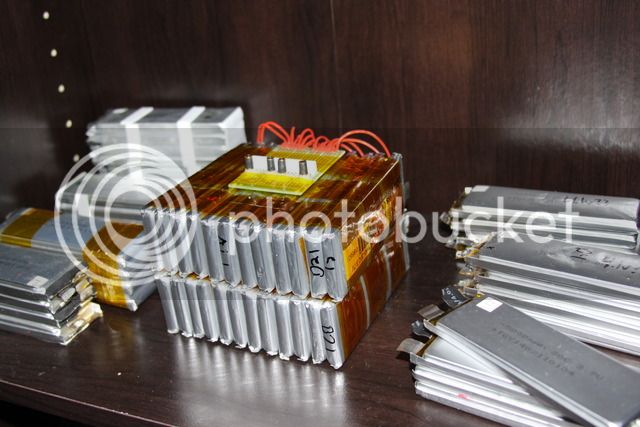
Now working on the battery pack again. Completely scrapped the old idea and not even going to use the pan. The crude picture at the bottom shows my idea, I want to make a metal table like think that will mount to the screws just like the goped seats do, shouldn't cost more then $50 at my local weld shop. For charging I have made a board to balance charge 6s each with two b6ac chargers, this way I can charge it up to storage voltage then top it off before I ride. There will be four 5ah 12s cells stacked on top of eachother for 20ah 12s total for the extended pack that will go on the metal table "thing". Below the deck I will reinforce the board with aluminum U bars and add 12s 10ah of turnigy 4s hard cases, should look fairly cool this way and protected enough by the plastic cases and metal bars of the frame, kind of like electric skateboard style battery pack
Finished one side of the battery pack. I have it wired up for my pcm/bms. I am going to leave it as it is for testing then I have fish paper and battery wrap for the cells and going to make some kind of plastic box for the ends of the cells for protection against rocks/debris. So far it is really solid. The aluminum u bars keep the board from warping which would happen with the stock battery pan/deck. I like it! Just need to add the pos/neg wiring to the bms and battery and take a test ride.
Been a long time but thought I might update this thread. Hardly ever ride anymore but had enough time to finish a few vesc v4.12's and test my 270k motor with 12 series. From some reason on both vesc's I tested after plugging the battery the motor goes on it's own for a second like if I am pressing the throttle a little. Hit the brakes and it stops the motor from turning on again and did not have any problems for the rest of the ride. No drv errors
Similar threads
- Replies
- 8
- Views
- 5,940
- Replies
- 17
- Views
- 3,085
- Replies
- 14
- Views
- 2,895
- Replies
- 9
- Views
- 1,209
- Replies
- 10
- Views
- 2,041