oatnet
1 MW
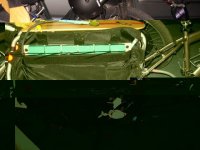
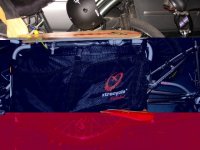
Here are some pics of building the battery packs I built for the xtracycle. The "Freeloaders", as the xtra folks call the bags on the sides, have two sections. The bulk of cargo carrying capacity comes from the ballooney part of the back, but there is also a flat pocket that runs much of the length of the freeloader. I had these batteries in nicely configured bricks, but when I inserted them in this pocket they came in contact with the wheel. If I ifilled the pocket with a 1/4" plywood board it stopped the ballooning, but there wasn't enough room for the battery. Carrying the battery in the outer balloon pocket was too exposed, and not stealthy.
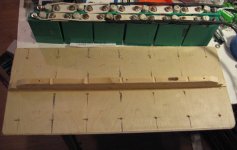
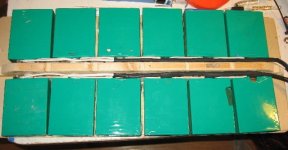
I realized that the 1" thick batteries would fit in the pocket if laid in a flat layer, the 1/4" plywood board could prevent bulge, protect the cells from road debris, and be a mounting platform.
I decided to connect the batteries with 1" copper strip I bought on ebay. Flat strip supplys maximum contact wtih flat screw terminals, and is also a structural element in my pack.
Phase 1: Making plates to connect the cells flat copper strip to get maximum conductivity to match the flat screw terminals.
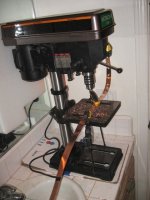 I made a template of a connecting plate, traced it onto the copper strip, and drilled it out.
View attachment 02_IMG_3992 strip done.jpgOut of 50' of copper strip, this was all I needed.
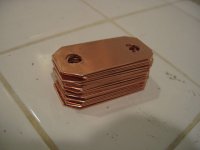 The strips have been cut with metal shears, tapered at the ends to hold heatshrink, and pounded flat with a mallet while between two pieces of iron,
View attachment 3I cut leads for the charger to appropriately staggered length and then soldered them to the copper plate.
 Shrinkrwap around copper plate. I cut out holes for the battery contacts and trim the ends to just fit. This provides strain relief for the charging lead and if the solder fails it will stay in place. I also like to minimize contact points so jacketing the plate makes it a little safer if someone jams a screwdriver in there.
 A stack of plates ready to be installed.
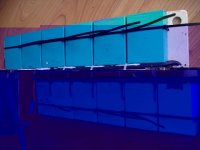
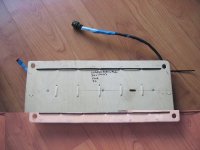
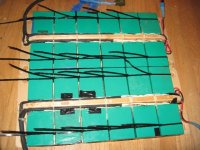
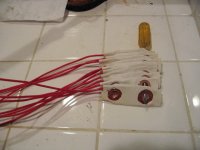
Here is a completed wiring harness. I build it on the battery, and then heat shrink each charging lead in turn, ending up with a fairly rigid backbone. I built the harness on batteries but had to remove it and mount them the other way, hence this shot.
I realized that the 1" thick batteries would fit in the pocket if laid in a flat layer, the 1/4" plywood board could prevent bulge, protect the cells from road debris, and be a mounting platform.
I decided to connect the batteries with 1" copper strip I bought on ebay. Flat strip supplys maximum contact wtih flat screw terminals, and is also a structural element in my pack.
Phase 1: Making plates to connect the cells flat copper strip to get maximum conductivity to match the flat screw terminals.
 I made a template of a connecting plate, traced it onto the copper strip, and drilled it out.
View attachment 02_IMG_3992 strip done.jpgOut of 50' of copper strip, this was all I needed.
 The strips have been cut with metal shears, tapered at the ends to hold heatshrink, and pounded flat with a mallet while between two pieces of iron,
View attachment 3I cut leads for the charger to appropriately staggered length and then soldered them to the copper plate.
 Shrinkrwap around copper plate. I cut out holes for the battery contacts and trim the ends to just fit. This provides strain relief for the charging lead and if the solder fails it will stay in place. I also like to minimize contact points so jacketing the plate makes it a little safer if someone jams a screwdriver in there.
 A stack of plates ready to be installed.
Here is a completed wiring harness. I build it on the battery, and then heat shrink each charging lead in turn, ending up with a fairly rigid backbone. I built the harness on batteries but had to remove it and mount them the other way, hence this shot.


