Alan B
100 GW
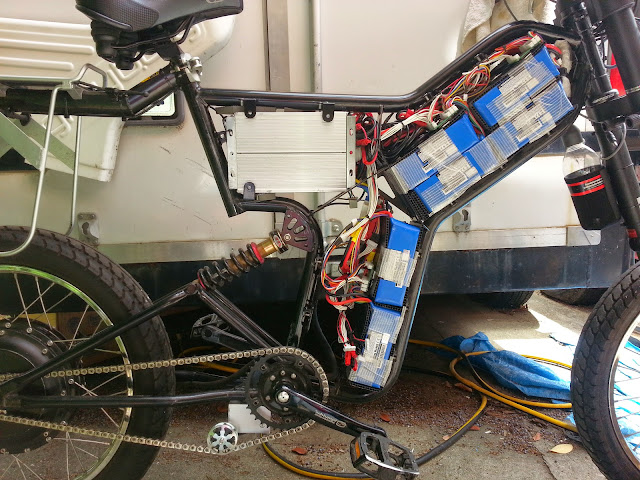
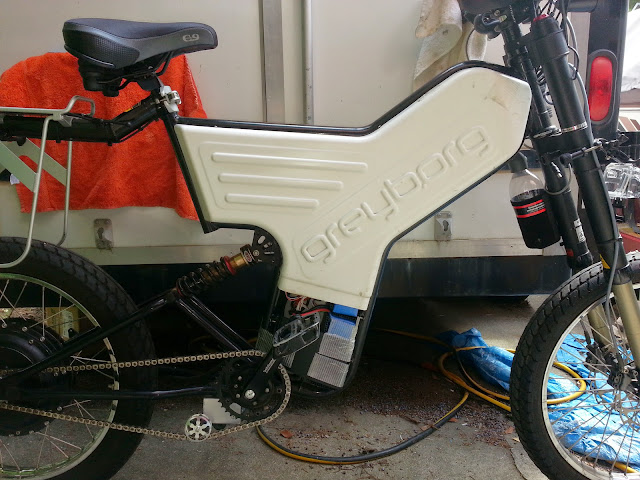
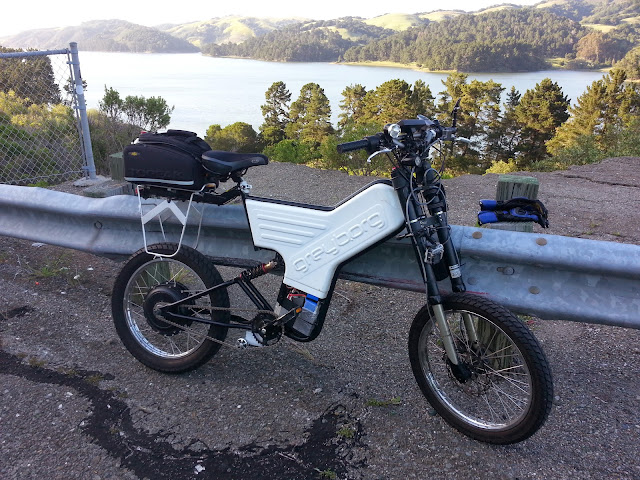
Yes, I have built a couple of master switch systems, but the Borg was already in production before that and I have not made the step of taking it down and apart to install one. When it rises again it will have 100V and lots more good stuff on board. I may try to revive the batteries as an experiment. We'll see how it looks when I get in there. I have to work very late today so it will have to wait till tomorrow.
I got about 5,000 good miles and more than a year of commute use from those batteries, so that's something at least, and a lot of valuable experience.
I got about 5,000 good miles and more than a year of commute use from those batteries, so that's something at least, and a lot of valuable experience.
")