recumpence
1 GW
I love it!
Good to see people learning as they go. That is the best way to learn new skills IMO.
Matt
Good to see people learning as they go. That is the best way to learn new skills IMO.
Matt
Thanks Matt!recumpence said:I love it! Good to see people learning as they go. That is the best way to learn new skills IMO.Matt
Thanks Dan!DanGT86 said:That's a nice looking tap guide. Did you make it? ... There is a poster on the wall of our shop that says The harder you try, the luckier you get.
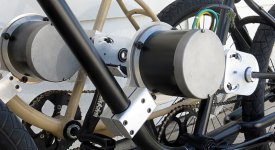
Do you know what type of connector the motor wires are terminated for? It looks like a metri-pack or weather-pack like the ones used on cars but Im not sure...
 View attachment 1
 View attachment 6
 View attachment 2
Hey Matt, THANKS!recumpence said:Oh Man, Way too cool.
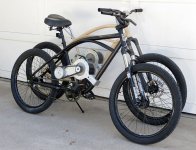
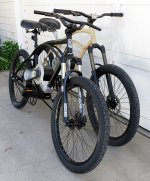
These things have a "Big Block" look to them.
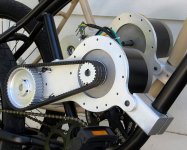
The motors and drive units look like they were part of the OEM design of the frames. Very clean looking and the belt has that Harley look.
The only concern I have it the belt walking off the pulley. A simple flange on the motor pulley would be good.Matt
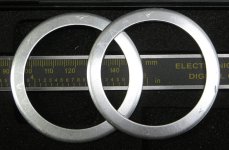

The brake caliper bracket has a boss that fits into the dropout slot, and that is what keeps the bracket from rotating.DanGT86 said:Looking good. Everything looks really solid. I bet you could jam twice the power through that setup with no worries. I like the brake caliper bracket. What keeps it from rotating? What does it look like behind the dropout? Is the left chain line clearing the tire or do you still need some moving around of things?
Thanks - been sidetracked for some time now...will post again once I have more accomplished.RobertC said:Any updates? I would love to know how this rides!
DanGT86 said:Any progress on this build? I just busted my Transmag motor's magnets and I remembered you were the only other person I have seen building with them. I'm really curious how these motors perform so I figured I'd check in.
If you end up needing spare parts I have a now useless motor minus magnets as well as a fancy anodized black rear cover that is 1/2" shorter than the original.


