
bobc
10 kW
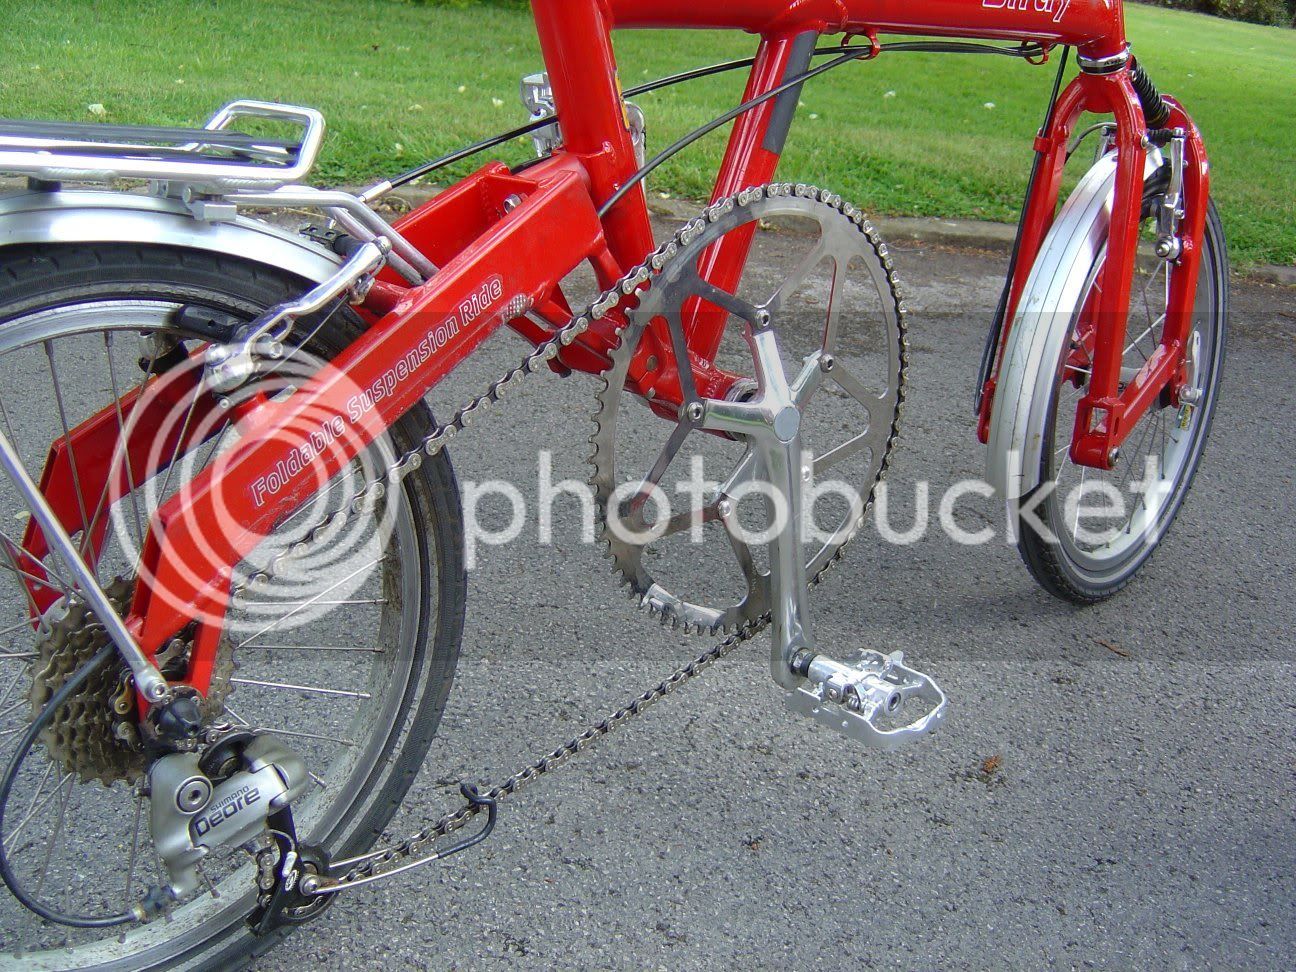
Unfortunately I came to this forum far too late to use any of the wide ranging information on here - so forgive me if the bike contains lots of widely recognised "tried failures". I made the bike with my nephew (who will actually use it) from RC gear I had lying around, & wanted to use the project to check on some of the engineering detail I'm putting in another project. Anyway - some of the details might be of general interest (seemed to be on the bvs board) & might give folk new ideas about how to make some bits & pieces. FWIW the bike rides really well, carries Matt up a 1 in 7 hill with a 40A ESC & goes at 12.5mph with the 6s battery pack (exactly according to plan....).
I put an extra freewheel on the other side from the deraillieur cassette by lathing off the disc brake mount & putting a left hand thread on it. The sprocket is simply laser cut - cost me about £10. I bevelled the sides with an angle grinder and fettled the teeth by pressing each against the side of the right size drill (5mm in the case of this 8mm chain)

It's fixed by a couple of clamp plates (the inner one visible in the picture). Doing it again I'd put the sprocket in place of the inner clamp plate, simply to move the sprocket inwards, away from chain & seat stays.
Here's how I took drive off the outrunner motor.

That's effectively a taperlock fixing - the screws pull a brass taper into a taper reamed hole in the commercial sprocket (that one's 6mm chain). My back of envelope calculations say it's good for over 60Nm torque & the motor's good for 4Nm so it should be OK.
I made a simple circuit with 2 555 timers to control the ESC from a hall effect twist grip - would be easy & neat on veroboard(stripboard) - I'll put the schematics on here when its done right (the original was made to work with a broken twist grip!!!). We used a servo tester for first tests.

The layshaft bearing bolts screw into the top plate tohold it together while assembling the bike; top plate and clamp plate have a 32mm diam groove fly cut in 'em to stop the seat tube squashing.
Hope that's of some interest - the bike was rescued from a skip but seems basically sound. The motor is FAR too big I know - I note there's a 470W outrunner on hobbyking for less than $15 which would be perfect for a legal UK bike assist!
I put an extra freewheel on the other side from the deraillieur cassette by lathing off the disc brake mount & putting a left hand thread on it. The sprocket is simply laser cut - cost me about £10. I bevelled the sides with an angle grinder and fettled the teeth by pressing each against the side of the right size drill (5mm in the case of this 8mm chain)
It's fixed by a couple of clamp plates (the inner one visible in the picture). Doing it again I'd put the sprocket in place of the inner clamp plate, simply to move the sprocket inwards, away from chain & seat stays.
Here's how I took drive off the outrunner motor.
That's effectively a taperlock fixing - the screws pull a brass taper into a taper reamed hole in the commercial sprocket (that one's 6mm chain). My back of envelope calculations say it's good for over 60Nm torque & the motor's good for 4Nm so it should be OK.
I made a simple circuit with 2 555 timers to control the ESC from a hall effect twist grip - would be easy & neat on veroboard(stripboard) - I'll put the schematics on here when its done right (the original was made to work with a broken twist grip!!!). We used a servo tester for first tests.
The layshaft bearing bolts screw into the top plate tohold it together while assembling the bike; top plate and clamp plate have a 32mm diam groove fly cut in 'em to stop the seat tube squashing.
Hope that's of some interest - the bike was rescued from a skip but seems basically sound. The motor is FAR too big I know - I note there's a 470W outrunner on hobbyking for less than $15 which would be perfect for a legal UK bike assist!
 Only because it's going to be very tempting to thrash. I've been toying with a jackshaft setup for a while too. Yours is a nice example.
