scianiac
Power poster
- Joined
- Oct 24, 2018
- Messages
- 1,021
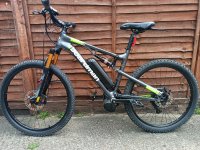
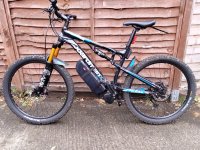
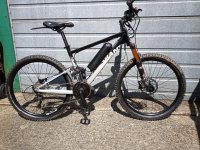
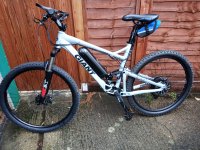
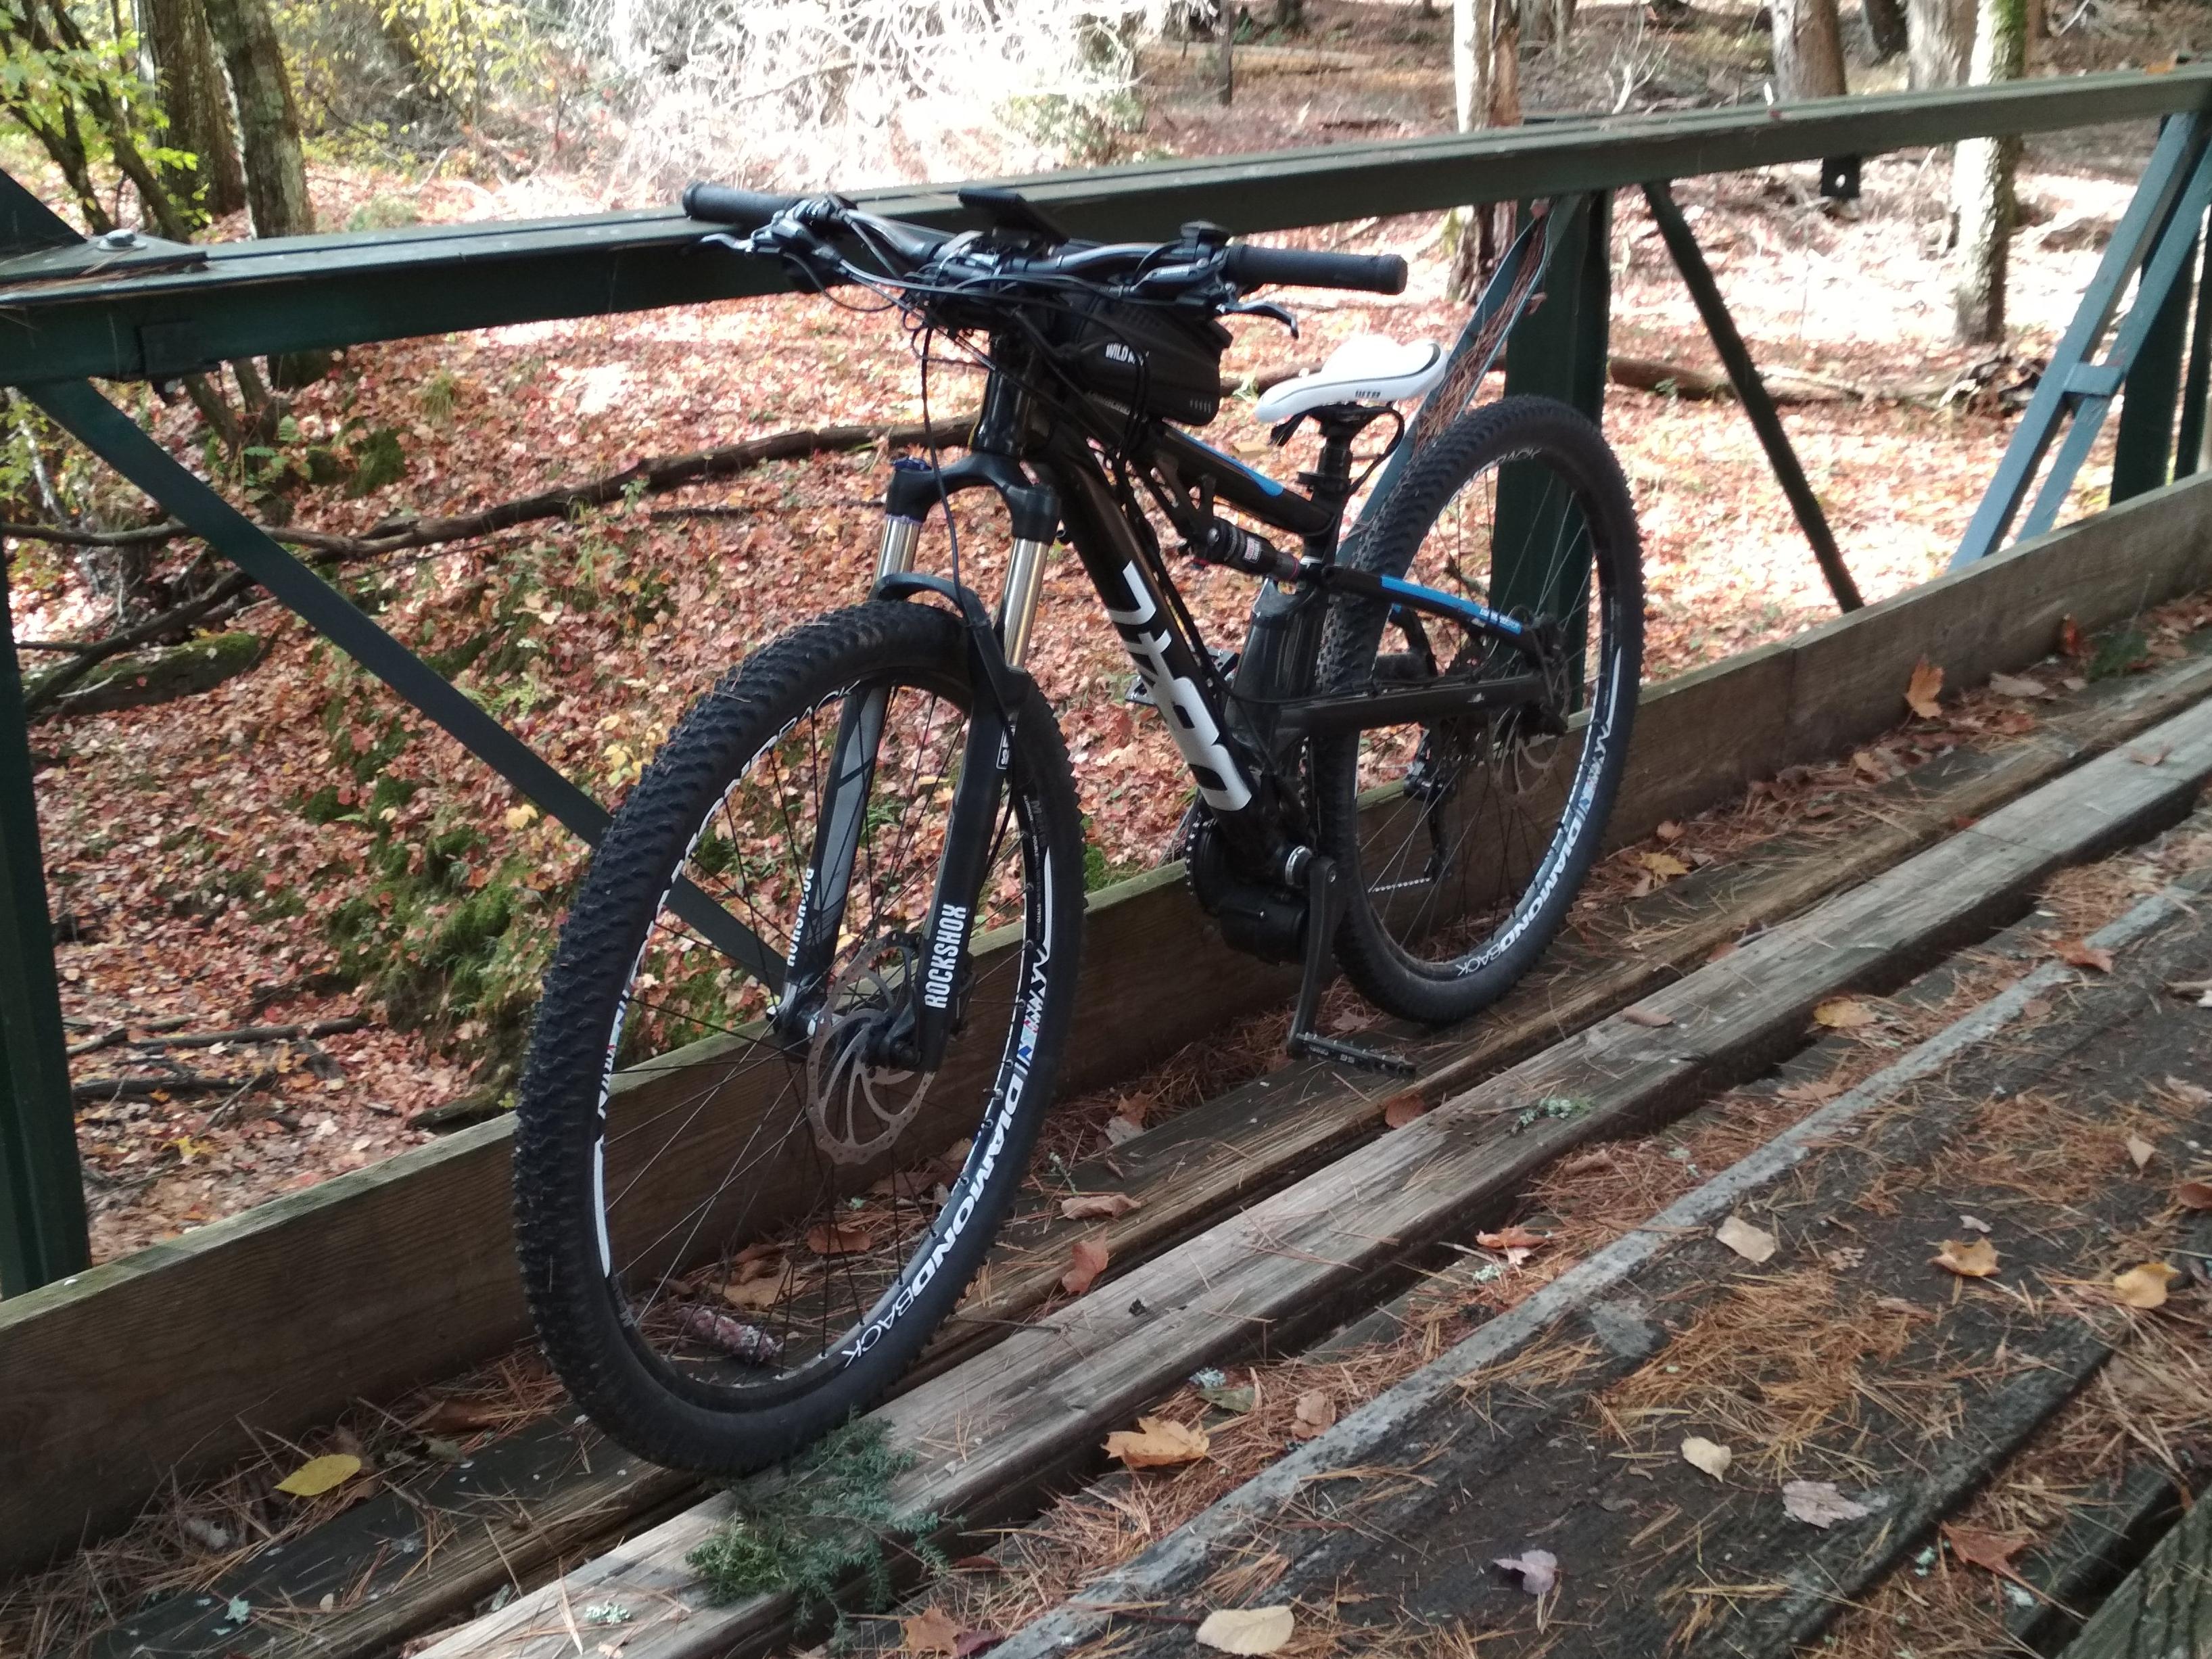
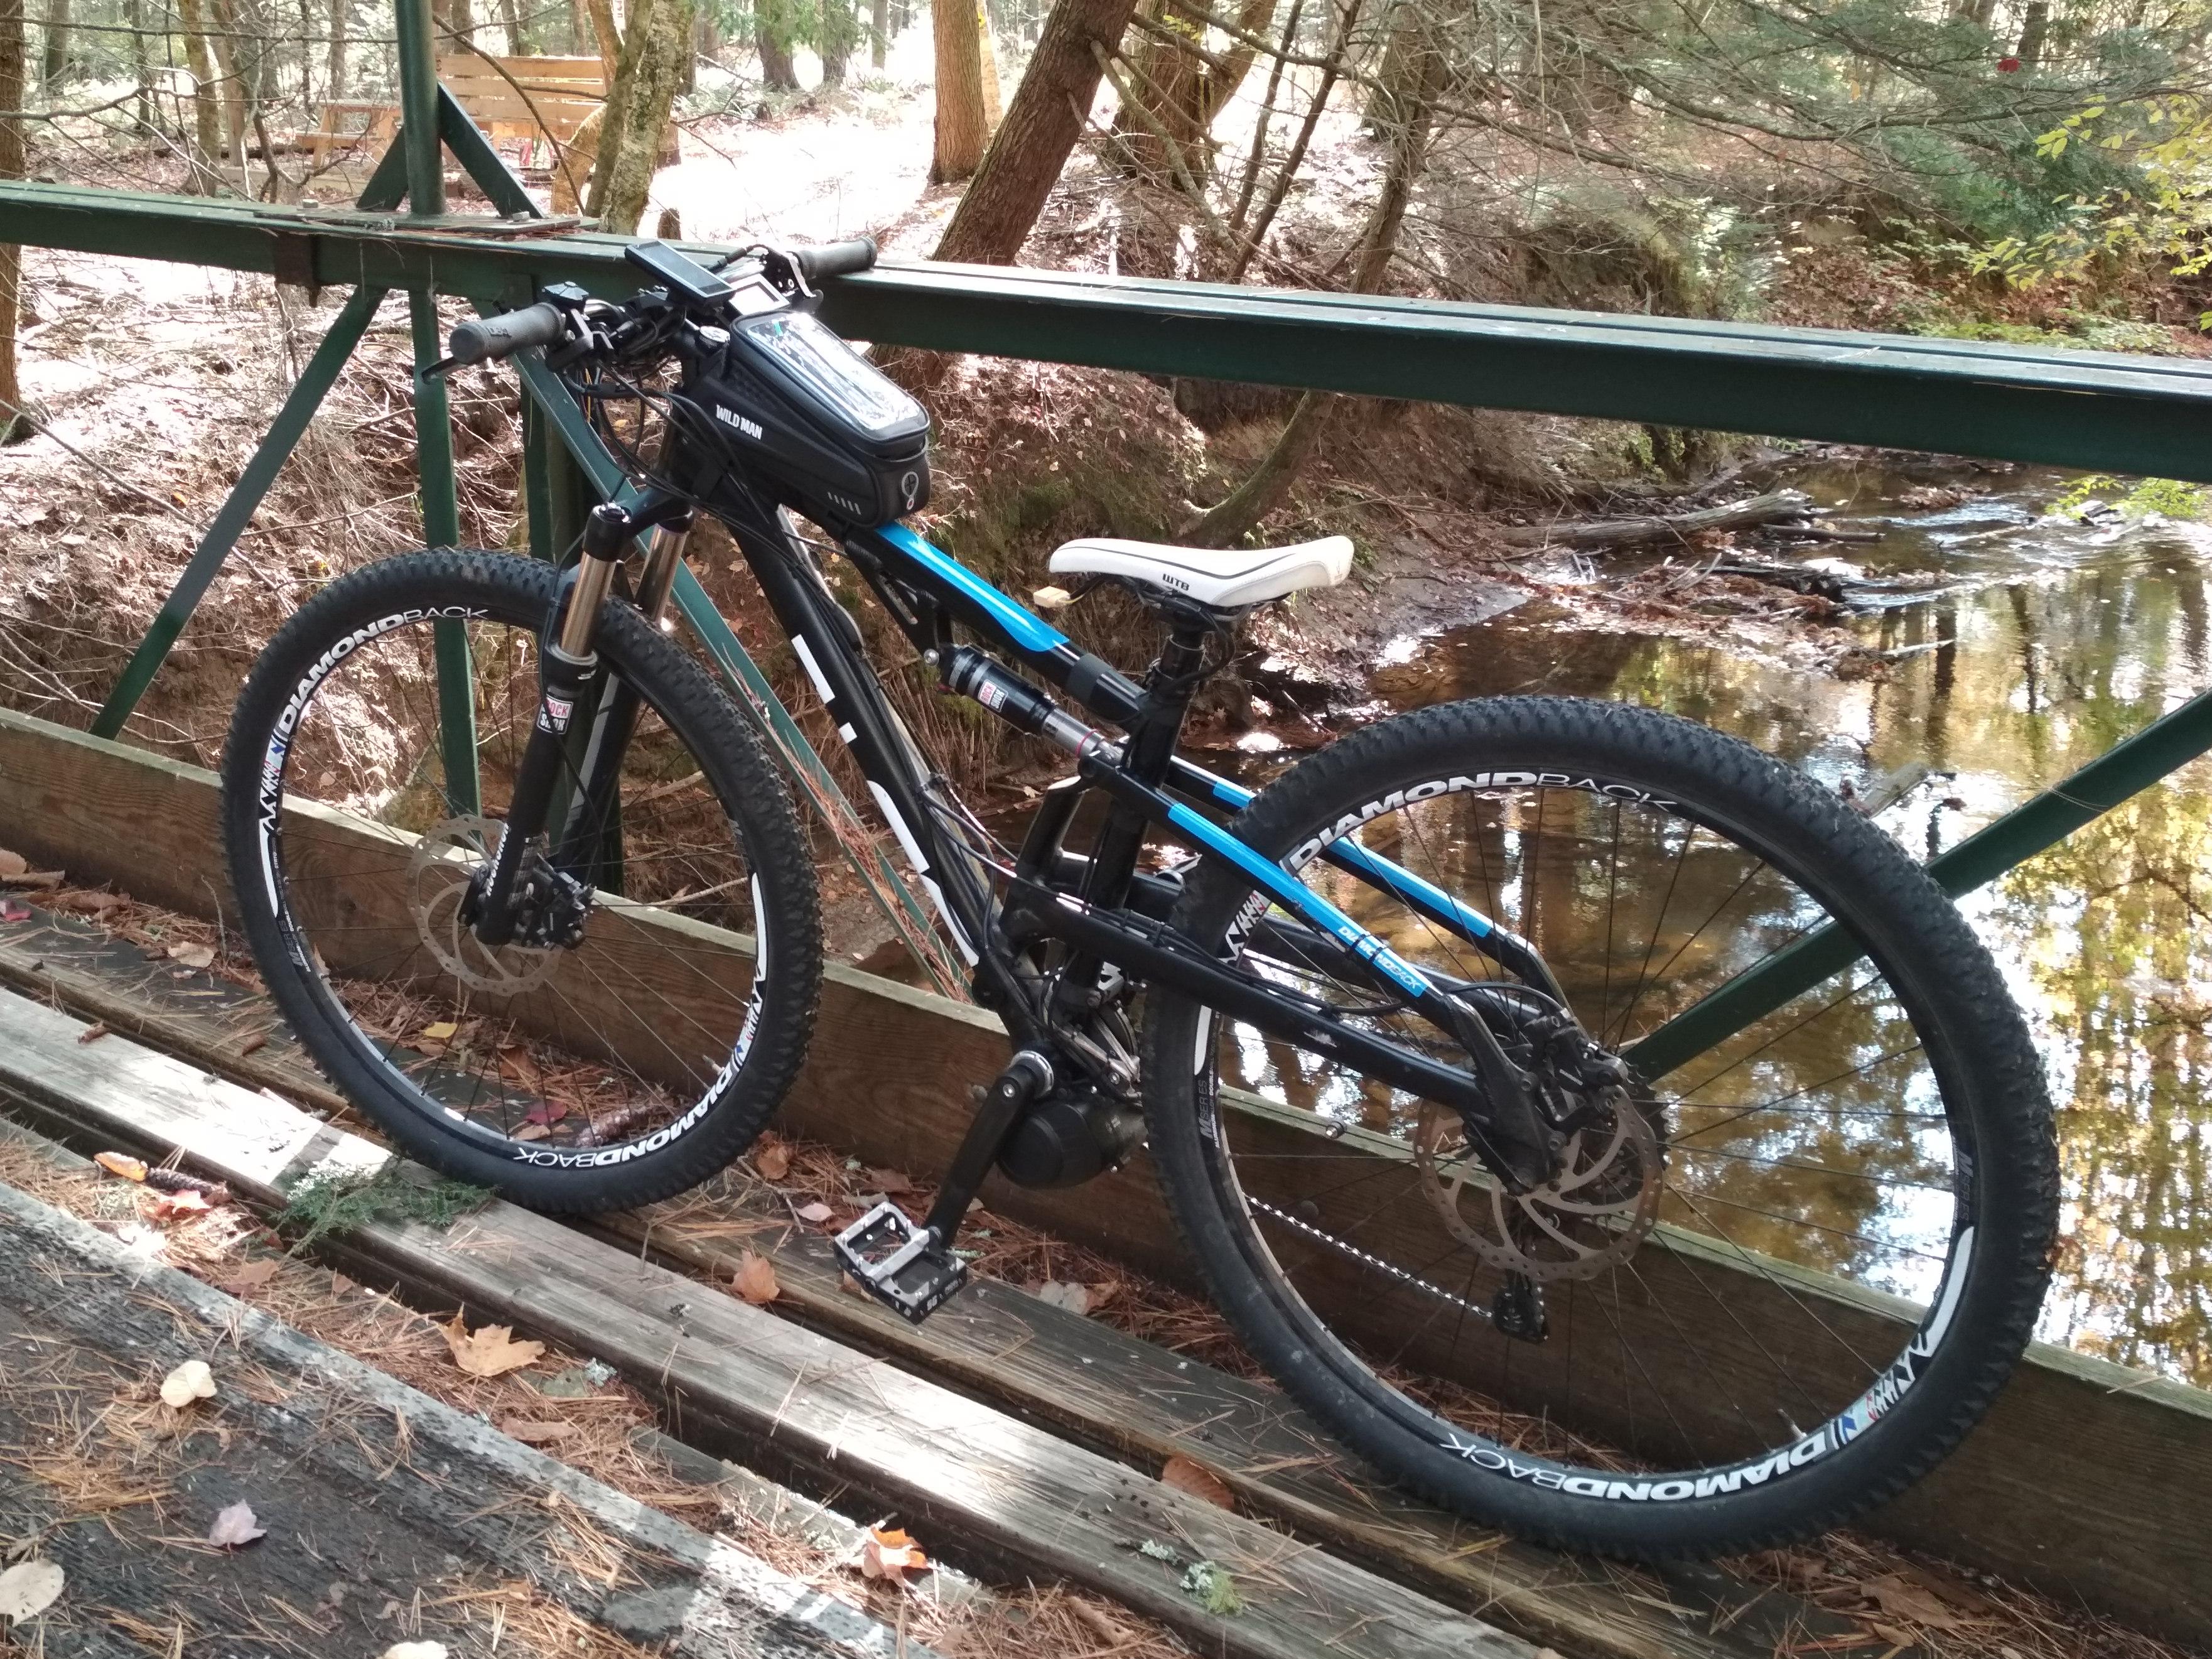
This is just a quick build log of my TSDZ2 build, mostly focusing on things that others might find useful when doing a similar build. Started with a 2013 Diamondback Recoil Pro 29er that I got on craigslist. Quick list of all the basic parts, upgrades, tweaks and so on:
Motor
-TSDZ2 with open source firmware
-CNC aluminum heatsink shim (more details below)
-All the other normal TSDZ2 heatsink mods
-Throttle for those occasional uses
-Separate temperature monitor with temp alarm
-Custom 3D printed torque bracket (more details below)
-Gear sensor
-Magnetic brake sensors
Battery
-Battery made from 7x 2S 5200 lipos, 14S split into 7S for charging.
-Size small frame means there is no space for a battery so backpack it is, using a cheap lightweight cycling pack with a bit Spectra braid stitched in for reinforcement.
Drivetrain
-Removed about 6mm off the bottom bracket right side to get perfect chainline (see below)
-24T narrow wide chainring with a 3D printed chain guide because why not
-New wider range rear cassette paired with a microshift 9 speed
-Went with some DIY molten speed wax chain lube to counteract the added ebike chain wear
MISC
-Budget dropper seatpost, this actually works just fine with the power cable routing
-Stock calipers but replaced both rotors with 203mm
-About 5 million zip ties to hold together the at this point ridiculous number of wires, cables, hoses, and other bits.
A bit more details on some of the above
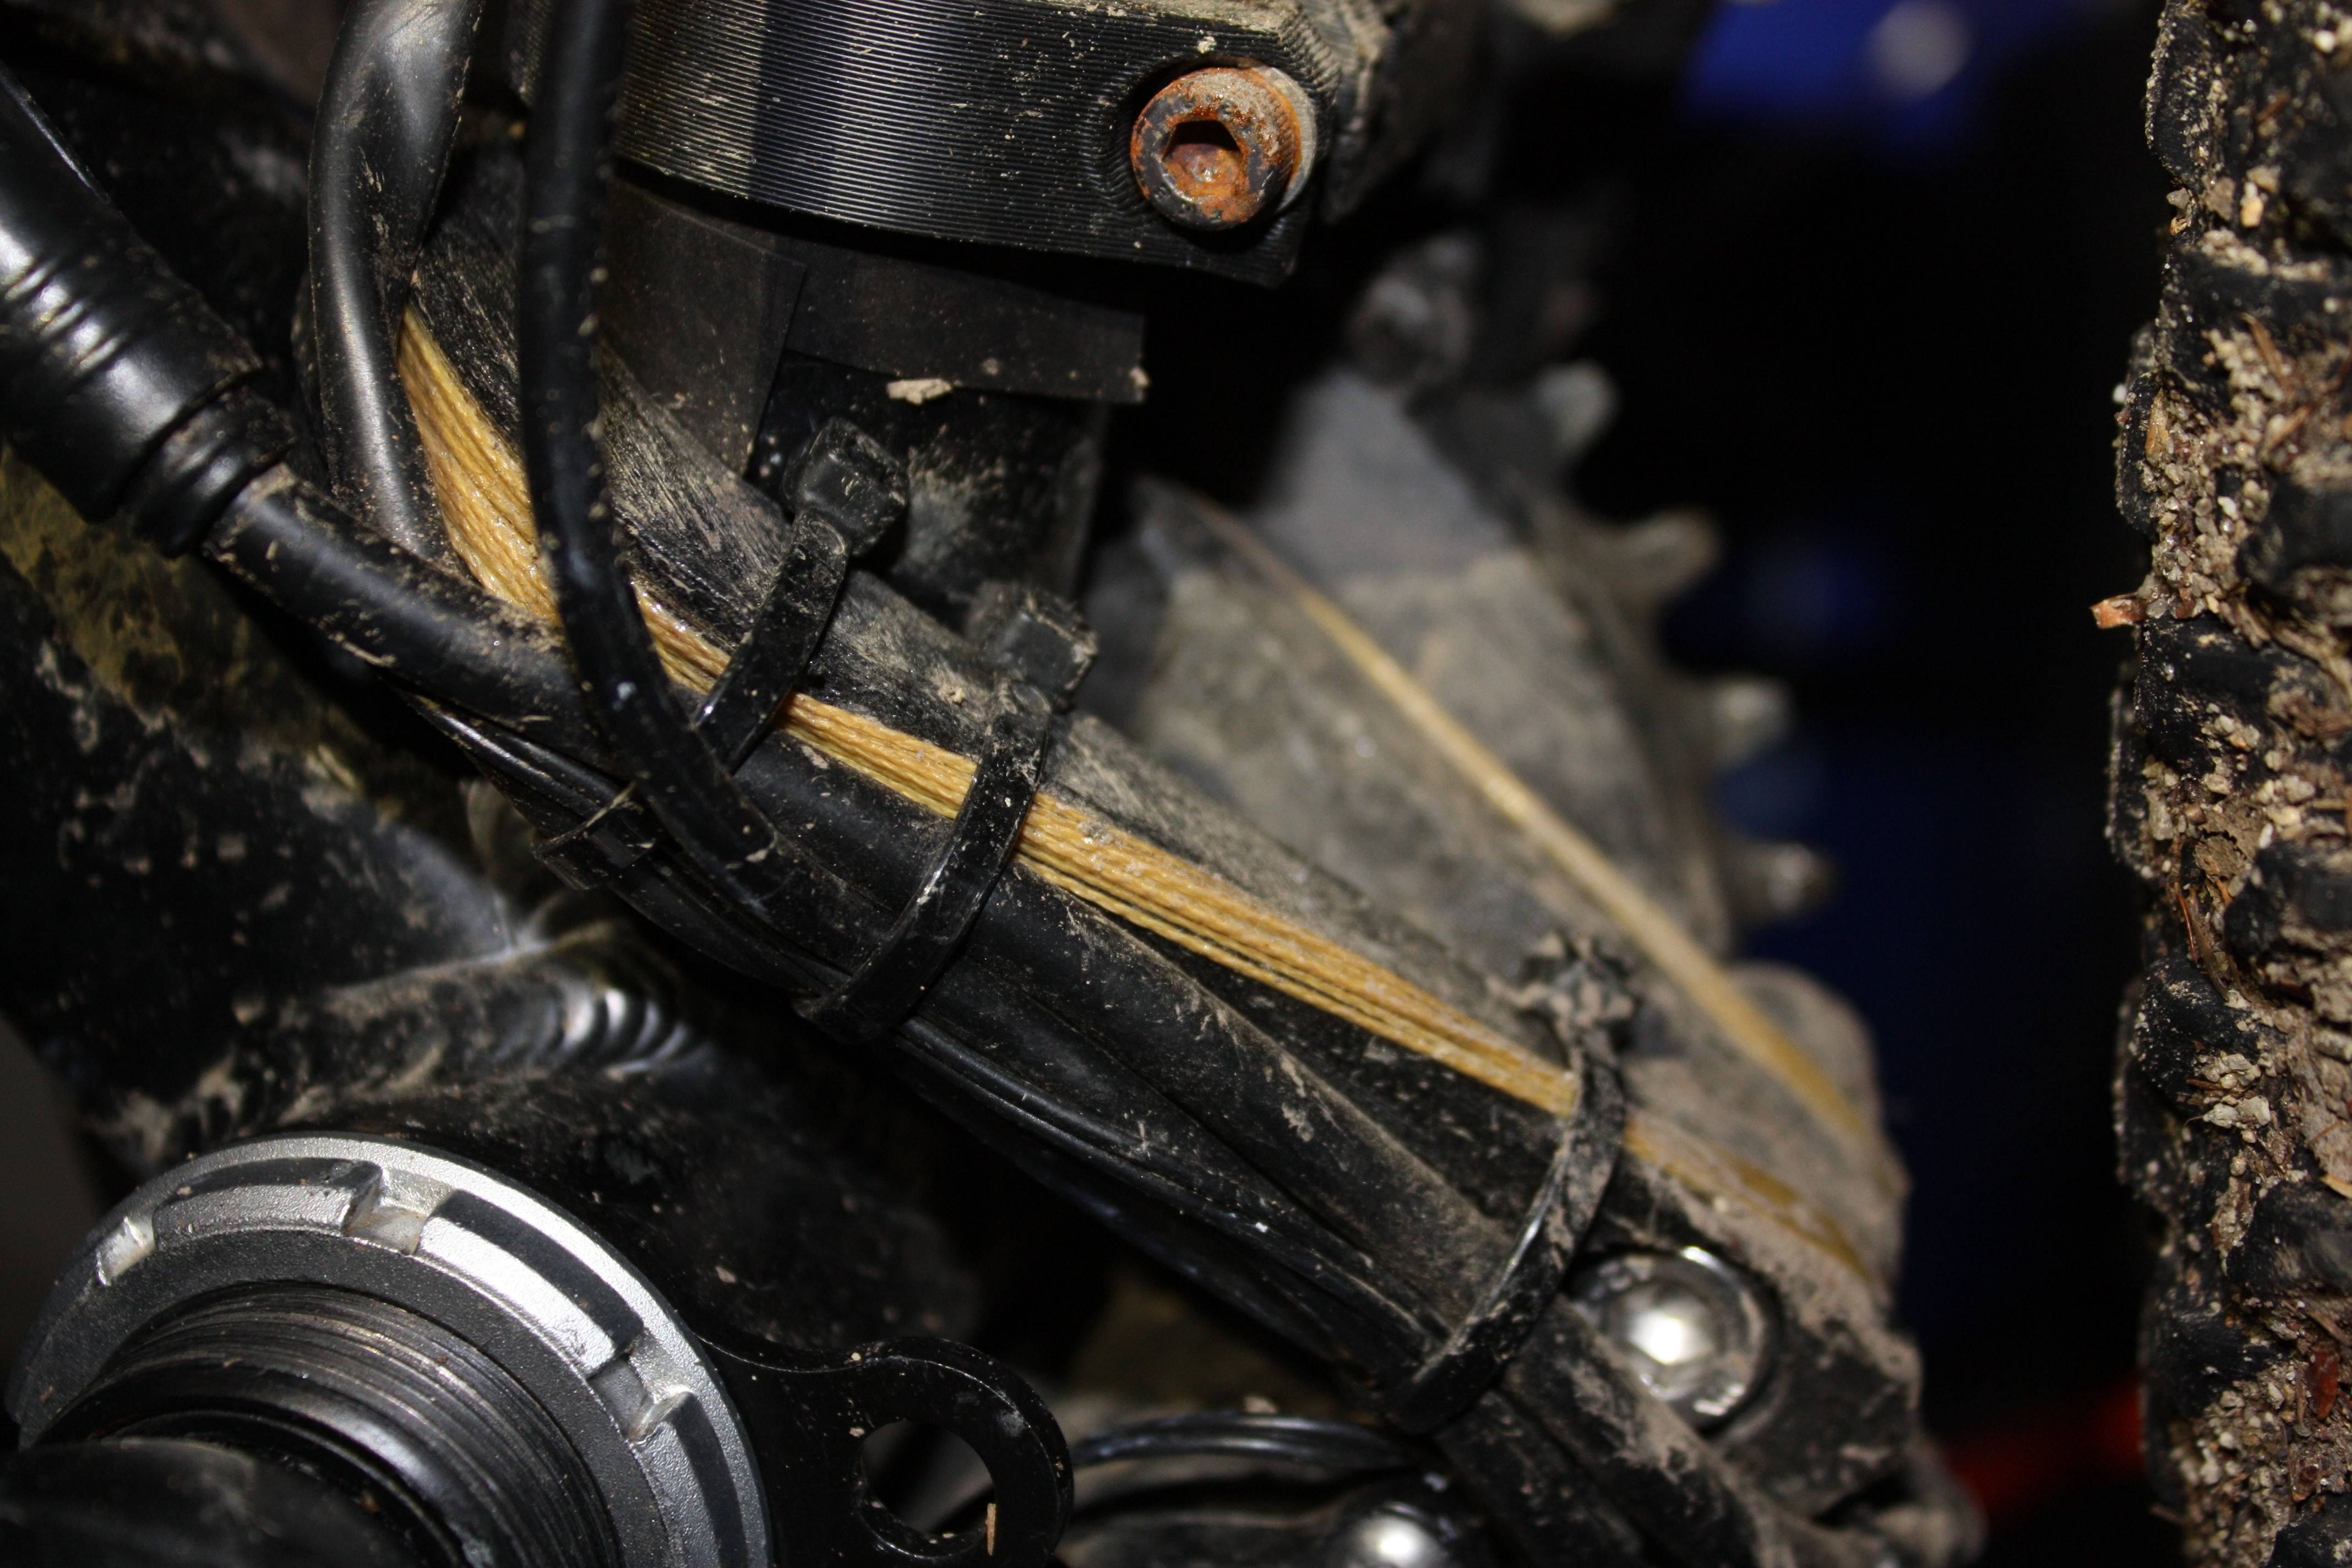
Full suspension means no place to mount the stock motor torque brace. Easy enough I’ll just make a bracket that wraps around the seat tube and locks to the motor using the original mounting bolt. Considering the amount of torque this needs to withstand one would think that it needs to be made of metal. But 1000s of hours of 3D printing experience and a fascination with advanced material composites says otherwise. I whipped up a quick design to be printed from carbon fiber reinforced nylon and included wrapping guides for additional fiber reinforcement. With a little epoxy and some 100lb test kevlar braid it’s easy enough to add a theoretical 4000lbs of extra tensile strength to the part. Kevlar was used instead of UHMWPE or Carbon fiber because it’s easier to work with than carbon fiber and glues better than UHMWPE which has a terribly low surface energy.
Next quick modification was grinding down about 6mm of the bottom bracket to get the motor far enough over for a perfect chainline. This was done, very carefully and precisely with an angle grinder and flapwheel. All kidding aside if you are very gentle, use wax to prevent the wheel from getting clogged up do to the affinity of aluminum to the aluminum oxide abrasive and take lots of measurements the final result was well under 0.5mm of parallelism with the factory side. A side bonus of this is the Q-factor is now just about perfect down the centerline with the help of a straight right side crank.
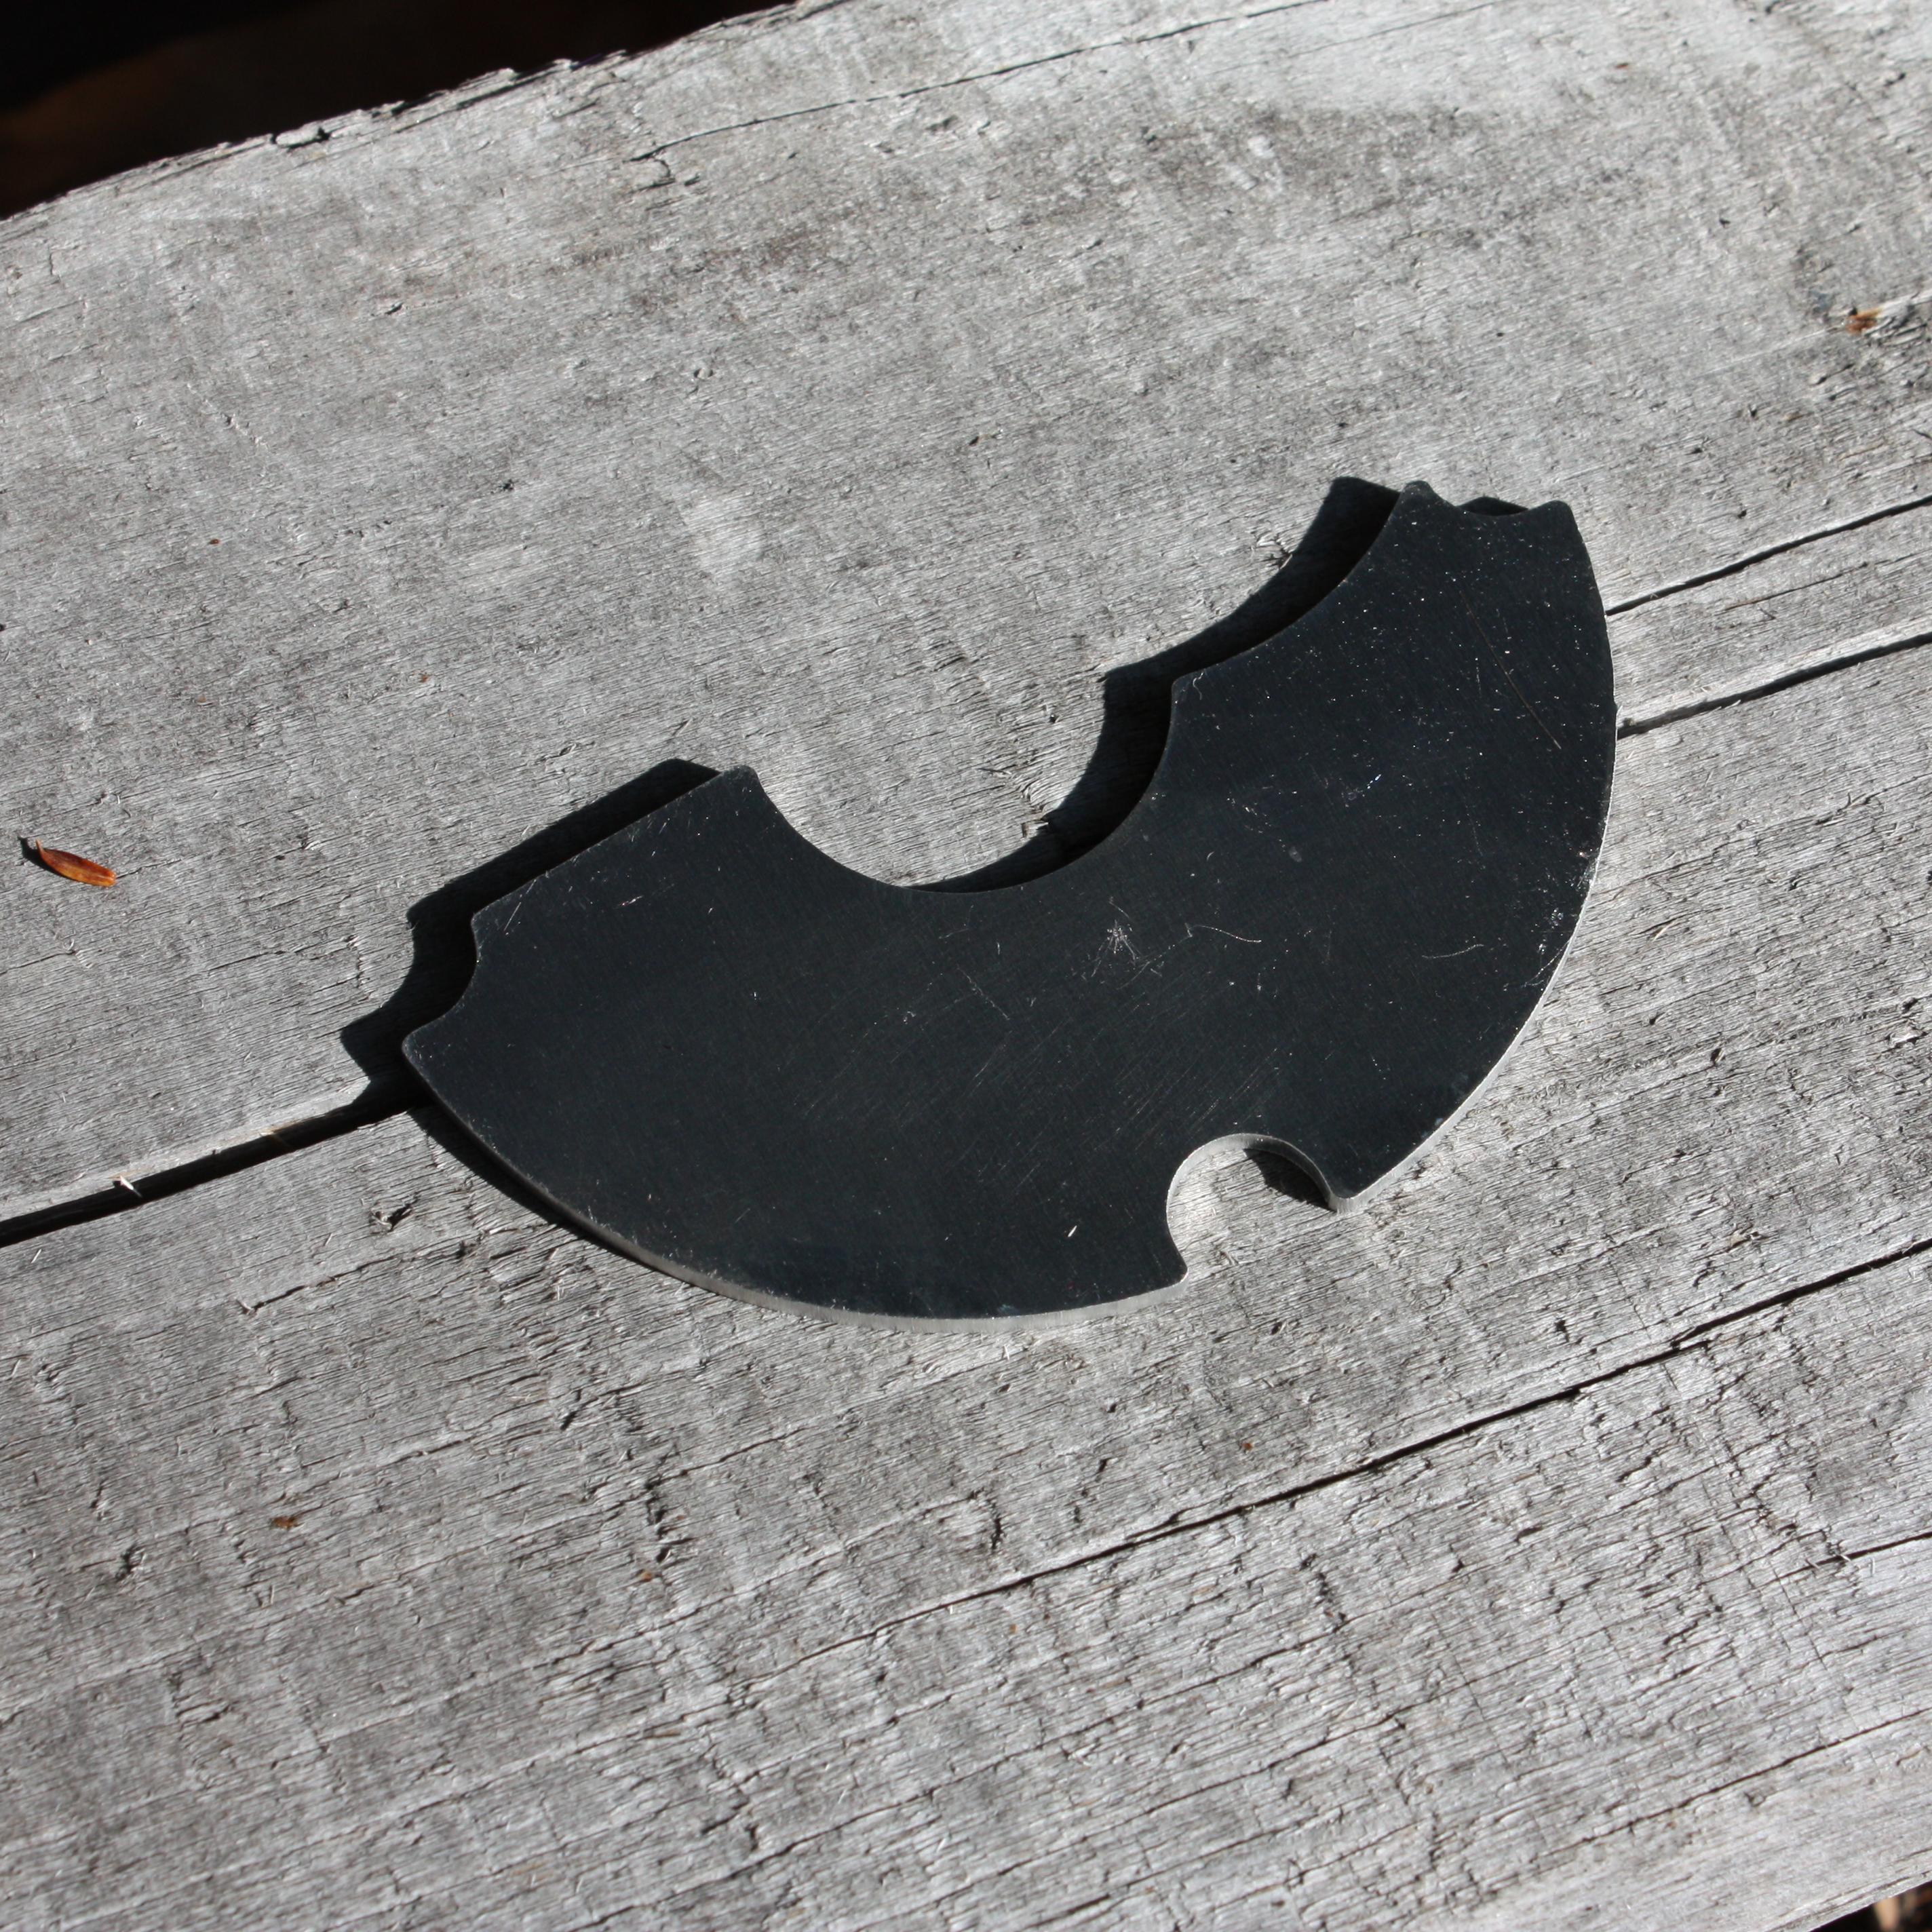
For all the advantages of the TSDZ2 it has some issues as well and one of the biggest issues is it’s poor motor cooling. For some unknown reason the designers though it was OK to just have the motor in an entirely sealed case with no contact to the aluminum body at all. With the stock setup it’s very easy to overheat the motor and if you don’t install the open source firmware thermal throttling or a thermal probe to keep an eye on the temperature it’s very easy to damage it in the process. Many past attempts have been made to remedy this and the most effective and easiest was by najbyk as shown in the wiki which filled the approximately 1.5mm gap between the motor and shell with thermal pads. The only problem with this solution is even at that thickness thermal pads have very poor performance so gains are limited by their performance. So my simple solution to this problem was to just replace the pads with aluminum which is an order of magnitude more thermal conductivity than the pads. As a first test I hand cut shim a shim and after that performed wonderfully proceeded to CNC cut them for an exact fit. With the original test shim and the back thermal pads between motor and outer shell I was unable to get the temperature above 42C even with hard use. I expect the CNC version will perform even better since it is one piece instead of two sheets but the cold weather means it’s hard to tell real results from cold ambient assisted cooling. (actually did get a chance to ride in some warmer weather a few days ago, wasn't watching the temp too closely but never saw it above low 30s)
Due to how machining works making one of these shims was just as easy as making several so I’ve got a few more available if anyone is interested. I just threw them up in a hidden listing here if anybody wants one. If people are interested I might make some more. Edit 1/7/21 - due to popular demand I've made some more of these, available at the link above

Future upgrades
-Replace the motor temperature readout with a much smaller unit without an alarm, motor never even gets close to overheating anyway
-Installing more aggressive tires. I don't ride super aggressively but for me one of the best parts about an ebike is climbing otherwise totally unclimbable things, hills you can barely walk up. And there are still a few I've found that I just don't quite have the traction to get all the way up
-32T chainring and adapter plate, tweak that drive ratio a little more, again for climbing crazy hills
-Some custom built throttle that doesn't suck
So what do you guy's think?
Motor
-TSDZ2 with open source firmware
-CNC aluminum heatsink shim (more details below)
-All the other normal TSDZ2 heatsink mods
-Throttle for those occasional uses
-Separate temperature monitor with temp alarm
-Custom 3D printed torque bracket (more details below)
-Gear sensor
-Magnetic brake sensors
Battery
-Battery made from 7x 2S 5200 lipos, 14S split into 7S for charging.
-Size small frame means there is no space for a battery so backpack it is, using a cheap lightweight cycling pack with a bit Spectra braid stitched in for reinforcement.
Drivetrain
-Removed about 6mm off the bottom bracket right side to get perfect chainline (see below)
-24T narrow wide chainring with a 3D printed chain guide because why not
-New wider range rear cassette paired with a microshift 9 speed
-Went with some DIY molten speed wax chain lube to counteract the added ebike chain wear
MISC
-Budget dropper seatpost, this actually works just fine with the power cable routing
-Stock calipers but replaced both rotors with 203mm
-About 5 million zip ties to hold together the at this point ridiculous number of wires, cables, hoses, and other bits.
A bit more details on some of the above
Full suspension means no place to mount the stock motor torque brace. Easy enough I’ll just make a bracket that wraps around the seat tube and locks to the motor using the original mounting bolt. Considering the amount of torque this needs to withstand one would think that it needs to be made of metal. But 1000s of hours of 3D printing experience and a fascination with advanced material composites says otherwise. I whipped up a quick design to be printed from carbon fiber reinforced nylon and included wrapping guides for additional fiber reinforcement. With a little epoxy and some 100lb test kevlar braid it’s easy enough to add a theoretical 4000lbs of extra tensile strength to the part. Kevlar was used instead of UHMWPE or Carbon fiber because it’s easier to work with than carbon fiber and glues better than UHMWPE which has a terribly low surface energy.
Next quick modification was grinding down about 6mm of the bottom bracket to get the motor far enough over for a perfect chainline. This was done, very carefully and precisely with an angle grinder and flapwheel. All kidding aside if you are very gentle, use wax to prevent the wheel from getting clogged up do to the affinity of aluminum to the aluminum oxide abrasive and take lots of measurements the final result was well under 0.5mm of parallelism with the factory side. A side bonus of this is the Q-factor is now just about perfect down the centerline with the help of a straight right side crank.
For all the advantages of the TSDZ2 it has some issues as well and one of the biggest issues is it’s poor motor cooling. For some unknown reason the designers though it was OK to just have the motor in an entirely sealed case with no contact to the aluminum body at all. With the stock setup it’s very easy to overheat the motor and if you don’t install the open source firmware thermal throttling or a thermal probe to keep an eye on the temperature it’s very easy to damage it in the process. Many past attempts have been made to remedy this and the most effective and easiest was by najbyk as shown in the wiki which filled the approximately 1.5mm gap between the motor and shell with thermal pads. The only problem with this solution is even at that thickness thermal pads have very poor performance so gains are limited by their performance. So my simple solution to this problem was to just replace the pads with aluminum which is an order of magnitude more thermal conductivity than the pads. As a first test I hand cut shim a shim and after that performed wonderfully proceeded to CNC cut them for an exact fit. With the original test shim and the back thermal pads between motor and outer shell I was unable to get the temperature above 42C even with hard use. I expect the CNC version will perform even better since it is one piece instead of two sheets but the cold weather means it’s hard to tell real results from cold ambient assisted cooling. (actually did get a chance to ride in some warmer weather a few days ago, wasn't watching the temp too closely but never saw it above low 30s)
Due to how machining works making one of these shims was just as easy as making several so I’ve got a few more available if anyone is interested. I just threw them up in a hidden listing here if anybody wants one. If people are interested I might make some more. Edit 1/7/21 - due to popular demand I've made some more of these, available at the link above
Future upgrades
-Replace the motor temperature readout with a much smaller unit without an alarm, motor never even gets close to overheating anyway
-Installing more aggressive tires. I don't ride super aggressively but for me one of the best parts about an ebike is climbing otherwise totally unclimbable things, hills you can barely walk up. And there are still a few I've found that I just don't quite have the traction to get all the way up
-32T chainring and adapter plate, tweak that drive ratio a little more, again for climbing crazy hills
-Some custom built throttle that doesn't suck
So what do you guy's think?