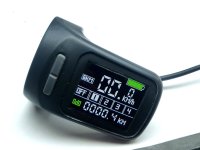
Basically I like the XH18 display very much and with the OSF from Mbrusa you actually get all the necessary information on the display. Provided you can read it and that's where I come to the main problem of this display. When the sun is shining, you can sometimes read nothing at all on the display. In addition, I had the upper display cover partially peeling off with the heat from the sun and the next time it rained heavily, the display was under water.
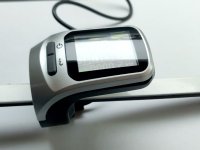
So I took the display apart once. Another plexiglas lens is located under the cover, which is attached with double-sided adhesive tape. Only then does the matte LCD come into play. This gives us a total of 5 reflection surfaces (4 mirrored and one matt).
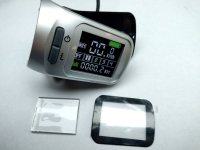
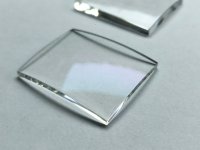
At an optician's, I got a double-sided anti-reflective, curved lens without prescription correction. The material can be easily cut to size with a jigsaw. It is best to first saw it a little too big and then use sandpaper to get to the final dimensions.
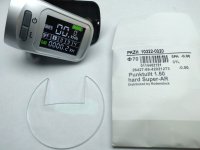
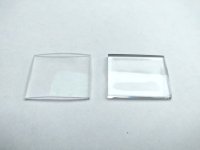
Then you can polish the edges. I used a polishing machine for this. But it works the same way with fine pre-sanding and some plexiglas polishing.
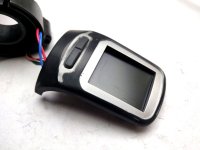
Since I didn't like the silver of the display, I sanded off the silver paint.
Then I painted the display with black, matt 2K paint.
Since the display has no seal to the housing, a seal must be introduced here so that during the further steps a resin runs into the housing and then between the display layers. I used a strip of foam rubber for this. A lot of work has to be done here. Unfortunately, the display filled up the first time, it took several hours to remove the liquid resin on all display layers.
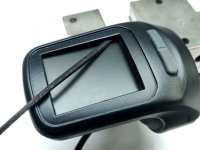
In addition to the seal, you apply a small joint of glue and harden it.
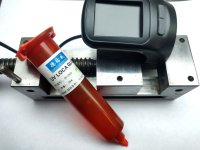
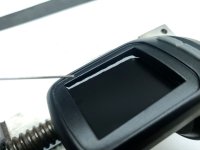
Then the display glass can be inserted and, slightly tilted, enough glue can be poured in from above so that all the air is pushed out of the housing.
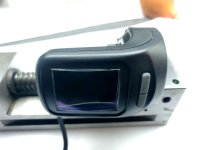
Now straighten the display and press down until it is in the right position. The excess adhesive pushes out upwards and must be removed before you harden the resin with a UV lamp. Small amounts of adhesive residue can also be removed with alcohol afterwards.
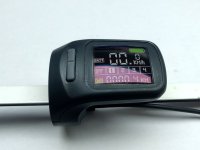
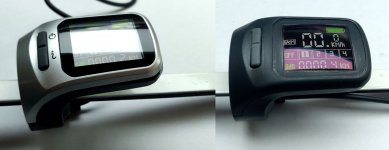
As a result, we have much better readability and absolute water resistance.

So I took the display apart once. Another plexiglas lens is located under the cover, which is attached with double-sided adhesive tape. Only then does the matte LCD come into play. This gives us a total of 5 reflection surfaces (4 mirrored and one matt).

At an optician's, I got a double-sided anti-reflective, curved lens without prescription correction. The material can be easily cut to size with a jigsaw. It is best to first saw it a little too big and then use sandpaper to get to the final dimensions.


Then you can polish the edges. I used a polishing machine for this. But it works the same way with fine pre-sanding and some plexiglas polishing.

Since I didn't like the silver of the display, I sanded off the silver paint.

Then I painted the display with black, matt 2K paint.
Since the display has no seal to the housing, a seal must be introduced here so that during the further steps a resin runs into the housing and then between the display layers. I used a strip of foam rubber for this. A lot of work has to be done here. Unfortunately, the display filled up the first time, it took several hours to remove the liquid resin on all display layers.

In addition to the seal, you apply a small joint of glue and harden it.


Then the display glass can be inserted and, slightly tilted, enough glue can be poured in from above so that all the air is pushed out of the housing.

Now straighten the display and press down until it is in the right position. The excess adhesive pushes out upwards and must be removed before you harden the resin with a UV lamp. Small amounts of adhesive residue can also be removed with alcohol afterwards.


As a result, we have much better readability and absolute water resistance.


